Sublimation magnets combine polymer-coated printing surfaces with flexible magnet backing to create personalized refrigerator magnets, photo displays, and promotional items. The flexible magnet substrate provides holding strength while the polymer coating accepts sublimation dye transfer for vibrant, permanent designs. Understanding polymer-based compatibility across all home sublimation products appears in our complete polymer home products guide.
Key Takeaways
- Curie temperature represents the heat threshold where magnets permanently lose their magnetism—flexible sublimation magnet blanks tolerate standard pressing temperatures safely.
- Temperature control during pressing prevents both dye transfer failure and magnetic strength degradation in finished products.
- Standard sublimation magnets press at 350–400°F for 45–60 seconds without risking demagnetization of the flexible backing.
What Temperature Should You Use to Sublimate Magnets?
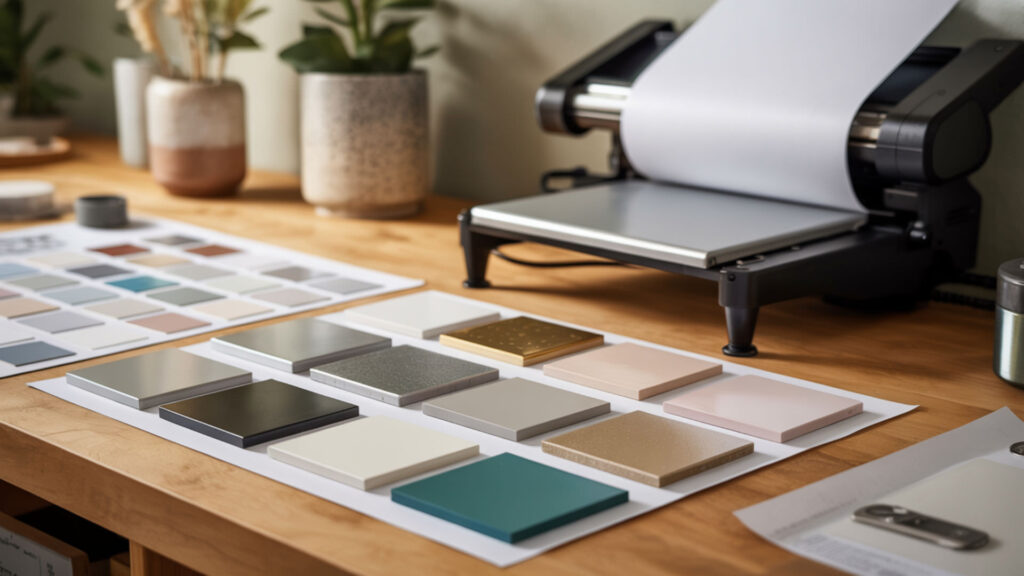
Press temperature activates sublimation dye while thermal conductivity determines how heat distributes through magnet blanks during pressing. Polymer coating on magnet surfaces requires temperatures between 350–400°F for complete dye bonding. Flexible magnet blanks heat unevenly compared to solid substrates—use medium pressure and consistent timing. Pre-press hardboard magnet blanks for 60 seconds at 375°F to remove moisture before applying sublimation transfers.
What Temperature Could Ruin Magnets During Sublimation?
Curie temperature defines the threshold where magnetic materials lose their permanent magnetism—ferrite magnets reach this point around 450°C (842°F), far above sublimation temperatures. Standard sublimation pressing at 350–400°F operates safely below damaging thresholds for flexible magnet blanks. However, temperature readings above 400°F risk coating damage including bubbling and discoloration even when magnetic strength remains unaffected by heat exposure. Magnetic strength depends on aligned magnetic domains, and increasing heat disrupts that alignment, which is why magnets weaken as temperature rises toward critical limits. [1]
At What Temperature Do Magnets Start to Demagnetize?
Magnetic domains begin losing alignment as temperatures approach material-specific thresholds—flexible ferrite magnets tolerate heat well while neodymium magnets weaken around 80°C (176°F). The magnetic field in sublimation-ready flexible magnets remains stable through standard pressing cycles. Ferrite-based flexible sheets maintain holding strength at temperatures up to 250°C (482°F), providing substantial safety margin above sublimation requirements. Many permanent magnets progressively lose strength as temperature rises, and once heated beyond a critical point they may not fully regain their original magnetism after cooling. [2]
How Does Heat Affect Magnets Used for Sublimation?
Heat press temperatures affect magnetic domains differently based on magnet material composition—ferrite flexible magnets withstand sublimation heat while neodymium magnets cannot. Overheating during pressing can weaken magnetic field strength permanently. Curie temperature varies dramatically between materials: flexible ferrite at 450°C versus neodymium at 310°C. Controlled press temperature preventing material damage applies equally in our complete heat press keychain guide.
Can Applying Heat During Pressing Destroy a Magnet’s Strength?
Standard sublimation temperatures (350–400°F) remain far below Curie temperature thresholds for flexible ferrite magnets—magnetic field strength survives normal pressing cycles intact. Problems occur when press temperatures exceed 400°F or when using inappropriate magnet types like neodymium that weaken at lower temperatures. Properly designed sublimation magnet blanks specify safe pressing parameters that preserve both coating integrity and magnetic holding power.
⫸ Click Here For Best Selling Sublimation Printers And Products ⫷Do Magnets Lose Their Charge If They Are Heated Repeatedly?
Magnetic domains maintain alignment through multiple pressing cycles when temperatures stay below critical thresholds. Repeated sublimation pressing at standard temperatures (350–400°F) causes no cumulative damage to flexible ferrite magnets. However, repeated overheating above safe working temperatures causes progressive domain misalignment. The temperature differential between sublimation requirements and damage thresholds provides sufficient margin for normal production use.
Can Magnets Lose Their Magnetism Permanently When Overheated?
Exceeding Curie temperature destroys magnetic properties permanently—the polymer coating fails before reaching this threshold on properly designed blanks. Once magnetism is lost at Curie temperature, remagnetization becomes impossible without specialized industrial equipment. Standard sublimation pressing never approaches these temperatures for ferrite-based flexible magnets. Signs of overheating appear in coating damage (bubbling, yellowing) long before magnetic strength degrades significantly.
What Temperatures Are Most Likely to Damage Permanent Magnets?
High heat press temperatures above 400°F risk coating damage on sublimation magnet blanks even when magnetism remains stable. Neodymium magnets commonly used in craft projects begin permanent strength loss around 176°F—never use these for sublimation. Ferrite flexible magnets handle sublimation safely but fail coating-first at excessive temperatures. Temperature monitoring and consistent press settings prevent both coating failure and magnetic degradation during production runs.
Are Magnets Resistant to Both Heat and Cold?
Magnetic field stability varies with temperature extremes—cold strengthens most magnets while heat weakens them. Heat resistance differs dramatically between magnet types: ferrite tolerates 250°C working temperature while standard neodymium fails at 80°C. Sublimation-ready flexible magnets use ferrite compounds specifically for their thermal stability during pressing. Temperature fluctuations during storage and shipping rarely affect properly manufactured sublimation magnet blanks.
Does Freezing Magnets Change Their Strength or Performance?
Cold temperatures temporarily strengthen magnetic domains by reducing atomic vibration and improving alignment. Low temperatures below freezing actually increase holding power in flexible magnets. Once warmed to room temperature, magnets return to normal strength levels—this effect remains completely reversible. Storing sublimation magnet blanks in cold environments causes no damage and may temporarily enhance magnetic performance when first removed.
Does Cold Temperature Weaken Magnets Used for Sublimation Projects?
Cold temperatures never weaken magnetic field strength in flexible ferrite magnets—thermal conductivity slows but magnetic properties remain stable or slightly enhanced. Sublimation magnets stored in cold warehouses or shipped during winter perform normally once reaching room temperature. Unlike heat which causes permanent damage above thresholds, cold exposure remains entirely reversible. Only neodymium magnets experience issues below -125°C—temperatures irrelevant to sublimation workflows.
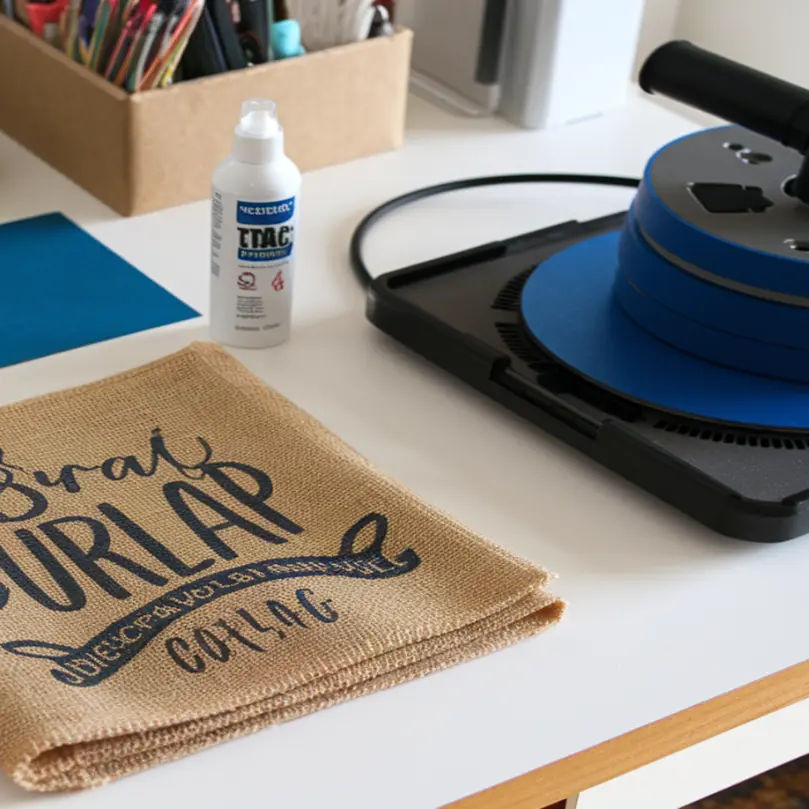
How Do You Sublimate on Magnets Step-by-Step?

Preheat your press to 375–400°F, print mirrored designs, and secure transfers with heat-resistant tape. Clean blank surfaces before positioning artwork. Pressure-sensitive adhesive backings with release liner attach after pressing—remove liner only when mounting finished magnets. Press 45–60 seconds with medium pressure using protective paper. Popular adhesive-backed sublimation products appear in our complete pressure-sensitive adhesive best sellers guide.
Can You Sublimate on Different Types of Magnets, Including Car Magnets?
Flexible magnet sheets created through extrusion accept sublimation transfers when topped with polymer coating or PET film printable layers. Car-sized magnetic sheets use the same ferrite compounds as smaller magnets—only dimensions differ. Large format flexible magnets require sectional pressing on standard heat presses. PET-based printable layers on magnets share characteristics with our complete PET film sticker guide.
Are Flexible Car-Style Magnets Suitable for Sublimation Transfers?
Ferrite magnet sheets designed for vehicle use accept sublimation when featuring proper polymer coating for dye bonding. Standard car magnet blanks press at 375–400°F using the same parameters as refrigerator magnets. Larger dimensions require careful sectional pressing with overlap management to avoid visible seam lines. Car magnets need thicker magnetic material for vehicle adherence—verify blank specifications include both sufficient thickness and sublimation-ready coating.
Ready to Create Sublimation Magnets?
Sublimation magnets offer accessible entry into personalized product creation—polymer-coated blanks cost under $1 each while finished magnets sell for $3–8 depending on size and customization. Temperature control during pressing protects both coating quality and magnetic strength for long-lasting products. Master your specific blank requirements before production runs, testing both transfer quality and magnetic holding power on sample pieces.
Frequently Asked Questions
Can you print photos directly onto sublimation-ready magnets?
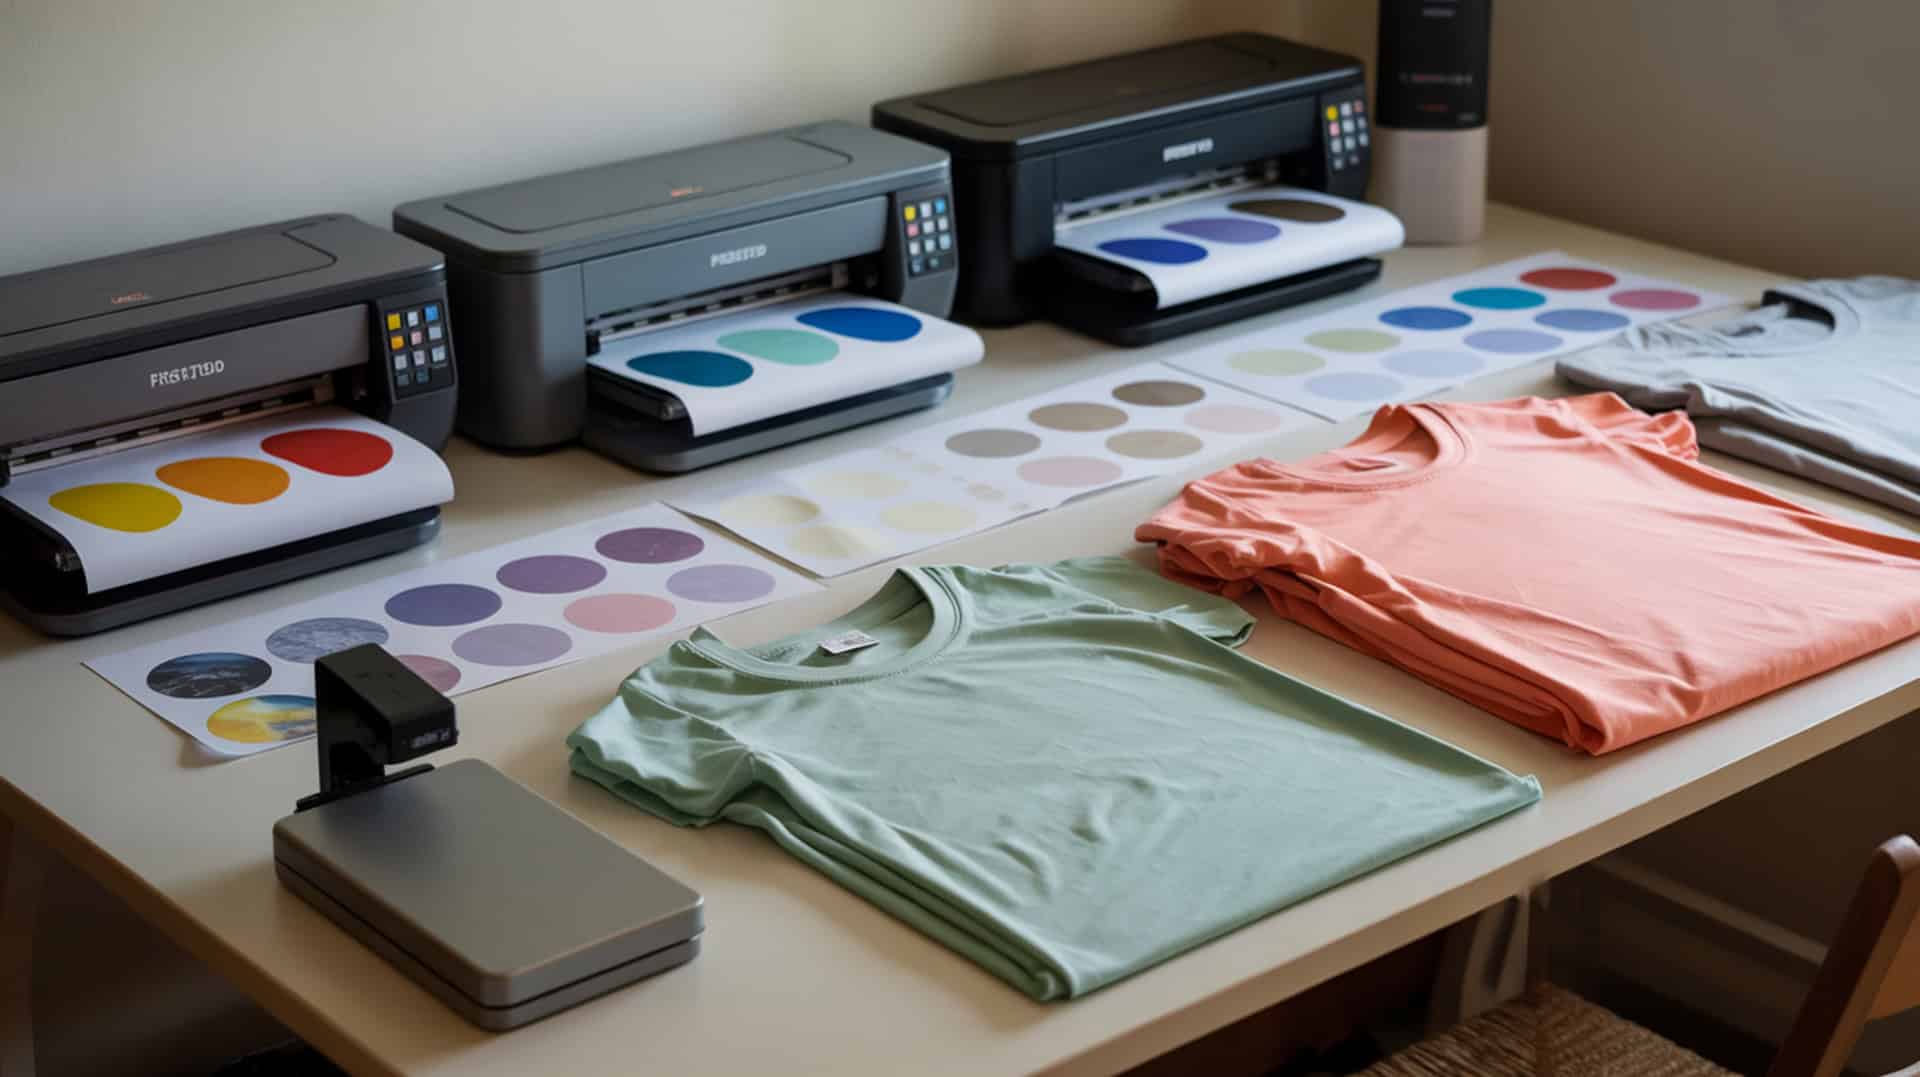
Sublimation printing reproduces photographic images with full color accuracy directly onto polymer-coated magnet surfaces. Print photos at 300+ DPI resolution for sharp detail reproduction on small magnet formats. Mirror all images before printing since sublimation transfers reverse during pressing. The dye diffusion process creates permanent bonds that resist fading, scratching, and moisture exposure over years of normal use.
Can sublimated magnets be used on outdoor surfaces like vehicles?
Flexible car magnets with proper polymer coating accept sublimation transfers suitable for outdoor vehicle use. UV exposure gradually fades sublimation prints over months of direct sunlight—consider protective lamination for extended outdoor durability. Rain and moisture don’t damage properly pressed sublimation designs. Remove vehicle magnets periodically to clean surfaces and prevent moisture trapping that could affect both magnet and paint.
Do sublimated magnets lose strength or color over time?
Magnetic strength in ferrite flexible magnets remains stable for decades under normal indoor conditions. Sublimation colors resist fading indoors but degrade faster with prolonged UV exposure from sunlight. Properly pressed designs on quality blanks maintain vibrancy for years in typical refrigerator use. Neither temperature fluctuations nor repeated placement/removal cycles affect magnetic holding power or design quality noticeably.
Can sublimated magnets damage appliance surfaces or paint?
Flexible sublimation magnets with smooth backing surfaces won’t scratch refrigerator enamel or damage painted surfaces during normal use. Trapped moisture between magnet and surface can cause issues over time—remove and clean periodically. Never place magnets on freshly painted surfaces before full curing completes. Avoid magnets on vehicle paint during extreme heat which may cause adhesion issues with clear coat finishes.
Can you reuse a magnet if the original sublimation print is ruined?
Sublimation creates permanent molecular bonds with polymer coating—ruined prints cannot be removed or replaced on the same surface. The coating accepts dye only once during initial pressing. Attempting re-sublimation over existing designs produces muddy, unusable results. Ruined magnets must be discarded; the magnetic backing cannot be economically separated and recoated for second attempts at home production scale.
References
- Introduction. (2020, August 11). Physics LibreTexts. https://phys.libretexts.org/Bookshelves/Electricity_and_Magnetism/Supplemental_Modules_(Electricity_and_Magnetism)/Magnetism/Introduction_to_Magnetism/Introduction
- Grainger Engineering Office of Marketing and Communications. (n.d.). Heating magnet. Physics Van | Illinois. https://van.physics.illinois.edu/ask/listing/2744?utm_