Are you dreaming of vibrant, colorful sublimation license plates for your vehicle? Look no further! Sublimation license plates offer a way to express your individuality or brand while on the road. If you’re ready to dive into DIY custom plates, this guide provides the essentials to start: selecting materials, designing your plate, and executing the sublimation process. Gain the know-how to create a standout license plate with personality. Enjoy the drive!
Key Takeaways
- High-quality materials like premium sublimation blanks, specific inks, and the right paper are crucial for a successful custom license plate sublimation.
- Your personalized design can feature anything from team logos to pet nods, and you’ll need design software like Photoshop, GIMP, or Inkscape to create it.[1]
- Amazon is a one-stop-shop for sublimation supplies and accessories, and customer reviews are key in choosing the best materials for your project.
Choosing the Right Materials for Your Sublimation License Plate
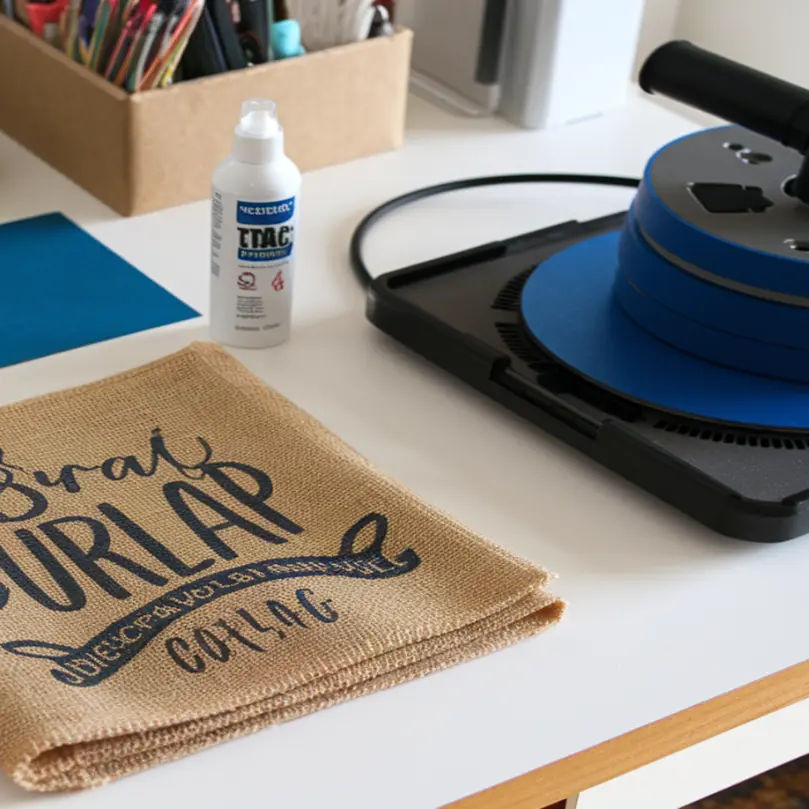
Choosing the right materials is the initial move you need to take when you start your sublimation journey. Just like a master chef carefully selects the freshest ingredients, you need high-quality sublimation blanks, brand-specific inks, and the right sublimation paper to cook up an eye-catching personalized license plate.
Delving into the specifics will guarantee a successful sublimation project.
Selecting the Best Sublimation Blanks
Let’s start with the base of your masterpiece – the sublimation blank. Since this will be the canvas for your design, its quality is of utmost importance. A high-quality blank with a white finish is your best bet for a glossy and durable custom design. Remember, not all blanks are created equal. Lower quality options might save you a few bucks, but they can lead to a host of issues like paper sticking, prints fading quickly in sunlight, and overall poor print quality. For example, sublimation paper getting stuck to tumblers is an issue sublimation hobbyists might face.
So, where do you find these top-notch blanks? Coastal Business is a renowned provider known for its white semi-gloss aluminum license plate frames, perfectly suited for sublimation printing. Their product dimensions of 6.46” x 12.21” and a thickness of 0.030” are designed to fit standard license plates, promising a durable finish that can withstand daily wear and tear.
Finding Quality Sublimation Paper
Moving on to the sublimation paper, it serves as the medium that transfers your exquisite design onto the blank. The size of the paper should be large enough to cover the entire license plate, typically 8 1/2 x 14 inches. While a standard paper will work for most projects, if you’re aiming for a design with rich, vibrant colors, you might want to consider a heavier saturation paper.
⫸ Click Here For Best Selling Sublimation Printers And Products ⫷Now, you might be wondering where to source this paper. Look no further than Johnson Plastics Plus. They offer a range of high-quality sublimation supplies, including ink and compatible paper, for brands like Epson and Sawgrass.
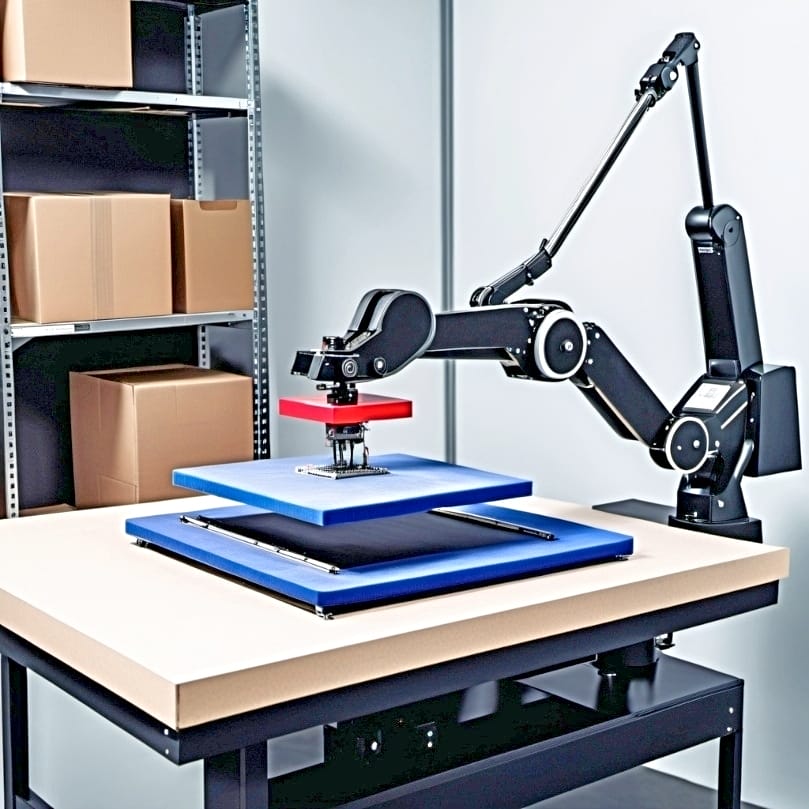
The Heat Press Essentials
Now, to set the stage for the sublimation magic, let’s discuss the heat press. This fabulous machine uses heat and pressure to transfer your design from the sublimation paper onto the blank. The secret to achieving quality sublimation on license plates is setting the heat press to 375 degrees Fahrenheit. Don’t be heavy-handed, though. Applying light pressure is more than enough to ensure a successful transfer.
As for the duration, you’ll want to press your license plate in the heat press for approximately 65 seconds. Trust us, patience is key here. These settings will ensure a crisp transfer, leaving you with a stunning license plate that’s ready to hit the road!
Crafting Your Personalized License Plate Design
With the materials covered, it’s time for the exciting part – creating your personalized license plate design! This is where you can let your creativity shine. Whether it’s a testament to your favorite sports team, a nod to a beloved pet, or a proud display of your business logo, your design is a unique canvas to express your personality or even create a fantastic gift for someone special.
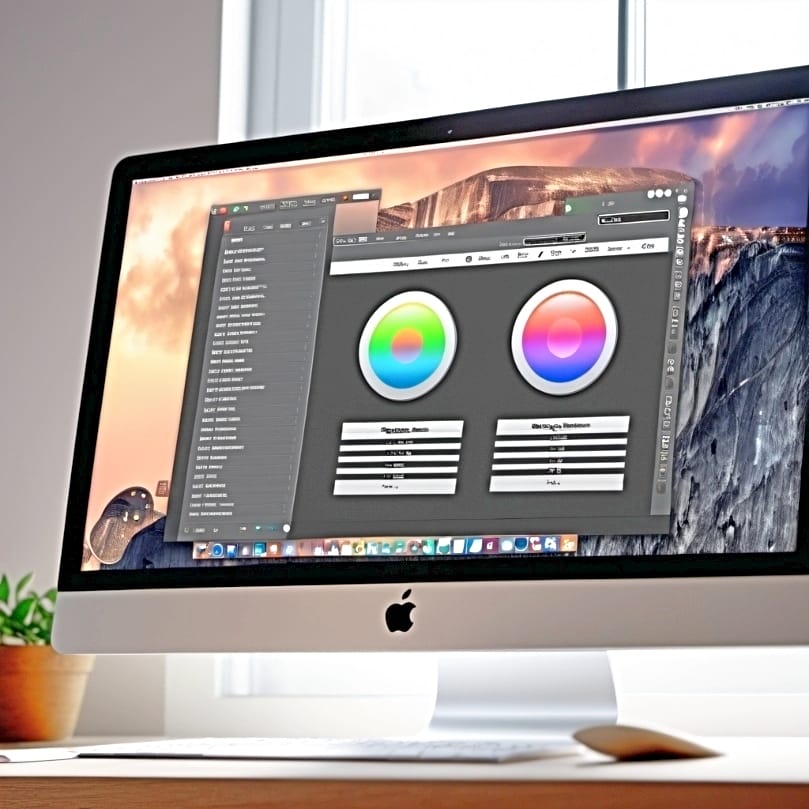
Design Software and Settings
To begin with, you’ll need a suitable design software. We’re not talking about anything too complex here. There are a variety of options out there, from Adobe Photoshop and Illustrator for the more tech-savvy, to user-friendly tools like Printful’s Design Maker and Canva for beginners.
The beauty of these software options is that they cater to different skill levels and budgets. Here are some options to consider:
- Adobe Photoshop: Professional design software starting at $20.99/mo
- GIMP: Free software option for those on a budget
- Inkscape: Another free software option Each software option offers unique features, from advanced editing capabilities to simple interfaces and templates.
Select the one that suits your needs and immerse yourself in the captivating realm of design with our curated links![2]
Incorporating Personal Elements

Once your software is set up, it’s the perfect time to sign your license plate. This can be as simple as adding your name or initials, or as creative as personal mantras or quotes that speak to your identity or beliefs. Take into account the character limit on the plate when choosing your design.
But why stop there? Think about your interests. Maybe you’re a basketball enthusiast, a Marvel comics fan, or an avid gardener. Incorporating these elements into your design can make your license plate more personal and relatable. You can also play around with custom fonts and personal photos for a design that stands apart from standard issue plates. You can also read our related resource on slate sublimation and creation of custom photo panels.
And if you’re a fan of humor, incorporating wordplay or visual puns can make for a memorable impression. Remember, this is your license plate, so make it uniquely you!
Preparing for the Sublimation Process
Once you have your materials and design in place, you’re prepared for the sublimation process. This crucial pre-sublimation stage involves cleaning your license plate and aligning your design correctly.
We’ll go through these steps to make sure your custom license plate comes out exactly as you imagined.
Cleaning the Substrate
Before we jump into the heat press action, let’s make sure your license plate is prepped and ready. First, peel off the protective film that is used to protect the license plate’s finish during shipping. Leaving this film on could interfere with the sublimation process and affect the quality of the final product.
Next, give your license plate a good clean. Use a lint roller to go over the entire top surface to ensure that no debris affects the quality of the sublimation. It’s a small step, but it plays a big role in ensuring a smooth and clean transfer of your design.[3]
Aligning Your Design
With a clean license plate, the next step is to position your design. Here’s how:
- Place the sublimation print on a flat surface with the ink side up.
- Position the license plate over it with the sublimation side down, ensuring the design covers the entire plate.
- To ensure precision in design placement, use a ruler or measuring tape to center your design on the license plate.
Once you’re happy with the placement, secure the license plate to the sublimation paper using heat-resistant tape at the four corners. This will prevent any movement during the sublimation process and ensure a perfect transfer of your design onto the license plate.
Executing the Sublimation Transfer
You’ve reached the core of the process – the sublimation transfer! This is where the magic happens, and your design comes to life on your license plate. We’ll delve into the specifics of setting up your heat press and carrying out the sublimation process for optimal results.
Setting Up Your Heat Press
Before you start, ensure your heat press is preheated to 385 degrees Fahrenheit. This optimal temperature, coupled with a specific duration of 120 seconds, is the key to achieving the best results on your license plate. Also, remember to apply medium pressure on the heat press. Too much force can distort your design, while too little might result in an incomplete transfer.
Now, let’s load up the heat press. Start with the following layering order:
- Nomex pad on the bottom
- Sheet of protective paper
- License plate facing up, with the sublimation print on top
- Another sheet of protective paper on top
This coating layering order will prevent any heat marks or press lines from appearing on your final product.
The Sublimation Process
With everything set up correctly, it’s time to initiate the sublimation process. Here’s how:
- Position your secured license plate and sublimation print in the heat press.
- Cover it with a Teflon sheet.
- Apply heat for 40 seconds with minimal pressure.
- Patience is key here. Let the heat press do its magic!
Once the time is up, follow these steps to complete the process:
- Remove the license plate from the heat press using heat-resistant gloves.
- Place the license plate on a heat-resistant mat to cool down safely.
- After it’s cooled down completely, carefully peel away the sublimation paper from the cooled license plate to reveal your design.
- And voilà! Your custom license plate is ready to hit the road!
Aftercare and Mounting Tips
Congratulations! You’ve successfully completed the sublimation process. However, there’s still more to do. There are a few aftercare steps and mounting tips to ensure your license plate is ready for the outdoors and securely attached to your vehicle.
Let’s join together and proceed to finish this up!
Cooling and Peeling
First off, let your license plate cool down completely. This ensures that the design sets properly without smudging. Remember, safety first – wait until the license plate is completely cool to the touch before handling to avoid the risk of burns.
Once it’s safe to handle, it’s time for the big reveal. Carefully peel away the sublimation paper from the cooled license plate to reveal your transferred design. There’s nothing quite like the thrill of seeing your design come to life on the finished product.
Mounting Your License Plate
Now, let’s get your custom license plate ready for the road. Here’s how:
- Align the license plate with your vehicle’s mounting area.
- Use the existing holes to attach the plate with screws or bolts.
- But remember, don’t overtighten them to prevent any damage to your newly minted license plate.
To add extra support and enhance its appearance, consider using a license plate frame. And if your local regulations require it, make sure to install a clear protective cover over the license plate before mounting to ensure compliance and additional protection.
Sublimation License Plate Ideas Design
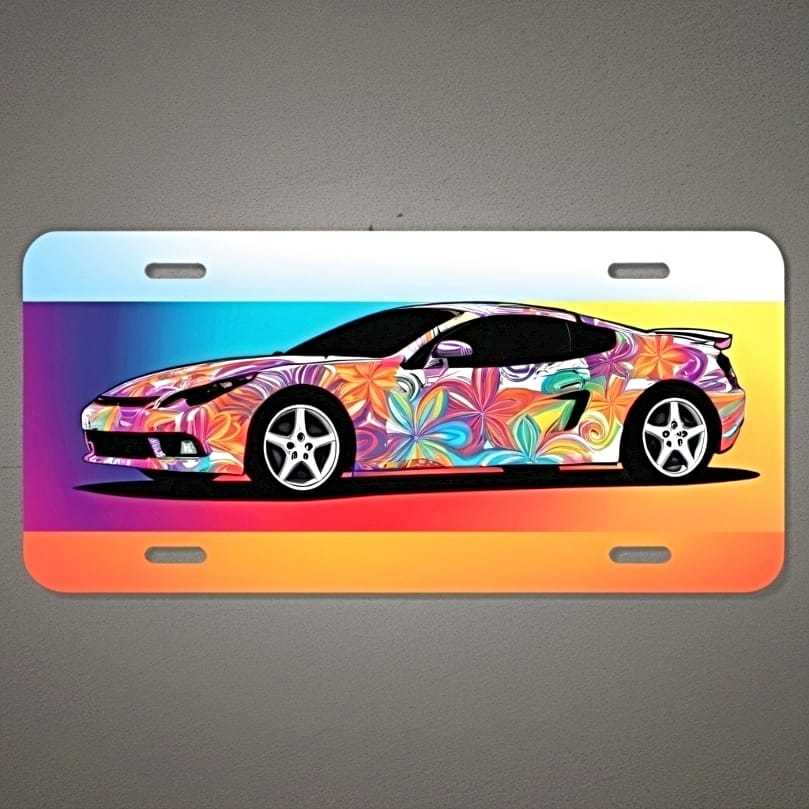
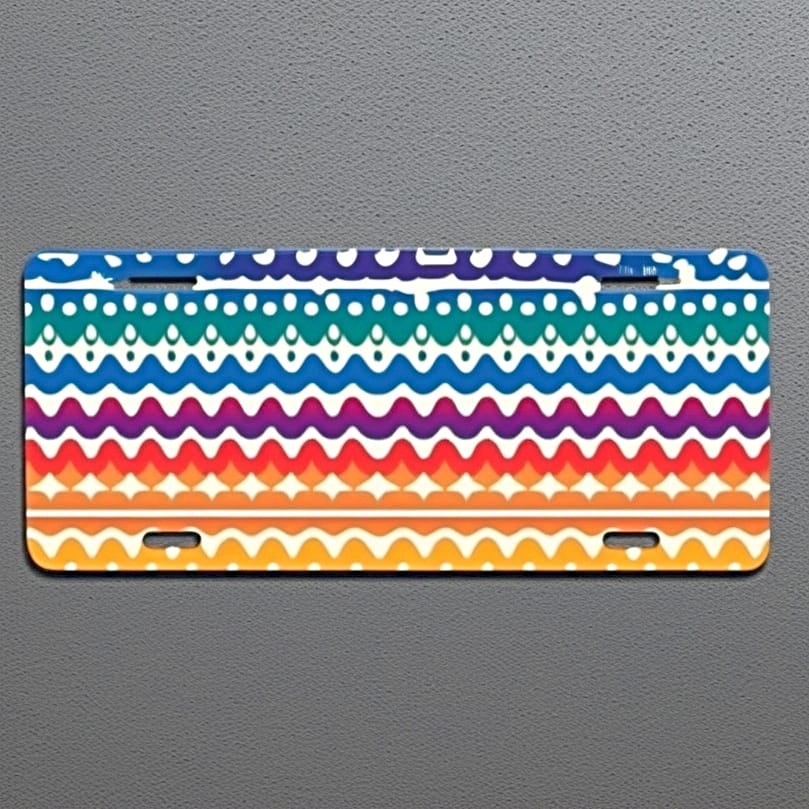
Some popular sublimation license plate ideas include creating personalized plates with names or initials, incorporating favorite quotes or slogans, or designing plates with geometric patterns. Additionally, nature-inspired themes, such as landscapes or floral designs, are always a popular choice for those looking to add a touch of beauty to their vehicles.
When considering license plate ideas for sublimation, there are numerous resources and creative options available to help you design a standout plate. Websites like Etsy, Creative Fabrica and Pinterest are excellent starting points for inspiration. Etsy offers a wide range of downloadable designs, including themes which can easily be adapted to your taste. Pinterest, on the other hand, provides a vast collection of boards dedicated to sublimation, where you can explore unique and trending designs ranging from minimalist styles to elaborate patterns.
Where to Find Supplies and Accessories
At this point, you’re proficient in creating a custom sublimation license plate. But where can you find all the materials and accessories needed for your project? The answer is simple: Amazon.
Let’s see how this platform can be your comprehensive source for all sublimation needs.
Purchasing Sublimation Supplies
Amazon is a treasure trove of sublimation supplies. Here are some reasons why you should consider shopping on Amazon for your sublimation needs:
- You can find a variety of options from different sellers, including sublimation blanks and papers.
- Many items are available for immediate shipment, so you can start your projects right away.
- You can take advantage of discounts and coupons often available on the platform.
But remember, not all supplies are created equal. That’s where customer reviews come in handy. They are an essential tool for assessing the quality and suitability of products based on prior customers’ experiences. So, before making a purchase, make sure to check the star ratings, past purchase volumes, and delivery dates provided by Amazon.
Accessorizing Your Plate
Once you’ve got your sublimation supplies, the next step is to accessorize your license plate. A frame can add support to your plate, enhance its appearance, and protect the plate’s edges. When choosing a frame, select one that’s both aesthetically pleasing and made from materials that can withstand environmental conditions, such as sturdy plastics or metals.
Also, ensure that the chosen mounting hardware, screws, and bolts are compatible with both the license plate frame and your vehicle’s mounting points. And remember, the accessories should complement the design elements of your plate, such as color-matched frames and decorative bolts.
Summary

Congratulations! You’re now equipped with all the knowledge you need to create your own personalized license plate through the process of sublimation. From selecting the right materials and crafting your unique design, to executing the sublimation process and mounting your masterpiece, you’ve navigated each step like a pro. So, what are you waiting for? It’s time to hit the road in style with your new custom license plate! Completed your journey on sublimation license plates? How about you now think of creating beautiful sublimation decals for your car!
Frequently Asked Questions
What temperature do you press sublimation license plates?
Press your sublimation license plates at a temperature of 400°F (204°C) for 80 seconds using medium pressure on a flat press. Make sure to remove the protective film before starting the process.
Can I sublimate on any plate?
You can sublimate on ceramic plates specifically coated with a poly-coating labeled for “sublimation.” Make sure to use the correct sublimation ink and a heat press to embed the design.
How long do you press sublimation license plate?
To press a sublimation license plate, set the heat press to 400 degrees for 1 to 1:15 seconds and use light to medium pressure. Alternatively, you can set the temperature to 180°C and press for 60-120 seconds.
How do you sublimate a metal license plate?
To sublimate a metal license plate, tape it to your paper and use a heat press with a Nomex pad or sublimation felt on the bottom, protective paper, and the license plate on top. Then flip it over with the sublimation print on the top.
What is sublimation?
Sublimation is a process that uses heat and pressure to transfer a design onto a blank, like a license plate. So, in short, it’s a way of transferring designs.
References
- CorelDRAW Graphics Suite | Free Trial. (n.d.). https://www.coreldraw.com/en/tips/sublimation/software/
- Adhikary, S. (2021, June 3). Best graphic design Software for Beginners. https://www.linkedin.com/pulse/best-graphic-design-software-beginners-subhasish-adhikary/
- Wikipedia contributors. (2024c, January 23). Lint remover. Wikipedia. https://en.wikipedia.org/wiki/Lint_remover