Are you sublimation hobbyists eager to elevate your drinkware with vibrant, custom designs? Sublimation wine glasses with stem offer a sophisticated canvas for personal creativity or bespoke gifts. This no-nonsense article will demonstrate the ins and outs of how to select, prepare, and personalize stem wine glasses using the method of sublimation—a technique where ink becomes part of the glass surface, resulting in vivid, permanent designs. Whether you’re a DIY enthusiast, starting out as a sublimation beginner or crafting for business, you’ll learn to master this elegant art form, step by seamless step. Happy sublimation!
Key Takeaways
- Choose coated, heat-resistant wine glasses for successful sublimation, and know you can sublimate a variety of glass items like mugs and cutting boards too. You can also create sublimation designs on beer can glass.
- Prep is key: Clean the glass with a mix of distilled water and isopropyl alcohol and apply a polymer sublimation coating to ensure your design transfers well.
- Get creative with your designs, use high-quality sublimation paper and a printer, and carefully transfer the image with heat press or oven methods. Remember to give care instructions for long-lasting enjoyment.
Choosing the Perfect Wine Glasses for Sublimation
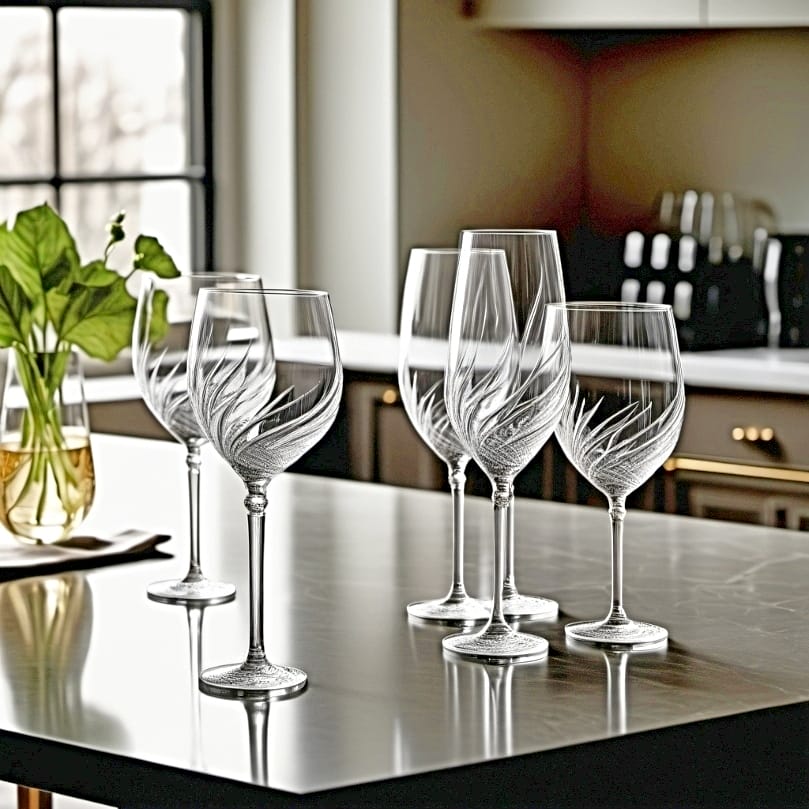
First things first, you need the right canvas for your art – in this case, the perfect wine glasses. Not all glasses are equally suitable for sublimation, thus choosing the right ones is crucial. You need to look for heat-resistant glass to ensure the glass does not break under the high temperatures required for the sublimation process.
You should ideally select coated wine glasses that are specifically designed for sublimation. These already have the right coating and can withstand the high heat needed for sublimation. While we’re focusing on wine glasses here, it’s good to know that the world of sublimation is not limited to these alone. You can also sublimate designs onto:
- drinking glasses
- mugs
- shot glasses
- glass frames
- cutting boards
The sky’s the limit! But if you are still wondering what items cannot be sublimated, I have a separate article covering that topic! Wondering about what 3D sublimation techniques can be used? I got you covered there too!
Preparing Your Wine Glasses for Sublimation
Before we embark on the thrilling journey of design creation, correct preparation of your wine glasses is of utmost importance. Proper preparation not only ensures the success of your sublimation project but also guarantees your safety. Always start by ensuring proper ventilation in your workspace by opening windows and utilizing fans to mitigate the inhalation of potentially harmful fumes.
⫸ Click Here For Best Selling Sublimation Printers And Products ⫷Now, let’s get into the nitty-gritty of prepping your wine glasses.
Cleaning the Glass Surface
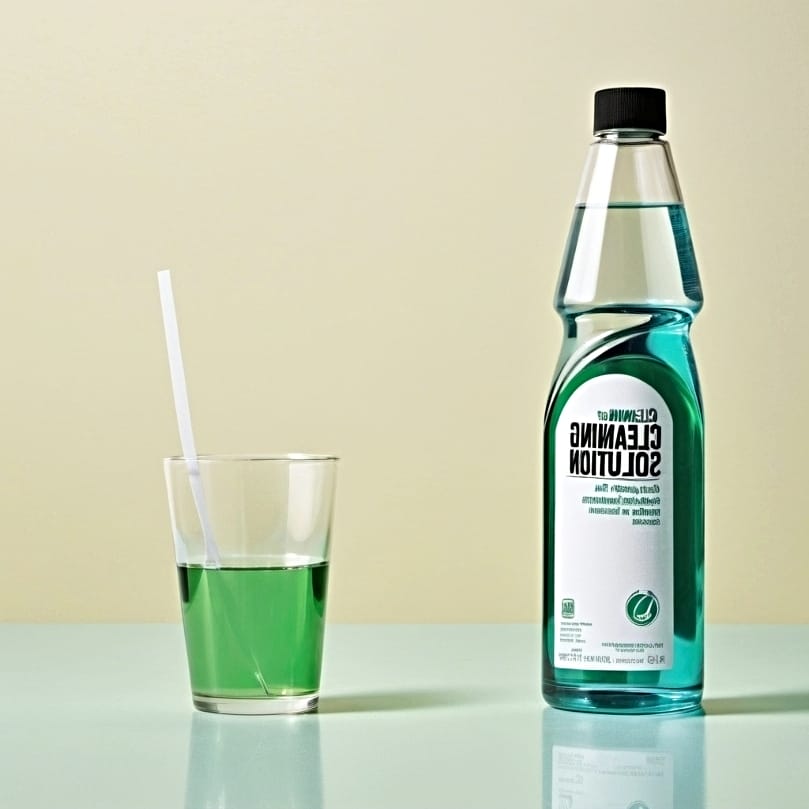
The sublimation process begins with the crucial step of cleaning the glass surface. And we’re not just talking about a quick rinse under the tap. For an effective cleaning solution, mix distilled water and isopropyl alcohol in a spray bottle in equal parts. Spritz this onto your wine glass and wipe it down with a microfiber cloth. This ensures that you won’t leave any fibers or residue on the surface.[1]
Remember, cleanliness is key to a successful sublimation print. So, don a pair of gloves while cleaning the wine glasses to prevent leaving fingerprints or additional oils on the surface. After all, we wouldn’t want anything to come between your beautiful design and the glass surface, would we?
Applying a Polymer Sublimation Coating
With the wine glass spotlessly clean, the next step is to apply a polymer sublimation coating. This coating is like the bridge between the glass and your design, allowing the sublimation process to take place. You can use transparent permanent vinyl, clear laminating pouches, or clear poly-acrylic spray as a polymer sublimation coating on regular glass, making sure it’s suitable for sublimation and heat-resistant.[2]
To prepare the glass surface for image transfer, follow these steps:
- Apply the coating to the back of the glass surface. Make sure to apply it evenly to prevent any issues during the image transfer process.
- Let the coating dry completely. Some coatings may require curing in an oven at a specific temperature before starting the sublimation process.
- Patience is key here; you can’t rush perfection! Make sure the coating is fully dry and cured before proceeding with the image transfer.
Creating Personalized Designs for Your Wine Glasses
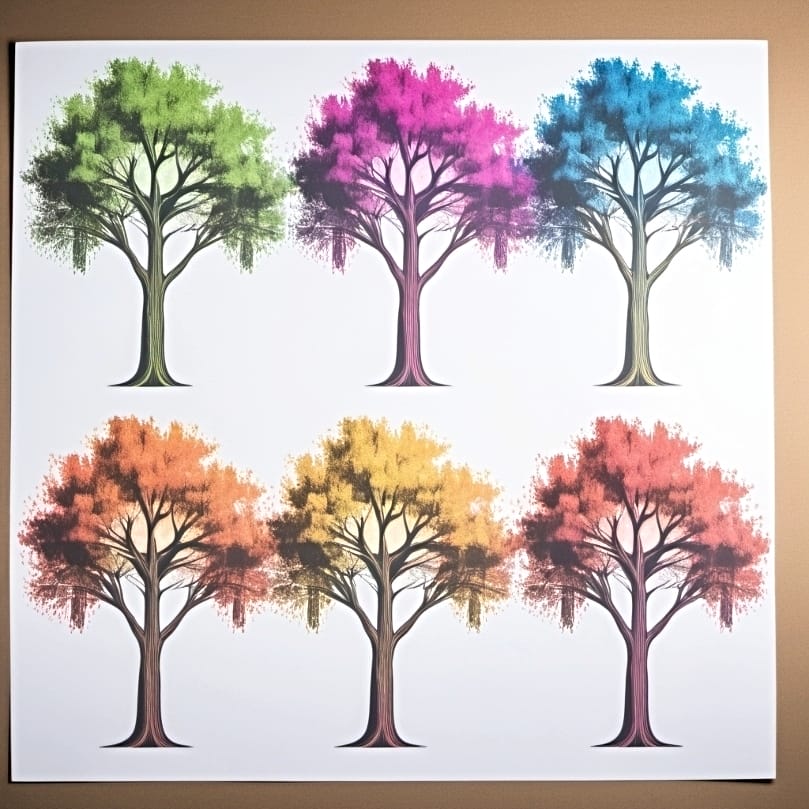
We have now arrived at the most creative stage of the process – designing. The beauty of sublimation lies in the ability to create designs that reflect your personality or that of the intended recipient. Consider creating themed designs that align with holidays to add a festive touch to your stemmed wine glasses or sublimation tumblers.
But who said you need a holiday to enjoy a personalized wine glass? Creating personalized gifts, such as custom monograms or initials, can be sublimated onto wine glasses and wine tumblers to create personalized barware for individuals or couples. Or consider a series of wine glasses featuring quotes or sayings related to celebration, catering to different personalities and occasions, making them perfect personalized gifts.
If you’re an artist at heart, incorporating hand-drawn illustrations or watercolor-style designs into sublimation printing can give your wine glasses an artistic and unique flair. Let your creativity flow as freely as the drinks in these glasses!
Printing Your Sublimation Image
With your design ready, the time has come to animate it. The first step is to print your design using a dedicated sublimation printer or a converted inkjet printer with special sublimation ink and good-quality sublimation paper. Remember, sublimation paper is thicker than copy paper, so load only one or two sheets at a time into the rear feed of the printer.
Proceed by editing and resizing your designs using graphic design software, making sure your final image boasts a 300dpi resolution for crisp prints. When setting your printer settings, follow these steps:
- Select the correct paper size.
- Set the paper type as Premium Presentation Matte.
- Uncheck the high-speed or bidirectional printing options for a better quality print.
Before hitting that print button, don’t forget to mirror your design. This ensures it will be correctly oriented upon transfer. Also, consider performing a test print on regular copy paper to check for sizing and common mistakes. After all, it’s always better to be safe than sorry!
Transferring Your Design to the Wine Glasses

Armed with your printed design, you’re now ready to transfer it onto your wine glass. But how do we ensure that the design sticks to the glass and doesn’t end up all crumpled? Well, we have two tried-and-tested methods for this – the heat press method and the oven method. While these methods are commonly used for wine glasses, a mug press can also be utilized for transferring designs onto mugs.
Let’s explore each of these methods.
Heat Press Method
The heat press method is a popular way of transferring sublimation designs onto a wine glass. Here’s how to do it:
- Secure the reversed printed image to the wine glass using thermal tape.
- Set your heat press temperature to 360 degrees Fahrenheit and the time to 55 seconds.
- To protect the heat press from the laminate and prevent unwanted ink transfer, cover the glass with a sheet of butcher paper.
After pressing, promptly remove the sublimation paper immediately. Check a corner of the image to ensure the transfer is perfect. If the whole image is removed before confirming it is perfect, it may be challenging to realign it for another press. Remember, the wine glass will be hot, so use heat-resistant gloves when handling it and let it cool on a heat-safe surface.
Oven Method
If you prefer using an oven for the sublimation process, we’ve got you covered too. Firstly, preheat your oven to 400 degrees Fahrenheit. Next, use a heat shrink bag or silicone wrap to tightly encase the wine glass with the sublimation print against it, ensuring the design is securely adhered to the surface.
To create beautiful sublimation wine glasses, follow these BPA free oven instructions:
- Preheat the oven.
- Wrap the design around the wine glass using shrinking wrap or silicone at your designated silicone wrap place.
- Place the wrapped glass in the preheated oven and bake for approximately 12-15 minutes. This allows the design to transfer onto the glass.
- After baking, carefully remove the wine glass from the oven, promptly remove the shrinking wrap or silicone and the sublimation paper.
- Allow the glass to cool completely before handling further.
Remember, patience is a virtue, especially when you’re creating beautiful sublimation wine glasses with a stainless steel inner tank to keep your beverages cool!
Finishing Touches and Care Instructions
Having mastered the art of sublimating wine glasses, it becomes necessary to educate your customers (or gift recipients) about the appropriate handling and care of these exquisite creations. Sublimated wine glasses can generally be washed on a normal dishwasher cycle, but users should avoid using high-heat or sanitize settings as these can harm the sublimation. Improper care, such as incorrect washing settings, can ruin sublimated items, so clear handling instructions are key.
One effective way to communicate these instructions is through printable sublimation care tags. This ensures that the user has a constant reminder of how to care for their new favorite wine glass. After all, we want everyone to enjoy their sublimated wine glasses for as long as possible!
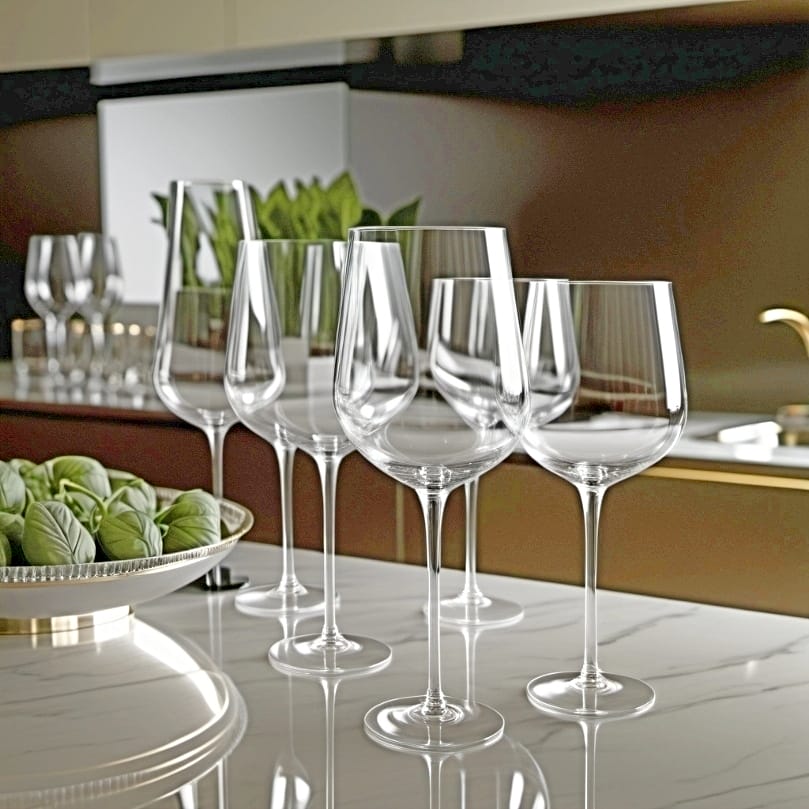
Showcasing Your Sublimated Wine Glasses
Bravo! You have successfully crafted a stunning collection of sublimated wine glasses. But how do you showcase these beauties? Well, one way is to engrave personalized sublimation wine glasses with names and give them as unique gifts during ladies’ nights, weddings, or as hostess gifts. You could also use them as a place setting and a personal thank-you to guests on special occasions for an elegant touch.
If you want to display your work, showcase the sublimated wine glasses on an easel, or hang them on a window or door to let light shine through and highlight the design. Or, for a thoughtful gift, present the sublimated wine glasses in a basket along with a bottle of wine, a corkscrew, and a wine stopper. After all, a beautiful creation deserves a beautiful presentation, doesn’t it?
Summary
And there you have it – a comprehensive guide to mastering sublimation on wine glasses. We’ve explored every step of the process, from choosing the right wine glasses and preparing them for sublimation, to creating personalized designs and transferring these designs using the heat press or oven method. We’ve also discussed the importance of providing clear care instructions to keep these beautiful creations in their best condition. Looking for other items to sublimate on – make sure to read our article discussing water bottle sublimation.
Sublimating wine glasses is not just a craft; it’s an art that allows you to express your creativity while creating functional, personalized pieces. Whether you’re planning to start a business, give a personalized gift, or simply want to add a unique touch to your home bar, mastering sublimation on wine glasses can open up a world of possibilities. So why wait? Grab a wine glass and let’s start creating! And remember – there are other projects you can do that involve the use of glass blanks for sublimation!
Frequently Asked Questions
Should wine glasses have a stem?
Yes, wine glasses should have a stem because it helps maintain the temperature of the wine by preventing the transfer of body heat from your hand to the glass. Hold the glass by the stem, not the bowl, to keep the wine at the right temperature.
How long does it take to sublimation wine tumbler?
It takes about 80-100 seconds to sublimate a wine tumbler, but if you’re printing a design that wraps around the tumbler, you’ll need to rotate the tumbler and press for another 80-100 seconds. Make sure to remove it immediately and peel it while it’s still hot.
Can a mug press do wine glasses?
No, a mug press is not ideal for wine glasses. It is usually recommended to sublimate wine glasses in a convection oven for the best results.
What type of wine glasses should I choose for sublimation?
Choose heat-resistant and coated wine glasses specifically designed for sublimation, as they can withstand the high heat required for the process and have the right coating already applied. This ensures a successful sublimation process without any damage to the glasses.
How do I clean the wine glass before sublimation?
Just mix distilled water and isopropyl alcohol in a spray bottle, then wipe the glass with a microfiber cloth to ensure it’s clean and residue-free. Cheers!
References
- Admin. (2022a, July 19). Isopropyl alcohol (C3H8O) – Structure, Molecular Mass, Properties & Uses. BYJUS. https://byjus.com/chemistry/isopropyl-alcohol/
- Wikipedia contributors. (2023e, November 5). Pouch laminator. Wikipedia. https://en.wikipedia.org/wiki/Pouch_laminator#:~:text=The%20inside%20of%20the%20lamination,the%20print%20to%20the%20substrate.