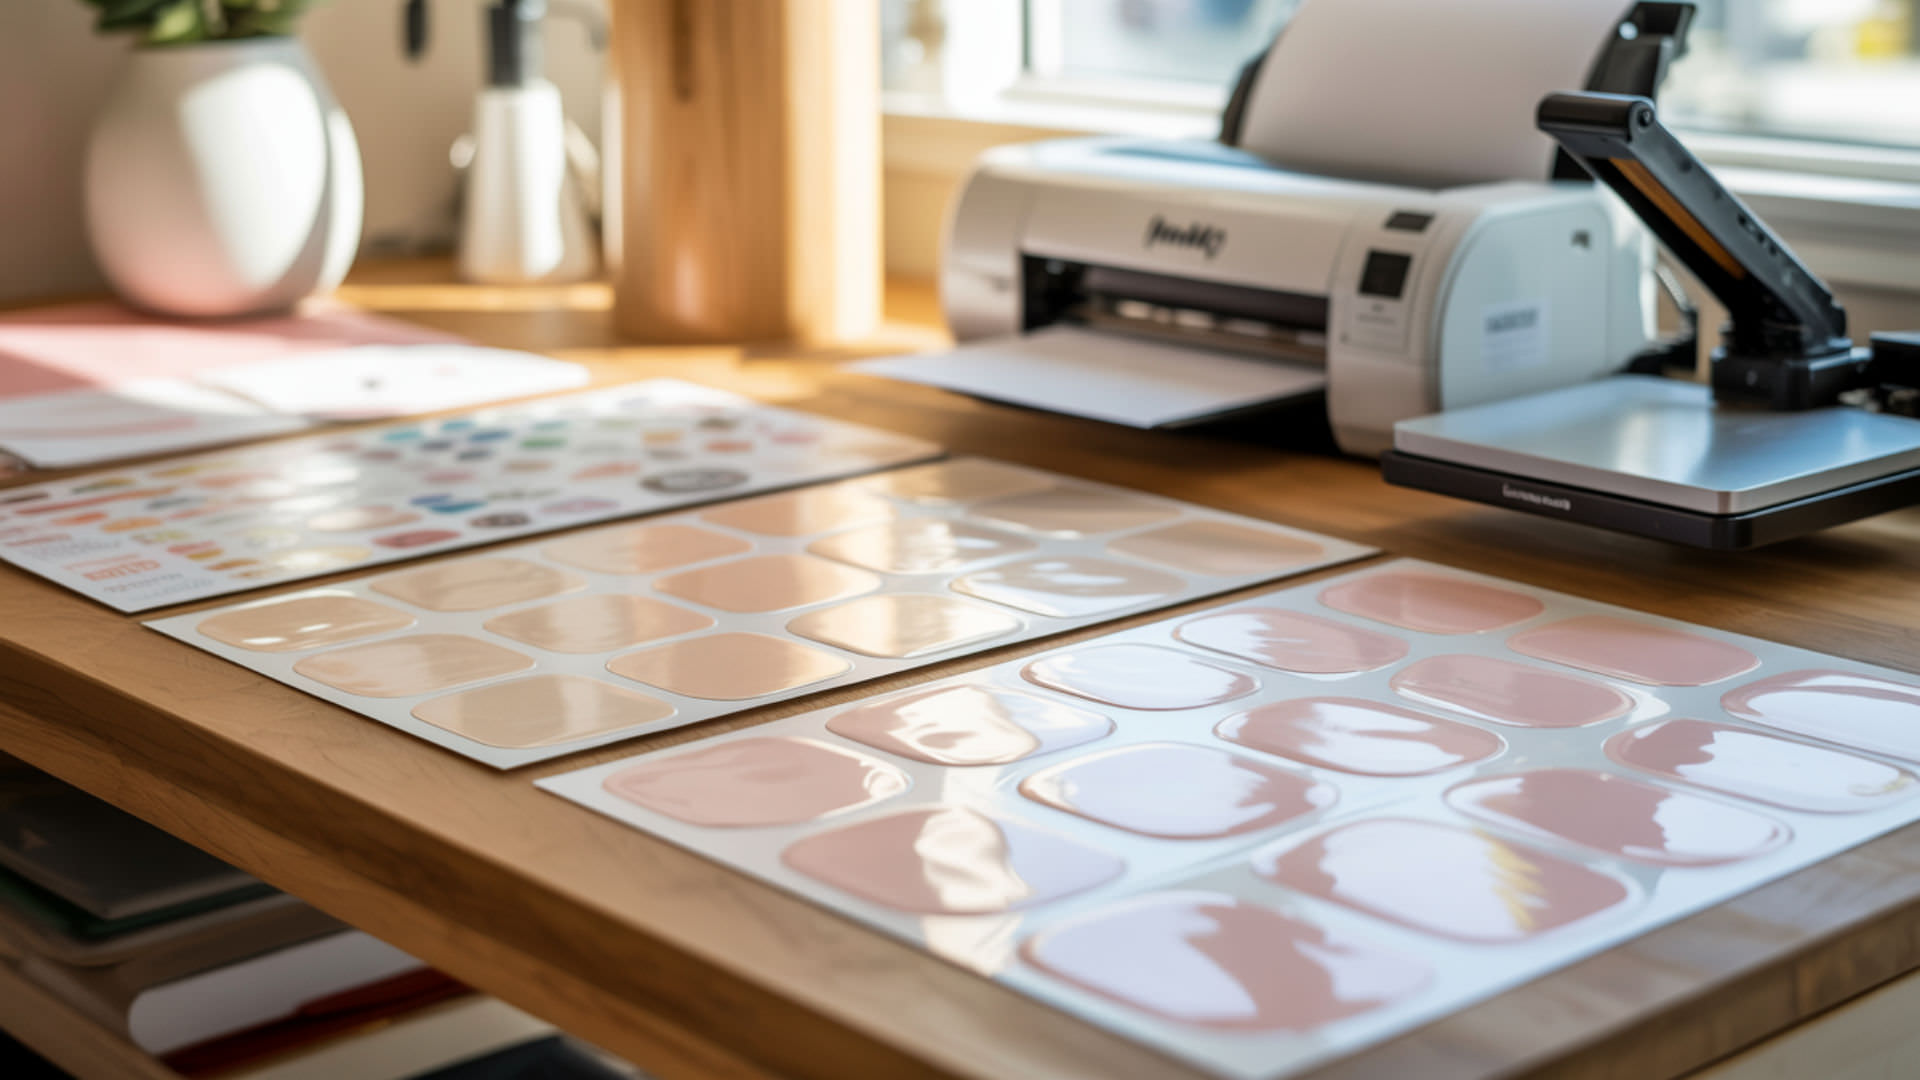
Sublimation on mugs transforms plain ceramic drinkware into vibrant, personalized products using heat-activated sublimation ink that bonds permanently with polymer coating. Ceramic material alone cannot accept sublimation dye—the surface requires specialized factory-applied coating that provides polyester chains for ink bonding. Understanding coating requirements prevents wasted materials and ensures every mug transfer succeeds. The role of polymer coating unifies all drinkware sublimation projects and determines compatibility across different cup materials.
Key Takeaways
- Sublimate ceramic mugs at 380–400°F (193–204°C) for 180–240 seconds with medium-to-firm pressure—temperature activates sublimation dye for proper transfer into the polymer coating.
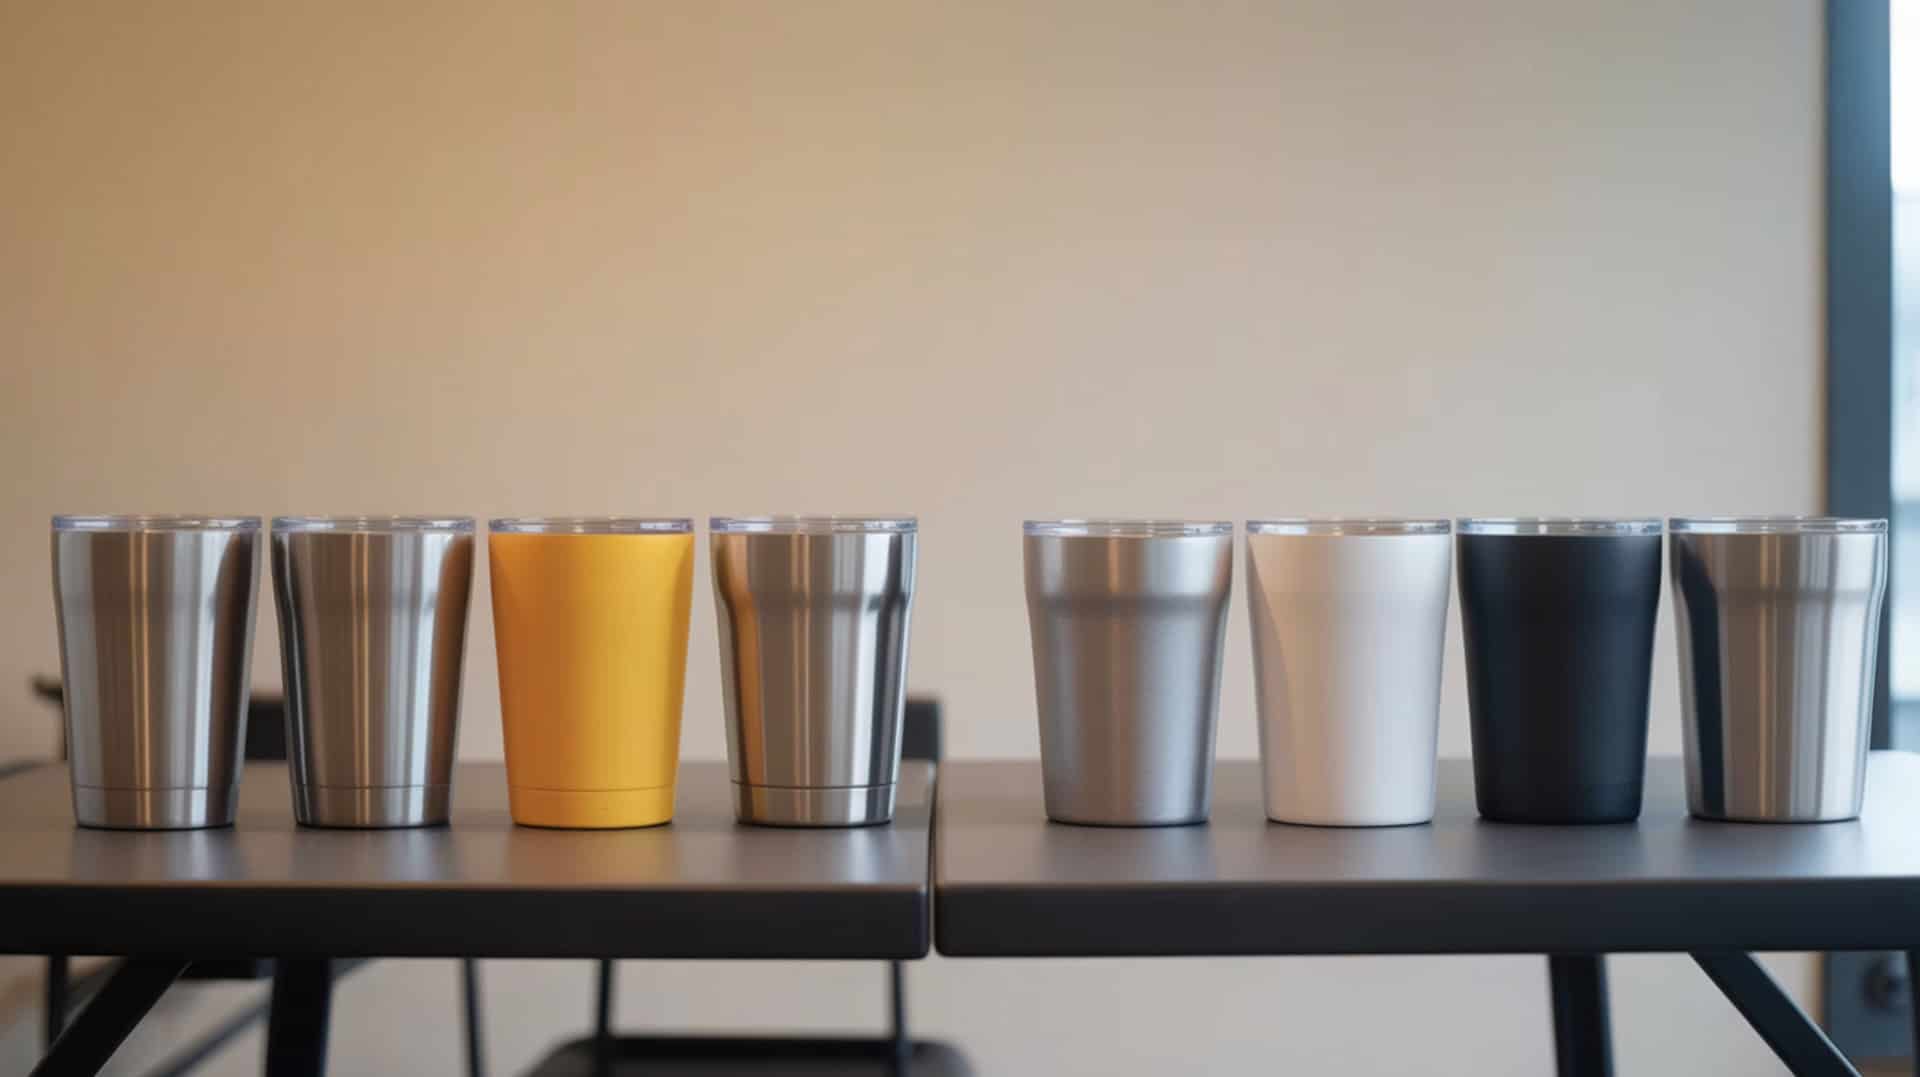
- Only polymer-coated mugs work for sublimation; regular ceramic mugs from department stores lack the coating needed for ink bonding and produce unusable results.
- Mug presses provide even heat distribution around curved surfaces, while convection ovens require silicone wraps and longer times (12–15 minutes) to achieve comparable results.
Can you sublimate on regular mugs and cups?
Regular mugs cannot accept sublimation transfers because they lack the polymer coating required for ink bonding. Plain ceramic exhibits high porosity that absorbs moisture rather than holding dye on the surface for transfer. Attempting sublimation on uncoated mugs produces faded, blurry designs that wipe away or wash off immediately. Purchase mugs specifically labeled as “sublimation-ready” or “sublimation blanks” with factory-applied poly-coating. Porous materials contain interconnected void spaces that readily absorb liquids rather than holding substances on the surface. [1]
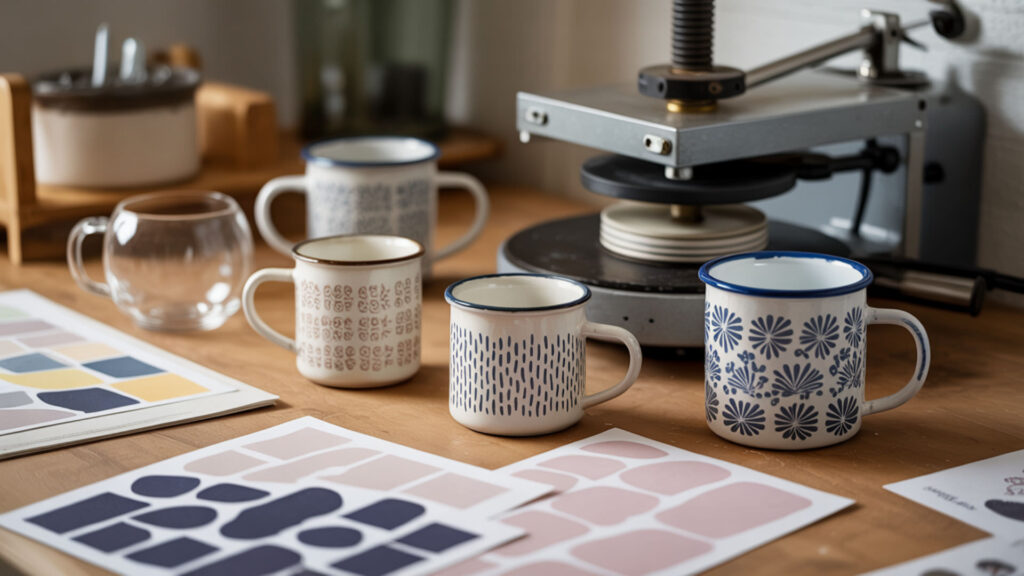
What types of mugs are best for sublimation printing?
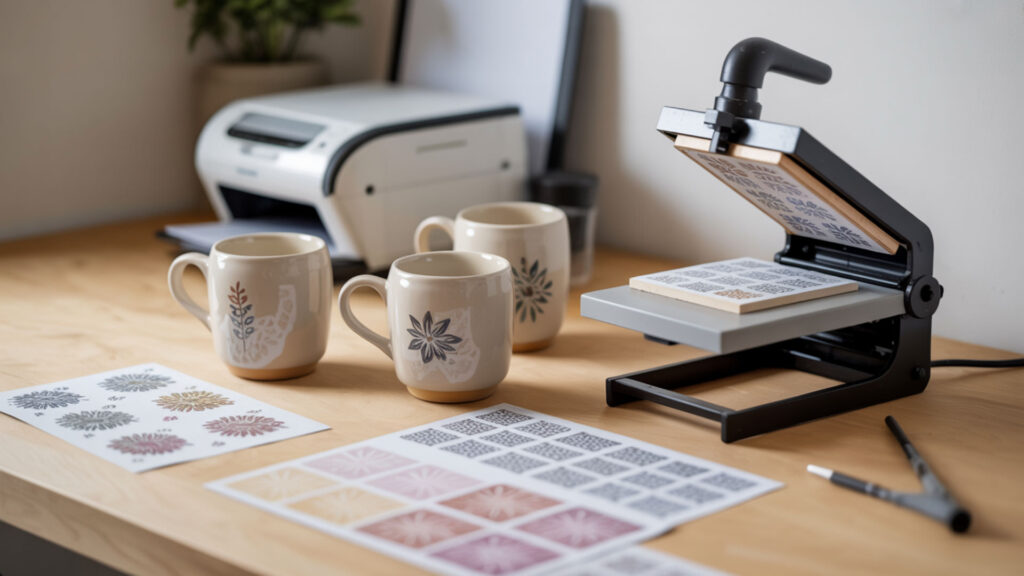
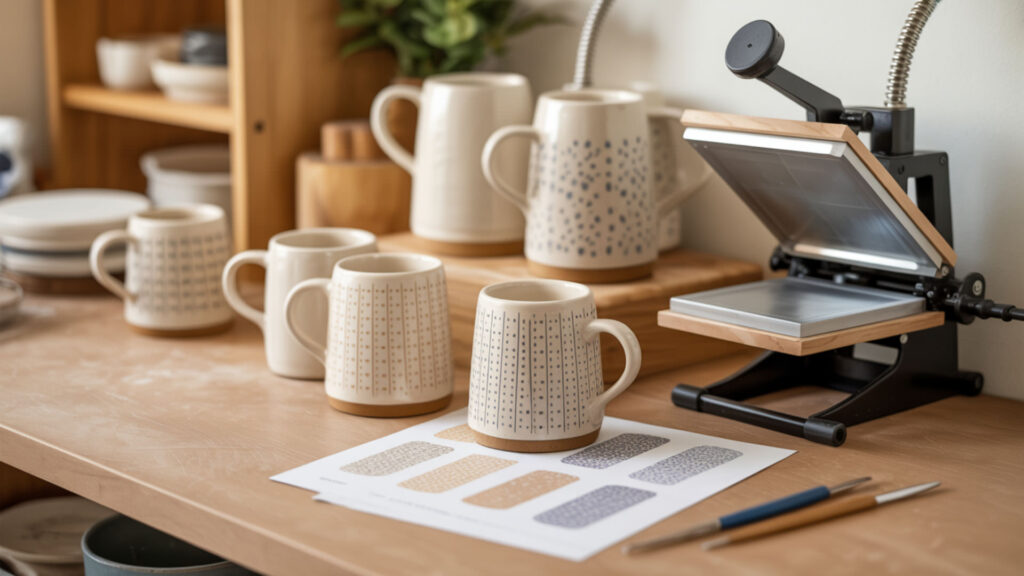
Sublimation-coated ceramic mugs in 11oz and 15oz sizes provide the best results with consistent coating thickness and surface smoothness that produces sharper prints. White mugs display the most vibrant colors since sublimation ink is transparent and relies on the base color. Color-changing mugs offer novelty appeal but require adjusted settings (360–380°F for 80–90 seconds). Both mugs and coasters depend on surface smoothness and proper coating to ensure sharp, detailed sublimation results.
Can you sublimate on any cup or drinkware surface?
Only polymer-coated drinkware accepts sublimation transfers regardless of the base material—ceramic, glass, stainless steel, or enamel. Cylindrical substrates require specialized mug presses or wraps that conform to curved surfaces and maintain consistent contact pressure. Uncoated drinkware from regular retail stores will not hold sublimation ink under any circumstances. Always verify coating compatibility before purchasing blanks for sublimation projects.
How does sublimation printing work on coated mugs?
Heat from the mug press converts solid sublimation ink on transfer paper into gas that penetrates the polymer coating’s open pores. As the mug cools, these pores close and trap the dye permanently within the coating layer. Even heat distribution ensures uniform dye penetration across the entire design area without faded spots or color variations. The process creates durable, dishwasher-safe prints that won’t peel, crack, or fade under normal use.
What does “coated for sublimation” actually mean on a mug?
Sublimation coating refers to a specialized polymer-based layer applied at the factory that creates a receptive surface for sublimation ink bonding. This polymer coating provides polyester chains that trap gasified dye molecules during heat pressing. The coating appears as a smooth, slightly glossy white surface that feels different from raw ceramic. You cannot effectively apply this coating yourself—factory application ensures consistent thickness and proper adhesion.
Can you sublimate on all ceramic mugs or only coated ones?
Only coated ceramic mugs accept sublimation transfers—raw ceramic porosity prevents proper ink bonding regardless of temperature or time settings. The porous surface absorbs ink rather than holding it for gasification and transfer into a polymer layer. Mugs from dollar stores or department stores lack sublimation coating and will produce failed transfers. Purchase blanks specifically manufactured for sublimation from craft suppliers or wholesale distributors.
What temperature and time should you use for mug sublimation?
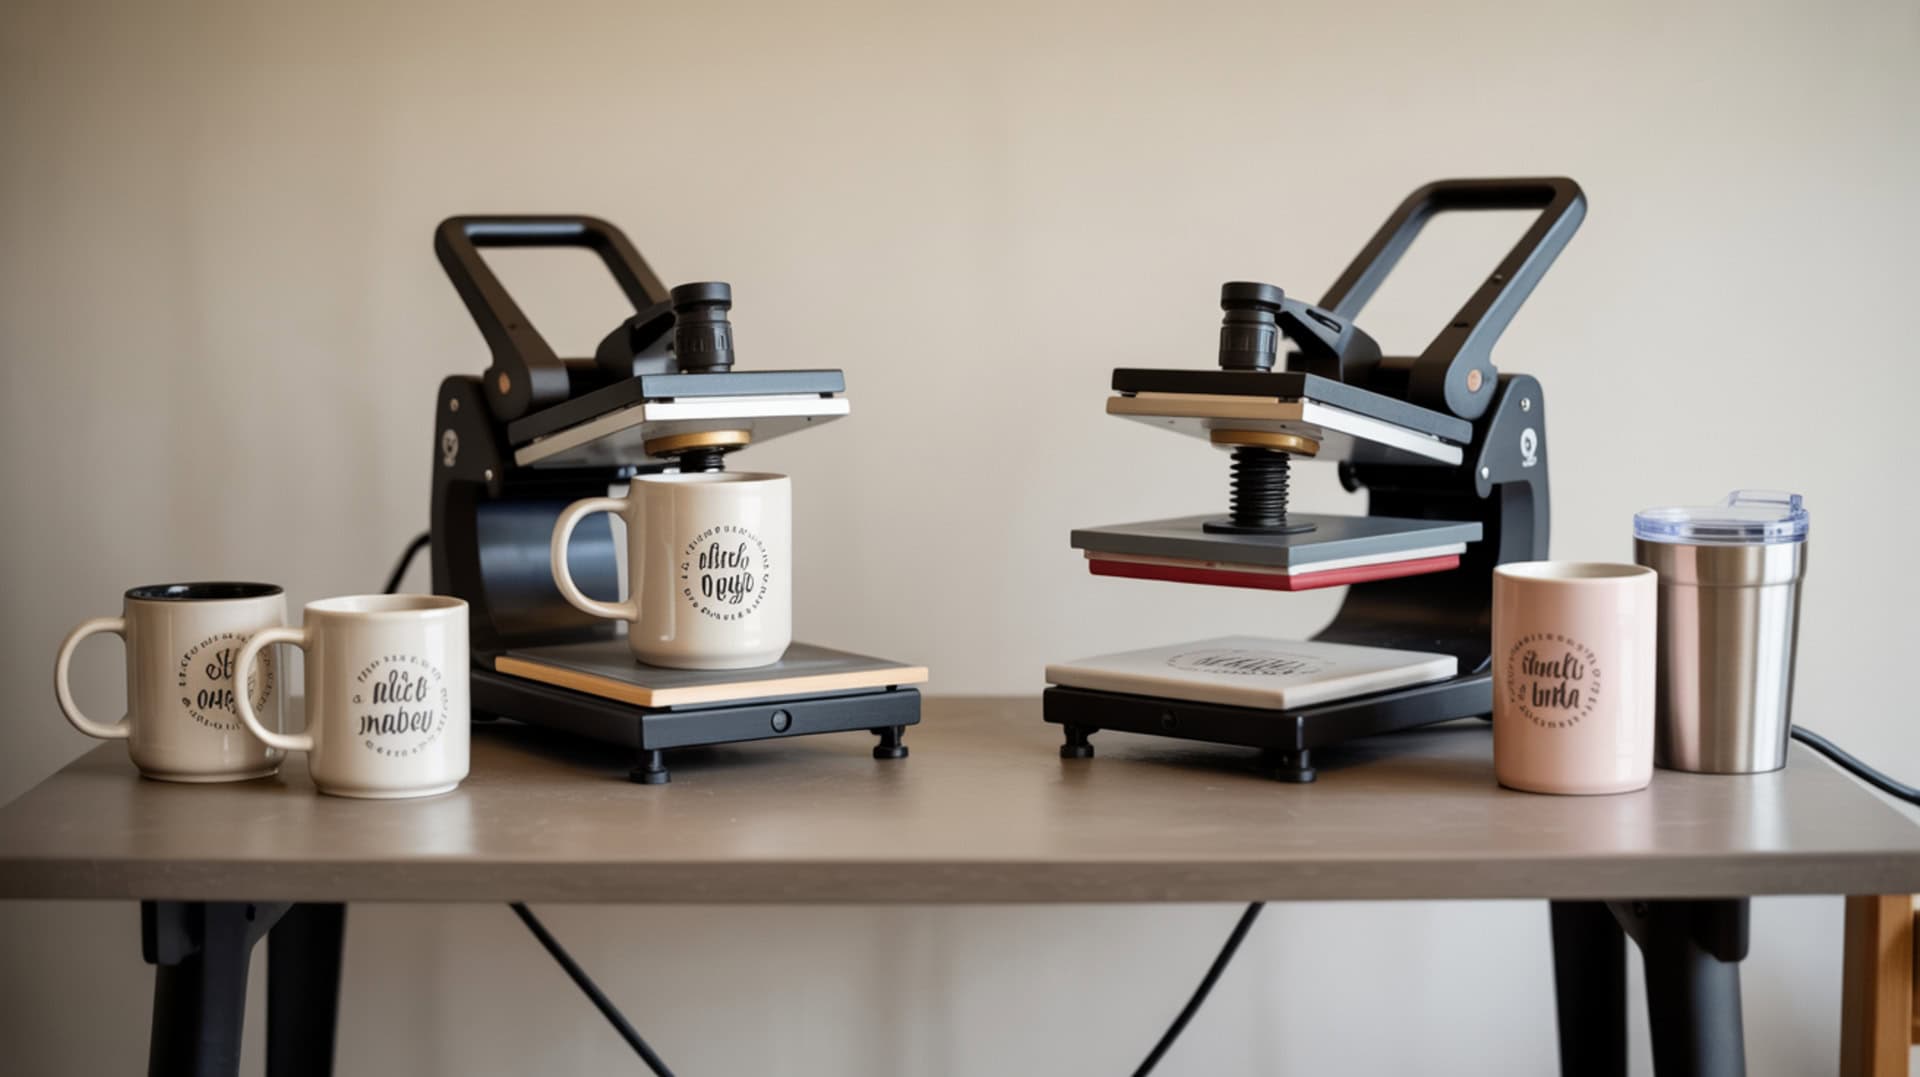
Ceramic mug sublimation requires 380–400°F (193–204°C) for 180–240 seconds with medium-to-firm pressure in a mug press. Temperature and time together control color saturation and transfer completeness—insufficient heat produces faded colors while excessive heat causes browning or yellowing. Heat distribution must remain consistent around the entire mug surface to prevent patchy or uneven transfers. Always check manufacturer recommendations for specific blank and press combinations.
How hot should the press be to sublimate a mug?
Optimal mug sublimation temperature ranges between 370°F and 400°F (188–204°C), with 385–400°F producing the most consistent results across different mug brands. Temperature activates sublimation dyes and converts them from solid to gas state for transfer. Lower temperatures produce light, washed-out colors that lack vibrancy. Many mug presses run slightly cooler than displayed, so verify actual temperature with an infrared thermometer if results appear inconsistent.
What settings work best for sublimating ceramic mugs?
Standard ceramic mug settings start at 375–400°F (191–204°C) for 180–240 seconds at medium-high pressure. Ceramic exhibits lower thermal conductivity than metal, meaning heat transfers slowly and requires longer dwell time for complete ink penetration. Thicker mugs may need additional time while thinner walls heat faster. Pre-pressing the mug for 5–10 seconds removes moisture and preheats the surface for more efficient transfer.
How long should you press a mug during sublimation?
Press ceramic mugs for 180–240 seconds (3–4 minutes) at proper temperature with consistent pressure maintaining full contact between transfer paper and mug surface. Shorter times (150 seconds) work for some thinner mugs while larger 15oz mugs may require 15–30 additional seconds. Time adjustments of 10–15 seconds help fine-tune results without dramatic changes. Allow the mug to cool completely before removing transfer paper to prevent ghosting.
How do you sublimate a ceramic mug step-by-step?
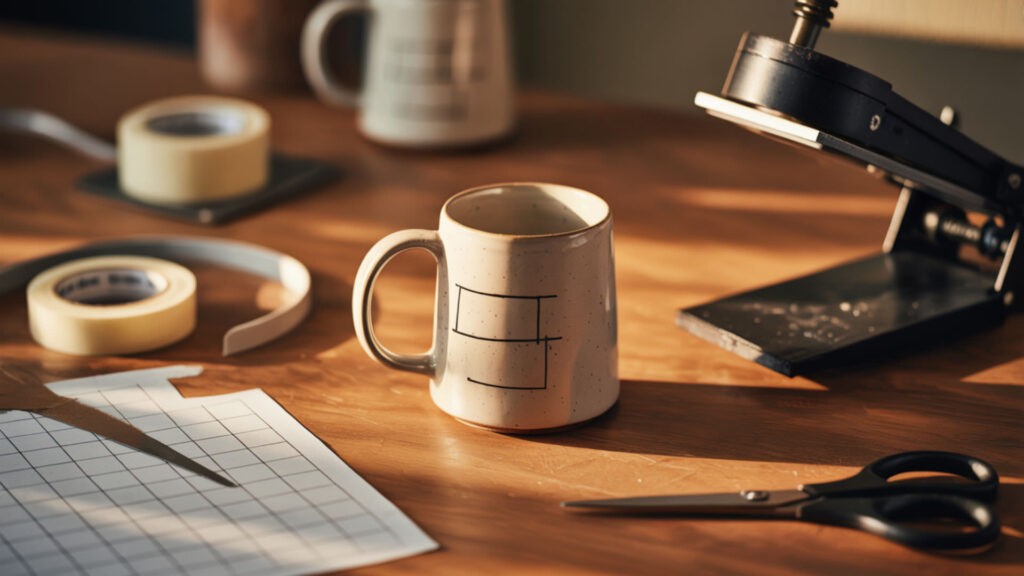
- Print your mirrored design on sublimation paper using sublimation ink, sizing the image slightly smaller than the mug’s printable area.
- Trim excess paper around the design and wrap it tightly around the mug with the printed side facing inward against the coating.
- Secure the transfer paper with heat-resistant tape at both ends to prevent shifting during pressing—any movement causes ghosting.
- Set your mug press to 380–400°F with medium-firm pressure and preheat while preparing your wrapped mug.
- Place the wrapped mug carefully into the press without wrinkling the paper and press for 180–240 seconds.
- Remove the mug using heat-resistant gloves, carefully peel the transfer paper, and allow cooling before handling.
Can you sublimate mugs using ovens or similar heating methods?
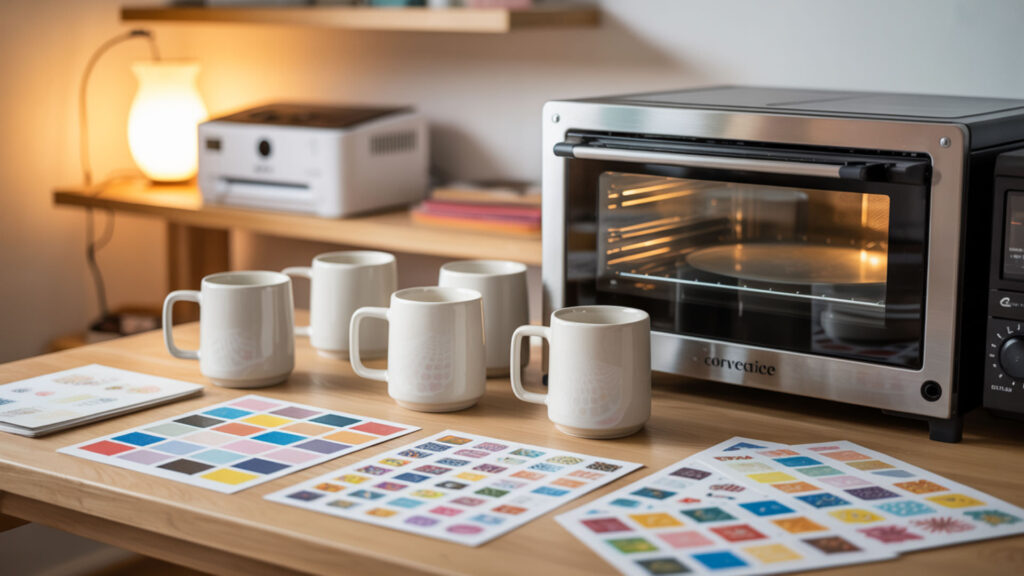
Convection ovens provide an alternative to mug presses but require dedicated equipment never used for food preparation. Oven sublimation releases chemical fumes that contaminate cooking surfaces permanently. Temperature and heat distribution differ significantly from direct-contact presses—ovens heat with circulating air rather than conductive contact. Silicone wraps or shrink sleeves must provide pressure since ovens lack the mechanical compression of mug presses.
Can you sublimate mugs in an oven instead of a press?
Convection ovens sublimate mugs at 380–400°F for 12–15 minutes—significantly longer than mug presses due to indirect heating. Heat distribution from circulating air is less uniform than direct contact, requiring heat shrink wraps to maintain even pressure around the mug. Position mugs on parchment paper to prevent surface damage. Never use a kitchen oven afterward for food—purchase a dedicated craft oven for sublimation projects.
Can you use an air fryer to sublimate a mug?
Air fryers can sublimate mugs but produce inconsistent heat distribution that often results in uneven transfers. Preheat the dedicated air fryer to 375–400°F for 5–15 minutes, then heat the wrapped mug while rotating halfway through for more even coverage. Temperature fluctuations and limited space make air fryers less reliable than mug presses or convection ovens. Results vary significantly between air fryer models and mug sizes.
Can a heat gun be used safely for mug sublimation?
Heat guns cannot maintain stable temperature or provide consistent pressure required for quality mug sublimation. The concentrated heat creates hot spots that cause uneven dye transfer while cooler areas remain undertransferred. Manual heat application lacks the precise timing and temperature control that automated presses deliver. Heat guns work for odd-shaped tumblers as supplementary heating but should not replace proper mug press equipment.
Can you sublimate on glass and enamel style mugs?
Glass and enamel mugs require the same polymer coating as ceramic—the base material matters less than surface preparation. Coated glass mugs sublimate at similar temperatures (350–400°F) with adjusted timing based on material thickness. Enamel mugs marketed for sublimation feature factory-applied coating over the enamel surface. Non-coated glass or enamel drinkware will not accept sublimation transfers regardless of heat settings or press time.
Why is my mug sublimation not transferring correctly?
Transfer failures typically result from uneven heat distribution causing patchy colors, poor pressure creating gaps between paper and mug, or incorrect temperature settings. Surface smoothness affects print clarity—rough or damaged coating produces fuzzy details. Paper movement during pressing causes ghosting or double images. Curved surfaces like mugs and tumblers require careful heat distribution management to prevent transfer defects common on cylindrical substrates.
Why is my sublimation paper not transferring fully to my mug?
Incomplete transfers occur when poor pressure allows the paper to lift from the mug surface during heating—the gap prevents ink gas from reaching the coating. Insufficient press time leaves portions of the design undertransferred with faded areas. Verify that heat-resistant tape holds the paper firmly without wrinkles or bubbles. Increase pressure slightly or extend time by 15–30 seconds if transfers consistently appear incomplete.
How do you sublimate the bottom of a mug without issues?
Most mug bottoms lack polymer coating, preventing standard sublimation transfers. Convection oven methods with shrink wraps provide the best results for bottom sublimation at 400°F for 12–15 minutes. Alternative approaches include UV DTF stickers applied to uncoated surfaces after the design is printed and cut. Stable heat distribution and consistent pressure remain critical for bottom transfers to prevent under-transfer or uneven coloring.
Ready to Create Custom Sublimation Mugs?
Mug sublimation combines accessible equipment with straightforward techniques to produce durable, professional-quality drinkware. Success depends on using properly coated blanks with correct temperature, time, and pressure settings for your specific equipment. Polymer coating serves as the foundation enabling permanent sublimation ink bonding that withstands daily use and washing. Starting with quality blanks and proven press settings establishes reliable production workflows.
Frequently Asked Questions
- How long does sublimation last on mugs?
Properly sublimated mugs maintain color fastness for 1–2 years under normal use, with careful handling extending lifespan significantly. The dye bonds permanently within the polymer coating rather than sitting on the surface, making it resistant to scratching and peeling. Dishwasher-safe mugs withstand regular washing without fading. Epoxy coating over sublimation provides additional protection and extends design longevity further.
- Are sublimation cups food safe?
Sublimation mugs using food-safe base materials with certified polymer coatings (TÜV-certified, LFGB-compliant) are safe for beverages. The sublimation process infuses color pigments into the coating surface, which remains sealed and stable during normal use. Quality sublimation blanks from reputable suppliers include food-safety certificatioCeramic drinkware intended for food use must meet safety standards to ensure coatings remain stable and safe during normal use.ns. Avoid using uncertified or damaged mugs for drinking purposes.Ceramic drinkware intended for food use must meet safety standards to ensure coatings remain stable and safe during normal use.[2]
- How much to charge for sublimation mugs?
Sublimation mug pricing typically applies 50–200% markup over material costs. A mug costing $3.85 in materials sells for $5.78 at 50% markup, $7.70 at 100% markup, or $11.55 at 200% markup. Factor in design time, labor, and overhead when calculating profitable pricing. Custom or complex designs command higher prices while bulk orders often receive volume discounts.
- Can I use vinyl on a sublimation mug?
Vinyl adheres to sublimation mugs because the polymer coating creates a smooth, non-porous surface suitable for adhesive materials. Permanent vinyl provides durable decoration alternative to heat-applied sublimation designs. However, purchasing sublimation blanks specifically for vinyl application wastes the coating’s sublimation capability. Regular smooth tumblers or mugs work equally well for vinyl without the added coating cost.
- What temperature and time for color-changing mug sublimation?
Color-changing mugs require lower temperature and shorter time than standard ceramic: 360–380°F for 80–90 seconds at medium pressure. The heat-sensitive coating responds differently than regular sublimation polymer and can be damaged by excessive temperature. Test with manufacturer-recommended settings before production runs. The color-change effect activates when hot liquid contacts the mug, revealing the sublimated design underneath.
References
- Permeability-porosity relationships in sedimentary rocks. (1994, January 1). USGS. https://www.usgs.gov/publications/permeability-porosity-relationships-sedimentary-rocks
- Guidance on imported traditional pottery intended for use with food. (2018, September 20). U.S. Food and Drug Administration. https://www.fda.gov/regulatory-information/search-fda-guidance-documents/guidance-industry-safety-imported-traditional-pottery-intended-use-food-and-use-term-lead-free