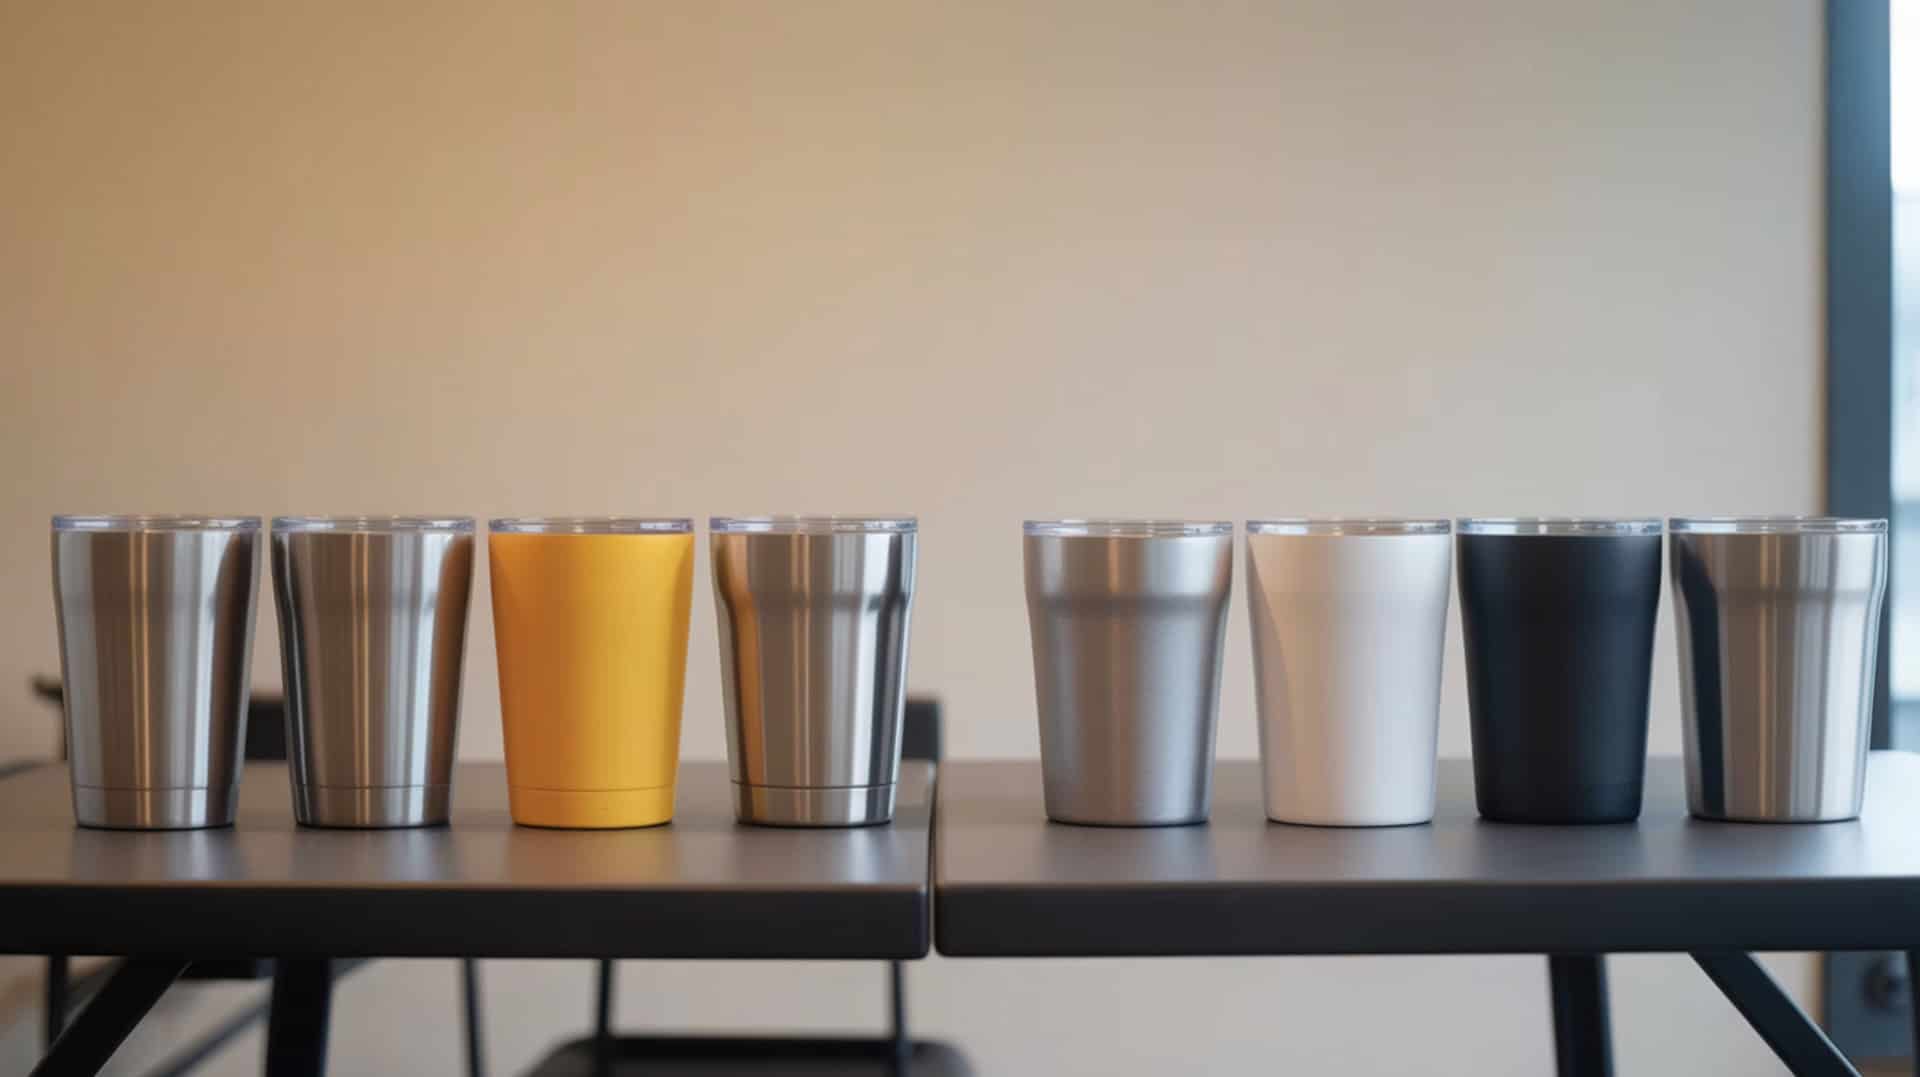
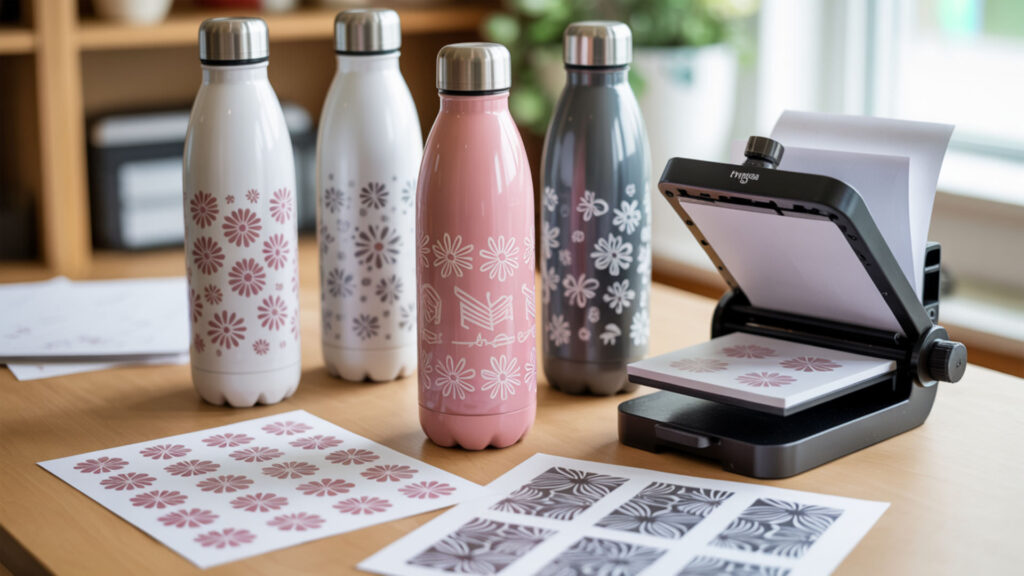
Stainless steel and aluminum water bottles accept sublimation printing when manufacturers apply specialized polymer coating to create receptive surfaces for dye bonding. The coating contains polyester compounds that capture gaseous sublimation ink during heat transfer, producing permanent full-color designs that resist peeling and fading. Metal substrates without coating cannot bond with sublimation dyes regardless of pressing parameters applied. Polymer coatings enable consistent dye transfer across all drinkware substrates as detailed in our complete polymer coating drinkware sublimation guide.
Key Takeaways
- Temperature between 350–400°F activates sublimation dye conversion for proper transfer into polymer coating on metal bottle surfaces.
- Pressure application keeps transfer paper flush against curved surfaces—tumbler presses and shrink wraps provide necessary contact force.
- Metal thermal conductivity requires adjusted timing compared to ceramic—bottles heat faster but may need rotation for even coverage.
Can you sublimate on water bottles and how does it work?
Aluminum and stainless steel water bottles require polymer-coated surfaces for sublimation dye bonding during heat transfer processes. The metal substrate provides structural durability while the coating creates the polyester-based layer that accepts and retains gaseous ink permanently. Heat converts solid sublimation ink to gas, which penetrates coating layers and bonds with polymer chains during pressing or oven cycles. Uncoated metal surfaces produce zero transfer regardless of time or temperature settings.
What is a sublimation water bottle?
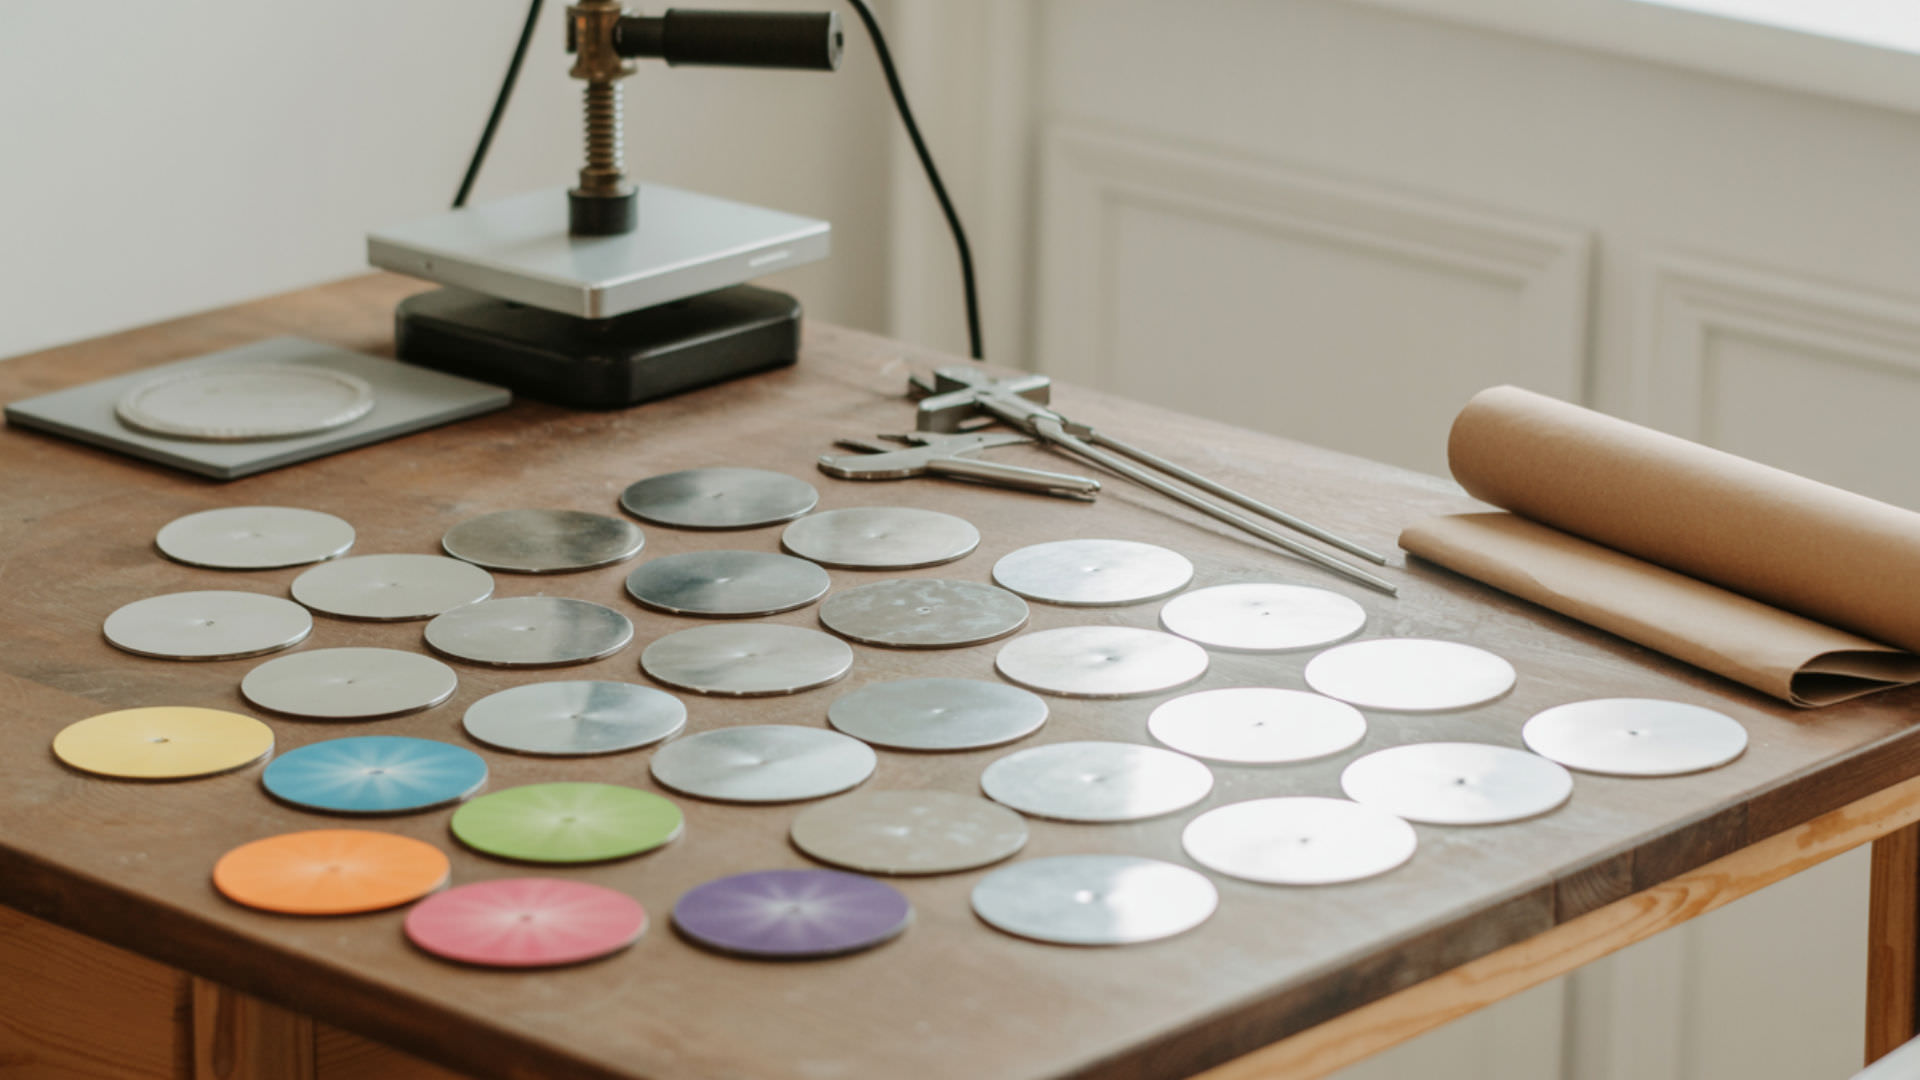
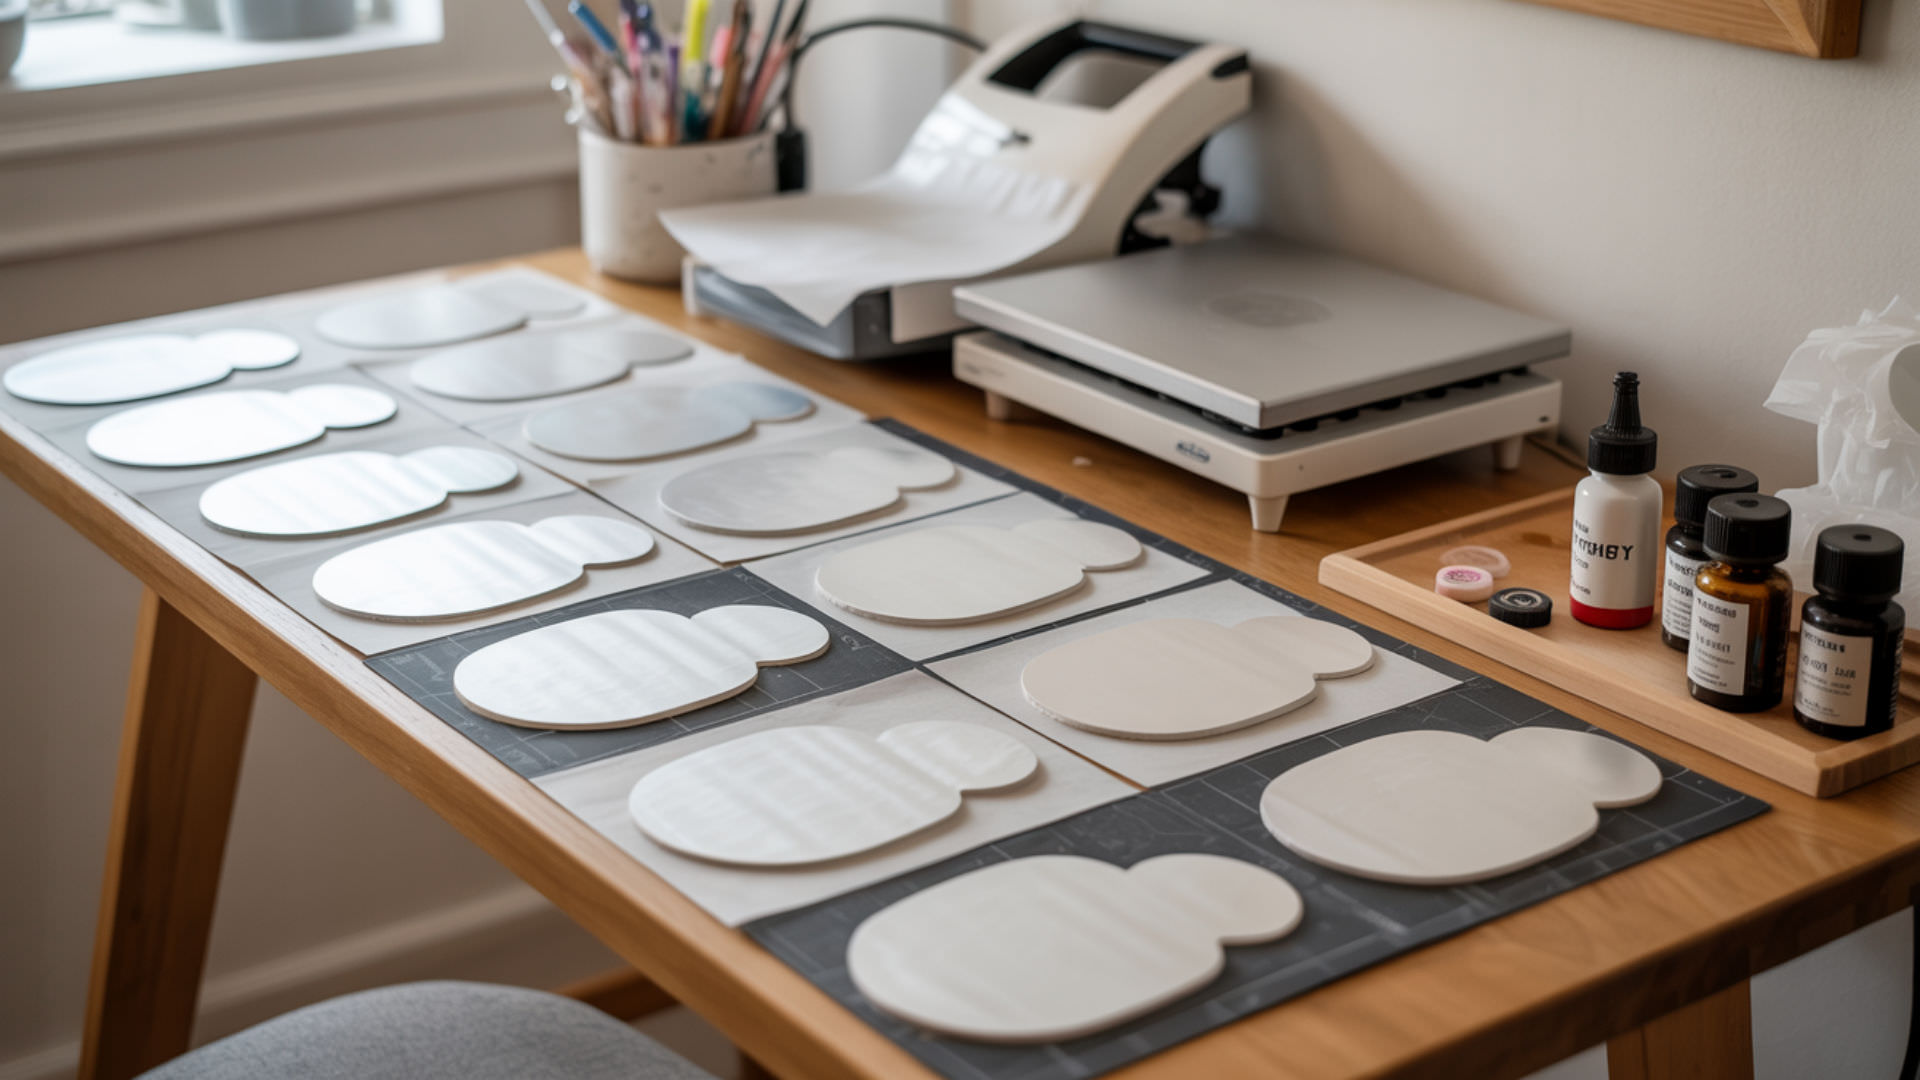
Sublimation water bottles feature specialized polymer coating engineered to accept full-color photographic-quality prints through dye infusion rather than surface application. The coating determines long-term color fastness since dye molecules bond within the polymer structure rather than sitting atop surfaces. Quality coated bottles produce vibrant, durable designs that resist scratching, peeling, and fading under normal use conditions. Standard sublimation blanks come pre-coated from manufacturers specifically for heat transfer printing compatibility.
How to sublimate on a plastic water bottle?
Standard plastic water bottles cannot withstand sublimation temperatures safely—heat resistance limitations cause warping, melting, or chemical release at 350–400°F processing temperatures. Some specialty plastic bottles feature sublimation-compatible polyester coatings that accept dye transfer at reduced temperatures around 300–320°F. These specialized blanks require careful temperature monitoring to prevent substrate damage during pressing. Metal bottles provide far more reliable results for sublimation printing without heat tolerance concerns.
What temperature and time do sublimation water bottles require?
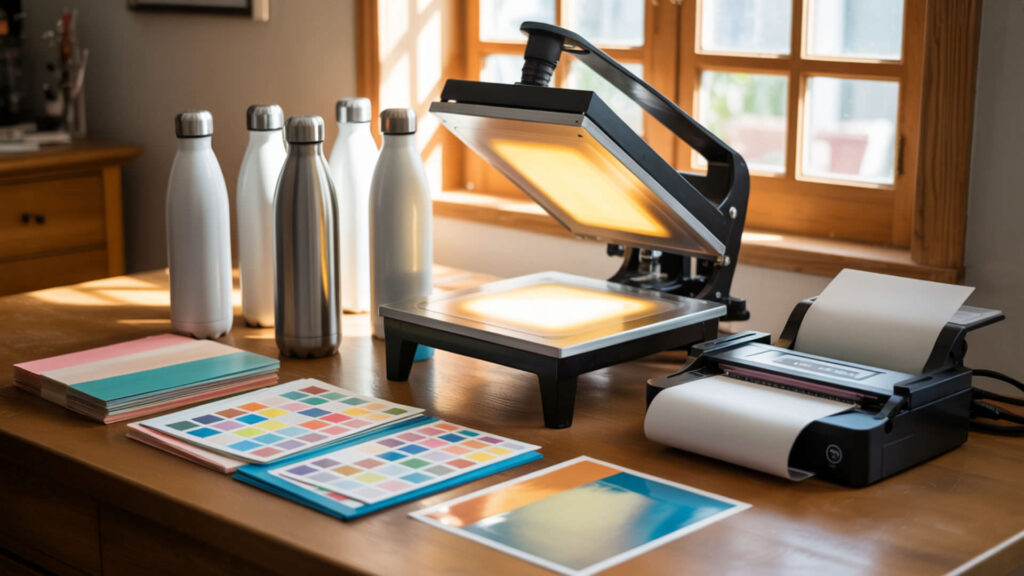
Metal water bottle sublimation requires temperatures between 350–400°F maintained for 60–120 seconds in press applications or 5–6 minutes in convection ovens. Thermal conductivity of aluminum and stainless steel causes faster heating compared to ceramic substrates, potentially requiring time adjustments to prevent overheating. Convection oven methods need rotation at the midpoint to ensure even heat distribution around cylindrical surfaces. Press methods may require multiple positioning cycles to cover full bottle circumference. Metals such as aluminum and stainless steel transfer heat rapidly due to high thermal conductivity, which is why sublimation timing must be adjusted to prevent overheating. [1]
How long does it take to sublimate a metal water bottle?
Press duration for metal water bottles ranges from 60–120 seconds depending on bottle diameter, coating thickness, and equipment specifications. Larger diameter bottles may require repositioning and multiple press cycles totaling 2–3 minutes for complete coverage. Convection oven sublimation takes 5–6 minutes at 375°F with rotation at the 3-minute mark to ensure uniform heat exposure. Tumbler presses designed for cylindrical substrates can complete transfers in 40 seconds per section.
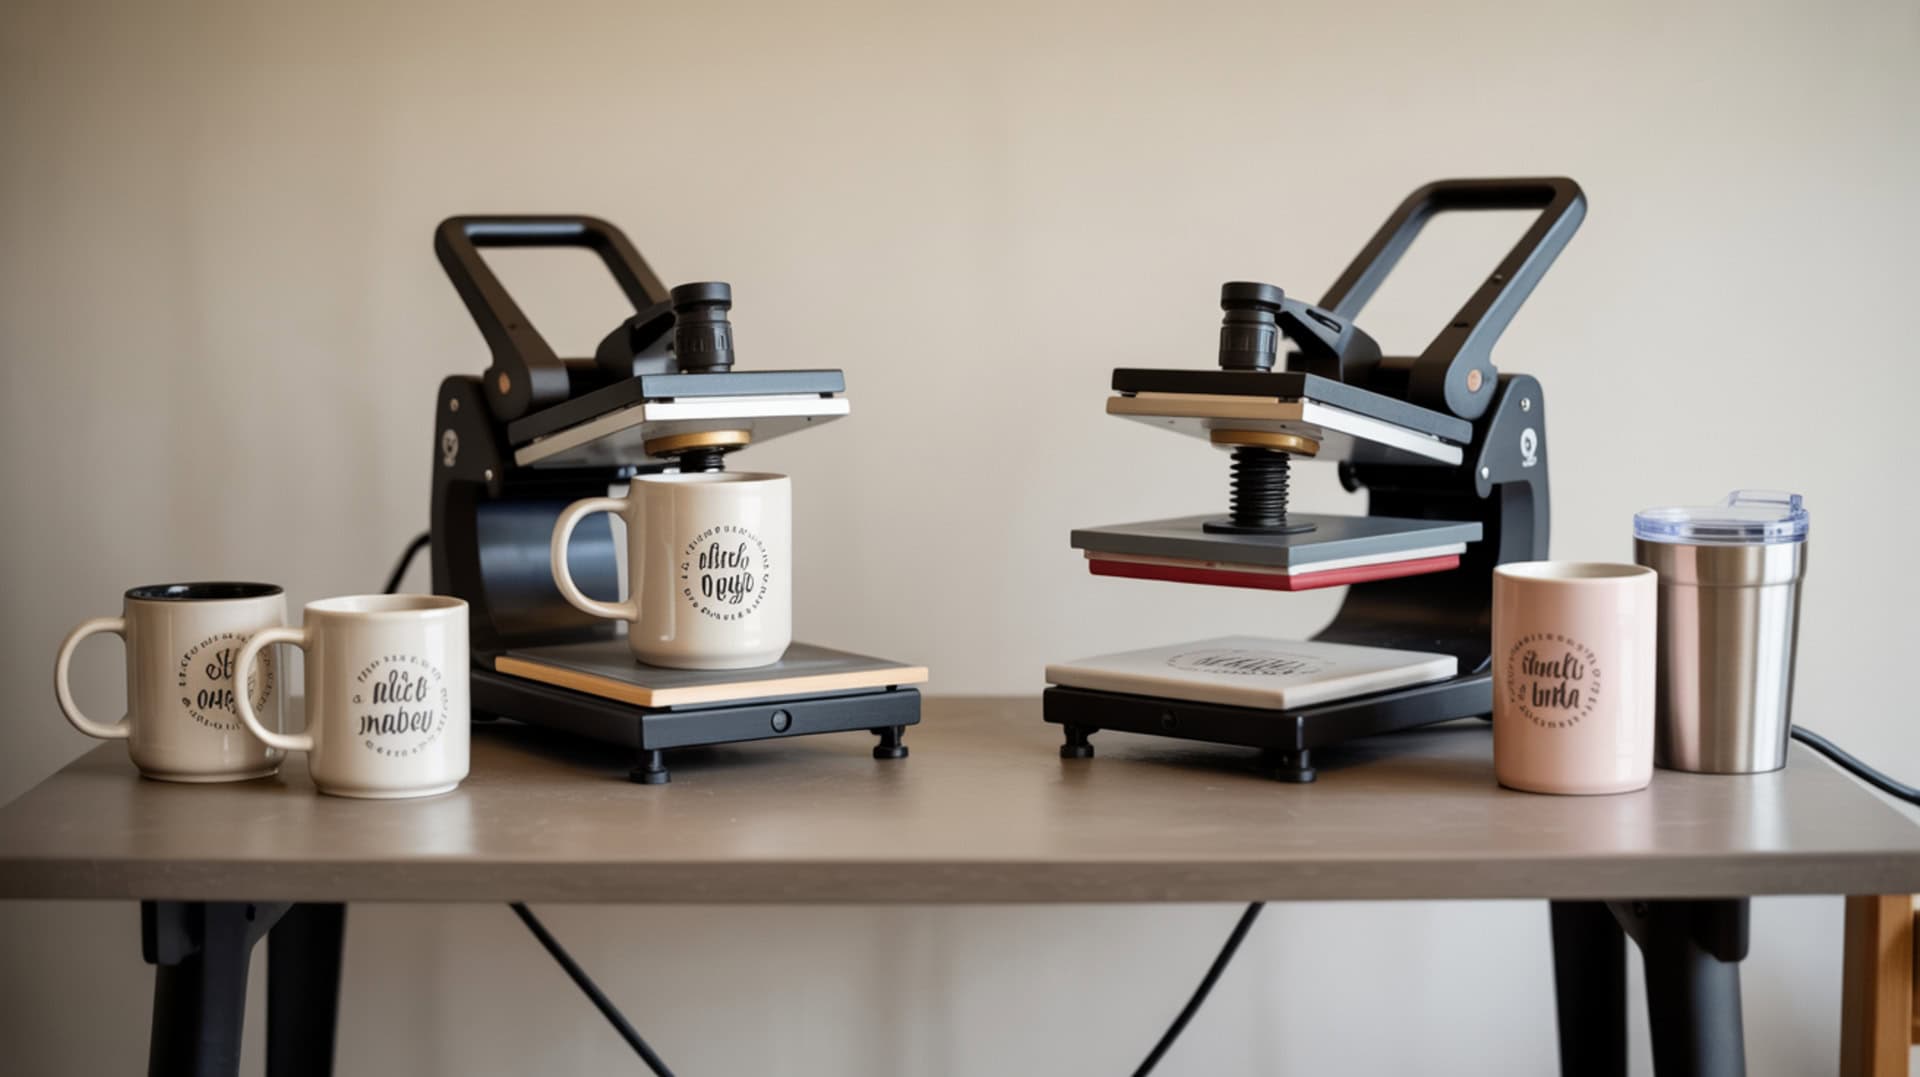
Can you use water bottles in a mug press?
Straight-walled water bottles fit standard mug presses designed for cylindrical substrates with similar diameter specifications as compatible mugs. Tumbler presses provide better coverage for tapered or larger-diameter bottles that exceed mug press capacity dimensions. Some mug presses accommodate water bottles using heat-conducting inserts that fill gaps between bottle and heating element. Cylindrical substrate pressing techniques apply across tumblers and bottles—equipment mechanics appear in our tumbler press tumbler sublimation guide.
Can you heat press a plastic water bottle safely?
Plastic water bottles lack adequate heat resistance for standard sublimation temperatures, making heat pressing unsafe and producing poor results. Sublimation requires 350–400°F processing temperatures that exceed safe limits for most plastic bottle materials and constructions. Chemical breakdown releases harmful compounds including BPA and antimony when plastics overheat during pressing attempts. Metal bottles with polymer coatings provide safe, reliable alternatives for heat press sublimation applications.
What does heat do to plastic bottles?
Heat exposure breaks down chemical bonds in plastic bottle materials, causing structural deformation and releasing microplastic particles into contents. Even temperatures below melting points cause plastic degradation over time with repeated heat cycles. Sublimation heat resistance requirements far exceed what standard plastic bottles tolerate without damage or chemical release concerns. Studies confirm hot environments accelerate plastic breakdown while cool storage preserves material integrity. Exposure to elevated temperatures accelerates chemical degradation in plastic materials, leading to structural breakdown and release of degradation byproducts. [2]
What temperature do water bottles melt at?
PET plastic (recycling symbol #1) used in most water bottles melts around 260°C (500°F), but bottle caps made from HDPE melt at approximately 120°C (248°F). Sublimation temperatures of 350–400°F approach or exceed safe limits for plastic components even before reaching full melting points. Polypropylene bottles melt around 170°C (338°F), placing them within sublimation temperature ranges. Metal substrates eliminate melting concerns entirely while accepting polymer coatings for sublimation compatibility.
What vinyl works best on water bottles?

Permanent outdoor-grade vinyl like Oracal 651 provides the best adhesion and color fastness for water bottle decoration when sublimation isn’t feasible. Surface finishing quality affects vinyl adhesion—smooth, clean surfaces promote better contact and longer-lasting results than textured or contaminated surfaces. Mid-grade flexible vinyl conforms better to curved bottle surfaces than thick economy vinyl that may lift at edges. Proper surface preparation and curing time maximize vinyl longevity on frequently handled drinkware.
Can you put permanent vinyl on water bottles?
Permanent vinyl adheres to water bottle surfaces successfully when applied correctly to clean, smooth substrates following proper preparation procedures. Color fastness depends on adhesive quality, surface preparation, and protection from repeated washing and handling exposure. Outdoor-grade vinyl resists water, UV exposure, and temperature variations better than standard indoor vinyl formulations. Allow 24–72 hours curing time before washing to ensure adhesive bonds fully with bottle surfaces.
Will permanent vinyl stay on water bottles?
Permanent vinyl stays on water bottles when surface finishing preparation removes oils and residue before application using rubbing alcohol cleaning. Color fastness improves with proper curing—allow adhesive to bond fully for 48–72 hours before water exposure or washing. Hand washing extends vinyl longevity significantly compared to dishwasher cleaning that exposes adhesive to high heat and harsh detergents. Smooth bottle surfaces promote better vinyl adhesion than textured or powder-coated finishes.
How to make vinyl stay on water bottles long-term?
Clean bottle surfaces thoroughly with soap and rubbing alcohol to remove all oils, dirt, and manufacturing residues before vinyl application. Surface finishing quality determines initial adhesion strength—smooth surfaces bond better than textured alternatives for long-term color fastness. Apply firm pressure during transfer to eliminate air bubbles that create lifting points under vinyl edges. Allow complete curing before use and maintain hand-washing habits to maximize decoration longevity.
How to seal vinyl on a water bottle?
Clear waterproof sealants like Mod Podge or spray-on clear coats protect vinyl from moisture and UV exposure that degrades color fastness over time. Self-adhesive laminating sheets provide physical barrier protection over vinyl designs without brush application requirements. Heat application using hairdryers can improve adhesive bonding before sealing for enhanced durability. Multiple thin sealer coats provide better protection than single heavy applications that may pool or drip. Additional guidance on preserving color fastness through proper sealing appears in our How To Make Sublimation Tumblers guide.
Can you use heat transfer vinyl on water bottles?
Heat transfer vinyl works on metal water bottles but requires careful temperature management to prevent substrate damage or adhesive failure. Plastic bottles lack sufficient heat resistance for HTV application temperatures, limiting this method to metal substrates only. Lower heat settings and extended pressing times accommodate HTV on bottles better than standard garment application parameters. Permanent adhesive vinyl often proves easier than HTV for bottle decoration without heat press requirements.
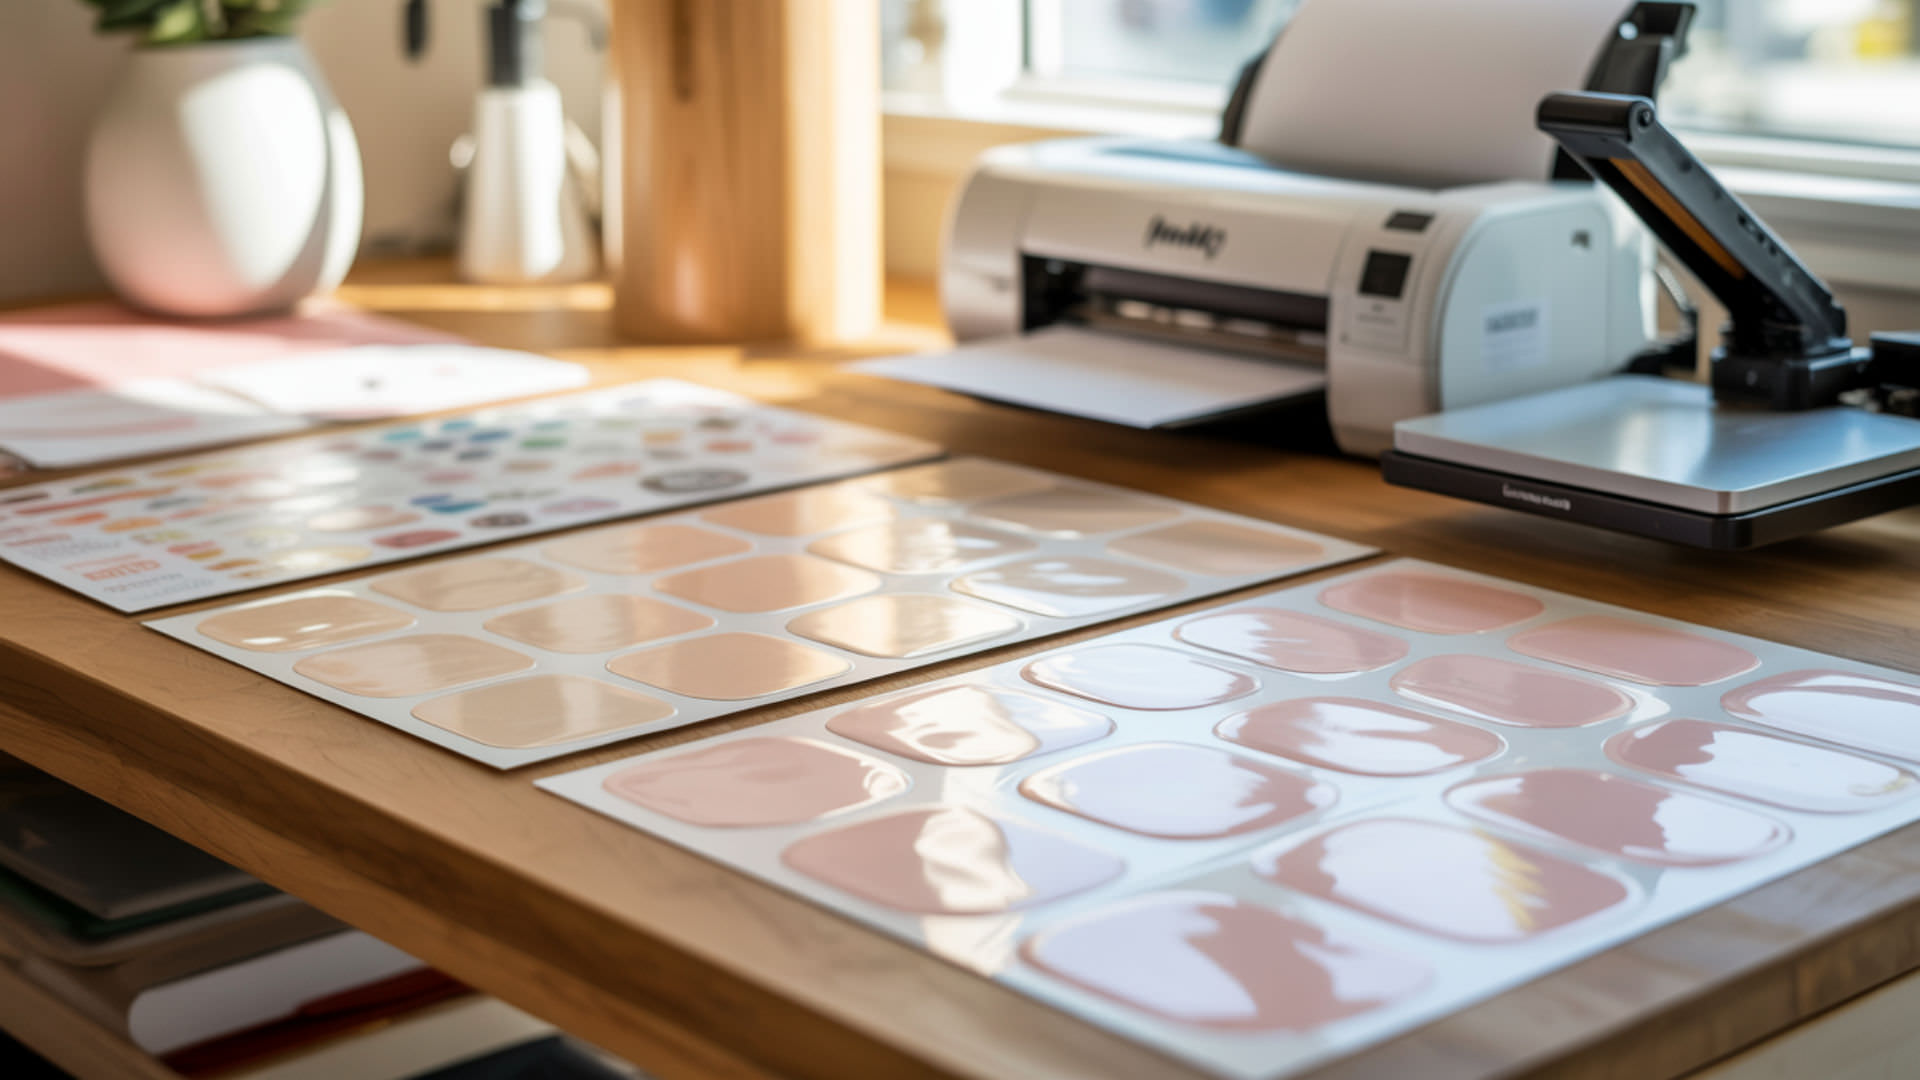
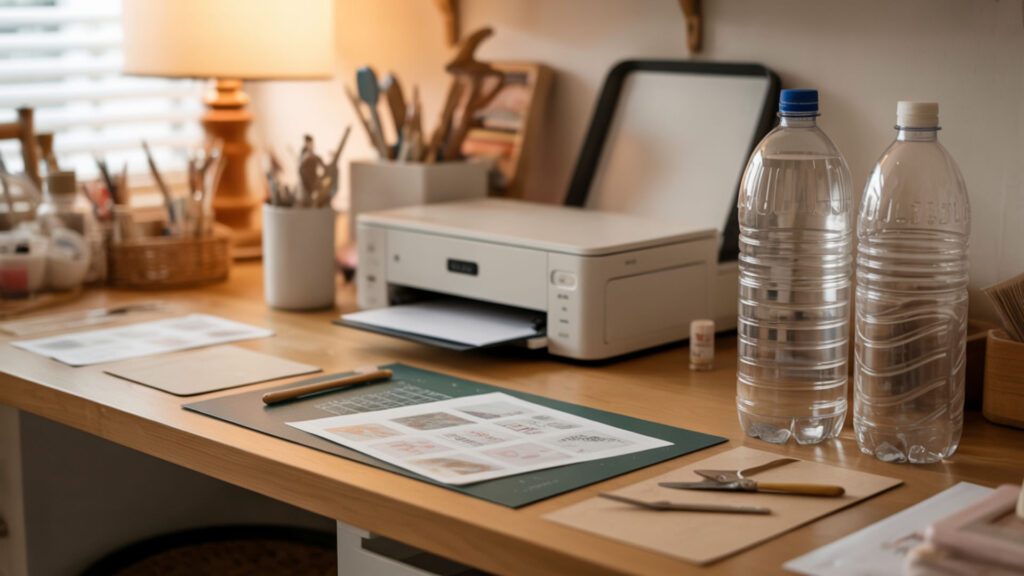
How do you sublimate water bottles step-by-step?
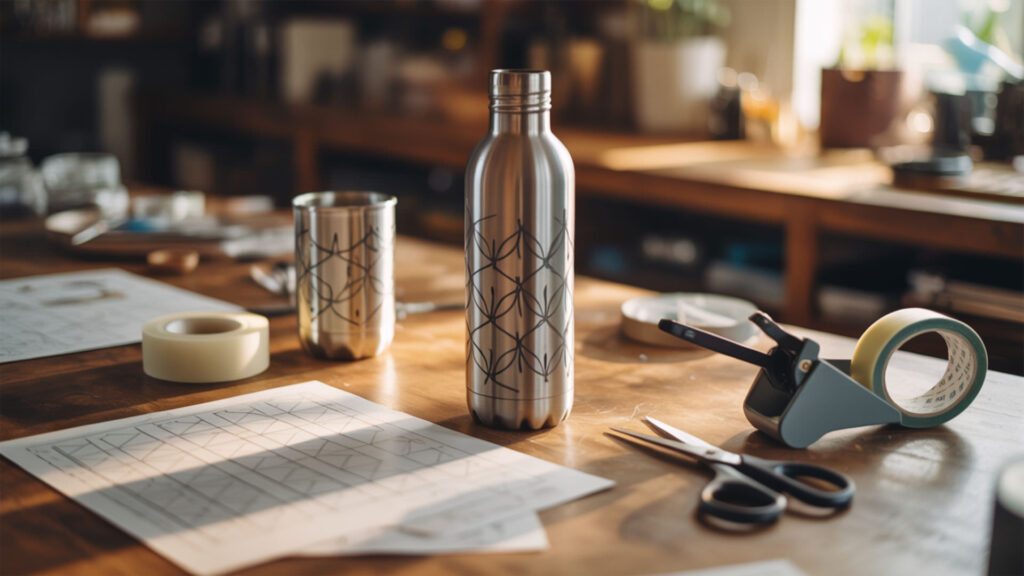
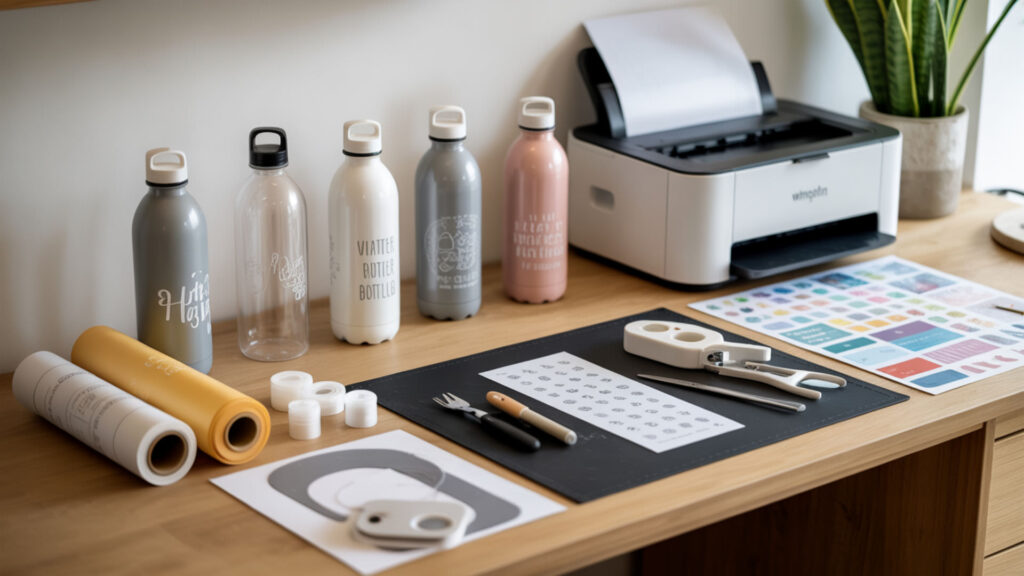
Print mirrored designs onto transfer paper sized to wrap around bottle circumference, trim excess, and secure with heat-resistant tape ensuring no overlapping edges. For press methods, remove bottle caps, position in tumbler press or mug press, and apply medium pressure at 360–400°F for 60–120 seconds. Heat shrink sleeves provide necessary pressure for convection oven sublimation at 350–380°F for 5–6 minutes. Equipment selection affects heat consistency—options for tall drinkware appear in our convection oven heat press equipment guide.
Ready to create custom sublimation water bottles?
Polymer-coated metal water bottles provide durable substrates for vibrant sublimation designs that resist peeling, scratching, and fading under regular use conditions. Color fastness depends on proper coating quality, correct temperature parameters, and complete dye transfer during pressing or oven cycles. Start with quality sublimation-ready blanks from reputable suppliers to ensure consistent coating coverage across production batches. Master your equipment settings through test transfers before committing to customer orders or production runs.
Frequently Asked Questions
How to print a logo on a water bottle?
Sublimation printing produces the most durable full-color logos on polymer-coated metal water bottles through heat-activated dye transfer processes. Screen printing works for simpler designs using mesh stencils and specialty inks cured for drinkware durability. Transfer paper carries designs from printer to bottle surface under controlled temperature and pressure conditions. Vinyl application provides quick single-color logos without specialized printing equipment requirements.
How do you print on a water bottle?
Sublimation transfers designs by converting printed ink to gas under heat, bonding dye permanently with polymer coating layers. Screen printing pushes ink through mesh stencils directly onto prepared bottle surfaces for durable results. Heat transfer methods apply pre-printed designs using temperature and pressure to activate adhesive bonding. Each method requires appropriate surface preparation and curing to ensure long-lasting decoration.
How to permanently decorate a water bottle?
Sublimation provides the most permanent decoration by infusing dye into polymer coatings rather than applying surface treatments. Waterproof vinyl sealed with clear coat sealant creates durable decorations that resist washing and handling wear. Self-adhesive laminating films protect printed designs from moisture damage and abrasion during regular use. Hand washing all decorated bottles extends decoration longevity regardless of application method chosen.
Do vinyl stickers stay on water bottles?
High-quality outdoor-grade vinyl stickers remain adhered to water bottles when applied correctly to clean surfaces and allowed proper curing time. Sealing with waterproof sealant or laminate significantly extends sticker longevity against moisture and handling exposure. Hand washing prevents adhesive degradation that dishwasher heat and detergents cause over repeated cleaning cycles. Quality vinyl and proper application technique matter more than brand names for long-term adhesion success.
How to apply a decal to a water bottle?
Clean bottle surfaces with soap and rubbing alcohol, dry completely, then peel backing from decal and position starting at one edge. Smooth outward from center using fingers or credit card to eliminate air bubbles that cause lifting and peeling. Apply clear sealant over decal edges for moisture protection, then allow 24–72 hours curing before washing. Heat activation with hairdryer improves adhesive bonding before sealing for enhanced durability results.
References
- (n.d.). NIST Technical Series Publications. https://nvlpubs.nist.gov/nistpubs/Legacy/NSRDS/nbsnsrds8.pdf
- Factors associated with stunting among children aged 0 to 59 months from the central region of Mozambique. (n.d.). PMC Home. https://pmc.ncbi.nlm.nih.gov/articles/PMC5452221/