Coaster sublimation transforms blank substrates into personalized drinkware accessories using heat-activated dye transfer on polymer-coated surfaces. A flat heat press provides even temperature and pressure distribution essential for consistent results across the entire coaster surface. Sublimation ink bonds permanently with the polymer coating layer during heating, creating vibrant designs resistant to fading and wear. The same polymer coating principles that enable coaster printing apply across all sublimation drinkware categories explained in our complete polymer coating drinkware guide.
Key Takeaways
- Temperature settings range from 356°F for hardboard to 400°F for ceramic—material composition determines optimal heat levels.
- Pressure must remain consistent throughout pressing to prevent ghosting, shifting, and incomplete dye transfer across flat surfaces.
- Coaster blanks require factory-applied polymer coatings regardless of base material—uncoated substrates cannot accept sublimation dye.
How are sublimation coaster transfers printed and secured?
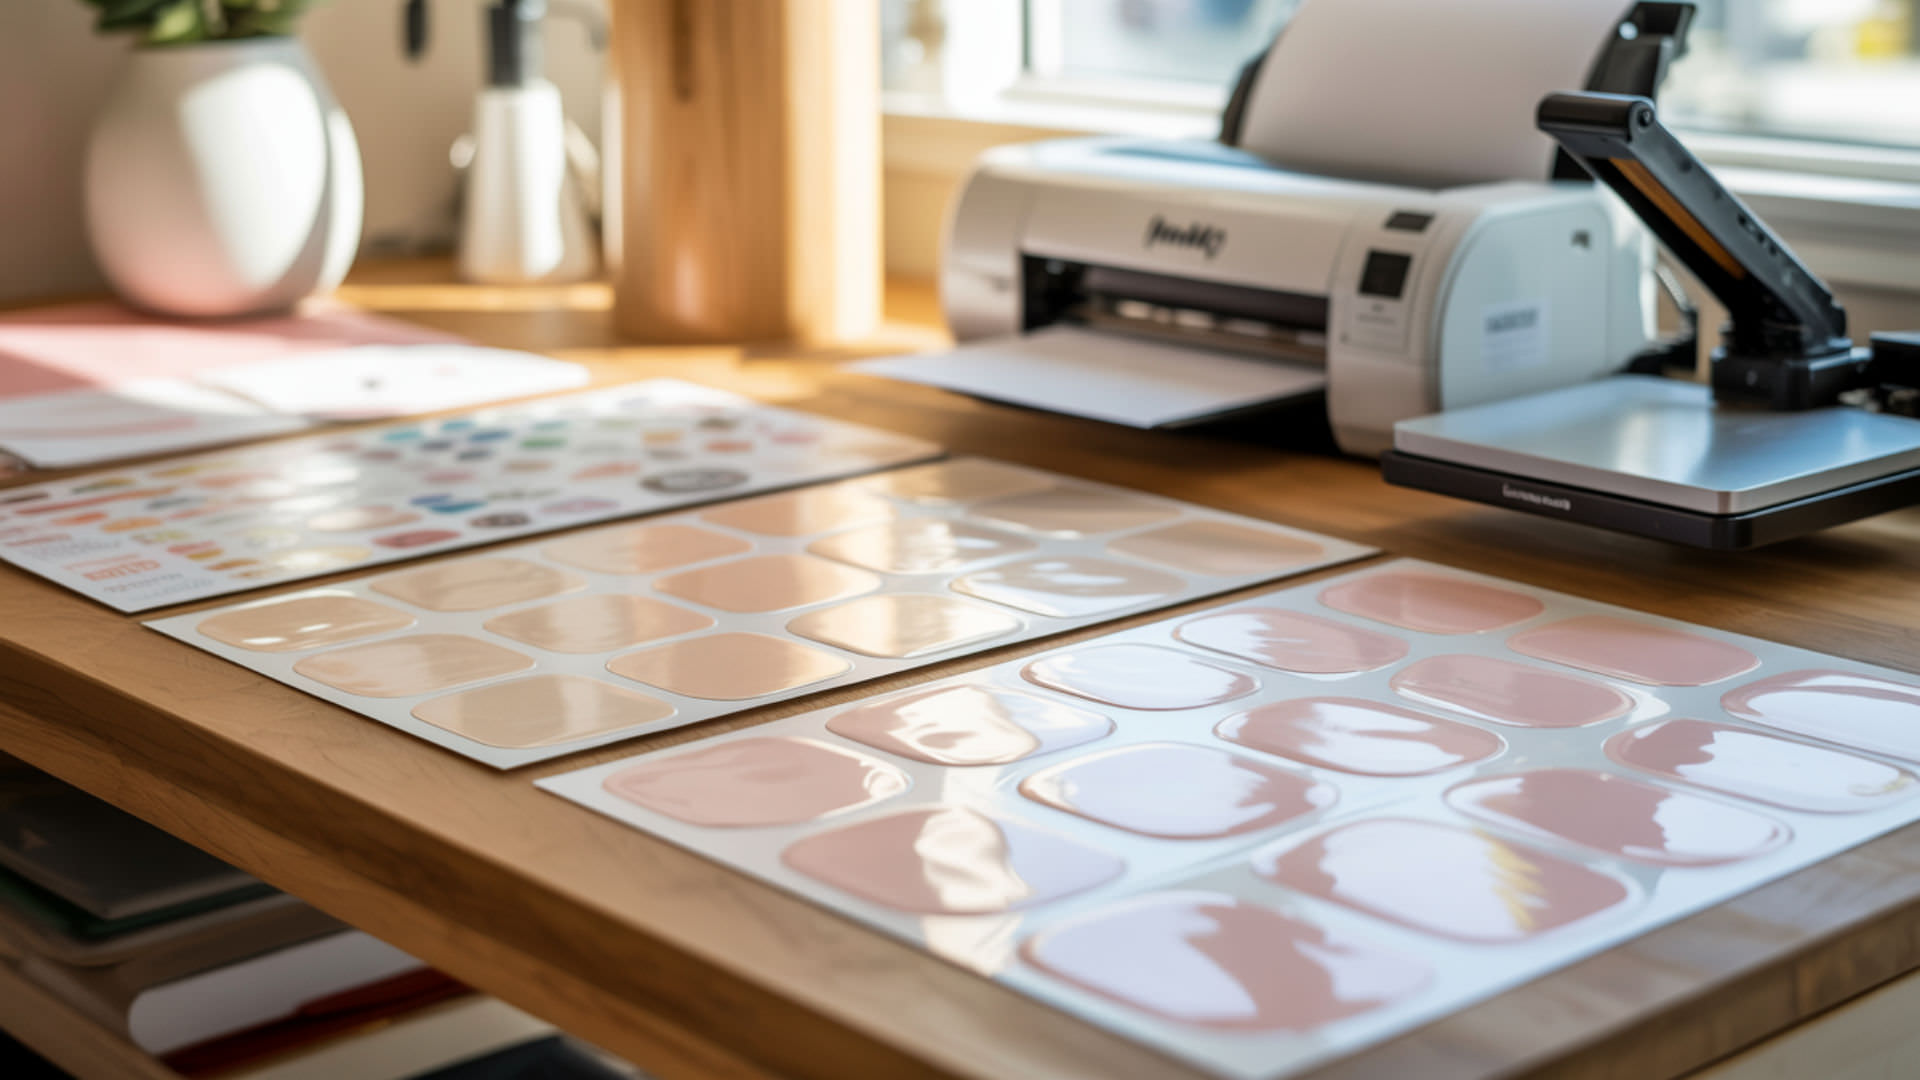
Transfer paper carries sublimation ink to coaster surfaces when heat converts solid dye into gas that bonds with polymer coatings. Print designs mirror-image using sublimation-specific settings—high-quality photo paper mode with maximum resolution produces sharpest results. Secure transfers with heat-resistant tape along edges to maintain alignment during pressing, and apply consistent pressure to ensure complete surface contact throughout the heating cycle.
What materials are commonly used for sublimation coaster blanks?
MDF, ceramic coaster blanks, and hardboard represent the most popular substrate options for sublimation printing applications. Each material requires polymer coating application during manufacturing—raw MDF and uncoated ceramic cannot bond with sublimation dye molecules. Surface smoothness directly affects print clarity: factory-finished blanks with uniform coatings produce sharper images than irregular or hand-coated surfaces. Quality tumbler production relies on the same surface smoothness requirements detailed in our complete tumbler manufacturing guide.
How should a coaster be taped or secured for clean sublimation results?
Heat-resistant tape applied along transfer edges prevents paper movement that causes ghosting during the pressing cycle. Position tape outside the printable area when possible—adhesive marks can interfere with consistent heat distribution across design boundaries. Use multiple tape points on larger coasters to maintain full contact between transfer paper and substrate surface. Remove protective films from blank coasters before taping—trapped film prevents proper dye bonding.
What time and temperature influence coaster sublimation results?
Temperature activates sublimation dye conversion from solid to gas phase, while pressing time controls how deeply dye molecules penetrate the polymer coating layer. Higher temperatures accelerate dye activation but risk substrate damage on heat-sensitive materials like hardboard and neoprene. Proper time-temperature combinations vary by material: ceramic tolerates extended high-heat exposure while foam substrates require shorter, cooler cycles. Equipment precision significantly impacts results—temperature consistency across different press models is covered in our heat press equipment guide. Sublimation occurs when a solid transitions directly into a gas under heat, as seen naturally in the water cycle, which helps explain how heat activates dye transfer during pressing.[1]
What is the safest temperature range for sublimating coasters?
Material heat resistance determines the upper temperature limit for safe sublimation without warping, cracking, or coating damage. Ceramic coasters tolerate 400°F for extended periods (3–4 minutes) without structural degradation thanks to high thermal stability. Hardboard and MDF require lower temperatures (356–390°F) to prevent scorching the wood-fiber substrate beneath polymer layers. Neoprene car coasters need reduced heat (385°F) to maintain foam structure and insulating properties.
How long does it typically take to press sublimation onto a coaster?
Proper press duration ensures complete dye transfer from paper to polymer coating without underdevelopment or overheating damage. Ceramic coasters need 200–240 seconds at 400°F for full saturation—shorter times produce lighter, potentially faded prints. Hardboarding requires 150 seconds at 356°F; MDF presses faster at 50–70 seconds due to different thermal conductivity characteristics. Always verify manufacturer specifications since pressing time recommendations vary between blank suppliers. Materials with higher thermal conductivity distribute heat more evenly, which affects how quickly and consistently sublimation dye transfers across flat coaster surfaces. [2]
Can sublimation transfers work on stone and slate-style coasters?
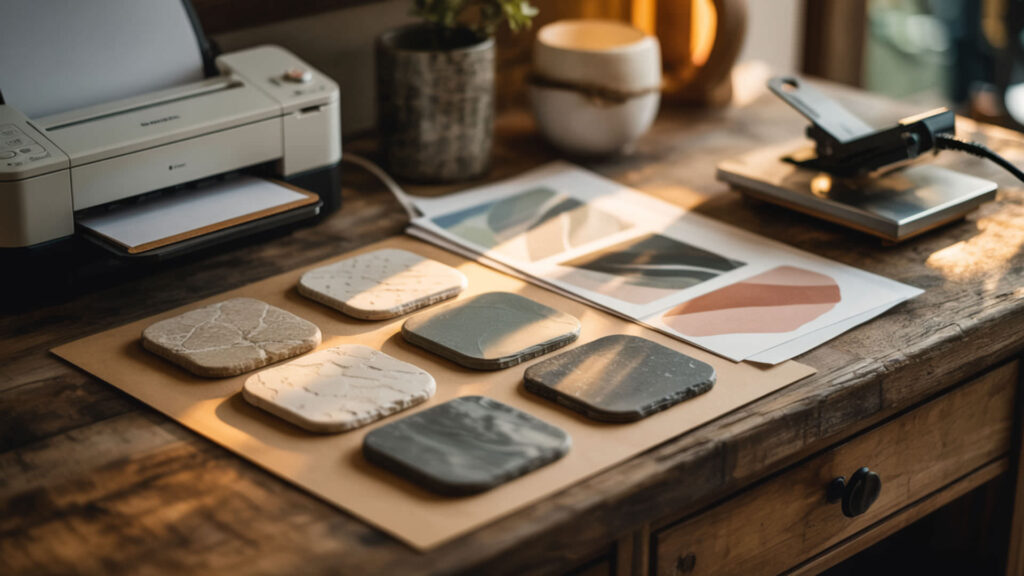
Stone substrates including sandstone and slate accept sublimation printing when properly coated with polymer layers designed for porous surfaces. The natural absorbency of stone materials requires thicker coating applications to create uniform dye-receptive surfaces across irregular textures. Sandstone coasters press at 400°F for 4.5–5.5 minutes using swing-away presses with medium pressure—clamshell presses distribute heat unevenly on thick stone substrates.
Can stone-style coasters accept sublimation without fading or clouding?
High absorbency in natural stone can cause clouding when polymer coating layers remain inconsistent or insufficiently thick across the surface. Quality sublimation-ready sandstone blanks feature factory-applied coatings designed to seal porous surfaces completely before printing. Temperature control prevents coating degradation that produces cloudy or hazy finished prints—overheating damages polymer layers on absorbent substrates. Cool coasters gradually by air-drying rather than water immersion to prevent thermal shock.
Can slate-style coasters be sublimated safely without cracking?
Even heat distribution prevents thermal stress that causes cracking in slate and other natural stone coaster materials. Press slate face-down initially (400°F for 8+ minutes), then flip face-up for additional 15–30 seconds to complete dye activation. Slate’s thickness requires extended pressing times significantly longer than ceramic or MDF alternatives—patience prevents incomplete transfers. Use felt pads beneath slate during pressing to cushion uneven natural surfaces.
How do you sublimate coasters step-by-step?

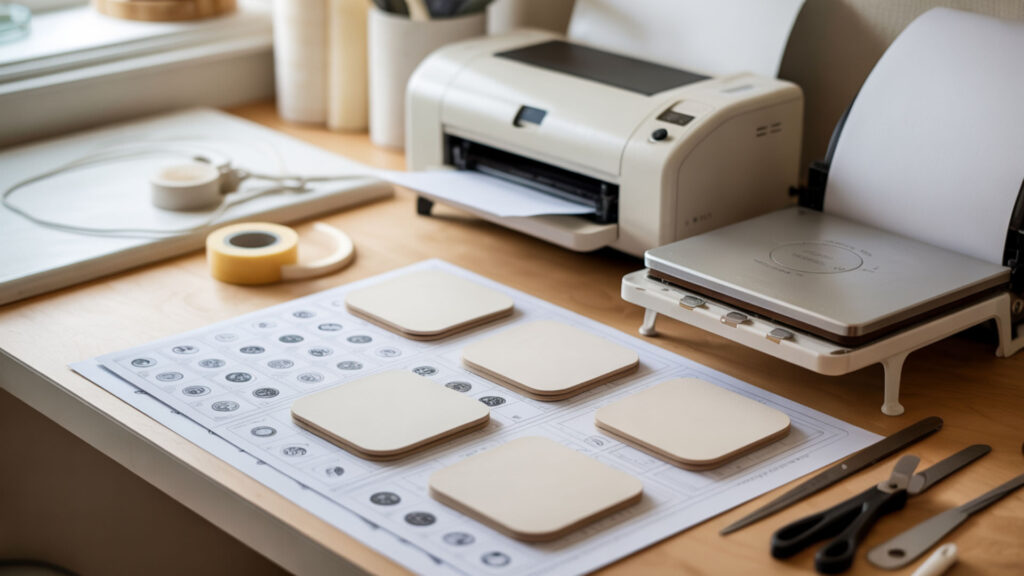
Begin by removing protective film from blank coasters and cleaning surfaces with lint rollers to eliminate dust and debris. Print mirrored designs onto transfer paper using high-quality settings, then position face-down on coasters and secure with heat-resistant tape. Place coasters on a flat heat press with butcher paper protection above and below, then press according to material specifications. Remove transfers immediately while hot using heat-resistant gloves, peeling in smooth continuous motions to prevent smearing.
Can ceramic-style coasters tolerate sublimation heat safely?
Ceramic coaster substrates handle sublimation temperatures (350–400°F) without warping, cracking, or structural damage when properly manufactured for heat exposure. The polymer coating bonded to ceramic surfaces determines print quality—not the ceramic base material itself. Factory coatings designed for sublimation withstand multiple heating cycles without degradation or adhesion failure. Ceramic mug sublimation follows similar coating and temperature principles covered in our complete ceramic coaster mug printing guide.
Can ceramic coasters be reheated for deeper color after a light transfer?
Re-pressing ceramic coasters at the same temperature for extended time can deepen faded transfers caused by insufficient initial pressing duration. Add 30–60 additional seconds while monitoring for color saturation improvement across the design. Note that re-pressing risks ghosting if transfer paper shifts during the second cycle—reapply tape if paper moved during cooling. Extremely light prints may indicate coating issues rather than timing problems—switch blank suppliers before wasting additional pressing time.
Can coasters handle moisture after sublimation?
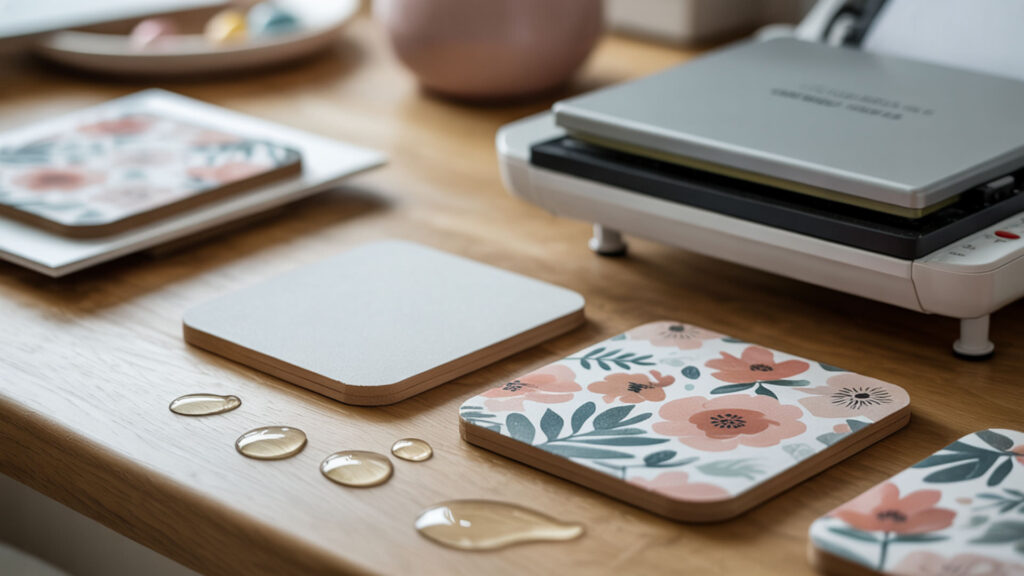
Color fastness in sublimated coasters depends on polymer coating integrity and proper dye bonding achieved through correct pressing parameters. Properly sublimated designs resist moisture penetration from normal beverage condensation during everyday use without fading or bleeding. Wipe sublimated coasters clean with damp cloths—avoid abrasive scrubbing that could damage polymer coating surfaces over time. Cork backing materials may absorb moisture independently of sublimated top surfaces.
Can sublimated coasters show durability loss if improperly sealed?
Moisture seeping between backing adhesive layers and coaster substrates causes delamination and structural failure over time. Cork backing attached with quality adhesive maintains integrity when applied to completely cooled coasters using proper bonding techniques. Color fastness degradation typically indicates insufficient pressing rather than sealing problems—underdeveloped sublimation prints fade faster than fully saturated transfers. Apply cork backing after sublimation to prevent heat damage to adhesive during pressing.
Ready to create custom sublimation coasters like a pro?
Mastering coaster sublimation requires matching temperature, time, and pressure settings to each substrate material’s specific requirements. Quality polymer coating on properly manufactured blanks determines maximum achievable print vibrancy and long-term durability regardless of pressing technique. Start with forgiving ceramic or MDF blanks before attempting challenging stone or slate materials requiring extended pressing times. Track successful parameters for each blank type to ensure consistent results across production batches.
Frequently Asked Questions
Can mis-timed heat pressing demagnetize magnets in coasters or nearby tools?
Standard sublimation temperatures (350–400°F) fall well below the Curie temperature where ferrite magnets lose magnetization permanently. Neodymium magnets have lower heat tolerance (working limit around 80°C/176°F) and should remain clear of heat press equipment. Magnetic phone holders and similar tools stored near presses may weaken with repeated heat exposure even without direct contact. Position magnetic items away from pressing areas as general workshop practice.
Can coaster sublimation look cloudy if overheated?
Overheating damages polymer coating layers, producing cloudy, hazy, or discolored finished prints on coaster surfaces. The coating partially degrades or separates from the substrate when temperatures exceed material tolerance limits. Reduce temperature by 10–15°F and test on sample blanks if cloudiness appears consistently across batches. Stone and slate materials show cloudiness more readily due to interaction between porous substrates and heat-stressed coatings.
Does humidity affect coaster transfer quality before pressing?
High humidity causes sublimation paper to absorb atmospheric moisture that interferes with clean dye transfer during pressing. Pre-press coasters for 10–15 seconds without transfers to drive absorbed moisture from substrate surfaces before printing. Store sublimation paper in sealed containers with desiccants when working in humid environments above 50% relative humidity. Morning pressing sessions often produce better results than afternoon work as humidity typically increases throughout the day.
Can sublimated coasters be pressed again later if colors turn out too light?
Re-pressing faded coasters with the original transfer paper can deepen color saturation when initial pressing time proved insufficient. Realign and re-tape transfers carefully—any movement between passes creates visible ghosting or double images. Add 30–60 seconds to pressing time while maintaining original temperature settings for best recovery results. Extremely light transfers may indicate coating defects rather than timing issues requiring blank replacement.
What visual defects appear if a coaster shifts during pressing?
Shifting produces ghosting—blurred or doubled image edges where dye transferred before and after movement during pressing. The defect appears most visibly on text, fine lines, and high-contrast design edges where misalignment becomes obvious. Prevent shifting by using multiple tape points and applying consistent downward pressure throughout the pressing cycle. Once ghosting occurs, the coaster cannot be corrected—proper taping technique prevents costly blank waste.
References
- Sublimation and the water cycle. (2019, June 8). USGS. https://www.usgs.gov/water-science-school/science/sublimation-and-water-cycle
- Thermal properties | Department of materials science & metallurgy. (n.d.). Department of Materials Science & Metallurgy |. https://www.msm.cam.ac.uk/research/research-disciplines/thermal-properties