Wondering how to setup and use Roland sublimation printers? Not sure where to start? Start with unpacking, move through detailed settings, and embark on your first print all in this comprehensive guide. We provide succinct tips and straightforward steps that quickly get your Roland up and running—ready for your creative projects. Are you excited to join us on a Roland sublimation journey?
Key Takeaways
- Proper setup and environment for the Roland Sublimation Printer is essential, including inventorying package contents, assembling components correctly, and ensuring the workspace has controlled climate conditions.
- Installation and activation of the Ergosoft Roland Edition Software are critical for printer management and productivity, requiring careful installation and configuration of basic image presets and advanced features for optimal printer performance.
- Maintenance and skill enhancement are ongoing processes, involving routine manual maintenance, keeping firmware and software up-to-date, engaging with technical support, and taking advantage of Roland Academy training for operational and advanced technique mastery.
Unboxing and Initial Setup

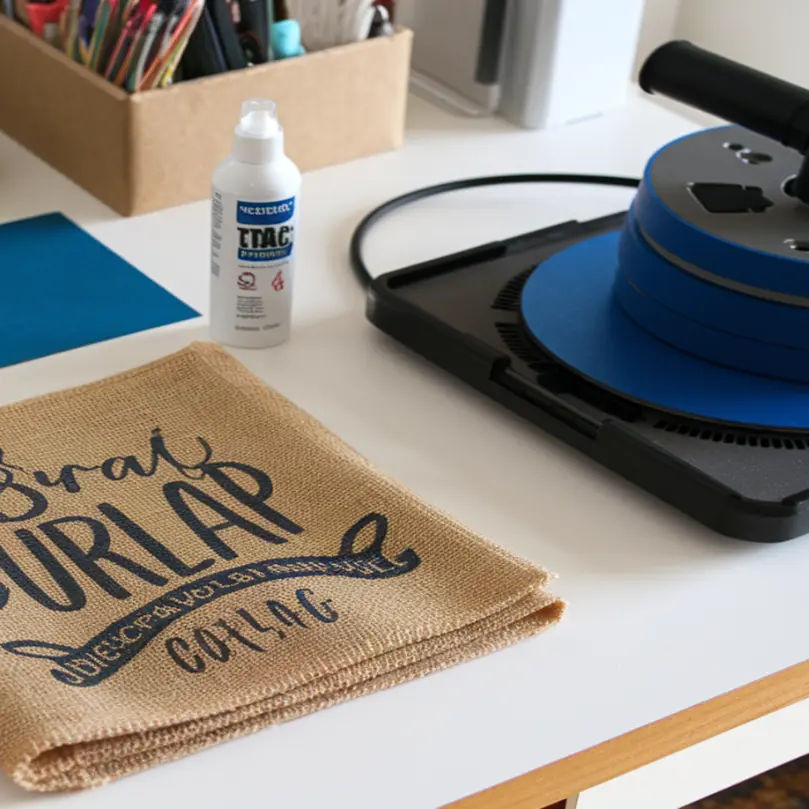
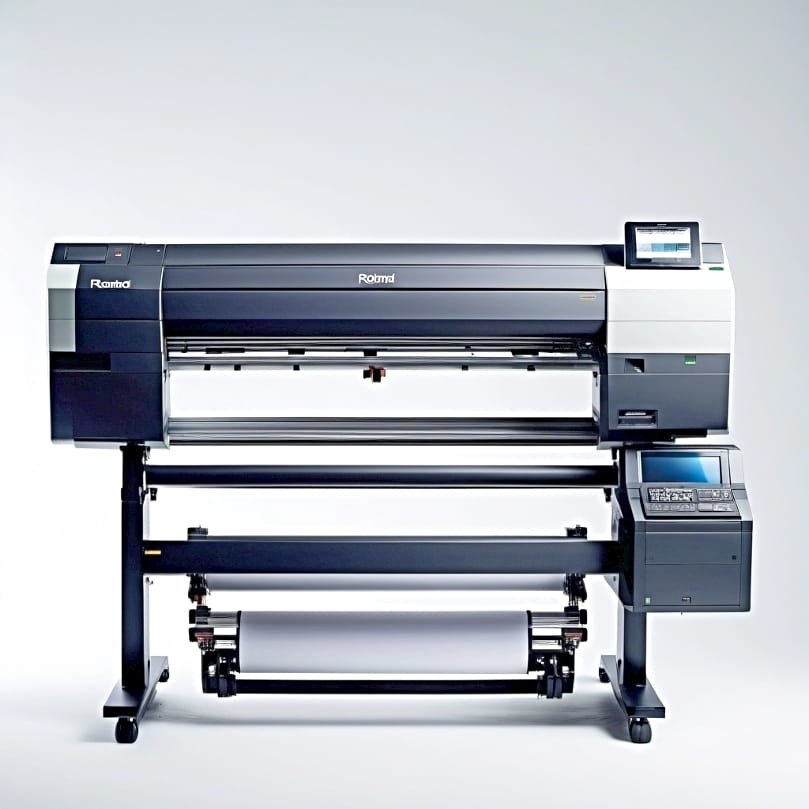
Unboxing your brand new Roland Sublimation Printer is undoubtedly exciting. However, careful handling and accuracy at this stage are paramount. From verifying the package contents to assembling the printer components, each step paves the way for an optimal printing experience. Are you wondering where to begin? Let’s get started!
Inventorying Your Package Contents
Your Roland Sublimation Printer should come with all necessary components for a smooth setup. A comprehensive list of these items is included in the user manual. Do verify that all components are present before kicking off the assembly. Some of the components you should check for include:
- Power cord
- Media clamps
- Ink pouches
- Cleaning cartridge
Make sure all these items are included to ensure a successful setup.
Assembling the Printer Components
After confirming the presence of all parts, you can now start assembling your Roland Sublimation Printer. Here are the steps to follow:
⫸ Click Here For Best Selling Sublimation Printers And Products ⫷- Create a clean and spacious workspace.
- Follow the assembly instructions for the stand and secure the main unit onto it.
- Attach auxiliary pieces like the waste ink bottle and machine covers.
Choosing the Right Environment for Your Printer
The final step in setting up your printer is choosing the right environment. The quality of your prints heavily relies on maintaining a controlled climate with temperatures between 59˚F-77˚F and above 35% relative humidity. Also, ensure your workspace is organized efficiently with all equipment and supplies within reach.
Installing Ergosoft Roland Edition Software
With your printer set up, we can now proceed to install the Ergosoft Roland Edition Software. This software will be your control center, allowing you to manage your printer, configure image presets, and activate advanced features.[1]
Running the Installer
Installing the software is straightforward: download the zip file containing the installer and execute it. However, remember to take note of any specific instructions or prerequisites stated in the installer to avoid complications down the line.
Configuring Basic Image Presets
The Ergosoft Roland DG Edition 3 software, designed for use with the Texart RT 640 printer, offers:
- Enhanced color reproduction
- Workflow operations that can be configured during setup
- The JobPreset feature to define job parameters for recurring tasks, ensuring faster and more accurate print production.
Activating the Software
Activation completes the software setup process. Activating the Ergosoft Roland DG Edition 3 software unlocks a host of advanced features that can significantly increase your productivity and control over the printing process, including soft signage capabilities.
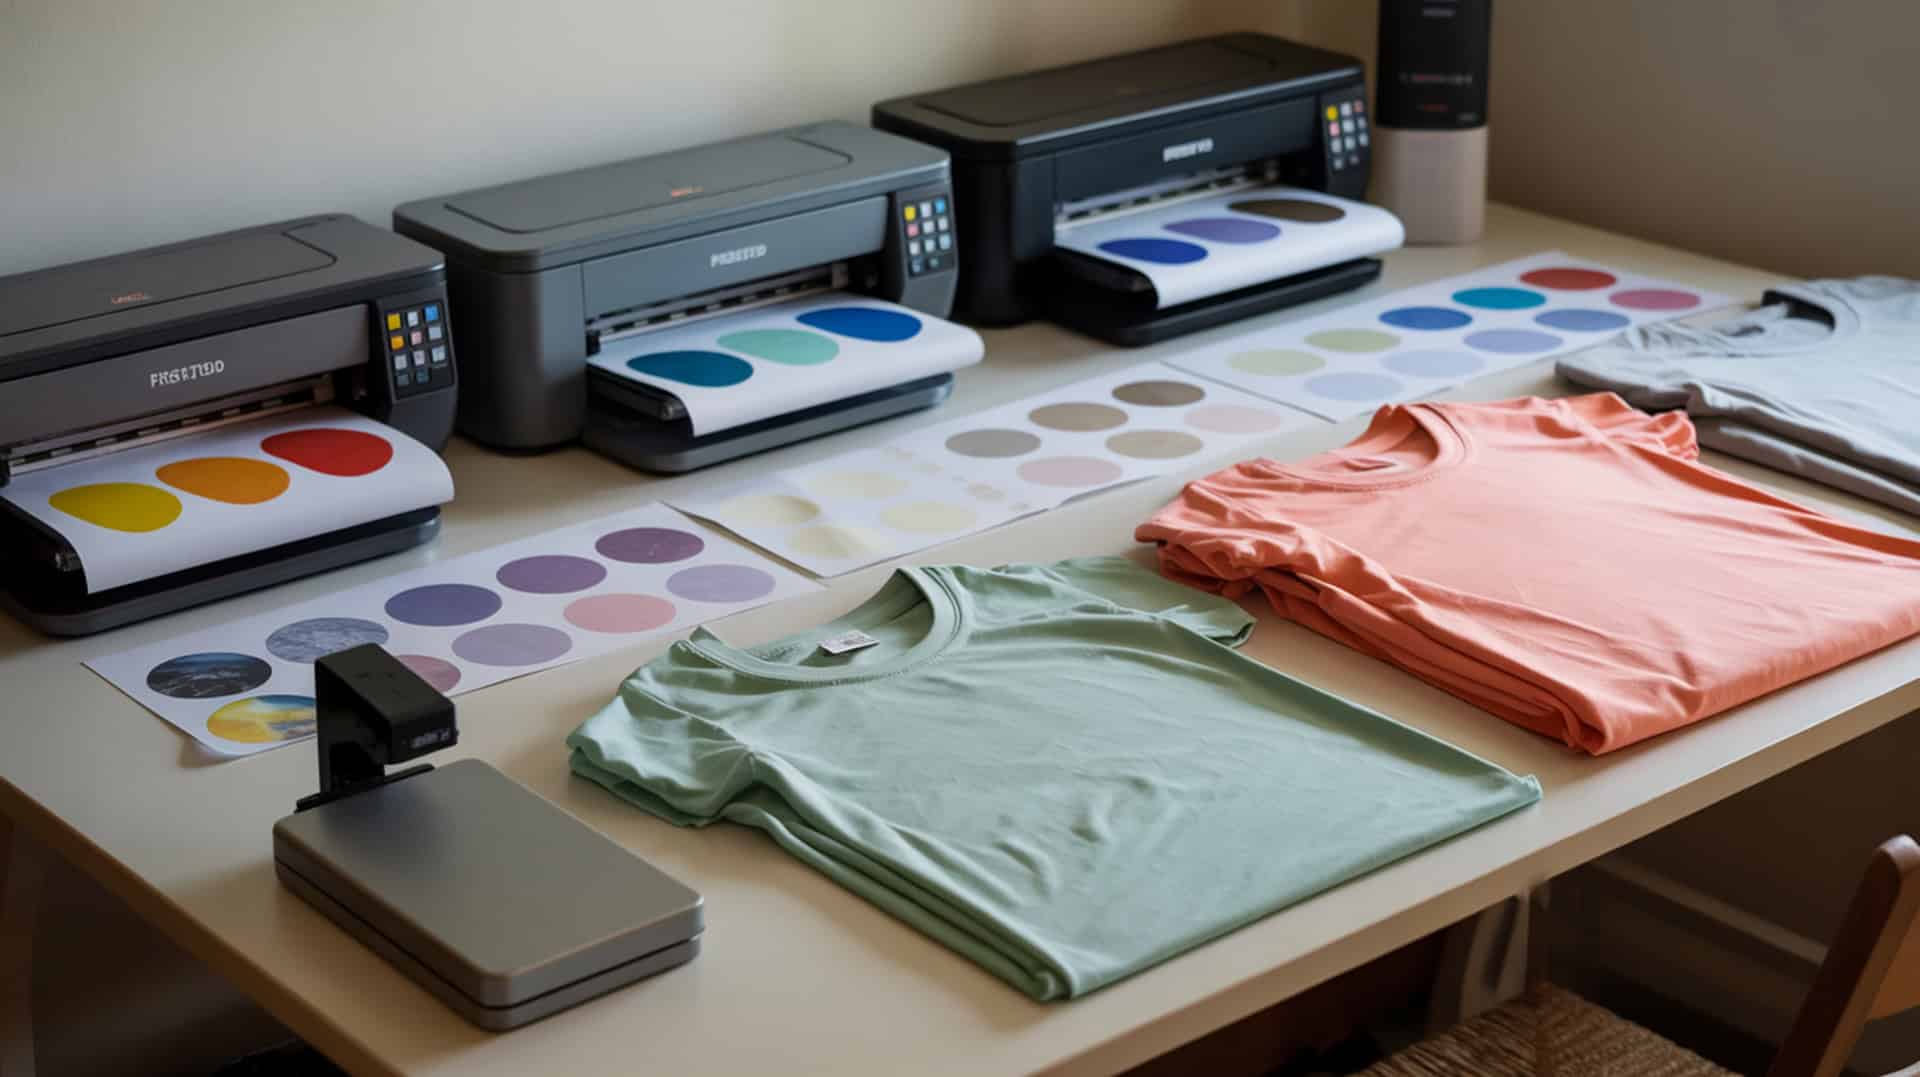
Loading Inks and Transfer Paper
With the software ready, the next step involves loading the inks and transfer paper into the dye sublimation printer. This step is critical in the dye sublimation printing process and requires careful handling and preparation.
Installing Fluorescent Inks
Installing the fluorescent inks involves shaking each ink cartridge gently before installation, ensuring the ink is well mixed. Then, insert each cartridge into its corresponding slot on the printer, pressing firmly until they click into place.
Preparing and Loading Transfer Paper
Preparing the transfer paper involves the following steps:
- Check for any defects and ensure it is the correct size and type for the project.
- Load the transfer paper into the printer, aligning it with the feed rollers.
- Adjust the tension to prevent skewing during printing.
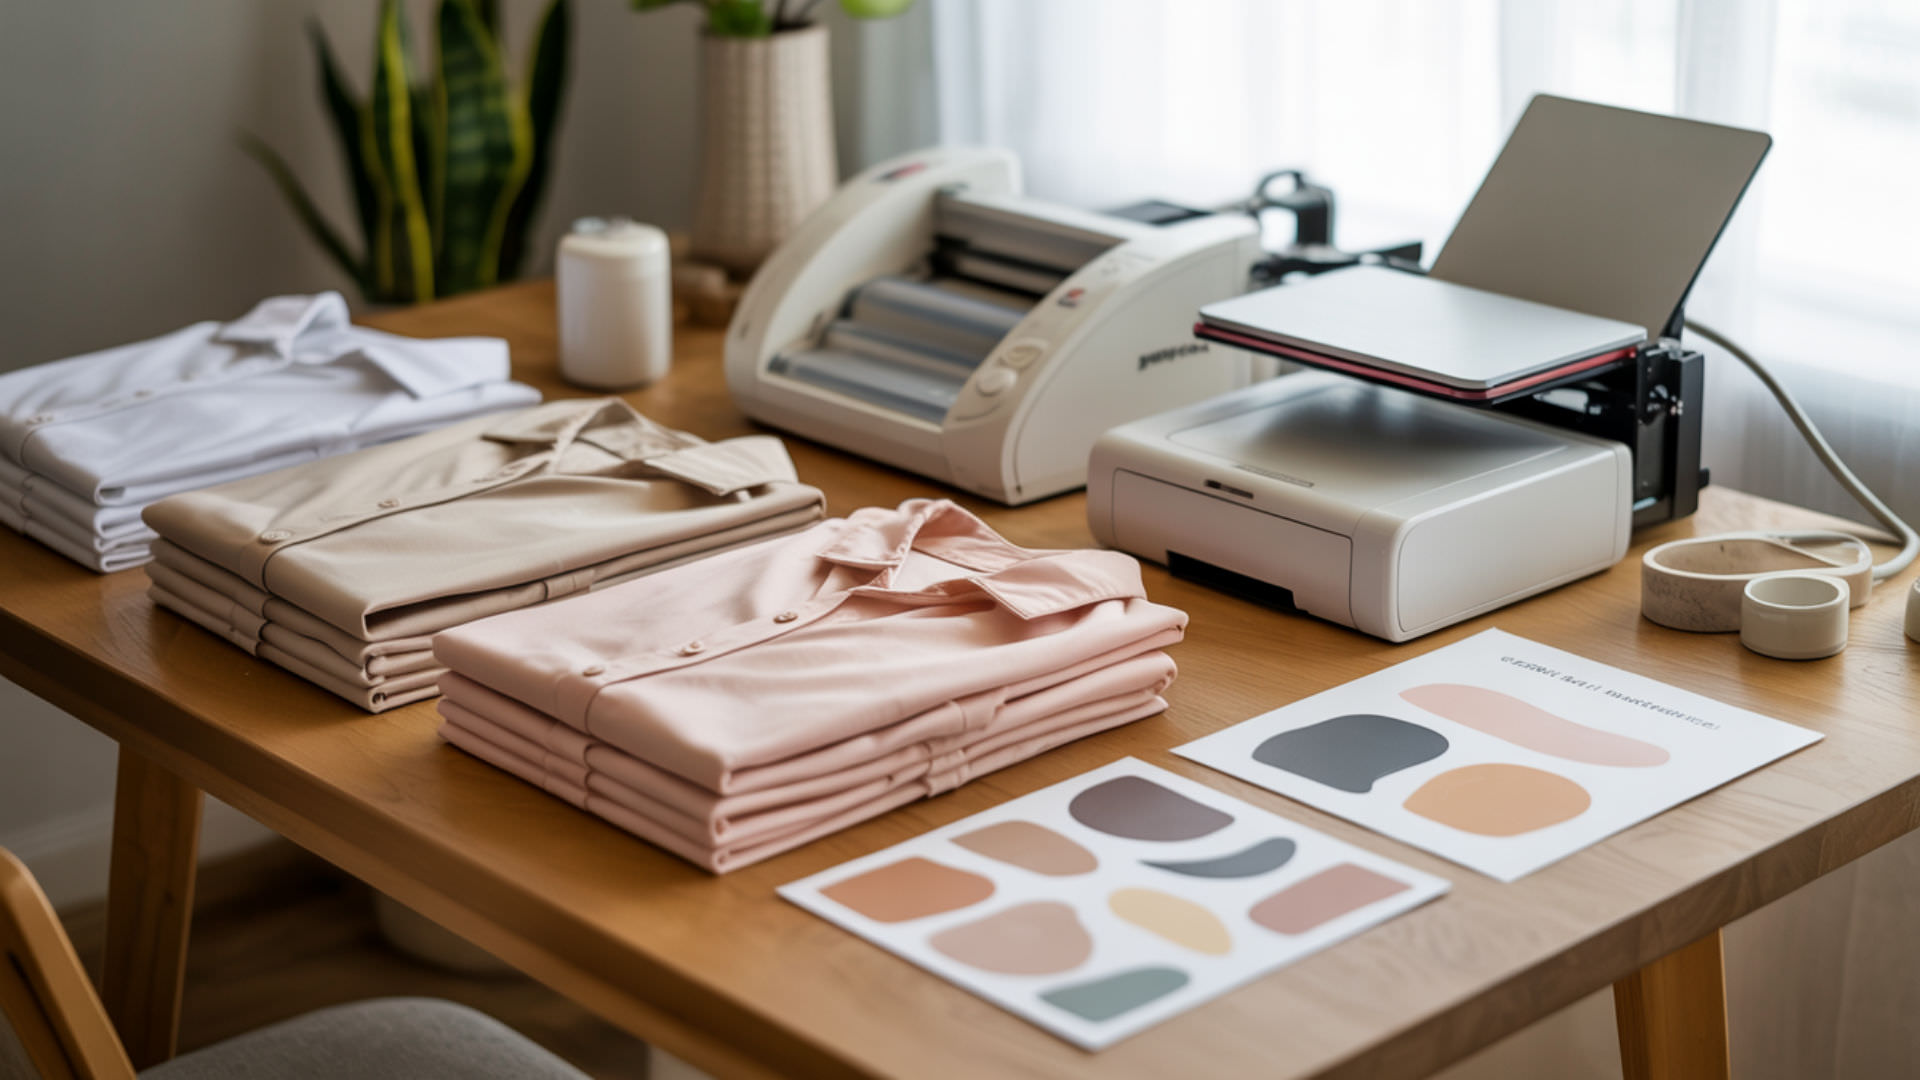
Calibration and Color Management
For top-tier print quality and consistency, calibration and color management are vital. This involves performing manual calibration, setting up color profiles, and utilizing direct color control.
Performing Manual Calibration
Performing manual calibration involves using a spectrophotometer to achieve precise color matches during print profiling. Calibration can be performed using VersaWorks software, which offers configurable input/output profiles and matching methods to match the output color with the original artwork.
Setting Up Color Profiles
Setting up color profiles involves synchronizing color management settings between your design and RIP software and downloading media profiles for optimal print quality.
VersaWorks, compatible with texart rt, allows the use of different simulation target profiles for RGB and CMYK colors, catering to your specific needs.
Direct Color Control and More Complex Edit Functions
To achieve consistent colors across different printers, Ergosoft Roland Edition offers advanced color management tools like the SwatchMatcher function and Color Equalizer tool. These tools enable you to generate a spot color library from other printers’ measurements and match output colors when using multiple printers.
Printing Your First Project

Now that your printer is set up, calibrated, and loaded with inks and paper, you can start printing your first project. The process begins with selecting and adjusting your design, followed by using the Ergosoft Roland Edition Print Environment Manager and monitoring your print job.
Selecting and Adjusting Your Design
Selecting and adjusting your design involves considering the unique features of sublimation printing. For instance, using full-bleed images and avoiding designs that require precise placement due to the potential for graphics to shift up to 2 inches during sublimation printing.
Using the Ergosoft Roland Edition Print Environment Manager
The Ergosoft Print Environment Manager, also known as Ergosoft Roland Edition, offers the following features:
- Comprehensive tool for managing print environments
- Import and assign print environments for specific printing tasks or media types
- Optimize your workflow
Monitoring Your Print Job
Monitoring your print job is an essential step in ensuring a successful print. The Queue Manager module in Ergosoft RIP is crucial for this, allowing you to manage and monitor multiple print jobs and improve workflow efficiency.
Post-Printing Processes
After completing the print job, you need to follow a few post-printing processes. These include transferring the image onto media using a heat press and applying finishing techniques for different media types.
Transferring Onto Media with a Heat Press
Transferring the image onto media involves using a heat press, which applies heat and pressure to the printed design from the transfer paper onto the final medium.
Remember to set up a safe workspace, position the transfer, preheat, and press the sublimation transfer.
Cooling and Finishing Touches
After the heat transfer, it’s time to cool the product and apply any necessary finishing touches. This process can involve managing press lines, using heat-safe foam pillows, and stretching the garment while hot to minimize press lines.
Maintenance and Troubleshooting
Keeping your printer in optimal condition is key to its longevity and performance. This section covers routine manual maintenance procedures, updating firmware and software, and seeking technical support when needed.
Routine Manual Maintenance Procedures
Routine manual maintenance involves using the Roland Mobile Panel 2 app for step-by-step instructions on the manual maintenance procedure, which includes manual cleaning. It’s worth noting that manual cleaning should be done after daily operations or before night-time unmanned printing.
Updating Firmware and Software
Keeping your printer’s firmware and software up to date is crucial for maintaining optimal performance. Check the current firmware and software versions regularly, and update using the Roland Firmware Update Tool and built-in update feature, which utilizes the appropriate firmware file.
Seeking Technical Support
Should you encounter any issues with your printer, Roland provides extensive technical support resources, including:
- Maintenance tips
- Tutorials
- Support resources on their service and support page
- Access to genuine Roland DG parts
Enhancing Skills with Roland Academy
Roland Academy offers a range of training sessions to help improve your skills and knowledge with Roland devices. These sessions cover basic operation and advanced techniques, allowing you to get the most out of your Roland Printer.
Accessing Training Materials and Install Guides
The Ergosoft Documentation Portal is a fantastic resource for instructional materials on installation, setup, and calibration. Here, you’ll find comprehensive training resources, including video guides and in-depth articles.
Attending Online and In-Person Training Sessions
Roland Academy offers both online and in-person training sessions at their dealership or service center. These sessions facilitate the exchange of ideas and teach innovative uses of Roland DG large format inkjet printers, including the Roland Texart series, providing an excellent opportunity for professional development.
Utilizing the Copeck Utility Version for Advanced Users
For advanced users, the Copeck utility provides detailed instructions and is compatible with a list of advanced Roland printer models. Through the Copeck utility, users can achieve a higher level of precision and efficiency in their print production.
Summary
Congratulations! You’ve made it through the comprehensive guide to setting up and mastering your Roland Sublimation Printer. From unboxing to maintenance, you now have all the knowledge needed to navigate the world of sublimation printing. Remember, practice makes perfect. So, don’t be discouraged if your first few prints don’t turn out as expected. Keep experimenting, keep learning, and soon enough, you’ll be printing like a pro! Don’t miss our comparisons on Roland sublimation printers!
You can check out my separate guide on setting up a Ricoh sublimation printer and guide on setting up a Mutoh sublimation printer.
Frequently Asked Questions
Why isn’t my sublimation printer working?
Your sublimation printer may not be working due to using the wrong type of ink or insufficient heat from the press. Double-check this to troubleshoot the issue.
What is the Roland BN-20 used for?
The Roland BN-20 is used for producing on-demand, heat transfer custom graphics for various items like t-shirts, hoodies, and bags, making it perfect for prints, posters, and stickers.
What should I do if I find any components missing after unboxing my printer?
Contact the retailer from whom you purchased the printer if you find any components missing after unboxing.
How often should I perform manual cleaning?
You should perform manual cleaning daily after operations or before leaving the printer unattended at night. This helps to maintain the printer’s performance and prevent potential issues.
How can I ensure consistent color output from my printer?
You can ensure consistent color output from your printer by regularly calibrating it and setting up color profiles for accurate results.
References
- Dallonses, hello@dallonses.com. (n.d.). Ergosoft Workflow Solutions | HP Official Site | HP Large Format Printers & Plotters UK. https://largeformat.hp.com/uk/solution/ergosoft