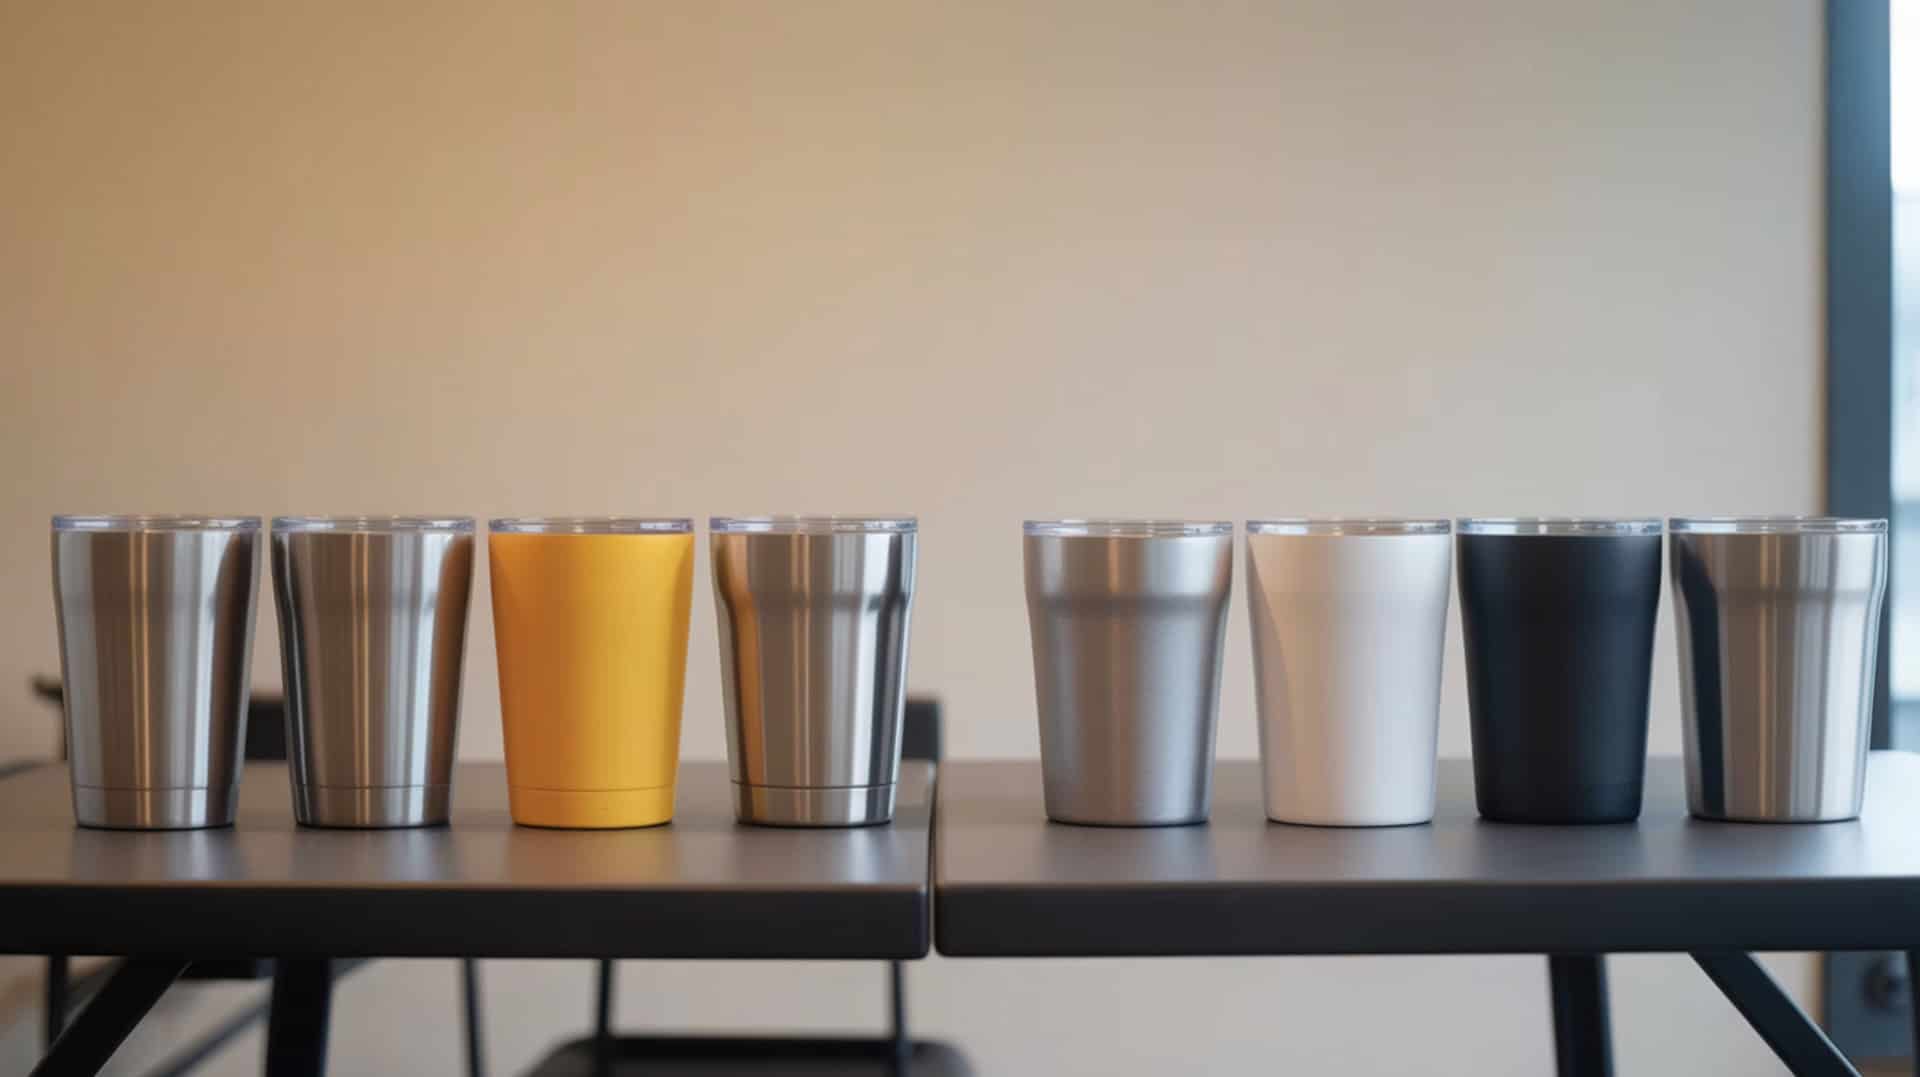
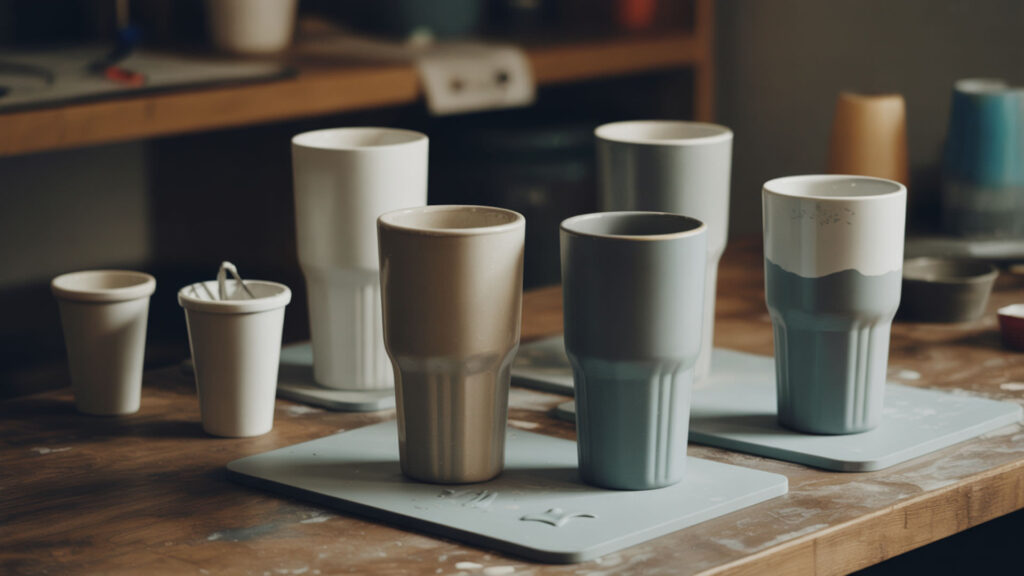
Sublimation creates permanent designs that bond directly with polymer-coated surfaces, producing prints locked beneath the coating before any protective layer goes on top. Epoxy resin transforms these tumblers into professional drinkware by adding durability and that sought-after glass-like shine that makes polymer coating substrates the foundation of quality drinkware products. Adhesion between epoxy and the tumbler surface determines whether your finished piece withstands daily use or peels away after a few washes.
Key Takeaways
- Epoxy resin requires precise mixing and patient curing to achieve lasting protection. Most formulas use a simple 1:1 ratio by volume and take 24 hours to cure completely, though full hardness develops over 72 hours.
- Temperature control between 70-80°F ensures proper curing without ripples or soft spots. Rushing any stage of the process—from surface preparation through final cure—compromises the finish quality.
- Invest time upfront, and your sublimated tumblers will deliver years of vibrant, protected color.
Can sublimation prints be sealed with epoxy on tumblers?

Epoxy resin functions as a thermosetting polymer, meaning it undergoes an irreversible chemical transformation when mixed. Once cured, the material cross-links into a permanent protective shell that cannot be melted or reshaped. This characteristic makes epoxy ideal for drinkware because heat resistance prevents softening during normal use and dishwasher cycles. The sealed surface shields sublimation dyes from abrasion, moisture, and UV exposure that would otherwise degrade the printed image. Epoxy resins cure through chemical crosslinking reactions that form a rigid, durable polymer network capable of permanently sealing surfaces. [1]
Can epoxy be applied over sublimation prints safely?
The epoxide group within the resin formula reacts with hardener to form strong cross-linking bonds. These chemical connections create adhesion that grips polymer-coated stainless steel without damaging the underlying sublimation dye. Properly mixed epoxy bonds safely because the curing reaction happens at room temperature rather than requiring heat that could affect the print. The polymer coating acts as an intermediate layer that both accepts the sublimation dye and provides a suitable surface for epoxy attachment.
Can sublimation ink transfer onto epoxy if attempted later?
Sublimation dye cannot transfer onto cured epoxy because the polymer coating locks the ink molecules in place permanently. The heat-activated dye penetration happens only once during the initial press, embedding color into the polymer structure. Applying epoxy afterward simply seals this already-complete bond under a protective layer. Any attempt to sublimate onto cured epoxy would fail because the resin creates a barrier that prevents dye gas from reaching receptive polymer molecules beneath.
How does epoxy affect sublimation color longevity?
Chemical resistance provided by cured epoxy shields sublimation dyes from substances that cause fading. Daily contact with acidic drinks, cleaning solutions, and environmental pollutants cannot penetrate the hardened surface to reach the color beneath. The gloss finish also adds optical depth that makes colors appear more vibrant and saturated than uncoated prints. UV inhibitors in quality epoxy formulas further protect against sunlight degradation that yellows both the coating and the underlying design over time.
How should tumblers be prepped before epoxy sealing?
Surface preparation eliminates contaminants that prevent proper adhesion between epoxy and the tumbler coating, making thorough cleaning essential—skills that overlap with the prep work required for surface preparation in making sublimation tumblers. Dust contamination creates permanent texture flaws magnified under the glossy finish. Wipe the entire tumbler with isopropyl alcohol using a lint-free cloth, then avoid touching the surface with bare hands. Oils from fingerprints cause fish eyes that ruin otherwise perfect applications.
Do tumblers need sanding between epoxy layers?
Light sanding creates mechanical adhesion between cured layers that prevents peeling and delamination. When the first coat has fully hardened, the surface becomes too smooth for subsequent layers to grip effectively. Scuffing with fine sandpaper produces microscopic scratches that give fresh epoxy something to grab onto during curing. Skip this step within the recoat window—typically 4-10 hours—when layers still bond chemically without mechanical assistance.
What grit range works when sanding cured epoxy on tumblers?
Surface preparation between coats requires 200-400 grit sandpaper for optimal results. Coarser grits below 180 create deep scratches visible through subsequent layers, while finer grits above 400 fail to provide adequate tooth for bonding. Work the entire surface evenly, paying particular attention to the rim and base where coating tends to pool thicker. Clean thoroughly with alcohol after sanding to remove all dust particles before applying the next coat.
What time and layer count affect epoxy results on tumblers?
Curing chemistry determines working windows and final hardness more than simple drying time. Pot life—the period between mixing and when epoxy begins thickening—ranges from 10-45 minutes depending on formula speed. Standard products offer 15-20 minutes of working time before the mixed resin becomes too viscous to spread evenly. Rushing application or attempting to work beyond pot life creates uneven coverage, trapped air, and permanent texture problems that require sanding to correct. Exothermic reactions release heat as they occur, which explains why applying epoxy layers too closely together can cause rippling, uneven curing, or surface separation. [2]
How long does epoxy typically take to dry on a tumbler?
Curing progresses through several stages beyond surface dryness that matter for handling and use. Touch-dry conditions develop within 1-4 hours as cross-linking begins solidifying the outer layer. Full cure requires 24 hours for most formulas, allowing safe handling and decal application. Complete hardness—when the epoxy reaches maximum chemical and scratch resistance—takes 72 hours to one week depending on temperature and humidity conditions during the curing period.
Can multiple coatings cause surface waviness or separation if mis-timed?
The exothermic reaction during epoxy curing generates heat that affects subsequent layer adhesion. Applying fresh epoxy over a coat that has begun curing but not finished creates incompatible surface chemistry. Heat from the reaction below can cause waviness, bubbling, or complete separation as the new layer fails to bond properly. Either apply within the recoat window before the first layer gels, or wait for full cure and sand before adding more.
How many layers are usually applied for smooth, durable results?
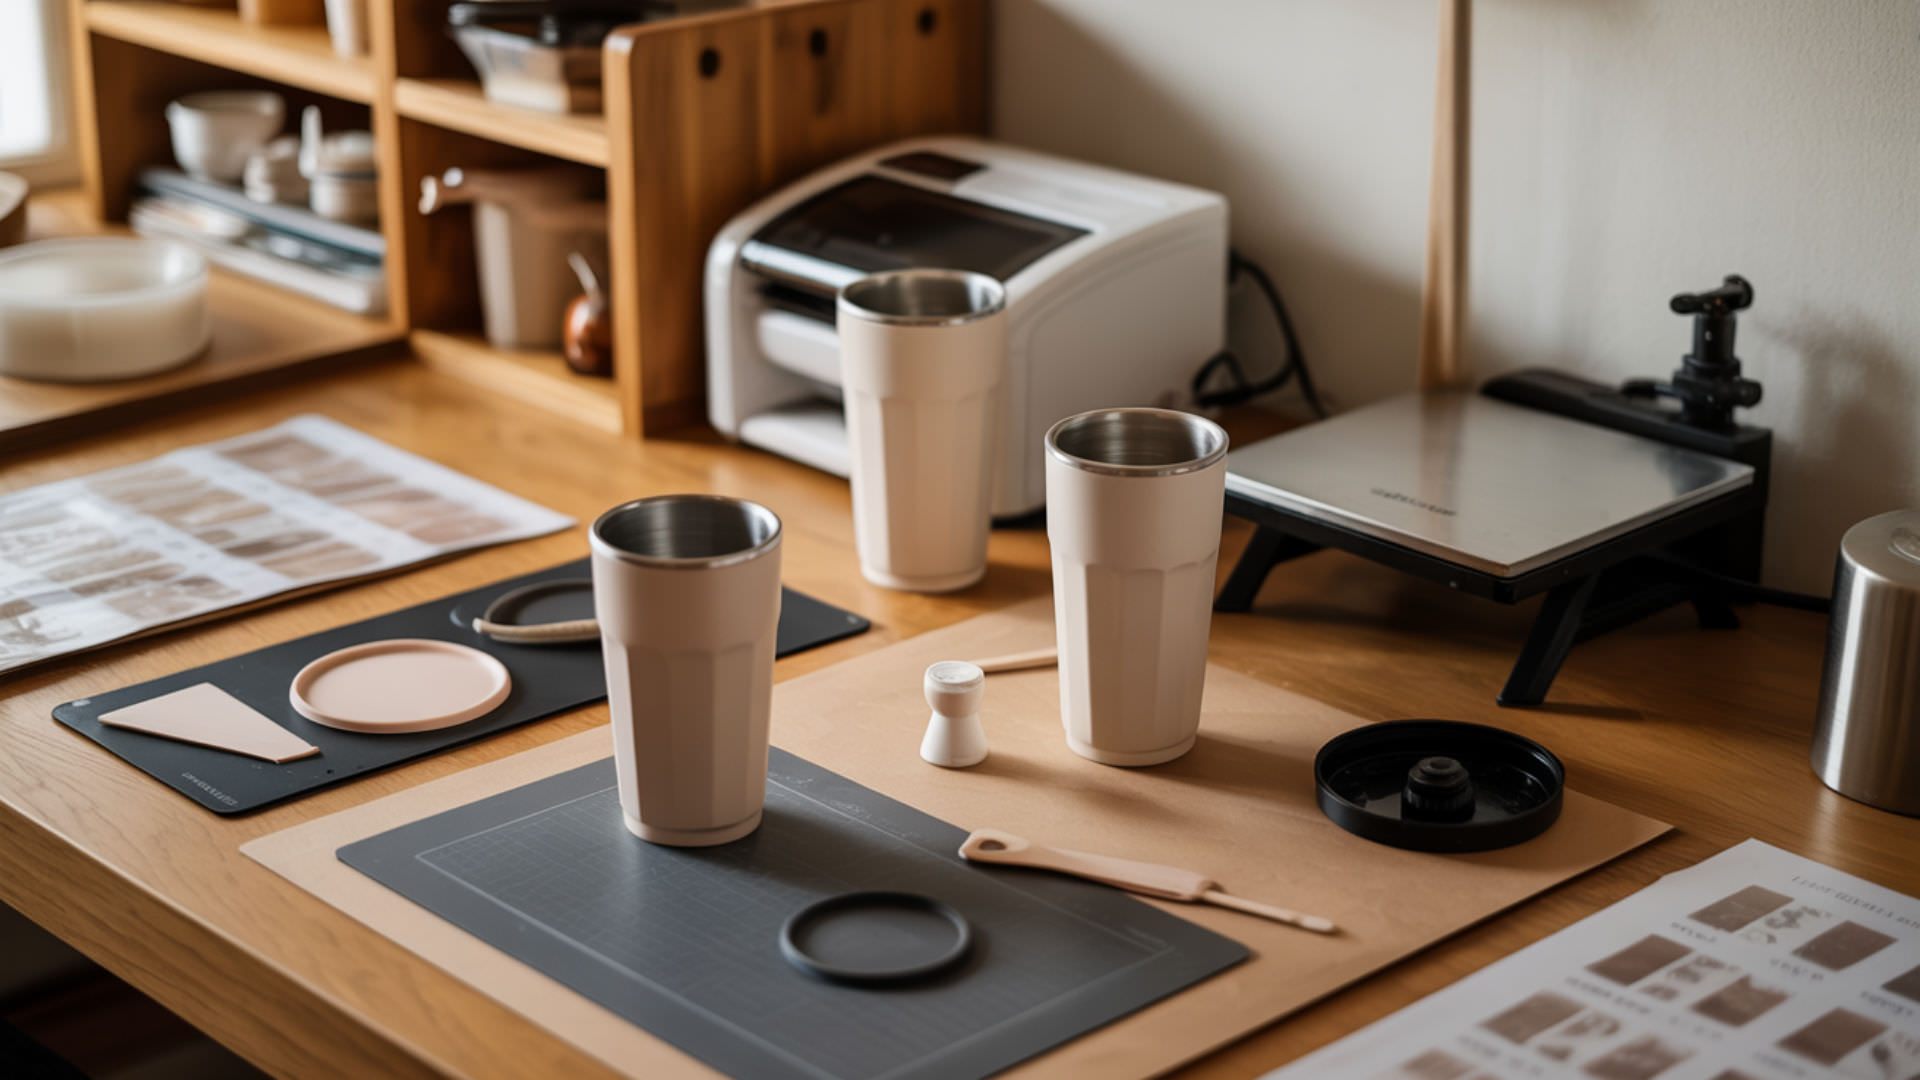
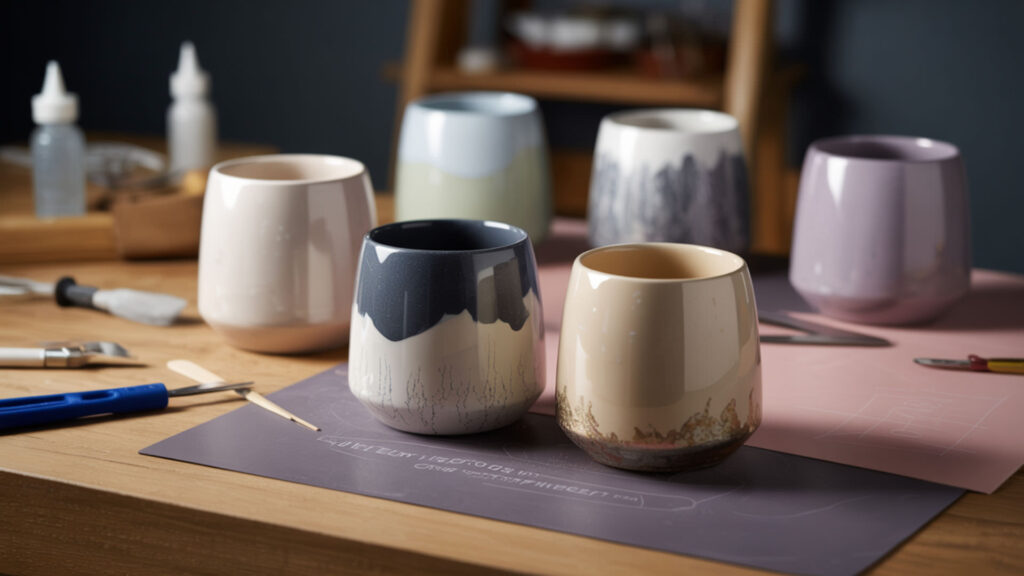
Most sublimation tumblers achieve optimal results with two to three layers of thermosetting polymer coating. The first layer seals the surface and covers any texture from glitter or decals, while subsequent coats build thickness and eliminate remaining imperfections. Exceeding three layers risks surface problems including waviness and uneven curing without improving durability. Thin, even applications produce better gloss finish quality than fewer thick coats that trap air and create drips.
How do you epoxy a sublimation tumbler step-by-step?
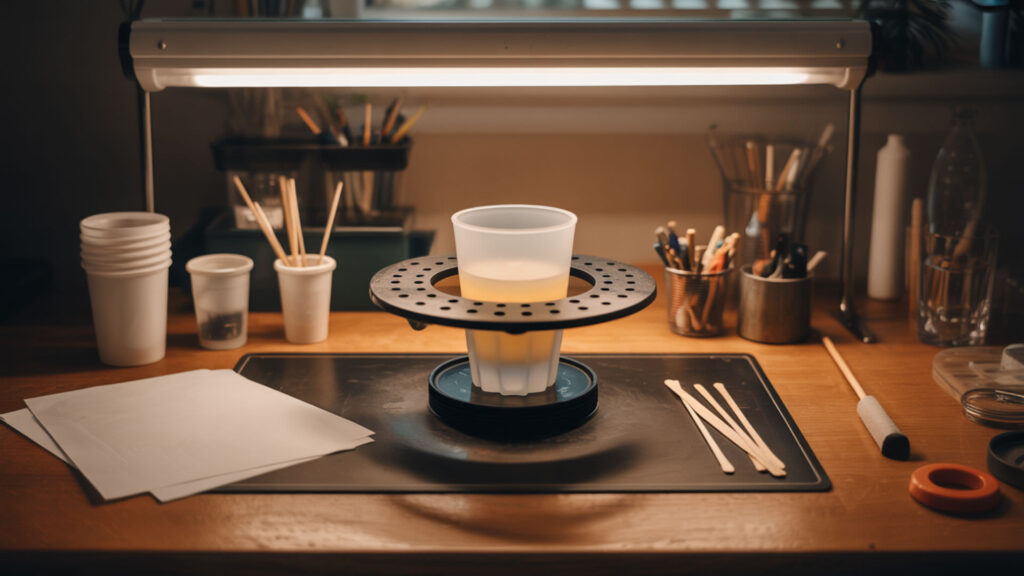
Mix ratio precision determines whether your epoxy cures correctly—combine equal parts resin and hardener by volume, stirring thoroughly for 2-3 minutes while scraping container sides, then rotational curing on a cup turner prevents drips while ensuring uniform coverage around the entire circumference. Pour mixed epoxy onto the tumbler while spinning, using gloved fingers to spread evenly. Apply 1-1.5mL of mixed epoxy per ounce of tumbler capacity. For bubble release, pass a heat gun quickly across the surface at 6-8 inches distance.
What defects appear if epoxy isn’t smooth on tumblers?
Viscosity affects how epoxy flows across curved surfaces, and adhesion problems from surface contamination cause defects like fish eyes that also plague other curved drinkware like mugs. Thick epoxy creates ridges that harden before leveling, while thin formulas sag and run off edges. Fish eyes—circular craters where epoxy pulls away from contaminated spots—indicate oils or dust preventing proper surface tension. Temperature shock causes orange peel texture throughout the finish.
Why does epoxy sometimes turn wavy during drying?
Viscosity changes during curing create waviness when epoxy begins gelling unevenly. Temperature fluctuations cause some areas to cure faster than others, creating hills and valleys as the surface solidifies at different rates. Rotational curing inconsistencies—whether from improper turner speed or an unlevel setup—allow gravity to pull thickening resin toward the lowest point. Maintaining 70-80°F room temperature and consistent 5-10 RPM rotation throughout the gel phase prevents most wave formation.
Why does epoxy sometimes separate or retract from the surface?
Poor surface preparation causes the characteristic fish eye pattern where adhesion fails in scattered spots. Oils from fingerprints, silicone from spray sealers, or dust particles create barriers that disrupt surface tension. The epoxy literally runs away from contaminated areas, forming crater-like depressions surrounded by raised edges. Prevention requires thorough alcohol cleaning, glove wearing, and working in dust-free environments—attempting to brush over separations only spreads the contamination further.
Ready to epoxy your sublimated tumbler like a pro?
Epoxy resin elevates sublimation tumblers from attractive prints to professional products built for daily use. That gloss finish catches light beautifully while protecting your designs from wear, washing, and UV exposure. Start with clean surfaces, mix precisely, and respect curing times for results that impress customers and gift recipients alike. Every tumbler you coat builds experience that makes the next one smoother, faster, and more consistent in quality.
Frequently Asked Questions
Can epoxy cause colors to fade over time on sublimated tumblers?
Quality epoxy with UV inhibitors actually protects colors from fading by blocking sunlight that degrades sublimation dye. Chemical resistance in the cured coating also prevents drink acids and cleaning solutions from reaching the printed layer. Fading typically indicates either UV-damaged epoxy that has yellowed or inferior resin without proper stabilizers. Heat resistance up to 120°F ensures normal use temperatures cannot affect the sealed print beneath.
Can a tumbler be recoated if epoxy dries unevenly the first time?
Uneven first coats can be corrected with proper preparation and additional layers. Sand the cured surface with 220-320 grit until smooth, clean thoroughly with alcohol, and apply a fresh coat. Thin problem areas may need extra attention during sanding to level the surface before recoating. Most imperfections disappear under a properly applied second layer that self-levels across the prepared surface.
Does humidity affect epoxy flow and finish on sublimated tumblers?
High humidity interferes with curing chemistry and can cause cloudiness, surface tackiness, or adhesion failure. Moisture-sensitive formulas may react with atmospheric water vapor before hardening properly. Ideal conditions fall between 40-60% relative humidity in a temperature-controlled workspace. Some fast-cure formulas specifically warn against humid environment use because the accelerated reaction increases moisture sensitivity during the critical gel phase.
Can too many coats weaken surface smoothness or durability?
Excessive layering beyond three coats creates diminishing returns and potential problems. Each additional layer adds curing complexity where heat buildup and timing become harder to manage. Thick accumulation may cure unevenly, creating soft spots beneath hard surfaces that flex under pressure. The optimal two to three coats provide complete coverage and maximum durability without the risks associated with over-application.
Can epoxy-sealed tumblers be washed without transfer quality loss?
Properly cured epoxy creates a waterproof barrier that protects sublimation from washing indefinitely. Hand washing with mild soap preserves both epoxy clarity and underlying print vibrancy. Most quality epoxy formulas tolerate top-rack dishwasher use after full 72-hour cure, though hand washing extends coating longevity. The chemical and heat resistance of thermosetting polymer coatings ensures washing cannot affect the permanently bonded sublimation dye beneath.
References
- Epoxy resin | chemical compound | Britannica. (n.d.). Encyclopedia Britannica. https://www.britannica.com/science/epoxy-resin
- https://www.monash.edu/student-academic-success/chemistry/carbon-based-fuels/exothermic-and-endothermic-reactions