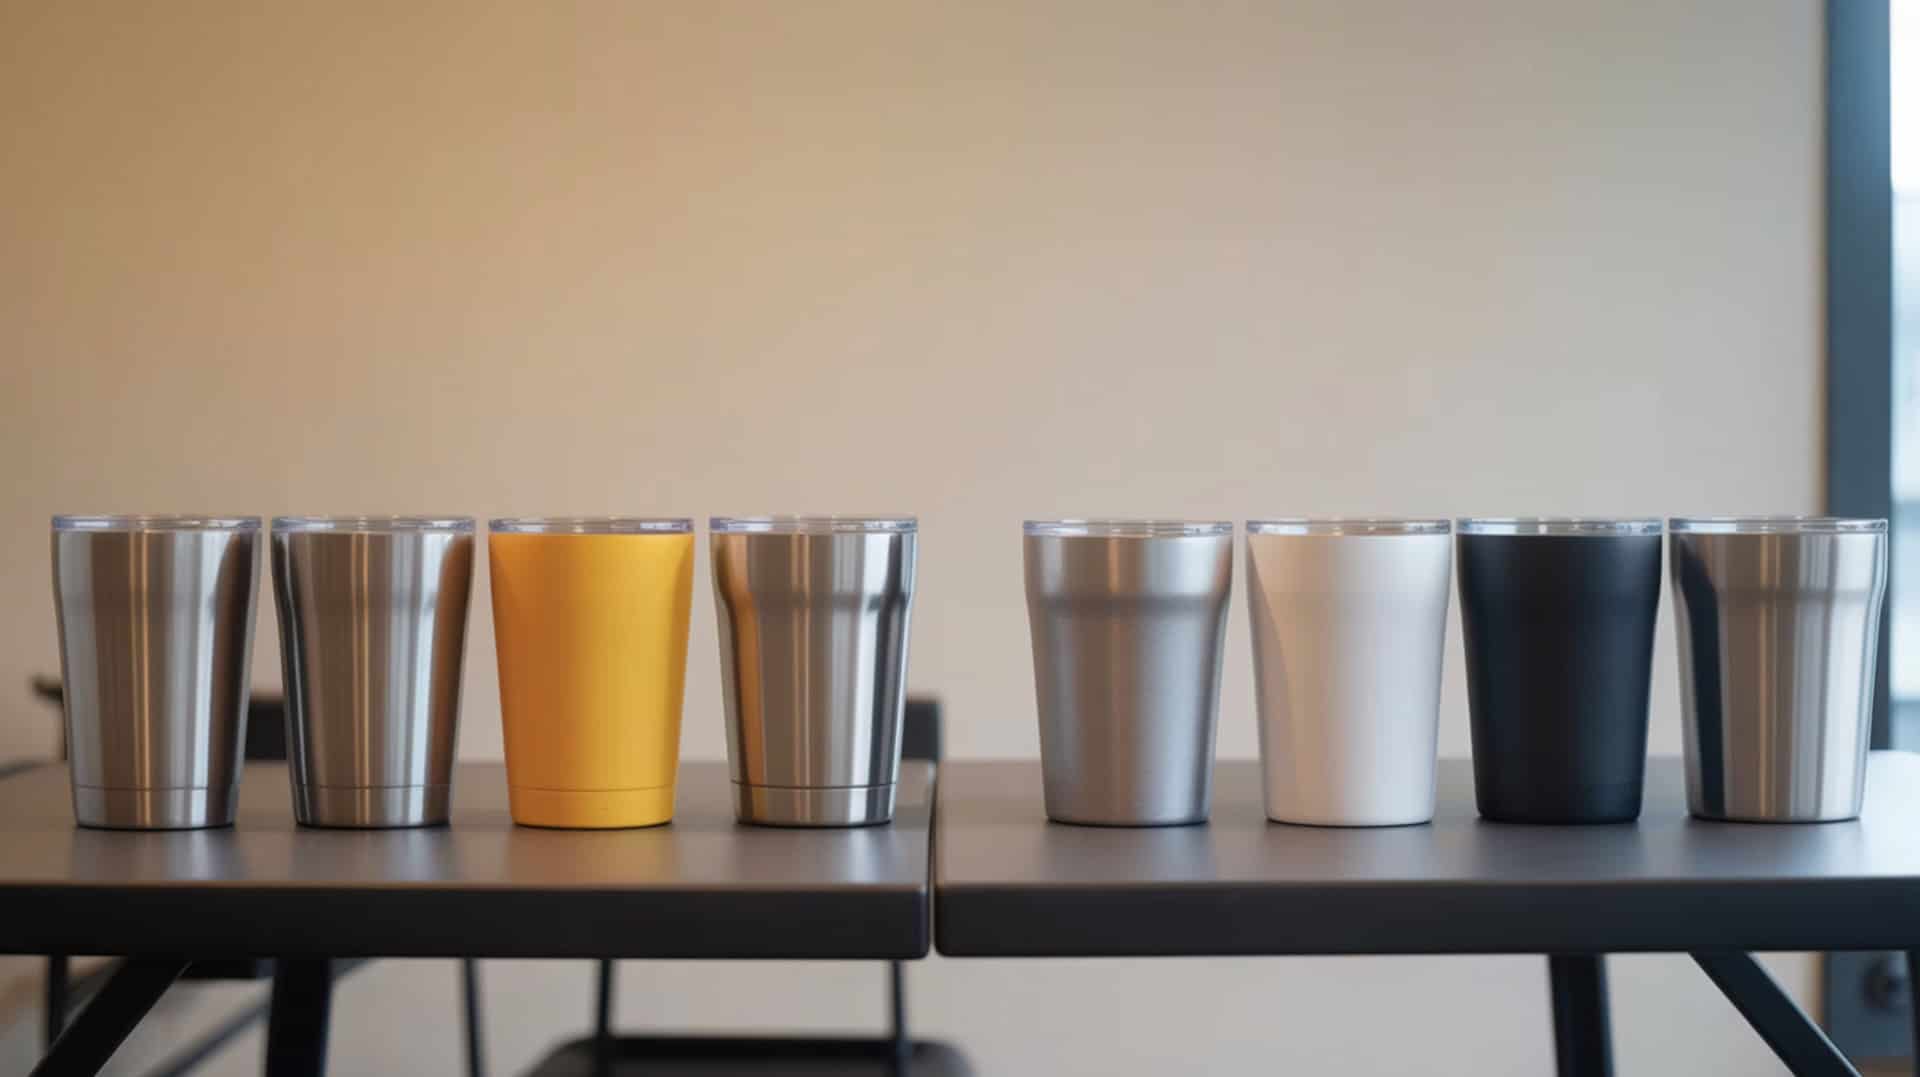
Stainless steel tumblers require polymer coating on exterior surfaces to accept sublimation ink transfer during heat pressing or oven baking processes. The coating contains polyester compounds that capture gaseous dye molecules when heat converts solid sublimation ink into gas during transfer cycles. Without this specialized coating layer, metal surfaces cannot bond with sublimation dyes regardless of temperature or time settings applied. Polymer-coated substrates enable dye bonding across all drinkware categories as explained in our complete polymer coating drinkware sublimation guide.
Key Takeaways
- Temperature between 360–400°F activates sublimation dye conversion for proper transfer into polymer coating on tumbler surfaces.
- Heat distribution around cylindrical surfaces determines transfer uniformity—uneven heating causes patchy or incomplete designs.
- Press methods require 30–45 seconds per side while oven methods need 5–6 minutes with rotation for complete coverage.
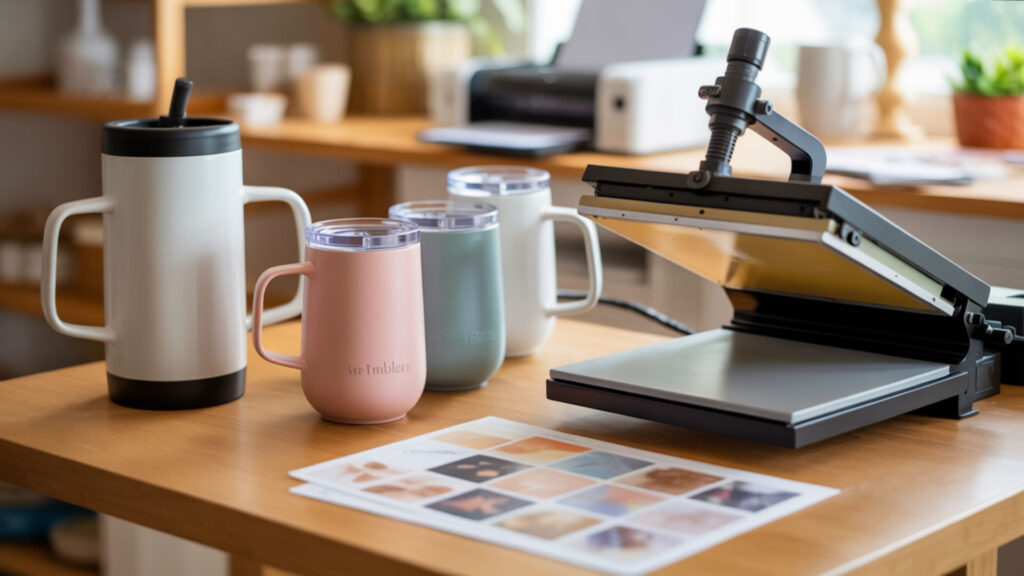
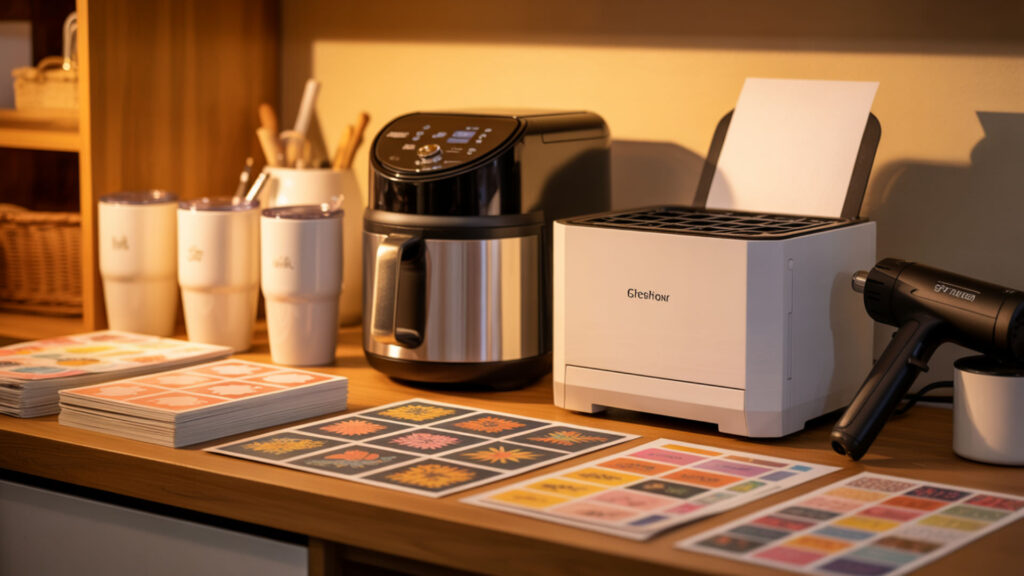
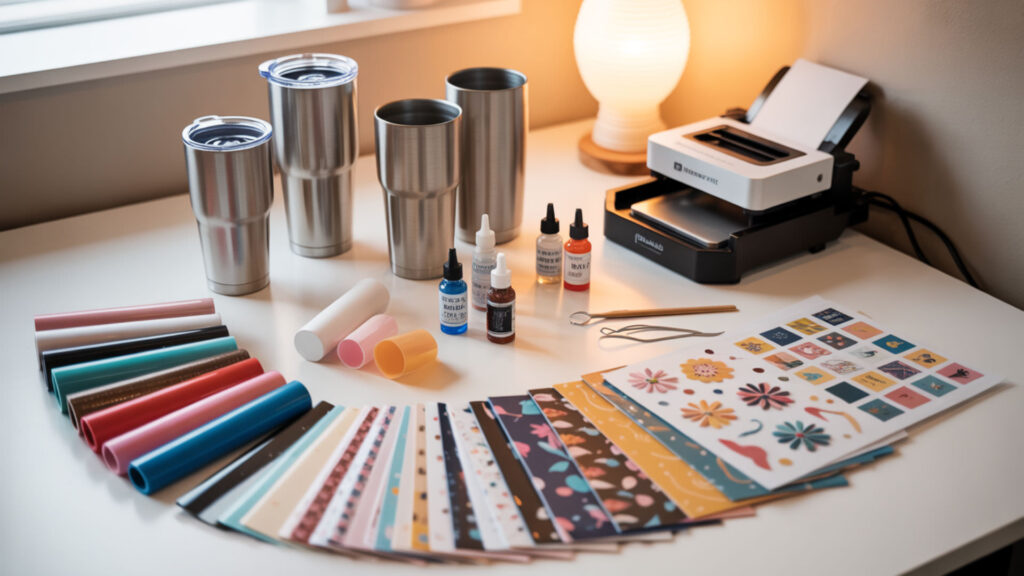
What supplies and tools are needed to sublimate tumblers?
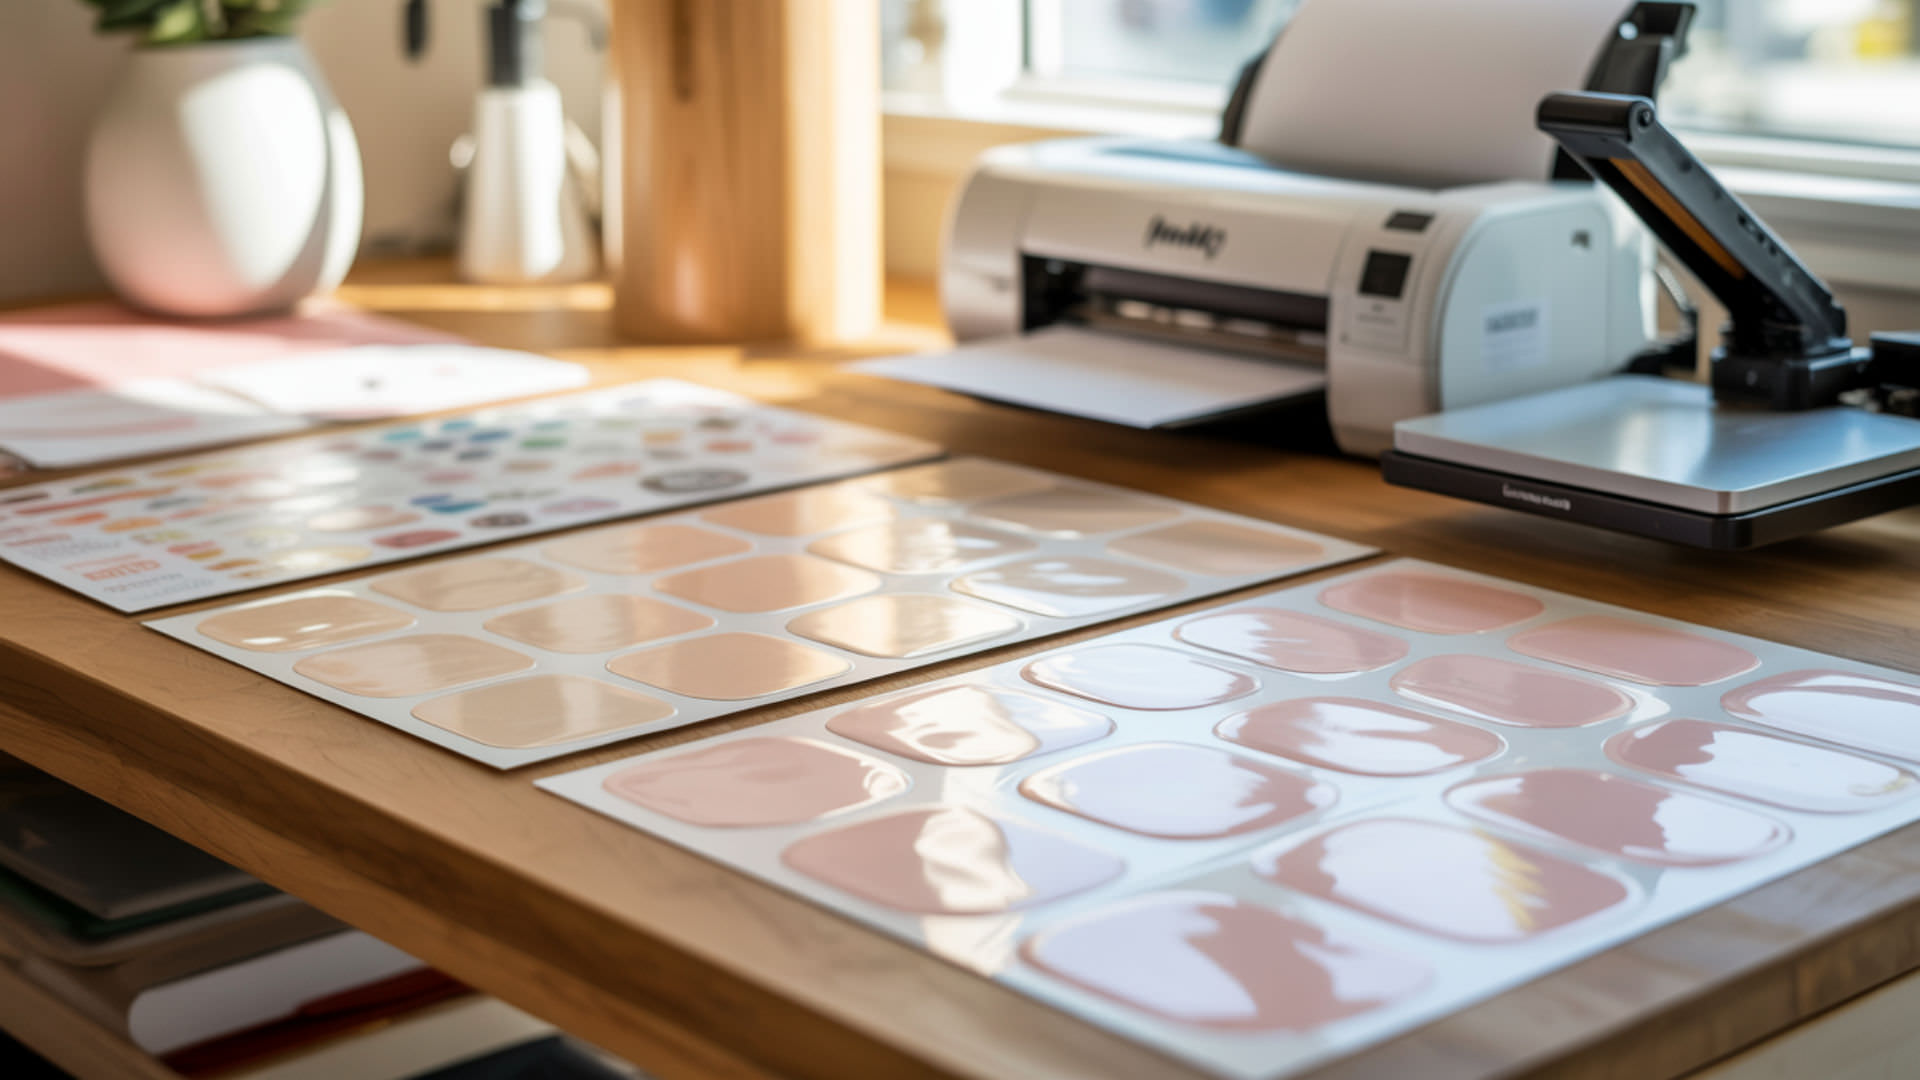
Creating sublimation tumblers requires specialized equipment including a tumbler press or convection oven, sublimation wrap for full designs, and heat tape to secure transfer paper during heating cycles. Heat tape prevents design shifting that causes ghosting artifacts on finished products. Sublimation wrap templates simplify accurate design placement around cylindrical surfaces for seamless full-coverage prints. Press-based heating techniques for cylindrical drinkware parallel mug sublimation methods covered in our tumbler press mug sublimation guide.
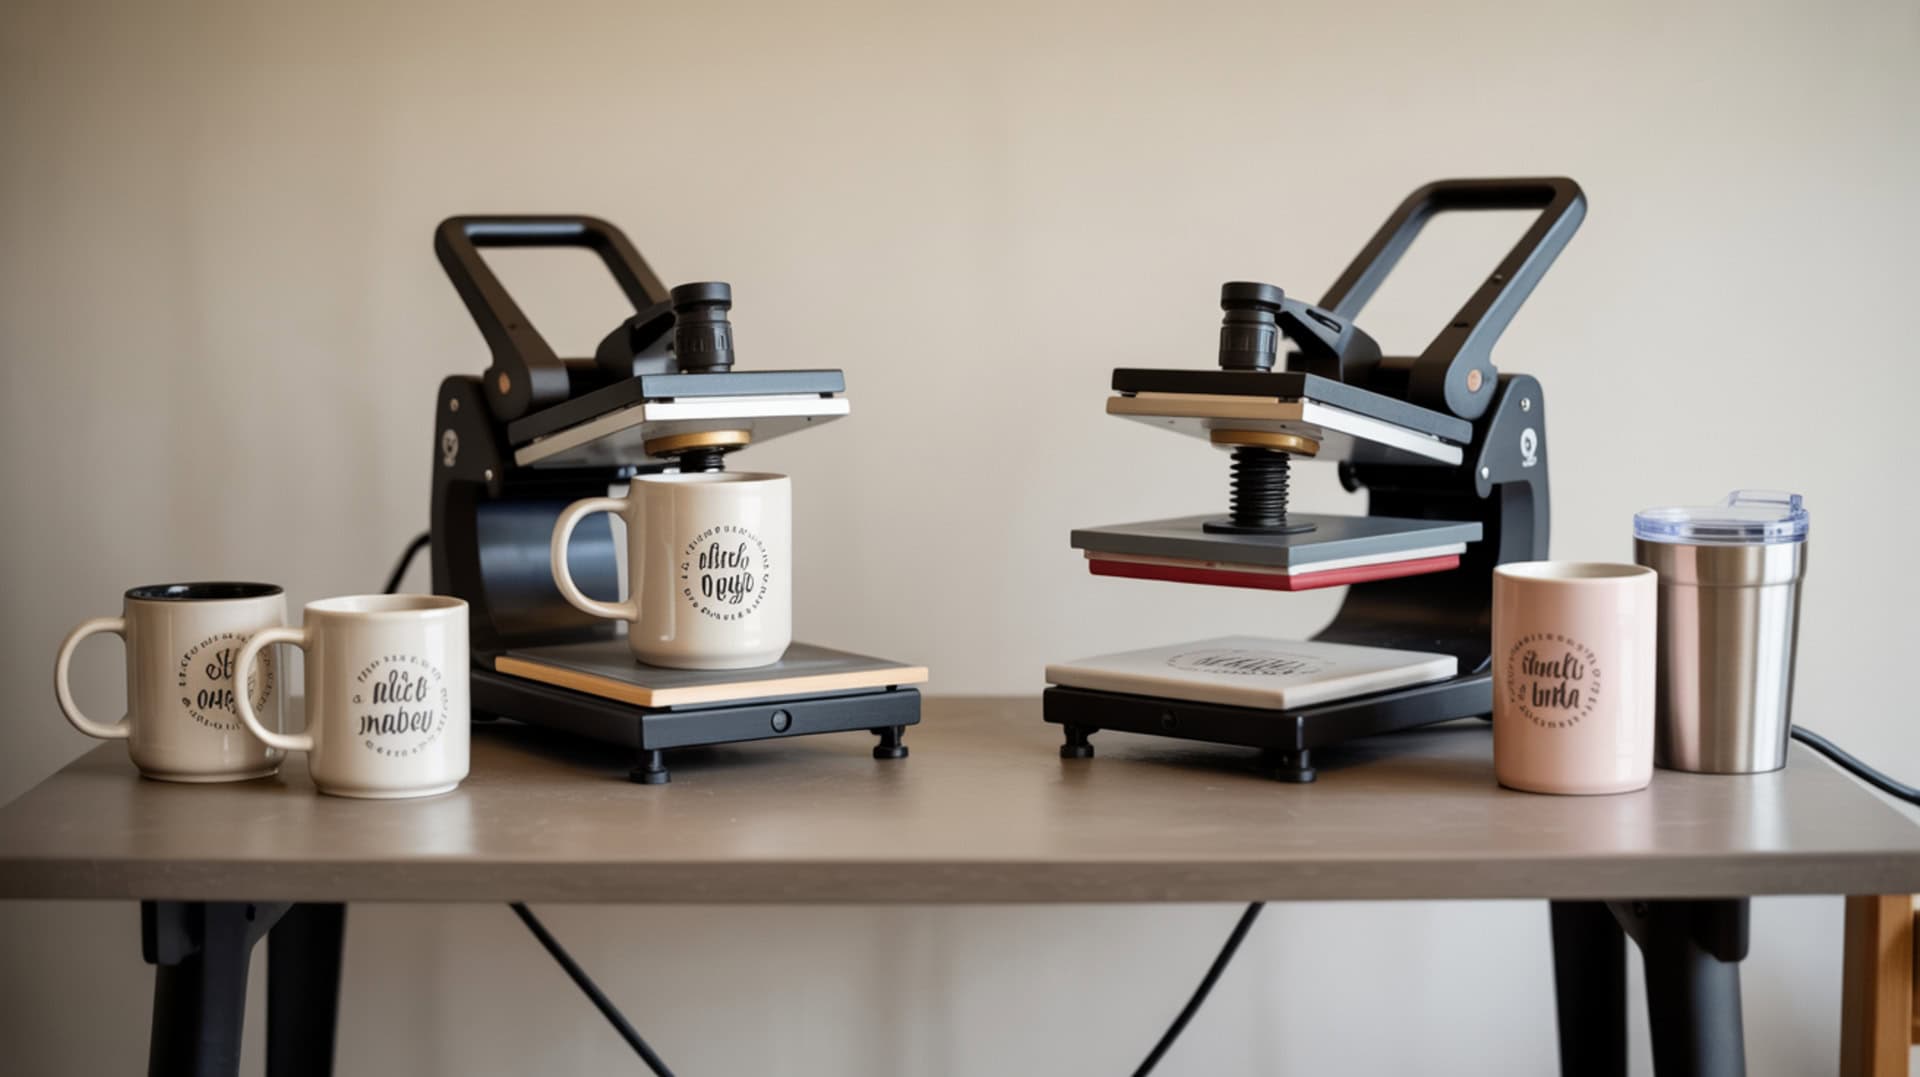
Can a standard mug-style press be used with tumblers?
Mug presses work for tumblers matching their diameter specifications, though cylindrical substrate size variations may prevent proper pressure application around wider tumblers. Heating elements designed for standard mug diameters cannot fully contact larger tumbler surfaces, creating uneven transfer areas. Adjustable tumbler presses or heat-conducting inserts accommodate various diameters better than fixed mug press configurations. Pressure consistency across the entire printing surface determines transfer quality regardless of equipment type.
Can a flat or multi-purpose heat press work for tumblers?
Flat heat presses cannot wrap heat distribution evenly around cylindrical tumbler surfaces, limiting their effectiveness for round drinkware sublimation. Pressure application on curved surfaces proves inconsistent when using flat platens designed for garments and flat substrates. Some crafters use flat presses with silicone wraps for partial coverage, though results remain inferior to dedicated tumbler equipment. Tumbler attachments for multi-purpose presses provide better curved surface contact than standard flat configurations.
What time and temperature should you use for tumbler sublimation?
Tumbler sublimation requires temperatures between 360–400°F depending on equipment type and coating specifications from blank manufacturers. Metal thermal conductivity causes faster heating compared to ceramic substrates, potentially requiring adjusted time settings to prevent overheating or coating damage. Press methods typically use 360–365°F for 40 seconds per section while convection ovens operate at 375°F for 5–6 minutes. Always verify manufacturer recommendations since coating formulations vary between blank suppliers. Heat transfer around cylindrical objects depends on uniform surface contact and material conductivity, which explains why rotation improves sublimation consistency on tumblers. [1]
How hot should you press a tumbler for sublimation?
Temperature settings between 360–380°F activate sublimation dye conversion from solid to gas state for proper coating penetration during press cycles. Higher temperatures accelerate dye transfer but risk coating damage on sensitive blanks. Most tumbler manufacturers recommend starting at 365°F and adjusting based on results—faded prints indicate insufficient heat while bleeding suggests excessive temperature. Equipment calibration affects actual temperature delivery, making test transfers essential before production.
How long does it take to sublimate a tumbler properly?
Press duration determines complete dye transfer into polymer coating layers for full color saturation and long-term durability. Tumbler presses typically require 40 seconds per section with rotation for full coverage totaling 80–120 seconds. Convection oven methods need 5–6 minutes at 375°F with rotation at the midpoint to achieve uniform heating around cylindrical surfaces. Insufficient time produces faded prints while excessive duration risks color bleeding and coating degradation.
Can you sublimate tumblers in a regular or toaster oven?

Convection ovens provide effective tumbler sublimation when paired with shrink sleeves that create necessary pressure against transfer paper during extended heating cycles. Heat distribution in convection ovens proves more uniform than standard toaster ovens, producing consistent transfers across tumbler surfaces. Dedicated craft ovens should never return to food preparation due to sublimation ink residue concerns. Shrink sleeves replace mechanical pressure from presses, holding paper tight against coating surfaces.
Can a regular kitchen oven be safely used for tumbler sublimation?
Regular household ovens produce inconsistent temperature zones that create uneven sublimation transfers with patchy color saturation across tumbler surfaces. Sublimation ink releases fumes during heating that contaminate oven interiors, making them unsafe for subsequent food preparation use. Heat distribution variations between oven models affect transfer quality unpredictably without dedicated temperature monitoring equipment. Dedicated craft convection ovens provide safer, more consistent results than repurposed kitchen appliances.
Can a small toaster oven be used for sublimation drinkware?
Toaster ovens produce uneven heat distribution with hot spots near heating elements that create fading and color inconsistencies across tumbler surfaces. Smaller chamber sizes limit tumbler capacity and prevent adequate airflow around cylindrical surfaces during heating cycles. Temperature fluctuations in compact ovens prove difficult to control accurately for consistent sublimation results. Dedicated sublimation toaster ovens work adequately when properly calibrated and never used for food afterward.
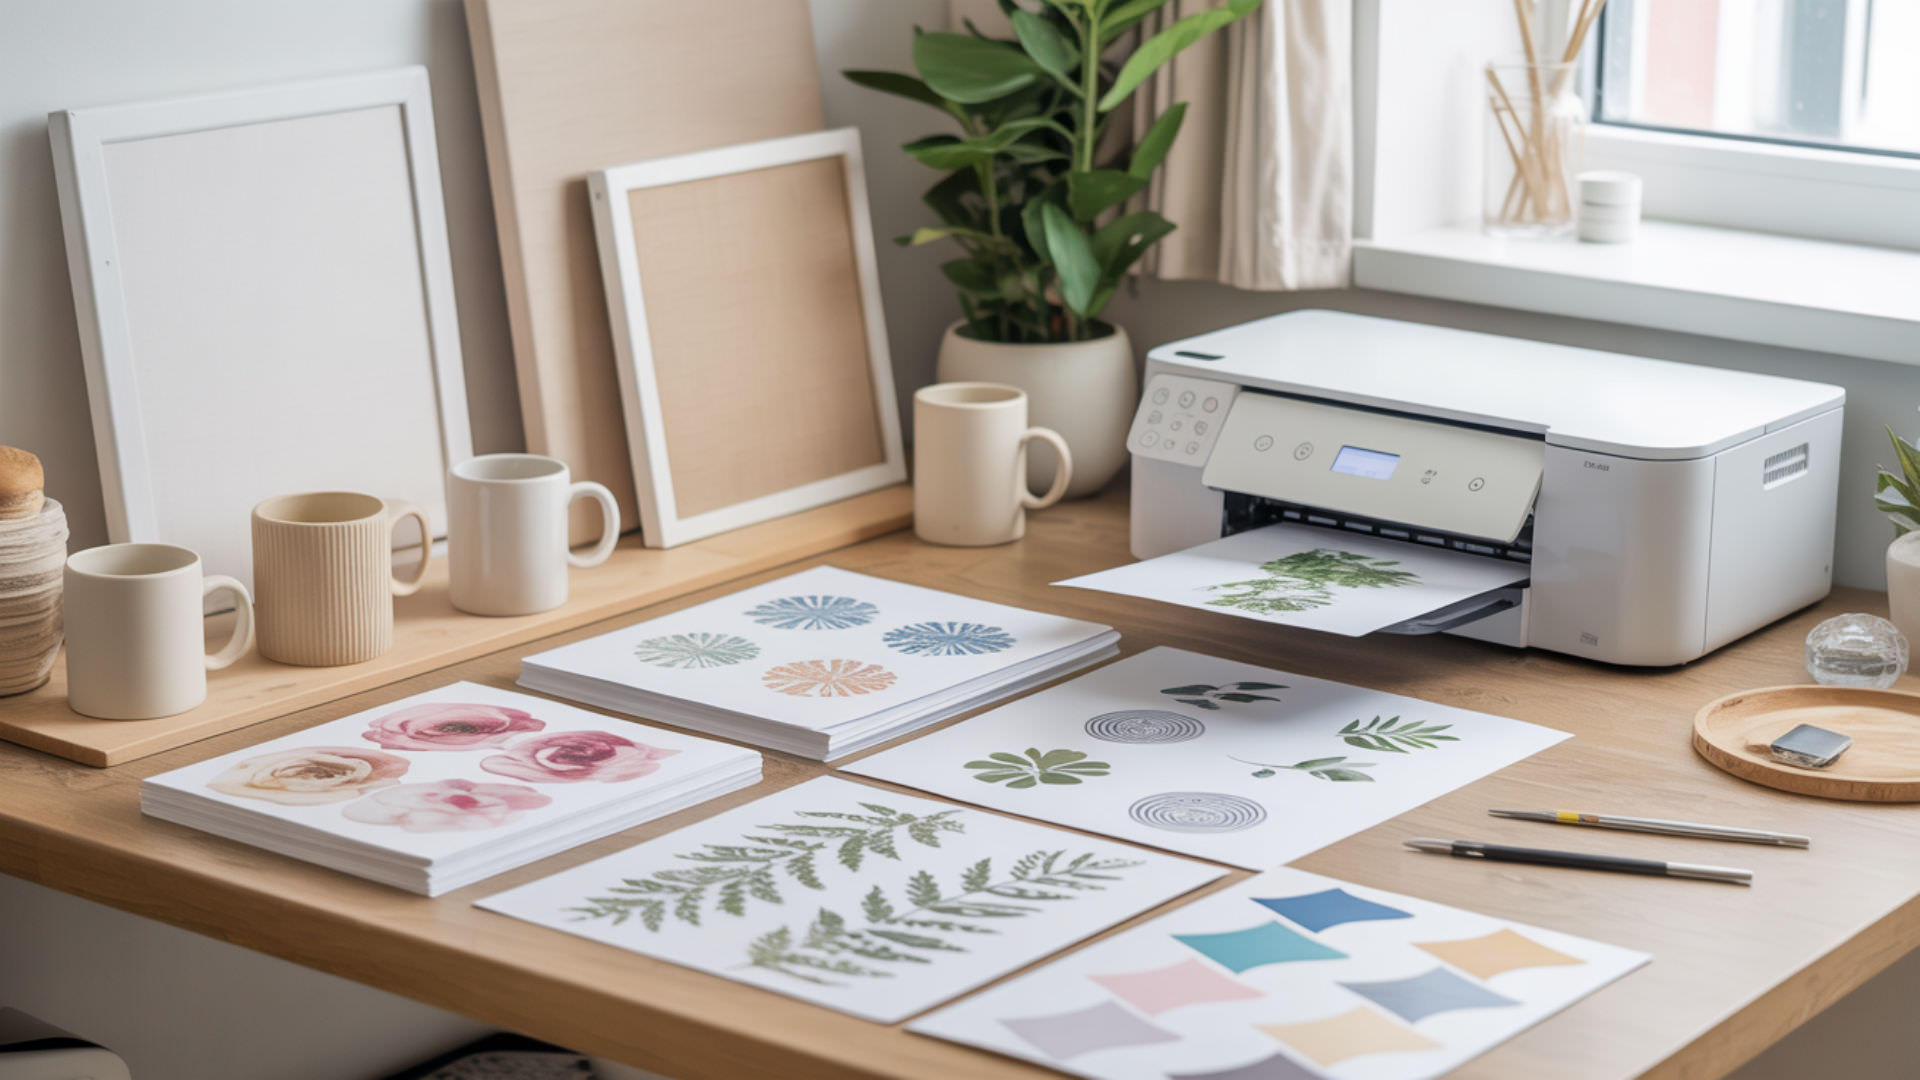
How do you make sublimation tumblers step-by-step?

Print mirrored designs onto transfer paper sized for your tumbler dimensions, trim excess, and secure tightly with heat tape ensuring smooth contact without air bubbles. Clean tumblers thoroughly with lint roller or rubbing alcohol before applying transfer paper to prevent contamination. For convection oven methods, wrap tumblers in shrink sleeves and heat-shrink before baking at 375°F for 5–6 minutes with rotation. Equipment selection impacts transfer consistency—heating options appear in our convection oven heat press equipment comparison guide.
Can you sublimate tumblers using air fryers or heat guns?
Air fryers and heat guns produce inconsistent temperature and heat distribution, making reliable tumbler sublimation difficult without significant practice and technique adjustment. Fan-driven airflow in air fryers creates uneven heating zones across cylindrical surfaces during rotation cycles. Heat guns require constant manual movement and cannot maintain stable temperatures across large surface areas simultaneously. Both methods work for experienced crafters but produce inferior consistency compared to dedicated presses and ovens.
Can an air fryer provide consistent heat for tumbler sublimation?
Air fryer heat distribution varies significantly between models, creating unpredictable results across different tumbler sizes and design complexities. Rotating tumblers manually during heating helps compensate for uneven airflow but adds handling complexity and safety concerns. Settings around 380°F for 6 minutes total with rotation produce usable results on compatible air fryer models. Dedicated craft air fryers should never return to food use after sublimation exposure due to ink contamination.
How can you sublimate drinkware without using a dedicated mug press?
Convection oven sublimation with shrink sleeves provides the most reliable press-free method for tumbler decoration with professional-quality results. Shrink sleeves create uniform pressure around cylindrical surfaces during heating, replacing mechanical press force for dye transfer. Preheat ovens to 375–400°F, apply shrink wrap tightly, and bake for 5–6 minutes with rotation at the midpoint. Heat gun methods work for smaller designs but cannot provide consistent pressure across full-wrap applications.
Do sublimation tumblers need epoxy, shrink wrap, or extra steps?
Shrink sleeves prove essential for oven sublimation methods, providing necessary pressure against polymer coating surfaces during extended heating cycles without mechanical pressing. Epoxy topcoats add optional glossy protection and allow glitter or decal embedding for expanded customization options. Proper cooling process after sublimation stabilizes dye within coating before handling or additional finishing steps. Post-heating treatments and coating behavior parallels apply across tumbler finishing—epoxy techniques appear in our polymer coating tumbler epoxy application guide.
Do you need to add epoxy as a protective coating on tumblers?
Epoxy provides optional protective coating that adds durability, glossy finish, and customization possibilities but isn’t required for standard sublimation tumbler production. Proper cooling process before epoxy application prevents smearing—many crafters wait 24 hours after sublimation before applying additional coatings. Epoxy improves color fastness and scratch resistance while enabling glitter, decals, or texture embedding between sublimation and clear topcoat layers. Sublimation alone produces durable, permanent designs without additional sealing requirements.
Do you need shrink wrap when pressing full-wrap sublimation tumblers?
Tumbler presses, mug presses, and heat presses apply mechanical pressure directly against transfer paper, eliminating shrink sleeve requirements for these equipment types. Shrink sleeves become essential only for oven methods where no mechanical pressure source exists during heating cycles. Sleeves provide uniform pressure around cylindrical surfaces when combined with convection oven or air fryer heating methods. Press-based sublimation requires only heat tape securing transfer paper edges against the tumbler surface.
Can a tumbler be sublimated a second time to fix light colors?
Re-pressing under-sublimated tumblers can deepen light colors when original transfer paper retains unused dye and aligns exactly over the existing design. Temperature and time settings should match original parameters—additional heat activates remaining dye on paper for deeper coating penetration. Realignment must be precise to prevent ghosting from paper shift during second pressing cycle. Second sublimation layers may show reduced durability compared to properly executed single-press transfers.
Ready to Create Custom Sublimation Tumblers?
Polymer-coated stainless steel tumblers provide excellent substrates for vibrant sublimation designs when proper temperature, time, and pressure parameters produce complete dye transfer. Sublimation ink bonds permanently within coating layers, producing scratch-resistant, fade-resistant results that withstand regular use and washing. Start with quality sublimation-ready blanks from reputable suppliers to maintain consistent coating quality across production batches. Master your equipment settings through test transfers before committing to customer orders or production runs.
Frequently Asked Questions
Can you sublimate on both sides of a tumbler in one project?
Full-wrap designs cover entire tumbler circumferences in single transfers using properly sized paper and appropriate heating methods. Press-based sublimation requires rotating tumblers and pressing multiple sections separately to achieve complete coverage around cylindrical surfaces. Convection oven methods with shrink sleeves provide 360-degree coverage in single heating cycles without repositioning requirements. Design sizing must account for full circumference measurements to prevent gaps or overlapping seams.
Can sublimation tumblers lose color or fade over time with use?
Properly sublimated designs demonstrate excellent color fastness because dye molecules bond chemically within polymer coating layers rather than sitting on surfaces. Fading typically indicates insufficient initial transfer rather than gradual deterioration—underdeveloped prints show problems earlier during use. Hand washing with mild detergent preserves design vibrancy better than dishwasher exposure over extended use periods. UV exposure gradually affects all dyed materials, though sublimation provides superior fade resistance overall.
Are sublimation tumblers safe to use for hot or cold drinks?
Quality sublimation tumblers with certified food-safe coatings meet safety standards for beverage contact at normal drinking temperatures. The polymer coating containing infused dye remains stable under typical hot and cold beverage temperatures without leaching concerns. Purchase blanks from reputable suppliers providing food safety certifications for drinking vessel applications. Avoid using damaged tumblers where coating shows chips, scratches, or degradation exposing underlying metal. Food-contact polymer coatings used on drinkware are regulated to ensure stability and safety when exposed to normal hot and cold beverage temperatures. [2]
Can a tumbler be re-pressed if the first sublimation was underdone?
Re-pressing with original transfer paper can darken underdeveloped sublimation when dye remains on paper and alignment matches precisely. Temperature and time parameters should replicate original settings to activate remaining dye for greater penetration depth. Paper shift during second pressing causes ghosting—secure transfers identically to first pressing for clean results. Fresh paper over existing sublimation risks reverse transfer where previously bonded dye migrates back to paper.
Does pressing time or temperature affect how long the design will last?
Adequate temperature and time produce complete dye penetration into polymer coating depth for maximum durability and color fastness longevity. Under-pressed designs with incomplete dye transfer show earlier fading and scratching compared to fully developed sublimation transfers. Proper pressing creates permanent molecular bonds within coating structure that resist washing, handling, and environmental exposure. Equipment calibration and manufacturer-recommended settings optimize both initial transfer quality and long-term design durability.
References
- Heat transfer. (n.d.). VIVO | CU Experts | CU Boulder. https://experts.colorado.edu/display/spinId_0609017
- Food ingredients & packaging. (2023, July 6). U.S. Food and Drug Administration. https://www.fda.gov/food/food-ingredients-packaging