Bleach creates sublimation-ready areas on cotton shirts through oxidation, breaking down fabric pigments to reveal lighter backgrounds where designs become visible. Because cotton shirts lack the polymer structure needed for dye bonding, bleaching serves as a creative workaround explained in our complete sublimation printing guide. This technique lets you achieve vintage aesthetics and custom patterns on otherwise incompatible natural fiber garments.
Key Takeaways
- Bleach destroys chromophores—the light-absorbing molecules in fabric dye—creating lighter areas where sublimation prints show clearly.
- Chromophore loss through controlled oxidation improves sublimation contrast on cotton-polyester blends by 40–60%.
- A 1:1 bleach-to-water ratio works for spray applications while 1:4 dilution suits full-garment soaking without fiber damage.
How do you bleach shirts for sublimation without sunlight?
Sodium hypochlorite in household bleach triggers oxidation reactions without UV assistance, allowing indoor bleaching using heat activation from dryers, heat guns, or ovens. The hypochlorite ion drives the chemical reaction that breaks down fabric dyes regardless of lighting conditions. Indoor processing at 150–200°F accelerates pigment removal to 5–10 minutes versus 20–30 minutes at room temperature without heat assistance.Because color saturation determines contrast visibility, our dark shirts sublimation guide covers additional techniques for maximizing design clarity. Chlorine, a common oxidizing agent in household bleach, reacts with color-producing molecular bonds in dyes by electron removal, which breaks those bonds and causes visible color loss. [1]
How do you bleach shirts for sublimation safely at home?
Protective gear including rubber gloves and a respirator mask prevents chemical exposure to skin and lungs during bleaching. Sodium hypochlorite releases chlorine gas when mixed with ammonia-based products, making ventilation through open windows or exhaust fans critical. Work outdoors or in well-ventilated garages, never in enclosed bathrooms or basements. Keep hydrogen peroxide solution nearby to neutralize bleach immediately if skin contact occurs.
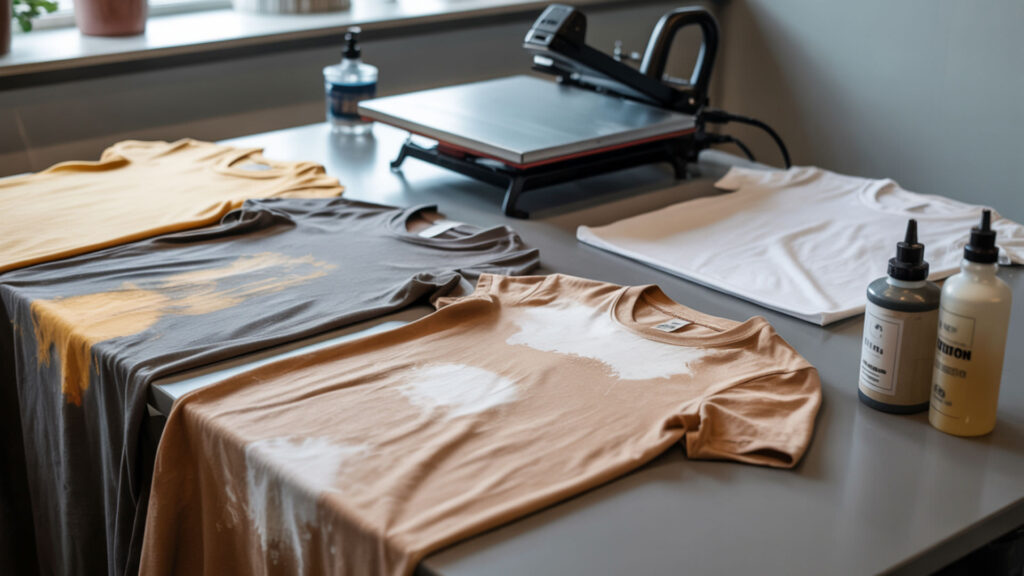
How do you spray-bleach shirts for sublimation results?
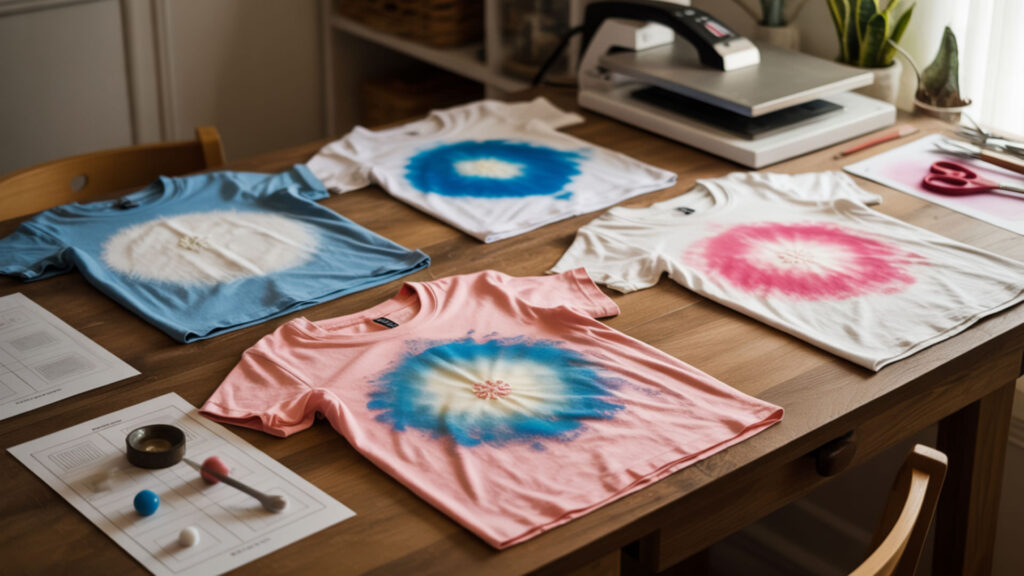
Spray bleaching creates controlled shapes, patterns, and highlights by directing oxidation to specific fabric areas using a misting bottle. Mix equal parts bleach and water (1:1 ratio) in a bleach-resistant spray bottle, then apply from 6–12 inches away for even coverage.
What bleach mixture works best for shirts?

Sodium hypochlorite (chlorine bleach) acts as a strong, fast oxidizer that lightens fabric within 5–15 minutes but risks degradation of cellulose fibers with prolonged exposure. Hydrogen peroxide bleach offers gentler oxidation that reduces cellulose damage, though it requires longer processing times of 30–60 minutes or heat activation. Since cotton shirts and fabric quality affect bleaching success and sublimation readiness, our best shirts guide helps you select appropriate blanks.
Do shirts need diluted bleach or full-strength bleach?
Diluted bleach mixtures provide safer, more controlled oxidation that prevents rapid degradation of cellulose fibers in cotton fabric. Undiluted sodium hypochlorite lightens fabric faster but dramatically increases hole formation and structural weakening. A 1:1 water-to-bleach ratio balances speed with fiber protection for most spray applications, while full-strength bleach should only contact fabric for under 60 seconds in targeted spot treatments.
⫸ Click Here For Best Selling Sublimation Printers And Products ⫷What ratio of bleach to water lightens shirts without damaging fibers?
Darker pigments with higher color saturation require stronger 1:1 or 1:2 bleach-to-water mixtures, while lighter colors lighten safely at 1:4 dilution. Stronger mixtures accelerate chromophore destruction but risk degrading cellulose beyond repair. For general soaking, mix 3/4 cup bleach per gallon of water (approximately 1:4 ratio). Monitor fabric every 2–3 minutes during soaking—remove immediately when desired lightness appears.
Do shirts bleach better when wet or dry?

Cotton shirts bleach differently based on water presence—dry fabric produces sharper, more defined bleach patterns while dampened fabric allows deeper penetration on heavyweight materials. Water presence dilutes hypochlorite concentration at the fiber surface, slowing oxidation speed. For lightweight cotton t-shirts, apply bleach to dry fabric for crisp tie-dye style edges. Dampen sweatshirts and heavy cotton before bleaching to ensure the solution reaches inner fibers.
Does water on the fabric change how bleach processes the fibers?
Wet fibers reduce oxidation efficiency by diluting bleach concentration before it contacts color molecules. Higher color saturation in darker fabrics needs drier application methods to achieve full pigment removal without over-soaking. Pre-wetted fabric spreads bleach more evenly but produces softer, less dramatic contrast. Test both methods on scrap fabric first—some dye formulations respond better to wet application despite the dilution effect.
How long should bleach sit on shirt fabric?
Oxidation time directly controls chromophore breakdown speed—shorter exposure preserves fiber strength while longer contact achieves deeper lightening. Most cotton shirts reach optimal lightness within 7–15 minutes using 1:1 bleach solution in sunlight or with heat activation. Excess exposure beyond 30 minutes causes degradation of cellulose that weakens fabric structure, leading to holes and tears during heat pressing or normal wear.
How long does it typically take for bleach to lighten a shirt?
Chromophore density in darker shirts extends bleaching time to 15–20 minutes, while lighter colors may reach target brightness in 5–8 minutes. Sodium hypochlorite reacts more rapidly with less saturated pigments, producing visible results within the first 3–5 minutes on pastel or heathered fabrics. Heat activation (dryer, heat gun, or direct sunlight) cuts processing time by 30–50%. Check progress every 2–3 minutes to prevent over-bleaching.
What happens when shirts are bleached too long before sublimating?
Overexposure causes degradation of cellulose that permanently weakens cotton fiber structure at the molecular level. Damaged cellulose produces brittleness during heat pressing—fabric may crack, tear, or develop holes under normal 385°F sublimation temperatures. Fiber strength loss appears as thinning, rough texture, or visible weakening even before pressing. Limit bleach contact to under 20 minutes and neutralize immediately once desired color appears. Prolonged chemical exposure accelerates cellulose degradation, which weakens cotton fibers and increases the risk of tearing or damage during heat pressing. [2]
How do you bleach shirts for sublimation step-by-step?
Choose between spray bleaching for patterns or dip bleaching for uniform lightening based on your design goals. Both methods require an immediate rinse/wash process to halt chemical oxidation once target color appears. Because spray bleaching creates controlled color removal similar to tie-dye backgrounds, our tie-dye sublimation guide covers complementary patterning techniques.
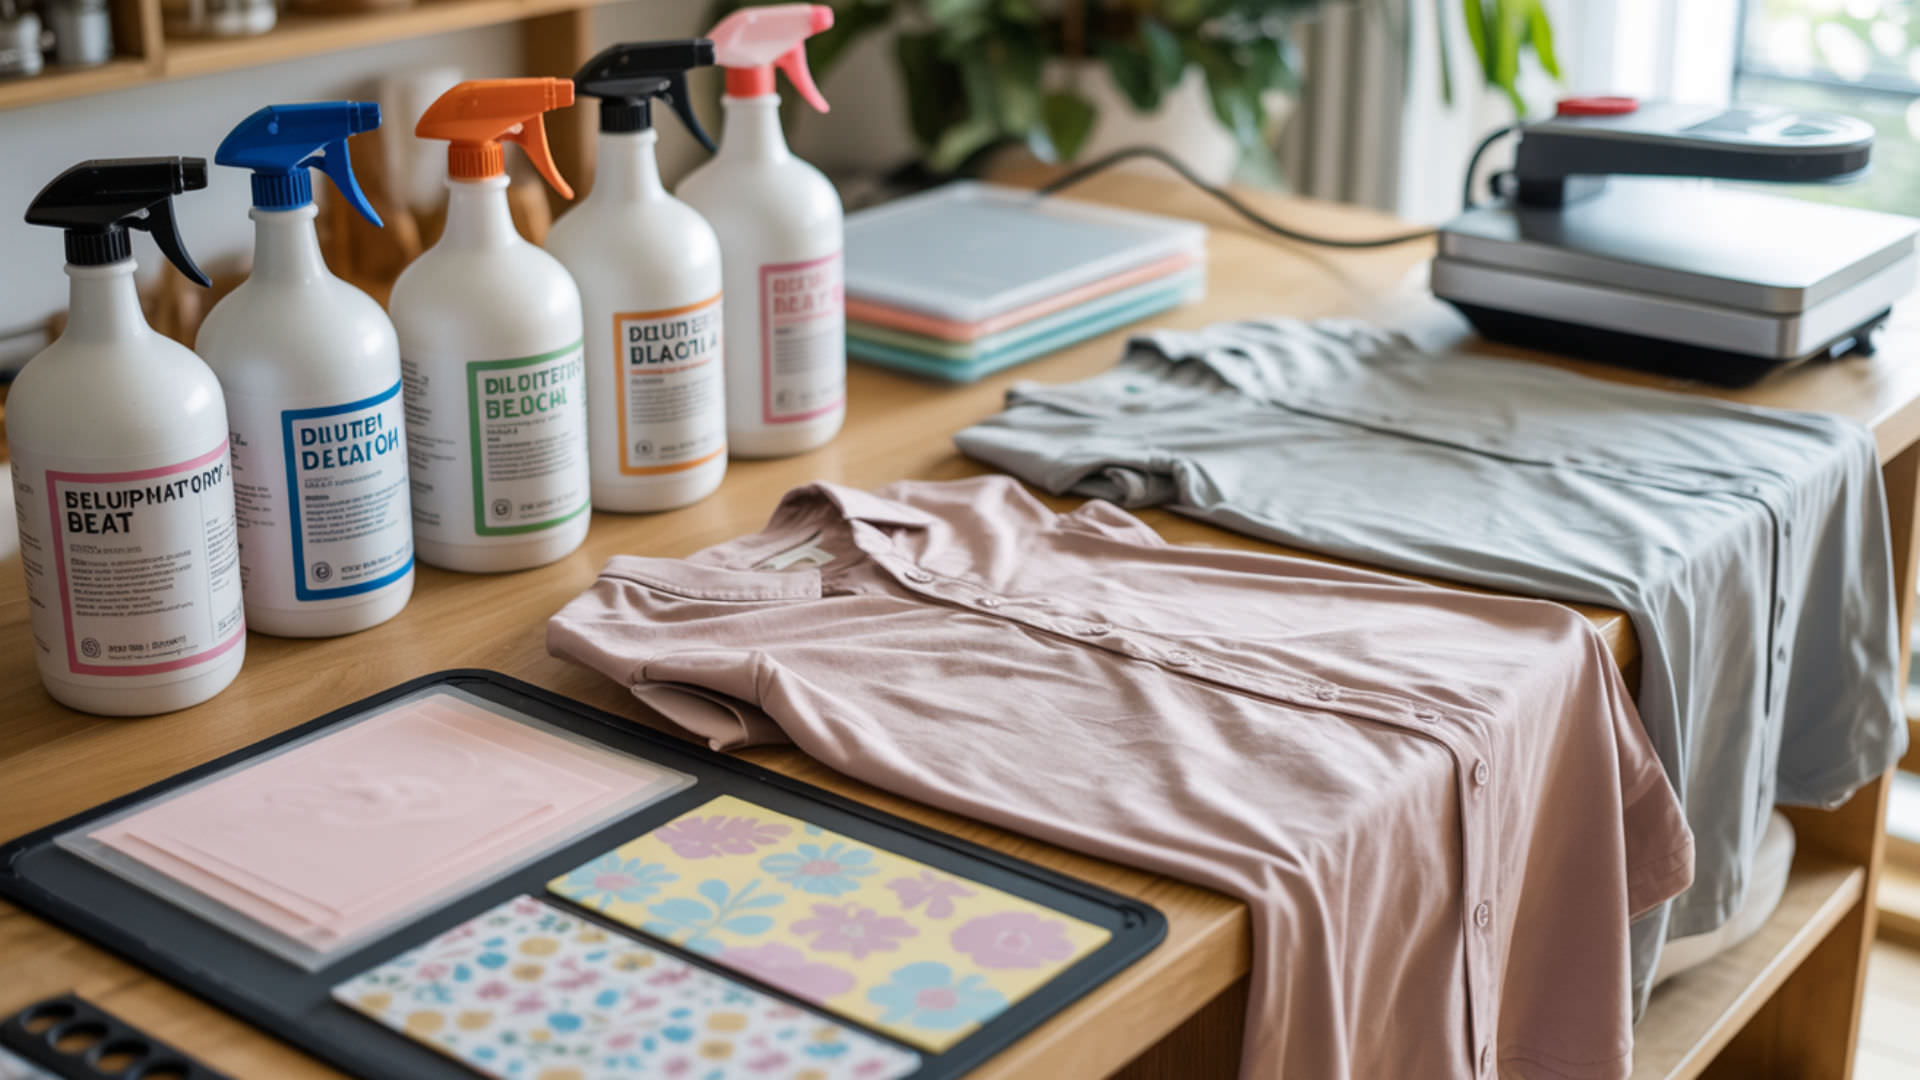
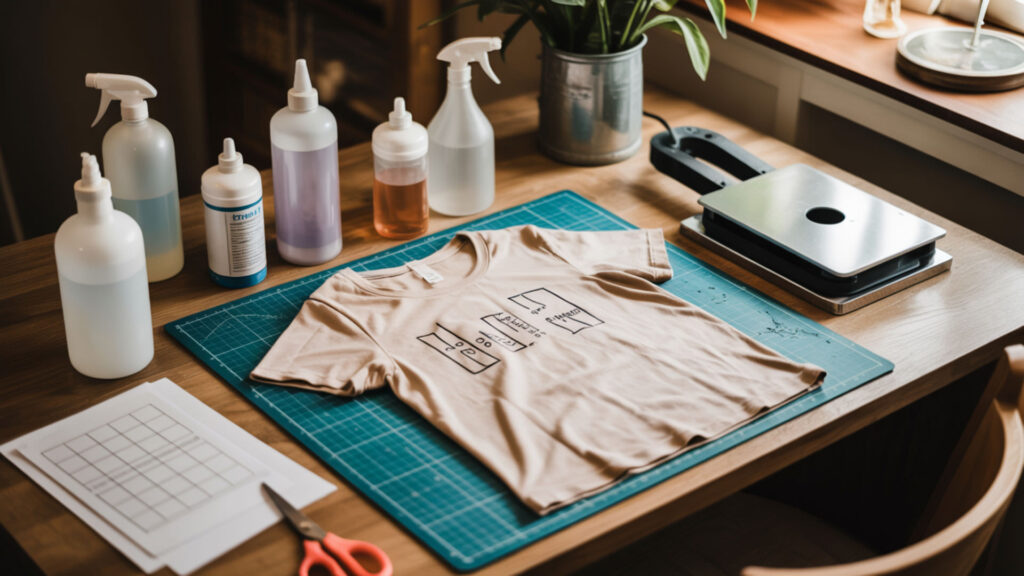
- Prepare workspace with plastic sheeting and gather gloves, spray bottle, bleach, water, and hydrogen peroxide neutralizer.
- Insert cardboard inside the shirt to prevent bleach bleed-through to the back panel.
- Mix 1:1 bleach-to-water solution in a spray bottle or prepare 1:4 solution in a bucket for the dip method.
- Apply bleach using spray mist from 6–12 inches or submerge fully for even coverage, agitating occasionally.
- Activate with heat (dryer at medium, heat gun, or sunlight) for 7–15 minutes, checking progress every 2–3 minutes.
- Neutralize immediately in equal parts hydrogen peroxide and water solution for 10–15 minutes.
- Rinse thoroughly with cold water, then machine wash separately before drying and sublimating.
Why is my shirt not lightening evenly or as expected?
Dark pigments containing oxidation-resistant dye formulations may refuse to lighten regardless of bleach strength or exposure time. Uneven color saturation across the garment—common in heathered or variegated fabrics—causes blotchy results where some areas bleach faster than others. Red and orange dyes often turn pink or peach rather than white due to their specific chromophore chemistry. Fabric treatments and protective sprays on new shirts can also block bleach penetration entirely.
Why does bleach sometimes fail to lighten shirt fibers?
Dark pigments formulated with vat dyes or reactive dyes resist standard oxidizers like sodium hypochlorite completely. Hydrogen peroxide bleach works slower and may require heat activation above 120°F or extended 60+ minute exposure to affect resistant dyes. Old bleach (6+ months) loses potency significantly—test on scrap fabric before committing to a project. Synthetic polyester fibers in blends won’t bleach at all; only the cotton portion responds to oxidation.
What causes uneven or blotchy bleaching results on shirts?
Uneven spray bleaching from inconsistent misting distance or overlapping passes creates oxidized regions of varying intensity. Color saturation differences within the original dye job cause some areas to lighten faster than others. Heavily saturated sections need longer or stronger bleaching while lighter areas may over-bleach. Maintain consistent 6–12 inch spray distance, use smooth sweeping motions, and apply additional passes to stubborn areas rather than soaking everything longer.
Ready to bleach shirts for sublimation like a pro?
Bleach transforms cotton shirts into sublimation-compatible surfaces by removing pigments that would otherwise hide your designs. Master the 1:1 spray ratio for patterns or 1:4 soak ratio for even coverage, always neutralizing with hydrogen peroxide before washing. With proper technique, bleached cotton-polyester blends deliver unique vintage aesthetics that pure polyester cannot achieve.
Frequently Asked Questions
Does bleach affect how long a sublimation design lasts on shirts?
Degradation of cellulose from over-bleaching weakens fiber structure, reducing overall garment durability and potentially shortening print lifespan. Properly bleached shirts with neutralized fibers maintain normal sublimation longevity of 50+ washes. Excessive bleaching that thins fabric creates weak points where prints may crack or distort during heat pressing at 385°F. Always neutralize completely and test fiber strength before sublimating.
Can a bleached shirt be used later if the first sublimation looks too light?
Sublimation dye bonds permanently inside polyester fibers, making the original print impossible to remove or significantly alter. You cannot re-sublimate over an existing design to darken it—the heat press will cause existing dyes to migrate and blur. However, you can sublimate a new design in a different location on the same bleached shirt. The drying process before initial pressing must be complete to prevent ink dullness.
Does humidity change how bleach reacts on shirt fabric?
High humidity slows the drying process and extends bleach contact time beyond intended exposure, risking fiber damage. Moisture in the air dilutes bleach concentration at the fabric surface similar to pre-wetting, producing softer results. Work in controlled indoor environments with 40–60% relative humidity for predictable outcomes. In humid conditions, reduce bleach contact time by 20–30% and monitor color change more frequently.
Can excess heat later dull sublimation on pre-bleached shirts?
Heat press temperatures above 400°F or extended pressing beyond 60 seconds can cause dye migration and yellowing on bleached cotton-polyester blends. Degradation of cellulose from bleaching makes fibers more heat-sensitive than untreated fabric. Use standard 385°F for 45–55 seconds with medium pressure on bleached shirts. The drying process must be complete before pressing—residual moisture causes steam that shifts dye and dulls colors.
What visible issues appear if bleach dried unevenly before pressing?
Uneven drying leaves residual bleach crystals that reactivate during heat pressing, creating additional lightening or yellow halos around design edges. Areas that dried faster may show different color tones than slower-drying sections. The drying process should be uniform—tumble dry on low or hang dry completely before sublimation. Wash bleached shirts thoroughly and dry fully to eliminate chemical residue that interferes with consistent ink transfer.
References
- (n.d.). U.S. Environmental Protection Agency | US EPA. https://www.epa.gov/sites/default/files/2016-09/documents/chlorine.pdf?utm_
- Factors associated with stunting among children aged 0 to 59 months from the central region of Mozambique. (n.d.). PMC Home. https://pmc.ncbi.nlm.nih.gov/articles/PMC5452221/