Sublimation on drinkware transfers vibrant, permanent designs onto polymer-coated cups, tumblers, and bottles using heat-activated dye. The process bonds ink at the molecular level, creating scratch-resistant prints that won’t peel or fade. Understanding how polymer coatings interact with sublimation dye determines your results. Research from NIST’s Polymers Processing Group highlights how polymer materials respond to heat, enabling dyes to diffuse into the coating rather than merely sitting on the surface. [1]
Key Takeaways
- Polymer-coated substrates enable dye diffusion into the surface, producing permanent prints that resist washing.
- Heat between 350–400°F activates sublimation ink, converting it to gas for molecular bonding.
- Proper dye diffusion into polymer layers determines both color clarity and long-term print permanence.
How Do You Apply Epoxy to Sublimated Tumblers?
Epoxy resin creates a protective shell over sublimated tumblers through curing, where cross-linking polymer chains form a hardened coating. This reaction produces exceptional adhesion to the surface, preventing peeling. Standard two-part epoxy cures at 70–75°F over 24–72 hours. Because epoxy resin chemistry affects durability, our guide on epoxying sublimation tumblers covers application techniques.
Epoxy Types and Safety Considerations
Two-part epoxy resins contain an epoxide group that triggers cross-linking when mixed with hardener, determining final hardness and chemical resistance. Food-safe formulas use specific epoxide structures that cure without releasing harmful compounds. Work in ventilated spaces and wear nitrile gloves, as uncured resin causes skin sensitization.
Creating Smooth, Bubble-Free Finishes
Controlled curing prevents bubbles from forming in epoxy coatings. Apply thin, even layers using a silicone brush while rotating the tumbler on a cup turner at 10–15 RPM. Heat guns on low settings pop surface bubbles during the first 10 minutes. Adhesion improves when the sublimated surface is clean and free of oils.
Curing Times and Rotating Techniques
Adequate press duration prevents tackiness and sagging in epoxy finishes. Most two-part formulas require 24 hours for initial cure and 72 hours for full hardness. Rotate tumblers continuously during the first 4–6 hours to prevent drips. Maintain ambient temperature between 70–75°F—colder conditions extend cure time and leave soft spots.
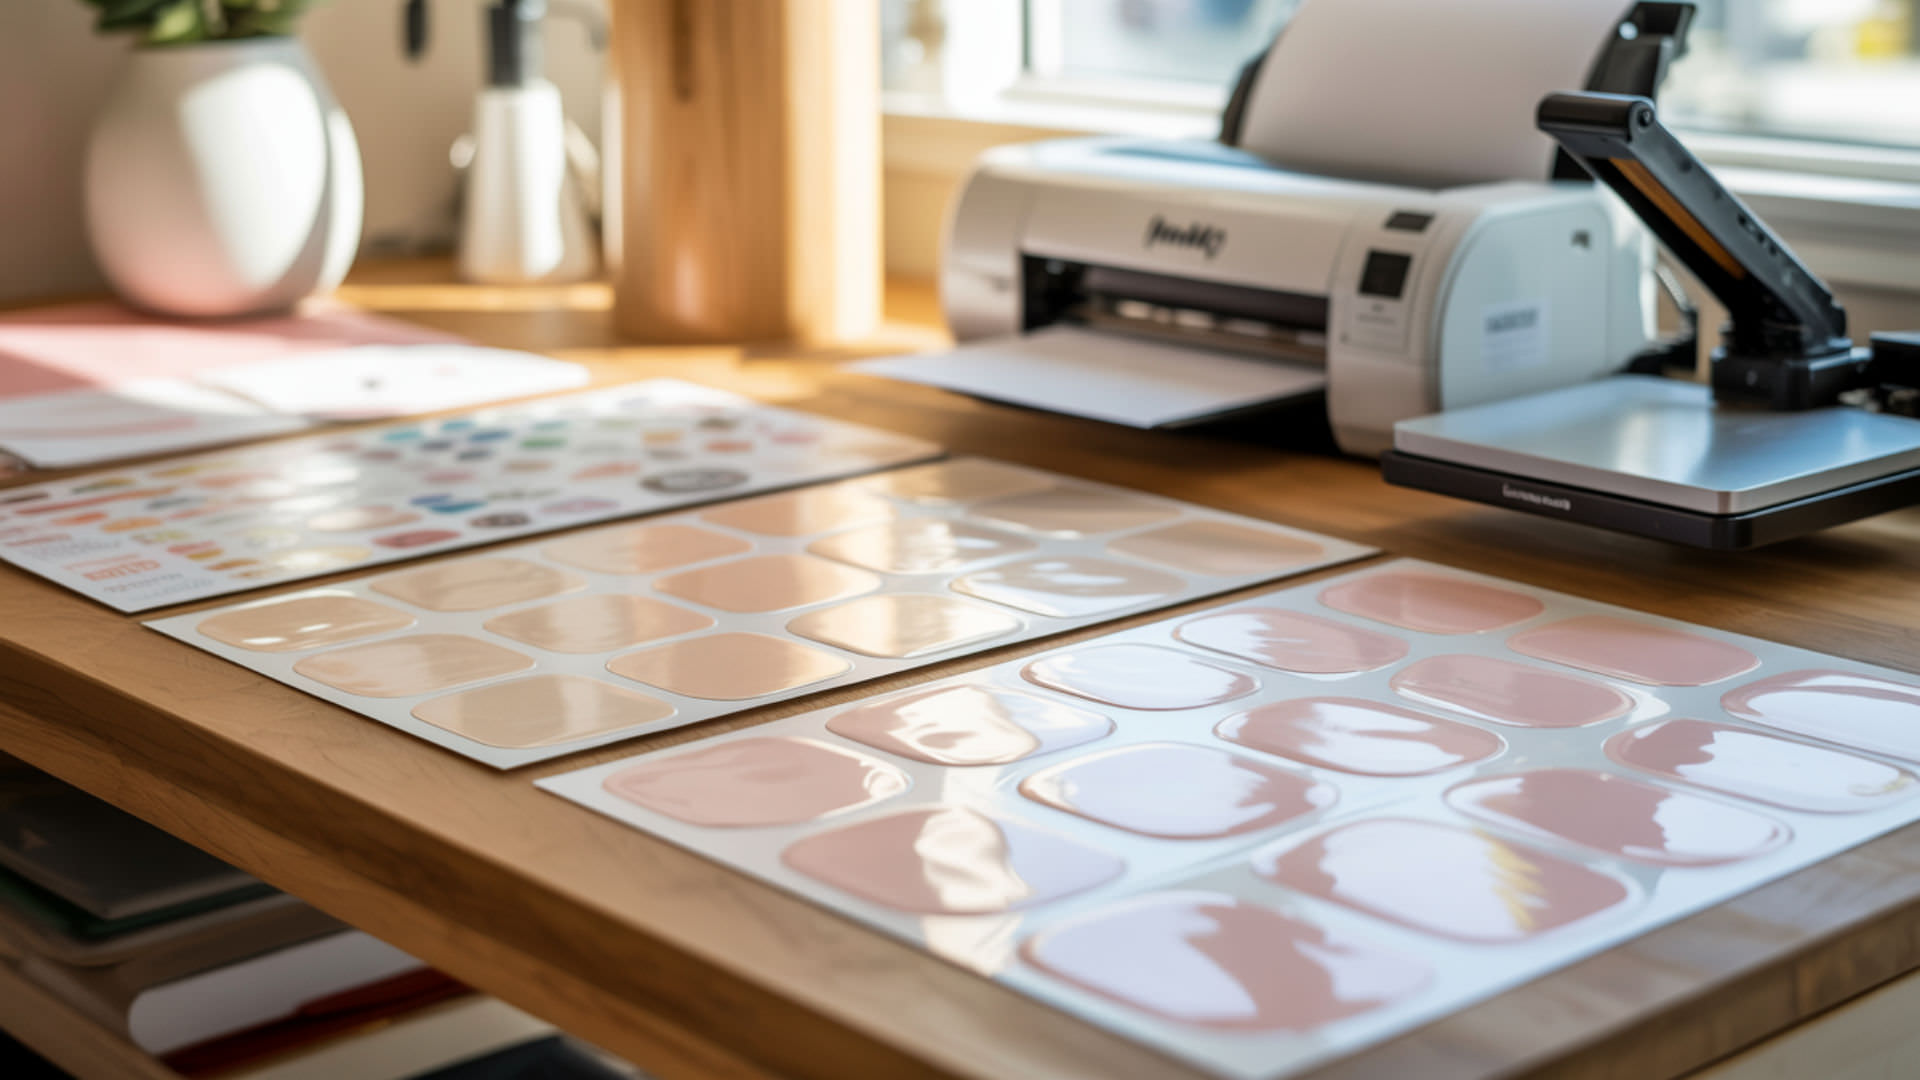
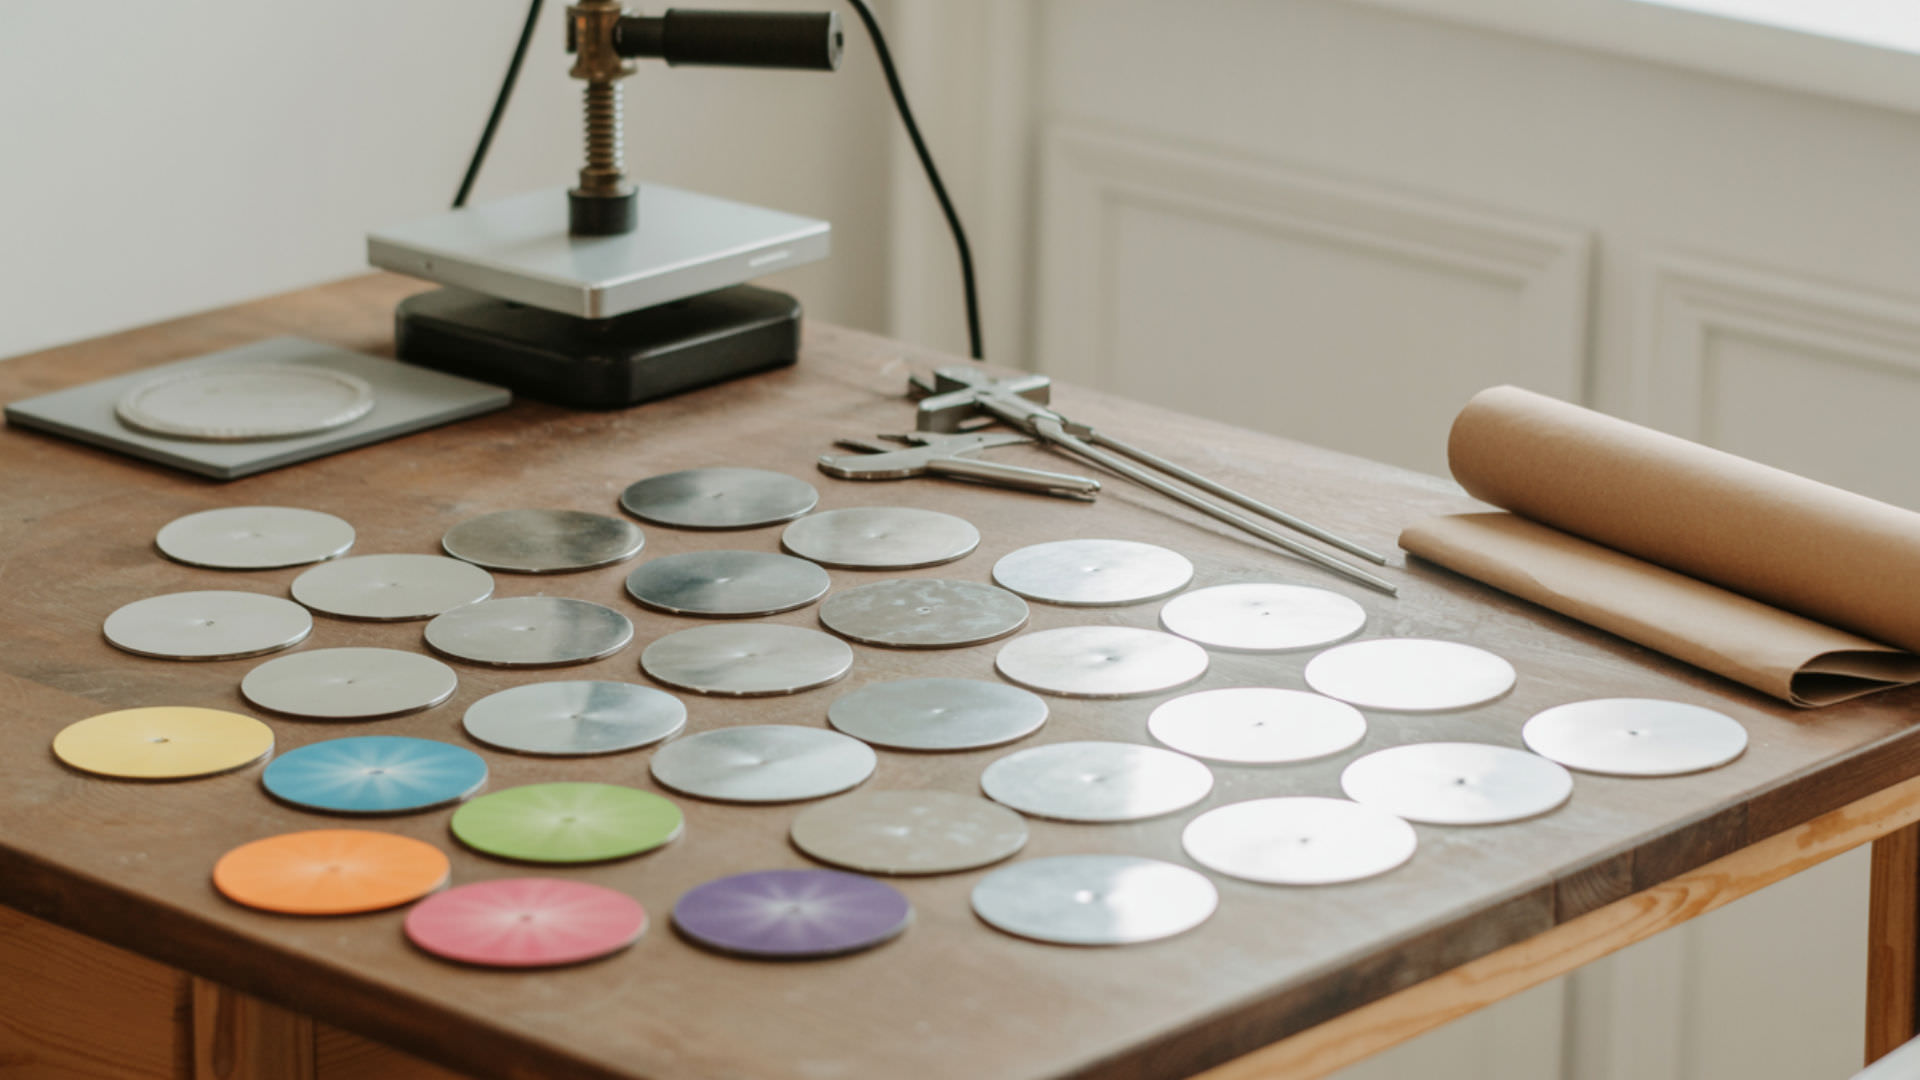
What Makes Coasters Perfect for Sublimation Projects?
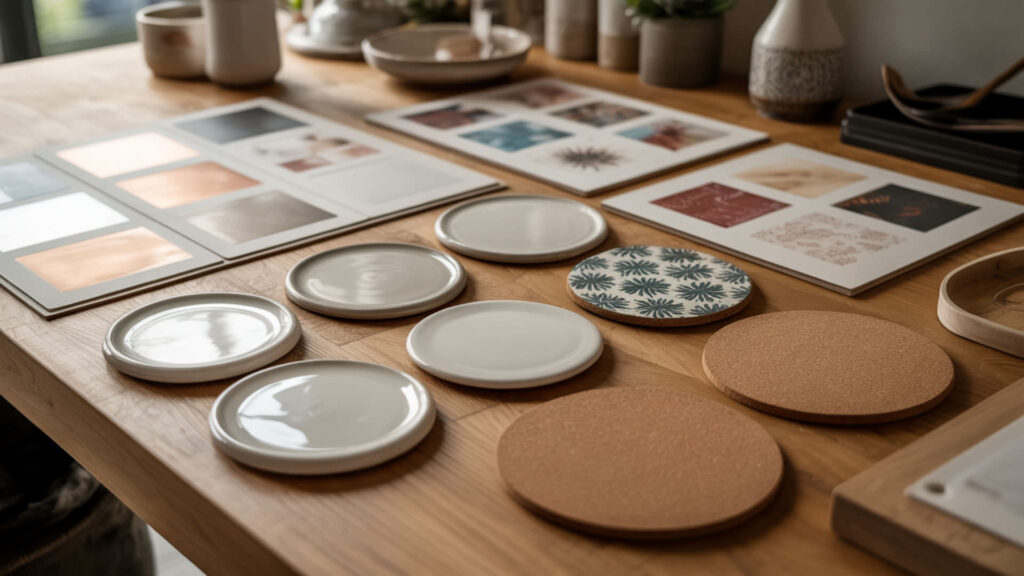
Coasters offer flat surfaces that enable even thermal transfer and consistent dye penetration across the print area. Polymer-coated substrates—ceramic, hardboard, or sandstone—accept sublimation ink uniformly when pressed at 380–400°F for 4–6 minutes. For substrate selection techniques, see our guide on polymer-coated substrates for sublimation coasters.
Material Options for Different Coaster Styles
Ceramic coasters feature natural porosity that requires polymer coating to prevent uneven dye absorption. Hardboard and MDF coasters come pre-coated with polyester layers ready for sublimation. Sandstone offers textured finishes but needs sealing after printing. Glossy ceramics reflect color vibrantly while hardboard delivers matte finishes.
Creating Matching Sets and Collections
Color management ensures consistency when producing multi-piece coaster sets. Calibrate your sublimation printer using ICC profiles matched to your ink and paper combination. Print all pieces in a single batch using identical settings—variations in temperature or time between presses cause visible color shifts across matching coasters.
Protective Finishes and Durability
Glaze coatings affect how polymer layers bond to ceramic coaster surfaces and influence long-term durability. High-gloss glazes create smooth adhesion surfaces, while matte finishes may require additional polymer thickness. Cork-backed coasters need heat-resistant adhesive rated above 400°F to prevent delamination during pressing.
How Can You Successfully Sublimate on Koozies?
Neoprene koozies withstand sublimation temperatures due to the material’s heat resistance, allowing pressing at 355–400°F without melting. As an elastomer, neoprene can stretch and distort prints if pulled during handling. Press for 30–60 seconds at medium pressure. Our guide on sublimating neoprene koozies covers full coverage techniques.
Neoprene vs Foam Koozie Materials
Neoprene (polychloroprene) tolerates higher temperatures than standard foam, making it preferred for sublimation. Closed-cell foam koozies compress permanently under heat press pressure and may not recover original thickness. Neoprene’s thermal tolerance allows pressing at 400°F, while foam materials require lower temperatures around 320°F to prevent damage.
Achieving Full Coverage on Curved Surfaces
Consistent pressure ensures full contact between transfer paper and curved koozie surfaces, preventing gaps that cause faded areas. Sandwich the koozie with the design folded around both sides using even medium pressure. Pre-press for 10–20 seconds to flatten wrinkles. Use sublimation tack spray instead of tape to avoid press marks.
Temperature Adjustments for Soft Materials
Soft substrates like neoprene require temperature adjustments to maintain material stability during pressing. Settings range from 355–400°F depending on thickness—thinner 2–3mm koozies need 30–45 seconds while thicker 4–5mm versions require 50–65 seconds. Browning indicates over-sublimation; greenish blacks signal insufficient heat.
What’s the Best Approach for Sublimating Mugs?
Ceramic mugs with polyester glaze coatings accept sublimation dye when pressed at 385–400°F for 180–240 seconds in a mug heat press. The glaze provides the polymer surface for dye bonding, while the press ensures even thermal transfer around the curved body. Our guide on sublimating ceramic mugs covers coating compatibility.
Ceramic vs Stainless Steel Considerations
Stainless steel mugs require applied polymer coatings for sublimation, unlike ceramic where the glaze serves this function. Coated stainless steel transfers at 350–365°F for 45–60 seconds. Ceramic’s porous structure bonds differently with polymer layers, producing deeper color saturation than metal substrates in most cases.
Handle Placement and Heat Distribution
Thermal transfer efficiency drops near mug handles where contact with the heating element reduces, causing potential fading. Position designs to avoid the handle area or use mug wraps that extend coverage. Preheat mugs for 30 seconds before applying transfers to reduce cold spots and improve color consistency.
Preventing Ghosting on Curved Surfaces
Secure pressure prevents transfer paper movement that causes ghosting—the shadow or double-image effect on finished mugs. Use heat-resistant tape at multiple points to anchor the design firmly. Ensure the transfer paper fits snugly without wrinkles, and avoid shifting the mug once positioned in the press.
How Do You Sublimate on Different Types of Water Bottles?
Aluminum and stainless steel water bottles require polymer coatings on the metal surface before sublimation ink bonds permanently. Press coated aluminum at 360–375°F for 45–60 seconds; stainless steel needs 50–80 seconds depending on wall thickness. Our guide on polymer coatings for water bottles provides preparation steps.
Aluminum vs Stainless Steel Bottles
Aluminum’s higher thermal conductivity causes faster heat-up rates than stainless steel, requiring shorter press times. Stainless steel features a chromium oxide passive layer affecting how polymer coatings adhere. Aluminum transfers heat evenly but dents easily; stainless steel offers durability but demands precise temperature control. [2]
Working with Tapered Shapes
Tapered water bottles require consistent pressure along non-straight walls to avoid fading where the heat press makes incomplete contact. Use shrink wrap sleeves or silicone wraps designed for tapered shapes. Extend press time by 15–30 seconds compared to straight-walled bottles and rotate halfway through in convection ovens.
Lid and Cap Considerations
Plastic and rubber lids must be removed before sublimation due to insufficient heat resistance—most deform above 300°F. Metal lids with rubber gaskets also require removal to prevent seal damage. Some polymer-coated stainless steel lids can be sublimated separately at 340–350°F for 30–40 seconds if rated for heat.
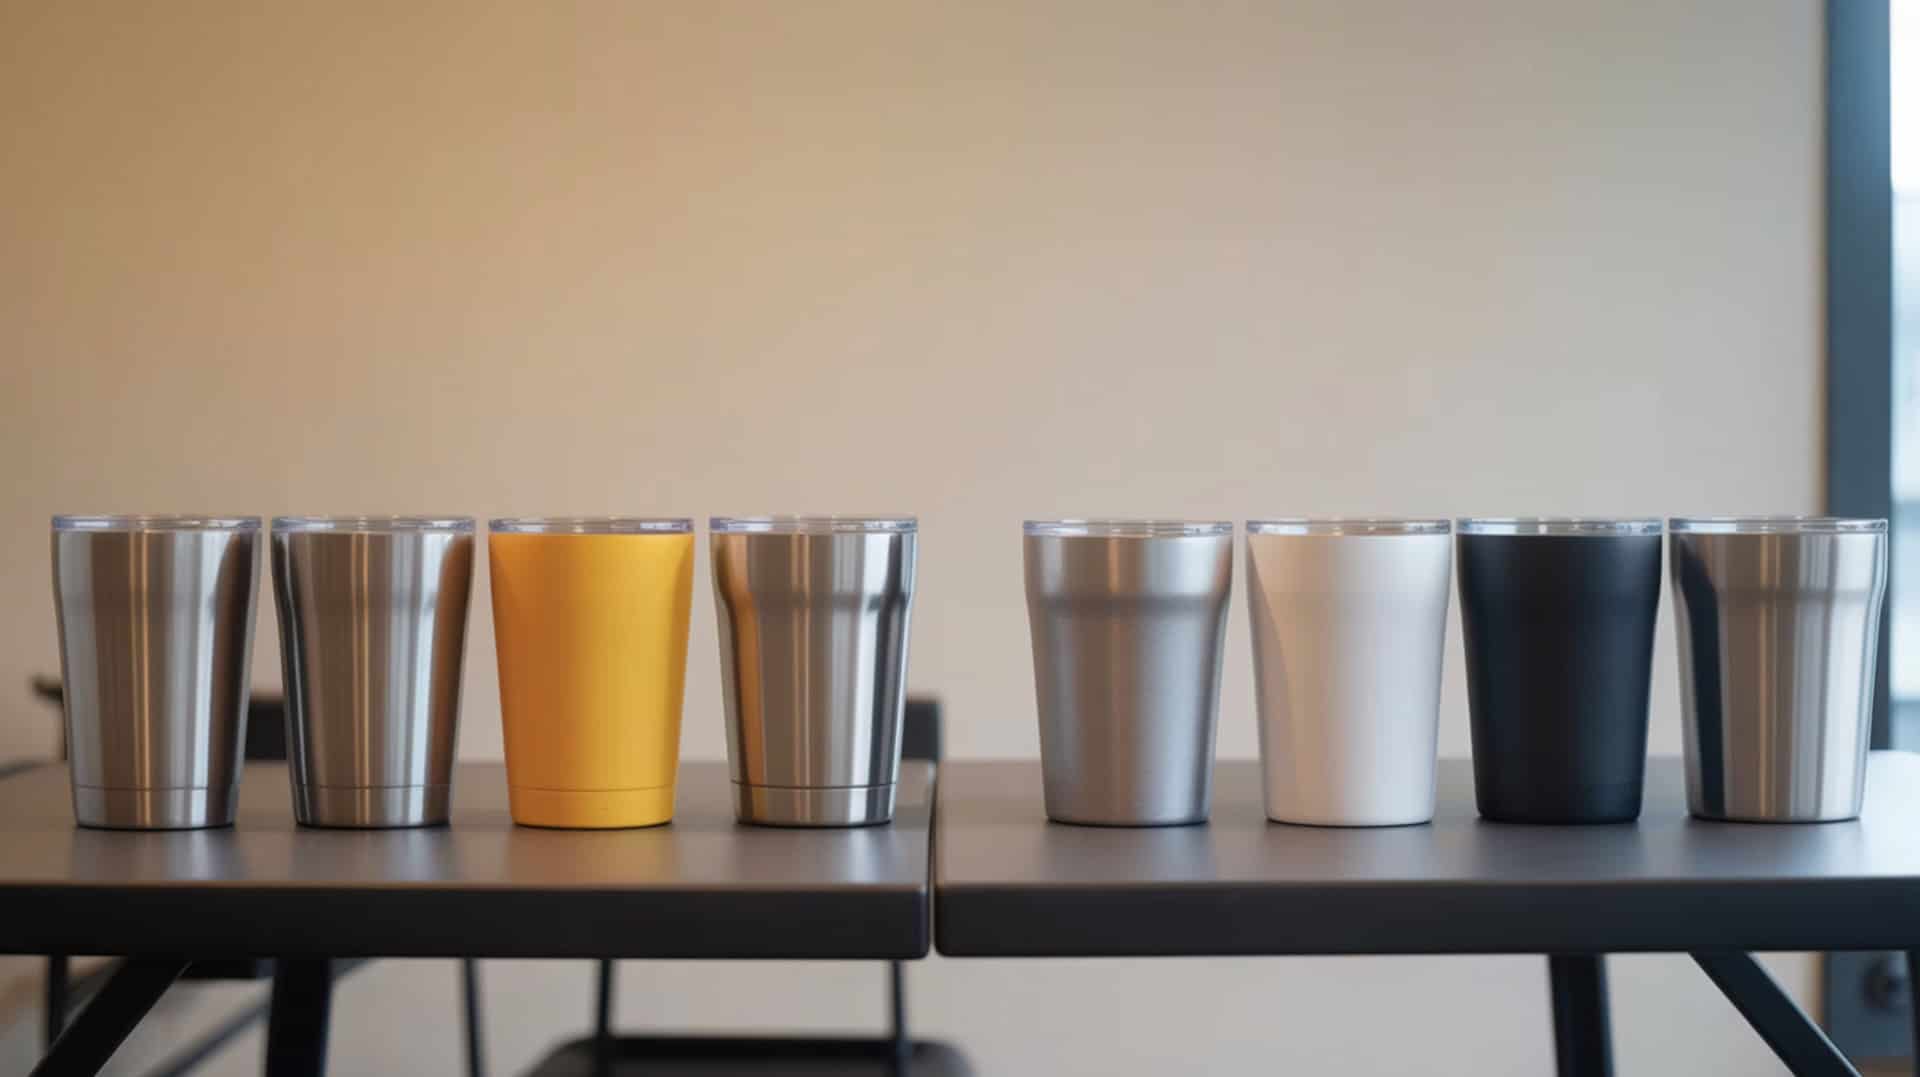
What Goes Into Making Professional Sublimation Tumblers?
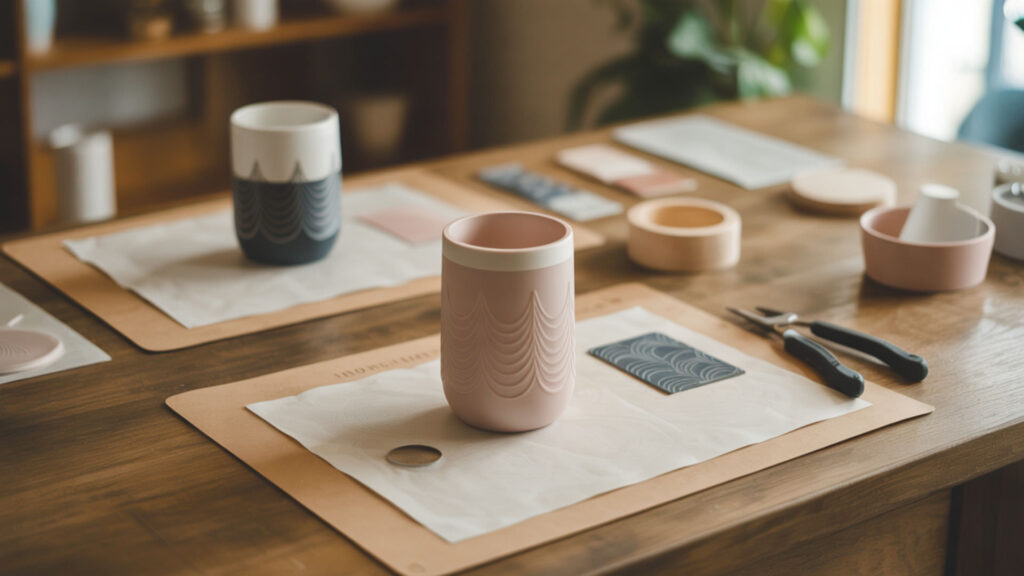
Professional tumblers start with polymer-coated stainless steel blanks enabling dye diffusion for permanent prints. Quality blanks feature uniform coating thickness producing consistent color. Press at 360–400°F for 40 seconds (heat press) or 5–6 minutes (convection oven). Our guide on polymer-coated substrates for tumblers covers blank selection and alignment.
Choosing Quality Tumbler Blanks
Stainless steel tumblers with smooth surface finishes accept polymer coatings more uniformly than textured alternatives. Double-walled vacuum-insulated blanks maintain temperature while providing stable transfer surfaces. Inspect blanks for coating defects—thin spots or bubbles cause uneven dye absorption. Premium blanks from reputable suppliers reduce reject rates.
Seam Placement and Design Alignment
Transfer paper alignment affects how thermal transfer distributes across tumbler seams, with misalignment causing gaps or overlap. Position the paper seam opposite the design’s focal point. Use registration marks and heat-resistant tape at edges. Full-wrap designs require precise measurement—most 20oz skinny tumblers need 9.3″ × 8.25″ transfers.
Adding Special Effects and Textures
Gloss finish epoxy coatings enhance depth and visual appeal on sublimated tumblers, creating a glass-like surface over printed designs. Glitter can be embedded under clear epoxy for dimensional effects. Some crafters add texture through specialized coatings applied before sublimation, though these require compatible polymer chemistry for dye bonding.
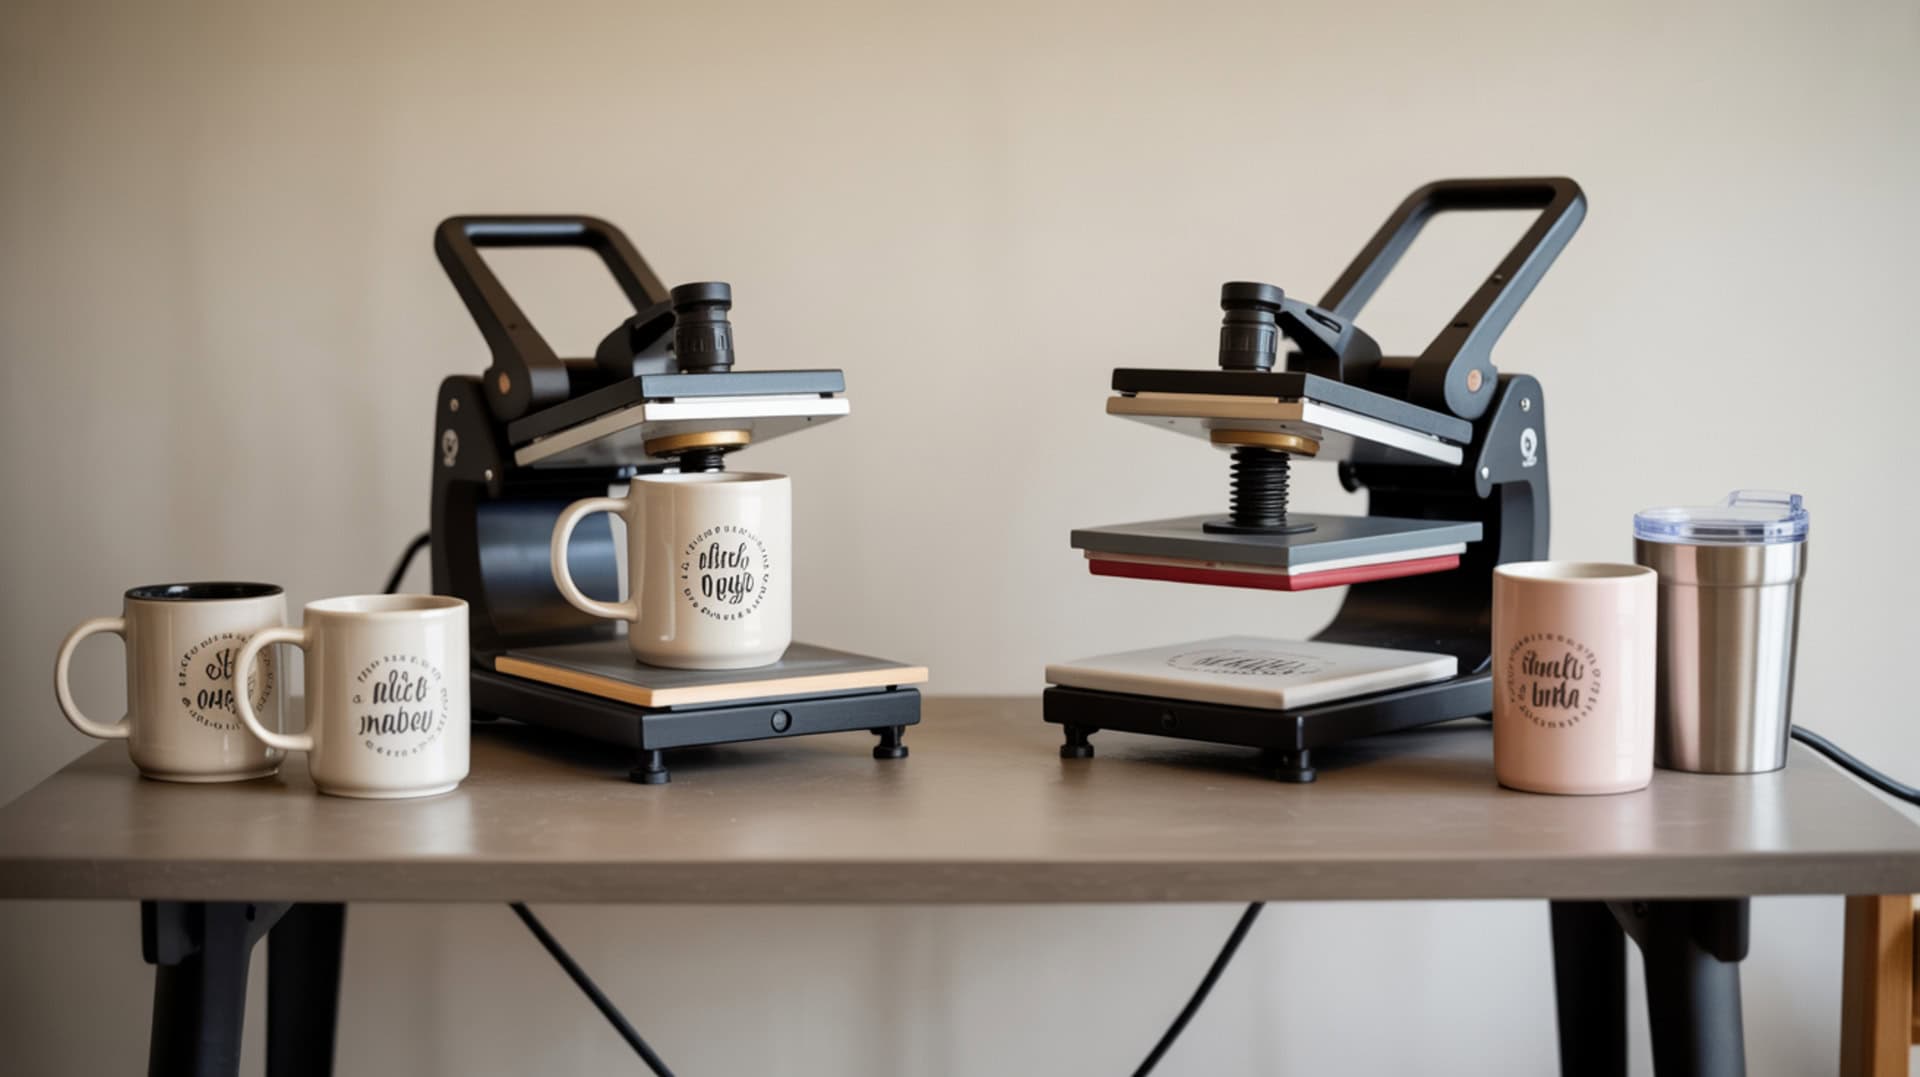
Which Heat Press Works Best for Mugs and Tumblers?
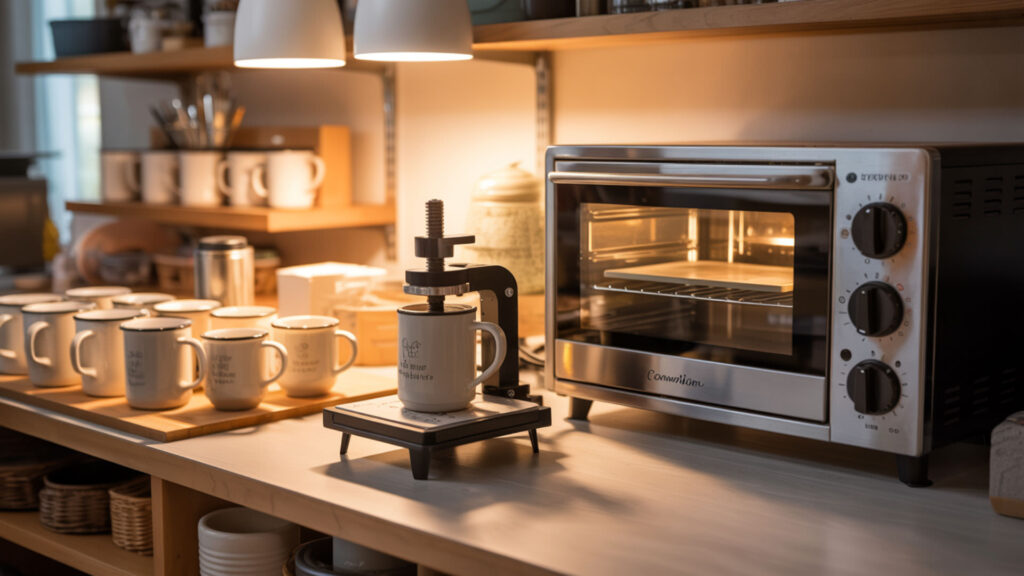
Dedicated mug and tumbler presses use aluminum heating platens shaped to wrap curved drinkware, ensuring consistent temperature distribution. Platen contact eliminates cold spots common with flat presses adapted for round objects. Our comparison guide on heat press options details performance differences and production capacity.
Mug Press vs Convection Oven Options
Convection ovens heat larger volumes evenly through circulating air, accommodating multiple tumblers—up to 12 units in commercial models. Mug presses provide direct-contact heating with precise pressure but process one item at a time. Heat capacity differences mean ovens need 5–6 minutes at 375°F while presses complete transfers in 40 seconds.
Size Limitations and Versatility
Mug press pressure and temperature settings limit blank compatibility—standard units accommodate 11–15oz mugs and 20oz straight tumblers. Larger 30oz tumblers or tapered shapes often require convection ovens or specialized presses with adjustable elements. Combination presses with interchangeable attachments offer versatility but may compromise heating consistency.
Investment vs Production Volume
Higher transfer rates justify equipment investment when production volume demands efficiency. Entry-level mug presses ($80–150) suit hobbyists producing under 20 items weekly. Mid-range tumbler presses ($200–400) handle small business volumes. Commercial convection ovens ($500–2,000) become cost-effective producing 50+ tumblers daily.
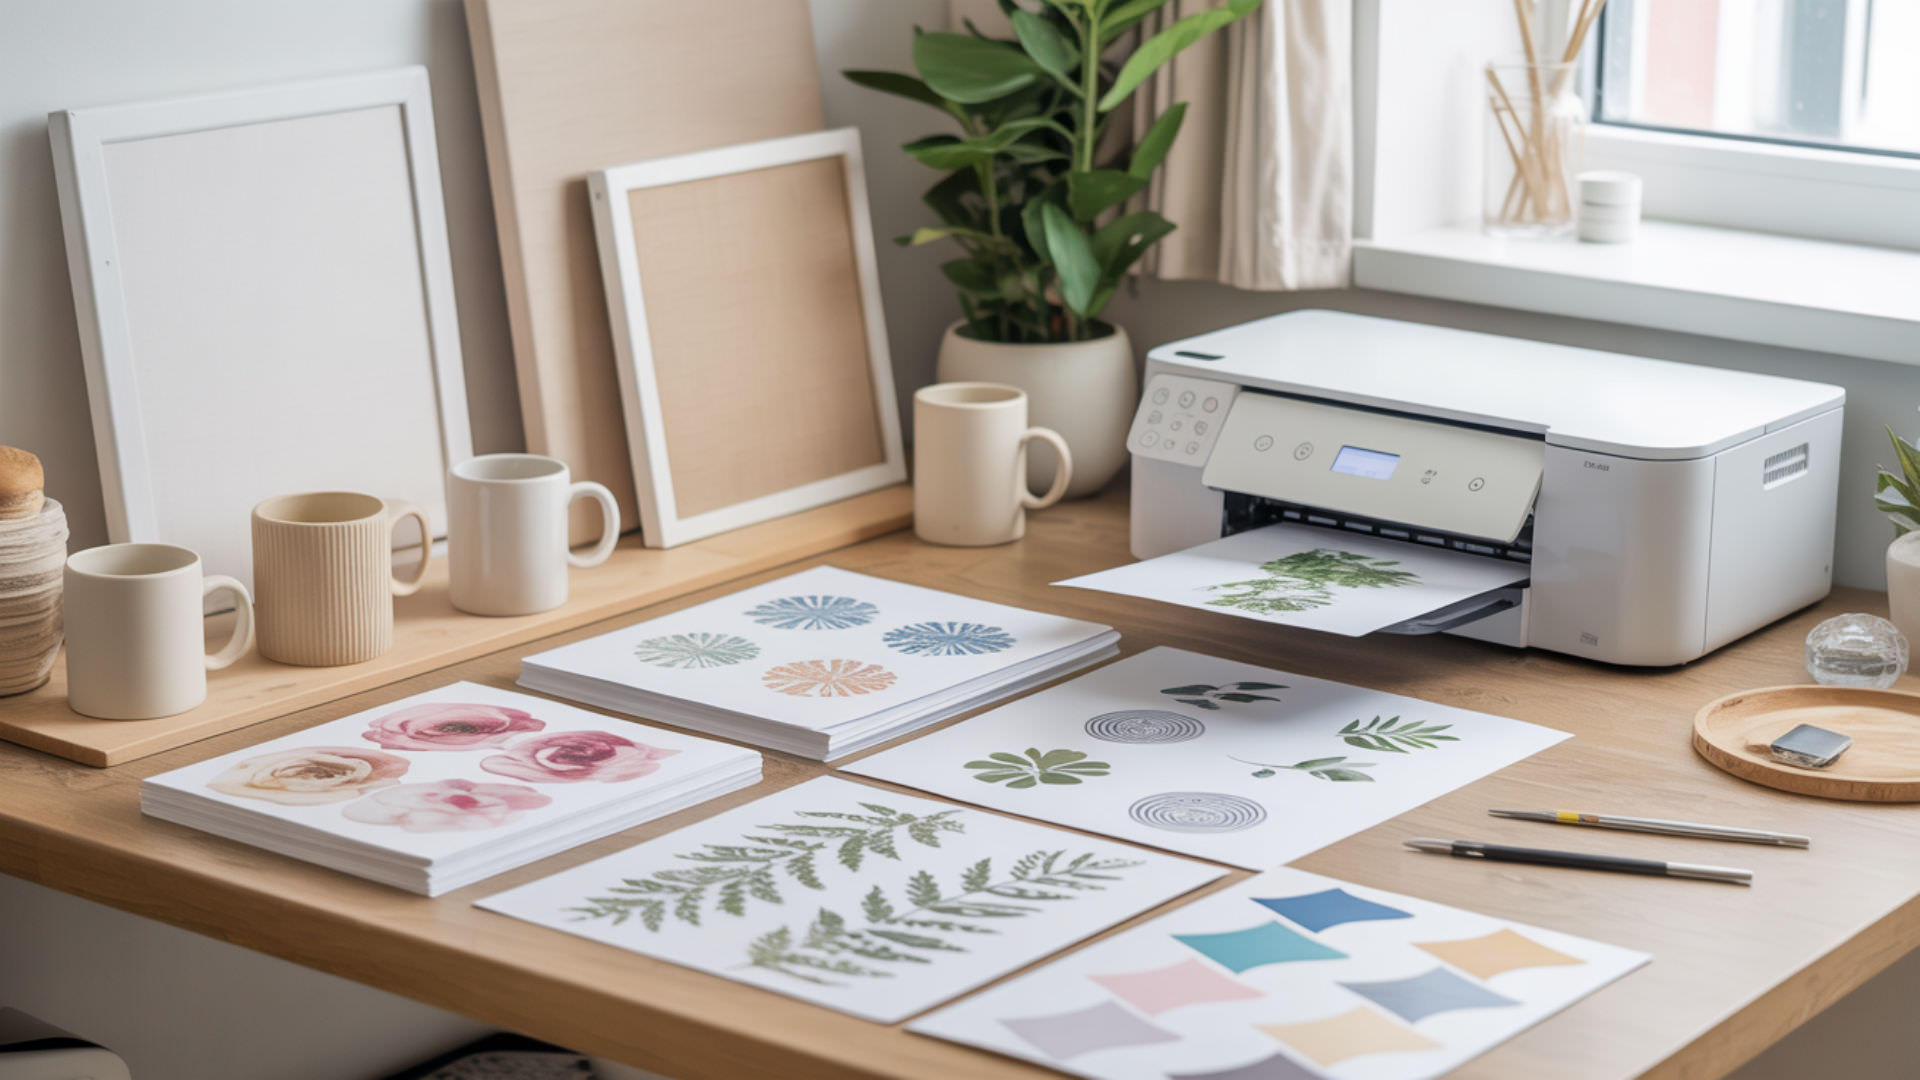
What Are the Top Sublimation Drinkware Products to Offer?
Polymer-coated substrates enable customization across drinkware shapes, from mugs to insulated tumblers. Stainless steel tumblers dominate market demand due to durability. Profit margins vary—simple mugs yield lower margins than tumbler designs with epoxy finishes. Our review of top-selling polymer-coated substrates identifies bestsellers and sourcing options.
Market Demand and Seasonal Trends
Sublimation enables on-demand seasonal designs without inventory risk—print holiday patterns, sports themes, or event graphics as orders arrive. Tumbler demand peaks during gift-giving seasons (November–December) and graduation periods (May–June). Personalized mugs sell consistently year-round for birthdays, weddings, and corporate gifts.
Custom vs Ready-Made Design Options
Color management ensures accuracy for custom orders where clients expect exact brand matches. Calibrated workflows using ICC profiles reduce revisions and reprints. Ready-made designs from template libraries speed production but limit differentiation. Hybrid approaches—customizable templates with personalization fields—balance efficiency with uniqueness.
Building a Profitable Product Line
Substrate type impacts durability and customer preference, affecting repeat purchases. Entry-level sellers start with ceramic mugs (lowest blank cost) before expanding to higher-margin tumblers. Product bundling—matching mug and tumbler sets—increases average order value. Focus on quality blanks from consistent suppliers to reduce defect-related costs.
Final Thoughts
Successful sublimation on drinkware depends on understanding how polymer coatings interact with heat-activated dye at the molecular level. Quality results require matching temperature, time, and pressure to each substrate. Consistent dye diffusion into properly prepared polymer surfaces produces prints that maintain clarity through years of daily use.
Frequently Asked Questions
Why do my sublimated drinkware items fade after washing?
Fading after washing results from insufficient heat or time during pressing, preventing complete dye diffusion into the polymer coating. Sublimation requires 360–400°F for proper bonding. Under-sublimated prints sit on the surface rather than penetrating, making them vulnerable to detergent abrasion. Verify press temperature and extend time by 10–15 seconds if colors appear light.
Can all sublimated drinkware go in the dishwasher?
Polymer-coated sublimation drinkware with fully cured prints generally survives top-rack dishwasher cycles, though hand washing extends print life. Ceramic mugs and coated stainless steel tolerate dishwasher heat (120–140°F) when properly sublimated. Epoxy-coated items cannot be dishwashed—heat and detergent degrade resin. Recommend hand washing for maximum durability.
What’s the best way to package sublimated drinkware for shipping?
Wrap each item in bubble wrap with 2 inches of cushioning around all sides. Use boxes sized to minimize movement, filling empty space with packing paper or air pillows. Double-box fragile ceramic pieces with 2–3 inches between containers. Mark packages “FRAGILE” and consider shipping insurance for orders over $50.
How do I prevent uneven heating on curved drinkware surfaces?
Uneven heating occurs when pressure fails to maintain consistent contact between transfer paper and curved surfaces. Use substrate-specific tools—mug wraps, silicone sleeves, or shrink wrap—designed for cylindrical shapes. Preheat items for 20–30 seconds to eliminate cold spots. Rotate tumblers halfway through convection oven cycles for even exposure.
Should I invest in a tumbler press or use a convection oven?
Choose based on production volume. Tumbler presses ($200–400) deliver faster single-item cycles (40–60 seconds) with precise pressure—ideal for small batches. Convection ovens ($150–500) process multiple tumblers simultaneously (5–6 minutes per batch), increasing hourly output for dedicated production. Start with your higher-demand format, adding equipment as volume grows.
References
- Polymers processing group. (2021, August 5). NIST. https://www.nist.gov/mml/materials-science-and-engineering-division/polymers-processing-group
- Aluminum statistics and information. (n.d.). USGS. https://www.usgs.gov/centers/national-minerals-information-center/aluminum-statistics-and-information