Sublimation stickers combine PET film printing surfaces with pressure-sensitive adhesive backing to create vibrant, waterproof custom stickers for personal and commercial use. The polymer structure in sublimation-compatible sheets accepts dye through heat transfer, producing permanent designs that won’t fade or peel. Unlike inkjet stickers that sit on surfaces, sublimation ink bonds molecularly within the film layer for exceptional durability. Understanding PET film and polymer-based materials across all home products appears in our complete PET film home products guide. Polymer materials change their molecular behavior under heat, which enables dyes to diffuse into polyester-based surfaces during sublimation processes. [1]
Key Takeaways
- Sublimation sticker sheets require PET film or polyester-based surfaces—regular paper stickers cannot accept sublimation dye transfer.
- Heat press settings of 370°F for 40 seconds work for most sublimation sticker materials with medium pressure application.
- Waterproof laminate overlays significantly extend outdoor durability and protect sublimated designs from UV fading and moisture damage. Viscoelastic materials exhibit both elastic and viscous behavior, which explains how pressure-sensitive adhesives maintain grip while flexing under stress. [2]
Can Sublimation Ink Be Used to Create Stickers?
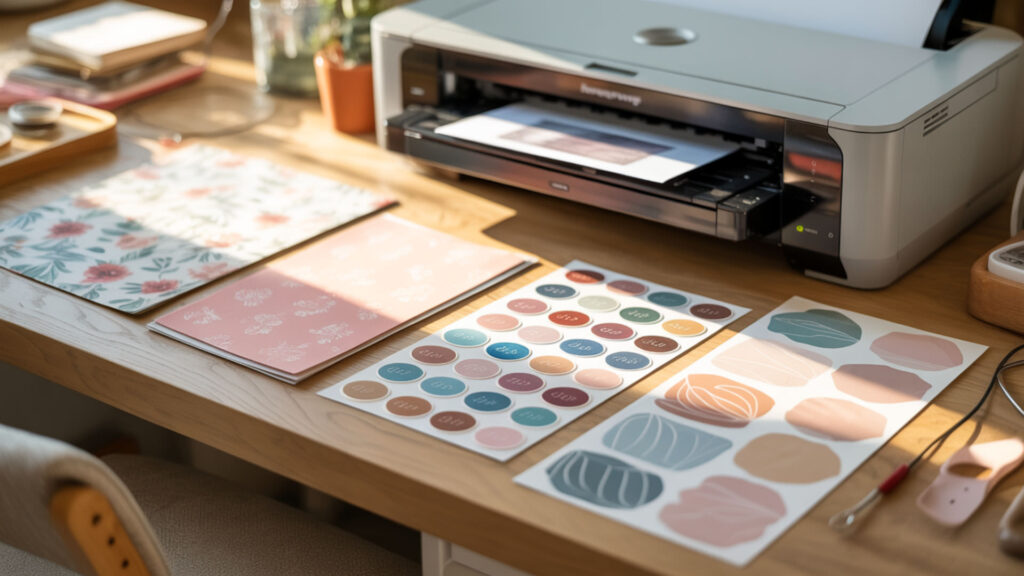
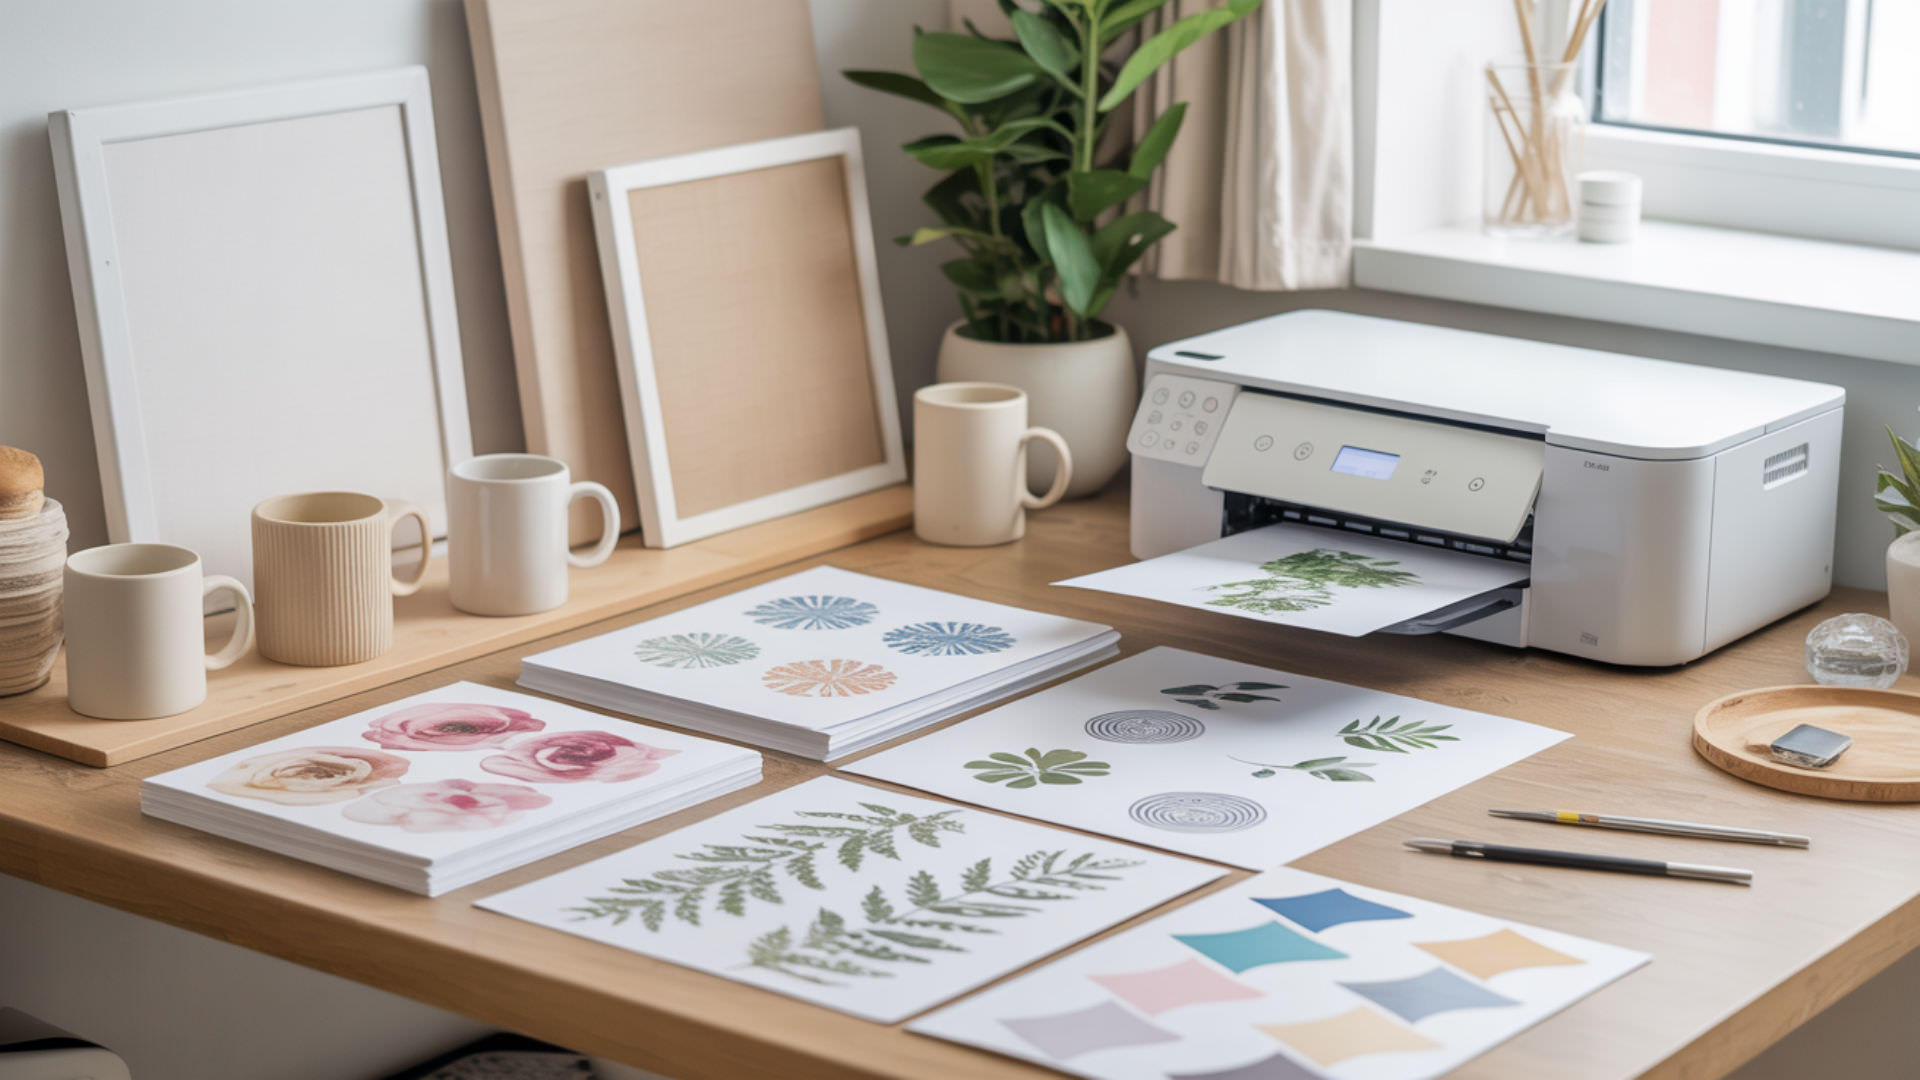
Sublimation ink creates exceptional stickers when transferred onto PET film or polyester-coated sticker sheets designed for heat pressing. The dye diffusion process embeds color molecularly within the polymer surface layer, producing vibrant prints with excellent wash and scratch resistance. Standard printing workflow applies: design artwork, print mirrored images onto sublimation paper, then heat press onto compatible sticker blanks. Colors appear more vibrant and permanent than inkjet alternatives because sublimation bonds within materials rather than coating surfaces.
Can Stickers Be Made Using Sublimation Ink Reliably?
Sublimation produces highly reliable sticker results when using proper PET film or polymer-coated sticker sheets designed for heat transfer applications. The polymer surface structure accepts gaseous dye during pressing, creating permanent bonds that survive handling, washing, and outdoor exposure. Consistency depends on maintaining proper temperature, time, and pressure settings throughout production runs. Quality sublimation sticker blanks from reputable suppliers deliver predictable results batch after batch when pressing parameters remain constant.
What Are the Key Advantages or Downsides of Sublimation Sticker Transfers?
Sublimation stickers offer superior color vibrancy, permanence, and scratch resistance compared to inkjet alternatives—the pressure-sensitive adhesive backing provides reliable stick-and-stay performance. Cohesion between printed layers remains strong through temperature fluctuations and mechanical stress. Downsides include higher blank costs than regular sticker paper and the requirement for specialized sublimation equipment. Limited availability of sublimation-ready sticker sheets compared to standard printable vinyl also restricts design flexibility for some applications.
Do Sticker Sheets Need Special Surfaces or Coatings for Sublimation?
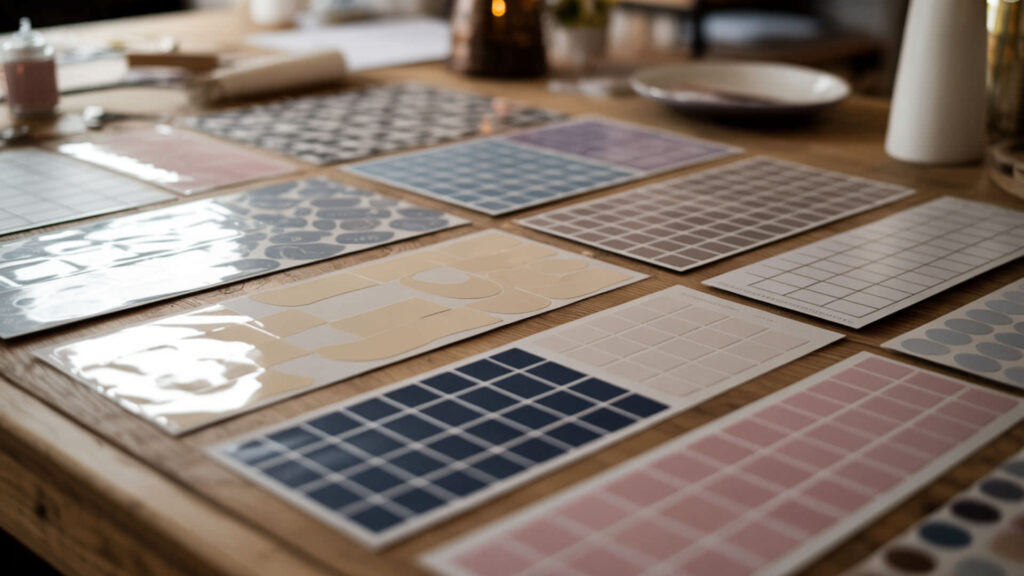
Sublimation requires polymer or PET film surfaces that accept dye through heat-activated gas transfer—standard paper and vinyl stickers lack compatible chemistry. Temperature sensitivity in pressure-sensitive adhesive layers demands careful heat press settings to prevent adhesive degradation during transfer. Quality sublimation sticker sheets feature polyester-based printable surfaces bonded to stable adhesive backings engineered for heat exposure. Without proper coating, sublimation dye simply won’t bond, producing faded or non-existent transfers regardless of pressing parameters.
Can Coated Sticker Paper Accept Sublimation Transfers?
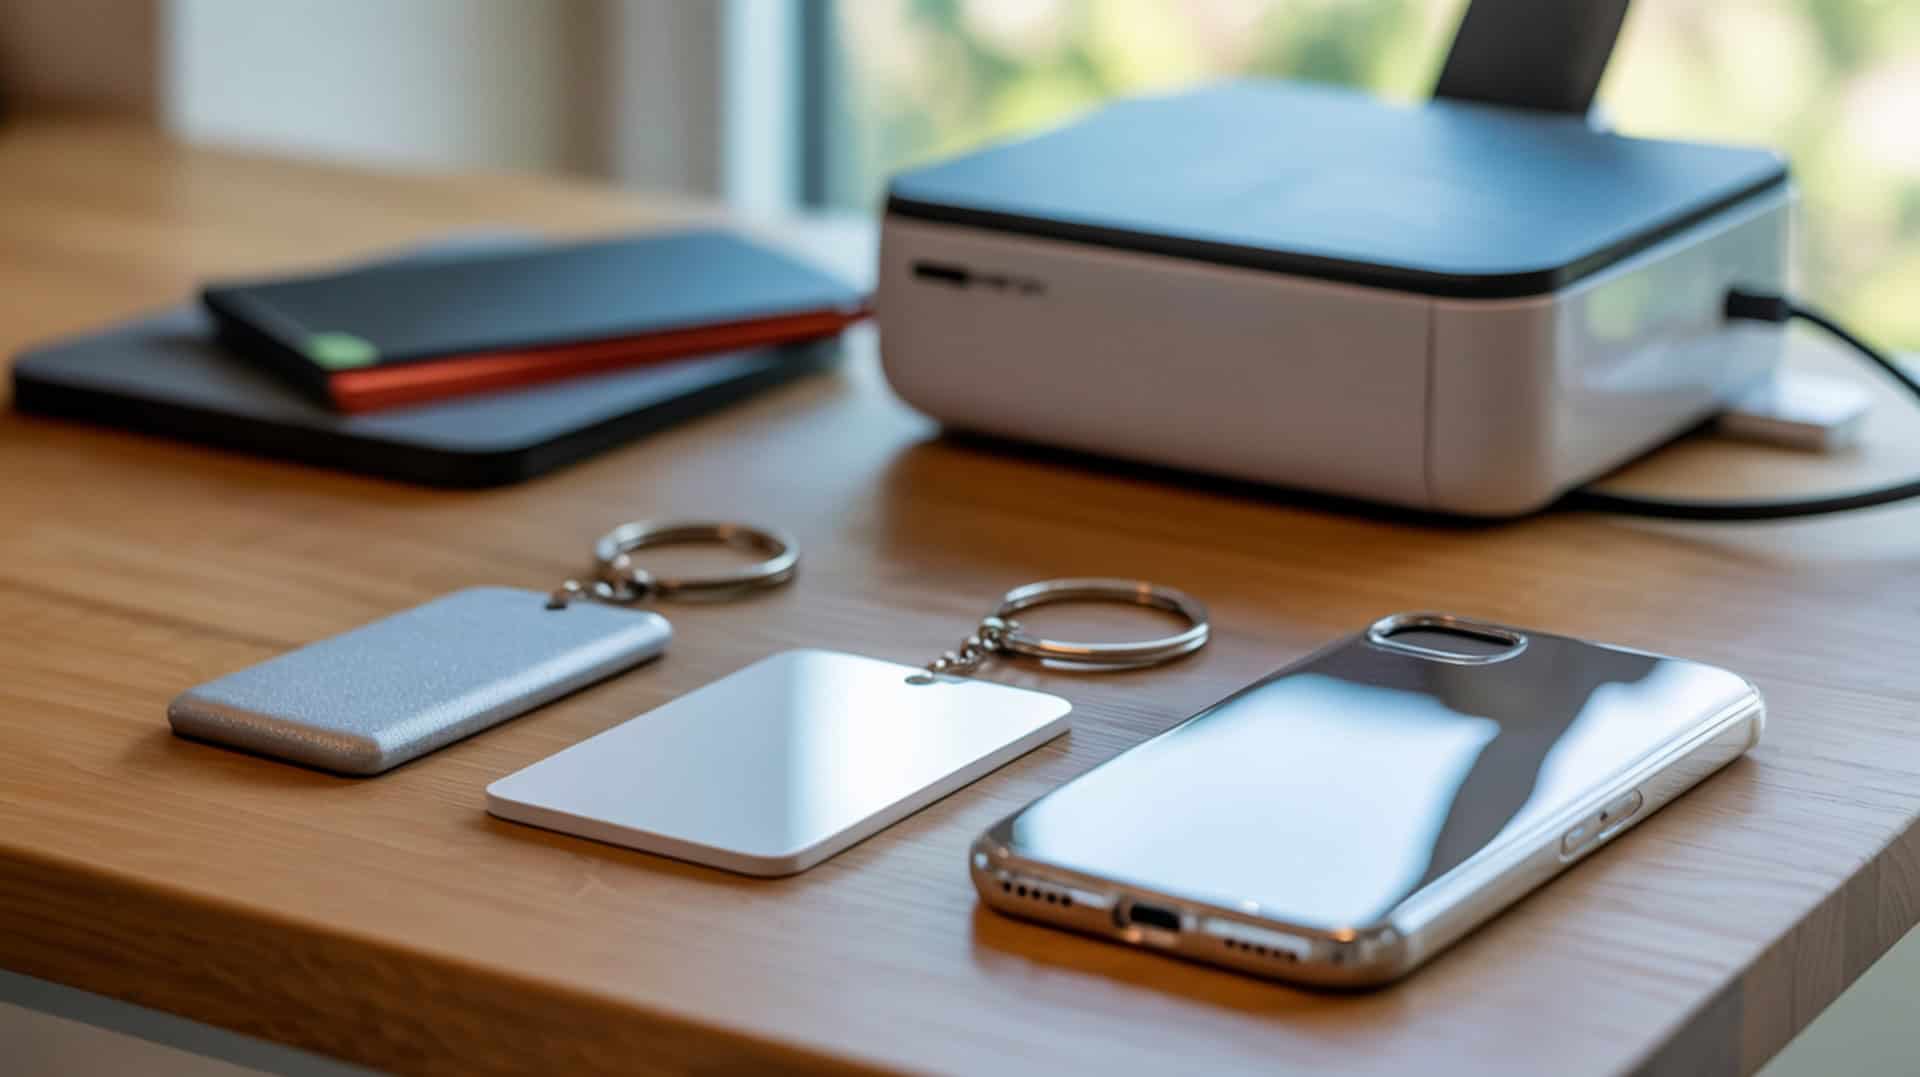
PET film coatings enable sublimation dye absorption through the same polymer chemistry used in phone case inserts and other hard-surface blanks. The dye diffusion process requires polyester-based surfaces—even coated paper without proper polymer content produces unsatisfactory results. PET-based coatings function identically in sticker films and phone case inserts, covered in our complete PET film phone cases guide. Verify sticker sheets specifically list sublimation compatibility before purchasing, as “coated” doesn’t guarantee sublimation-ready surfaces in standard label products.
Can Sublimation Transfers Work on Regular Sticker Sheets?
Regular sticker sheets lack the polymer matrix required for sublimation dye bonding—transfers produce faded, washed-out results that won’t survive handling. Standard vinyl and paper stickers use different adhesive formulations that cannot withstand sublimation pressing temperatures without degradation. Pressure-sensitive adhesive on regular stickers may melt, shift, or lose tack entirely when exposed to heat press temperatures. Always use sticker blanks specifically designed and marketed for sublimation to ensure both print quality and adhesive integrity.
How Do You Make Sublimation Stickers Step-by-Step?
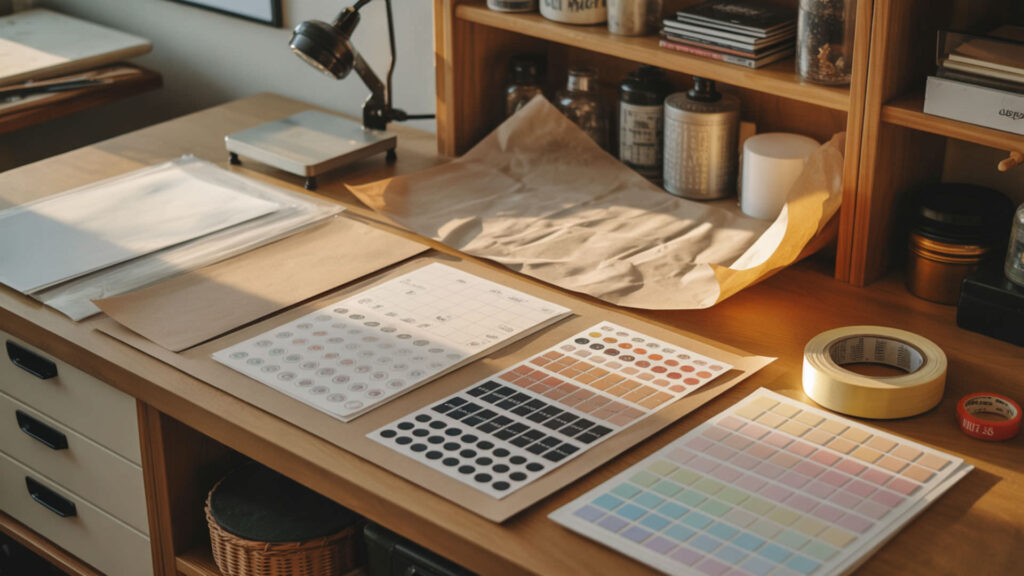
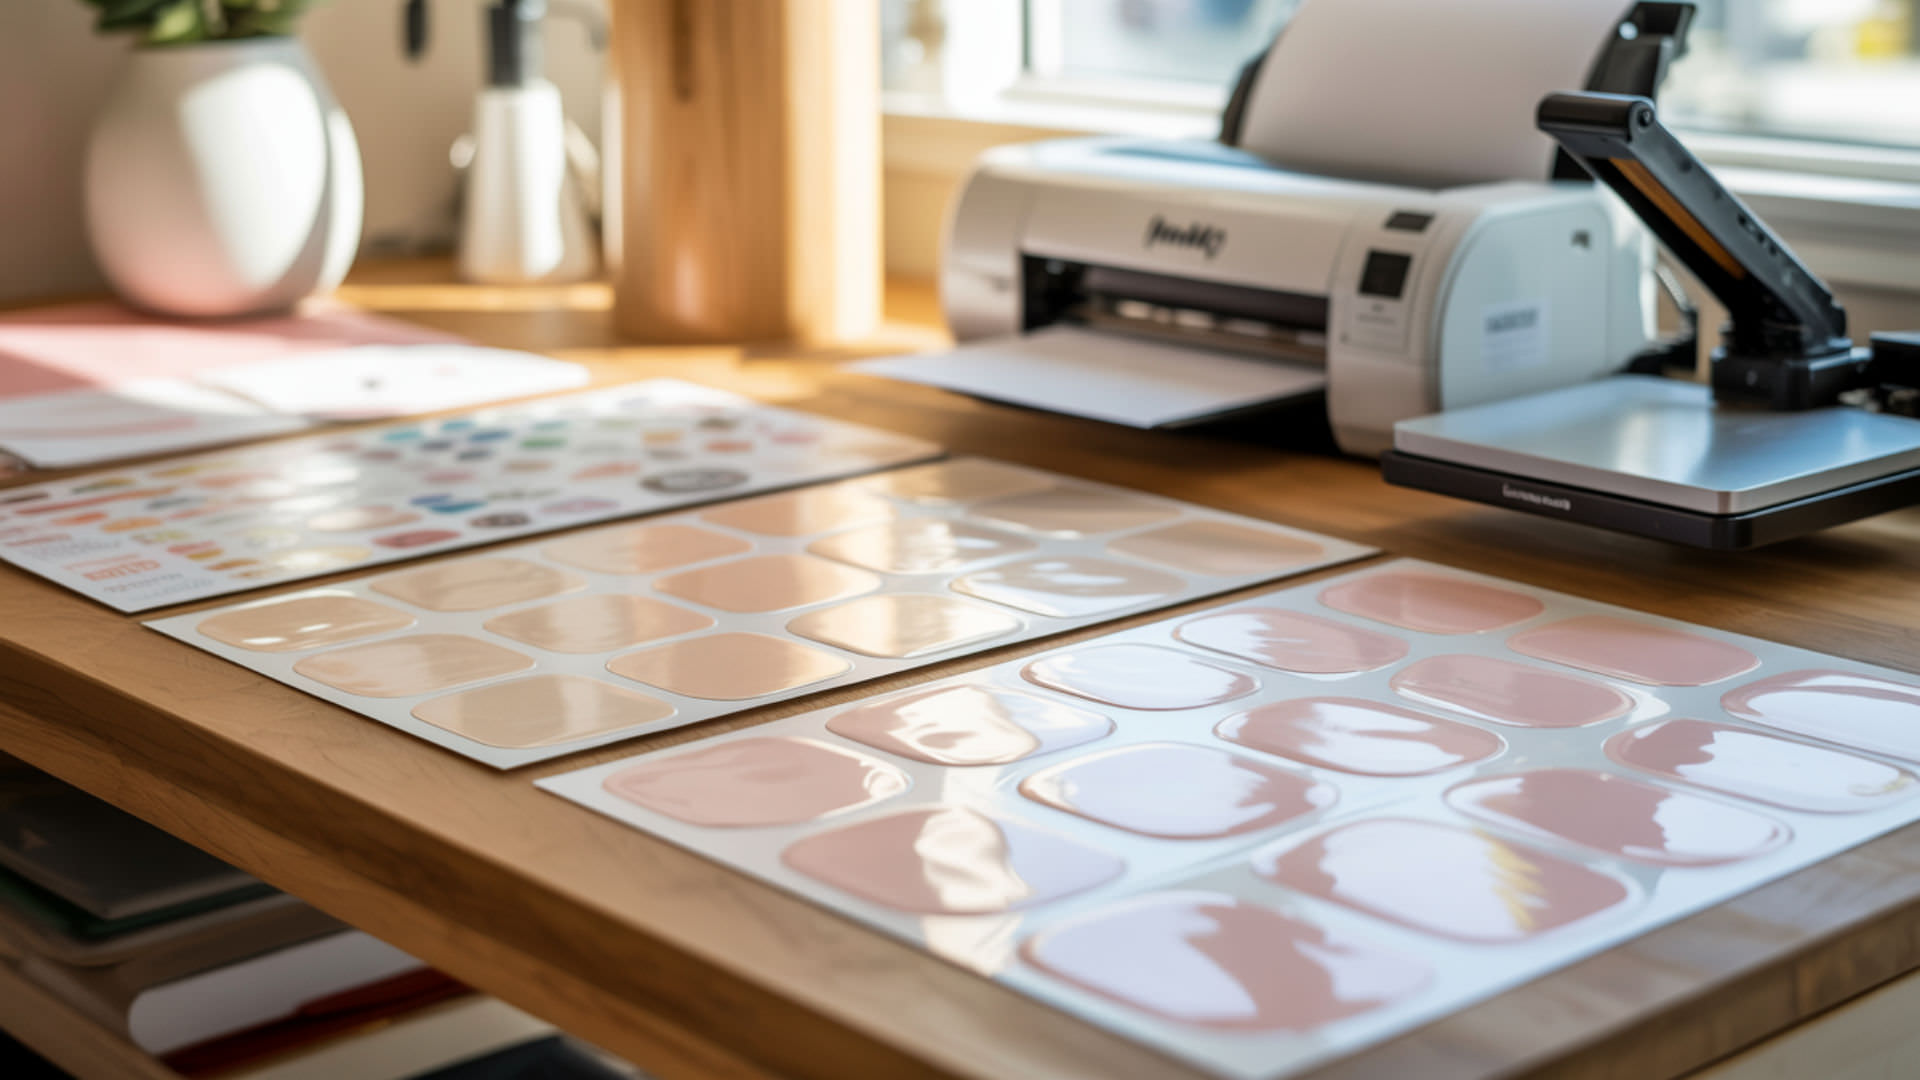
Preheat your heat press to 370°F while designing artwork and printing mirrored images onto sublimation paper at 300+ DPI. Position transfers face-down on sticker sheets, securing with heat-resistant tape. Apply medium pressure for 40 seconds, then remove immediately—transfers peel cleanly while warm. Temperature activates dye while pressure ensures even transfer. Popular pressure-sensitive adhesive sticker blanks and supplies appear in our complete pressure-sensitive adhesive best sellers guide.
Can Sublimation Stickers Survive Water Exposure or Outdoor Use?
Sublimation stickers tolerate water exposure better than inkjet alternatives because dye bonds within the PET film rather than sitting on top where moisture can penetrate. Acrylic adhesive formulations provide superior wet-environment performance compared to rubber-based adhesive alternatives that may soften with water contact. Indoor sublimation stickers last years without fading or peeling under normal conditions. Outdoor applications require additional protection through lamination or clear coat sealants to maximize longevity against UV exposure and weather elements.
Can Sticker Transfers Fade or Weaken Outdoors Over Time?
Outdoor exposure subjects stickers to UV radiation, temperature cycling, and moisture that gradually degrade both printed surfaces and adhesive layers. Temperature sensitivity in standard adhesive formulations causes softening during hot weather that may reduce cohesion and peel strength over time. Direct sunlight accelerates color fading in all printed materials including sublimation—UV-resistant laminates significantly extend outdoor lifespan. Shaded outdoor applications preserve colors longer than full sun exposure while still benefiting from sublimation’s inherent durability advantages.
How Do You Protect Sublimation Stickers From Fading or Water Damage?
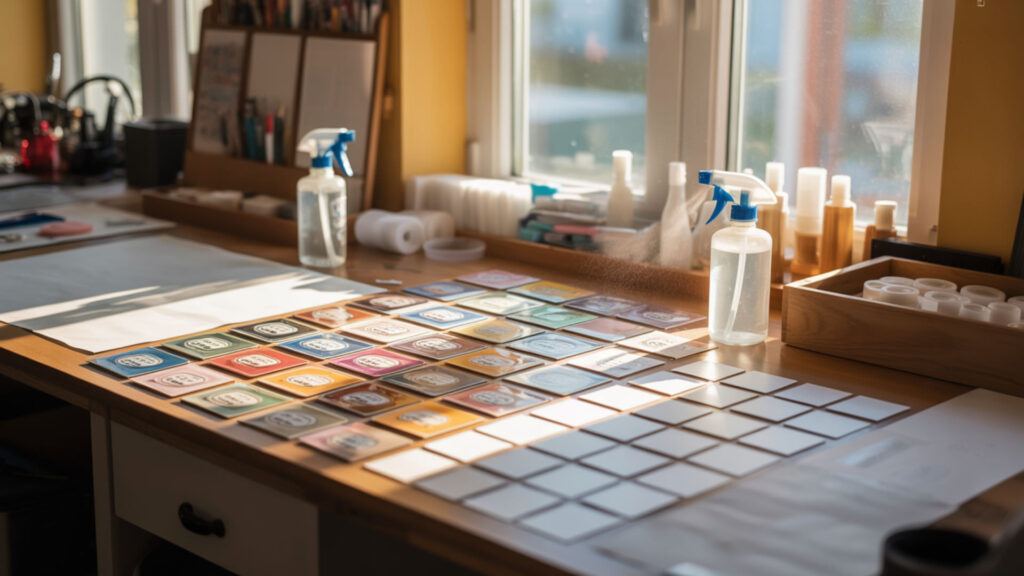
Protective overlays including clear laminates, spray sealants, and brush-on coatings extend sublimation sticker life by shielding printed surfaces from environmental damage. Curing time for sealants allows adhesive layers to strengthen and achieve maximum bond performance before exposure to challenging conditions. Bonding quality between protective layers and sticker surfaces determines long-term durability—proper application technique prevents peeling and delamination. Multiple thin coats of spray sealant provide better protection than single heavy applications.
Does Laminating Transfer Stickers Improve Water Resistance?
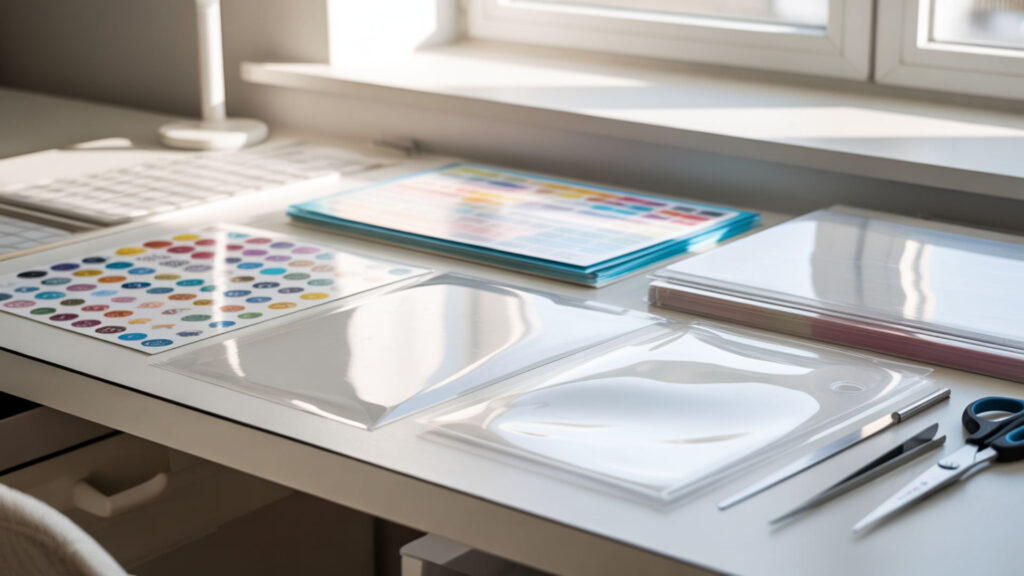
Laminating creates waterproof barriers over sublimated sticker surfaces, dramatically improving moisture resistance for applications like water bottles and outdoor use. PET film laminates bond securely to sublimation sticker surfaces when properly applied, maintaining peel adhesion strength while adding scratch and UV protection. Self-adhesive laminate sheets offer easy application—position carefully to avoid air bubbles that compromise protection. For true waterproofing in submersion applications, laminate provides more reliable protection than spray sealants alone.Practical guidance on ensuring proper peel adhesion for durable stickers appears in our How To Make Clothing Tags With Sublimation Printer guide.
Can Layered Coatings Make Sublimation Stickers Last Longer?
Multiple protective layers significantly extend sublimation sticker lifespan by combining different protective properties in single applications. Cohesion between layers determines whether coatings remain bonded during temperature changes and mechanical stress over extended use periods. Viscoelasticity in quality laminate and sealant formulations allows protective layers to flex without cracking as sticker surfaces expand and contract. Combining UV-resistant clear coats with waterproof laminates provides comprehensive protection for demanding outdoor and high-wear applications.
Ready to Create Custom Sublimation Stickers?
Sublimation stickers deliver professional quality at home-production costs—PET film blanks cost pennies each while finished waterproof stickers sell for $2–5 depending on size and customization. The pressure-sensitive adhesive backing provides reliable stick-and-stay performance on most surfaces without additional preparation. Start with quality sublimation-specific sticker sheets to ensure proper dye bonding and adhesive integrity through the pressing process. Laminating finished stickers adds minimal cost while dramatically improving durability for outdoor and heavy-use applications.
Frequently Asked Questions
Can sublimation transfers fail if sticker paper overheats?
Excessive temperature damages both the printable surface and pressure-sensitive adhesive layer on sublimation sticker sheets. Overheated adhesive may soften, shift, or lose tack entirely—the sticker bonds to the heat press rather than maintaining its backing layer integrity. Surface damage appears as bubbling, discoloration, or texture changes that ruin print quality. Maintain temperature at 370°F and limit pressing time to 40 seconds to protect both printed designs and adhesive functionality.
Will sublimated stickers fade faster when used outdoors?
Outdoor sublimation stickers experience accelerated fading compared to indoor use due to UV radiation exposure that degrades all printed materials over time. Temperature sensitivity in adhesive layers causes additional challenges during hot weather—adhesives may soften and lose holding power with prolonged heat exposure. UV-resistant laminate overlays significantly slow fading while protecting adhesive integrity. Shaded outdoor locations preserve colors substantially longer than direct sun exposure regardless of protective coatings applied.
Does laminating help sublimated stickers handle moisture longer?
Laminating provides the most effective waterproofing for sublimation stickers, creating impermeable barriers over printed surfaces that prevent moisture penetration entirely. Self-adhesive laminate sheets bond securely to sublimation sticker surfaces when properly applied without air bubbles that could allow water infiltration. Laminated stickers survive dishwasher cycles and prolonged water submersion that would destroy unprotected alternatives. For any application involving regular water contact, laminating before use provides essential protection.
Can sublimation stickers be reheated later if the first press is too light?
Re-pressing sublimation stickers to improve faded transfers produces degraded results rather than deeper colors—the polymer surface accepts dye only once during initial transfer. Heat from second pressing releases previously bonded dye, causing ghosting and color contamination that ruins the sticker entirely. Additionally, the pressure-sensitive adhesive may not survive repeated heat exposure, losing tack or shifting position. Light transfers indicate insufficient original temperature or time—start fresh with new blanks rather than attempting rework.
What defects appear if the wrong side of sticker paper is pressed?
Pressing the wrong side produces no visible transfer since the adhesive backing lacks polymer coating required for dye bonding. The sublimation paper separates cleanly but leaves the sticker sheet completely blank—no color transfers to non-coated surfaces regardless of temperature or time. Wasted sublimation paper and sticker blanks result from this orientation error. Always verify printable side orientation before pressing—most sheets have visible differences between the matte printable surface and glossy adhesive backing.
References
- Modeling polymers for next-generation manufacturing and sustainability. (n.d.). Energy.gov. https://www.energy.gov/science/bes/articles/modeling-polymers-next-generation-manufacturing-and-sustainability
- Viscoelasticity notes. (n.d.). Rod Lakes. https://lakeslab.ep.wisc.edu/VEnotes.html