Worrying about “why does my sublimation look faded?” The truth is, you’re not alone. Faded results can be caused by a variety of issues, such as improper heat press settings, low-quality sublimation supplies, or printer configuration errors. Read on as we’ll uncover the factors leading to faded sublimation and provide expert solutions to help you achieve the vivid, high-quality prints you desire.
Key Takeaways
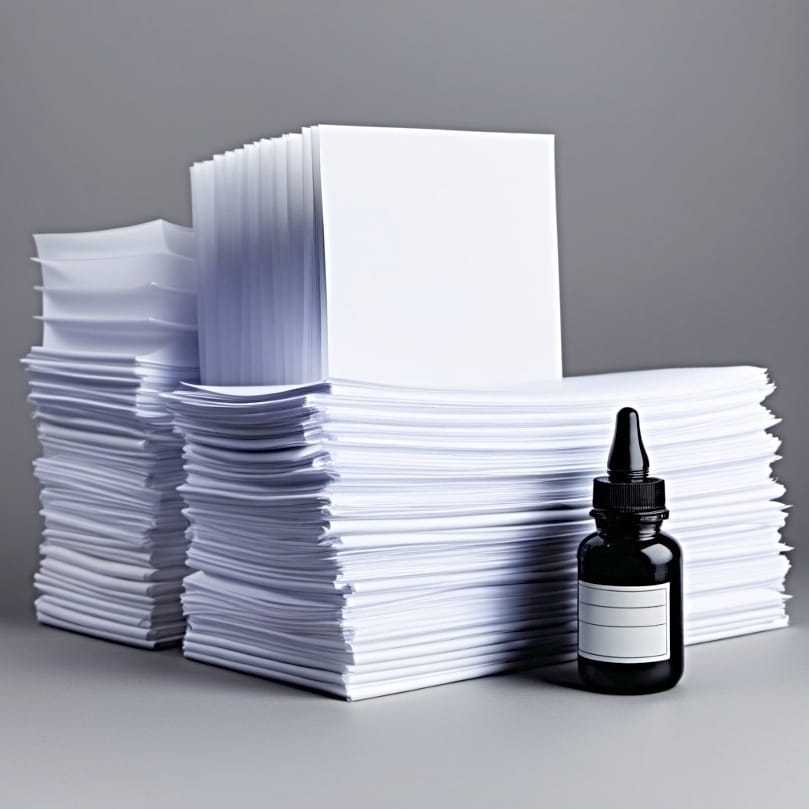
- High-quality sublimation ink and paper are essential for vibrant, long-lasting prints, while improper heat press settings and using low-quality supplies can result in faded prints and color inaccuracies. Read more about the use of sublimation ink on waterslide paper here.
- Optimizing printer settings, using the best print quality mode, and employing correct ICC profiles are crucial steps to achieving accurate and vibrant sublimation prints.
- Using suitable sublimation materials, including high-quality ink, appropriate paper, and proper sublimation blanks, is necessary for successful sublimation printing on various surfaces.[1]
Understanding Faded Sublimation Prints
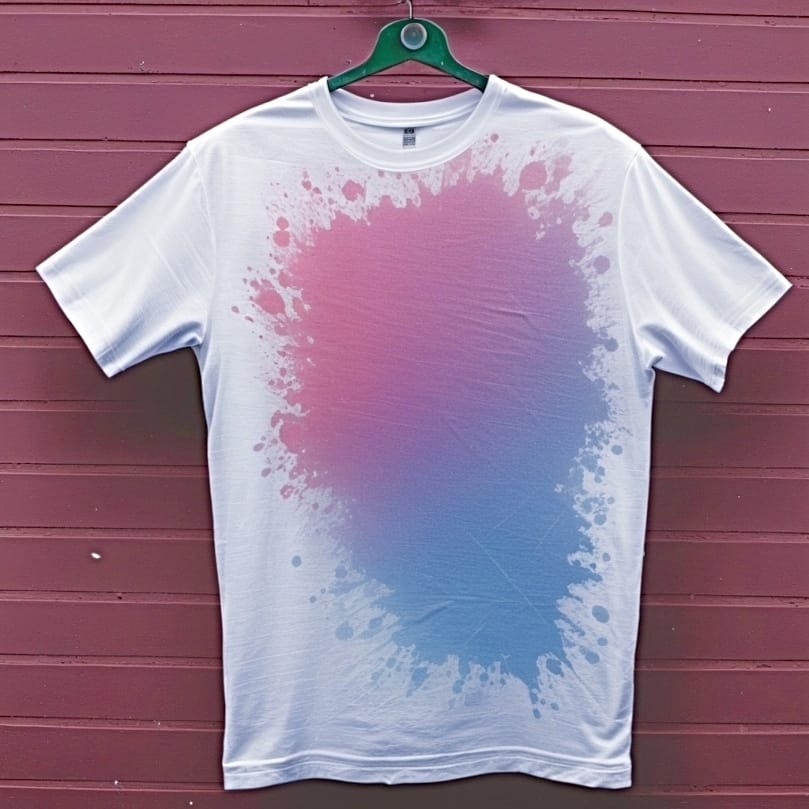
While faded sublimation prints may initially appear challenging to address, understanding the root causes simplifies the process of finding solutions. The reality is, many factors come into play, from the quality of your sublimation ink and paper to your heat press settings and even technical issues with your sublimation printer itself. But why would these factors cause your prints to fade?
Incorrect calibration of heat press settings can result in faded prints and inaccurate colors, contributing to the problem. For instance, black ink might look brown or green instead of a true black. Another common factor is the quality of your sublimation supplies. Low-quality sublimation ink and paper can result in prints that lack vibrancy and fade quickly. Furthermore, technical issues such as clogs in the sublimation printer may lead to color distortion or missing colors in the final print.
Improper Heat Press Settings
The power of your heat press in the sublimation process is immense; it can either create vibrant prints or lead to visual defects like blurring and fading. When the heat press settings are not correctly adjusted, it can result in lighter colors on the final print. Conversely, if the temperature is too high, it can “overcook” the inks, causing the prints to fade.
The optimal heat press settings depend on the substrate you’re working with. Here are some general guidelines for different materials:
- Polyester fabric: heat press settings between 375°F to 400°F, with a pressing time of 40 to 75 seconds, using light to medium pressure.
- Cotton fabric: heat press settings between 350°F to 375°F, with a pressing time of 15 to 20 seconds, using medium to heavy pressure.
- Ceramic or glass: heat press settings between 400°F to 425°F, with a pressing time of 60 to 90 seconds, using heavy pressure.
Remember, conducting test prints using various temperature, time, and pressure settings is a key step towards determining the ideal settings for your specific materials. Over-pressing can cause inks to gas out excessively, which may lead to image blurring, hence why it’s important to ensure even pressure distribution.
Low-Quality Sublimation Supplies

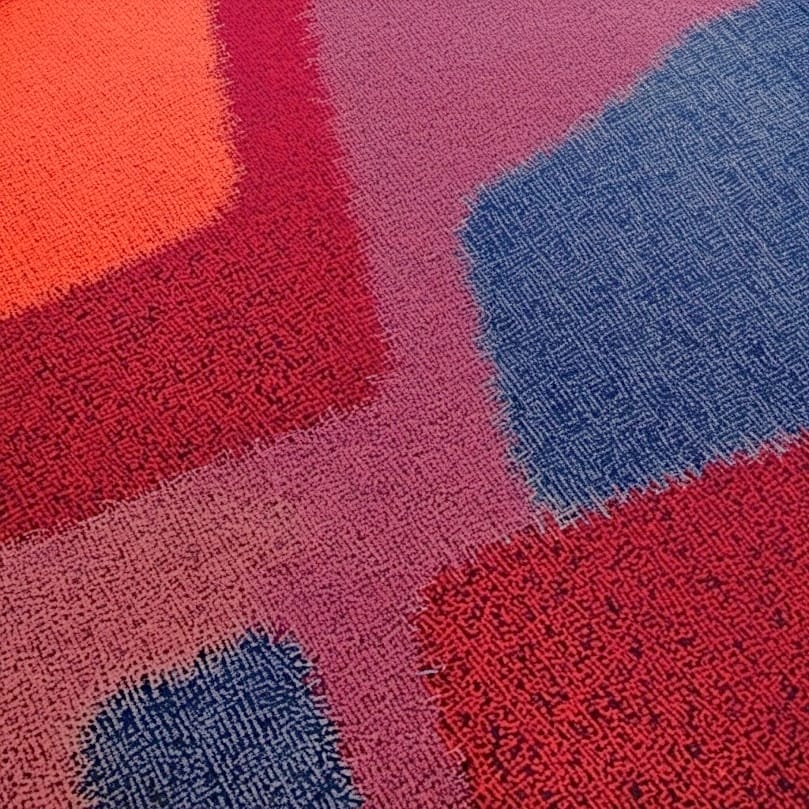
The vibrancy and longevity of your prints significantly depend on the quality of your sublimation ink and paper. Low-quality sublimation ink may result in colors that are not vibrant and printed images that fade quickly after washing. Similarly, poor-quality sublimation paper can cause issues such as blurry or faded prints, as it might not release ink effectively, leading to colors that are not accurate or bright.
The underlying message here is that cheaper alternatives may end up costing you more in the long run. Choosing low-quality sublimation supplies can result in common issues such as banding and color shifting in your final print. So, investing in high-quality sublimation ink and paper from the get-go can save you from a world of frustration and ensure your prints are vibrant and long-lasting.[2]
Optimizing Your Printer Settings
Achieving high-quality sublimation prints is also greatly influenced by printer settings. Print quality, speed, and color accuracy all hinge on the settings you choose in your printer’s driver. But where do you start? A print manager can help you optimize these settings for the best results.
One simple yet effective step is to print in the best quality setting, turn off fast printing modes, and configure the printer driver for the correct paper size and type. Additionally, installing specialized color profiles and calibrating your monitors can ensure accurate color reproduction in your sublimation prints. Regularly updating your printer’s firmware and software can also give you access to the latest color profiles and settings, and address issues like clogged print head nozzles that can cause banding.
Selecting the Best Print Quality
Achieving a full color gamut and sharp graphics in sublimation heavily relies on high-resolution printing. Although printing on fabrics can be somewhat forgiving to lower resolutions, when the full color gamut isn’t achievable at lower settings, higher resolutions become necessary.
Rest assured, selecting the ‘high quality’ or ‘best’ print mode in your printer software can enhance your sublimation print quality, despite slower print speeds. This relatively simple change can make a significant difference in the vibrancy and sharpness of your final prints.
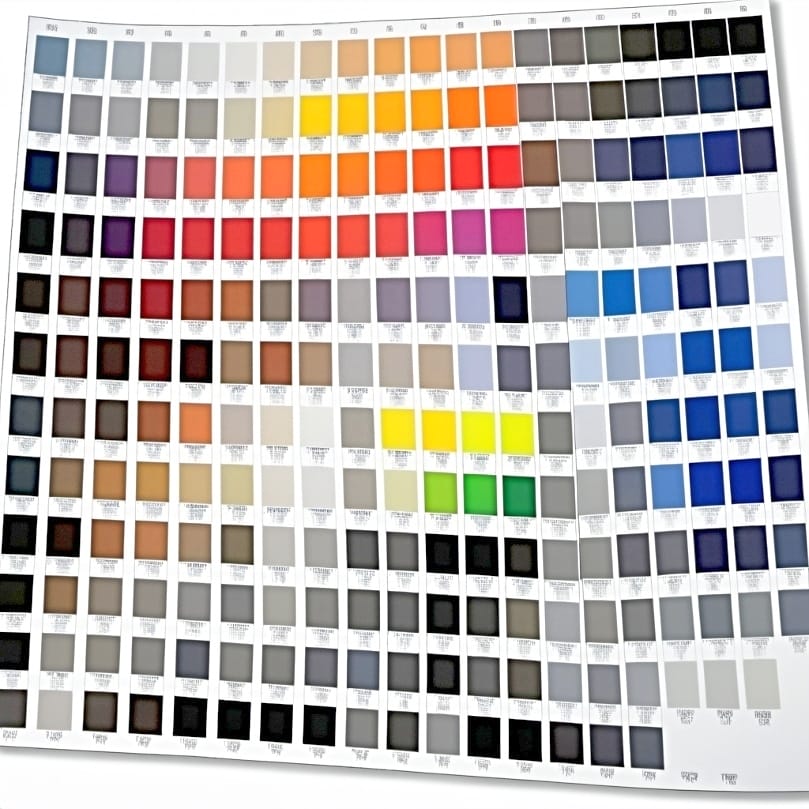
Utilizing ICC Profiles
ICC profiles are the secret to accurate color reproduction in sublimation printing. These profiles ensure color accuracy by accounting for differences between:
- your computer screen display (RGB)
- your printer’s color spectrum (CMYK)
- ink properties
- paper types
- sublimation software.
However, the default ICC profiles in printers may not be adequate for sublimation. This is why you need specific profiles tailored for precise color representation with sublimation inks and papers. To achieve accurate color output, the ICC profile must be correctly calibrated to match the specific sublimation ink being used. It’s critical to turn off all other color management options in the printer software to prevent conflicts and ensure accurate color reproduction.
With the right ICC profile, you’re one step closer to vibrant, true-to-life sublimation prints.
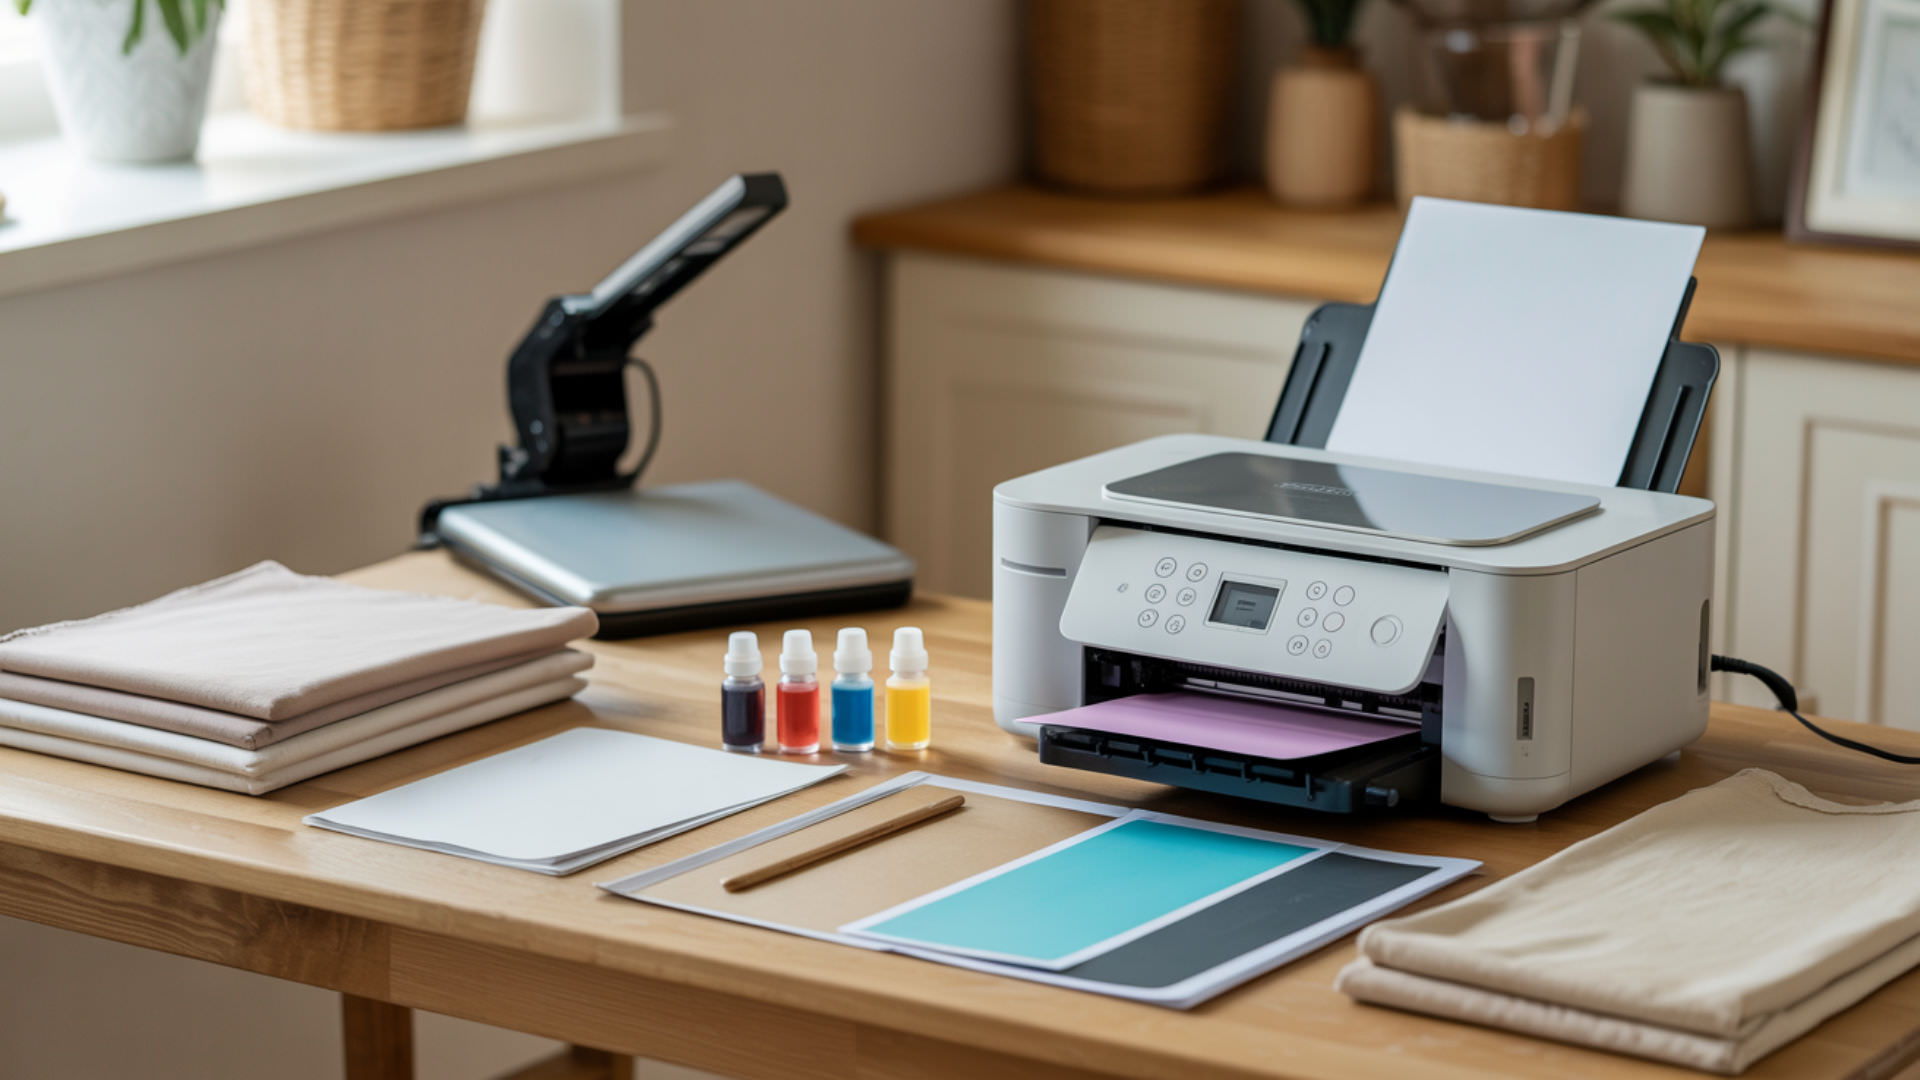
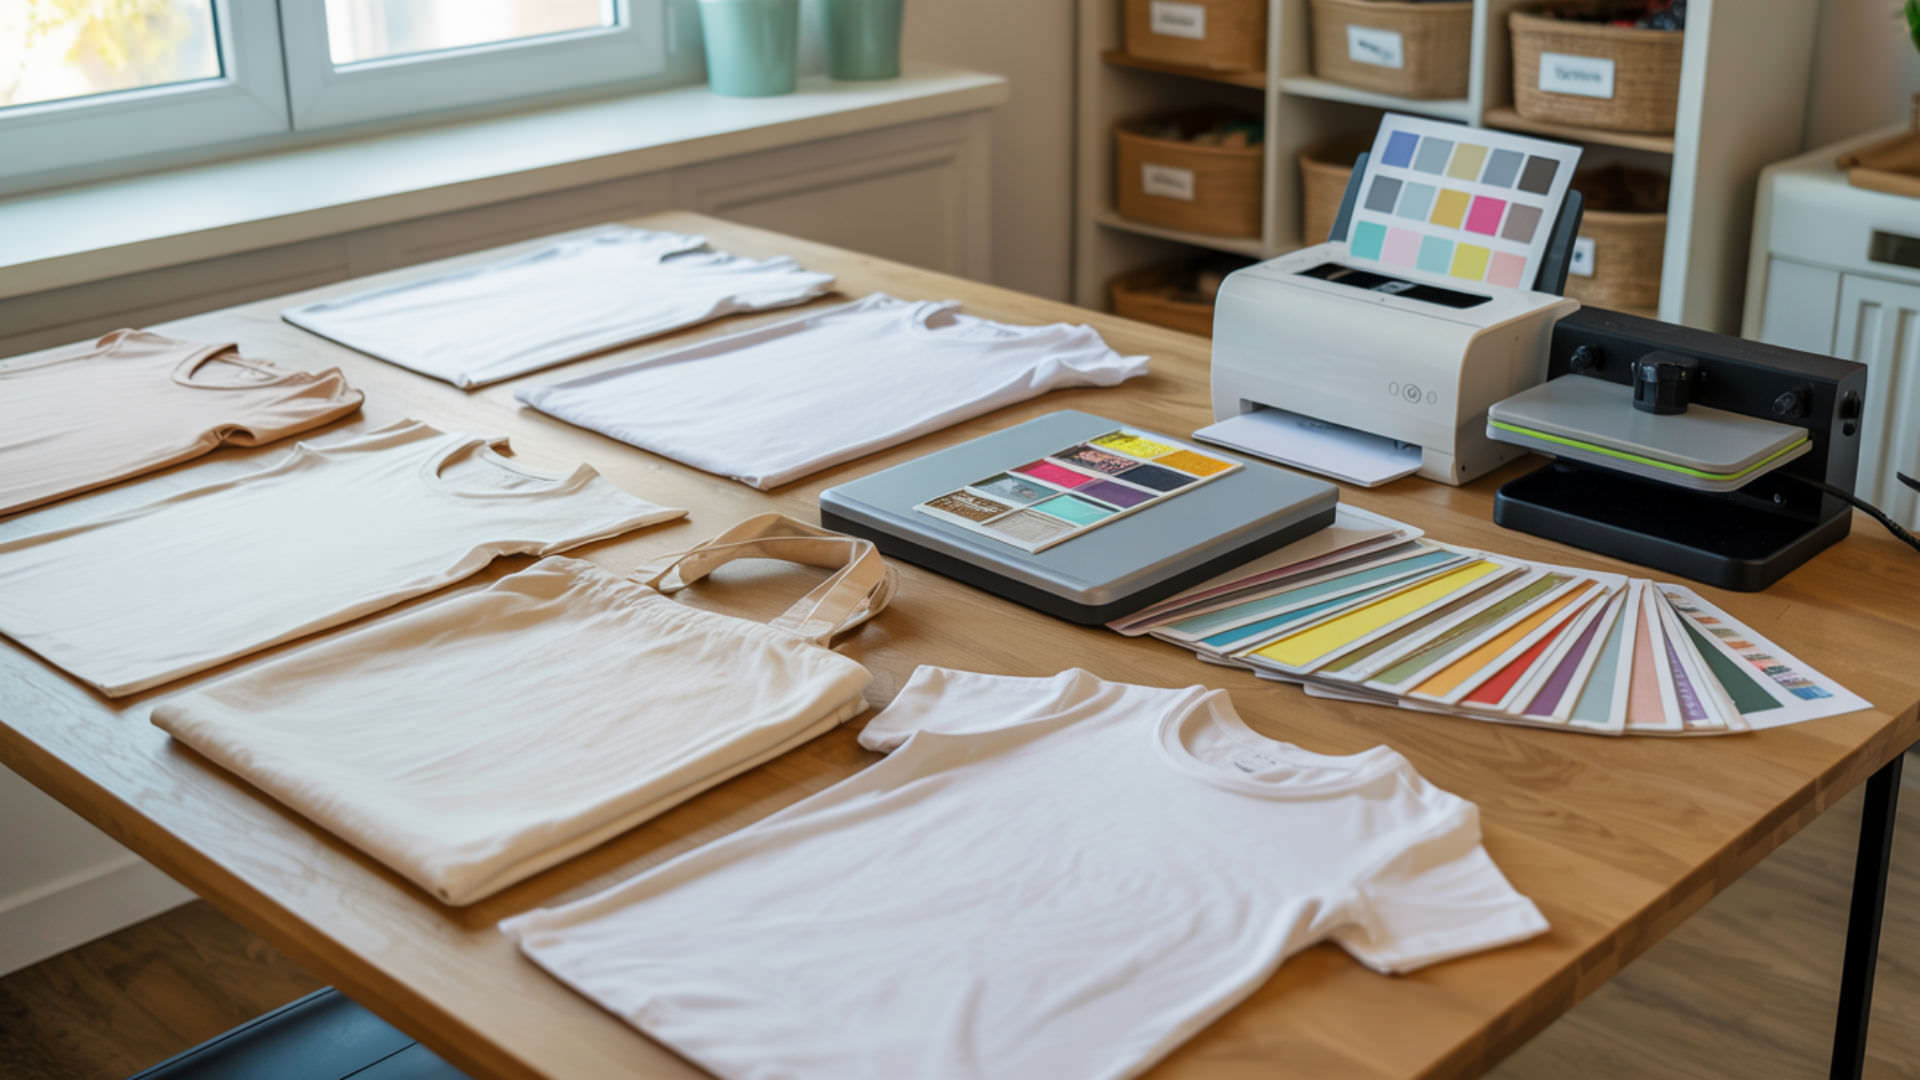
Choosing the Right Sublimation Materials
Now that we’ve covered printer settings and print quality, let’s delve into the essential materials needed for successful sublimation printing. From high-quality sublimation ink to suitable paper and appropriate blanks, each element plays a crucial role in the final print’s quality.
The quality of the ink, paper, and blanks you use has a significant effect on the sublimation process. The ink needs to transfer effectively onto the paper and then onto the blank, ensuring vibrant and durable prints. Choosing the right materials is therefore a crucial step in the sublimation printing process.
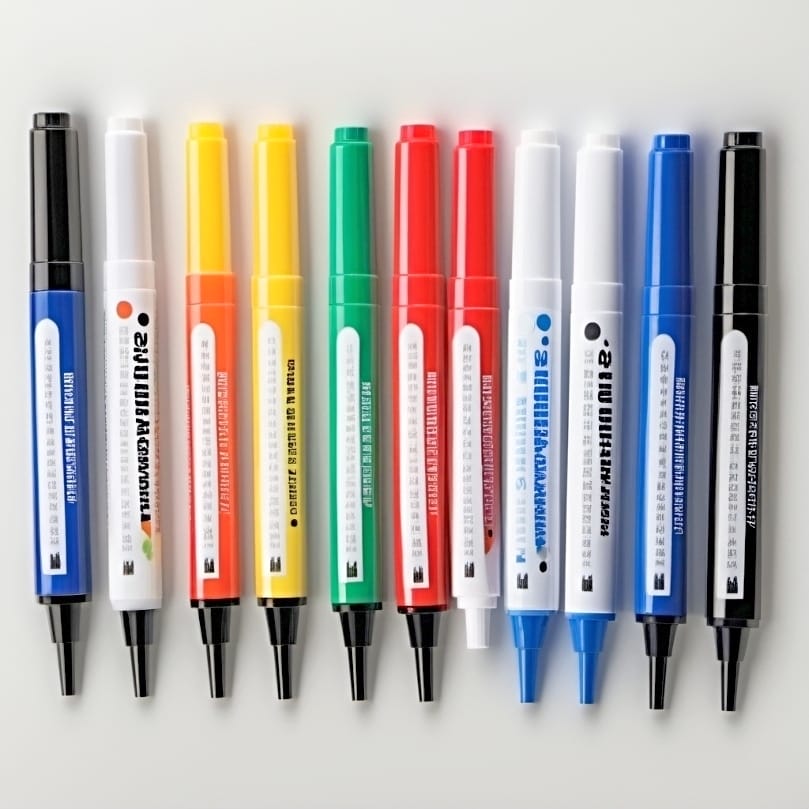
High-Quality Sublimation Ink
Sublimation ink is not ordinary ink. It’s a specialized type of ink designed to transfer from a solid state to a gaseous one under heat, without turning into a liquid. This unique property is what allows the ink to penetrate and firmly bind to fabrics under the controlled application of heat and pressure, resulting in detailed and high-resolution prints. Sublimation printers play a crucial role in this process.
However, sublimation inks are not all created equally. High-quality sublimation ink is essential for achieving vibrant and long-lasting sublimation prints. Therefore, investing in high-quality sublimation ink can drastically improve the vibrancy and longevity of your prints.[3]
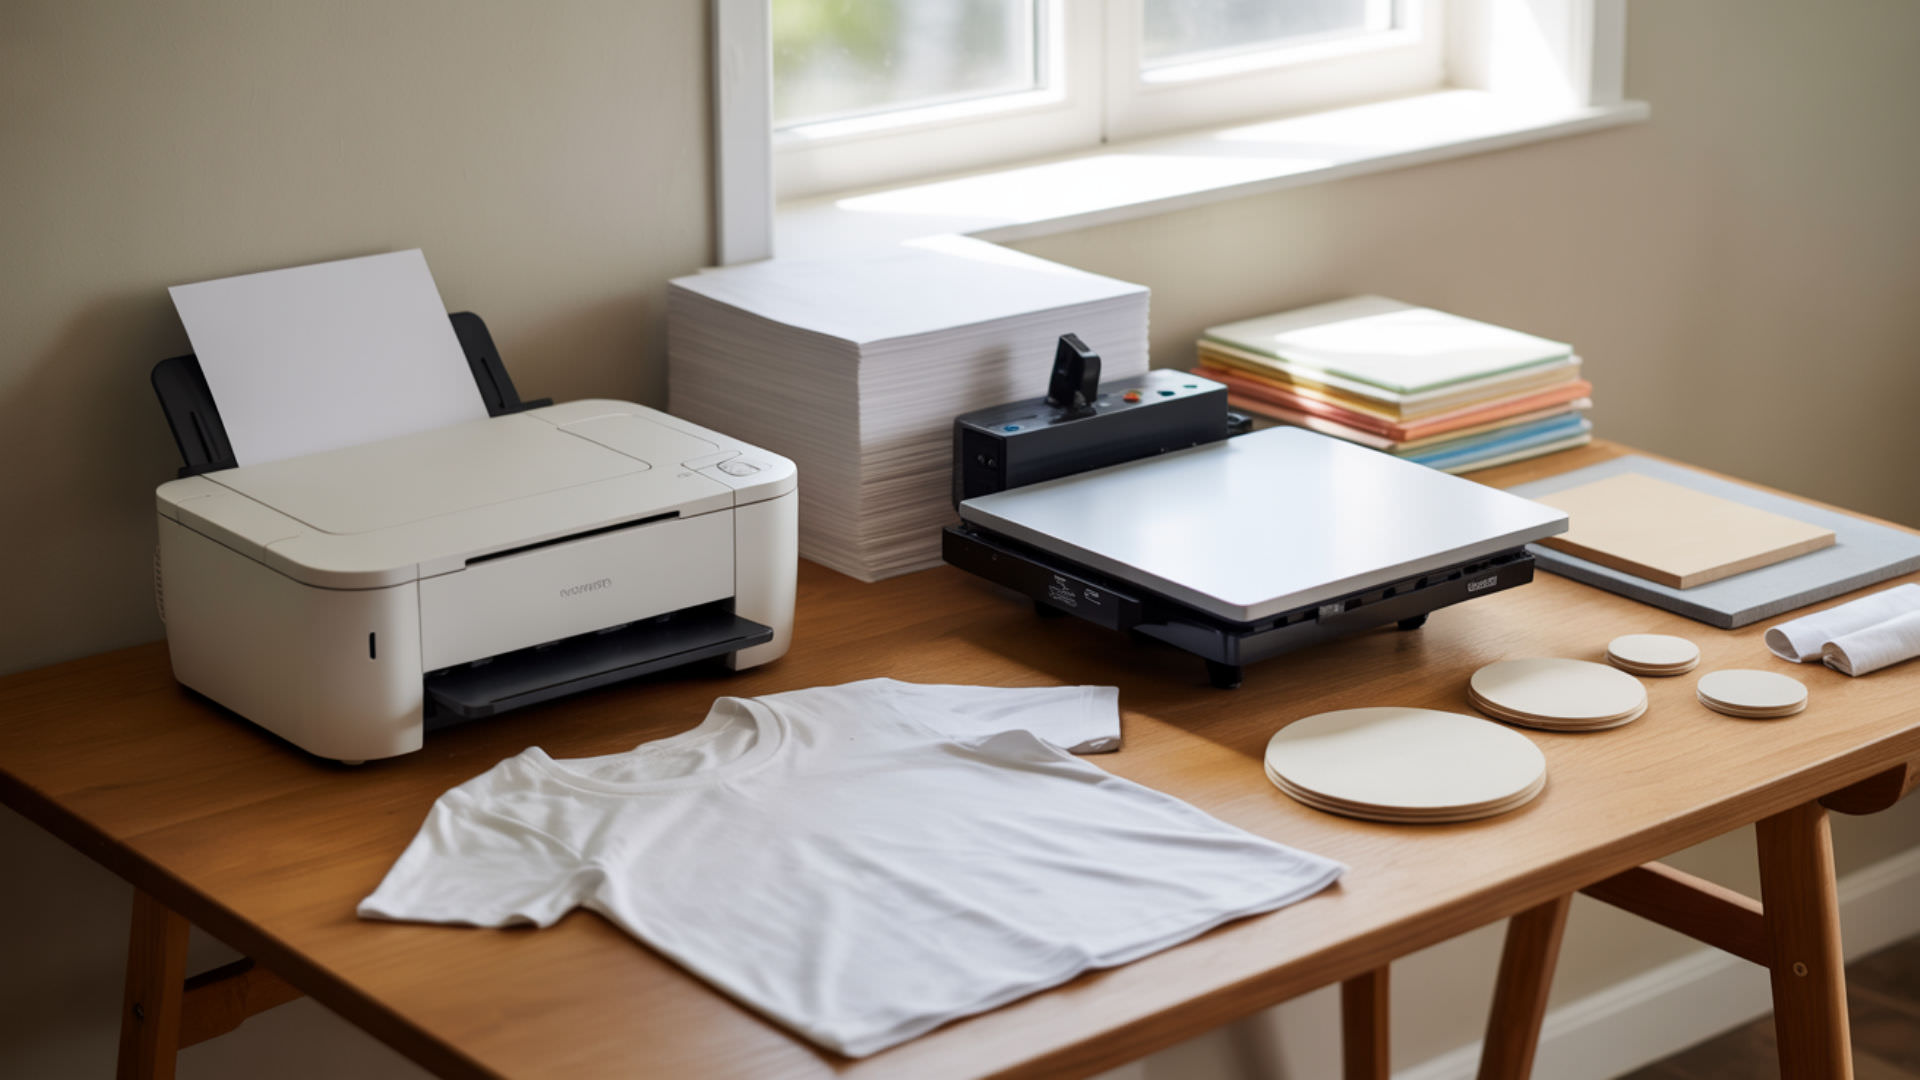
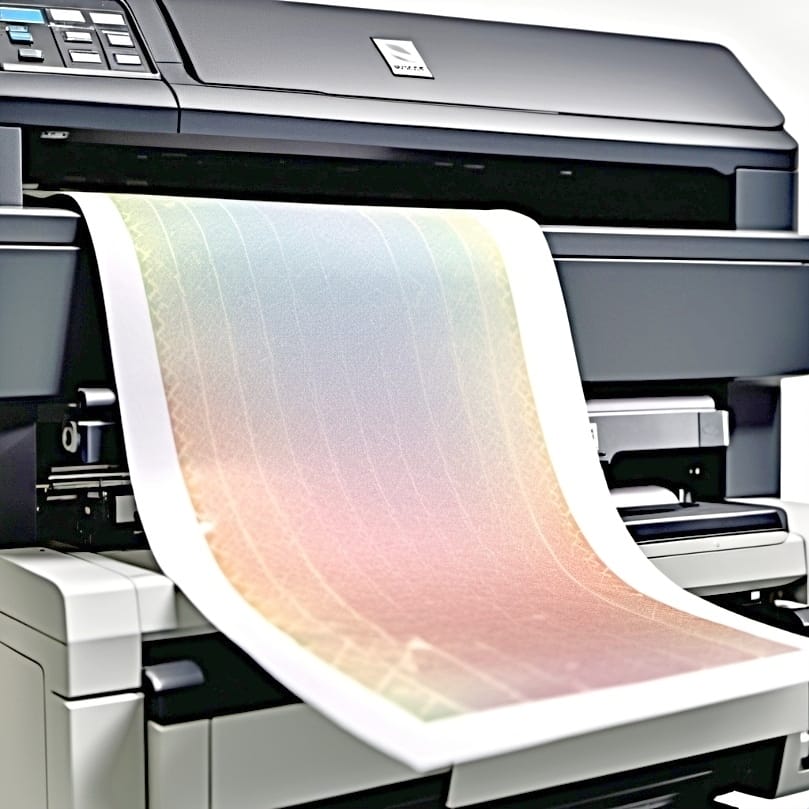
Suitable Sublimation Paper
The sublimation paper holds equal importance to the ink. This special paper is designed to optimally absorb and transfer ink, which is crucial for obtaining the sharpest and most vibrant final print on printed paper.
Using regular copy paper or smooth cardstock for sublimation printing often leads to less saturated and less sharply defined colors. So, choosing high-quality sublimation paper is key to achieving the desired print quality in sublimation printing.
Appropriate Sublimation Blanks
Last but not least, let’s talk about sublimation blank products. These products, made of polyester or coated with a polymer layer, are where your sublimated designs will be transferred to ensure compatibility with sublimation inks.
Non-fabric items like mugs, plates, or metal products used as sublimation blanks need to have a special sublimation coating to accept the sublimation ink and maintain vibrant colors after washing. Moreover, sublimation printing works best on synthetic materials with a high polyester content. Prints on natural fibers such as cotton or rayon won’t be as vibrant or durable.
Troubleshooting Common Fading Issues
Even with meticulous adherence to guidelines, common sublimation printing problems such as color shifts, image bleeding, and uneven transfer may still occur. But don’t fret! By being proactive and understanding the common issues related to pressure, moisture, and pre-pressing techniques, you can effectively troubleshoot and overcome these challenges.
In this section, we will help you navigate these issues, giving you actionable tips and techniques to avoid fading and achieve the vibrant, high-quality prints you’re aiming for. Let’s buckle down and troubleshoot!
Insufficient Heat Press Pressure
Insufficient heat press pressure is a common issue that can result in faded or uneven prints. To correct this, you need to adjust the pressure settings on your heat press machine. Here’s how:
- Locate the pressure adjustment knob on your heat press machine.
- Turning the pressure adjustment knob clockwise increases pressure.
- Turning the pressure adjustment knob counter-clockwise decreases pressure.
Make sure to test the pressure on a scrap piece of fabric before applying it to your actual project to ensure the desired results.
Uniform pressure is critical across the entire surface of the substrate to ensure consistent color quality and to prevent fading in less pressured areas. If uneven pressure is identified, you can use a pressing pad or pillow to help distribute the pressure evenly across the whole image during sublimation.
Moisture-Related Problems
Another common issue in sublimation printing is moisture. Excess moisture can result in color shifts, image bleeding, and uneven transfer, especially on hard substrates that can’t absorb excess moisture.
To mitigate this issue, you can take the following steps:
- Maintain an optimal humidity level between 40-60%
- Use a dehumidifier in high humidity situations
- Store your sublimation paper in its original packaging in a controlled environment to prevent it from absorbing unwanted moisture
- Use silicone-treated release paper during pressing as a barrier against moisture
- Allow prints to fully dry before pressing
These steps will help you tackle moisture-related issues.
Pre-Pressing Techniques
Pre-pressing is an often-overlooked step in the sublimation printing process, but it’s a game-changer for achieving high-quality prints. Pre-pressing your sublimation blanks removes any residual moisture, which is key to preventing color inconsistencies and fading during transfer.
The recommended duration for pre-pressing is usually 3 to 5 seconds, which may be extended in high humidity conditions until no steam is visible, to avoid scorching the substrate and ensure a vibrant transfer. It’s also crucial to allow the substrate to adequately cool after pre-pressing. Applying the sublimation transfer while the substrate is too hot can cause premature ink gasification, resulting in faded or blurry prints.
Preventing Ghosting and Blurred Images
Ghosting and blurring in sublimation printing can occur when the transfer paper shifts or is not adequately adhered to the substrate. This can lead to a double image effect, a blurring of the design, or even white spots where the design didn’t transfer.
Firmly securing the transfer paper to the substrate is crucial to avoid these problems. This can be done by using heat-resistant tape for hard substrates or adhesive spray for fabrics. The pressing process also plays a significant role in preventing ghosting and blurring. Using pressing pads can prevent uneven pressure, which is crucial for items with irregular shapes, to avoid ghosting or blurring. Those looking for a detailed guide on the removal of ghosting can read my separate article.
Secure the Transfer Paper
Securing the sublimation transfer paper to the substrate before pressing is crucial to prevent the image from shifting and becoming distorted. Heat-resistant tape can be employed to firmly hold the transfer paper in the correct position throughout the pressing process. It is essential to transfer paper immediately once it is secured to ensure the best results.
Precise alignment of sublimation paper is especially important when working with dark-colored fabrics to avoid any ghosting or misalignment of the image. With the transfer paper securely in place, you’re one step closer to flawless sublimation prints. Read more about choosing sublimation paper when working with dark fabrics.
Ensure Even Pressure Distribution
Preventing ghosting and blurring in sublimation printing also requires even pressure distribution. Using pressing pads or pillows is crucial for ensuring even pressure distribution during sublimation printing, especially when working with substrates that have uneven surfaces or features such as zippers or buttons.
The pressing pad or pillow should be smaller than the heat platen to avoid creases. When using a pressing pillow, a small gap should be left when the press is fully engaged to ensure even pressure. By ensuring even pressure distribution, you can achieve clear, sharp, and ghost-free sublimation prints.
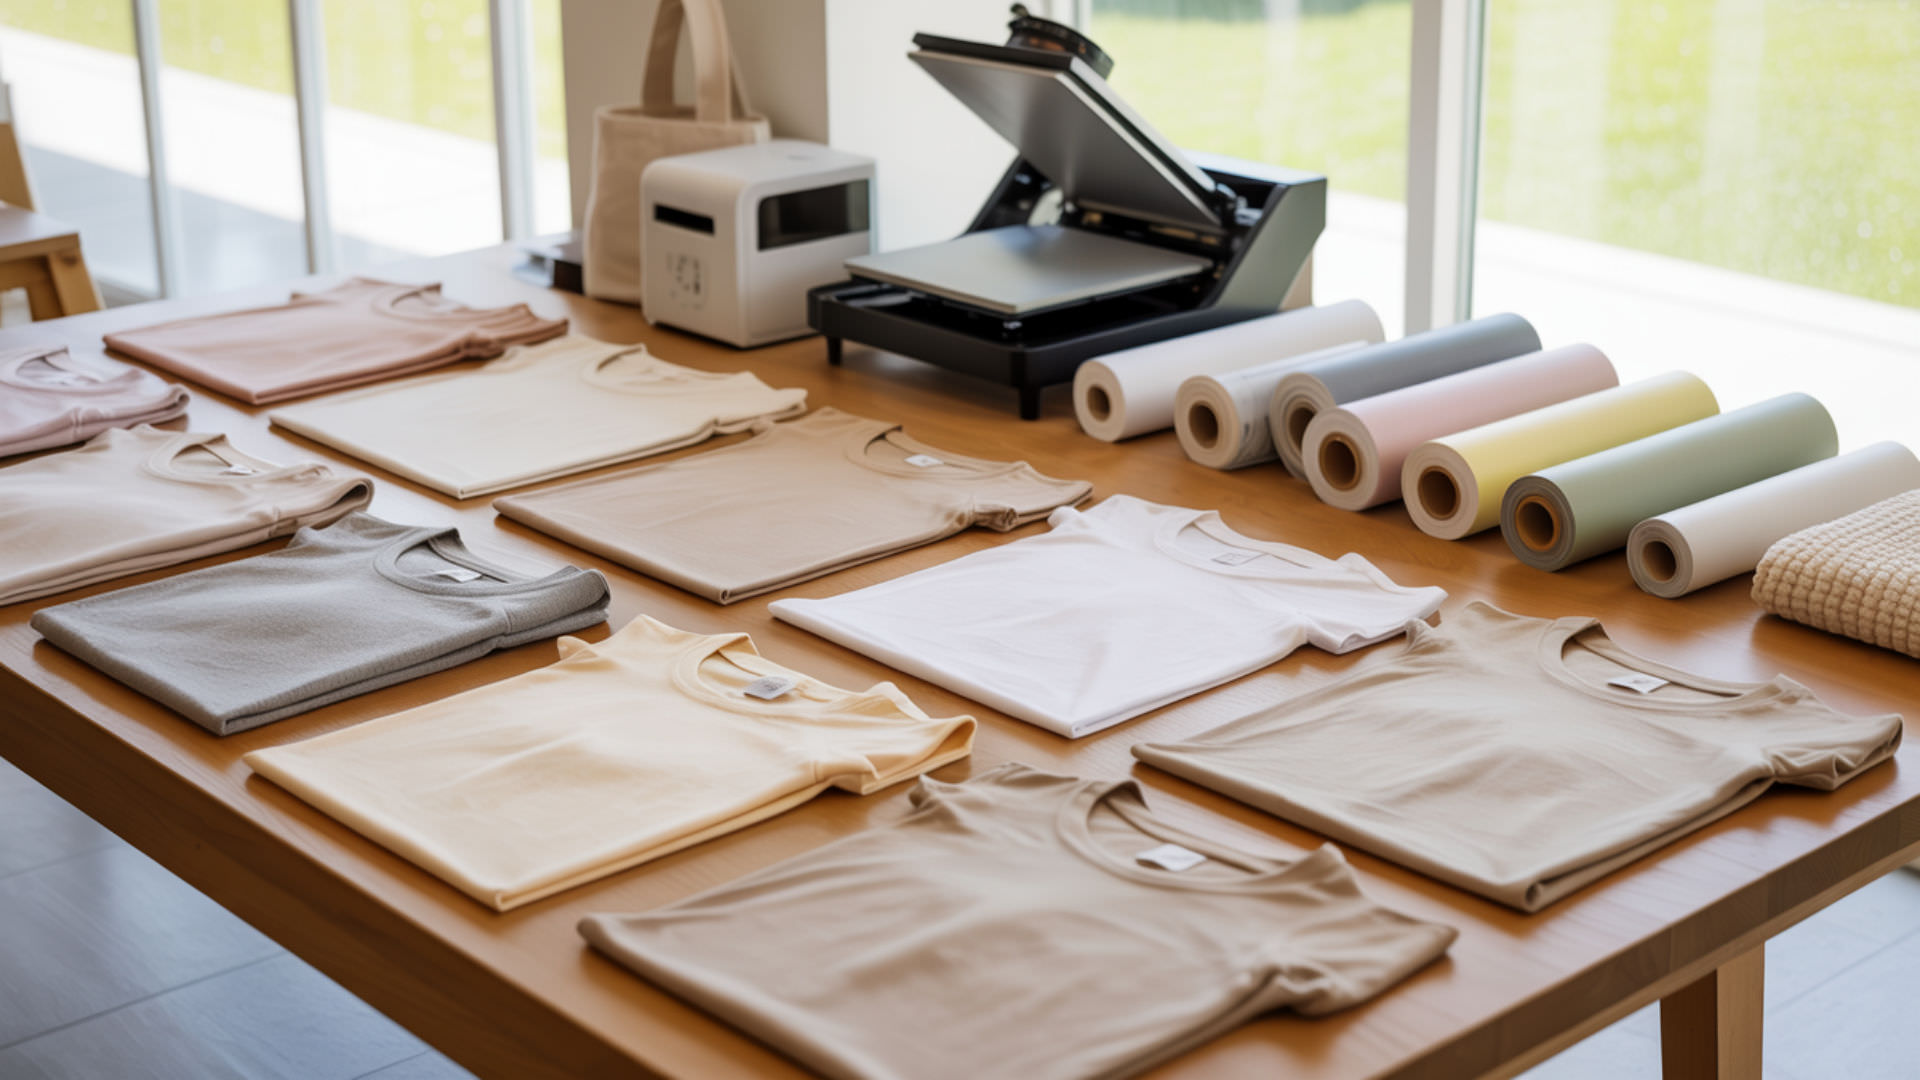
Sublimation on Different Surfaces
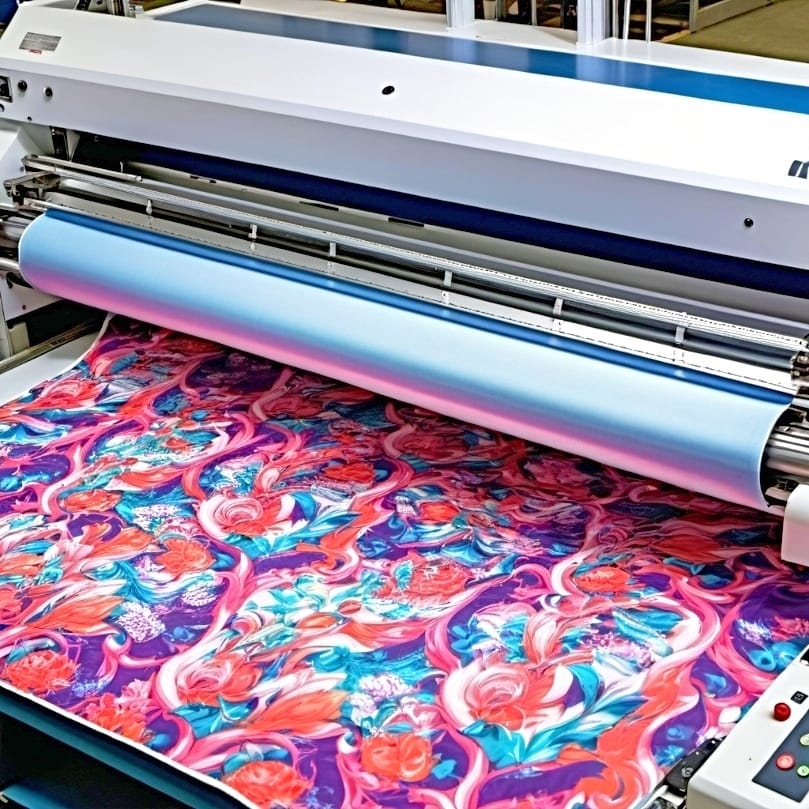
Sublimation printing extends beyond white polyester fabrics. By adjusting your process slightly, you can achieve sublimation on a range of surfaces, from dark or colored fabrics to non-polyester materials.
Sublimation inks display remarkable versatility, suitable for an array of materials from polyester fabrics to non-traditional substrates like wood, glass, cardboard, and metal, facilitating intricate design customization. Let’s explore how we can leverage these techniques to expand our sublimation printing capabilities. You can also learn more about whether its possible to sublimate over sublimation here.
Sublimating on Dark or Colored Fabrics
Although sublimating on dark or colored fabrics may seem intimidating, it’s entirely feasible with the correct techniques. For dark or colored fabrics, sublimation requires the use of a light-colored heat transfer vinyl as a base layer to ensure visibility and color vibrancy.
The heat transfer vinyl is pressed onto the garment first, acting as a base for the sublimation print to ensure the colors stand out on dark shirts. The result? Vibrant sublimation prints that pop on any fabric color!
Sublimating on Non-Polyester Materials
Sublimating on non-polyester materials like cotton necessitates different methods because of the absence of natural polyester bonding sites for the dye. One approach is to apply a polyester coating or spray to non-polyester materials, creating a suitable surface for sublimation ink to adhere. Another method is to use Heat Transfer Vinyl (HTV) as a base layer for sublimation prints on non-polyester materials, providing a polymer surface that allows sublimation ink to bond effectively.
By using these methods, you can expand your sublimation printing to a wider range of materials, opening up a world of creative possibilities.
The Role of AI in Sublimation Print Quality
In 2025, AI technology can help in revolutionizing sublimation printing. AI-powered design tools, such as Adobe Illustrator and Photoshop, now feature AI capabilities that enhance color accuracy and vibrancy and can be used for sublimation designs. For instance, Adobe’s Firefly AI integration allows for advanced color correction and pattern generation, ensuring designs appear as intended when transferred.
AI-powered design tools like Adobe Firefly simulate how colors will appear after the sublimation process. These simulations account for variables like substrate material, ink absorption, and heat application, helping creators identify and correct potential fading issues before printing.
Summary
We’ve journeyed through the intricate world of sublimation printing, unraveling the causes of common issues like fading and blurring, and exploring solutions from optimizing printer settings to choosing the right materials and mastering the pressing process. By implementing these tips and techniques, you can elevate your sublimation printing skills, achieving vibrant, long-lasting prints on a variety of surfaces. So, why not take your creativity to new heights and explore the endless possibilities of sublimation printing?[4]
Frequently Asked Questions
Why is my sublimation not coming out vibrant?
Make sure to check the temperature and pressure settings of your heat press to ensure vibrant sublimation prints. Correcting these settings can make a noticeable difference in the vibrancy of your sublimation prints.
How do you keep sublimation from fading?
To keep sublimation from fading, store your prints in a tightly closed box or bag, wrap them in paper or plastic when not in use, and keep them away from bright light. Protecting them in this way will help maintain their vibrancy and longevity.
Why are my sublimation prints coming out light?
To prevent light sublimation prints, double-check the recommended settings for your sublimation blanks and ensure that the temperature of your press matches the recommended temperature. This will help prevent image fading and ensure better print quality.
What heat press settings should I use for sublimation printing?
For sublimation printing, use heat press settings between 375°F to 400°F and a pressing time of 40 to 75 seconds, with light to medium pressure, depending on the substrate. This will ensure vibrant and long-lasting results.
How can I prevent blurring and ghosting in my sublimation prints?
To prevent blurring and ghosting in your sublimation prints, make sure to secure the transfer paper to the substrate and ensure even pressure distribution during the heat press process. This will result in crisp and clear prints without any artifacts.
References
- Washington, R. (2023, March 30). 6 Common sublimation printing problems & how to fix them. https://www.linkedin.com/pulse/6-common-sublimation-printing-problems-how-fix-them-washington/
- Yu, J. (2012, October 4). How to buy a printer. CNET. https://www.cnet.com/tech/computing/printer-buying-guide/
- Booth, H. V. (2023, June 5). Which Ink Reigns Supreme? Inkjet vs. Dye-Sublimation for Large Format Printing. HP Large Format Printers & Plotters PH. https://largeformat.hp.com/ph/blog/which-ink-reigns-supreme-inkjet-vs-dye-sublimation-for-large-format-printing
- Today, J. J. U. (2017, September 8). Printers are the absolute worst. Here’s how to fix them. USA TODAY. https://www.usatoday.com/story/tech/columnist/2017/09/08/printers-absolute-worst-heres-how-fix-them/646446001/