Dye-sublimation printing works on any surface containing or coated with polymer—the essential molecular structure that accepts and permanently bonds sublimation dye. When heated to 380–400°F, sublimation dye converts from solid to gas and penetrates polymer chains, becoming part of the substrate rather than sitting on top. Sublimation is a physical process in which a solid converts directly into a gas when sufficient heat is applied, a phase change described in fundamental materials and earth science research. Understanding this polymer requirement unlocks endless creative possibilities beyond traditional polyester fabric, from canvas and leather to dry erase boards and specialty vinyl materials. [1]
Key Takeaways
- Polymer chains provide the molecular bonding sites where sublimation dye permanently anchors—surfaces without polymers require coating before sublimation works.
- Gas phase diffusion occurs when heat softens polymer regions, allowing dye molecules to penetrate and bond within the material structure at temperatures of 350–400°F.
- Non-polymer surfaces like cotton canvas, natural leather, and standard vinyl require polymer coating spray or pre-coated sublimation blanks for successful transfers.
Can You Really Sublimate on Canvas Materials?
Canvas made from cotton lacks polymer chains and cannot bond sublimation dye without treatment. However, polyester canvas sublimates directly with vibrant results. For cotton canvas, applying a polymer coating creates a dye-receptive surface that produces sharp, colorful prints at 365–385°F for 40–60 seconds. Our complete guide on sublimation on canvas explains how polymer coating transforms cotton canvas into a sublimation-ready substrate.
Preparing Canvas for Sublimation Success
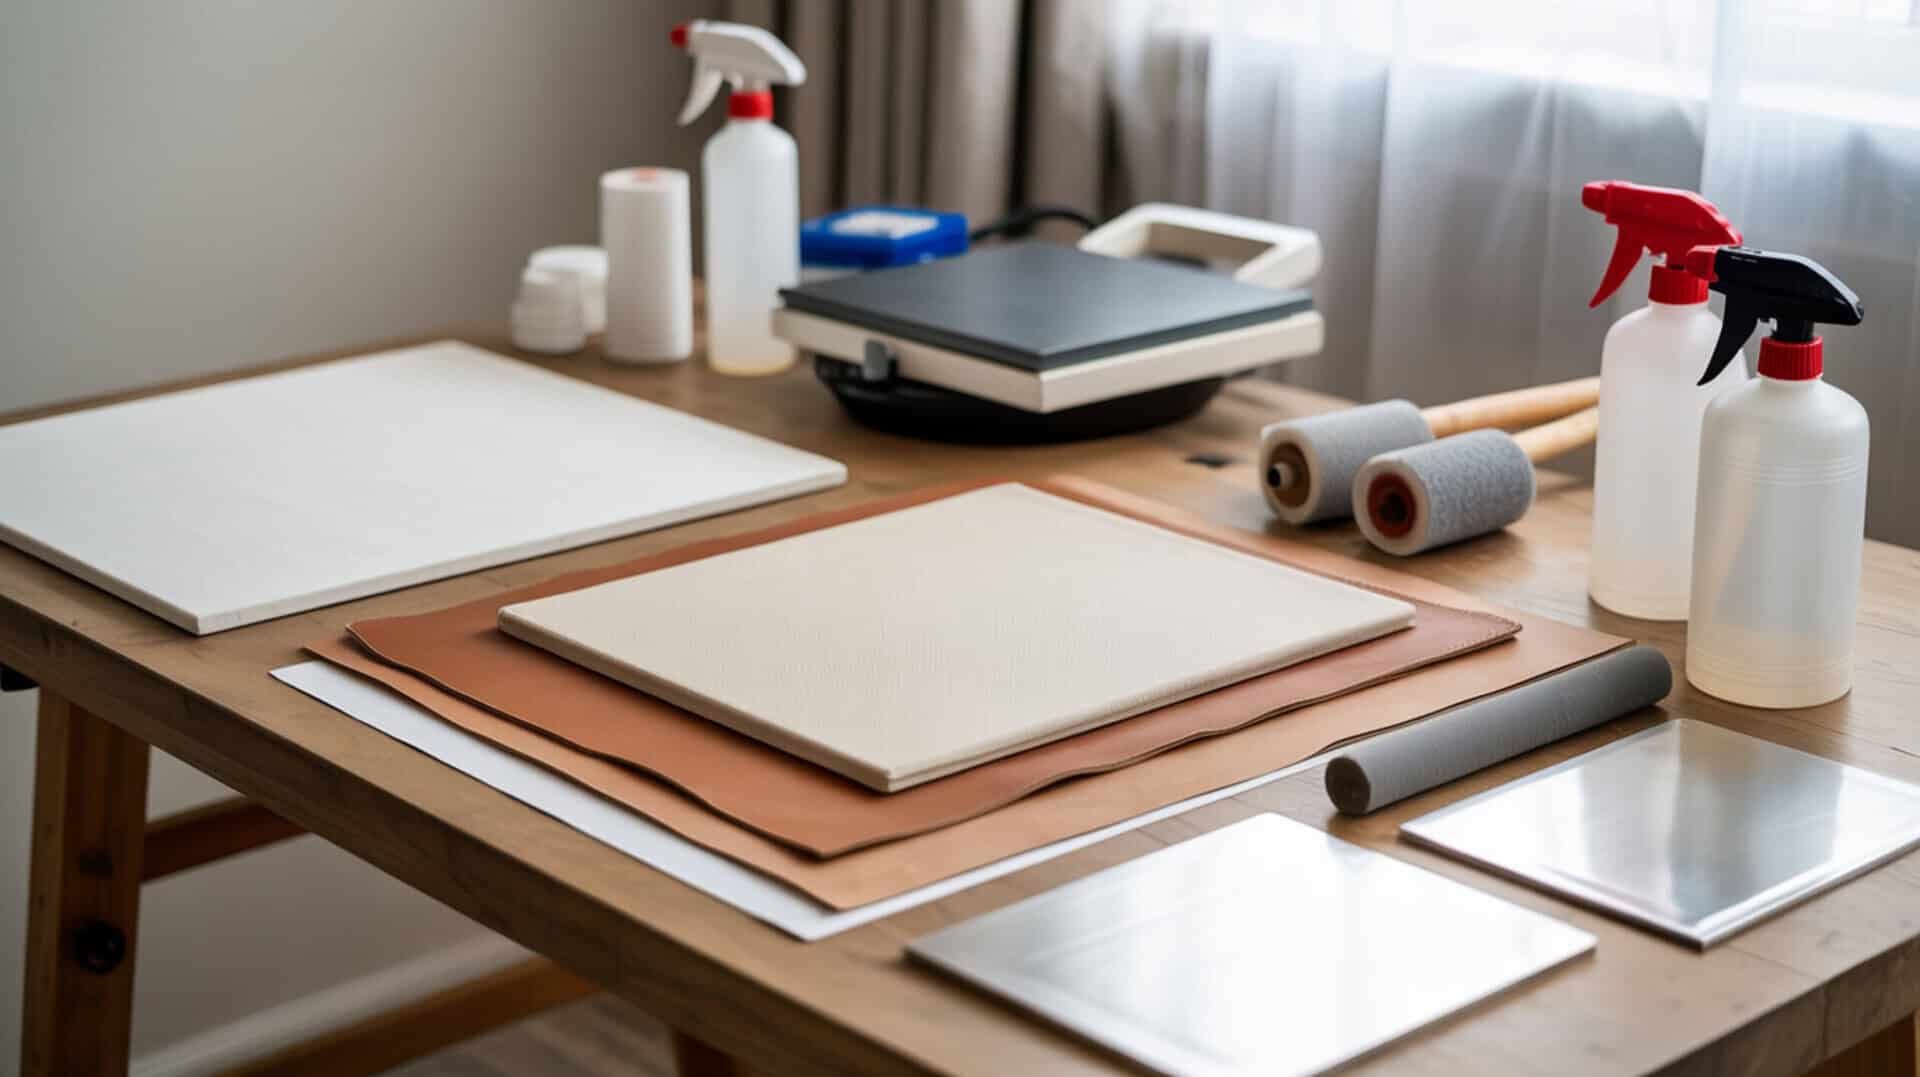
Successful canvas sublimation requires proper polymer coating application with complete film-forming coverage. Spray coating 5–8 inches from the surface using overlapping strokes, then allow 40–60 minutes for complete drying before heat pressing. Strong adhesion between coating and canvas fibers ensures dye bonds permanently rather than washing away. Apply two coating layers for maximum vibrancy on uncoated cotton canvas.
Temperature and Pressure Settings for Canvas
Heat pressing activates dye diffusion into the acrylic resin coating layer on canvas. Pre-press canvas for 5–10 seconds to remove moisture before applying transfers. For polyester canvas, press at 365°F for 40 seconds with medium pressure. Coated cotton canvas typically requires 375–385°F for 45–60 seconds. The acrylic resin softens near its glass transition temperature, allowing dye molecules to penetrate and bond permanently.
Creative Project Ideas with Sublimated Canvas
Canvas sublimation opens creative possibilities for home décor, gifts, and commercial products. The acrylic polymer coating supports detailed photographic prints with sharp edges and vibrant colors. Popular projects include canvas tote bags, wall art panels, aprons, pillow covers, and decorative signs. Polyester canvas produces the most vibrant results; coated cotton canvas offers a more textured, artistic aesthetic for farmhouse-style décor.
How Well Does Sublimation Work on Dry Erase Boards?
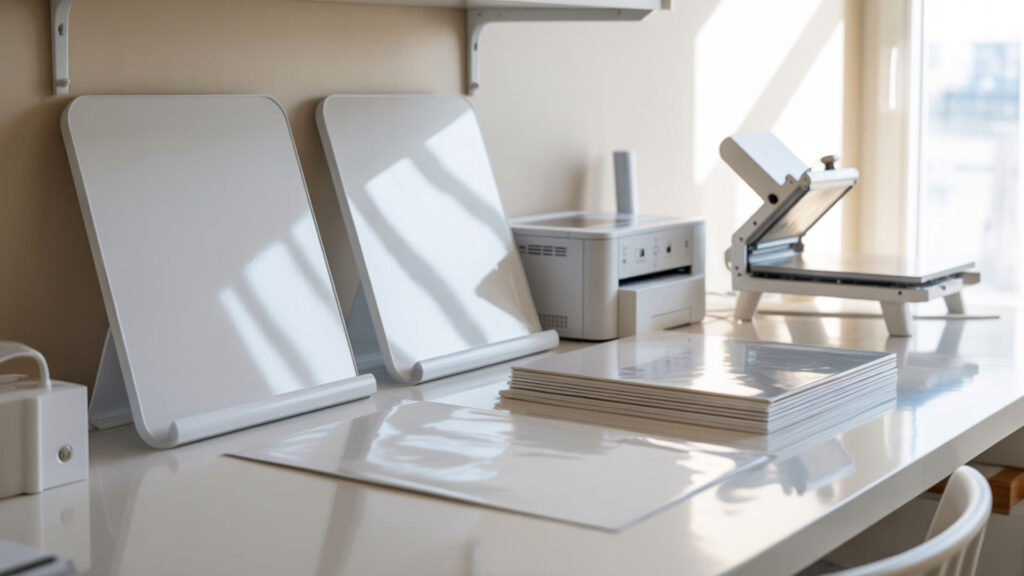
Dry erase board surfaces made from melamine provide naturally polymeric substrates ideal for sublimation. The thermosetting acrylic or melamine coating withstands high sublimation temperatures while accepting dye permanently. Sublimation blanks designed for dry erase use press at 375–400°F for 75–80 seconds, producing photo-quality images that remain erasable. Our detailed guide on sublimation on dry erase boards covers how melamine surfaces accept sublimation while maintaining erasability.
Surface Preparation and Coating Requirements
Surface energy determines how well sublimation dye adheres to dry erase surfaces. Higher surface energy promotes better dye bonding and image clarity. Standard whiteboards without sublimation-specific polymer coating often produce faded, unsuccessful transfers. Purpose-made sublimation dry erase blanks feature optimized coatings that accept dye while maintaining smooth erasability. Always remove protective films before pressing.
Maintaining Erasability After Sublimation
Quality sublimation dry erase boards maintain full erasability because the cross-linking in their polymer structure creates a smooth, non-porous surface. The sublimated image embeds within the coating rather than sitting on top, preserving the original surface texture. High abrasion resistance ensures the board withstands repeated marker use and erasing without degrading the sublimated design or erasability over time.
Business and Educational Applications
Sublimated dry erase boards serve business and educational markets with customized calendars, schedules, logos, and instructional graphics. Melamine-based boards offer affordable options for personalized gifts and small business products. Professional laminates provide premium, smooth polymer surfaces ideal for repeated sublimation production. Custom dry erase boards make excellent teacher gifts, office organization tools, and branded promotional products.
Is It Possible to Sublimate on Leather Products?
Leather sublimation works when the grain layer contains polymer finishes that accept dye bonding. Synthetic leathers made with polyurethane (PU) or PVC provide flawless, consistent results because their uniform polymeric surfaces readily accept sublimation dyes. Natural leather with polymer-based finishes can also sublimate, though results vary with surface texture. Our comprehensive guide on sublimation on leather explains how polyurethane (PU) leather types, surface preparation, and heat behavior affect results.
Types of Leather That Accept Sublimation
Synthetic leather made from PU or PVC offers the most reliable sublimation results with crisp details and vibrant colors. Both PU and acrylic resin finishes are polymer-based and dye-receptive, though they behave differently under heat. Light-colored synthetic leathers produce the most vivid prints. Natural leather with polymer topcoats can work for smaller items like patches or key fobs, but the irregular grain makes detailed printing more challenging.
Special Techniques for Leather Sublimation
Leather requires lower heat pressing temperatures than polyester fabric—typically 290–350°F to prevent damage. The glass transition temperature (Tg) of the leather’s polymer finish determines the safe pressing range where dye absorption occurs without melting. Use medium to heavy pressure for 45–60 seconds. Proper adhesion requires clean, moisture-free surfaces; pre-press briefly to remove moisture and protect with butcher paper or Teflon sheets.
Durability and Care of Sublimated Leather Items
Cross-linking within polymer finishes improves long-term durability of sublimated leather products. The dye bonds permanently within the polymer structure, creating prints that resist cracking, peeling, and fading. High abrasion resistance protects sublimated designs from wear on frequently handled items like bags, wallets, and phone cases. Store sublimated leather away from direct sunlight and clean with mild soap to maintain vibrancy.
What Happens When You Try Sublimating on Vinyl?
Standard vinyl made from PVC has a low melting point that prevents direct sublimation at typical temperatures. However, specialty sublimation HTV products use thermoplastic acrylic or polyurethane formulations that withstand heat pressing while accepting dye. The key is using vinyl specifically designed for sublimation rather than standard craft vinyl. Our detailed guide on sublimation on vinyl explains how PVC limitations, safe temperature ranges, and laminate requirements affect vinyl sublimation.
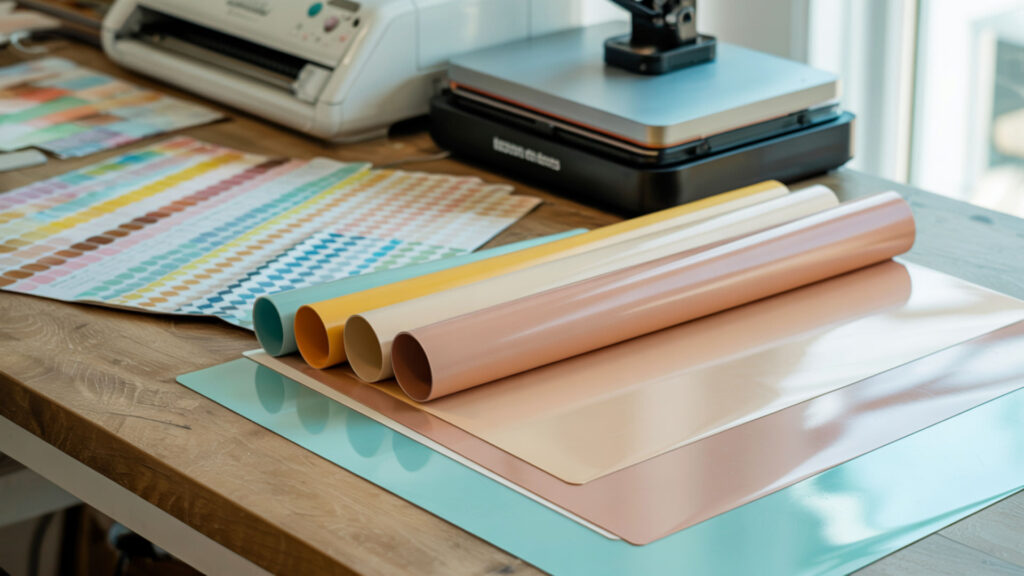
Compatible Vinyl Types and Coatings
Sublimation-compatible vinyl includes white glitter HTV, holographic HTV, glow-in-the-dark HTV, and clear sublimation HTV. These products feature acrylic polymer or polyester-based formulations that accept dye without melting. Laminate layers can protect standard vinyl during lower-temperature pressing, though results vary. Always use vinyl labeled specifically for sublimation to ensure proper dye bonding and heat resistance.
Heat Settings and Timing Adjustments
The melting point of vinyl materials limits safe sublimation temperatures—typically 300–330°F for HTV application, then 375–400°F for the sublimation transfer on top. Heat pressing sublimation HTV requires a two-step process: first apply HTV at lower temperature (305–320°F for 10–15 seconds), then sublimate at higher temperature (375–400°F for 40–60 seconds). This protects the vinyl while ensuring complete dye transfer.
Common Mistakes to Avoid with Vinyl Sublimation
Ghosting occurs when the sublimation paper shifts during pressing, creating doubled or blurry images. Poor adhesion between vinyl and substrate or between dye and vinyl causes faded or washed-out results. Avoid using regular permanent vinyl or craft vinyl—they melt at sublimation temperatures. Always tape sublimation paper securely, allow vinyl to cool completely before peeling, and use sublimation-specific HTV products for reliable results.
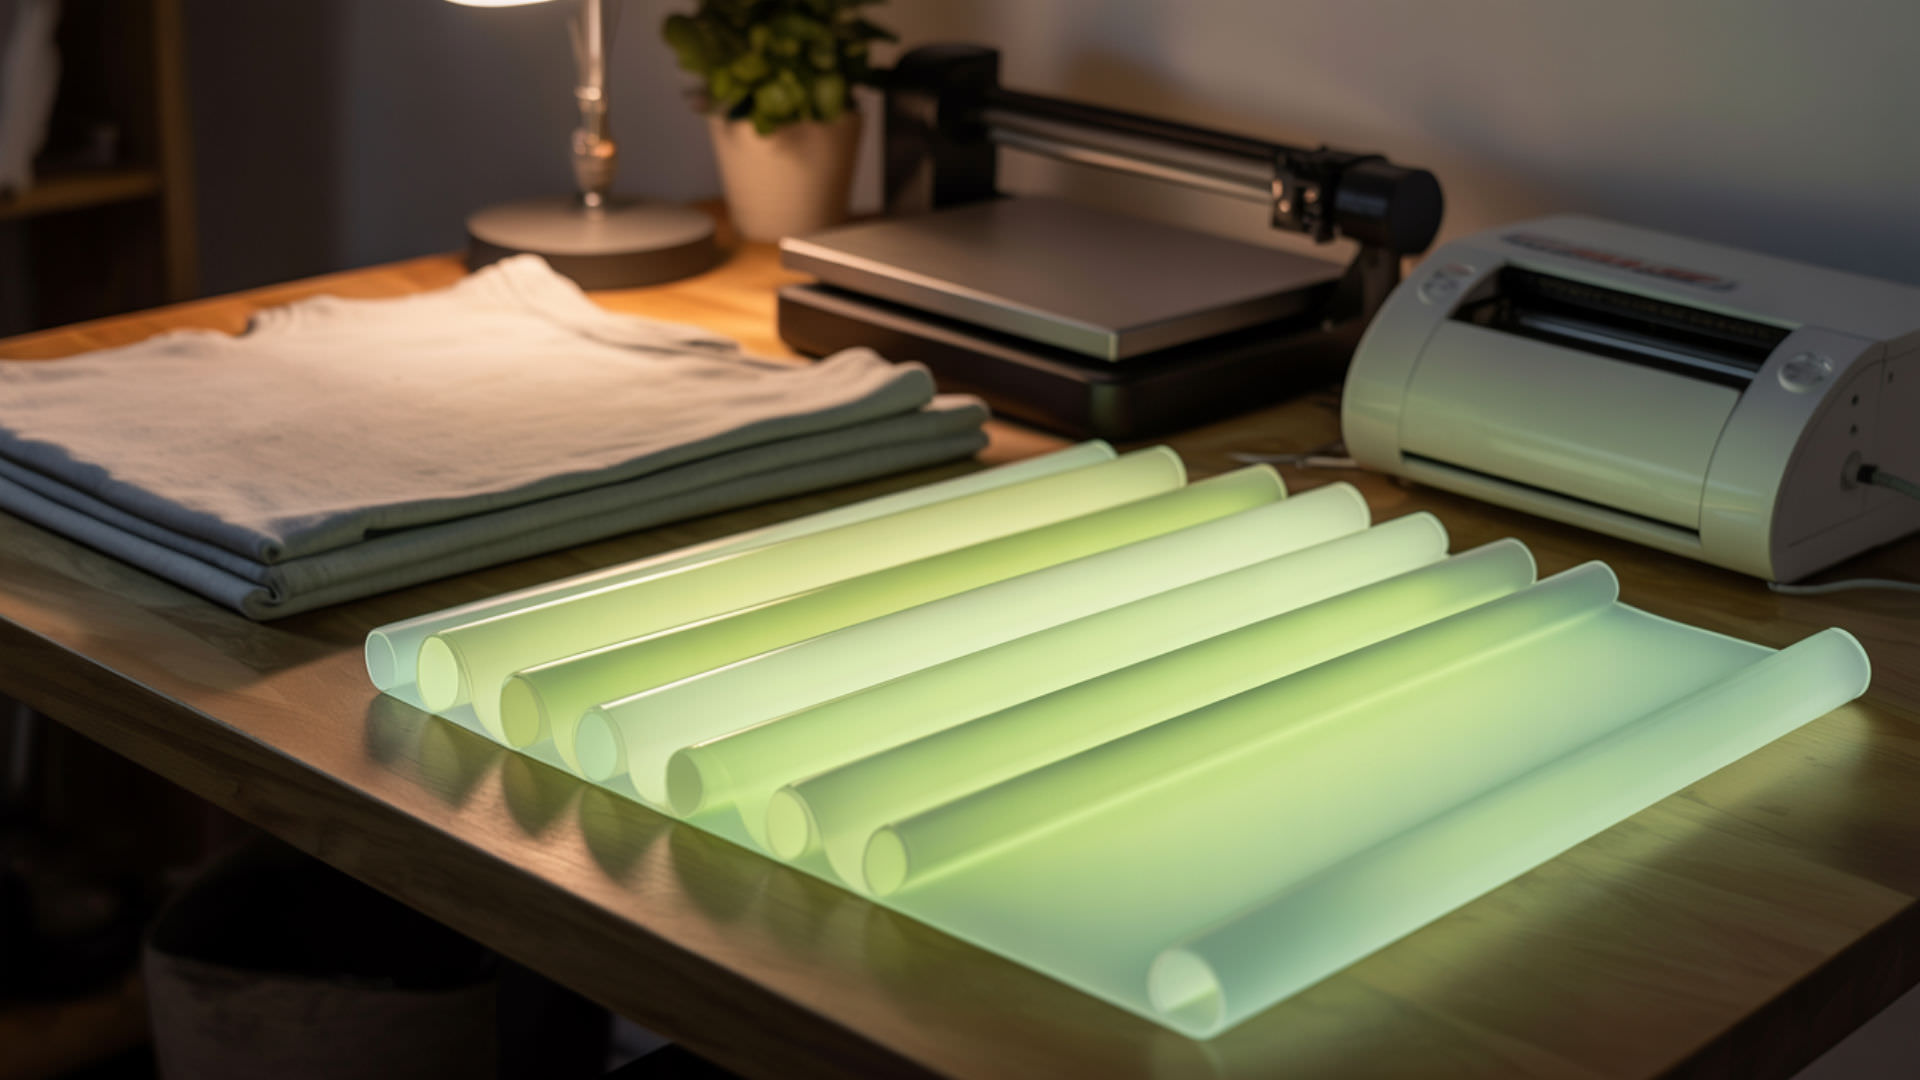
Can Glow-in-the-Dark HTV Accept Sublimation Printing?
Glow-in-the-dark HTV made from thermoplastic polyurethane (TPU) accepts sublimation printing because TPU softens under heat, allowing dye molecules to bond with the polymer structure. The phosphorescence mechanism that creates the glow effect remains functional after sublimation in unprinted areas. This opens creative possibilities for Halloween designs, safety apparel, and novelty products. Our complete guide on sublimation on glow-in-the-dark HTV covers how thermoplastic polyurethane (TPU) heat behavior and glow chemistry work together.
Achieving the Glow Effect with Sublimated Designs
Photoluminescence is the glow charge mechanism—phosphorescent pigments absorb ambient light energy from sunlight, LED, or fluorescent sources. The afterglow duration depends on charging time and pigment quality; 1–2 hours of light exposure produces visible glow for several hours in darkness. Sublimated designs cover some phosphors, so unprinted areas glow brightest. Strategic design layouts with clear spaces maximize the glowing effect.
Application Methods and Best Practices
Heat pressing glow-in-the-dark HTV requires careful temperature control to ensure proper adhesion without damaging the phosphorescent layer. Apply HTV first at 305–320°F for 10–15 seconds, cool completely, then sublimate at 356–395°F for 25–45 seconds. Strong adhesion ensures dye bonds without peeling or cracking. Use dark-colored shirts so the glow effect contrasts visibly; light fabrics wash out the luminescent appearance.
What Coating Options Work Best for Different Surface Types?
Coating transforms non-polymer surfaces into sublimation-ready substrates by adding a polymer layer that accepts and bonds dye. Acrylic polymer formulations are the most common base for both DIY spray coatings and commercial pre-coated blanks. The coating quality directly determines print vibrancy, durability, and adhesion. Our comprehensive guide on best sublimation coating for different surface types explains how polymer coating chemistry, film formation, and surface-specific formulations affect results. Polymers provide the molecular structure that allows heat-activated bonding and diffusion, which is why polymer-based coatings are essential for successful sublimation on non-polymer surfaces.[2]
Spray Coatings vs Pre-Coated Materials
Pre-coated sublimation blanks offer consistent film-forming coverage with professional-grade polymer layers optimized for specific substrates. DIY spray coatings provide flexibility for custom projects but require careful application technique. Proper film-forming creates uniform coverage without gaps or pooling. Hydrophobicity of the base surface influences how evenly coatings spread—smooth, non-porous surfaces accept coating more uniformly than rough or absorbent materials.
DIY Coating Solutions and Professional Alternatives
Commercial sublimation coating sprays use acrylic resin formulations that dry quickly and accept dye effectively on cotton, wood, and other non-polymer surfaces. Surface energy determines how evenly coatings spread—cleaning surfaces with alcohol before coating improves adhesion. Professional coatings like polyester clear coats and sublimation-specific sprays produce more consistent results than general-purpose alternatives. Apply multiple thin layers rather than one heavy coat.
Testing Coating Effectiveness Before Production
Always test coatings on scrap material before production runs. Heat pressing a small test area reveals whether the coating accepts dye properly with good adhesion and color vibrancy. Check for complete transfer without fading, peeling, or sticky residue. Test wash durability if the final product will be cleaned regularly. Different coating brands and formulations require different temperature and time settings—document successful parameters for consistency.
Final Thoughts
The polymer requirement unifies all sublimation surface compatibility—whether inherent in the material or applied as coating, polymer provides the molecular structure where sublimation dye permanently bonds. Understanding this fundamental chemistry empowers you to evaluate any potential substrate: polyester fabrics work directly, synthetic leathers with PU finishes accept dye beautifully, and non-polymer surfaces like cotton canvas require coating treatment. Armed with this knowledge, you can confidently expand beyond traditional polyester blanks into creative new applications.
Frequently Asked Questions
Do I need special equipment to sublimate on non-traditional surfaces like wood or metal?
Standard sublimation equipment works for most non-traditional surfaces—a quality heat press with precise temperature control is essential. Wood and metal sublimation blanks come pre-coated with polymer coating and press at similar temperatures (380–400°F) to fabric. The main difference is pressing time: hard surfaces typically require 60–80 seconds versus 35–45 seconds for polyester. Ensure your heat press provides even pressure across rigid substrates.
How can I tell if a surface is sublimation-ready without ruining it?
Test a small, inconspicuous area with a scrap sublimation print before committing to full production. Sublimation-ready surfaces contain polymer chains that accept dye—polyester fabrics, melamine boards, and PU leather work without coating. Surfaces that absorb water readily (cotton, untreated wood) lack polymer content and need coating treatment. Pre-coated sublimation blanks from reputable suppliers guarantee compatibility with specified temperature and time settings.
What’s the difference between polyester coating and sublimation coating for hard surfaces?
Both terms describe polymer-based coatings that accept sublimation dye, but formulations differ by manufacturer and intended substrate. Sublimation coating is specifically optimized for dye absorption and heat resistance during pressing. General polyester coatings may work but often produce less vibrant results. Purpose-made sublimation coatings contain additives that enhance color saturation, adhesion, and durability for the heat pressing process.
Can I sublimate on dark-colored surfaces, or do they need to be light?
Sublimation dye is translucent—it cannot produce white or light colors on dark surfaces because there’s no white sublimation ink. Light-colored or white substrates produce the most vibrant results. However, you can sublimate on specialty HTV (white glitter, glow-in-the-dark, or clear sublimation HTV) applied to dark fabrics. The white or light HTV layer provides the base color that makes sublimated designs visible on dark materials.
How long do sublimated designs last on unconventional surfaces compared to fabric?
Sublimated designs on hard surfaces like metal, ceramic, and coated wood often outlast fabric prints because they’re not subjected to washing and flexing. Properly sublimated hard goods can maintain vibrancy for decades with normal indoor use. Coated surfaces may fade with prolonged outdoor UV exposure. Fabric durability depends on polyester content and washing practices—100% polyester maintains prints indefinitely with proper cold-water washing.
References
- Sublimation and the water cycle. (2019, June 8). USGS. https://www.usgs.gov/water-science-school/science/sublimation-and-water-cycle
- Materials science and engineering division. (2025, December 3). NIST. https://www.nist.gov/mml/materials-science-and-engineering-division