Are you facing sublimation tumbler problems such as unwanted fading or ghosting? Fret not! This guide is crafted just for you! We provide straightforward fixes to the most vexing issues that plague sublimation projects, empowering you with the know-how to produce impeccable tumblers every time. Read on for practical solutions to your sublimation woes. Quality control for sublimation crafts is certainly an important factor to understand!
Key Takeaways
- To get vibrant, lasting prints, always choose tumblers with a minimum of 65% polyester coating and use quality sublimation ink and printers.
- For sharp designs, use high-resolution images (300 DPI) and manage color settings accurately by adjusting printer profiles and tweaking color balance as necessary.
- Ensure perfect alignment and secure wrapping of transfer paper to avoid issues like ghosting, and manage heat/pressure settings accurately for even and crisp prints.[1]
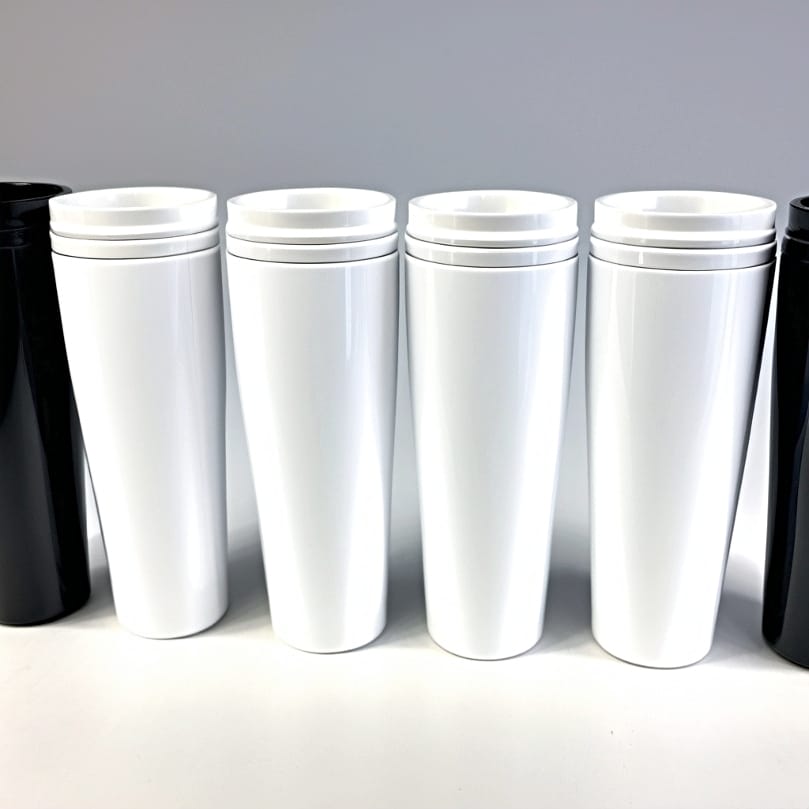
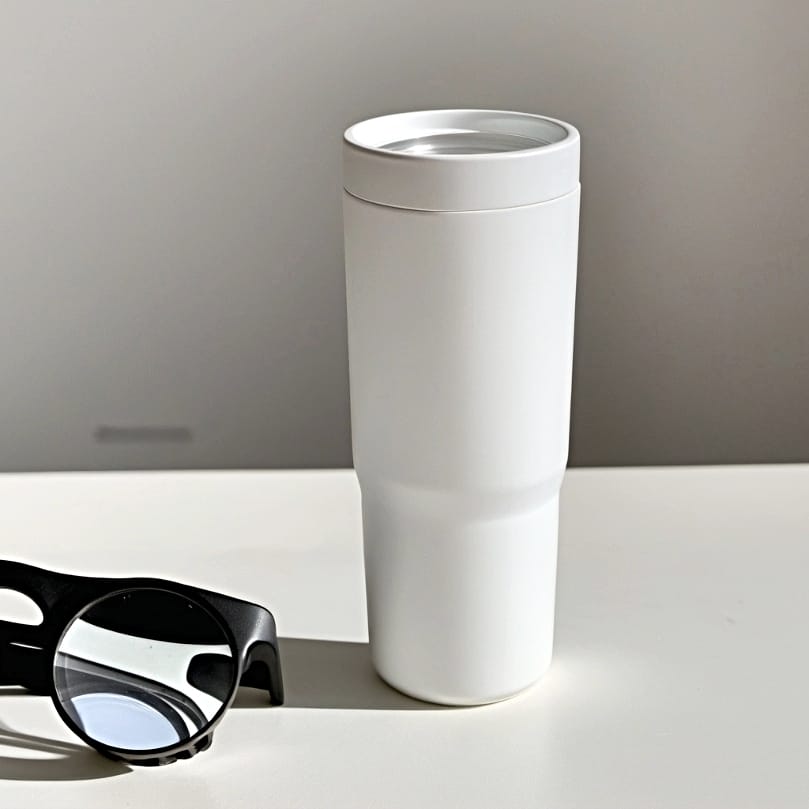
Choosing the Right Tumbler for Sublimation
Initiating your sublimation journey involves selecting the appropriate tumbler. Not all tumblers are created equal when it comes to sublimation printing. The secret to vibrant and durable prints lies in the tumbler’s coating. A tumbler needs to be coated with at least 65% polyester for the sublimation ink to embed into the surface, producing a seamless design that doesn’t peel or crack.
But what makes polyester the ideal choice? Simply put, it’s because sublimation ink binds well with polyester materials. The dye sublimation process involves the dye particles in the ink turning into a gas under heat and pressure, permeating the polyester coating and solidifying into its fibers. This unique property of sublimation ink and polyester interaction results in high-quality and durable prints. Read my separate guide if you are wondering how durable sublimation inks on prints actually are.
Conversely, using tumblers without a polyester coating could lead to disappointment. Designs on non-polyester materials lack vibrancy and longevity due to poor ink binding. The result? A lackluster design that may peel or fade over time.
In conclusion, to avoid common sublimation errors and achieve the best results, remember to:
- Choose tumblers with a minimum of 65% polyester coating
- Use a high-quality sublimation printer
- Use sublimation ink specifically designed for the printing process. Learn more about a comparison of sublimation and eco-solvent inks here.
By following these tips, you can ensure that your sublimation projects turn out beautifully and satisfy your customers.
⫸ Click Here For Best Selling Sublimation Printers And Products ⫷Perfecting Your Sublimation Design

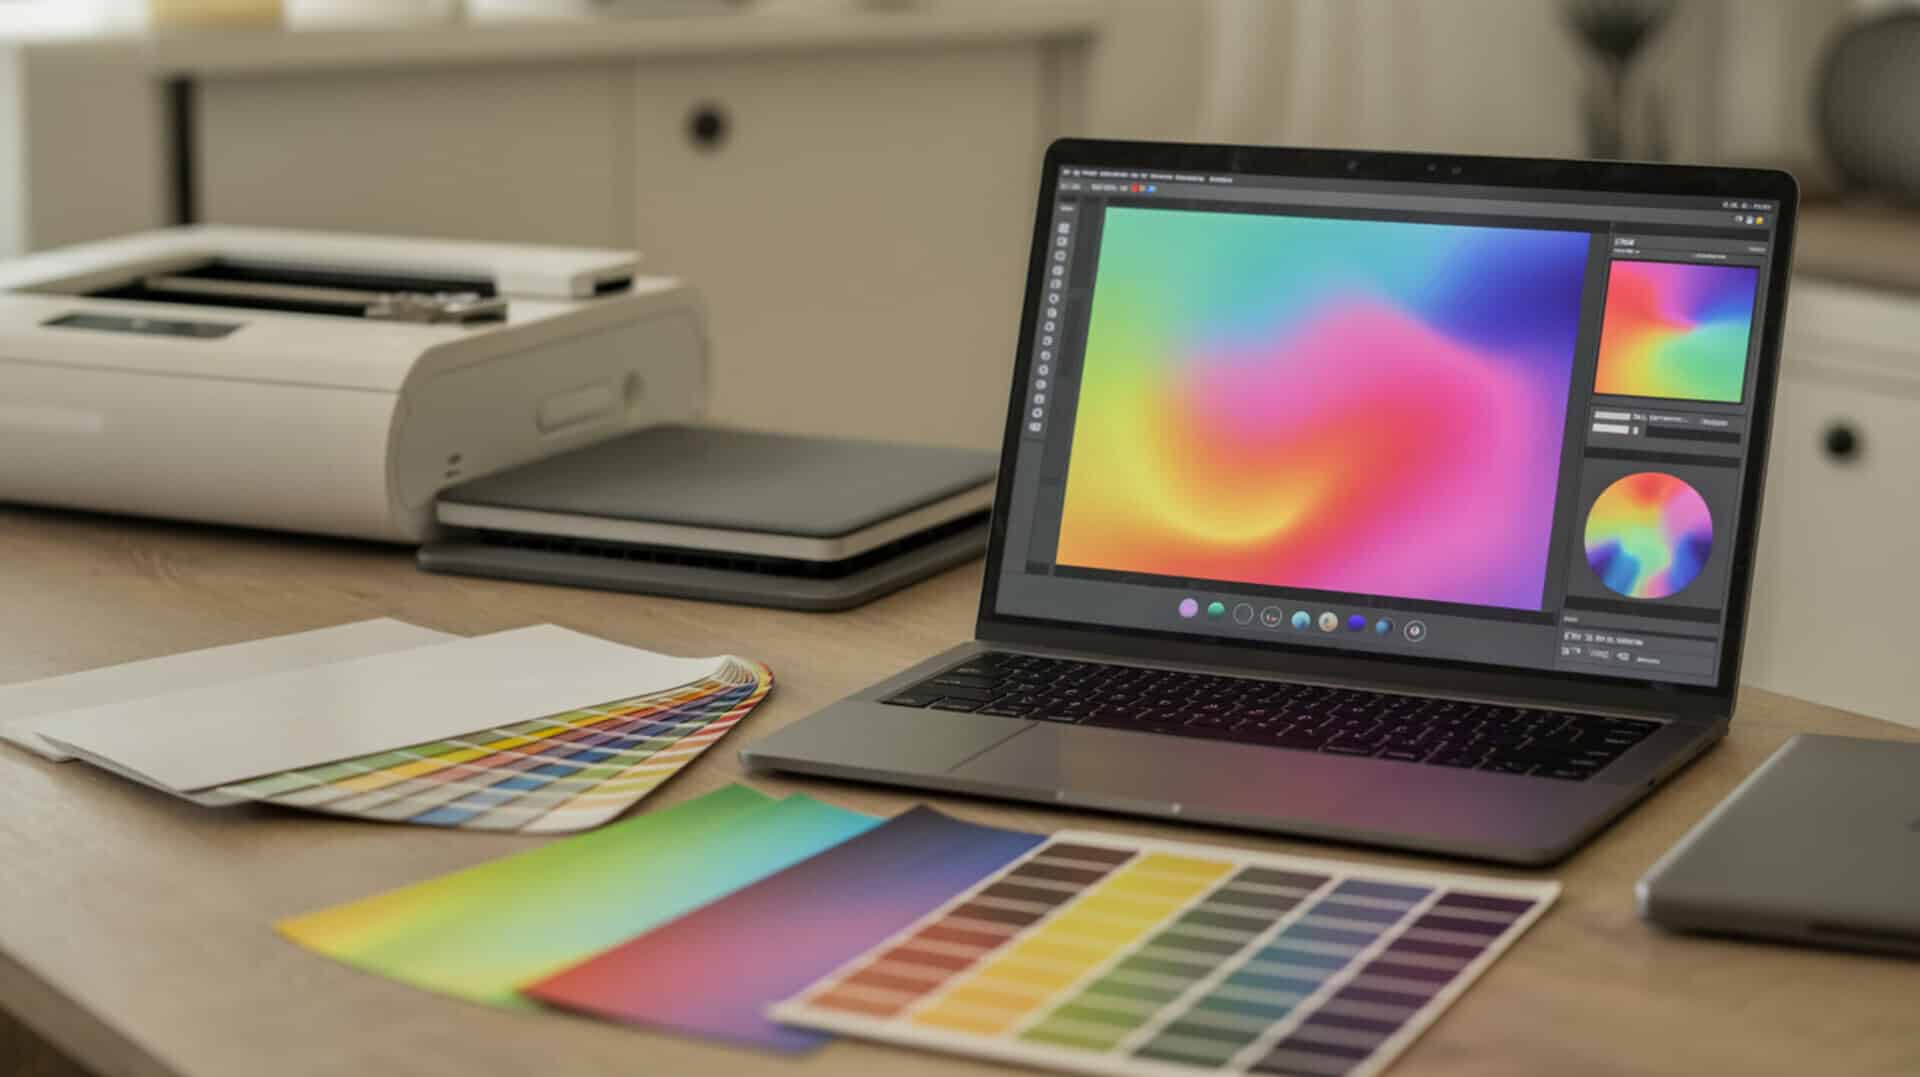
After selecting the suitable tumbler, the next step is to finesse your sublimation design. The key to a top-notch sublimation print lies in the details, and one of those details is image resolution. High-resolution images of at least 300 DPI (dots per inch) are essential for the best quality sublimation printing. They prevent pixelation, ensuring your final print is smooth and sharp.
Besides resolution, color handling is another crucial aspect of sublimation design. Make sure to use RGB (Red, Green, Blue) color mode for all images to be sublimated. This ensures proper color handling, even for black and white photos. To achieve accurate color conversion from RGB to the sublimation ink’s CMYK (Cyan, Magenta, Yellow, Key) colors, use the correct ICC profile for the substrate you’re using.
However, if your colors still don’t seem right, That’s where manual color corrections come in handy. Here’s how to do it:
- Set your printer to Adobe RGB with a gamma setting of 2.2.
- Adjust brightness, contrast, saturation, and density.
- Tweak the color balance in your printer settings, adjusting cyan, magenta, and yellow proportions to achieve the desired hues.
Lastly, don’t forget to mirror or reverse the design prior to printing. This prevents backwards images on the final sublimated product. Adding a small bleed around the design image can help with alignment on the transfer and account for any expansion during the heat press process.
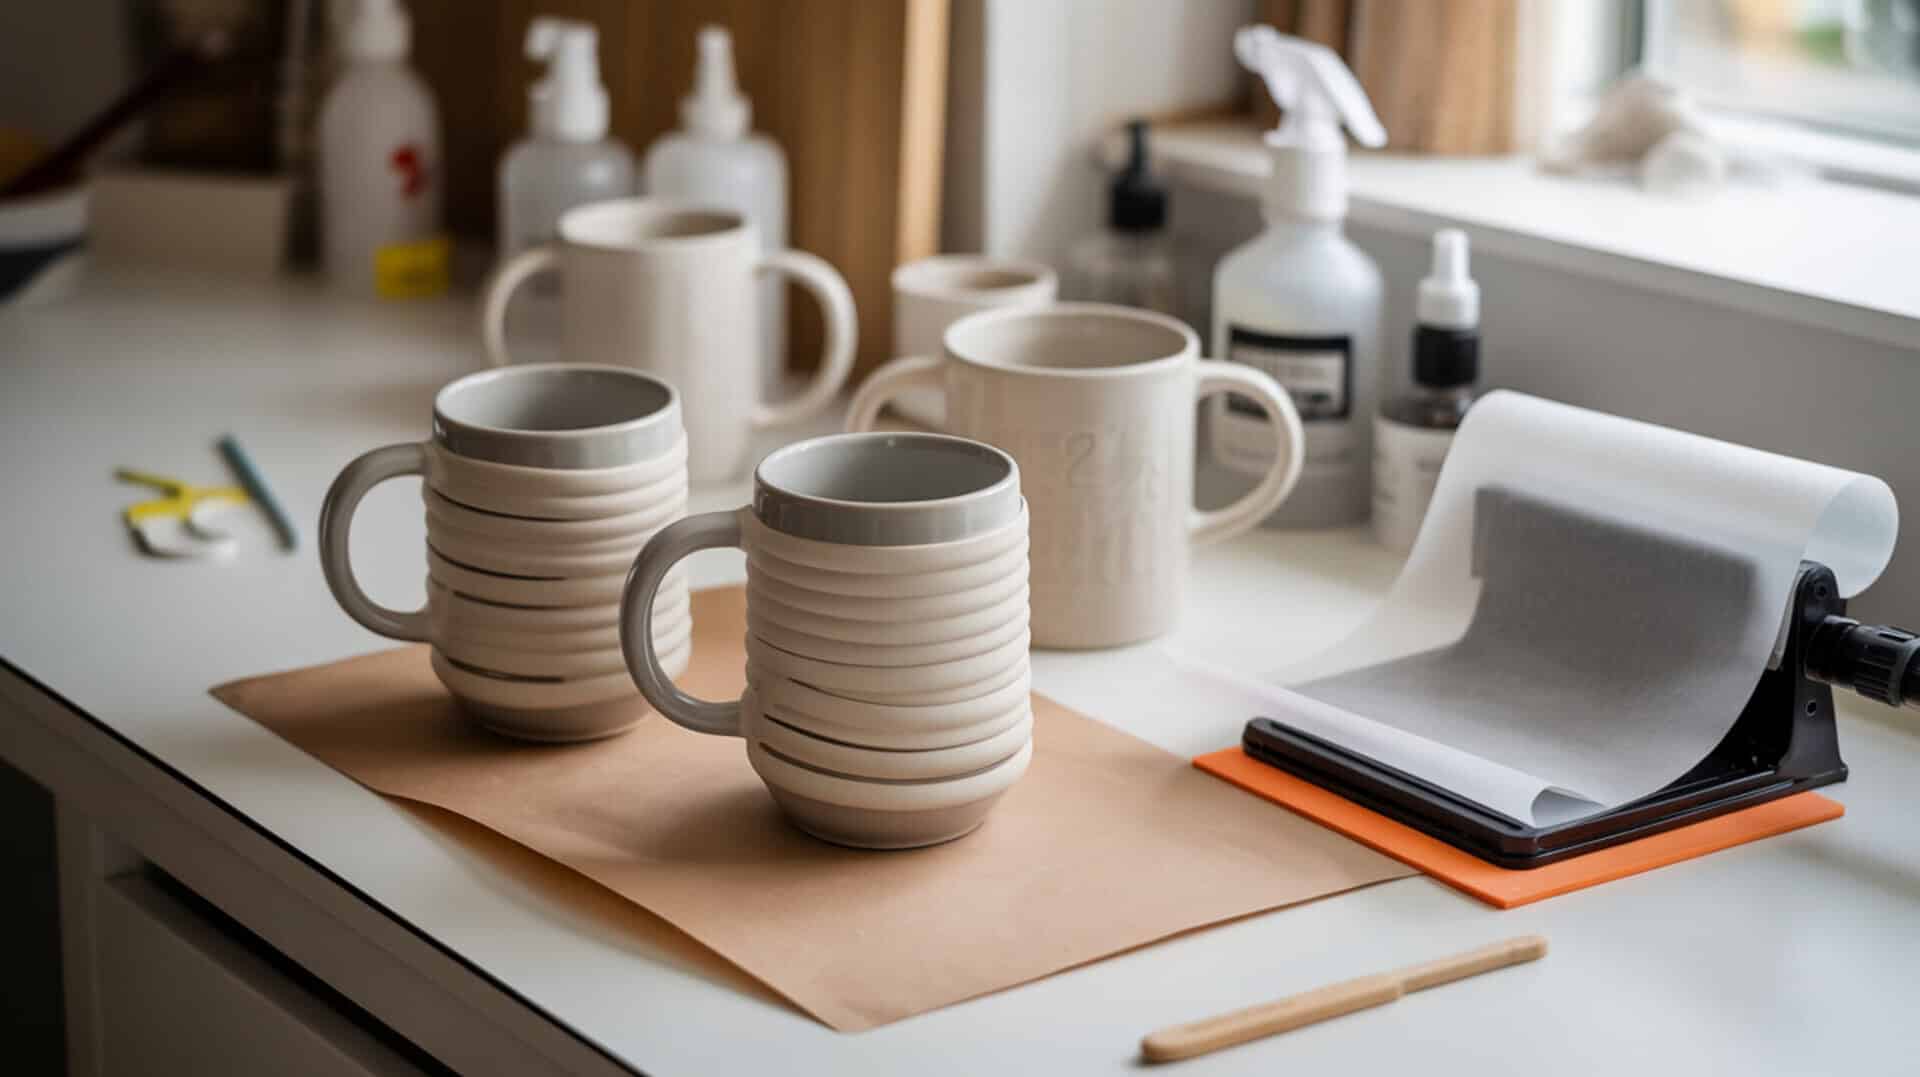
Aligning and Wrapping the Transfer Paper
With your design prepared, the next critical aspect of sublimation printing to focus on is the alignment and wrapping of the sublimation transfer paper. A slight misalignment or loose wrap can lead to common sublimation printing problems like ghosting or gaps in the final print. The key here is precision and patience, as even minor sublimation transfer paper shifts can cause issues.
Start by printing the image slightly larger than the tumbler surface. This allows for precise trimming and ensures the transfer paper is cut to the correct size for a proper alignment. Trim the sublimation print to prevent overhanging the bottom of the tumbler and to fit flush above any curved areas to prevent ghosting.
When it comes to wrapping, follow these steps for an even application:
- Align the transfer paper with the top edge of the tumbler.
- Smooth the transfer paper down the sides, making sure to wrap it tightly.
- Ensure that the edges of the image meet precisely to prevent white gaps or overlapping that could result in a dark seam.
Securing the transfer paper is crucial to prevent it from moving during the sublimation process. Here’s how to do it:
- Start with a center piece of heat-resistant tape.
- Add horizontal strips of tape above and below the center piece.
- Secure the top and bottom of the transfer paper with tape pulled toward the seam for a snug fit.
This will ensure that the transfer paper stays in place and produces a high-quality result.
After taping, roll the top and bottom edges of the tumbler on a flat surface to further press the tape and paper, ensuring tight adherence.
Preventing Ghosting on Tumblers
Even with the best techniques and efforts, ghosting can still occur on sublimated tumblers. Ghosting is characterized as a double image or shadowing of the design, often caused by movement of the transfer paper during the sublimation process. So, how can you prevent this common sublimation printing problem?
The solution lies in secure taping. Here’s how to apply heat-resistant tape to prevent ghosting:
- Apply tape to the top of the transfer paper.
- Apply tape to the bottom of the transfer paper.
- Apply tape along the seam of the tumbler.
- Secure any overlap at the seam of the tumbler with tape.
By following these steps, you can ensure that the transfer paper stays in place and prevent ghosting.
In addition to secure taping, gentle opening and closing of the heat press can also mitigate paper shift. Make sure to give your tumbler enough time to cool completely before removing the wrap. This further minimizes the risk of ghosting and ensures your design is as crisp and clear as it was intended to be.
Managing Heat and Pressure Settings
Now it’s time to literally turn up the heat! Managing heat and pressure settings correctly is vital to ensure even and vibrant prints on your sublimation tumblers. But, it’s not just about cranking up the heat; it’s about adhering to the substrate manufacturer’s recommended time, temperature, and pressure settings.
For sublimation printing on tumblers, here are some key considerations:
- Consistent heat and uniform pressure are key.
- Hard substrates may need longer press times and lower temperatures.
- Incorrect heat can cause color shifting and ink bleeding on tumblers, leading to a loss in image clarity and accuracy.
- Adjusting heat press temperature and pressure correctly can prevent gassing out, which is the spreading of sublimation ink beyond the intended image area.
Excessive heat and pressure can result in the formation of white lines, indicating that the sublimated image has seemingly faded. For stainless steel tumblers, for instance, a heat press setting of 365°F for 60-90 seconds with medium pressure, and a second press after 180 rotation, ensures a full wrap design without uneven transfer.
Blurred images can be caused by uneven heat press pressure, indicating the need for calibration of the heat press. Faded prints can result from excessive timing, temperature settings, or pressure during the heat transfer process. Insufficient time, temperature, or pressure during sublimation printing can lead to prints that are not bright or vibrant.
Eliminating Moisture Issues

In the sublimation process, moisture can act as a stealthy saboteur, causing small dots or other print defects on the final product. So what’s the best way to combat this unseen foe? The answer lies in careful preparation and storage.
Pre-pressing sublimation blanks removes excess moisture, which can otherwise wreak havoc on your final product. Storing your sublimation paper correctly is also crucial. Here are some tips:
- Keep it in a plastic bag or the original box
- Store it away from the floor
- Store it in a dark, temperature and humidity-controlled cabinet to minimize the absorption of moisture.
Maintaining a workshop humidity between 40-50% and keeping the ink at a temperature between 15 to 25 degrees Celsius with a clean environment can significantly improve the sublimation process. During the sublimation process, allowing the substrate to sit under the heat press to dry for about 30 seconds before pressing can help reduce moisture-related issues.
Troubleshooting Common Tumbler Defects
Despite careful preparation and strict adherence to the process, you may still face common tumbler defects, like blurred or faded prints. But don’t worry! With a little troubleshooting, these issues can be resolved.
Blurred prints are often a result of excessive time and temperature used in the heat press. To correct this, simply reduce the heat press settings as excessive exposure can cause images to bleed.
Color inconsistencies are another common problem. Ensuring correct heat press settings for optimal color vibrancy and using proper color correction tools can work wonders in addressing this issue.
Moisture can also adversely affect the pressing process, causing issues like splotches or faded areas on sublimated tumblers. Strategies such as multiple pre-presses and extending print drying time can help manage this.
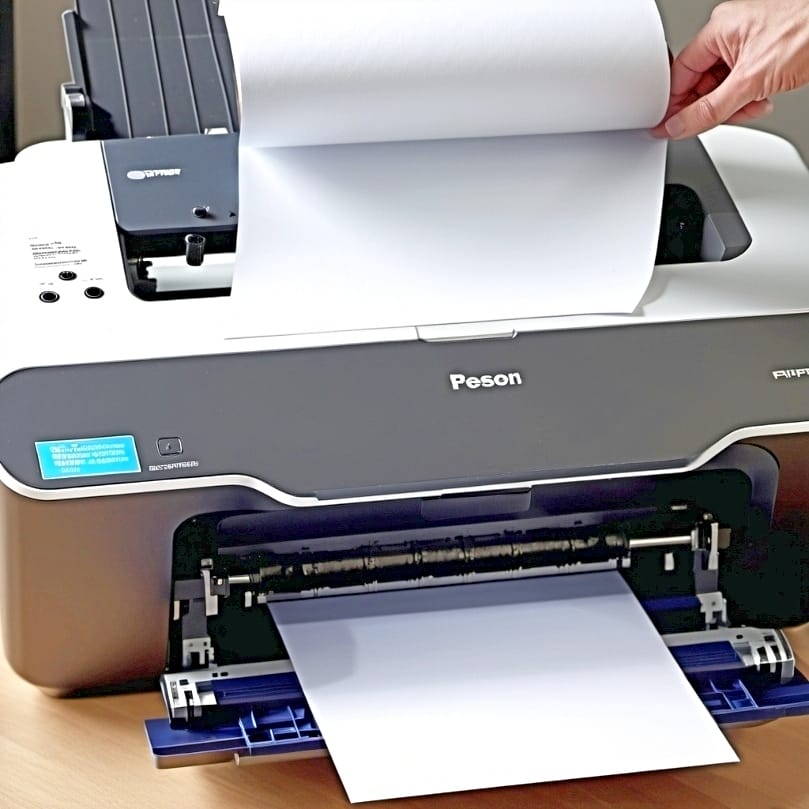
Caring for Your Sublimation Printer
Similar to maintaining a car for smooth operation, a sublimation printer also demands regular care and attention. Regular maintenance and proper ink management not only prolong the life of your digital inkjet printing systems but also ensure consistent print quality.
Begin with a routine cleaning. Regularly wipe the printer with a microfiber cloth and run the printer weekly to keep the ink flowing. When it comes to ink management, follow these tips:
- Prevent dust intrusion
- Fill ink in small volumes
- Shake cartridges gently to avoid air bubbles
- Only open ink tanks as needed to minimize dust exposure
Conduct regular nozzle checks and cleaning cycles using the printer’s maintenance settings to address streaks or gaps in print, which could be caused by clogged print head nozzles. Cleaning frequency should be adjusted based on printer usage, ink levels, and environmental conditions, with more frequent maintenance required in higher temperatures and humidity levels.
Maximizing Print Longevity on Tumblers
Upon completion of the printing process, the focus should shift towards enhancing the durability of your sublimation prints. After all, you want your beautiful designs to stand the test of time!
First, cool down the tumbler immediately after pressing by immersing it in cold water. This halts the sublimation process and helps prevent image ghosting. When it comes to cleaning, sublimated tumblers should be hand washed with a mild detergent and warm water. Use soft cloths or sponges to avoid scratching or damaging the design.
Avoid using abrasive materials and harsh cleaning agents to maintain the design’s integrity and color vibrancy. After washing, let your tumblers air dry to prevent the design from fading.
Store your sublimated tumblers in a cool, dry place and keep them out of microwaves, freezers, and away from extreme temperatures to prevent the design from fading or becoming brittle.
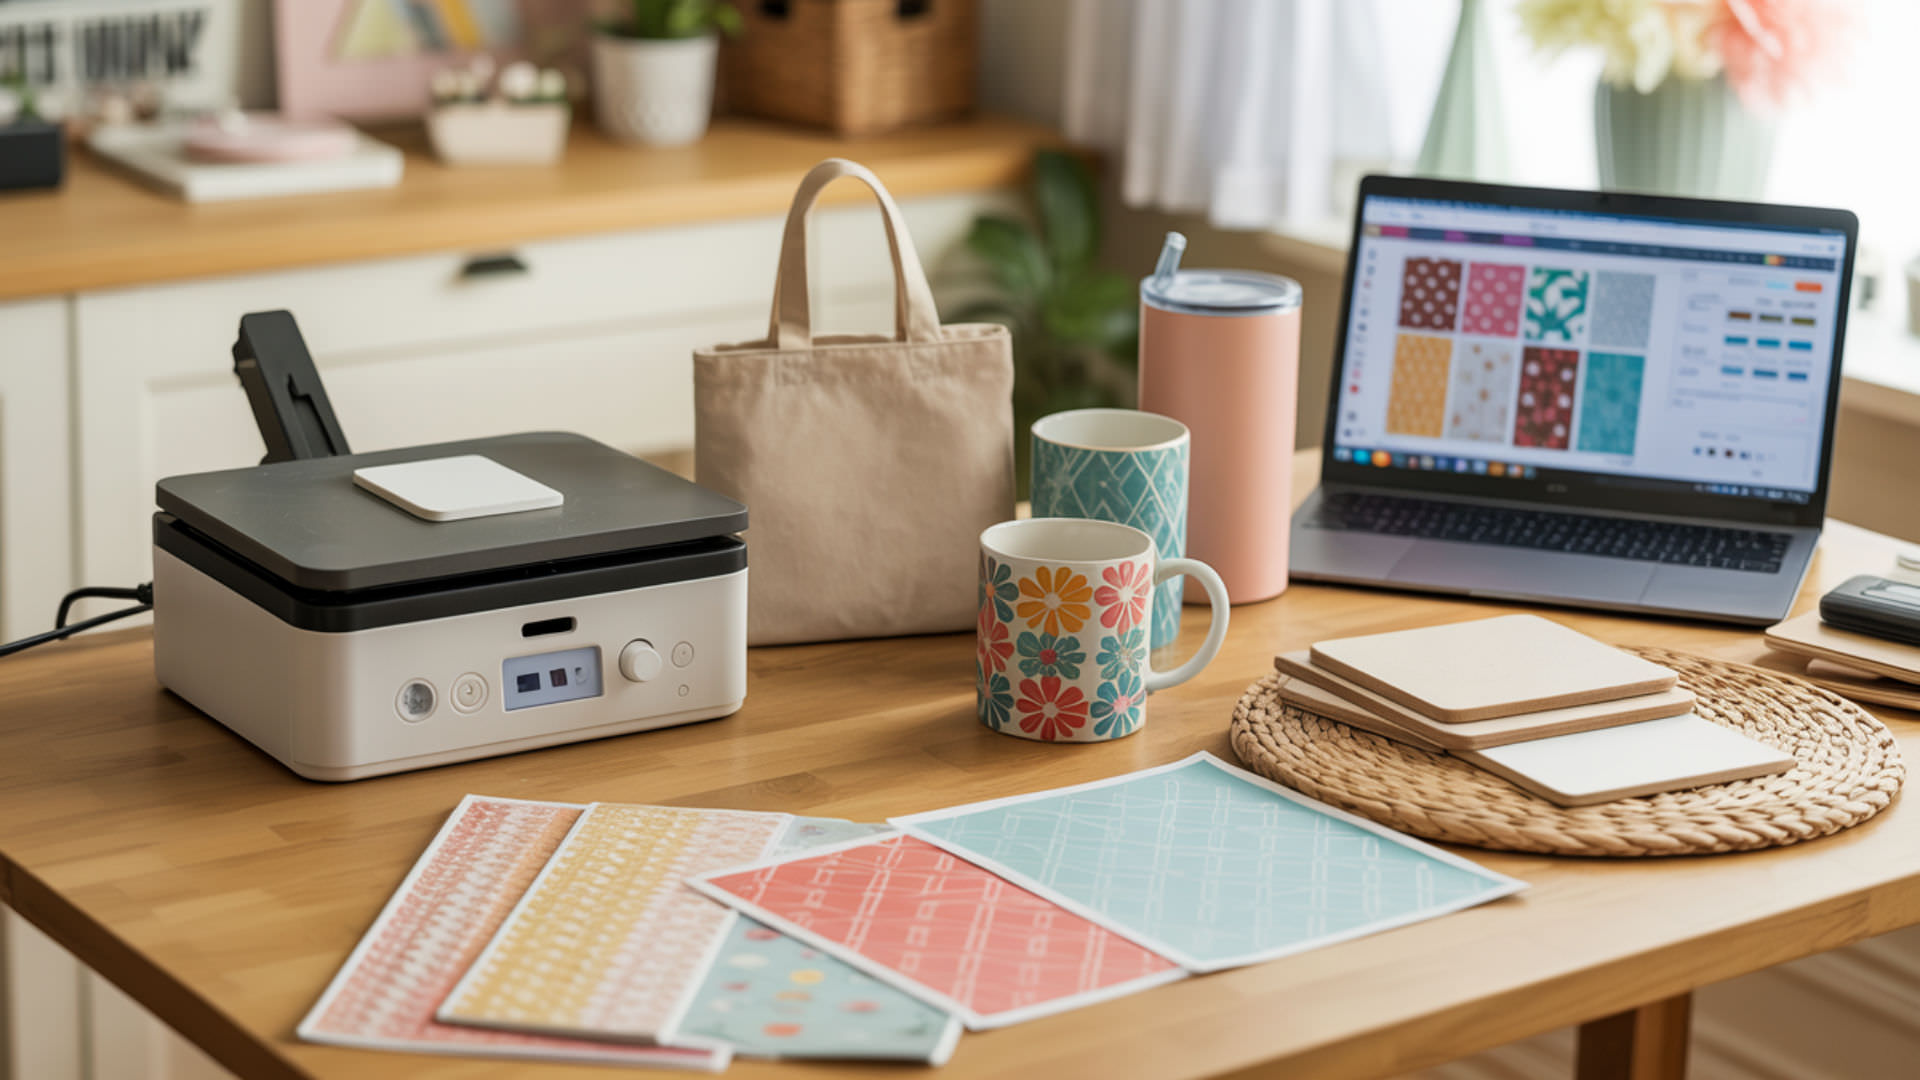
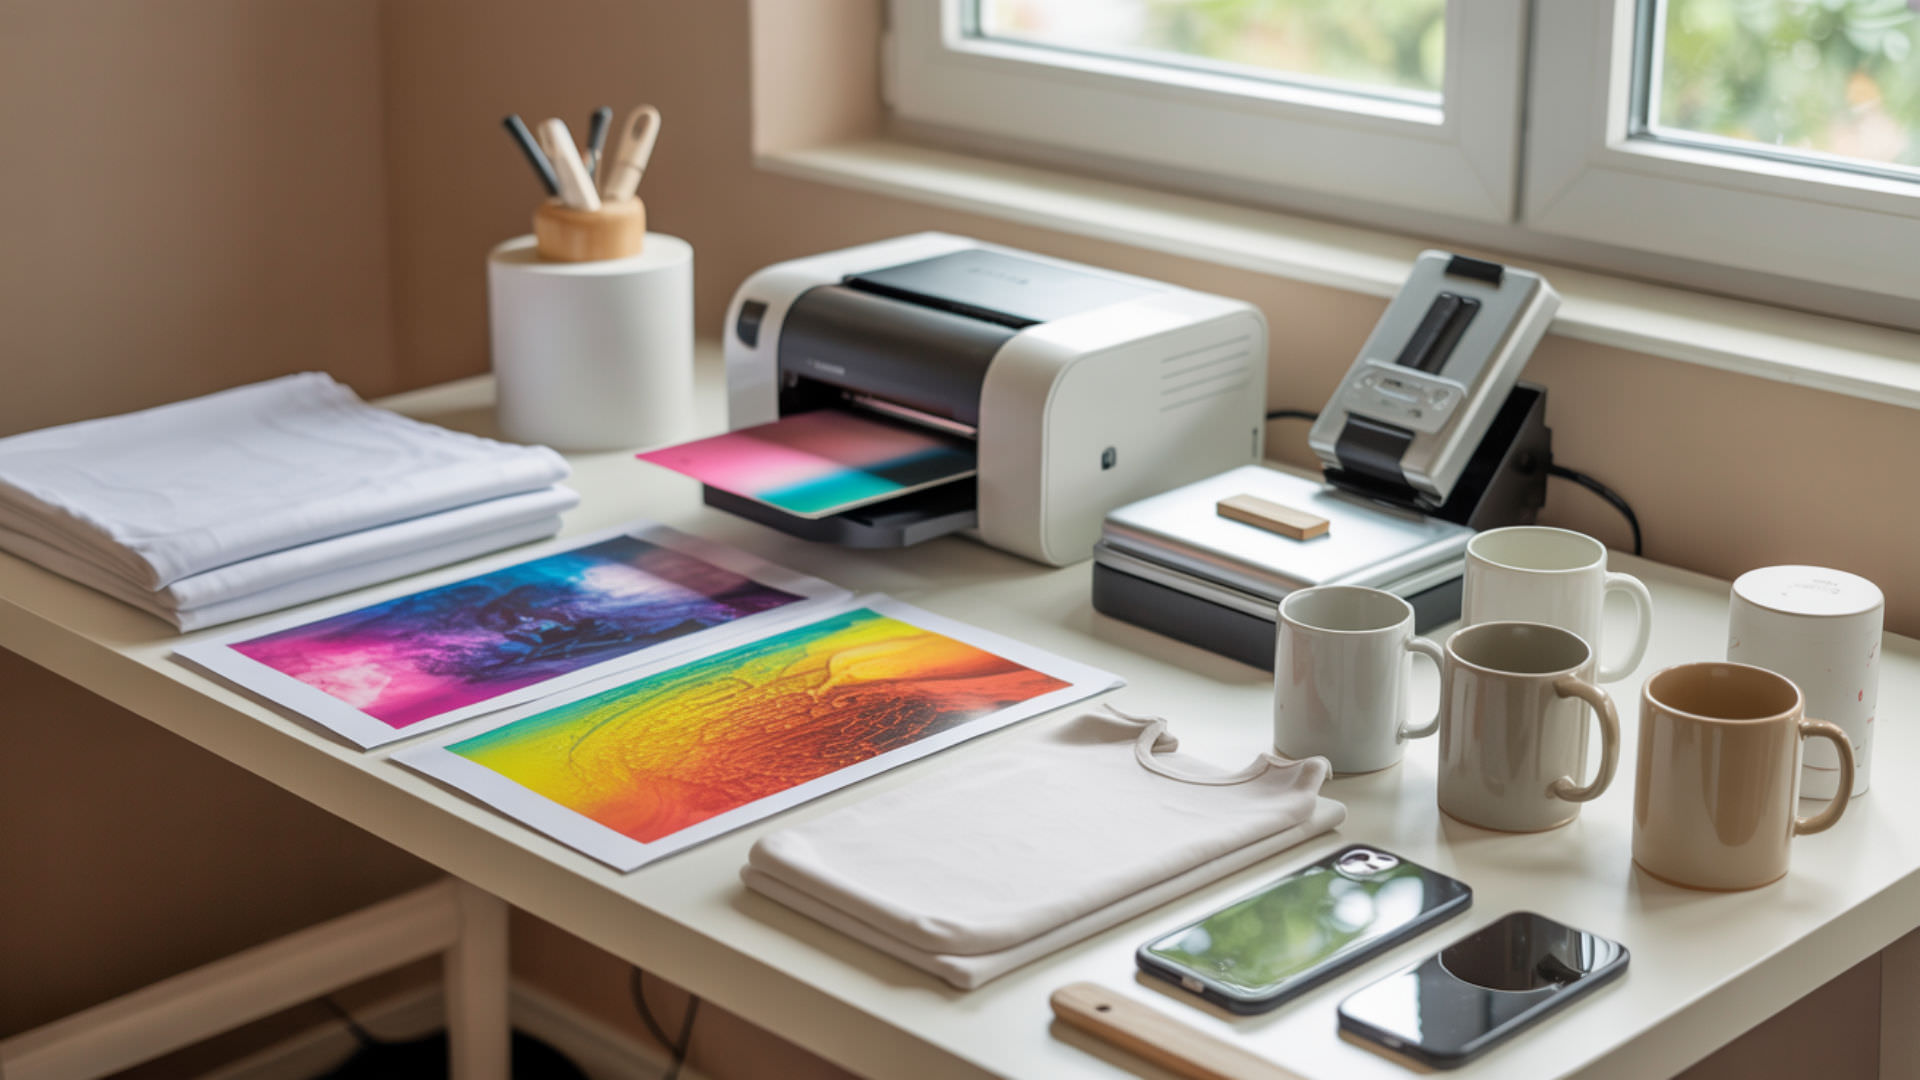
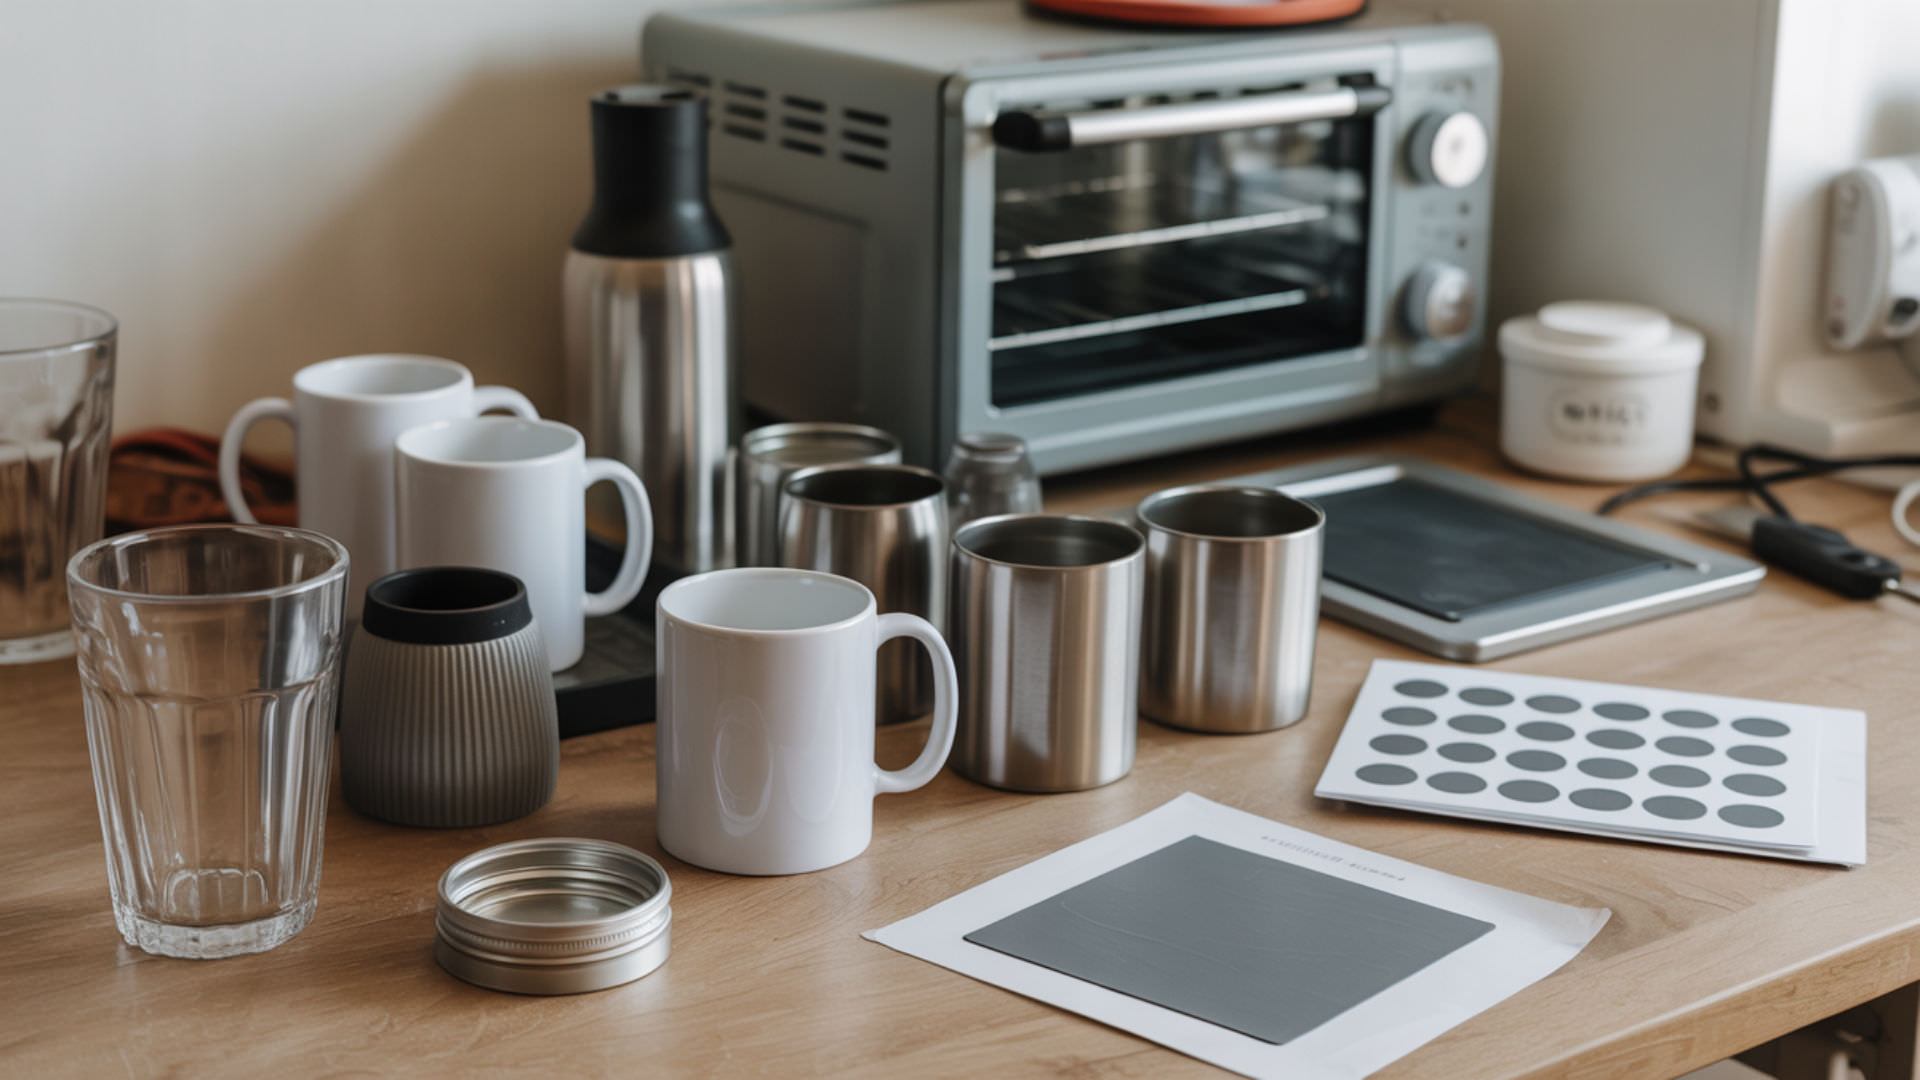
Expanding Your Sublimation Tumbler Options
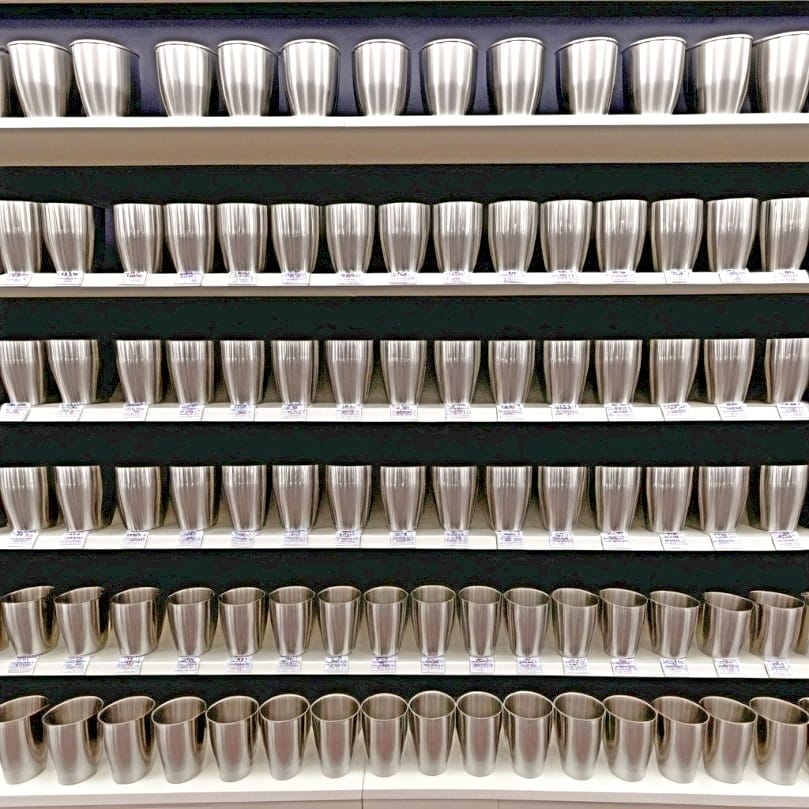
Sublimation printing, also known as dye sublimation printing, opens up a world of endless creative and innovative possibilities. By expanding your tumbler options with sublimation blank products and utilizing sublimation printers, you can cater to a wider audience and enhance your product offerings.[2]
Consider introducing diverse tumbler designs such as:
- skinny ones
- glittery ones
- professional-themed
- kid-friendly tumblers
- designs for seasonal occasions
Offer sublimation tumblers in various sizes, such as 20oz and 30oz options, to cater to customers with different beverage quantity preferences.
Look at introducing tumblers with diverse finishes like matte, glossy, and textured, or ones that mimic premium materials such as wood or marble, and even sustainable eco-friendly options. And for that extra wow-factor, enhance the functionality and uniqueness of tumblers by including features like built-in straws or handles, double-wall insulation for temperature control, and customizable or novel aspects such as chalkboard finishes, color-changing effects, and glow-in-the-dark capabilities.
Summary
From choosing the right tumbler to mastering the sublimation process, there’s a lot to learn to achieve perfect sublimation prints. But with the right tools, knowledge, and a bit of practice, you’re well on your way to creating stunning, personalized tumblers that stand out from the crowd. For a detailed guide for beginners, check out mastering sublimation techniques for beginners.
Remember, the key to success lies not just in the technical details but also in the care and attention you give to each step of the process. So, keep experimenting, keep learning, and keep creating. The world of sublimation printing is full of possibilities – let’s make them a reality!
Frequently Asked Questions
Why does my sublimation tumbler look faded?
Your sublimation tumbler may look faded due to external factors like time, temperature, and pressure. To prevent this, double-check the recommended settings for your sublimation blanks and make sure the top platen matches the stated temperature on your press.
What happens if you sublimate for too long?
If you sublimate for too long, the image may fade due to excessive time, temperature, or pressure. Be sure to follow the recommended settings for your specific sublimation blanks to avoid this issue.
Why is my sublimation ink not transferring to my tumbler?
Your sublimation ink may not be transferring because your heat press settings are incorrect. Use an infrared gun to check the temperature and adjust it to ensure proper ink infusion.
What causes ghosting on sublimation tumblers?
Ghosting on sublimation tumblers is caused by air or air pressure getting underneath the transfer paper. To prevent this, leave the transfer paper taped and untouched until the panel cools.
How do you remove moisture from sublimation paper?
To remove moisture from sublimation paper, place the printed transfer 2”-3” below the heat platen for 20-40 seconds. Keep in mind that the colors of the sublimation transfer may appear washed out.
References
- Wikipedia contributors. (2023b, June 4). Tumbler (glass). Wikipedia. https://en.wikipedia.org/wiki/Tumbler_(glass)
- Wikipedia contributors. (2023e, December 29). Dye-sublimation printing. Wikipedia. https://en.wikipedia.org/wiki/Dye-sublimation_printing