Sublimation tumblers require specific heat press settings because curved stainless steel surfaces behave differently than flat fabric substrates. Temperature determines when sublimation dyes activate and convert from solid to gas state, while heat must fully surround and penetrate the curved tumbler surface for complete transfers. Standard tumbler press settings range from 350–400°F (177–204°C) for 60–90 seconds per side. Understanding how temperature control fundamentals apply to tumbler presses builds on principles covered in our guide on what is a sublimation heat press.
Key Takeaways
- Pressure must remain consistent around the entire tumbler circumference to prevent vertical fade bands and incomplete edge transfers.
- Time (dwell time) requirements increase for tumblers because stainless steel heats more slowly than fabric—expect 60–90 seconds per side.
- Full wrap designs require rotation: press one side, rotate 180°, then press the second side for complete coverage.
What Heat Press Settings Are Normally Used for Sublimation Transfers?
Standard sublimation transfer settings for tumblers fall within 350–400°F (180–200°C) with pressing times of 60–180 seconds depending on substrate thickness and press power. Temperature activates the dye conversion process, while time (dwell time) allows complete penetration through the polyester coating into which the gaseous dye bonds. Thicker double-wall tumblers require longer cycles than single-wall designs.
What Temperature Is Commonly Used for Sublimation Transfers?
The most common temperature for tumbler sublimation transfers ranges from 360–380°F (182–193°C), with 365°F being a widely recommended starting point for 20 oz stainless steel tumblers. This temperature represents the basic dye activation threshold where sublimation ink transitions to gas state. Achieving thermal equilibrium—where the entire tumbler reaches working temperature uniformly—prevents cold spots that cause incomplete color development. Sublimation ink activates only when heat converts the solid dye directly into gas.[1]
What Is the Typical Temperature Range for Sublimation Printing?
The safe working temperature range for sublimation printing on polyester-coated tumblers spans 350–400°F (177–204°C), with optimal color activation occurring between 380–400°F for most blanks. Heat flux—the rate at which thermal energy transfers to the substrate—affects how quickly tumblers reach the needed temperature. Higher heat flux from quality wrap-around heating elements reduces total cycle time while maintaining color vibrancy.
Why Do Tumblers Need Specific Time and Temperature Settings for Sublimation?
Tumblers require specialized settings because stainless steel has lower thermal conductivity than fabric, meaning heat transfers through the metal more slowly and requires extended pressing time for the substrate to reach activation temperature throughout. Stainless steel itself cannot bond with sublimation dye—blanks must have a polyester coating applied that accepts the gaseous ink during heating. Both tumbler and iron-based sublimation face similar slow heating challenges where thermal conductivity limitations require careful heat management—our guide on sublimation printing using flat iron explores these parallels. Stainless steel heats more slowly than fabric, requiring longer dwell time for full heat penetration. The National Institute of Standards and Technology explains that material thermal properties control how quickly heat moves through solids, which clarifies why tumblers need longer press cycles. [2]
What Heat Press Temperatures Are Most Used for a 20 oz Tumbler?
The most commonly used temperature for 20 oz sublimation tumblers is 365°F (185°C), which provides reliable dye activation without risking damage to the polyester coating. The heating element in tumbler presses wraps around the cylinder to ensure consistent temperature distribution across the entire surface. Standard 20 oz skinny tumblers measure approximately 8.1–9 inches tall with 2.8–3.1 inch diameter, requiring proper sizing when selecting press attachments.
⫸ Click Here For Best Selling Sublimation Printers And Products ⫷What Temperature Is Used for a 20 oz Sublimation Tumbler?
A 20 oz sublimation tumbler typically presses at 365°F for 45–75 seconds per side, with full wrap designs requiring rotation and a second press cycle. Conduction through direct contact between the heating element and tumbler surface determines how uniformly dye gasifies across the design area. Heat transfer efficiency improves when the tumbler fits snugly within the press sleeve, eliminating air gaps that create cold spots.
How Long Should Sublimation Tumblers Be Pressed for Solid Results?
Sublimation tumblers should be pressed for 60–90 seconds per side for standard stainless steel blanks, with full wrap designs requiring a total of 120–180 seconds split between two pressing cycles. Time (dwell time) must compensate for steel’s slow heating characteristics, allowing the substrate to reach thermal equilibrium throughout its thickness. Inadequate pressing time produces washed-out colors and incomplete edge transfers.
How Long Should You Heat Press a Sublimation Tumbler?
Heat press a sublimation tumbler for 60–75 seconds per side at 365°F, adjusting based on your specific press’s heat flux characteristics. Heat flux determines how fast the tumbler reaches sublimation temperature—presses with stronger heating elements may require shorter cycles. Pressure affects contact quality between the heating sleeve and tumbler surface; insufficient pressure creates fading gaps where heat fails to penetrate evenly.
Why a Longer Press Can Improve Full Color Transfer on Tumblers?
Longer pressing times improve color transfer because stainless steel’s thermal conductivity requires extra dwell time for heat to fully saturate the polyester coating where dye bonding occurs. The polyester coating needs complete heat saturation throughout its thickness for accurate color development—rushing the process leaves deeper coating layers underheated. Tape selection affects stability on polyester coating surfaces during extended dwell times—our sublimation heat tape alternatives guide covers options that maintain adhesion through longer cycles.
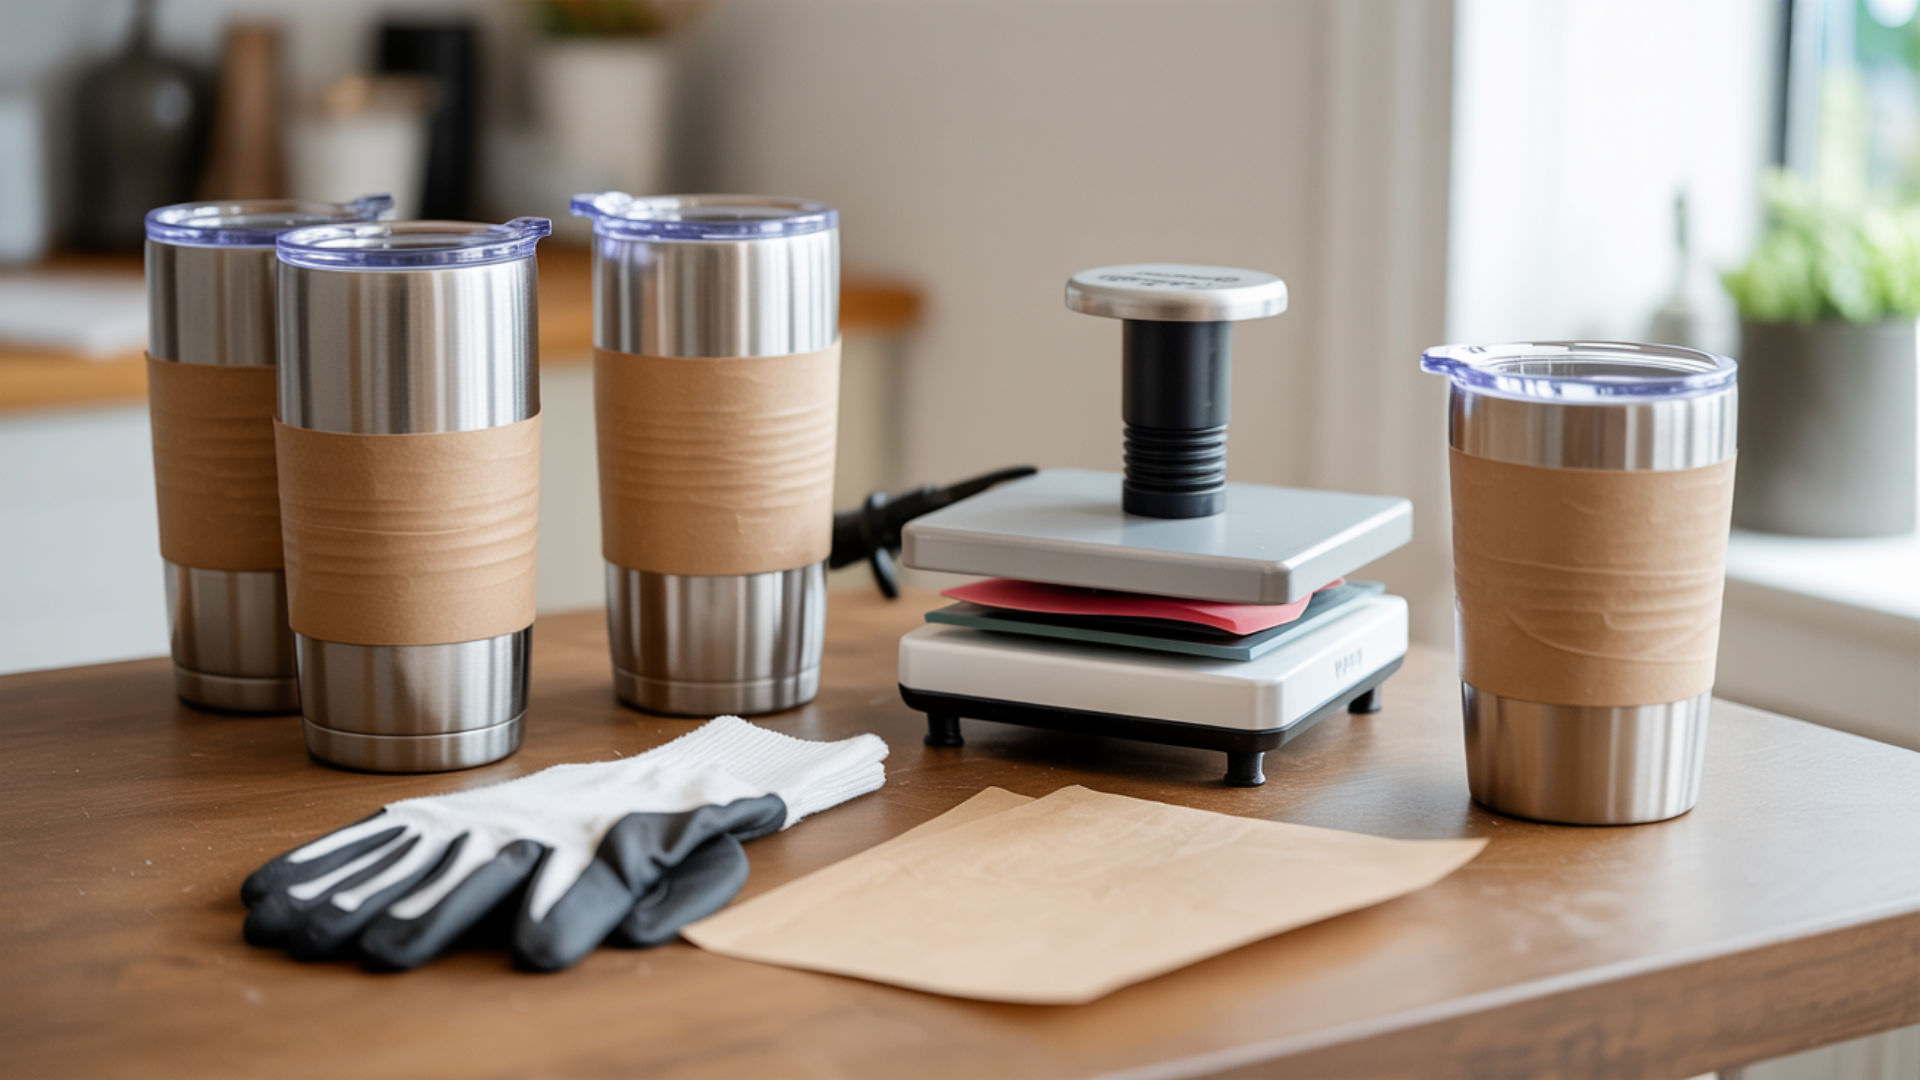
How Do You Set Tumbler Sublimation Heat Press Settings Step-by-Step?
Proper tumbler press setup requires attention to diameter tolerance (ensuring the tumbler fits tightly) and heating zone alignment (preventing cold bands). Quality presses with stable heating element construction deliver more consistent results—our guide on best heat press machines for sublimation compares tumbler-capable options.
- Select the correct diameter sleeve or attachment for your tumbler size. Standard sizes include 20 oz (2.9″ diameter), 30 oz (3.1″ diameter), and 40 oz attachments.
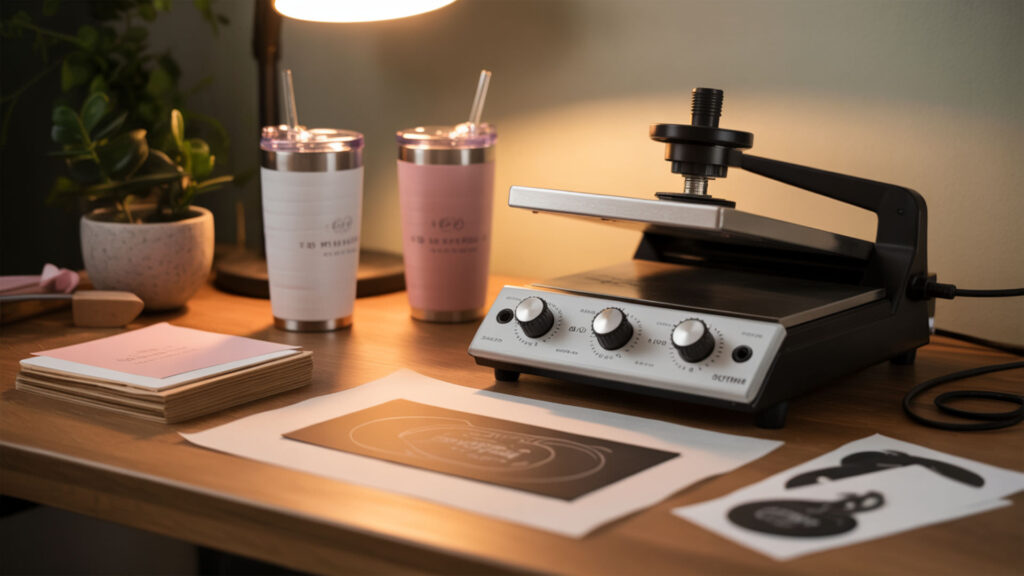
- Power on the press and set temperature to 365°F (185°C) as a starting point. Allow 10–15 minutes for the heating element to reach a stable operating temperature.
- Set the timer to 60–75 seconds for the first pressing cycle. Full wrap designs will require a second cycle after rotation.
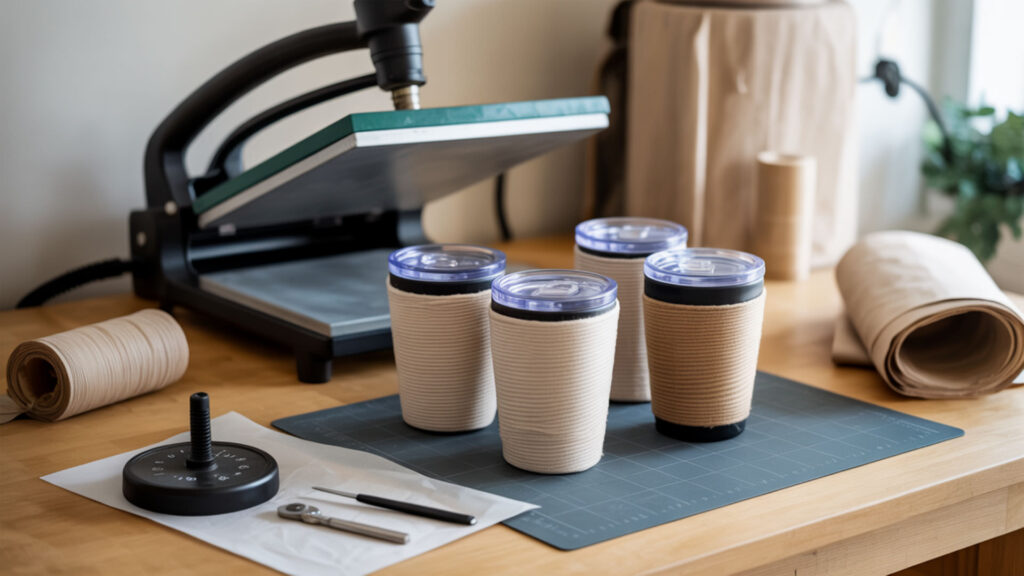
- Wrap the printed sublimation paper around the tumbler with the design facing inward. Secure all edges with heat-resistant tape to prevent shifting during pressing.
- Insert the wrapped tumbler into the press sleeve, aligning the seam at the back. Ensure snug fit with no gaps between the tumbler and heating element.
- Close the press and start the timer for the first 60–75 second cycle. Maintain medium to medium-high pressure (35–50 PSI) throughout.
- For full wraps, open the press, rotate the tumbler 180°, and press for another 60–75 seconds. This ensures complete coverage around the entire circumference.
- Remove the tumbler and allow it to cool completely before peeling the sublimation paper. Removing paper while hot risks ghosting from paper movement.
What Materials or Surfaces Are Tumblers Made from for Sublimation Printing?
Sublimation tumblers are constructed from stainless steel with a specially applied polyester coating that enables dye bonding. The stainless steel base cannot bond with sublimation dye directly—the polymer coating serves as the receptive layer where gaseous ink penetrates and solidifies. Quality blanks feature uniform coating thickness that produces consistent color saturation across the entire surface.
How Does Stainless Steel Accept Sublimation Transfers?
Stainless steel accepts sublimation transfers only through its polyester coating layer—the metal itself is not receptive to dye gas. Adhesion occurs when sublimation dye in its gaseous state penetrates the heated polymer coating and solidifies within its molecular structure as the substrate cools. This polyester coating layer creates the permanent print that withstands washing and daily use without fading or peeling.
What Pressure Is Used When Sublimating on Tumblers?
Tumbler sublimation requires medium to medium-high pressure, typically 35–50 PSI, to maintain consistent wrap-around contact between the heating sleeve and curved surface. Pressure ensures the sublimation paper stays firmly against the coating during heating, preventing ghosting from paper movement. Silicone wraps or sponge inserts inside the tumbler help distribute pressure evenly and conform to slight variations in tumbler diameter.
Ready to Master Your Tumbler Sublimation Heat Press Settings?
Successful tumbler sublimation depends on balancing temperature for proper dye activation with consistent pressure that prevents fading line bands and incomplete transfers. Start with 365°F for 60–75 seconds per side, then adjust based on your specific press and blank characteristics. Test settings on sample tumblers before production runs, and always allow complete cooling before evaluating results or removing paper.
Frequently Asked Questions
Can you heat press a tumbler more than once if the design is under-developed?
Re-pressing an under-developed tumbler can improve color saturation if the original heat application was insufficient. Position the tumbler exactly as before to avoid ghosting from misalignment, and reduce time slightly since the substrate retains residual heat. Second pressing works for minor under-development but cannot fully correct severely incomplete transfers where dye migration already occurred unevenly.
Can heat application reveal lines or fade on tumblers more easily than shirts?
Tumblers show heat-related imperfections more readily than fabric because their smooth polyester coating lacks texture to mask minor variations. Vertical fade bands appear when pressure drops along the heating sleeve edges, while horizontal lines indicate temperature fluctuations during pressing. The rigid tumbler surface amplifies any unevenness that fabric’s flexibility would naturally absorb and distribute.
Can uneven pressure make sublimation transfer look patchy on tumblers?
Uneven pressure creates patchy results because areas with poor contact between the heating sleeve and tumbler surface receive less heat transfer, producing faded or incomplete color development. Thermal resistance increases wherever air gaps exist between the paper and coating surface. Check that your tumbler fits snugly within the press attachment and use silicone inserts to equalize pressure distribution around curved surfaces.
Does sublimation paper ever stick because of temp spikes during pressing?
Temperature spikes above 400°F can cause sublimation paper to stick by softening the polyester coating beyond its normal operating range, creating excessive adhesion. Paper sticking also occurs when pressing significantly exceeds recommended dwell times. If paper sticks, allow complete cooling before attempting removal, then gently reheat to 300–350°F for 15–20 seconds to soften the bond for easier peeling.
Is temporary dull color different from permanent incomplete transfer?
Temporary dull color immediately after pressing often brightens as the tumbler cools and the polyester coating returns to its normal state—this is normal behavior. Permanent incomplete transfer shows as washed-out areas that remain faded after complete cooling, indicating insufficient heat, time, or pressure during the sublimation cycle. Always evaluate the final color after the tumbler reaches room temperature rather than immediately upon removal.
References
- Sublimation (phase transition). (2026, January 5). Wikipedia, the free encyclopedia. Retrieved January 13, 2026, from https://en.wikipedia.org/wiki/Sublimation_(phase_transition)?utm_
- Thermal properties and ultra-low thermal conductivity of Zn2GeSe4. (2025, April 18). NIST. https://www.nist.gov/publications/thermal-properties-and-ultra-low-thermal-conductivity-zn2gese4