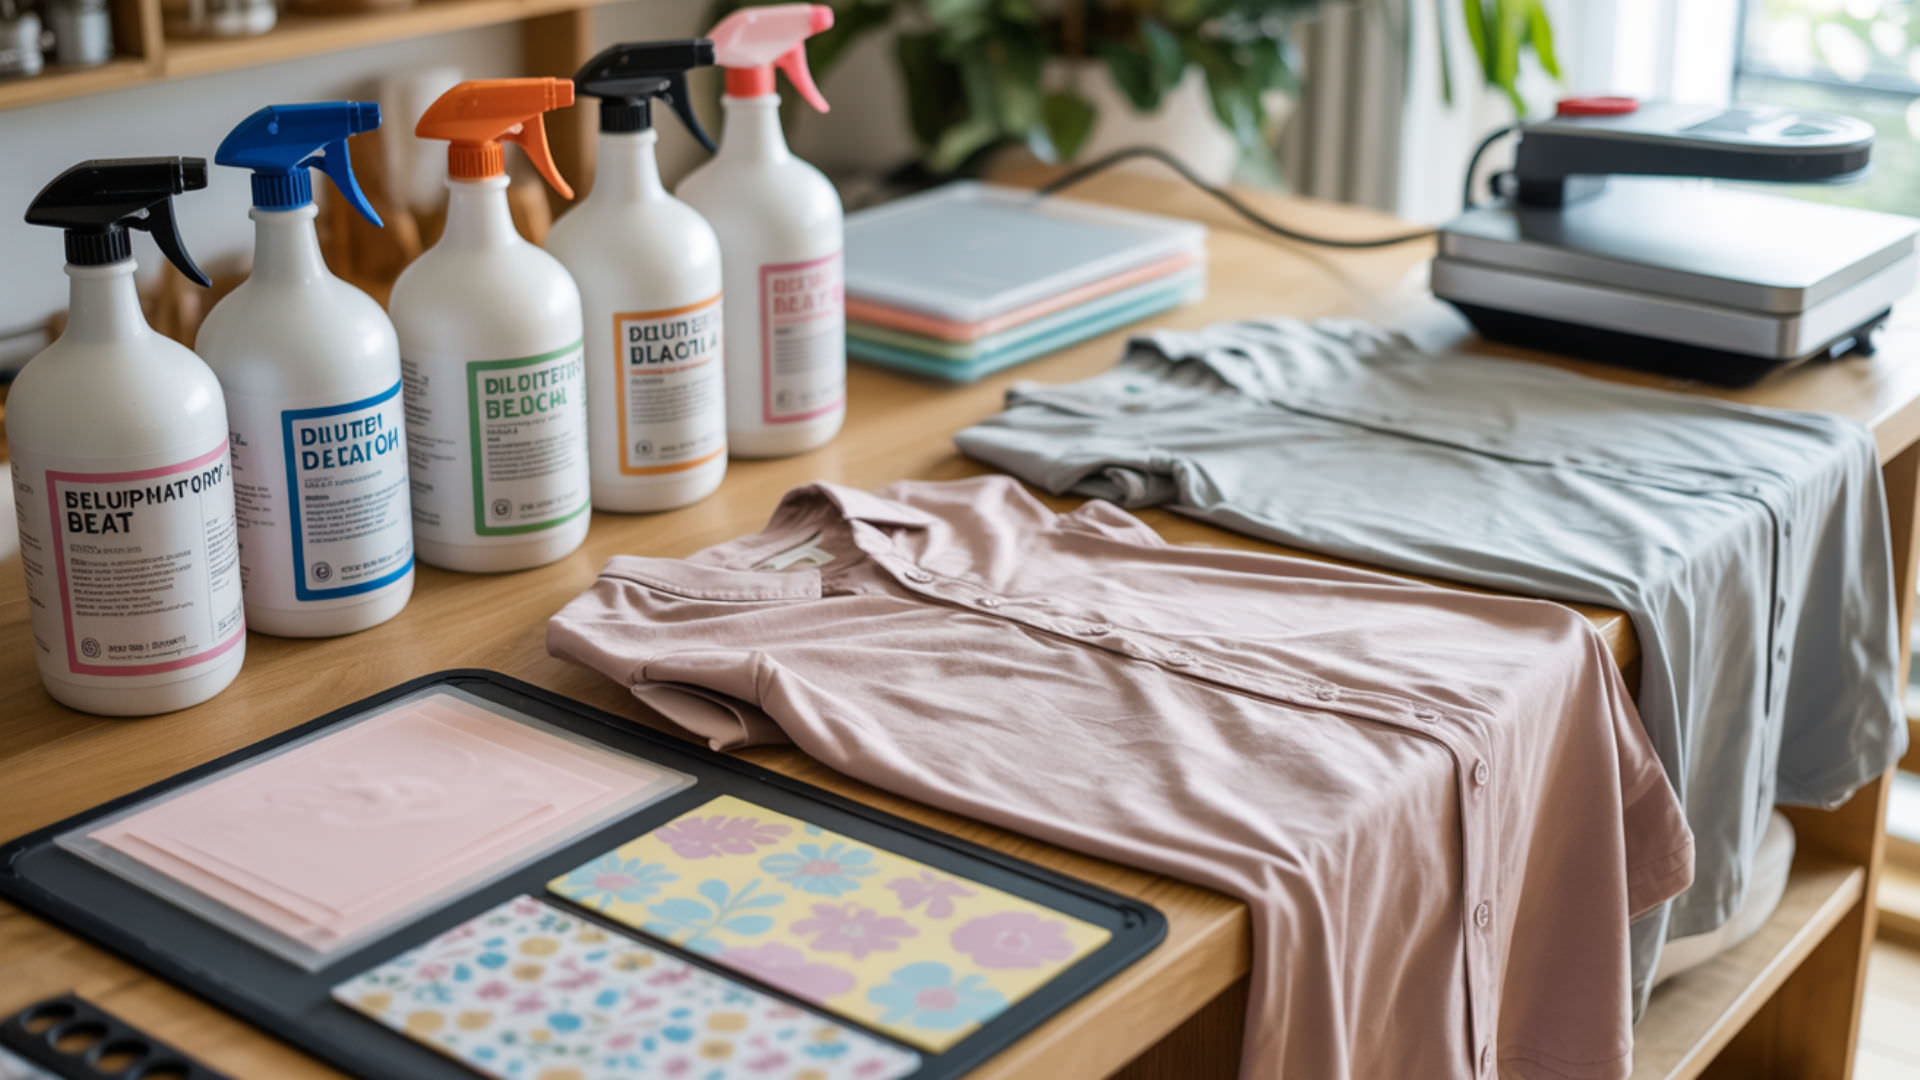
Tie-dye patterns created with fiber-reactive dyes bond to cellulose fibers in cotton, producing vivid backgrounds that don’t chemically interfere with sublimation inks. Because polyester content determines where sublimation can actually bond on blended fabrics, our complete sublimation printing guide explains the chemistry behind dye compatibility. This technique combines two decoration methods on a single garment for unique, layered designs.
Key Takeaways
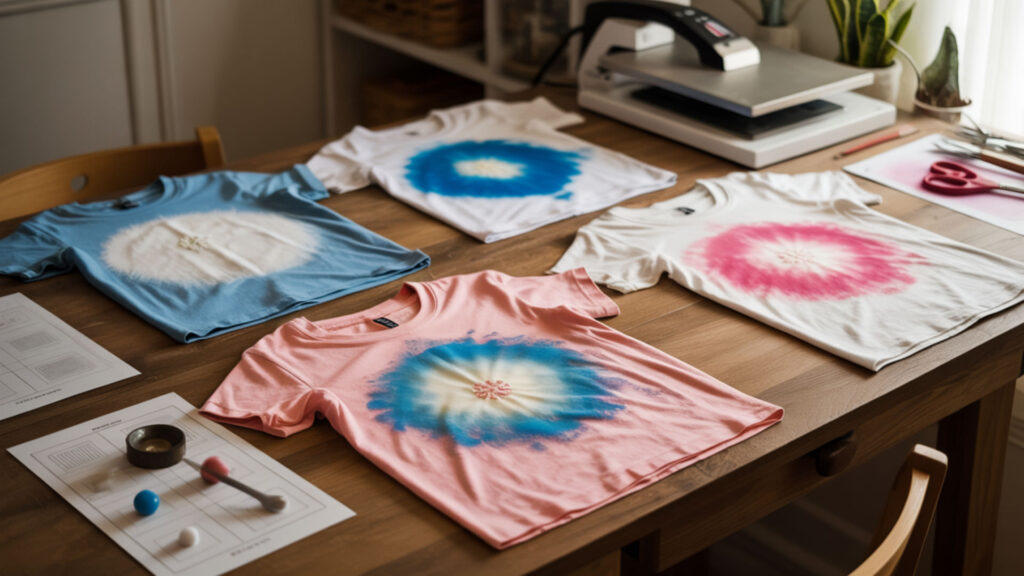
- High color saturation in tie-dye backgrounds can overpower sublimation designs—place prints on lighter resist areas for maximum visibility.
- Disperse dyes only show clearly on lighter or polyester-rich areas, making pattern placement critical for design contrast.
- Tie-dye polyester blends before sublimating—this sequence ensures patterns appear under your design without distorting colors.
Can sublimation transfers work on tie-dye shirt fabric without color distortion?
Sublimation transfers work on tie-dye fabrics when polyester content reaches 65% or higher, though dense pigments in saturated areas reduce design clarity and contrast. Higher polyester content improves dye uptake and vibrancy on lighter tie-dye zones. Color saturation determines visibility—sublimation over dark purple or navy sections appears muddy while white resist areas show crisp, accurate colors. Plan design placement around your tie-dye pattern’s lightest regions.
Can tie-dye shirts accept sublimation ink without turning dull or faded?
Disperse dyes look brightest on light or low-saturation tie-dye zones where background colors don’t compete visually. Heavy color saturation makes sublimation appear dull, muted, or washed out regardless of proper temperature and timing. Target white spiral centers, pale yellow sections, or light pink areas for vibrant sublimation results. Avoid placing detailed artwork over deep reds, purples, or blacks—these pigments absorb rather than reflect your sublimated colors.
Should polyester shirts be tie-dyed before sublimation or after sublimation?
Tie-dye polyester shirts before sublimation to ensure patterns appear under your printed design without distorting sublimation colors. Fiber-reactive dyes are designed for cotton cellulose, not pure polyester—they produce unpredictable results on synthetic fibers. On poly-cotton blends, tie-dye bonds only to cotton while sublimation bonds only to polyester, creating complementary layered effects. Let shirts dry completely before pressing to prevent moisture from dulling the transfer.
What happens if sublimation is applied over existing tie-dye colors later?
Dark or saturated pigments in existing tie-dye visually overpower sublimation prints, making designs appear faded or invisible. Uneven color saturation across the garment leads to patchy, distorted design appearance where some sections show clearly while others vanish. The sublimation ink still bonds to polyester fibers—it’s present but obscured by the darker background. Map your tie-dye pattern before pressing and position artwork strategically over lighter zones.
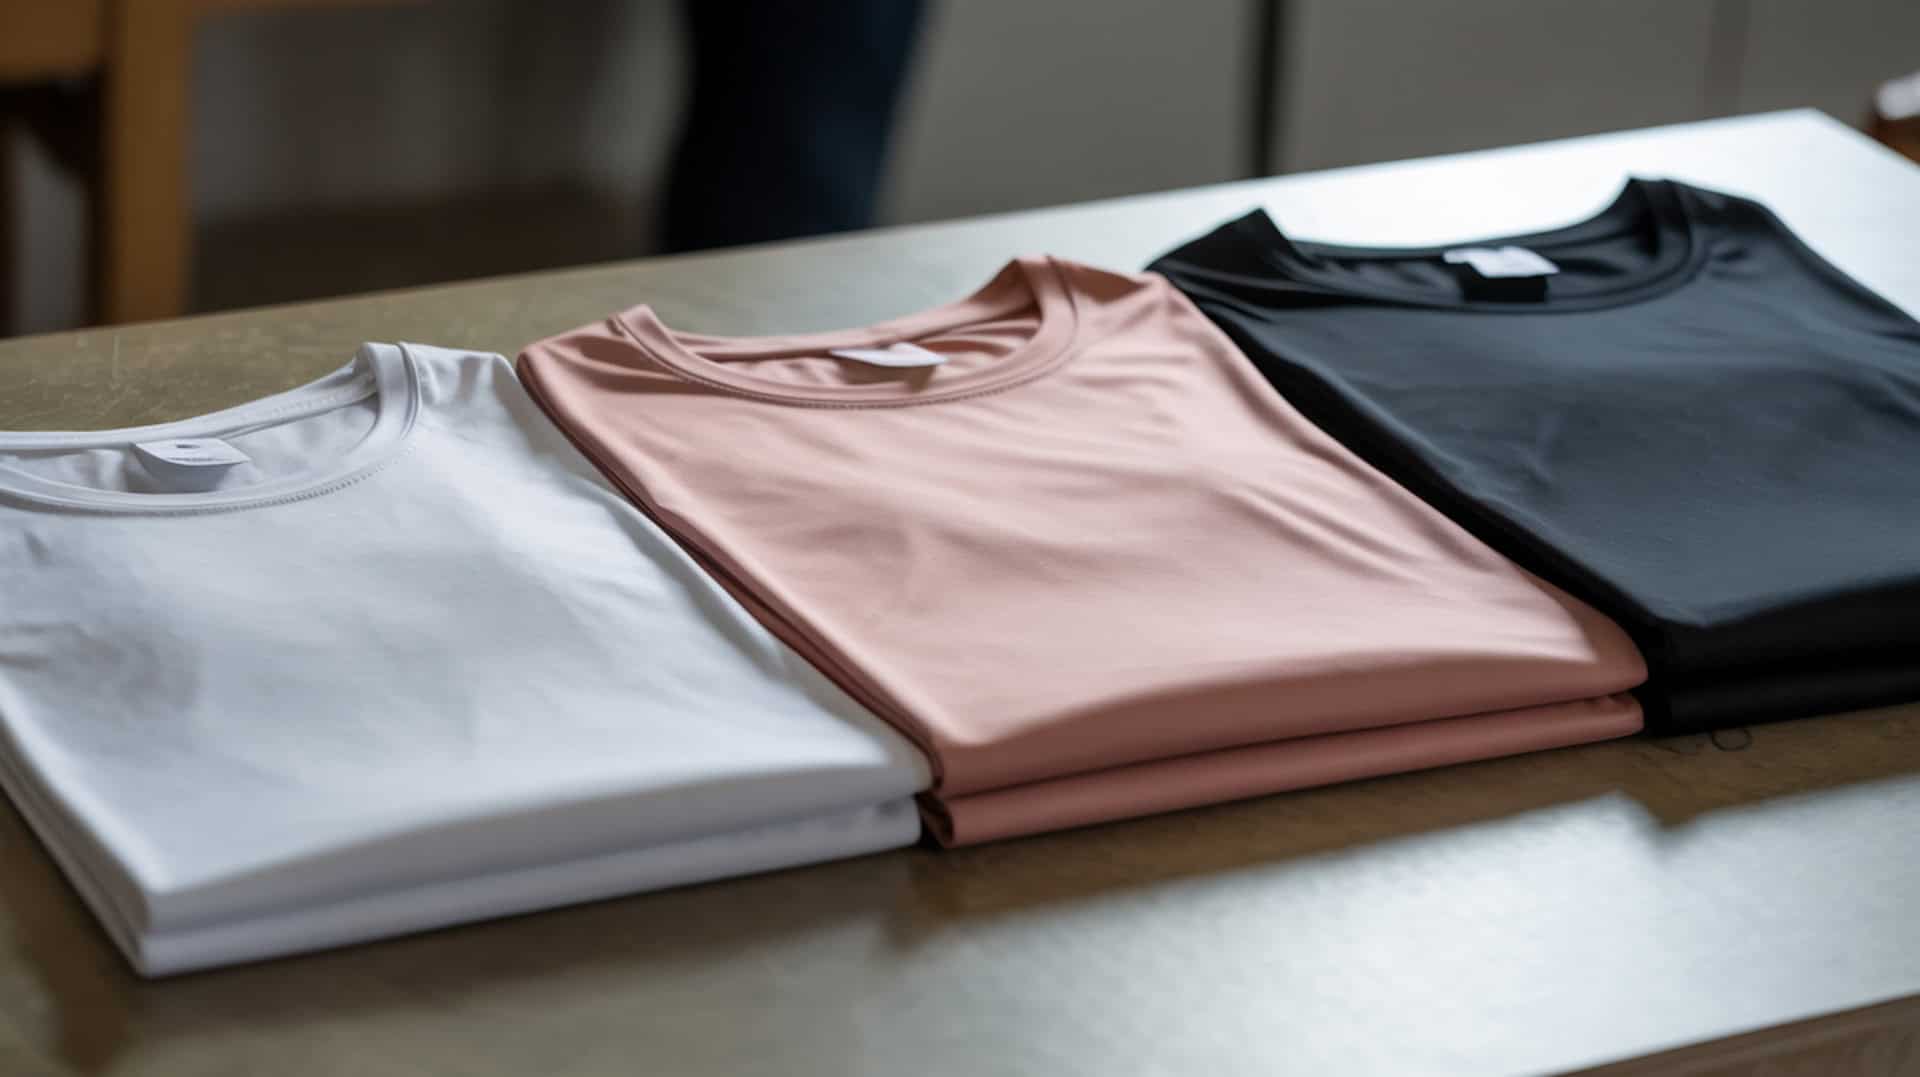
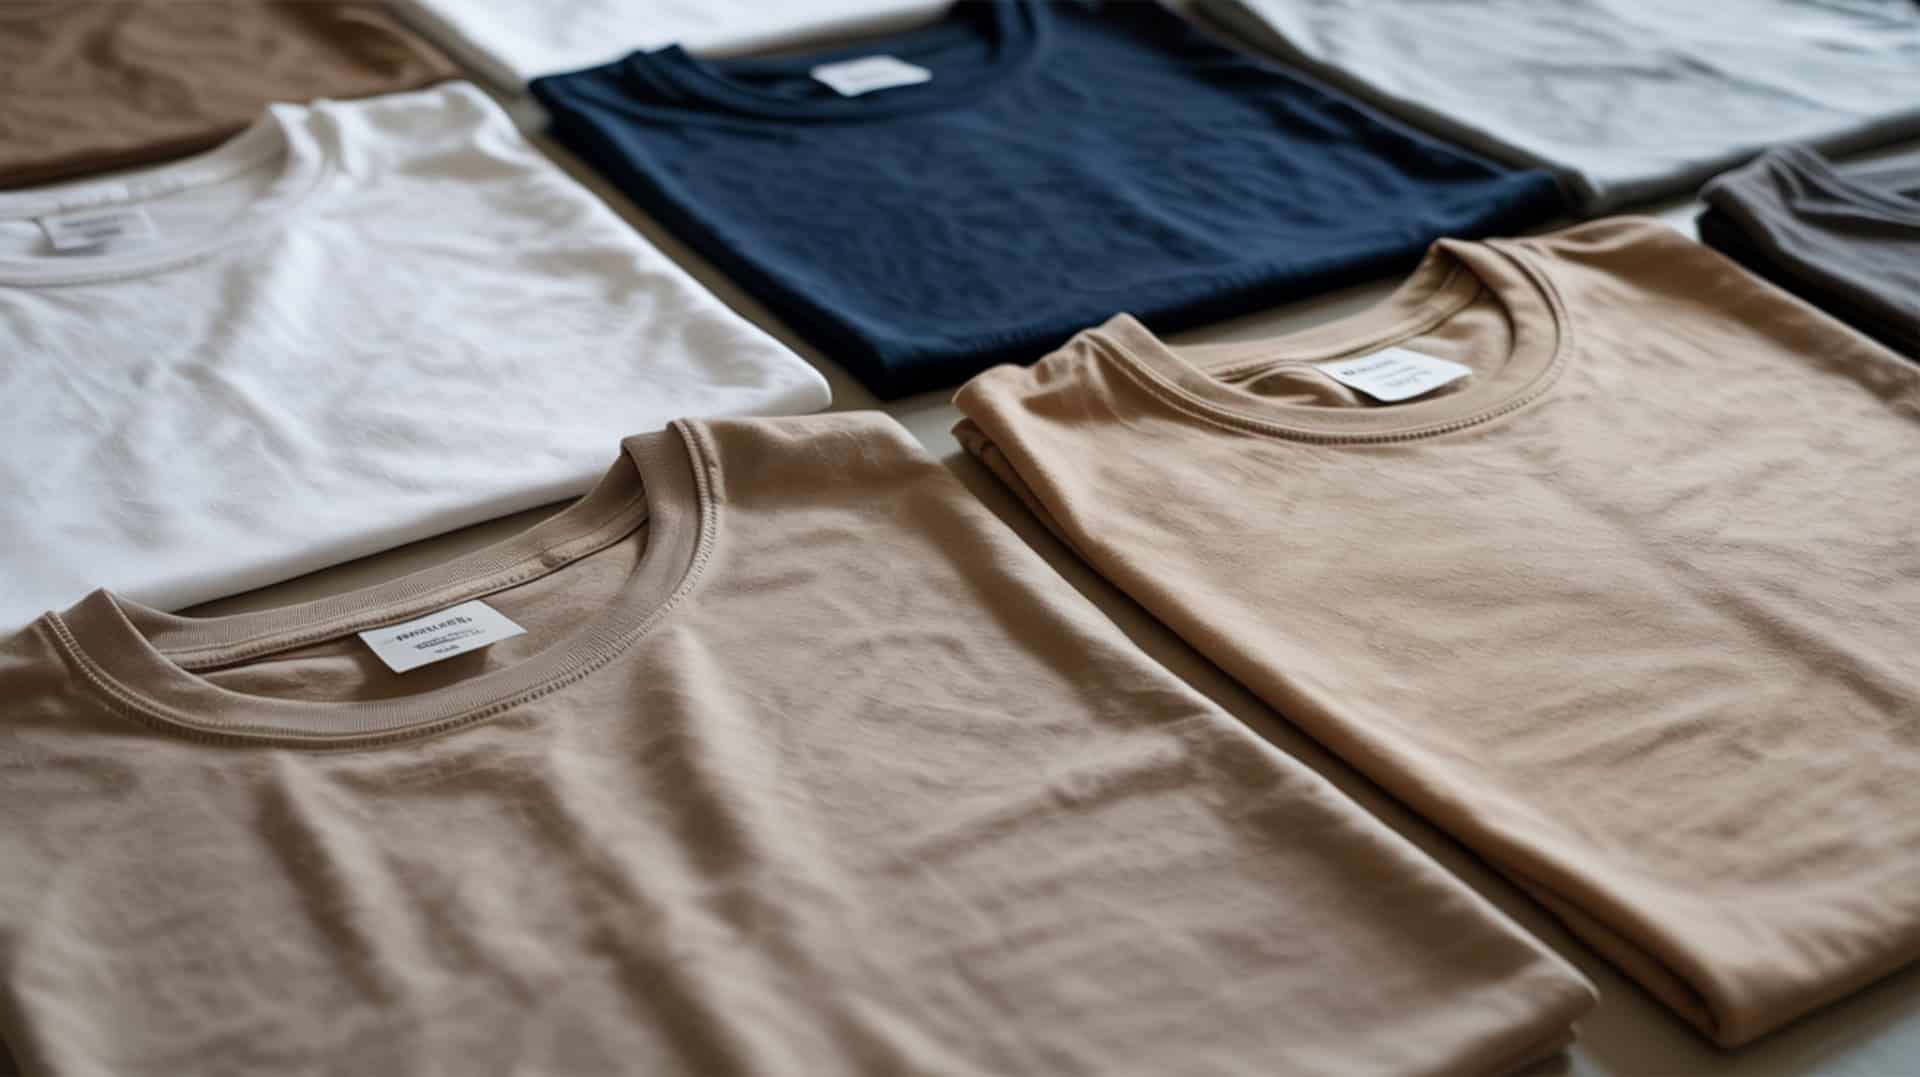
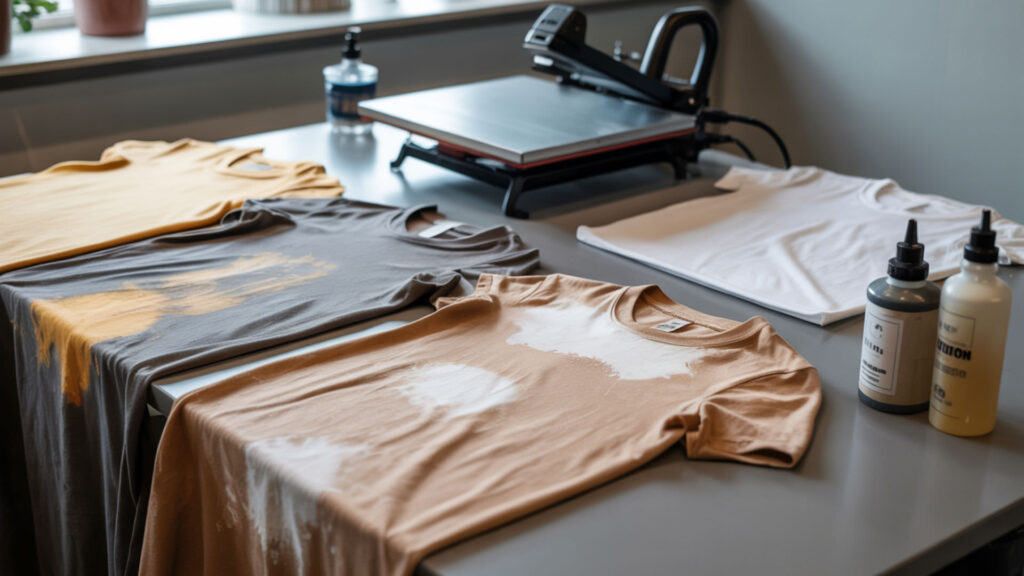
Can sublimation transfers be used on colored shirts without losing vibrancy?

Sublimation works on colored shirts but vibrancy depends on background shade—light pastels show muted but acceptable results while medium and dark colors significantly reduce design visibility. Pigments in colored fabric compete visually with disperse dyes since sublimation ink is transparent, not opaque. Because polyester blend fabric composition determines sublimation vibrancy on colored backgrounds, our best shirts guide helps you choose optimal blanks.
⫸ Click Here For Best Selling Sublimation Printers And Products ⫷Which shirt colors provide the best sublimation brightness after pressing?
White polyester delivers maximum brightness since no competing pigments interfere with sublimation color accuracy. Light pastels—baby blue, pale pink, cream, mint—allow sublimation colors to remain bright with slight tinting from the background. Higher polyester percentage (65%+) increases color intensity even on tinted fabrics. Heathered shirts with high polyester content often produce excellent results because the gray speckling comes from undyed polyester fibers that accept sublimation fully.
Why do some colored fabrics show faded or uneven sublimation areas?
High color saturation in the base fabric causes faded, low-contrast sublimation because transparent inks can’t override dark backgrounds. Excess moisture content in fabric creates patchy, uneven prints by interfering with dye gas transfer during pressing.
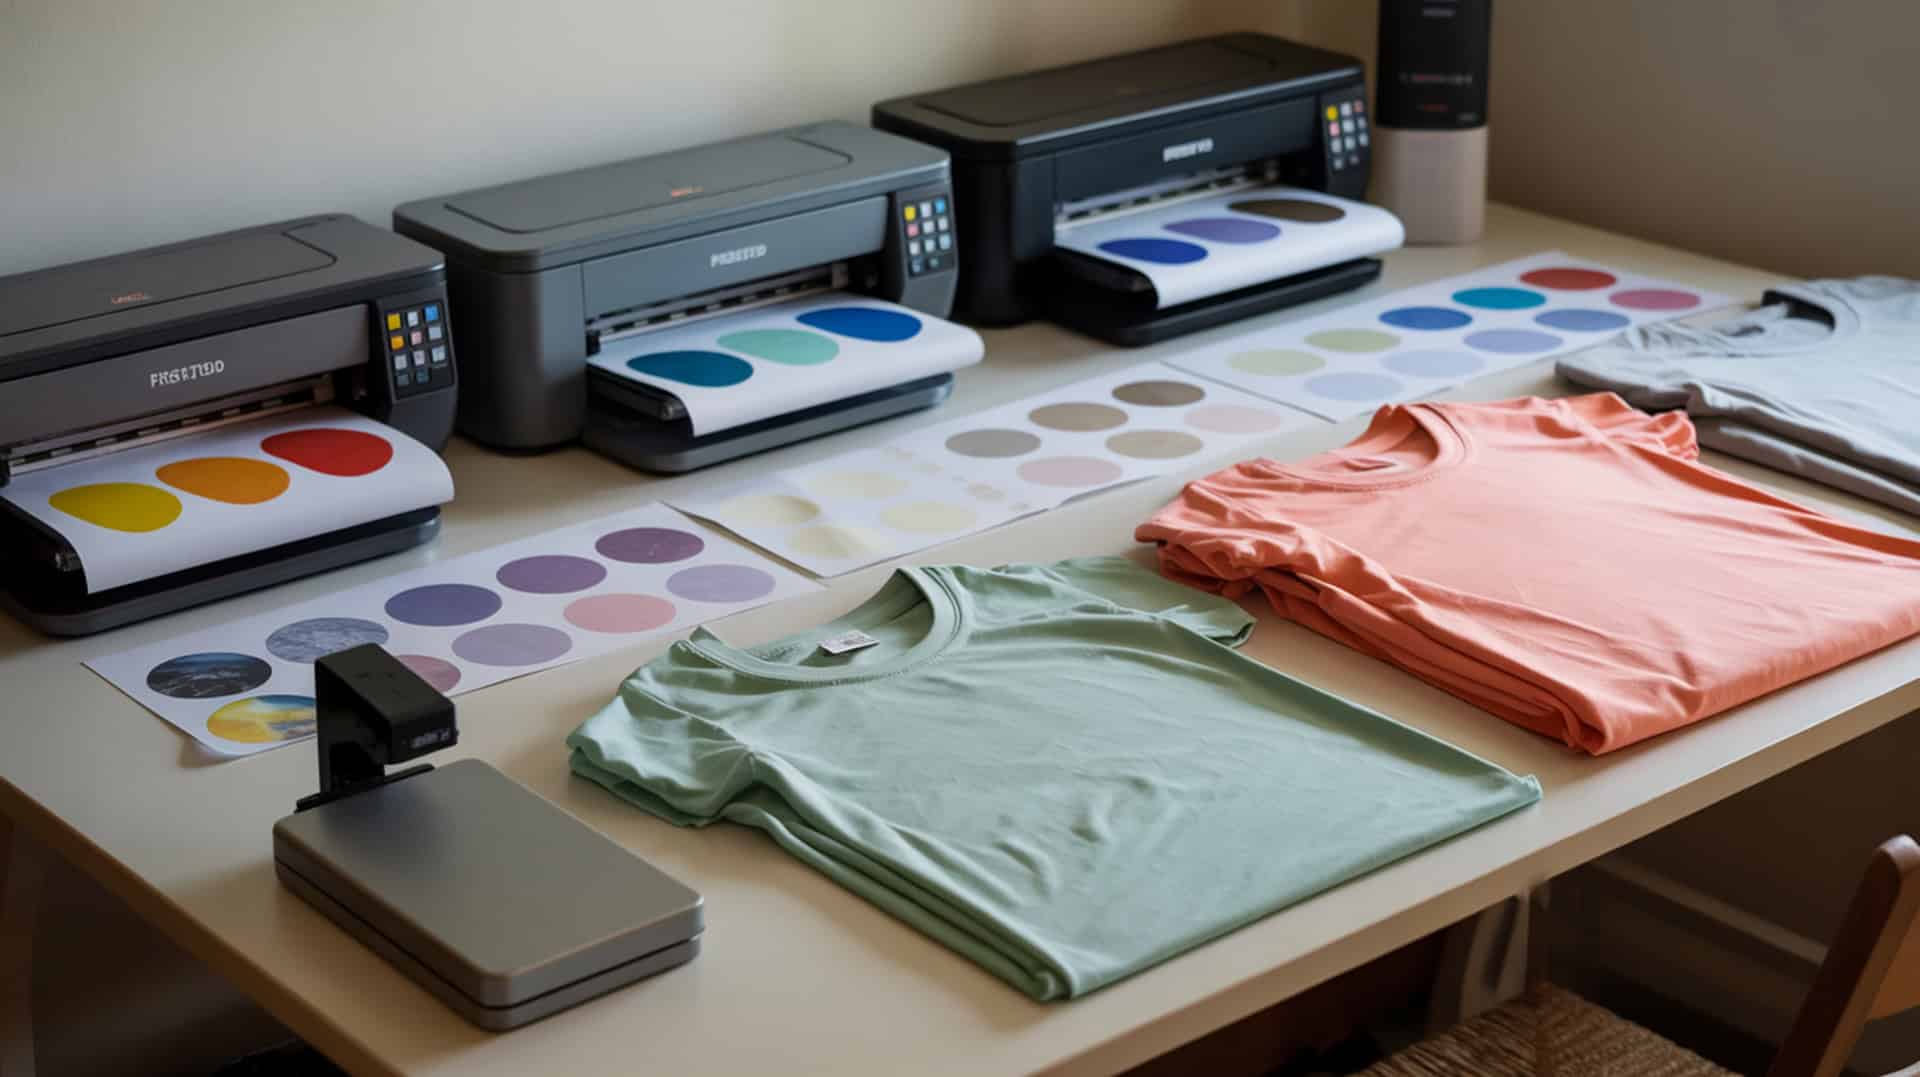
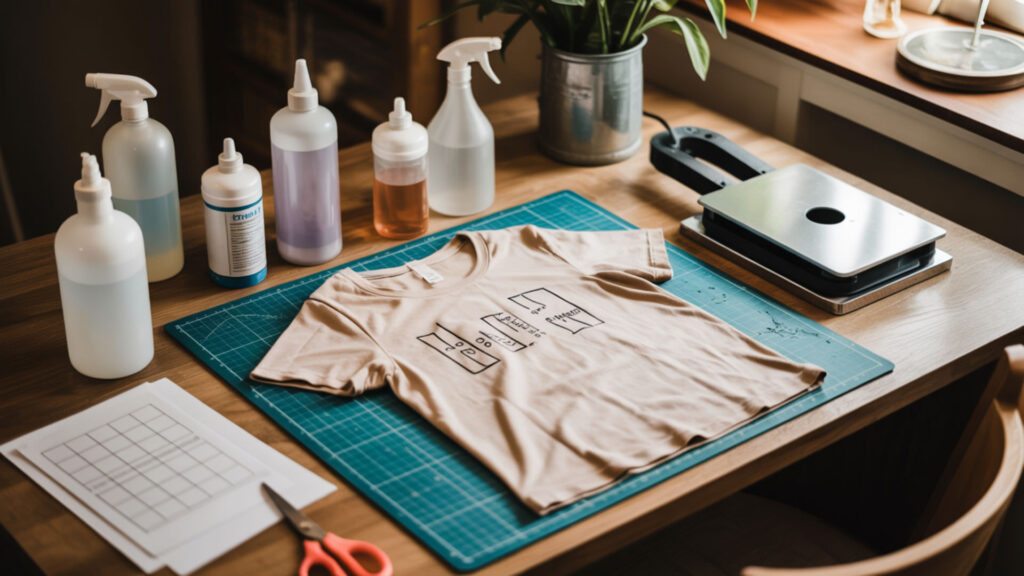
What is the actual shirt sublimation printing process from start to finish?

The sublimation process begins with printing a mirrored design onto transfer paper using disperse dye inks, then pressing it onto polyester fabric under heat and pressure. Transfer paper holds disperse dyes in solid form until heat activation. Press temperature between 380–400°F converts solid dye to gas, which penetrates polyester fibers and bonds permanently upon cooling. The entire cycle—from design placement to paper removal—takes 45–60 seconds at proper settings.
What are the core phases of dye sublimation printing on shirt fibers?
Disperse dyes sublimate from solid directly to gas under controlled heat, bypassing the liquid phase entirely. Correct press temperature (385–400°F) ensures sharp, well-defined transfers by fully activating all dye particles simultaneously. The gas penetrates open polyester polymer chains, which close around dye molecules as temperature drops. This three-phase cycle—solid to gas to embedded solid—creates permanent, wash-resistant coloration inside fiber structure. Sublimation is a physical phase change in which a solid converts directly into a gas under heat, a principle that explains how disperse dyes activate and penetrate polyester fibers during pressing. [1]
Does this printing method permanently bond ink into fabric instead of sitting on top?
Disperse dyes penetrate polyester polymer chains instead of forming a surface film like screen printing or vinyl transfers. The ink becomes part of the fiber structure at the molecular level, creating coloration that cannot crack, peel, or wash away. Higher polyester content improves long-term bond durability—100% polyester maintains vibrancy through 50+ wash cycles. Cotton fibers in blends remain unaffected since they lack the polymer structure required for dye penetration. Cotton fibers are composed primarily of cellulose rather than synthetic polymers, which explains why sublimation dyes do not permanently bond to tie-dye cotton fabrics. [2]
What temperature and time ranges influence sublimation clarity on polyester shirt fibers?
Press temperature between 380–400°F affects how fully disperse dyes activate and diffuse into polyester fibers. Temperatures below 375°F produce incomplete activation with faded, grainy results. Moisture content in fabric causes cloudiness and clarity loss if not removed through pre-pressing for 3–5 seconds before applying transfers. Standard press time of 45–60 seconds at medium pressure ensures complete dye penetration without scorching.
How long should sublimation sit under heat to bond into shirt fibers properly?
Press time controls how deeply dye penetrates polyester areas—45 seconds minimum for lightweight fabrics, 55–60 seconds for heavier materials. Polyester content determines optimal timing since blends require longer exposure to saturate available synthetic fibers. Too little press time causes washed-out, incomplete images that fade rapidly with washing. Extended pressing beyond 70 seconds risks dye migration, yellowing, and scorched fibers on most polyester weights.
What signs show when sublimation wasn’t pressed long enough on dyed fabric?
Residual moisture content in fabric leaves mottled, pale patches where steam blocked dye transfer during pressing. Underactivated disperse dyes appear light, grainy, or unevenly distributed across the design area. Colors look significantly duller than the original print file, with fine details lost or blurry. White haze or foggy areas indicate the press opened before dye gas fully penetrated fiber structure—add 5–10 seconds to subsequent prints.
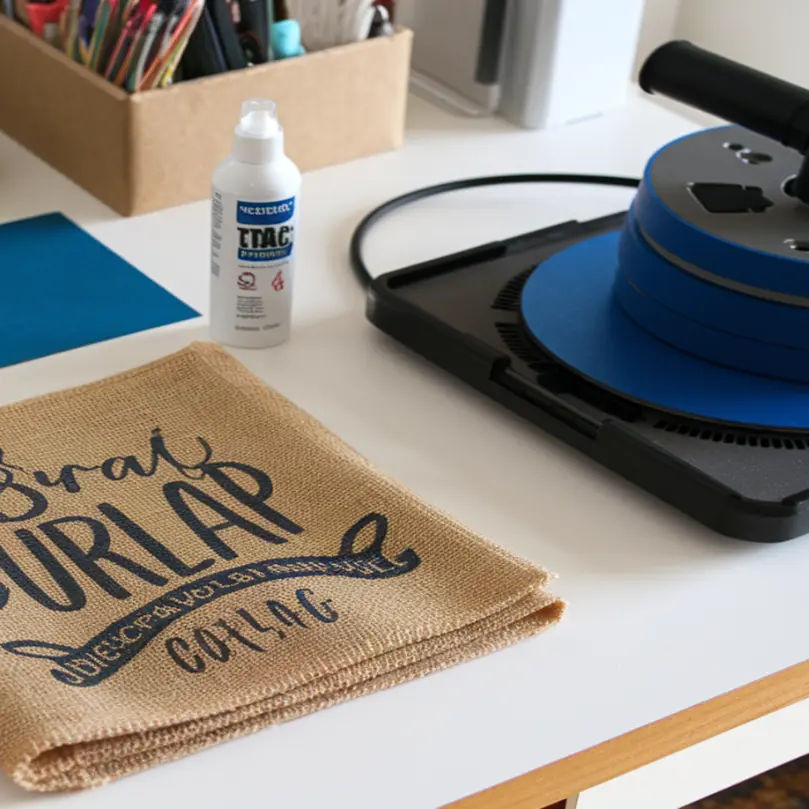
How do you sublimate tie-dye shirts step-by-step?
Binding techniques like spiral, crumple, and fold patterns create guides for strategic transfer paper placement over resist dyeing areas. Lighter resist zones left by rubber bands or ties provide ideal sublimation surfaces with maximum visibility. If your tie-dye background is too saturated, bleaching techniques from our bleach shirts guide can lighten areas before sublimation.
- Create or purchase tie-dye polyester blend shirts (65%+ polyester) using fiber-reactive dyes on the cotton portion.
- Allow tie-dye to cure fully (24–48 hours) then wash and dry completely before sublimation.
- Map the tie-dye pattern and identify lightest areas—white centers, pale sections, or resist zones.
- Print mirrored sublimation design sized to fit identified light zones; trim transfer paper edges.
- Pre-press shirt for 3–5 seconds at 385°F to remove moisture; insert protective paper inside.
- Position transfer face-down on light tie-dye area; secure with heat-resistant tape.
- Press at 385–400°F for 50–60 seconds with medium pressure; remove paper while warm.
- Allow to cool completely before handling; wash inside-out in cold water before first wear.
How does dye layering and reheating later affect sublimated shirt durability?
Heat setting of tie-dye during initial washing and drying influences how the base pattern behaves under subsequent sublimation heat. Pre-cured tie-dye patterns remain stable at sublimation temperatures (385–400°F) without bleeding or shifting. Disperse dyes typically maintain excellent color fastness if polyester content is adequate—properly sublimated designs last 50+ washes. Multiple heat exposures don’t weaken the bond once sublimation dye has fully penetrated fiber structure. Insights on heat setting in shirt production appear in our how to use a sublimation printer for T-Shirts guide.
Does sublimation fade faster when applied over previously dyed shirt patterns?
Sublimation fade rates depend on polyester bond quality, not underlying tie-dye presence—the two dye systems don’t chemically interact. High color saturation and dense pigments in the background may visually overpower sublimation over time as both fade at independent rates. The tie-dye pattern typically fades faster than sublimation since fiber-reactive dyes bond to cotton portions that experience more wash wear. Properly applied sublimation maintains vibrancy through normal garment lifespan.
Can reheating or second pressing change sublimation clarity on dyed shirts later?
Excessive reheating at press temperatures (385°F+) can slightly shift or blur existing sublimation dyes through re-gasification and migration. Over-long second pressing beyond 30 seconds may flatten contrast, dull colors, or cause ghosting where dye spreads beyond original boundaries. Brief heat exposure during care label application or minor touch-ups (under 10 seconds) typically causes no visible damage. Avoid ironing directly over sublimated areas—use pressing cloths if wrinkle removal is necessary.
Ready to Create Sublimation Tie-Dye Shirts at Home Like a Pro?
Combining tie-dye with sublimation creates one-of-a-kind garments that showcase both patterned backgrounds and custom printed designs. Thoughtful tie-dye patterns paired with strategic transfer paper placement over light zones maximize visibility and impact. Start with polyester blends, tie-dye first, map your lightest areas, and press your sublimation designs where they’ll pop against the colorful backdrop.
Frequently Asked Questions
Does sublimation stay bright after washing tie-dye shirts repeatedly?
Sublimation maintains color fastness through 50+ wash cycles when polyester content reaches 65% or higher, regardless of tie-dye presence. The disperse dyes bond inside polyester fibers permanently—washing affects only surface residue, not embedded color. Moisture content during pressing affects initial brightness, not long-term durability. Wash inside-out in cold water without bleach or fabric softener to maximize longevity of both tie-dye and sublimation elements.
Can sublimation shirts be pressed again later to deepen the colors?
Re-pressing cannot deepen existing sublimation colors since the dye has already fully bonded within polyester fibers during initial transfer. Additional heat may cause color migration, blurring, or ghosting rather than intensification. If initial results appear faded, the issue stems from insufficient temperature, time, or polyester content—factors that cannot be corrected post-pressing. Print a new transfer with increased saturation settings for future attempts on similar fabrics.
Does humidity change sublimation brightness on dyed shirt fibers?
High humidity introduces moisture content into fabric fibers that interferes with sublimation dye gas transfer during pressing. Ambient humidity above 60% can cause cloudiness, reduced vibrancy, and uneven color distribution. Pre-press fabric for 5–10 seconds to eliminate absorbed moisture before applying transfers. Store polyester blanks and tie-dyed shirts in climate-controlled environments (40–50% humidity) for consistent sublimation results.
Can excess heat permanently dull sublimation on dye-layered shirts?
Temperatures exceeding 410°F or press times beyond 70 seconds cause dye migration that permanently dulls and blurs sublimation designs. The disperse dyes re-gasify under excessive heat, spreading beyond intended boundaries and diluting color density. Polyester fibers may also yellow or scorch at extreme temperatures, further reducing print quality. Maintain 385–400°F for 45–60 seconds maximum to preserve both tie-dye backgrounds and sublimated overlays.
What visible flaws show if fabric shifts during pressing on dyed shirts?
Fabric shifting creates ghosting—a shadowed duplicate image offset from the main design caused by transfer paper movement mid-press. Double lines around text and blurred edges on graphics indicate even minor shifts of 1–2mm. The tie-dye background makes ghosting more visible since shifted dye appears against contrasting colored areas. Secure transfers with heat-resistant tape at all corners and avoid lifting the press until the full cycle completes.
References
- Sublimation and the water cycle. (2019, June 8). USGS. https://www.usgs.gov/water-science-school/science/sublimation-and-water-cycle
- Cotton. (n.d.). Agricultural Marketing Service. https://www.ams.usda.gov/grades-standards/cotton