Table of Contents
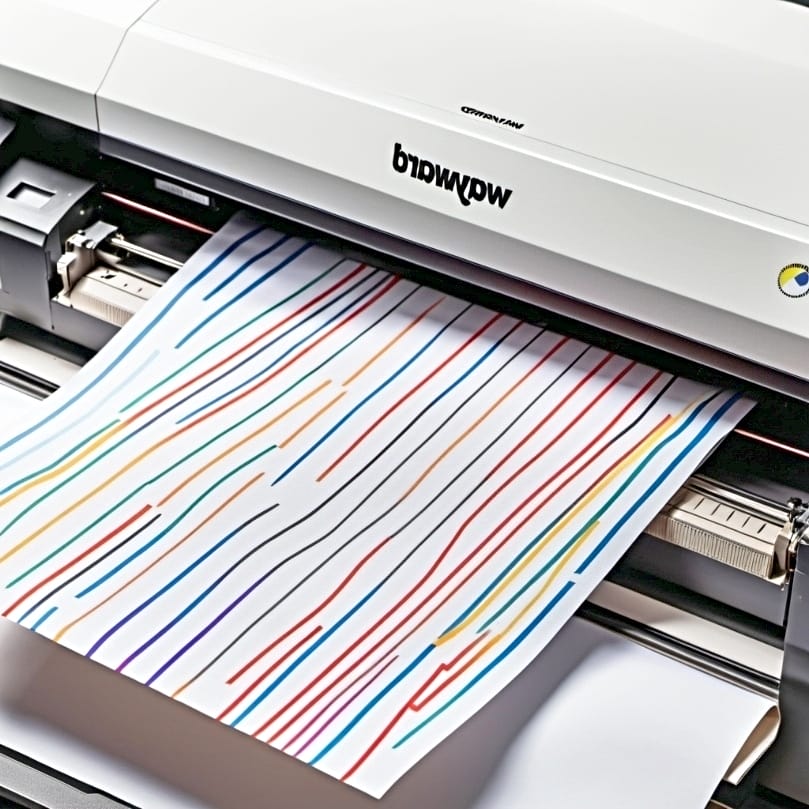
ToggleIf you are frustrated about “why is my sublimation printer printing lines?”, you’re not alone. This common frustration can be caused by several factors, including clogged printheads, incorrect print settings, or lack of regular maintenance. In this article, we’ll dive down deep into these root causes and provide you with straightforward troubleshooting steps to recover the high-quality prints you expect from your sublimation printer.
Key Takeaways
- Lines in your sublimation prints? It’s likely due to print settings, clogged printheads, or poor maintenance. Check those print settings, run regular printhead cleanings, and keep your printer well-maintained to prevent streaks. It is also a good idea to understand which printers are best suited to sublimation.
- Quality over speed – slow down your printing and choose high quality over the high-speed setting to reduce banding and get vibrant prints. Also, pick the right paper type and align your printer settings with your sublimation paper.
- Consistent cleaning is key for a clog-free sublimation printer that churns out clear prints. Do regular nozzle checks, keep the dust away with frequent wipes, and use your printer often to keep the ink flowing. Maintenance is especially an important consideration if you use a converted Epson printer for your crafts.
Understanding the Causes of Lines in Sublimation Prints
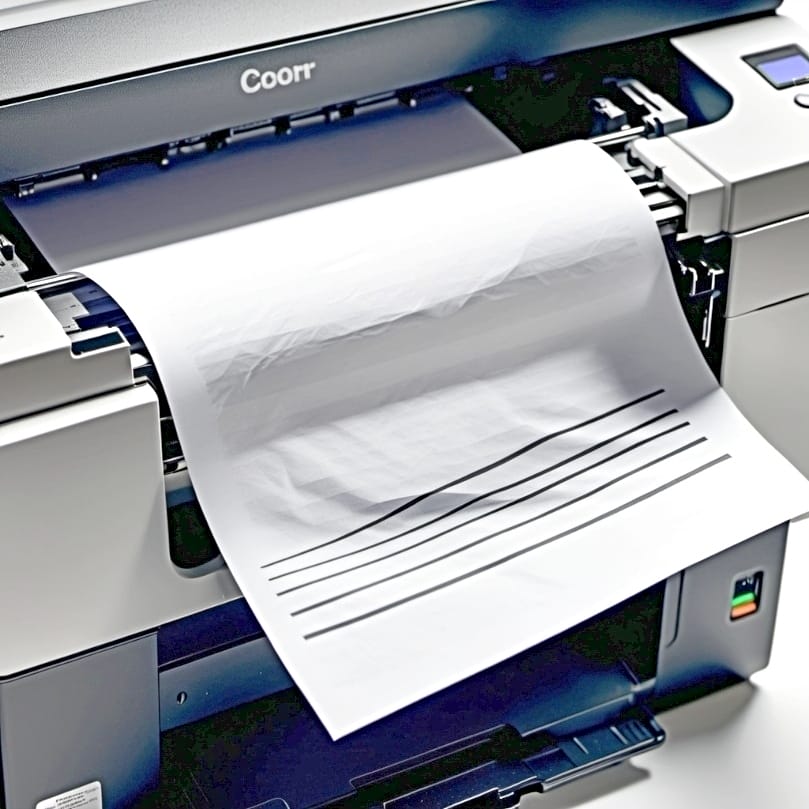
We’ve all been there: you’ve got a fantastic design ready to be transferred onto a T-shirt or mug, only to have it ruined by streaks and lines. The usual suspects? Incorrect print settings, clogged printheads, and improper maintenance. Once you comprehend these causes, you can implement measures to consistently produce flawless sublimation prints.
Incorrect print settings are a common culprit. For example, setting the wrong Media Type in your printer software can lead to banding and, consequently, horizontal lines in your sublimation prints. Misaligned print heads can create similar problems, causing horizontal lines across your prints. Additionally, excessive ink from a design in one area can sometimes leave roller marks, contributing to the appearance of lines in sublimation prints.
Print Settings Issues
We begin by examining the print settings. If you’ve ever opened up your printer settings, you know there’s a dizzying array of options. But just a few key adjustments can make a world of difference in print quality. Should you observe lines in your prints, inspecting your print settings would be a necessary step.
Default printer settings such as Plain Paper, Standard Quality, and High Speed can cause horizontal lines or banding. For sublimation projects, it’s recommended to use the Matte Paper setting, ideally with High Quality and High Speed off. Selecting the correct Media Type in the printer software is also crucial. This setting should match the type of paper being used, and getting it right can prevent lines in the print.
Clogged Printheads
Your sublimation printer is a complex piece of machinery, and one of the vital components is the printhead. This is where your sublimation ink is expelled onto your sublimation paper. But over time, your printheads can become clogged, leading to unwanted streaks or lines on printed images. To avoid these issues and ensure the best results, it’s essential to invest in high-quality sublimation printers.
⫸ Click Here For Best Selling Sublimation Printers And Products ⫷Clogged printheads are often caused by sublimation ink drying out, particularly in warm, dry climates or when the printer is not regularly used. Preventing clogging necessitates:
- Regular cleaning of the printheads
- Frequent printing to maintain ink flow
- Performing routine nozzle checks to reveal clogs that could lead to lines in prints.
Improper Maintenance
Maintenance might not be the most exciting topic, but when it comes to your sublimation printer, it’s a vital one. Maintaining your printer consistently, including performing alignment checks and nozzle cleanings, is a fundamental strategy to avoid horizontal lines in prints.
Regular alignment checks and adjustments of the print head are crucial to prevent horizontal lines in prints. Some tips to prevent horizontal lines in prints include:
- Performing regular alignment checks and adjustments of the print head
- Using the automatic head check feature to maintain ink flow (requires the printer to be consistently turned on)
- Using the printer frequently (at least on a weekly basis) to prevent ink from drying and clogging the print system
- Handling ink tank refills carefully to prevent the introduction of dust and air bubbles, which can cause clogging.
By following these tips, you can ensure that your prints are free from horizontal lines and maintain the desired vertical lines.[1]
Adjusting Printer Settings for Optimal Print Quality
Having analyzed the frequent causes of lines in sublimation prints, we now shift our focus to potential solutions. Adjusting printer settings is a major step toward optimizing print quality and minimizing lines in sublimation prints.
Ensuring proper printing orientation settings is critical; if both ‘Emulsion Down’ and ‘Mirror Image’ settings are checked, they cancel each other out, resulting in a normal appearance of the image rather than reversed as intended for sublimation transfer. Let’s delve deeper into how you can adjust your printer settings for optimal print quality.
Changing Print Quality Settings
Print quality settings can have a significant impact on the final look of your sublimation prints. Adjusting these settings can help you achieve vibrant, line-free prints.
Setting your printer to High Quality and ensuring that High Speed is turned off, especially when using Glossy Paper settings, can minimize lines and banding. For prints on rigid surfaces where excessive ink may be an issue, changing the print quality setting to Standard Quality and paper setting to Matte can provide better results.
After adjusting the necessary settings, you can create a preset in your printing software to maintain consistent print quality without needing to adjust the settings with every print.
Disabling High-Speed Printing
High-speed printing might sound like a time-saving dream, but it can actually compromise print quality. Slowing things down a bit can lead to more accurate, high-quality prints with fewer lines, especially when using inkjet printers.
Unchecked high-speed printing setting reduces occurrences of banding and aligns the print more accurately, minimizing the risk of vertical misalignment in sublimation prints. Printing at a slower speed allows for better ink saturation on the substrate, leading to more vibrant, higher-quality sublimation prints.
To disable high-speed printing, access the Advanced dialog box in the printer settings and clear the High Speed check box.
Selecting the Right Paper Type
The type of paper you use for your sublimation printing can greatly impact the quality of your prints. Choosing the right paper type can prevent issues such as:
- vertical roller marks
- color bleeding[2]
- poor image clarity
- smudging
By selecting the appropriate paper for your sublimation printing needs, you can ensure the best possible print results.
Using the correct sublimation paper and ensuring it is compatible with the printer model can prevent issues such as vertical roller marks. The paper type should be set to ‘Premium Presentation Paper Matte’ on both the printer and the computer, with the quality changed to ‘High’ for improved print results in sublimation.
For specific inks like Cosmos Ink, selecting ‘High Quality Plain Paper’ in the printer settings may yield the most accurate colors for sublimation printing.
Cleaning and Maintaining Your Sublimation Printer
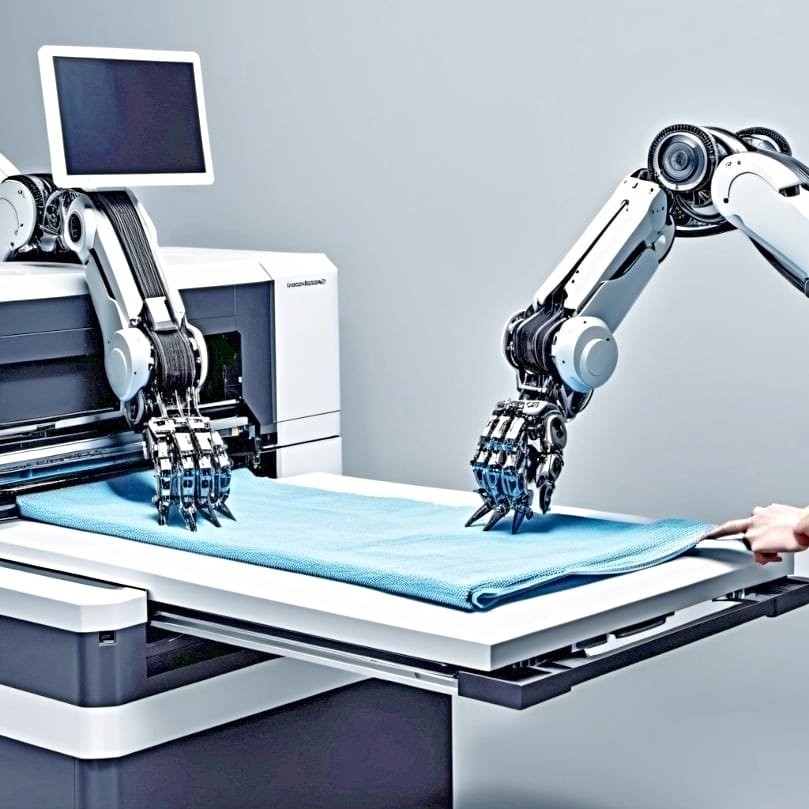
We’ve talked about adjusting settings and choosing the right materials, but let’s not forget about the printer itself! Regular cleaning and maintenance of your sublimation printer can help maintain print quality and equipment longevity.
Preventing dust and lint accumulation in a sublimation printer is essential for maintaining print quality. Conducting consistent maintenance is critical for securing the operational longevity and print quality of a sublimation printer. The frequency at which printer head cleanings should be performed varies based on usage, volume of ink used, length of non-use periods, and environmental conditions such as humidity and temperature.
Performing Nozzle Checks and Head Cleanings
Nozzle checks and head cleanings might sound like technical jargon, but they’re actually easy and crucial tasks you can perform to keep your sublimation printer in excellent shape. A nozzle check page can reveal if there are any clogs in the printer, which might lead to horizontal lines on prints. To perform a nozzle check on a PC, use the Printing Preferences for the Epson printer, select Print Head Nozzle Check, and then inspect the printed page for any gaps or irregularities.
Running the print head cleaning utility can clear clogged ink nozzles that cause banding and streaks, which can be confirmed by a post-cleaning nozzle check.
Removing Dust and Lint
The enemy of any printer? Dust and lint! These tiny particles can interfere with your print quality, causing defects in your sublimation prints. Rest assured, with routine cleaning, these tiny particles can be effectively managed.
Dust, lint, or hair on the printer or substrate can lead to tiny dots, spots, or squiggles on a sublimation print. Regularly wiping down all external surfaces of the printer with a microfiber cloth is part of a routine cleaning schedule that helps minimize dust and lint inside the printer. When refilling ink tanks, the cover should only be opened for as long as necessary to minimize the chance of dust entering the reservoirs.
Regular Printer Maintenance
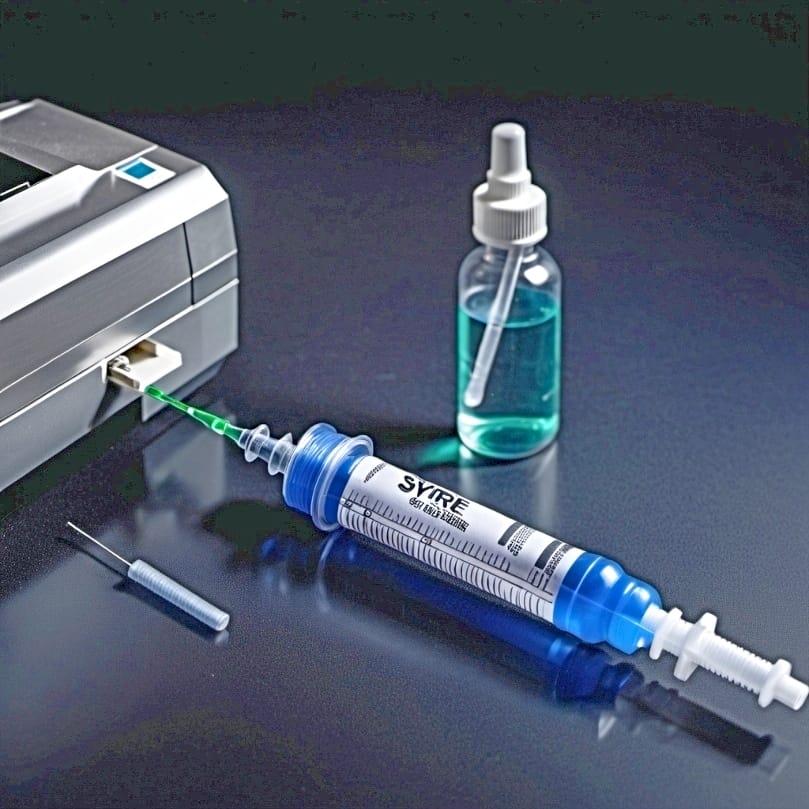
You’ve probably gathered by now that regular maintenance is key to keeping your sublimation printer in top-notch condition. So, what comprises regular maintenance?
Regular inkjet printer maintenance includes:
- Cleaning the printer heads
- Checking ink levels
- Frequent use of the printer to prevent ink from drying out
- Routine checks and cleanings of the nozzle heads
A maintenance schedule can vary, but using the printer regularly and keeping it clean are consistent recommendations for maintaining optimal function and print quality.
Troubleshooting Common Sublimation Print Issues
Of course, even with all the right settings, materials, and maintenance, issues can still arise. However, rest assured that with appropriate troubleshooting knowledge, you can rectify frequent sublimation print issues and steer your project back on course.
Common sublimation print issues include:
- Ghosting
- Fading
- Banding
- Color mismatches
These issues can be caused by a variety of factors. Developing the ability to troubleshoot common issues in sublimation printing, like color bleeding or uneven transfers, conserves time and materials.
Faded or Dull Prints
Ever printed a design that looked vibrant on your computer screen but came out dull and faded on your substrate? This can be a frustrating issue, but there are ways to prevent it.
Keeping the workshop clean and dust-free is crucial for maintaining sublimation print quality, as dust or moisture on transfer paper can cause prints to appear low-quality, dull, or blurry.
The appearance of sublimation ink on paper before pressing may be light and dull, which is normal; the true colors will emerge with vibrancy after pressing onto a sublimation-ready surface.
Blurry or Ghosted Images
Blurry or ghosted images can be a real headache in sublimation printing. But with a bit of knowledge and a few tweaks to your process, you can eliminate these issues.
Ghosting happens when the sublimation transfer paper moves on the substrate while being sublimated or when the heat press surfaces have leftover ink on them. This can result in a blurry or double image on the final product. To reduce ghosting, it is essential to:
- Secure the sublimation paper to hard material substrates with thermal tape
- Use adhesive spray for fabrics
- Be cautious when opening or closing a heat press.[3]
Color Mismatches
Color is a vital part of any design, and when it doesn’t turn out as expected, it can be very disappointing. But fear not – color mismatches in sublimation printing can be addressed and prevented.
Sublimation printing requires careful color management due to the difference between screen displays, which use the RGB color space, and printers that use CMYK inks, potentially leading to color mismatches. The use of special ICC color profiles is essential for proper color reproduction in sublimation printing. These profiles ensure the printed colors match the expected output as displayed on the computer screen.
Tips for Perfect Sublimation Prints Every Time
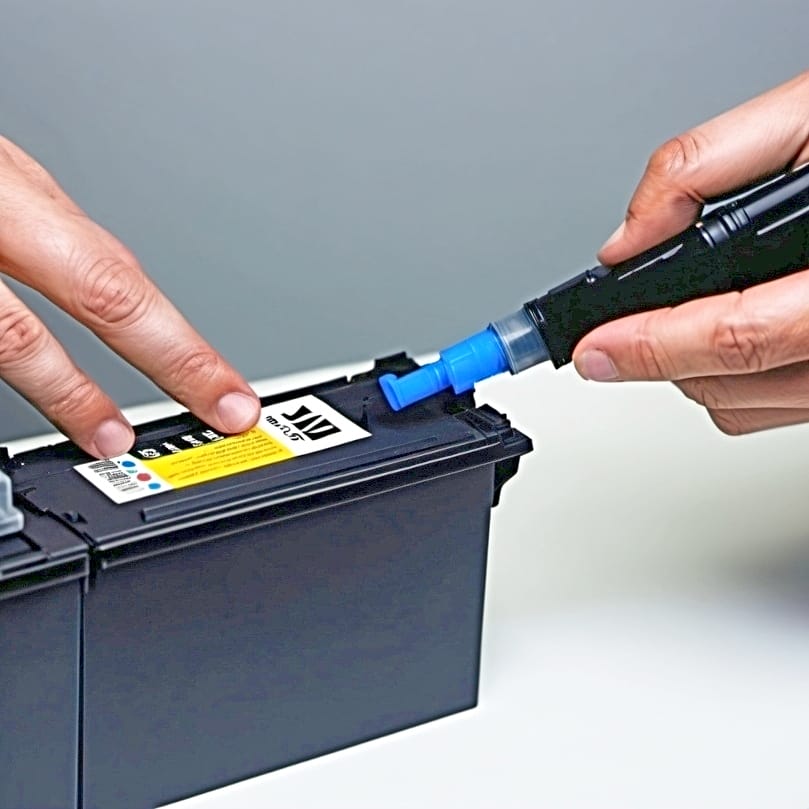
Having discussed the frequent problems and their solutions, we now turn to some helpful tips that can guide you towards achieving impeccable sublimation prints consistently. Remember, even with all the right equipment and settings, the devil is in the details!
Adequate preparation of sublimation materials ensures a better quality of the final print. Here are some tips to follow:
- Print on the side of the sublimation paper that appears the whitest and brightest to ensure design transfer clarity.
- Using substrates with a high polyester count or specially coated for sublimation is crucial for vibrant prints.
- Lighter colors like whites and pastels yield the best results.
By following these tips and using a proper sublimation coating, you can achieve vibrant and high-quality dye sublimation prints.
Properly Preparing Your Substrate
The substrate – the material you’re transferring your design onto – is a critical part of the sublimation process. Correct preparation can significantly impact the end result.
Transfer paper should be stored and handled in a way that prevents contact with the floor or dust which would make it unsuitable for a clean print. Moisture control within the printing environment is vital to avoid quality issues due to moisture accumulation on transfer paper and substrates.
Ensuring the use of the correct side of sublimation paper, typically the brighter white side, is essential for vibrant transfers.
Using High-Quality Sublimation Supplies
As with any creative project, the quality of your materials can greatly impact the final result. Consider investing in premium sublimation supplies to secure the highest quality prints. Consider investing in a dedicated sublimation printer such as the Brother SP-1 model released specifically for sublimation, which is a great option for crafters in 2025.
High-quality sublimation ink is crucial for achieving vibrant and long-lasting prints with the necessary compatibility for the chosen product. Different types of sublimation paper are optimized for particular printing needs. As this is a detailed discussion, I recommend you check out my sublimation paper brand reviews before making a decision.
Mastering the Heat Press Process

Last but not least, mastering the heat press process is a critical part of achieving perfect sublimation prints. This step involves the permanent transfer of your design onto your substrate – hence, precision is of utmost importance! While screen printing is another popular method, it’s essential to focus on the heat press process for flawless sublimation prints. It is a good idea to understand which heat press to buy – you can check out reviews for heat press machines for sublimation.
To prevent blurry and faded images or color distortions, follow these steps when using a heat press:
- Preheat the heat press to the recommended temperature, typically around 365°F for T-shirts.
- Press the substrate for 45-55 seconds with medium pressure.
- Properly align the artwork and substrate before pressing.
- After pressing, carefully remove the transfer paper.
- Allow the substrate to cool slightly before handling.
- To avoid marks on the substrate, tear the paper around the design before pressing.
By following these steps, you can ensure that your images are clear and vibrant when using a heat press.
Summary
In conclusion, achieving flawless sublimation prints involves a combination of understanding the causes of common issues, adjusting printer settings, maintaining your equipment, troubleshooting issues, and following best practice tips. Whether you want to work on projects related to sublimating metal items, glass or wood items, with the knowledge and advice shared in this article, you’re now well-equipped to tackle your next sublimation printing project with confidence. Remember, every challenge is an opportunity to learn, improve and perfect your craft. Happy printing!
Frequently Asked Questions
How do I get rid of lines on sublimation prints?
To get rid of lines on sublimation prints, make sure the print heads are aligned, confirm your paper and print settings are correct, and do a nozzle check to check for any clogs. These methods help fix lines in sublimation prints almost every time.
How do I get rid of the lines on my Epson printer?
To get rid of the lines on your Epson printer, run the cartridge/print head cleaning process and clean the cartridges or nozzles. If necessary, clean the ink cartridge carriage or print head as well. Good luck!
How can I improve the quality of my sublimation prints?
To improve the quality of your sublimation prints, adjust your printer settings, use high-quality sublimation supplies, and regularly clean and maintain your printer. This will ensure better results and longevity for your prints.
Why are my sublimation prints faded or dull?
Your sublimation prints may appear faded or dull due to dust or moisture on the transfer paper or if you’re using low-quality sublimation paper. Make sure to use high-quality paper and keep it free from dust or moisture to improve the print quality.
How can I prevent blurry or ghosted images in sublimation printing?
To prevent blurry or ghosted images in sublimation printing, make sure to align the artwork and substrate properly and use thermal tape or adhesive spray to secure the sublimation paper. This will help ensure crisp and clear prints.
References
- When to maintain your product. (n.d.). (C) Copyright 2005. https://files.support.epson.com/docid/cpd5/cpd50696/source/pro_graphics/source/maintenance/reference/scs40600_80600/maintenance_operation_guide_scs40600_80600.html
- Wikipedia contributors. (2010, January 16). Color bleeding. Wikipedia. https://en.wikipedia.org/wiki/Color_bleeding
- L, M. (2023, December 20). Michael L on LinkedIn: How to fix ghosting with sublimation printing? – Sublimation Printers HUB. https://www.linkedin.com/posts/michael-sublimationprintershub_how-to-fix-ghosting-with-sublimation-printing-activity-7143302330325598208-R0rM/

