Table of Contents
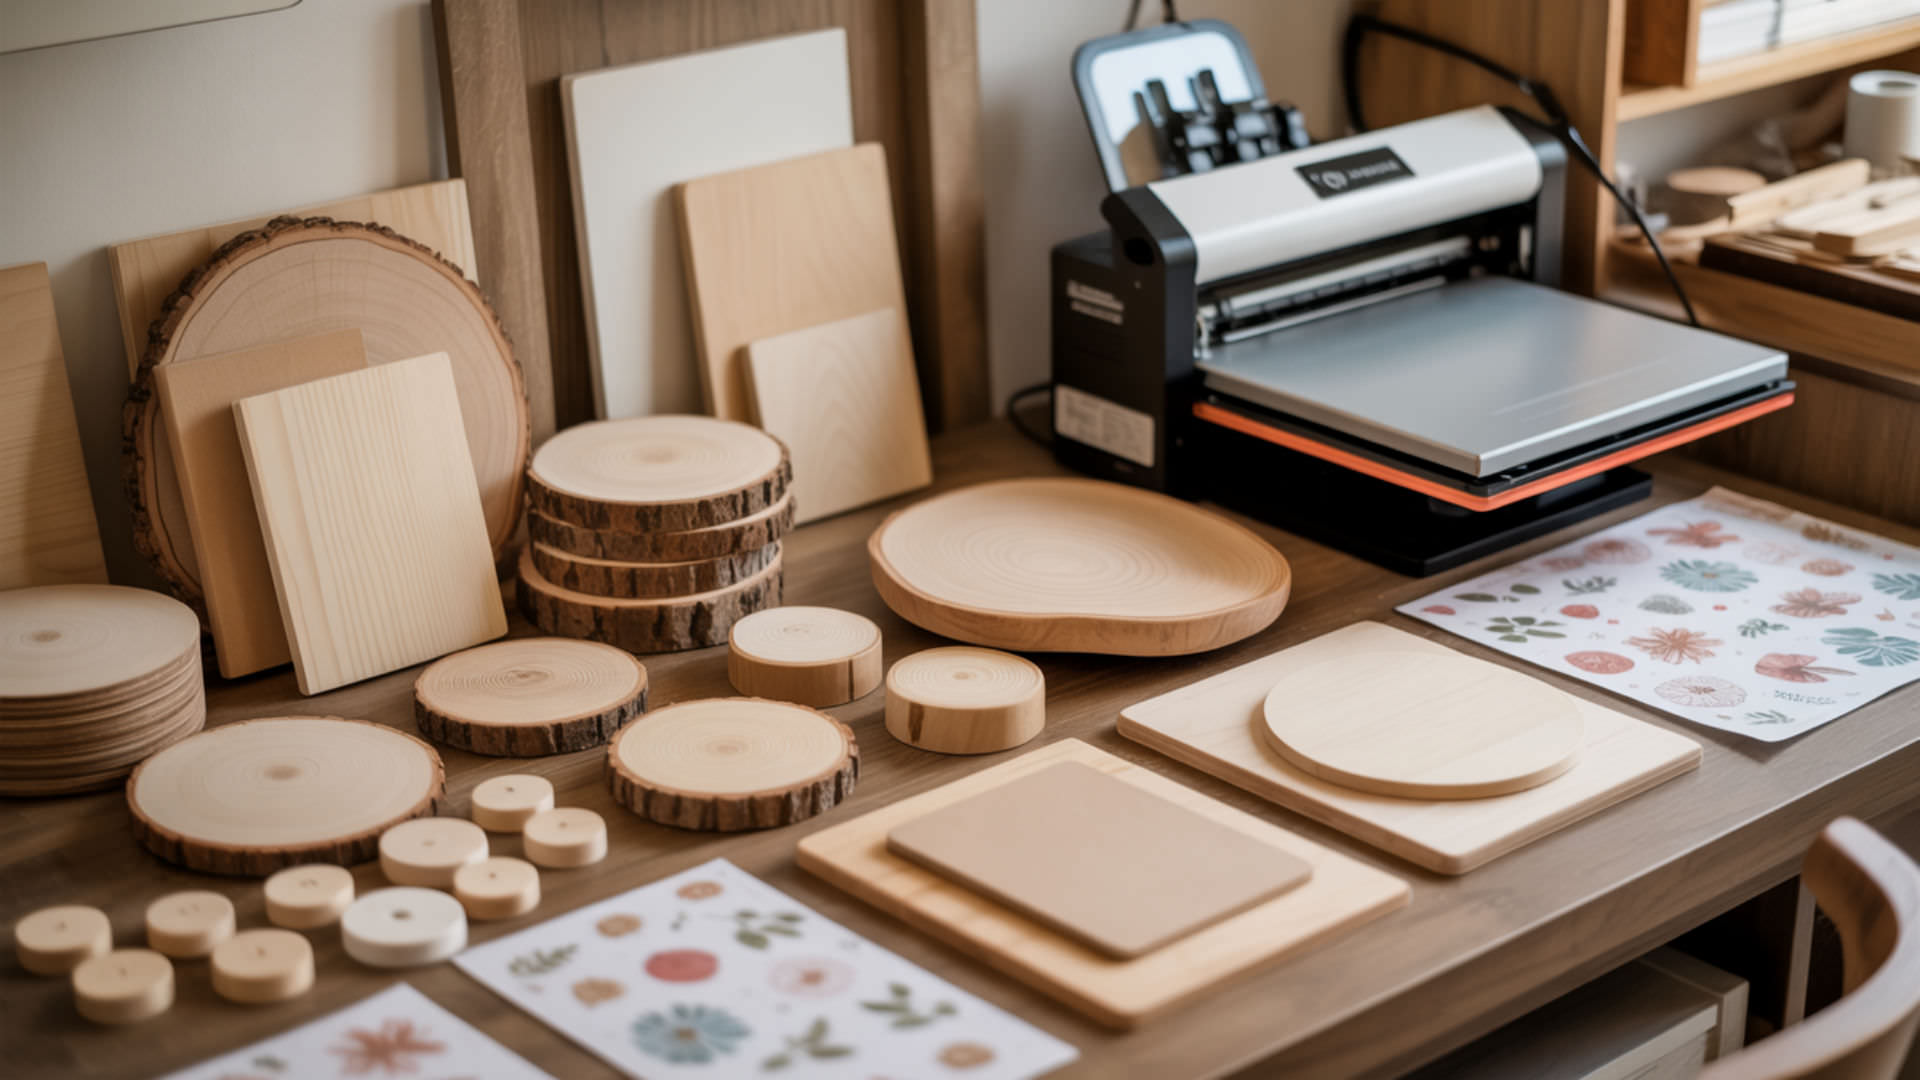
ToggleWood brings warmth and natural texture to sublimation projects, yet its porous fibers lack the polyester coating required for dye bonding. Raw wood absorbs sublimation ink unevenly, causing blotchy or faded transfers without proper surface preparation. Understanding how polymer coatings enable dye transfer helps crafters achieve vibrant, lasting prints on wooden substrates.
Key Takeaways
- Wood requires a polyester coating, lamination pouch, or pre-treated blank before sublimation—raw wood cannot hold dye molecules without sealing its porosity first.
- Press temperatures range from 375–400°F for 60–90 seconds at medium pressure, with MDF blanks needing 80–90 seconds and pre-coated products often requiring shorter times around 40–60 seconds.
- Pre-pressing wood at 380°F for 50 seconds removes hidden moisture that causes ghosting, warping, and uneven color absorption during the final transfer.
Can sublimation ink transfer onto wood surfaces?
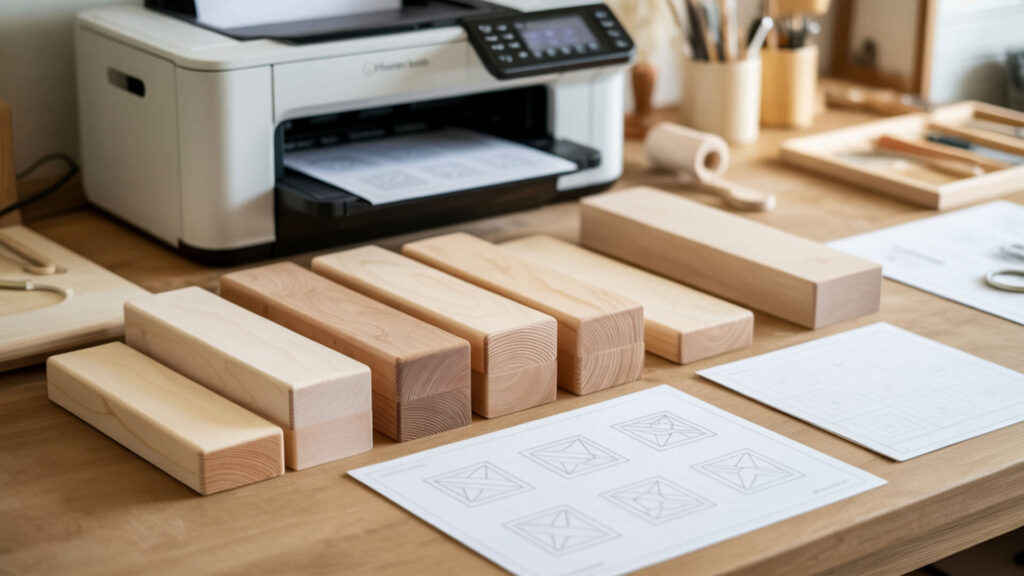
Sublimation ink transfers onto wood only when a polyester coating creates a receptive layer between the porous surface and gaseous dye. Raw wood absorbs ink unevenly because its natural porosity draws moisture and pigment deep into cellulose fibers. Applying a polymer-based coating—whether polycrylic, laminate sheet, or factory-applied finish—seals the surface and provides the molecular structure required for permanent dye bonding.
Can untreated wood accept sublimation transfers?
Untreated wood produces faded, patchy results because cellulose and lignin fibers absorb ink inconsistently. The natural porosity pulls dye molecules into random grain patterns rather than holding them at the surface. Colors appear washed out and lack definition, particularly on darker species where transparent sublimation ink disappears into the wood tone. Sealing with polycrylic or laminate eliminates this uneven absorption. The porous microstructure of cellulose and hemicellulose in wood allows water and other liquids to penetrate deeply into the fibers, making untreated wood less receptive to surface-only dye transfers. [1]
Will sublimation ink bond successfully to prepared wood blanks?
Prepared wood blanks accept sublimation ink successfully when the polyester coating provides a polymer matrix for dye bonding. Factory-coated blanks feature a white base layer that reflects light through transparent ink, producing vibrant colors. Applying 2–3 thin coats of polycrylic or using thermal lamination pouches creates similar receptive surfaces on raw wood, though factory coatings typically deliver more consistent vibrancy.
What surface prep does wood need before sublimation?
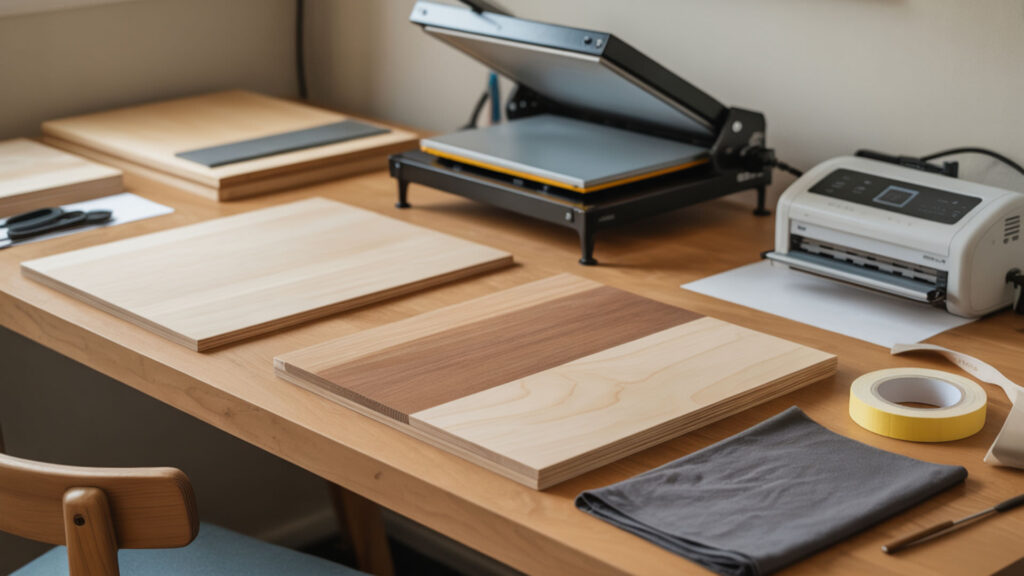
Wood requires pre-pressing at 380°F for 50 seconds to eliminate hidden moisture that causes ghosting and warping. A protective sheet guards against direct platen contact during this moisture removal step. Managing moisture content through pre-pressing creates the sealed foundation necessary for sharp transfers on porous substrates like slate and wood. Wood absorbs and releases moisture depending on environmental conditions, and changes in moisture content cause dimensional movement that leads to warping and transfer defects. [2]
Can sublimation work on any wood type?
Sublimation works on various wood types when properly coated, though grain patterns and density variations affect results. Lighter woods display colors more vibrantly than darker species. Open-grain hardwoods require heavier coating applications to fill surface texture. Softwoods may release sap under heat, causing discoloration. Testing each wood species with sample presses reveals how its unique characteristics interact with heat and coating.
Can MDF-style wood products accept sublimation ink?
MDF and fibreboard products accept sublimation ink exceptionally well because their smooth, uniform surfaces provide ideal coating adhesion. The compressed resin and fiber composition eliminates grain variations that cause uneven transfers on natural wood. Selecting a pre-coated wood plaque from quality sublimation blank suppliers ensures consistent results without manual coating preparation.
What time and temperature influence wood sublimation results?
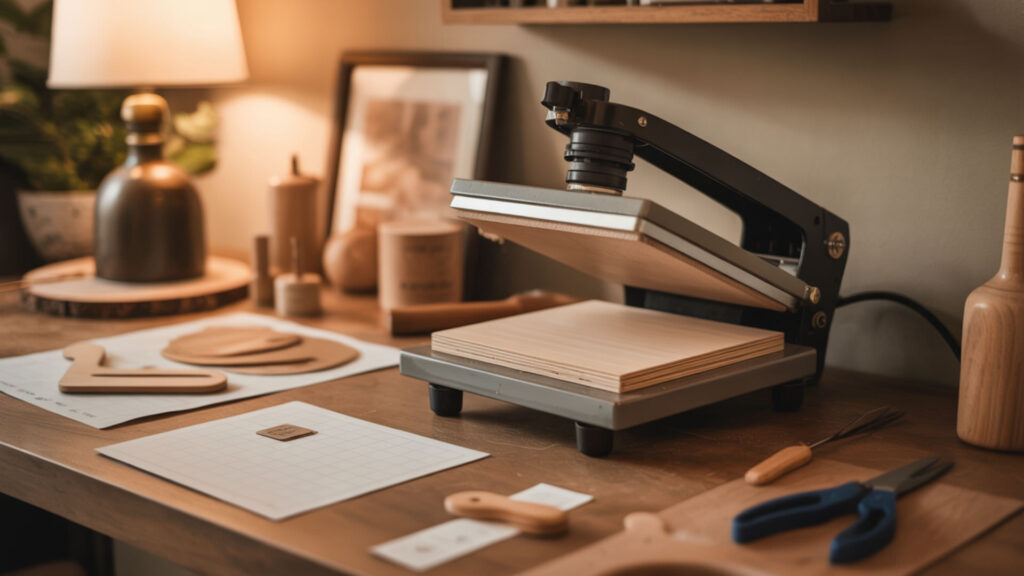
Press temperature between 375–400°F and press time of 60–90 seconds produce optimal wood sublimation results. Wood’s low thermal conductivity and high heat capacity require longer pressing than metal or ceramic to fully saturate the polymer coating. MDF blanks need 80–90 seconds at 400°F, while pre-coated products may require only 40–60 seconds. Medium pressure ensures even contact without warping.
How long should wood items be pressed during sublimation?
Wood items require 60–90 seconds of press time depending on thickness, coating type, and substrate composition. Standard coated blanks press at 60 seconds, while polycrylic-treated surfaces need 90 seconds for complete dye transfer. Thicker plaques and natural wood may need extended times approaching 100–120 seconds. Lower thermal conductivity than metal means heat penetrates wood slowly, requiring patient, controlled pressing.
Does sublimation transfer better at a fixed temperature range on wood?
Sublimation transfers optimally between 375–400°F on wood substrates, with 385°F serving as a reliable starting point for most blanks. Temperatures below this range produce incomplete dye conversion and muted colors. Exceeding 400°F risks thermal expansion damage, scorching, and warping—particularly on thinner blanks. Maintaining consistent temperature throughout pressing prevents hot spots that create uneven color saturation.
How do you sublimate on wood step-by-step?
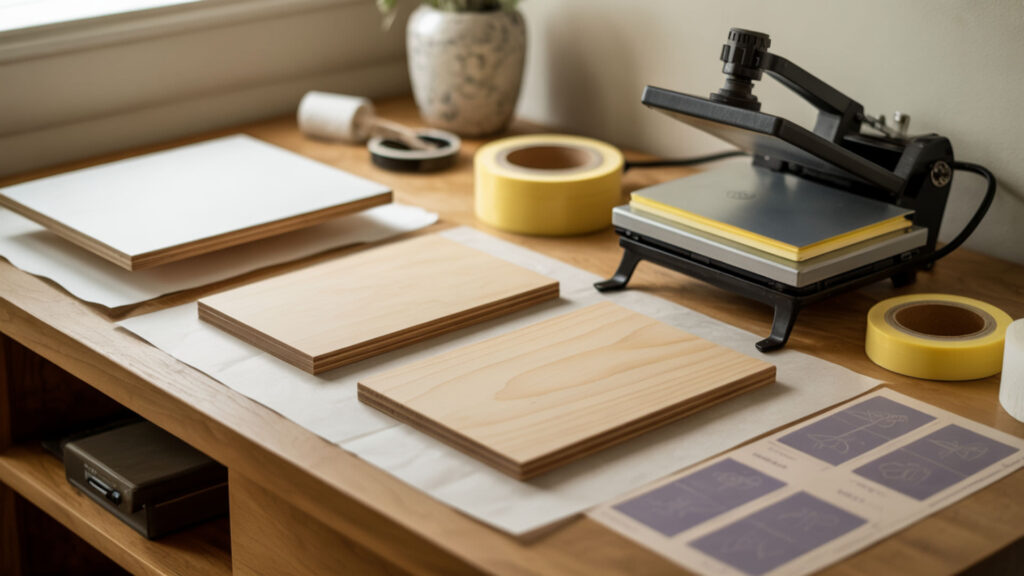
- Pre-press the wood blank at 380°F for 50 seconds with a protective sheet to remove moisture, preventing ghosting and warping during the final transfer.
- Apply coating if using raw wood—brush 2–3 thin polycrylic layers with light sanding between coats, or heat-press a lamination pouch onto the surface at 375°F for 15 seconds.
- Print the mirrored design onto sublimation transfer paper using sublimation ink, ensuring colors appear reversed for correct final orientation.
- Position the transfer paper face-down on the coated wood surface and secure all edges with heat-resistant tape to prevent shifting during pressing.
- Press at 375–400°F for 60–90 seconds at medium pressure with a protective sheet covering the transfer paper to prevent ink blowout.
- Allow cooling for 2–3 minutes before removing the transfer paper—for polycrylic surfaces, use a damp sponge to gently remove any paper residue.
Can color, paint, or wood grain affect sublimation on wood?
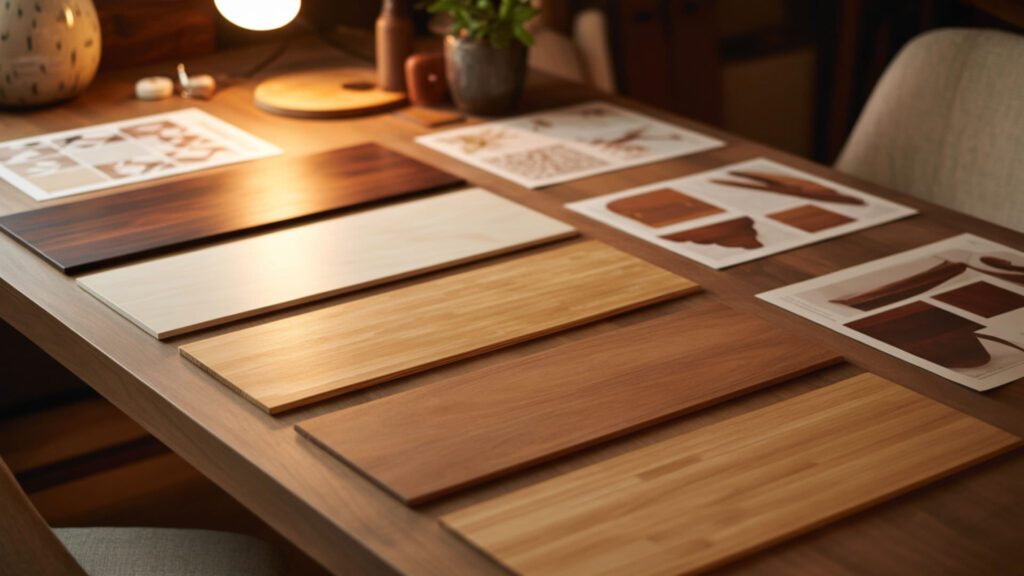
Wood color, paint, and grain patterns significantly influence sublimation vibrancy. Dark wood absorbs transparent ink without reflecting light, producing muted results. A white base layer beneath the polyester coating reflects light through the dye, maximizing color vibrancy on any wood tone. Prominent grain textures affect coating thickness distribution, potentially creating visible pattern interference within printed designs.
Can darker or painted wood show faded sublimation results?
Darker and painted wood surfaces produce faded sublimation results without a white base layer because transparent dye cannot reflect sufficient light. Painting wood white before applying polycrylic creates the reflective foundation needed for color vibrancy. Pre-coated white blanks solve this challenge by combining the white base layer and polyester coating into a single ready-to-press surface with optimal light reflection properties.
Can natural grain surfaces like bamboo or similar absorb sublimation differently?
Natural grain surfaces like bamboo absorb sublimation differently because their pronounced porosity patterns create uneven coating thickness across the surface. Strong grain textures draw more coating into valleys while leaving ridges with thinner coverage, producing varied color intensity. Bamboo requires sublimation-specific polymer coating and often benefits from additional passes to build consistent surface coverage before pressing.
Does wood tolerate sublimation transfer heat safely?
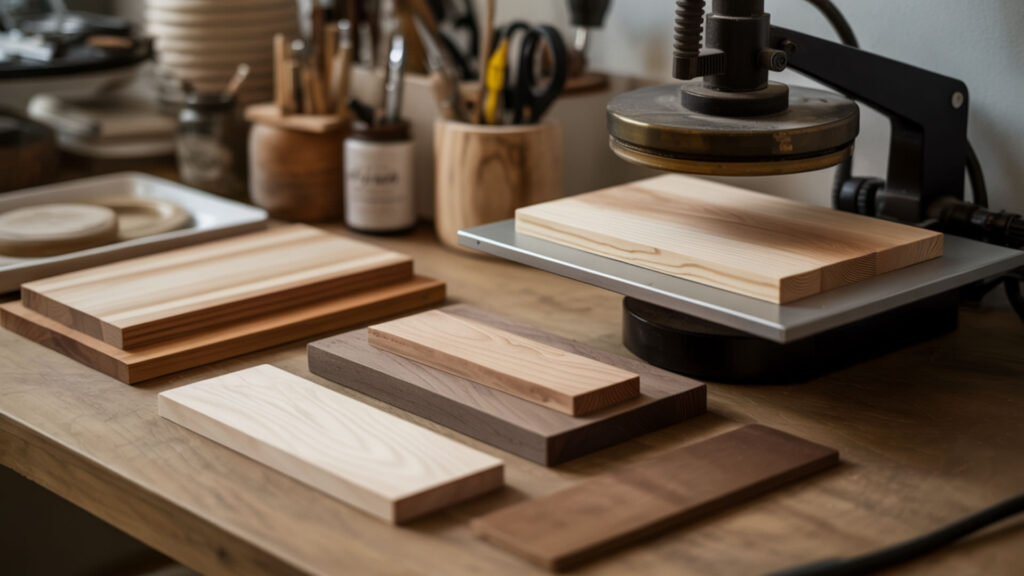
Wood tolerates sublimation heat when pressing stays within the 375–400°F range for appropriate durations. Thin blanks warp more easily than thick stock, and even heating with controlled cooling rates prevents thermal stress that curves edges or lifts corners. Exceeding temperature limits causes warping, scorching, and structural damage—risks shared with plastic substrates that also deform under excessive heat.
Can wood crack, scorch, or warp if overheated during sublimation?
Wood cracks, scorches, and warps when overheated during sublimation pressing. Excessive temperatures cause thermal expansion stress that bends thin blanks and darkens surface fibers. MDF may bow if heated unevenly—using a silicone pad underneath distributes heat and maintains flatness. Cracking occurs when rapid temperature changes stress wood fibers. Reducing temperature to 365°F and extending press time prevents these structural failures.
Can sublimation transfers or photos be pressed onto wood?
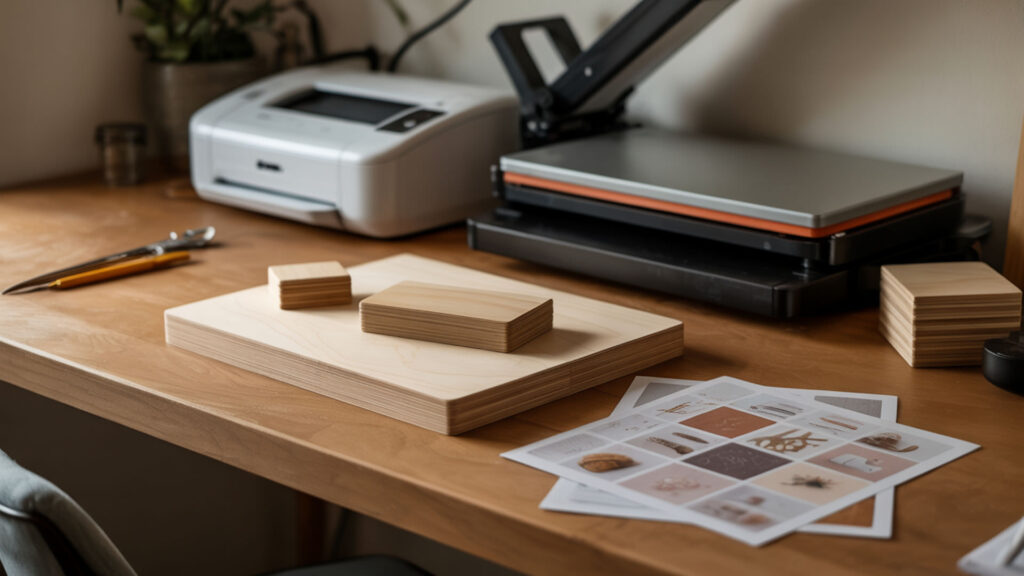
Sublimation transfers and photos press successfully onto wood plaques when the polyester coating provides proper dye receptivity. Coated wood plaques serve as the standard substrate for photo-quality output, producing gallery-worthy images with rich detail. The heat press converts printed transfers into permanent surface decoration, bonding photographic imagery directly into the polymer layer for scratch-resistant durability.
Can photos be transferred onto wood using sublimation printing?
Photos transfer beautifully onto wood through sublimation printing when using properly coated blanks with a white base layer. The white background ensures accurate skin tones and natural color reproduction in portraits. Wood plaques create distinctive photo displays combining rustic charm with professional image quality. High-resolution printing at 300 DPI captures fine detail that survives the heat transfer process intact.
What is dye sublimation printing on wood surfaces?
Dye sublimation printing on wood transforms solid ink into gas through heat, enabling diffusion directly into the polymer coating without passing through a liquid phase. The gaseous dye penetrates the coating’s molecular structure and bonds permanently as the surface cools. Unlike surface printing methods, sublimated images become embedded within the coating layer, making them resistant to scratching, peeling, and fading.
Ready to start sublimating on wood?
Wood sublimation opens creative possibilities from rustic photo plaques to custom signage. Proper polyester coating converts porous wood into a dye-ready surface capable of displaying vibrant, permanent images. Starting with pre-coated MDF blanks eliminates coating preparation while delivering consistent results. Once comfortable with basic transfers, explore lamination techniques and natural wood varieties to expand your product range.
Frequently Asked Questions
- Can sublimation ink fade over time on wood surfaces?
Sublimation ink on wood remains vibrant for 5–10 years indoors when properly sealed with polyester coating. UV exposure accelerates fading—outdoor pieces without protective topcoats may show color degradation within 6–12 months. Applying UV-resistant clear spray after sublimation extends outdoor durability. Press temperature accuracy also affects longevity; underpressed transfers fade faster than fully bonded ones.
- Does humidity or storage affect sublimation transfers on wood?
Humidity affects both pressing and storage of sublimated wood. Moisture content above 40–60% relative humidity during pressing causes ghosting and incomplete transfers. Store finished pieces away from high humidity and temperature extremes that stress wood fibers. Seasonal humidity changes can cause uncoated wood to expand or contract—sealing all surfaces prevents moisture infiltration that damages substrates over time.
- Do wood blanks need recoating before a second sublimation press?
Wood blanks do not accept second sublimation presses because the polymer coating becomes saturated with dye during the first transfer. The coating cannot absorb additional ink molecules once filled—attempting repressing produces muddy, overlapping colors. Each coated blank functions as a single-use substrate. Fresh coating applied over existing transfers creates unpredictable adhesion and rarely produces acceptable results.
- What visual defects appear if wood overheats during sublimation?
Overheating wood during sublimation creates visible scorching marks, darkened surface areas, and yellowing around transfer edges. Temperatures exceeding 400°F for extended periods cause the coating to break down, producing a hazy or cloudy appearance. Warped edges and curved surfaces indicate thermal stress damage. These defects cannot be corrected after pressing—prevention through accurate temperature monitoring remains essential.
- Can lightly pressed wood items be reheated later to deepen colors?
Lightly pressed wood items can sometimes be reheated to deepen colors when the original transfer remains partially attached. Replacing the same transfer paper and pressing for an additional 30 seconds at 375–385°F may improve saturation. However, reheating without the original paper causes existing ink to migrate and blur. Testing on sample pieces before attempting correction prevents ruining partially successful transfers.
References
- Fluorescently labeled cellulose nanofibers for environmental health and safety studies. (n.d.). PMC Home. https://pmc.ncbi.nlm.nih.gov/articles/PMC8071547/
- Wood handbook: Wood as an engineering material. (2025, August 29). US Forest Service Research and Development. https://research.fs.usda.gov/treesearch/62200

