Canvas sublimation opens creative possibilities for tote bags, wall art, and custom accessories—but success depends on understanding what makes canvas compatible with dye transfer. Cotton canvas lacks polymer chains and cannot bond sublimation dye without treatment, while polyester canvas accepts transfers directly with vibrant results. Our comprehensive guide on which surfaces can you sublimate on explains how polymer coating creates dye-receptive surfaces across all substrate types. For optimal results on cotton canvas, applying an acrylic polymer coating transforms the surface into a sublimation-ready substrate, as detailed in our best sublimation coating for different surface types guide.
Key Takeaways
- Canvas porosity prevents direct sublimation on cotton—the loose weave cannot bond dye molecules without a polymer coating layer to fill gaps and create a smooth, dye-receptive surface.
- Polymer coating creates a film that transforms cotton canvas into a sublimation-ready substrate, enabling vibrant, permanent transfers at 375–400°F for 40–60 seconds.
- Polyester canvas sublimates directly without coating—look for 100% polyester or high-polyester blends for the easiest, most vibrant results on tote bags, aprons, and wall art.
Can You Actually Use Sublimation on Canvas Material?
Yes, you can sublimate on canvas, but the material composition determines your approach. Canvas porosity requires polymer coating to fill the loose fiber gaps and create bonding sites for sublimation dye. Standard cotton canvas needs a spray coating or sublimation-ready laminate, while polyester canvas accepts dye directly. Any photographic or digital image can be reproduced as a dye-sublimated print once the surface is properly prepared.
Can You Sublimate Directly on Canvas?
Direct sublimation works only on polyester canvas or canvas specifically designed for sublimation printing. Cotton canvas lacks polymer chains and cannot accept sublimation dye without treatment—the ink simply won’t bond. Polymer coating is essential for direct sublimation attempts on cotton canvas; alternatives include clear dye-sub HTV applied first, then sublimating onto the vinyl layer. You can sublimate on 100% cotton canvas by adding coating or HTV application first.
Can You Put Sublimation Ink on Canvas?
Sublimation ink works well on canvas tote bags and other canvas products when the surface has proper film-forming coverage from coating or polyester content. The film-forming process creates a smooth polymer surface where ink molecules can bond permanently. Strong adhesion between the coating layer and canvas fibers controls durability and prevents flaking or peeling after washing. Quality coatings produce vibrant, lasting designs that maintain sharpness over time.
Does Sublimation Spray Really Work on Canvas?
Sublimation spray transforms cotton canvas into a dye-receptive surface by depositing acrylic resin that forms a printable polymer layer. The film-forming quality determines sharpness and evenness of the final result—quality sprays create uniform coverage without gaps or pooling. Strong adhesion ensures the coating bonds to canvas fibers rather than peeling away during heat pressing. Both canvas and leather rely on acrylic resin-based finishes for sublimation compatibility, as explained in our sublimation on leather guide. Multipurpose sublimation sprays work on cotton, canvas, ceramic, wood, and more. Sublimation spray transforms cotton canvas into a dye-receptive surface by depositing acrylic resin that forms a printable polymer layer. [1]
What Temperature Do You Sublimate on Canvas?
Canvas sublimation requires heat pressing at 375–400°F (190–204°C) for optimal dye diffusion into the acrylic polymer coating layer. The coating softens under heat, opening molecular spaces where sublimation dye can penetrate and bond permanently. Pre-press canvas for 5–10 seconds at the same temperature to remove moisture before applying your transfer—this prevents blurring and ensures even color saturation across the entire design. The coating softens under heat, opening molecular spaces where sublimation dye can penetrate and bond permanently. [2]
What Heat Setting for Sublimation on Canvas?
Heat pressing determines color saturation and transfer quality on canvas substrates. Start with 380°F and press for about 10 seconds during initial HTV application if using clear dye-sub vinyl, then increase to 385–400°F for 40–60 seconds when sublimating. Medium pressure works best—excessive pressure can cause uneven coating absorption while insufficient pressure results in incomplete dye transfer. Use a pressing pillow inside bags for even surface contact.
How Do You Sublimate on Canvas Step-by-Step?

Successful canvas sublimation requires proper preparation, coating application, and heat pressing technique. The polymer coating must grip canvas fibers with strong adhesion before applying heat, ensuring dye bonds permanently rather than washing away. Follow these steps for professional-quality results on cotton or blended canvas materials.
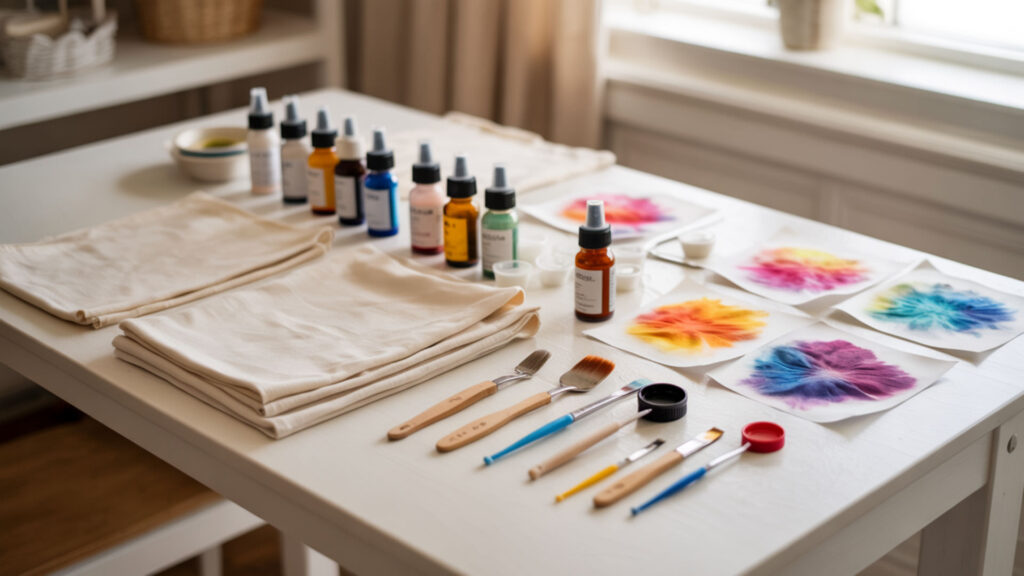
- Prepare your canvas surface by cleaning and applying sublimation coating spray. Hold the spray bottle 5–8 inches from the surface and apply even, overlapping strokes. Allow 40–60 minutes for complete drying, then apply a second coat for maximum vibrancy.
- Print your design on sublimation paper using a sublimation printer. Mirror the image before printing, use high-quality print settings at 300 DPI or higher, and ensure the design is slightly larger than your target area for complete coverage.
- Pre-press the canvas for 5–10 seconds to remove moisture and wrinkles. This critical step prevents blurring and ensures the coating is fully cured before transfer. Use a lint roller to remove any fibers or debris from the surface.
- Position the sublimation paper face-down on the canvas and secure with heat-resistant tape. Taping prevents shifting during pressing, which causes ghosting or blurred edges. For tote bags, insert a pressing pillow or foam inside to ensure even pressure distribution.
- Heat press at 375–400°F for 40–60 seconds with medium pressure. Cover with protective butcher paper or Teflon sheet to prevent scorching. The exact time depends on your specific canvas and coating—polyester canvas may require slightly less time than coated cotton.
- Remove the canvas from the heat press and carefully peel away the sublimation paper. Allow the canvas to cool completely before handling. If using clear HTV, wait until fully cooled before removing the carrier sheet to minimize white edges around your design.
Does Sublimation Work on Canvas Bags and Totes?
Canvas bags and totes sublimate beautifully when made from polyester blend fabrics or treated with polymer coating. Polyester blend materials allow partial direct sublimation—the higher the polyester content, the more vibrant the results. Cotton canvas bags need polymer coating or clear dye-sub HTV to accept sublimation dye. Adhesion principles apply across coated canvas, vinyl laminates, and tote products, as explored in our sublimation on vinyl guide. Look for bags labeled ‘sublimation-ready’ or made from 100% polyester for best results.
How Long to Press Sublimation on a Canvas Tote?
Heat pressing duration controls color depth and bonding quality on canvas tote bags. If your bag doesn’t include specific instructions, start with 385°F and press for 55 seconds as a general baseline. Pre-press the tote for 5–10 seconds first to eliminate moisture and wrinkles that could affect transfer quality. Use a pressing pillow inside the bag to prevent seam impressions and ensure even pressure across the design area.
How Long Do You Sublimate on a Canvas Bag?
Canvas bag sublimation typically takes 45–60 seconds at 385–400°F with medium pressure. Longer or shorter press times affect completeness of dye diffusion—too short leaves faded colors while too long can cause bleeding or scorching. Always check the manufacturer’s recommendations for your specific bag, as coating thickness and material composition vary. Secure your design with heat-resistant tape to prevent shifting during the press cycle.
Can You Sublimate on Canvas Shoes?
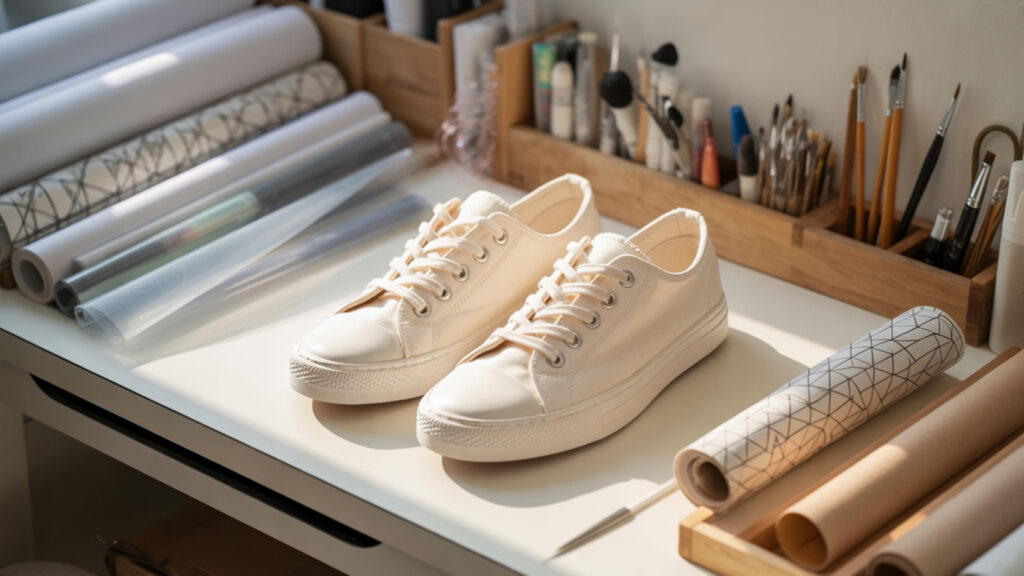
Yes, you can sublimate on canvas shoes, but the process requires special preparation and technique. Shoe canvas porosity causes uneven coating absorption across curved surfaces, requiring multiple coating layers for consistent coverage. Warping is a significant concern—heat can distort unstructured shoe surfaces, especially around the toe box and sides. Proper adhesion between coating and canvas prevents peeling at flex points. Stuff shoes with Teflon pillows to maintain shape during pressing.
What Temperature and Time to Sublimate Canvas?
Canvas sublimation requires 375–400°F for 40–90 seconds depending on the specific substrate and coating. Heat pressing time and temperature together determine dye activation and penetration depth—higher temperatures with shorter times produce similar results to lower temperatures with longer times. For canvas shoes specifically, use 375°F for about 60 seconds. Press different sections (toe, sides, tongue) separately for complete coverage on three-dimensional surfaces.
How Long Does It Take to Sublimate Canvas?
The typical pressing time range for canvas sublimation is 30–60 seconds at 375–400°F with medium pressure. Heat pressing directly controls final color depth—insufficient time produces faded, washed-out results while excessive time can cause color bleeding or substrate damage. Always test on scrap material first to dial in optimal settings for your specific canvas, coating, and equipment combination before committing to production pieces.
Does Sublimation Work on Bella Canvas Products?
Bella Canvas shirts are known for their soft cotton feel, but unfortunately they lack the significant polyester content required for traditional sublimation. Most Bella Canvas products are 100% cotton or cotton-dominant blends that cannot bond sublimation dye without treatment. The polyester blend shirts from Bella Canvas (like their CVC or triblend options) allow partial sublimation with a softer, vintage appearance. Both Bella Canvas polyester blends and dry erase melamine rely on smooth polymer surface characteristics for dye transfer, as covered in our sublimation on dry erase boards guide.
What Temperature Do You Sublimate a Canvas Bag?
Canvas bag sublimation requires heat pressing at 385–400°F to properly activate sublimation dye through the coated fibers. This temperature range softens the polymer coating enough for dye molecules to penetrate and bond permanently while avoiding damage to the canvas structure. Preheat your press to the correct temperature (often 320–350°F for initial pre-pressing, then increase to 385–400°F for the actual transfer).
How Long to Sublimate on Canvas Bags?
Correct heat pressing duration ensures full dye diffusion into canvas bag substrates—typically 45–60 seconds at 385–400°F. Pre-press for 5–10 seconds first to remove moisture and wrinkles before applying the transfer. Place protective paper on both top and bottom surfaces, and use a pressing pillow inside the bag to ensure even pressure distribution. Secure the sublimation paper with heat-resistant tape so it doesn’t shift during pressing.
Ready to Start Sublimating on Canvas?
Understanding polymer coating as the core compatibility factor unlocks canvas sublimation success on everything from wall art to tote bags and custom shoes. Acrylic resin coatings provide a stable, beginner-friendly option that works across multiple canvas types and brands. Start with polyester canvas products for the easiest learning curve, then progress to coated cotton canvas as your technique improves. With proper preparation and heat press settings, canvas sublimation produces professional-quality results that last.
Frequently Asked Questions
What temperature is needed for sublimation on fabric?
Sublimation on cotton and canvas fabrics requires a temperature of 360–400°F depending on the substrate and coating. Polyester fabrics sublimate at the higher end (385–400°F) while coated cotton may work better at slightly lower temperatures (360–385°F). Best practices include using a blend of at least 65% polyester for direct sublimation without coating.
What heat press setting for tote bag sublimation?
Canvas tote bag sublimation works best at 385°F for 55 seconds with medium pressure. Pre-press the bag for 5–10 seconds to remove moisture, then apply your transfer with butcher paper protection on top. The colors should come out very vivid and bright when settings are correct—test on scrap material first if using a new bag type.
How long do you sublimate canvas bags?
Canvas bags typically require 45–60 seconds at 385–400°F with medium pressure. Always pre-press for 5–10 seconds first to remove moisture and wrinkles. Check your specific bag’s material composition—polyester bags may need slightly shorter times while coated cotton bags may need longer. Use a pressing pillow inside for even pressure distribution.
Can you sublimate directly on untreated canvas fabric?
No, untreated cotton canvas cannot accept sublimation dye because it lacks polymer content. You must either use polyester canvas (which works directly) or treat cotton canvas with polymer coating spray before sublimating. Alternatively, apply clear dye-sub HTV first, then sublimate onto the vinyl layer—this creates a polymer surface that accepts and bonds the sublimation ink.
Does canvas need a coating for sublimation?
Cotton canvas requires polymer coating for sublimation; polyester canvas does not. The coating creates a layer of polymer chains that sublimation dye can bond with during heat pressing. Pre-coated sublimation canvas blanks are available and simplify the process, while DIY coating sprays offer flexibility for custom projects. Apply two thin coating layers for best vibrancy on uncoated materials.
References
- Acrylate polymer. (2025, May 1). Wikipedia, the free encyclopedia. Retrieved December 29, 2025, from https://en.wikipedia.org/wiki/Acrylate_polymer
- Glass transition. (2025, December 24). Wikipedia, the free encyclopedia. Retrieved December 29, 2025, from https://en.wikipedia.org/wiki/Glass_transition