Acrylic (PMMA) presents both opportunities and challenges for sublimation due to its low surface energy, which prevents dye from bonding without a polymer-based coating or polyester film layer. Sublimation dye only bonds into polymer chains, so raw acrylic cannot accept transfers directly—the ink simply sits on the surface and wipes away. Cast acrylic blanks designed for sublimation contain the molecular structure necessary for dye penetration, producing crystal-clear images with exceptional depth. The universal principles of polymer-dye bonding that govern acrylic behavior are explained in our comprehensive guide to sublimation on materials. Methyl methacrylate is the monomer used to form acrylic (PMMA), and its polymer structure explains why acrylic softens and deforms when exposed to high heat. [1]
Key Takeaways
- Acrylic is heat-sensitive and requires reduced temperatures (375–400°F) with careful handling to prevent warping and deformation during pressing.
- Polyester coating or cast acrylic composition is the core requirement for successful sublimation—extruded acrylic will not absorb ink properly.
- Controlled cooling under weight immediately after pressing prevents the dimensional distortion that commonly affects acrylic substrates.
Can sublimation ink be transferred onto acrylic surfaces?
Acrylic (PMMA) can accept sublimation transfers when the substrate contains appropriate polymer structure or has been treated with polyester film coating that provides the dye-receptive layer. Surface energy on raw acrylic is too low for reliable dye bonding—sublimation ink applied to uncoated acrylic produces transparent, impermanent results that fade and wear quickly. Cast acrylic blanks manufactured specifically for sublimation contain the polymer chains necessary for permanent dye penetration without requiring additional coating application.
Can acrylic accept sublimation ink through direct heat transfer?
Uncoated or extruded acrylic cannot bond sublimation dye directly because it lacks the open molecular structure that allows gaseous ink to penetrate and lock into the material. Polyester coating on pre-made sublimation blanks creates the receptive surface layer that captures dye during heat transfer. Reduced press temperature between 375–400°F is essential to avoid warping or softening acrylic while still achieving complete dye activation and transfer.
Can clear or transparent acrylic sheets be sublimated safely?
Transparency in clear acrylic creates stunning dimensional effects when designs are printed on the backside and viewed through the crystal-clear material from the front. Backside printing (reverse printing) protects the viewing surface from scratches while maintaining optical clarity that gives sublimated images their characteristic depth. White base layer is required for colors to show vibrantly on transparent acrylic—without backing, designs appear washed out and lack contrast. The techniques for backside printing on transparent substrates also apply to clear plastic materials covered in our plastic sublimation guide.
What temperatures influence successful sublimation on acrylic?
Glass transition temperature (Tg) is the critical threshold where acrylic transitions from rigid to rubbery—acrylic begins softening at temperatures as low as 160°F, increasing warp risk significantly above this point. The melting point of acrylic occurs around 320°F, well below typical sublimation temperatures, which explains why careful temperature control is essential for successful transfers. Press temperature must be set high enough to activate sublimation dye (375–400°F) while minimizing the time acrylic spends in its softened state. Thermoplastic polymers soften as temperature approaches their glass transition range, which explains why acrylic materials can warp or deform under excessive heat. [2]
What heat settings affect acrylic during sublimation transfer?
Thermal expansion during heating causes acrylic to bow and warp, particularly on thinner blanks that absorb heat quickly and unevenly across their surface area. Press time of 45–60 seconds at 375–400°F provides sufficient dye transfer while minimizing heat exposure—a good starting point is 385°F for 60 seconds with light pressure. Excess heat or extended time beyond 90 seconds dramatically increases risk of permanent deformation, bubbling, and optical defects in the finished product.
What types of acrylic work for sublimation transfers?
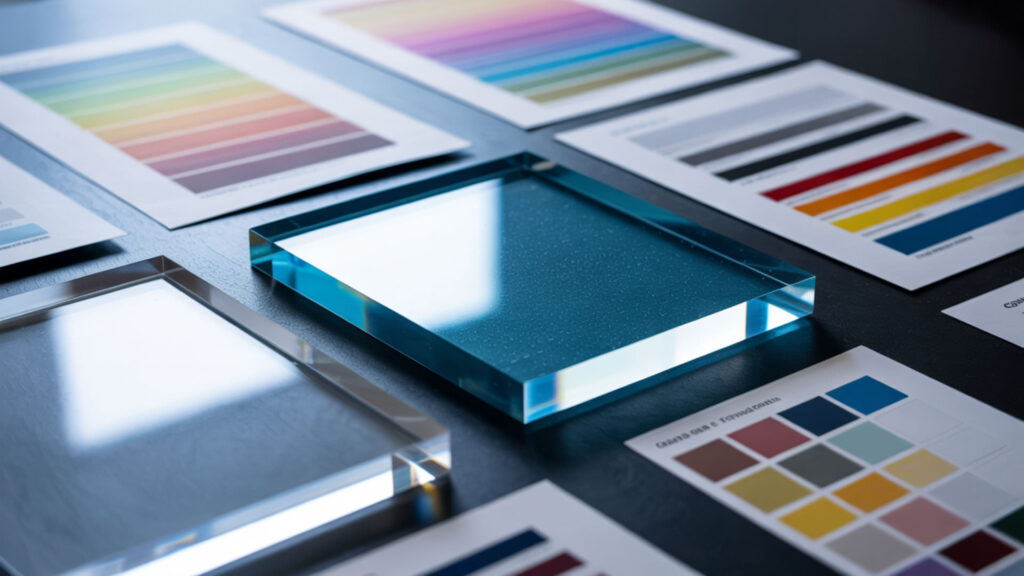
Acrylic glass (cast acrylic sheets) works best with reverse-film sublimation, where designs are pressed onto the back surface and viewed through the clear material from the front. Polyester film provides the true dye-receptive surface on many acrylic blanks—the acrylic itself serves primarily as a rigid, optically clear substrate. Acrylic photo blocks and panels create three-dimensional effects because light passes through the clear material, interacting with embedded dyes to produce depth and vibrancy. Detailed evaluations of coating quality, durability, and print results for acrylic photo block products and other blanks are available in our guide to best sublimation blanks for different materials.
Can opaque acrylic hold sublimation colors better than clear acrylic?
Color vibrancy on opaque or white acrylic exceeds clear acrylic because the solid background reflects more light through the embedded dyes, creating saturated, high-contrast images. White base layer beneath sublimation transfers provides the reflective surface that makes colors appear vivid rather than washed out or transparent. Clear acrylic produces beautiful translucent effects but requires white backing or vinyl layer for designs that depend on solid, opaque color reproduction. The importance of white base layer for transparent substrates is also covered in our guide to sublimation on glass.
Can white acrylic surfaces be sublimated without discoloring?
Press temperature above 400°F can cause yellowing or tonal shift on white acrylic blanks, turning bright white surfaces cream-colored or unevenly discolored. Polyester coating quality affects how white acrylic responds to heat—premium blanks from reputable suppliers resist discoloration better than budget alternatives. Stay within 375–385°F range and limit press time to 45–60 seconds to maintain clean white backgrounds that make colors pop without heat-induced yellowing.
How do you sublimate on acrylic step-by-step?
The sublimation process for acrylic requires specific preparation and handling to achieve professional results while protecting the heat-sensitive substrate.
- Remove protective film from both sides of acrylic blank—plastic film left during pressing melts and permanently damages the substrate.
- Print design using sublimation ink on transfer paper—for white-coated acrylic, mirroring is not required; for clear acrylic with backside printing, mirror the image.
- Position transfer paper face-down on coated surface and secure with heat-resistant tape to prevent shifting that causes ghosting.
- Place protective butcher paper or parchment on top and bottom of project to protect heat press platens from ink transfer.
- Press at 375–385°F for 45–60 seconds using light to medium pressure—acrylic becomes pliable at these temperatures.
- Immediately place hot acrylic on flat surface and weight down with heavy object during cooling to prevent warping—this step is essential for dimensional stability.
How long can acrylic tolerate pressing for sublimation ink transfer?
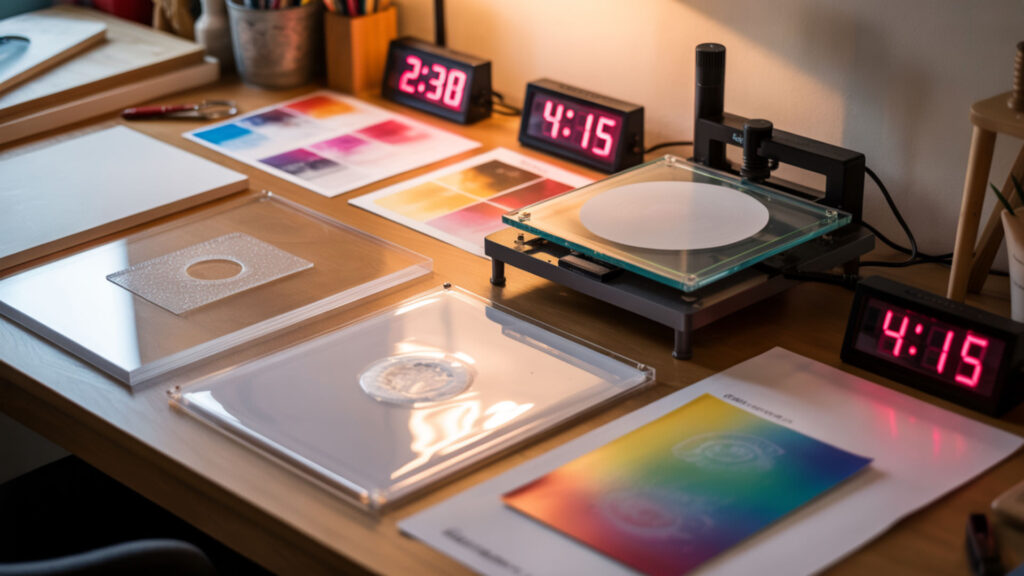
Press time between 45–60 seconds produces optimal results for most acrylic blanks, with thicker materials occasionally requiring up to 90–120 seconds for complete dye penetration. Thermal conductivity of acrylic causes heat to spread unevenly across the substrate, with edges warming faster than centers on larger panels. Controlled cooling rate is essential for preventing deformation—acrylic that cools too quickly or unevenly develops internal stresses that cause warping, bowing, or crazing.
What happens if acrylic overheats during sublimation transfer?
Warping is the most common overheating defect, occurring when acrylic softens unevenly and distorts from its original flat shape during or after pressing. Bubbling appears when trapped gases or moisture cannot escape from softened acrylic, creating permanent raised defects across the printed surface. Overheating also causes color shifts, yellowing of white substrates, and reduced optical clarity that diminishes the dimensional effects acrylic sublimation is prized for.
What heat limits affect acrylic during the sublimation process?
Glass transition temperature (Tg) marks the critical threshold where acrylic transitions from rigid to rubbery—this occurs between 160–210°F depending on acrylic formulation. Melting point around 320°F represents the temperature where acrylic begins significant deformation and loses dimensional stability entirely. Sublimation requires pressing above the Tg (at 375–400°F) for dye activation, which is why controlled timing and immediate weighted cooling are essential for success.
At what point does acrylic begin to soften or melt?
Acrylic begins softening at temperatures as low as 160°F and becomes increasingly pliable as temperature rises toward the glass transition range of 160–210°F. Near or above Tg, acrylic loses dimensional stability and becomes moldable—which enables shaping for curved products but creates warping risk for flat panels. Melting point of approximately 320°F marks where acrylic deforms significantly, though sublimation pressing at 375–400°F is possible because exposure time is limited to under 90 seconds.
Can acrylic crack or craze if exposed to excessive heat?
Thermal expansion during heating creates internal stresses that can lead to cracking, particularly when thick acrylic is heated unevenly or pressed for extended periods. Rapid cooling rate after high heat exposure causes different areas of acrylic to contract at different speeds, generating stress fractures and surface crazing. Allow gradual cooling under weight on a flat, heat-resistant surface to minimize thermal shock and preserve optical clarity in finished acrylic products.
Ready to start sublimating on acrylic?
Acrylic (PMMA) produces stunning sublimation results when proper techniques control the heat-sensitivity challenges inherent to this polymer material. Polyester coating or cast acrylic composition transforms this optically clear substrate into a stable, sublimation-ready surface that captures gaseous dye permanently. Start with pre-made sublimation blanks from reputable suppliers, follow recommended temperature and timing guidelines, and always cool under weight to master this rewarding substrate.
Frequently Asked Questions
Can acrylic sheets show color variation depending on coating or lack of coating?
Coated acrylic blanks produce consistent, vibrant colors because the polyester layer provides uniform dye uptake across the entire surface. Uncoated or improperly coated acrylic shows blotchy, uneven color where some areas accept more dye than others. Always use sublimation-specific cast acrylic blanks with quality coating from reputable suppliers to ensure predictable, professional color reproduction.
Does sublimation ink fade faster on clear acrylic compared to opaque acrylic?
Properly sublimated clear and opaque acrylic both resist fading because dye bonds permanently into the polymer structure during heat transfer. UV exposure can affect both types equally over time—use UV-protective sealants or display away from direct sunlight for maximum longevity. Color perception differs because clear acrylic lacks the white backing that reflects light through dyes, making colors appear less saturated rather than actually faded.
Can sublimation transfers fail if acrylic overheats or softens?
Overheating causes multiple failure modes including warping that distorts flat panels, bubbling from trapped gases, yellowing of white surfaces, and reduced optical clarity. Press temperature above 400°F or time exceeding 90 seconds dramatically increases these risks on most acrylic blanks. Monitor temperature carefully and remove from press immediately when timing completes to minimize heat exposure.
What visual defects appear if acrylic is pressed too long or too hot?
Warping creates curved or bowed surfaces that no longer lie flat, particularly visible on photo panels and standing displays. Bubbling appears as raised areas where trapped air or moisture creates permanent surface defects beneath the coating. Color shifting and yellowing affect design accuracy, turning whites cream-colored and distorting carefully matched brand colors or photograph reproduction.
Can acrylic be sublimated again later if the first press was too light?
Re-pressing acrylic that received insufficient initial transfer is possible but risky because the substrate has already experienced thermal stress from the first pressing cycle. Align the original transfer paper precisely and press for additional 15–30 seconds at the same temperature to intensify color without overshooting total heat exposure. Test on scrap pieces first, as re-pressing increases warping risk even when the initial press appeared successful.
References
- PubChem. (n.d.). Methyl Methacrylate. https://pubchem.ncbi.nlm.nih.gov/compound/Methyl-Methacrylate
- https://ftp.idu.ac.id/wp-content/uploads/ebook/tdg/ADVANCED%20MATERIAL%20DESIGN/The%20Elements%20of%20Polymer%20Science%20%20Engineering%20by%20Rudin,%20Alfred%20(Auth.)%20(z-lib.org).pdf