Table of Contents
ToggleSublimation heat press settings determine transfer quality through precise control of temperature and pressure working together. Temperature governs dye activation and determines color accuracy—too low produces dull, incomplete transfers while too high causes scorching and color distortion. Pressure controls contact quality between paper and substrate, preventing ghosting and uneven transfers. Understanding how heat presses generate and maintain temperature helps you dial in settings accurately—our guide on what is a sublimation heat press explains the mechanics behind dye activation.
Key Takeaways
- Time (dwell time) determines how completely dye diffuses into polyester—insufficient time produces faded, incomplete transfers.
- Thermal stability ensures settings remain constant throughout the press cycle for consistent results across multiple transfers.
- Medium pressure around 35–40 PSI provides optimal contact for most substrates without crushing fibers or distorting surfaces.
What Temperature Should You Use When Heat Pressing Sublimation?
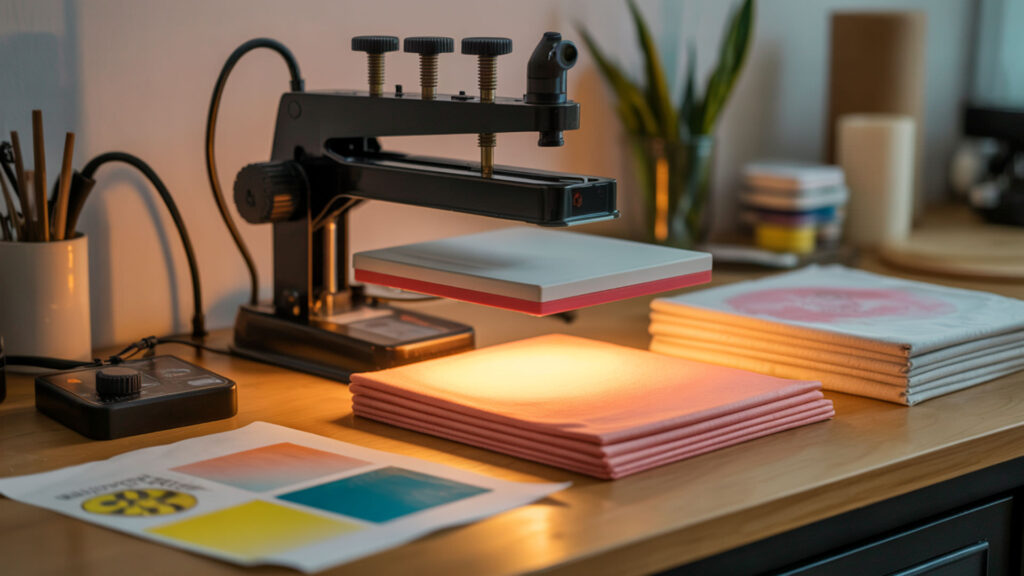
Sublimation requires temperatures between 360–400°F (180–200°C) to activate dye conversion from solid to gas. The heating element must distribute heat evenly across the entire platen to maintain the correct set temperature without creating hot or cold spots. Different substrates require specific temperatures within this range—polyester fabric needs 385–400°F while aluminum and canvas work best at 350–375°F. Sublimation temperature needs to be high enough for heat to move evenly through the substrate via conduction, convection, and radiation. The U.S. Department of Energy’s EnergySaver explains that heat moves between objects through these mechanisms, helping clarify why uniform heat is essential for sharp sublimation prints.[1]
What Temperature Is Ideal for Pressing Sublimation Shirts?
Polyester shirts require 385–400°F for 45–60 seconds to achieve vibrant, fully saturated colors. The fabric’s glass transition temperature (Tg) determines when polyester fibers become receptive to dye penetration—below this threshold, colors appear washed out. Exceeding safe temperature ranges risks scorching or melting the fibers. Because both shirts and tumblers require careful thermal control to avoid scorching, our polyester settings for tumbler heat pressing covers related temperature management techniques.
What Temperature Works for Sublimation on Cotton-Blend Materials?
Cotton-blend materials present thermal resistance challenges because cotton fibers don’t accept sublimation dye the way polyester does. Use 385–400°F for 45–55 seconds on poly-cotton blends, understanding that lower polyester content produces a more vintage, faded appearance. Even heat distribution prevents patchy or inconsistent prints where some areas receive more thermal energy than others.
How Long Should Sublimation Be Heat Pressed for Best Results?
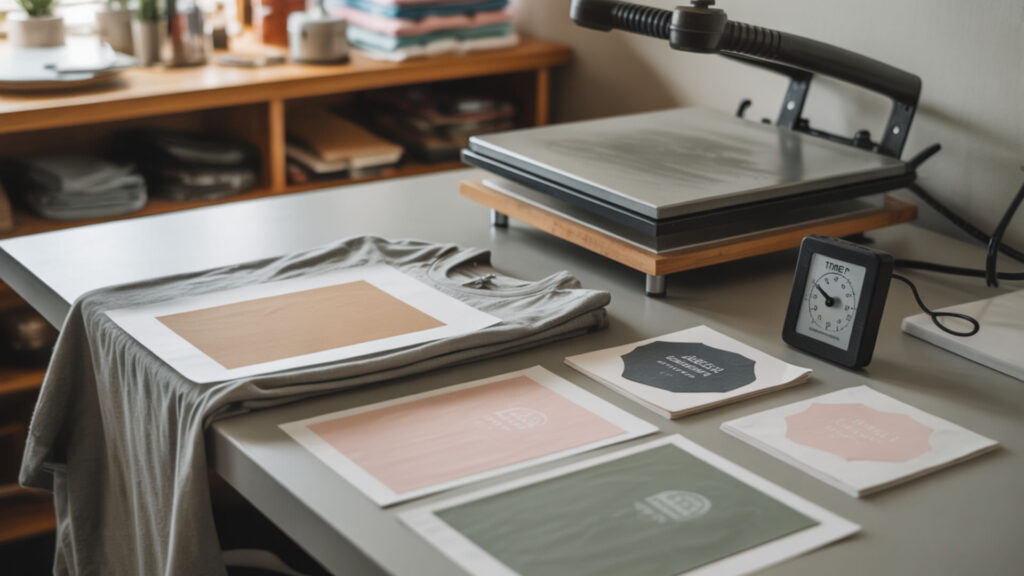
Press time (dwell time) allows complete dye diffusion into the substrate—insufficient time produces incomplete, faded transfers even at correct temperatures. The substrate must reach thermal equilibrium—uniform heat throughout its thickness—before colors fully develop. Polyester fabric requires 45–60 seconds, while hard substrates like ceramic mugs need 180–240 seconds for full dye penetration. Sublimation press time must be long enough for the entire substrate to reach a uniform temperature. [2]
How Long Should You Press a Sublimation Shirt?
Press sublimation shirts for 45–60 seconds at 385–400°F with medium pressure. Thicker substrates require additional time because heat flux—the rate heat penetrates fibers—slows in denser materials. Polyester blends need 50–70 seconds because the mixed fiber structure absorbs heat differently than pure polyester. Pre-press for 3–5 seconds to remove moisture before applying the transfer.
⫸ Click Here For Best Selling Sublimation Printers And Products ⫷What Heat Press Settings Work Best for Sublimation on Polyester?
Polyester sublimation works optimally at 390–400°F for 45–60 seconds with medium pressure around 40 PSI. The fabric’s thermal conductivity affects how evenly heat spreads across the garment—quality polyester heats uniformly while lower-grade materials may develop hot spots. Pre-press garments for 3–5 seconds to remove moisture and wrinkles that interfere with even dye transfer.
How Does Temperature Affect Sublimation Transfers?
Temperature directly impacts vibrancy, sharpness, and dye penetration depth. Thermal stability prevents hotspots that distort colors by maintaining consistent heat across the entire transfer area. Higher temperatures increase vapor pressure and dye activation rate, but excessive heat causes color shifting and substrate damage. Because tape marks and adhesive behavior change dramatically at different temperatures, our guide on thermal stability in heat tape alternatives explains temperature-related adhesion issues.
How Long Should Sublimation Be Pressed Using Medium Pressure?
Medium pressure (35–40 PSI) combined with correct time ensures uniform contact for accurate color transfer across the entire design area. Press polyester fabrics for 45–60 seconds, hard substrates for 60–90 seconds, and ceramic items for 180–240 seconds. Time must be balanced with temperature—lower temperatures require longer pressing while higher temperatures need shorter cycles to prevent over-pressing.
What Settings Work for Sublimating on Canvas or Rigid Materials?
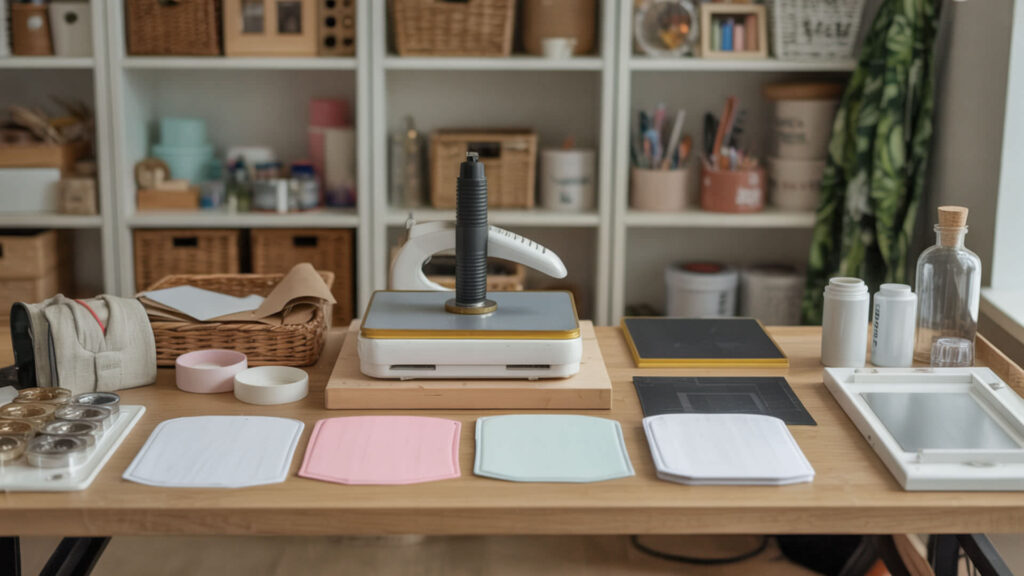
Canvas and rigid substrates require adjusted settings because their thermal conductivity differs from fabric—they absorb and distribute heat more slowly. Press canvas at 375–400°F for 45–90 seconds depending on thickness and polyester content. Thermal resistance in thicker materials creates scorching risk on surfaces while interiors remain under-heated, requiring careful temperature management.
What Heat Press Settings Should Be Used for Sublimation?
General sublimation settings fall within 360–400°F temperature range with medium pressure (35–40 PSI) and times varying by material. Pressure helps maintain flat contact on rigid surfaces, preventing areas from lifting during pressing that cause incomplete transfers. Temperature must be adjusted to avoid warping plastic substrates or burning paper-backed items—start at lower ranges and increase based on test results.
How Do You Set Sublimation Heat Press Settings Step-by-Step?
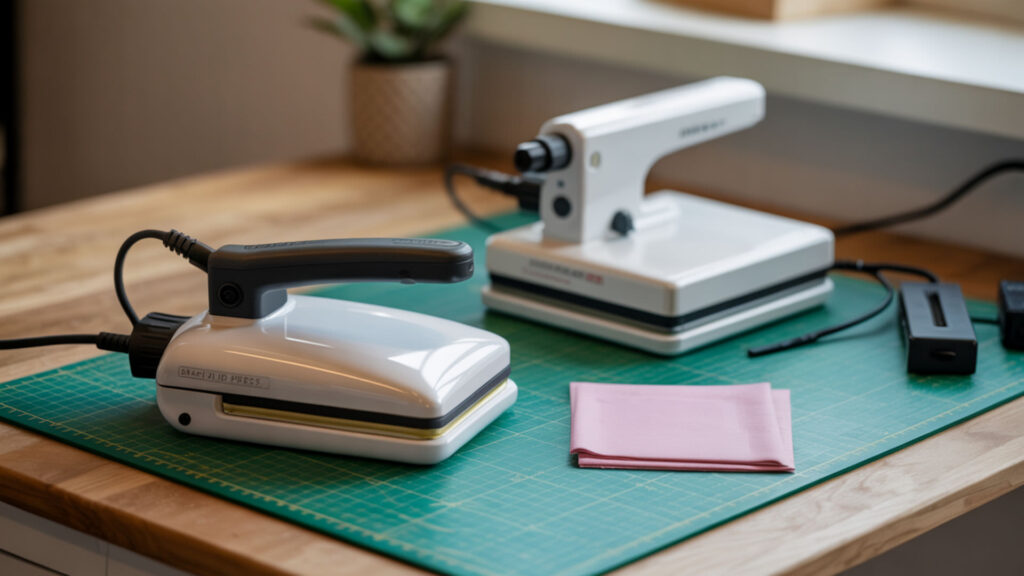
Setting up your heat press correctly requires using the digital controller for accurate temperature and time programming, plus the pressure adjustment knob for substrate-specific contact. Higher-quality machines with better digital controller systems make setting accurate sublimation parameters easier—our guide on best heat press machines for sublimation compares control features.
- Power on the heat press and allow it to reach operating temperature. Most presses require 10–15 minutes to heat fully and stabilize at the set temperature.
- Access the temperature setting by pressing the Mode or Set button on the digital controller. The display typically shows ‘SP’ (Set Point) when in temperature adjustment mode.
- Use the up/down arrows or +/- buttons to set temperature between 360–400°F based on your substrate. Polyester fabric uses 385–400°F; metals and canvas work at 350–375°F.
- Press the Mode button again to access timer settings and set dwell time in seconds. Fabrics need 45–60 seconds; hard substrates require 60–180 seconds depending on material.
- Adjust the pressure adjustment knob to achieve medium pressure (35–40 PSI) for most substrates. Test pressure by closing the press—it should require moderate force to close completely.
- Verify actual temperature with an infrared thermometer before pressing production items. Many presses display readings 15–25°F different from true platen temperature.
- Run a test press on scrap material matching your production substrate before final projects. Adjust settings based on test results—increase time for dull colors, reduce temperature for scorching.
Ready to Master Your Sublimation Heat Press Settings?
Mastering sublimation settings requires understanding how time and temperature interact for each substrate type. Consistent dwell time allows complete dye diffusion while stable temperature ensures clean, vibrant transfers without color shifting or substrate damage. Document successful settings for each material you use regularly, then replicate those conditions for reliable production results.
Frequently Asked Questions
Can pressing too hot cause colors to look washed out or faded?
Excessive temperature causes dye to over-activate and migrate beyond intended boundaries, creating washed-out, blurry transfers with reduced color intensity. Colors may shift toward brown or yellow tones as thermal stability breaks down. The polyester substrate can also scorch, creating permanent texture and color damage. Reduce temperature by 10–15°F if colors appear faded despite complete transfer.
Can pressing too cool make the print look dull or under-developed?
Insufficient temperature prevents complete dye activation, producing dull, under-developed colors that appear lighter than the original design. The ink remains partially solid rather than fully converting to gas, limiting penetration into polyester fibers. Increase temperature in 10°F increments or extend press time by 10–15 seconds to improve color vibrancy on dull transfers.
Do thicker blanks need longer pressing times?
Thicker substrates require longer press times because heat penetrates more slowly through denser material to reach thermal equilibrium. The surface may reach proper temperature while the interior remains too cool for complete dye bonding. Add 15–30 seconds to standard times for thick substrates like heavyweight canvas, ceramic items, or multi-layer products.
Does humidity affect how long sublimation should be pressed?
Humidity affects pressing indirectly by introducing moisture into substrates and transfer paper that must evaporate before dye transfer completes. Moisture creates steam that can disrupt ink placement and cause blurry or spotted results. Pre-press all substrates for 3–5 seconds to drive off moisture, and store paper in dry conditions to minimize humidity-related pressing issues.
Can heat press pressure influence how the final colors appear?
Pressure affects color appearance by controlling how deeply dye penetrates fibers and how uniformly contact occurs across the transfer area. Insufficient pressure allows paper to lift slightly, creating faded edges and inconsistent color density. Excessive pressure can crush fabric fibers and force dye too deep, affecting surface vibrancy. Medium pressure around 35–40 PSI produces optimal results for most substrates.
References
- Department of Energy. (n.d.). Department of Energy. https://www.energy.gov/energysaver/principles-heating-anhttps://www.energy.gov/energysaver/principles-heating-and-cooling?utm_d-cooling?utm_
- Thermal equilibrium. (2025, December 26). Wikipedia, the free encyclopedia. Retrieved January 13, 2026, from https://en.wikipedia.org/wiki/Thermal_equilibrium

