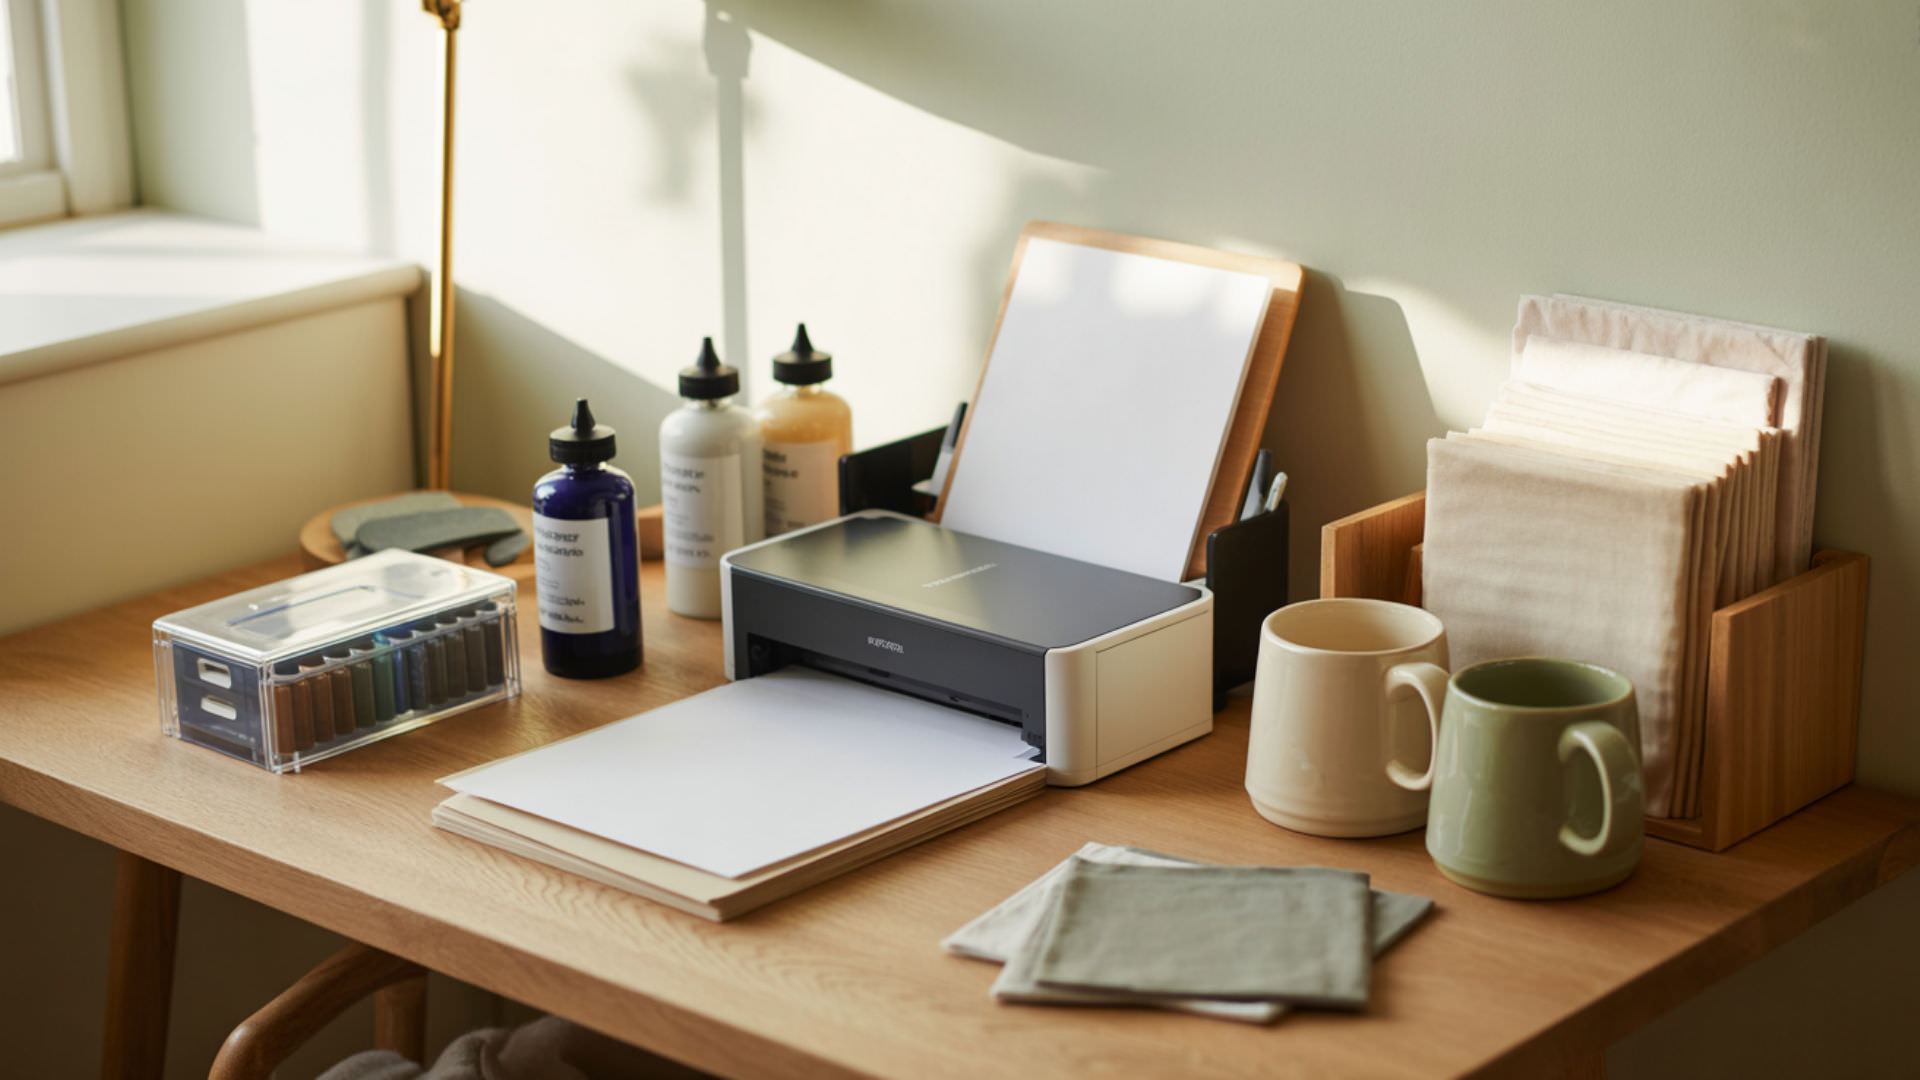
Dye-sublimation printing transforms digital designs into permanent, vibrant images on polyester fabrics and polymer-coated substrates. The process relies on inkjet printing technology that deposits disperse dye through a precision print head onto specialized transfer paper. Heat and pressure then convert the solid dye into gas, which penetrates and bonds with polyester fibers at the molecular level. Mastering sublimation requires understanding both the printing mechanics and ongoing maintenance demands. Sublimation relies on fundamental principles of heating and cooling, because consistent temperature control determines how energy transfers into the dye and substrate. [1]
Key Takeaways
- Print head nozzles must remain clear and active to prevent streaking, banding, and missing colors in sublimation output.
- ICC profiles calibrate color output between your design software and printer for accurate, predictable results on different substrates.
- Maintenance cycles consume ink but protect nozzles from drying and clogging during periods of inactivity.
- Environmental factors including humidity and static electricity directly impact print quality and paper feed reliability.
- Regular cleaning routines using proper solvents extend print head lifespan and maintain consistent output quality.
How Do You Get Started with a Sawgrass Sublimation Printer?
Sawgrass printers require specific setup procedures different from converted Epson systems. Initial configuration includes installing proprietary drivers, loading Sawgrass-specific ICC profiles, and priming the disperse dye ink system before running first prints.The raster image processor (RIP) software included with Sawgrass printers converts your designs into optimized print data with accurate color mapping.
Initial Setup and Software Installation
Download and install the Sawgrass Print Manager software before connecting your printer. The software package includes ICC profiles matched to Sawgrass ink formulations and substrate types. Configure color management settings to use these profiles for consistent screen-to-print color accuracy. Complete the driver installation wizard and verify successful printer communication before proceeding.
Loading Inks and Running First Prints
Install Sawgrass ink cartridges following the correct CMYK order indicated on your printer carriage. The printer automatically runs an initial ink charge to prime all nozzles with disperse dye. Print a nozzle check pattern to verify all color channels fire correctly before attempting production prints. Address any missing lines or gaps immediately through head cleaning cycles.
Sawgrass-Specific Features and Settings
Sawgrass Print Manager offers advanced controls for halftone patterns, dithering algorithms, and rendering intent selection. Halftone settings control how continuous tones translate into printable dot patterns. Dithering prevents visible graininess in gradient areas. Rendering intent determines how out-of-gamut colors map to printable values, with perceptual and relative colorimetric being most common.
What’s the Right Way to Clean Sublimation Printer Heads?
Print head maintenance prevents clogs that cause missing colors and banding artifacts. Proper nozzle cleaning techniques remove dried ink buildup without damaging delicate piezoelectric components. Use only recommended cleaning solutions such as distilled water or diluted isopropyl alcohol to avoid dissolving protective coatings or leaving mineral deposits on nozzle surfaces.
Recognizing When Cleaning Is Needed
Banding appears as horizontal lines or stripes across printed images when nozzles become partially blocked. Ink starvation produces faded or washed-out colors in specific channels. Print a nozzle check pattern whenever output quality degrades to identify which color channels require attention. Missing line segments indicate blocked nozzles that need cleaning cycles.
Manual vs Automatic Cleaning Cycles
Automatic cleaning cycles run through your printer’s built-in maintenance menu and consume ink to purge nozzles. Multiple cycles may be needed for stubborn clogs. Monitor your waste ink reservoir level since repeated cleaning fills this tank quickly. Manual cleaning involves physically accessing the print head with lint-free swabs and appropriate solvents.
Deep Cleaning Techniques for Stubborn Clogs
Stubborn clogs require soaking the print head in cleaning solvent designed for sublimation ink. Remove the print head assembly if your printer allows user access. Submerge nozzle plates in warm purified water or specialized cleaning solution for several hours. Rinse thoroughly with purified water to prevent mineral deposits before reinstalling.
How Do You Keep Your Sublimation Printer Running Smoothly?
Consistent printer performance requires scheduled preventive care rather than reactive troubleshooting. Regular maintenance cycles keep nozzles active and ink flowing even during periods of low production volume. Environmental control, paper feed mechanism cleaning, and waste ink monitoring form the foundation of reliable sublimation printing operations.
Daily and Weekly Maintenance Routines
Print a nozzle check pattern daily before starting production work. Run one cleaning cycle if any channels show gaps or missing lines. Weekly maintenance includes wiping dust from paper feed rollers and checking ink levels in all cartridges or tanks. Clean the print head capping station monthly to ensure proper sealing during idle periods.
Environmental Factors That Affect Performance
Humidity levels between 40-60% provide optimal conditions for sublimation printing. Low humidity accelerates ink drying in nozzles and increases static electricity buildup. High humidity causes paper curl, feed jams, and can affect transfer quality. Maintain consistent room temperature between 68-77°F to prevent ink viscosity changes that affect droplet formation.
Creating a Maintenance Schedule That Works
Base your maintenance frequency on actual print volume and environmental conditions. High-volume operations may need daily head cleaning while occasional users should print at least weekly to prevent clogs. Track waste ink reservoir levels and replace or reset before reaching capacity. Document maintenance activities to identify patterns and optimize your schedule.
What Should You Do When Your Printer Gets Clogged?

Clogged nozzles rank among the most common sublimation printer problems. Identifying the severity of printhead clogging determines whether simple cleaning cycles will restore function or deeper intervention is required. Banding patterns and nozzle check results reveal which color channels are affected and guide your troubleshooting approach.
Identifying Different Types of Clogs
Partial clogs from ink starvation produce faded, light-colored output in affected channels. Complete nozzle blockages result in missing colors or white horizontal bands. Air bubbles in ink lines cause intermittent firing and inconsistent output. Print multiple nozzle checks to determine if the problem remains consistent or fluctuates between prints.
Step-by-Step Unclogging Procedures
Begin with automatic cleaning cycles through your printer menu, running up to three consecutive cycles. Print a nozzle check after each cycle to monitor progress. If automatic cleaning fails, perform manual cleaning using lint-free swabs dampened with cleaning solvent. Apply gentle pressure to nozzle surfaces without scrubbing or using excessive liquid.
Preventing Future Clog Issues
Print something at least weekly to keep ink flowing through all nozzles and prevent drying. Maintain humidity levels above 40% in your printing environment. Run maintenance cycles before extended periods of inactivity. Use high-quality sublimation ink from reputable suppliers to avoid formulation problems that accelerate clogging.
Why Won’t Your Sublimation Printer Print Anything?

Complete print failure has multiple potential causes beyond simple clogs. Incorrect driver and print settings often prevent communication between your computer and printer. Paper feed mechanism jams, empty ink cartridges, and connection problems all produce symptoms where the printer receives jobs but produces no output.
Troubleshooting Connection and Driver Issues
Verify your printer appears as online in your computer’s device settings. Reinstall printer drivers if the device shows offline or unavailable status. Check USB cable connections or wireless network settings depending on your configuration. Restart both computer and printer to clear communication errors that may block print jobs.
Checking Ink Levels and Flow Problems
Empty or improperly seated ink cartridges prevent printing even when the printer appears functional. Check ink levels through your printer software or control panel display. Ink starvation from clogged supply lines produces blank output even with full cartridges. Reseat cartridges firmly and run an ink charge cycle to restore flow.
Common Error Messages and Solutions
Waste ink reservoir full errors require resetting the counter or replacing absorbent pads. Paper feed mechanism jams trigger error states that halt all printing until cleared. Cartridge recognition failures may indicate chip problems requiring replacement cartridges. Consult your printer manual for specific error codes and recommended resolution steps.
How Do You Fix Color Problems in Sublimation Printing?

Color accuracy problems frustrate sublimation users who expect prints to match their screen designs. Installing the correct ICC profile for your specific ink, printer, and substrate combination enables predictable color reproduction. Mismatched profiles, contaminated inks, and uncalibrated monitors all contribute to disappointing color results.
Calibrating Color Profiles Correctly
Download ICC profiles from your ink manufacturer’s website matched to your printer model. Install profiles in your operating system’s color management folder. Configure your design software to use the installed profile for print output. Select the appropriate rendering intent based on whether your design prioritizes photographic accuracy or saturated colors.
Identifying Contaminated or Wrong Inks
Mixing sublimation ink brands or using pigment ink in a sublimation system produces unpredictable color shifts. Contaminated ink appears as muddy colors or unexpected hue changes across prints. Dye-based sublimation ink differs chemically from pigment formulations used in some photo printers. Flush your system completely if contamination is suspected.
Monitor vs Print Color Matching
Computer monitors display RGB color space while printers output CMYK, creating inherent color space differences. Calibrate your monitor using hardware colorimeters for accurate on-screen previews. Understand that some bright screen colors fall outside the printable gamut and will be clipped or shifted. Use soft-proofing features in design software to preview how colors will actually print.
What Causes Static Electricity in Printers and How Do You Stop It?

Paper feed problems often trace back to static charge buildup. Understanding how static electricity develops through the triboelectric effect helps you implement effective prevention strategies. Friction between paper sheets, rollers, and printer surfaces generates electrical charges that cause sheets to stick together, misfeed, or attract dust particles. Static electricity buildup increases in low-humidity environments because dry air cannot dissipate electrical charge effectively. [2]
Understanding Static Buildup Sources
The triboelectric effect generates static when different materials contact and separate. Paper moving through feed rollers creates friction that builds electrical charge. Low humidity environments amplify static problems because dry air cannot dissipate charges effectively. Synthetic materials in your workspace also contribute to overall static levels.
Humidity Control and Grounding Solutions
Maintain relative humidity between 40-60% using humidifiers in dry environments. Ground your printer properly through three-prong electrical connections. Use grounded anti-static mats under your printer and workstation. Electrostatic discharge can damage sensitive printer electronics, making proper grounding essential for equipment protection.
Anti-Static Products and Techniques
Anti-static sprays applied lightly to paper stacks reduce charge buildup between sheets. Fan and shuffle paper before loading to separate sheets and dissipate static. Wipe printer surfaces periodically with anti-static cloths. Some users add isopropyl alcohol to cleaning routines, which reduces surface charges while removing dust and debris.
How Can You Safely Remove Ink from Your Sublimation Printer?
Ink removal becomes necessary when changing brands, preparing for storage, or troubleshooting contamination. Using appropriate solvent cleaning solutions ensures complete ink removal without damaging internal components. Flushing procedures push cleaning fluid through ink lines, print heads, and cartridge seats to eliminate residual dye that could contaminate new ink.
Preparing for Ink Changes or Storage
Print until ink levels drop before beginning the removal process to minimize waste. Remove ink cartridges from the printer carriage carefully to avoid spills. The print head retains ink in its nozzles even after cartridge removal. Extended storage requires flushing a cleaning solution through the head to prevent dried ink from permanently blocking channels.
Proper Disposal of Sublimation Inks
Disperse dye sublimation ink should not be poured down household drains due to environmental concerns. Allow liquid ink to dry on absorbent material before disposing in regular trash. Used cleaning solvents require similar handling based on local regulations. Contact your waste management service for guidance on disposing of larger quantities of ink waste.
Cleaning After Ink Removal
Flush print heads with purified water after using cleaning solvents to remove residue. Isopropyl alcohol provides a final cleaning step that evaporates quickly without leaving deposits. Allow all components to dry completely before installing new ink or storing the printer. Verify nozzle function with a test pattern after refilling with fresh ink.
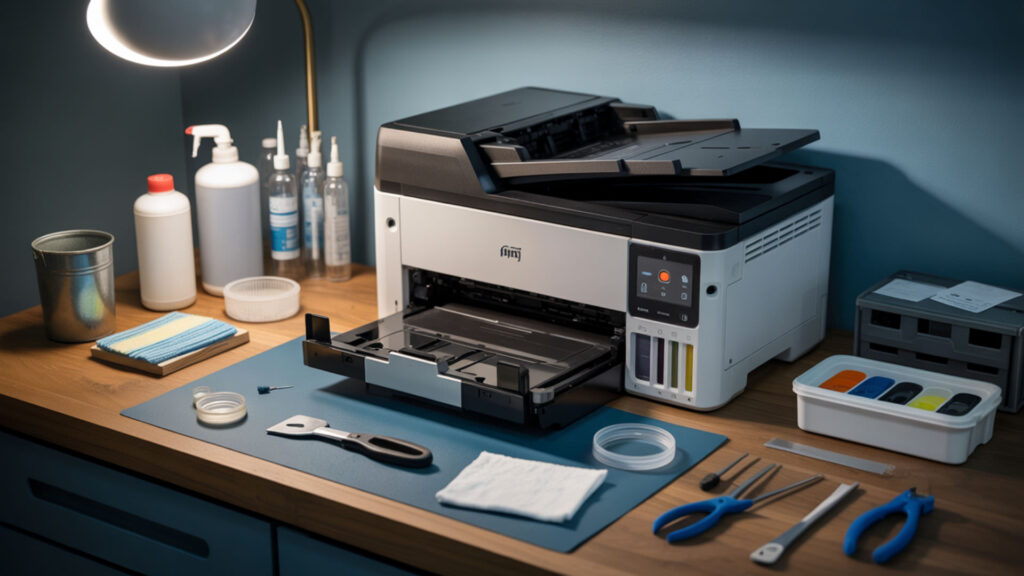
Which Maintenance Supplies Do You Actually Need?
Building an effective maintenance kit prevents scrambling for supplies during printer emergencies. Quality isopropyl alcohol serves as the foundation of most cleaning routines for sublimation printers. Paper feed mechanism lubricants, lint-free swabs, and cleaning solutions matched to your ink type complete a comprehensive maintenance toolkit.
Essential vs Optional Maintenance Tools
Essential supplies include lint-free swabs, cleaning solution compatible with sublimation ink, purified water, and isopropyl alcohol. Syringes help deliver precise amounts of cleaning fluid to nozzle surfaces. Optional tools include waste ink reservoir reset utilities and specialized solvents for deep cleaning stubborn clogs. Prioritize quality over quantity when building your kit.
Building Your Maintenance Kit
Start with cleaning swabs designed for electronics that won’t shed fibers onto delicate nozzle surfaces. Add a small syringe for controlled fluid application. Include microfiber cloths for wiping exterior surfaces and paper feed rollers. Store supplies in a sealed container to prevent contamination and keep cleaning solutions from evaporating.
Where to Source Quality Supplies
Purchase cleaning solutions from your sublimation ink supplier to ensure chemical compatibility with disperse dye formulations. Generic isopropyl alcohol from pharmacies works well for surface cleaning. Specialized sublimation supply retailers stock maintenance cycle reset tools and replacement waste ink pads. Avoid household cleaners that may leave residues or damage printer components.
Final Thoughts
Successful dye-sublimation printing combines technical knowledge with consistent maintenance practices. Prevent problems through regular nozzle checks, appropriate environmental control, and scheduled cleaning routines. Address issues promptly before minor clogs become permanent print head damage. Invest in quality maintenance supplies and develop habits that keep your equipment producing vibrant, accurate sublimation transfers for years of reliable service.
Frequently Asked Questions
- How often should I print something to keep my sublimation printer from clogging?
Print at least once weekly to keep ink flowing through all nozzles. More frequent printing in low humidity environments helps prevent drying. Some users print a simple color chart every few days during slow production periods to maintain nozzle activity.
- Can I leave sublimation ink in my printer for months without using it?
Extended inactivity risks permanent nozzle clogs from dried ink. Flush with cleaning solution before storage exceeding two weeks. Alternatively, print weekly even during low-demand periods to maintain ink flow and prevent costly print head damage.
- What’s the ideal temperature and humidity for storing a sublimation printer?
Maintain temperatures between 68-77°F and humidity between 40-60% for optimal printer storage and operation. Avoid locations with temperature fluctuations, direct sunlight, or proximity to heating and cooling vents.
- Is it normal for sublimation printers to waste a lot of ink during cleaning?
Yes, cleaning cycles purge ink through nozzles into the waste ink reservoir. Multiple cleaning cycles consume significant ink quantities. Minimize waste by maintaining regular print schedules that prevent clogs requiring aggressive cleaning procedures.
- Should I turn off my sublimation printer between uses or leave it on?
Most sublimation printers can remain on continuously without problems. Leaving power on allows automatic maintenance cycles that keep nozzles clear. Turn off only for extended absences exceeding several days, and run a nozzle check before resuming production.
References
- Principles of heating and cooling. (n.d.). Energy.gov. https://www.energy.gov/energysaver/principles-heating-and-cooling
- School of physics and astronomy. (n.d.). College of Science and Engineering. https://cse.umn.edu/physics