Sublimation transfers designs onto materials by converting dye from solid directly to gas, which then diffuses into polymer coatings on the substrate surface at molecular level. The dye bonds permanently with polyester coating—this explains why raw materials like uncoated metal, glass, or wood cannot accept sublimation transfers without proper surface preparation. Materials require either inherent polymer content (like polyester fabric) or applied polyester coating to create the receptive layer that captures gaseous dye during the heat transfer process. Polymers consist of long-chain molecules whose structure allows increased molecular movement when heated, enabling small molecules to diffuse into the material. [1]
Key Takeaways
- Temperature between 350–400°F (175–205°C) enables dye vaporization and polymer bonding across most sublimation-compatible materials.
- Pressure ensures complete contact between transfer paper and substrate, enabling uniform dye penetration into polymer coatings.
- All hard surfaces require polyester-based coatings—without this receptive layer, dye cannot bond and transfers will fade or peel.
Can You Successfully Sublimate on Plastic Surfaces?
Glass transition temperature (Tg) determines whether a plastic will warp or deform before sublimation temperatures are reached—most standard plastics soften above 320°F, making direct sublimation unreliable. Polyester coating creates a receptive surface layer because raw plastics have low surface energy that resists dye bonding. Factory-coated plastic blanks withstand heat transfer while maintaining structural integrity, producing vibrant prints on drinkware, phone cases, and promotional items. For detailed guidance on coating requirements and heat behavior for specific plastic types, see our complete guide on sublimating on plastic.
Types of Plastic That Accept Sublimation
PET (polyethylene terephthalate) offers sufficient heat stability for coated sublimation blanks, commonly used in drinkware and container products. Polycarbonate provides excellent impact resistance and dimensional stability at sublimation temperatures when properly coated. Thermosetting plastics that cure permanently under heat outperform thermoplastics, which can remelt and deform during the transfer process.
Temperature Challenges and Solutions
Melting point limitations require careful temperature control—most plastics need pressing at 320–360°F rather than the 400°F used for ceramics or metals. Thermal expansion causes warping in heat-sensitive plastics, particularly thin-walled items like phone cases that can distort under prolonged heat exposure. Reduce press time to 30–45 seconds for plastic substrates, and use lower pressure settings to prevent deformation while still achieving complete dye transfer.
Coating Requirements for Plastic Items
Surface energy on raw plastics is too low for sublimation dye to bond—the ink beads and wipes off rather than penetrating the material. Polyester coating applied at the factory creates a polymer layer that accepts gaseous dye and locks it permanently into the surface structure. Pre-coated sublimation blanks from reputable suppliers eliminate coating variables and ensure consistent, vibrant results across production runs.
How Does Sublimation Work on Acrylic Materials?
PMMA (polymethyl methacrylate) acrylic offers exceptional transparency and optical clarity that enhances sublimated designs, particularly when printed on the backside and viewed through the clear material. Refractive index affects how light passes through acrylic, influencing the perceived vibrancy and depth of reverse-printed images on photo panels and ornaments. Acrylic becomes malleable at sublimation temperatures around 360–385°F, requiring careful handling during and after pressing to prevent warping. For detailed preparation techniques and press settings specific to PMMA and other acrylic products, see our guide on sublimation on acrylic.
Preparing Acrylic for Best Results
Surface preparation requires removing dust, fingerprints, and oils with isopropyl alcohol and lint-free cloths before pressing to prevent contamination defects. Protective sheets covering acrylic during shipping must be removed from both sides—plastic film left on during pressing can melt and permanently damage the substrate. Clean in a dust-free environment immediately before pressing, as static electricity on acrylic surfaces readily attracts airborne particles.
Heat Press Settings for Acrylic
Temperature settings between 360–385°F work for most acrylic blanks, with 60 seconds typical press time at light pressure. Heat capacity of acrylic causes uneven heating across thick panels—larger items may require extended time or pressing in multiple positions for complete coverage. Use protective butcher paper above and below acrylic during pressing to prevent scorching and ensure even heat distribution across the entire surface.
Popular Acrylic Sublimation Projects
Acrylic photo blocks and panels showcase images with exceptional depth when printed on the backside and viewed through clear material. Backside printing takes advantage of acrylic’s transparency and refractive index to create dimensional effects that enhance color vibrancy and perceived image quality. Nightlights, keychains, ornaments, and standing photo panels rank among the most popular acrylic sublimation products for both personal and commercial production.
What Makes Glass Suitable for Sublimation?
Glass requires polyester coating to accept sublimation dye because uncoated glass surfaces repel ink like water on plastic—designs will not adhere or will quickly fade. Brittleness creates thermal shock risk, as rapid temperature changes cause glass to crack or shatter during pressing unless heated gradually. Pre-heating glass substrates for 10–15 seconds before full pressing reduces thermal shock by allowing uniform temperature distribution throughout the material. For specific coating options and thermal shock prevention techniques for glass products, see our detailed guide on sublimation on glass.
Coated vs Uncoated Glass Options
Soda-lime glass is the most common type used for sublimation blanks—it’s affordable and accepts polyester coatings well when properly treated. Tempered glass provides enhanced durability for sublimation blanks like cutting boards that must withstand daily use without chipping or cracking. Pre-coated sublimation glass blanks deliver 85–90% color retention, while DIY coating sprays typically achieve 75–80% when applied correctly.
Preventing Thermal Shock and Cracking
Thermal conductivity of glass causes uneven heat distribution—edges heat faster than centers, creating stress that leads to cracking. Cooling rate must be controlled carefully; rapid cooling after pressing causes thermal shock as different areas contract at different speeds. Remove glass from press and allow gradual cooling on a heat-resistant surface—never place hot glass on cold surfaces or expose to cold air immediately.
Creating Professional Glass Products
White base layer is required for full-color vibrancy on transparent glass—without a white backing, colors appear muted and lack contrast. Protective sheets on both sides of glass during pressing prevent scorching and ensure even pressure distribution across potentially uneven surfaces. Press glass at 365–400°F for 180–360 seconds (3–6 minutes) depending on thickness, using medium pressure for flat items and specialized wraps for curved drinkware.
How Do You Sublimate on Metal Surfaces?
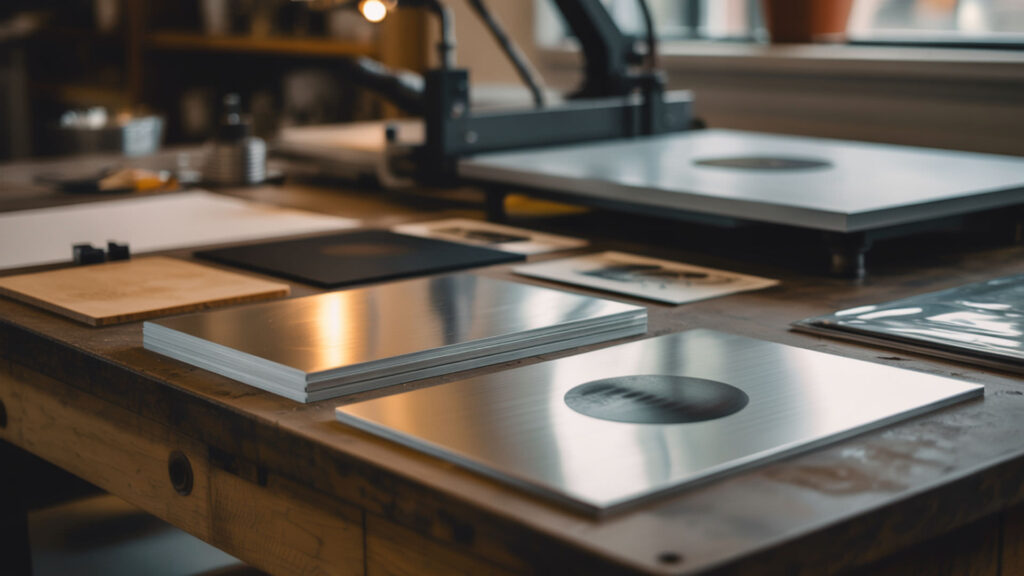
Aluminium is the most popular metal for sublimation due to its excellent thermal conductivity, lightweight properties, and superior coating adhesion. The natural aluminium oxide layer that forms on raw aluminum must be properly treated before powder coating or polyester coating application for optimal adhesion. Powder coating creates a durable polyester surface that accepts sublimation dye and protects against scratching, UV damage, and environmental exposure. For comprehensive coverage of metal types, coatings, and color quality optimization on aluminium and other metals, see our guide on sublimation on metal.
Aluminum vs Other Metal Types
Aluminium alloy substrates dominate the sublimation market due to excellent dimensional stability under heat and superior coating adhesion compared to steel or brass. Metal photo panels in aluminum deliver deep, vibrant colors that rival traditional photographic prints while offering scratch resistance and durability. Stainless steel and brass can also accept sublimation with proper polyester or polyacrylic coating, commonly used for awards, plaques, and industrial labeling.
Pre-Treatment and Coating Essentials
Surface preparation through cleaning and degreasing ensures strong bond formation between metal substrate and applied polyester coating. Coating adhesion depends on proper pre-treatment—contaminants like oil, dust, or oxidation create weak points where coatings can peel or chip. Factory-coated sublimation metal blanks undergo controlled pre-treatment and coating application, ensuring consistent results that DIY coating methods often cannot match.
Achieving Vibrant Colors on Metal
Gloss finish coatings enhance final color vibrancy on metal panels by creating a smooth, reflective surface that maximizes light interaction with embedded dyes. Press aluminum at 385–400°F for 45–90 seconds with medium pressure (approximately 40 psi) for optimal dye penetration and color saturation. Remove any protective plastic film before pressing—this layer prevents proper heat transfer and will melt onto your substrate if left in place.
Is Slate a Good Material for Sublimation Projects?
Slate’s natural porosity requires heavy polyester coating to achieve uniform dye uptake—without adequate coating, colors appear blotchy and inconsistent across the textured surface. Brittleness of natural stone creates handling risks during pressing; swing-away presses work better than clamshell designs that can crack slate placed too close to the hinge. Natural chiseled edges give slate products rustic charm that printed designs complement beautifully for home décor and memorial items. For detailed texture considerations, coating options, and project ideas using slate, see our guide on sublimation on slate.
Natural vs Coated Slate Differences
Slate photo panels with pre-applied white sublimation coating deliver full-color vibrancy while showcasing natural stone texture around image edges. Resin fills surface pores on coated slate blanks, creating a smooth printable area while maintaining the authentic stone appearance on edges and backs. Natural uncoated slate can be prepared with DIY sublimation coating sprays, though results vary based on stone porosity and coating application technique.
Texture Considerations and Image Quality
Hardness of slate varies between specimens—softer slate accepts coating more evenly while harder pieces may require additional preparation. Surface energy differences across rough textures affect coating consistency, potentially creating visible variations in image quality across the printed area. Use silicone pads during pressing to sublimate on rough edges and create seamless images that wrap naturally onto the stone’s natural contours.
Popular Slate Product Applications
Coaster blanks represent the most common coated slate sublimation product—natural stone provides excellent heat resistance for hot beverages. Slate photo plaques and wall hangings offer unique gift options with rustic aesthetic appeal that wood plaques and standard frames cannot match. Memorial items, wedding gifts, and personalized home décor benefit from slate’s natural elegance and the permanence of sublimation printing.
What’s Involved in Sublimating on Wood?
Moisture content in wood causes warping, steam marks, and adhesion failures if substrates are not properly dried before pressing. Wood absorbs humidity from the environment, so pre-pressing for 5–10 seconds removes trapped moisture that would otherwise create defects during transfer. Lignin and other organic compounds in natural wood react unpredictably to sublimation heat, which is why polyester coatings are essential for consistent results. For comprehensive coverage of coating requirements and heat behavior specific to wood substrates, see our guide on sublimation on wood.
Wood Types and Coating Requirements
MDF (medium-density fiberboard) provides the most stable base for coated wood blanks due to uniform density and minimal warping under heat. Polyester coating application must be even and properly cured—thin spots produce faded areas while thick spots can bubble during pressing. Sap-free woods like birch and basswood work better than resinous species like pine that can bleed sap through coatings at sublimation temperatures.
Managing Moisture and Heat Distribution
Hemicellulose fibers in wood absorb moisture from ambient air, requiring pre-pressing to drive out water vapor before transfer application. Heat capacity of thicker wood substrates creates uneven temperature distribution—centers may remain cooler than edges during standard pressing times. Press wood at 350–400°F for 60–180 seconds depending on thickness, using silicone pads to distribute pressure evenly across potentially uneven surfaces.
Rustic vs Polished Wood Finishes
Resin coatings help achieve smooth, polished finishes that display crisp detailed images with professional appearance. Matte finish coatings allow natural wood grain to show through sublimated images, creating artistic effects popular for rustic décor applications. PolyNatural-type coatings create nearly invisible matte finishes that make images appear tattooed directly onto raw wood surfaces.
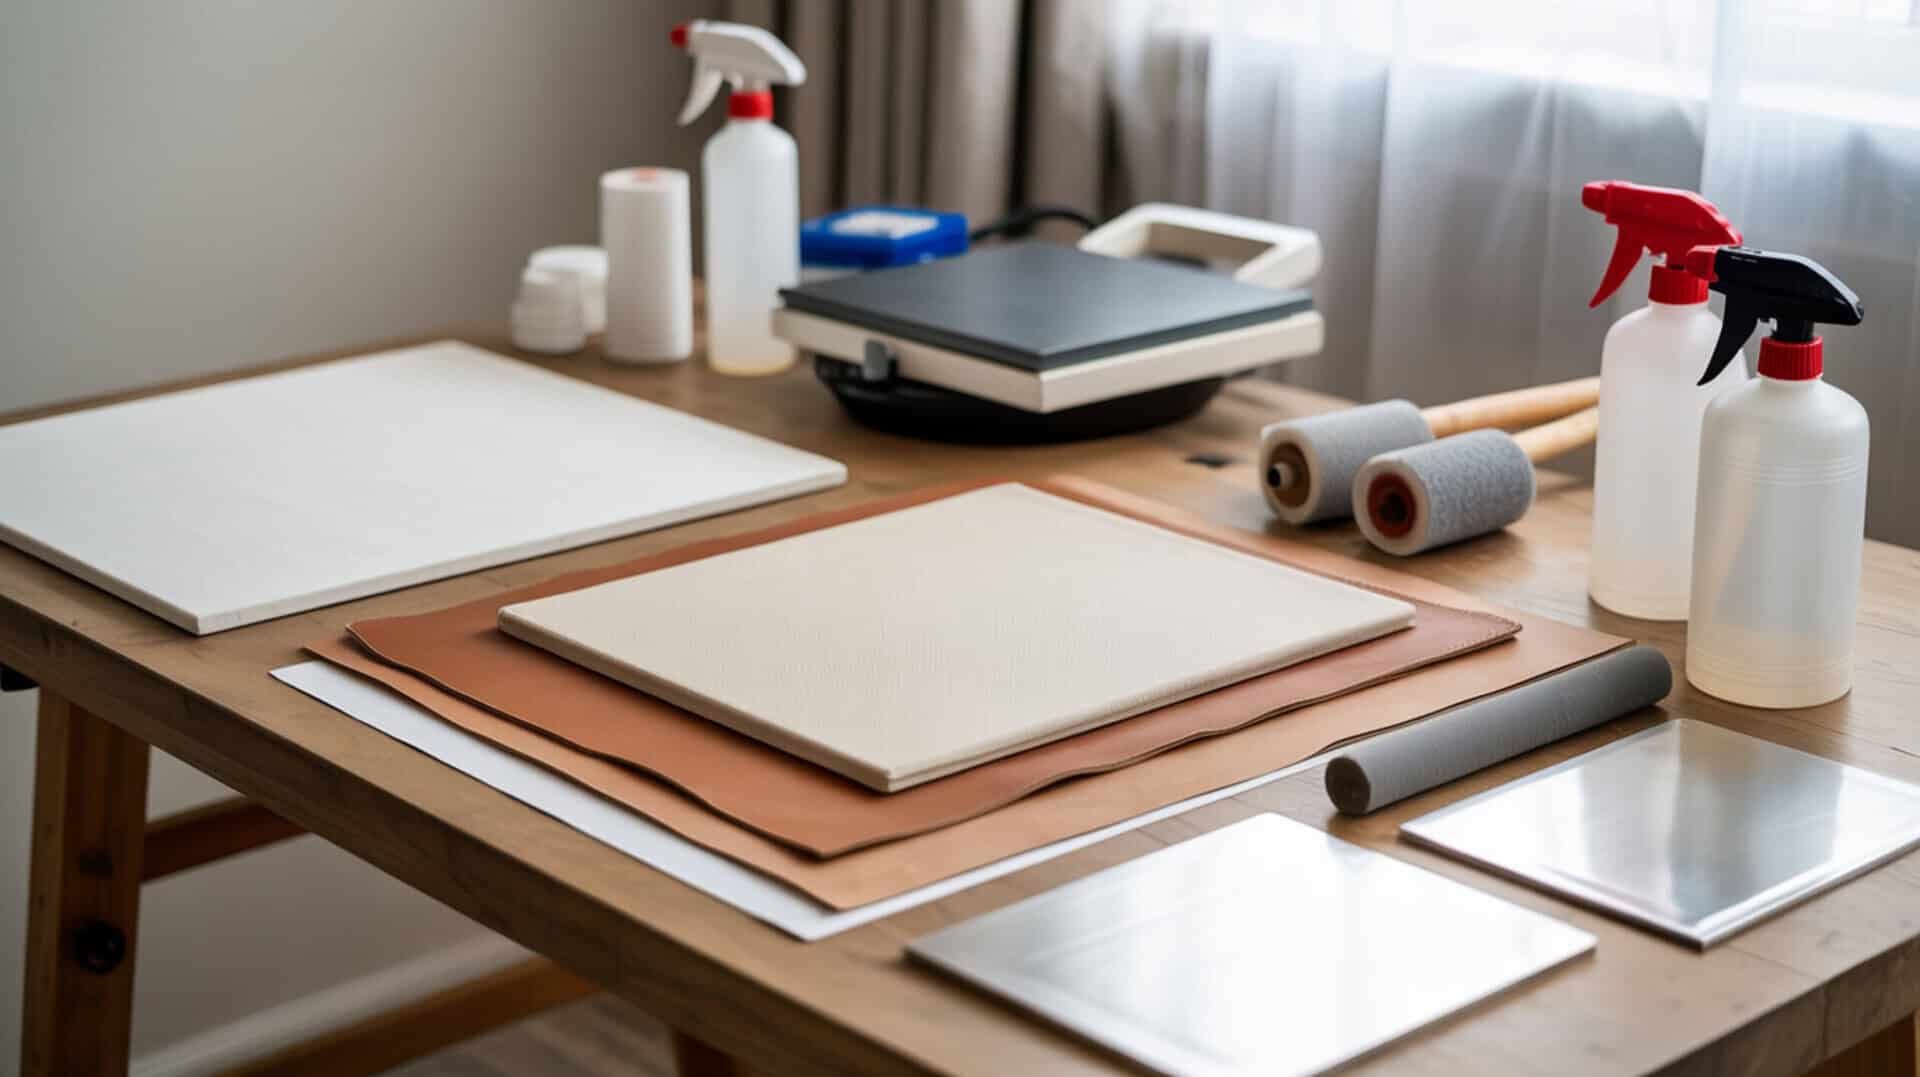
Which Blanks Work Best for Different Material Types?
Coating adhesion is the primary factor deciding blank quality—poor adhesion leads to peeling, fading, and color inconsistency regardless of material type. Color vibrancy depends on coating formulation, surface smoothness, and proper pressing parameters working together to achieve full dye penetration. Investing in quality blanks from reputable suppliers eliminates coating variables and produces consistent results across production runs. For detailed evaluations of blank quality, supplier comparisons, and cost considerations, see our guide on best sublimation blanks for different materials.
Evaluating Blank Quality and Suppliers
Gloss finish blanks produce vibrant, saturated colors with high contrast that work well for photographs and detailed graphics. Matte finish blanks reduce glare and create softer aesthetic effects preferred for certain artistic applications and viewing conditions. Reputable suppliers provide recommended press settings, coating specifications, and consistent quality control that budget alternatives often lack.
Cost vs Quality Considerations
Density of substrate materials affects heat retention and print consistency—denser materials hold temperature more evenly during pressing. Resin-based coatings on premium blanks provide better dye uptake and durability compared to thinner, lower-cost coating formulations. Test samples from new suppliers before committing to large orders—quality variations between batches and manufacturers can significantly impact final results.
Testing New Blanks Before Production
Pre-press all blanks for 3–10 seconds before applying transfers to remove moisture and prevent ghosting caused by steam formation during pressing. Ghosting occurs when transfers shift during pressing—test blanks help identify optimal tape placement and pressure settings to eliminate this defect. Document successful settings for each blank type in a production notebook to ensure consistent results when reordering from the same supplier.
Final Thoughts
Polymer content is the core determinant of sublimation compatibility across all materials—substrates must contain or be coated with polyester-based compounds to accept dye. Color vibrancy depends on proper coating, correct temperature and pressure settings, and quality sublimation supplies working together throughout the transfer process. Understanding material-specific requirements for temperature, time, and pressure ensures consistent, professional results whether sublimating on plastic, acrylic, glass, metal, slate, or wood.
Frequently Asked Questions
Do all hard surfaces need a special coating for sublimation to work?
All non-fabric hard surfaces require polyester coating or polymer treatment to accept sublimation dye—the coating creates the receptive layer that captures gaseous dye during heat transfer. Raw materials like uncoated glass, metal, slate, and wood repel sublimation ink because their surface energy is too low for molecular bonding. Pre-coated sublimation blanks provide consistent coating quality, while DIY coating sprays offer flexibility for custom projects with variable results.
What temperature adjustments are needed for different materials?
Temperature requirements vary by thermal conductivity and material stability: plastics need 320–360°F to prevent warping, acrylic works at 360–385°F, glass requires 365–400°F with gradual heating, and metals press at 385–400°F. Wood and MDF typically require 350–400°F depending on coating type and thickness. Always follow blank manufacturer recommendations and test samples before production runs to optimize settings for your specific equipment.
Can I create my own sublimation coating for raw materials?
DIY sublimation coating sprays and two-part polyester resins allow coating of raw materials like wood, slate, glass, and ceramics at home or in small production settings. Results vary based on coating application technique, surface preparation, and curing process—factory-coated blanks typically deliver more consistent quality. Apply thin, even coats and follow manufacturer curing instructions precisely to achieve optimal dye uptake and durability.
Why do some materials produce better colors than others?
Color vibrancy depends on coating quality, surface smoothness, and whether a white base layer is present—transparent substrates without white backing produce muted colors lacking contrast. Gloss finish coatings reflect more light through embedded dyes, creating perceived vibrancy that matte finishes cannot match. Temperature accuracy also affects color development; under-heated transfers appear faded while over-heated transfers shift toward brown or yellow tones.
How do I know if a material is safe to heat press for sublimation?
Check manufacturer specifications for maximum temperature tolerance—materials should withstand at least 350°F without warping, melting, or releasing fumes. Avoid PVC and vinyl at sublimation temperatures, as these materials release toxic hydrogen chloride gas when heated above 212°F. Test unknown materials in well-ventilated areas starting at low temperatures, and watch for signs of deformation, discoloration, or off-gassing before attempting full sublimation transfers. Certain materials release hazardous gases when heated beyond safe limits, which is why plastics like PVC should never be used at sublimation temperatures. [2]
References
- Partial pressure of carbon dioxide – StatPearls – NCBI bookshelf. (2022, September 26). National Center for Biotechnology Information. https://www.ncbi.nlm.nih.gov/books/NBK551648/
- Hydrogen sulfide. (n.d.). Centers for Disease Control and Prevention | CDC. https://www.cdc.gov/niosh/npg/npgd0337.html