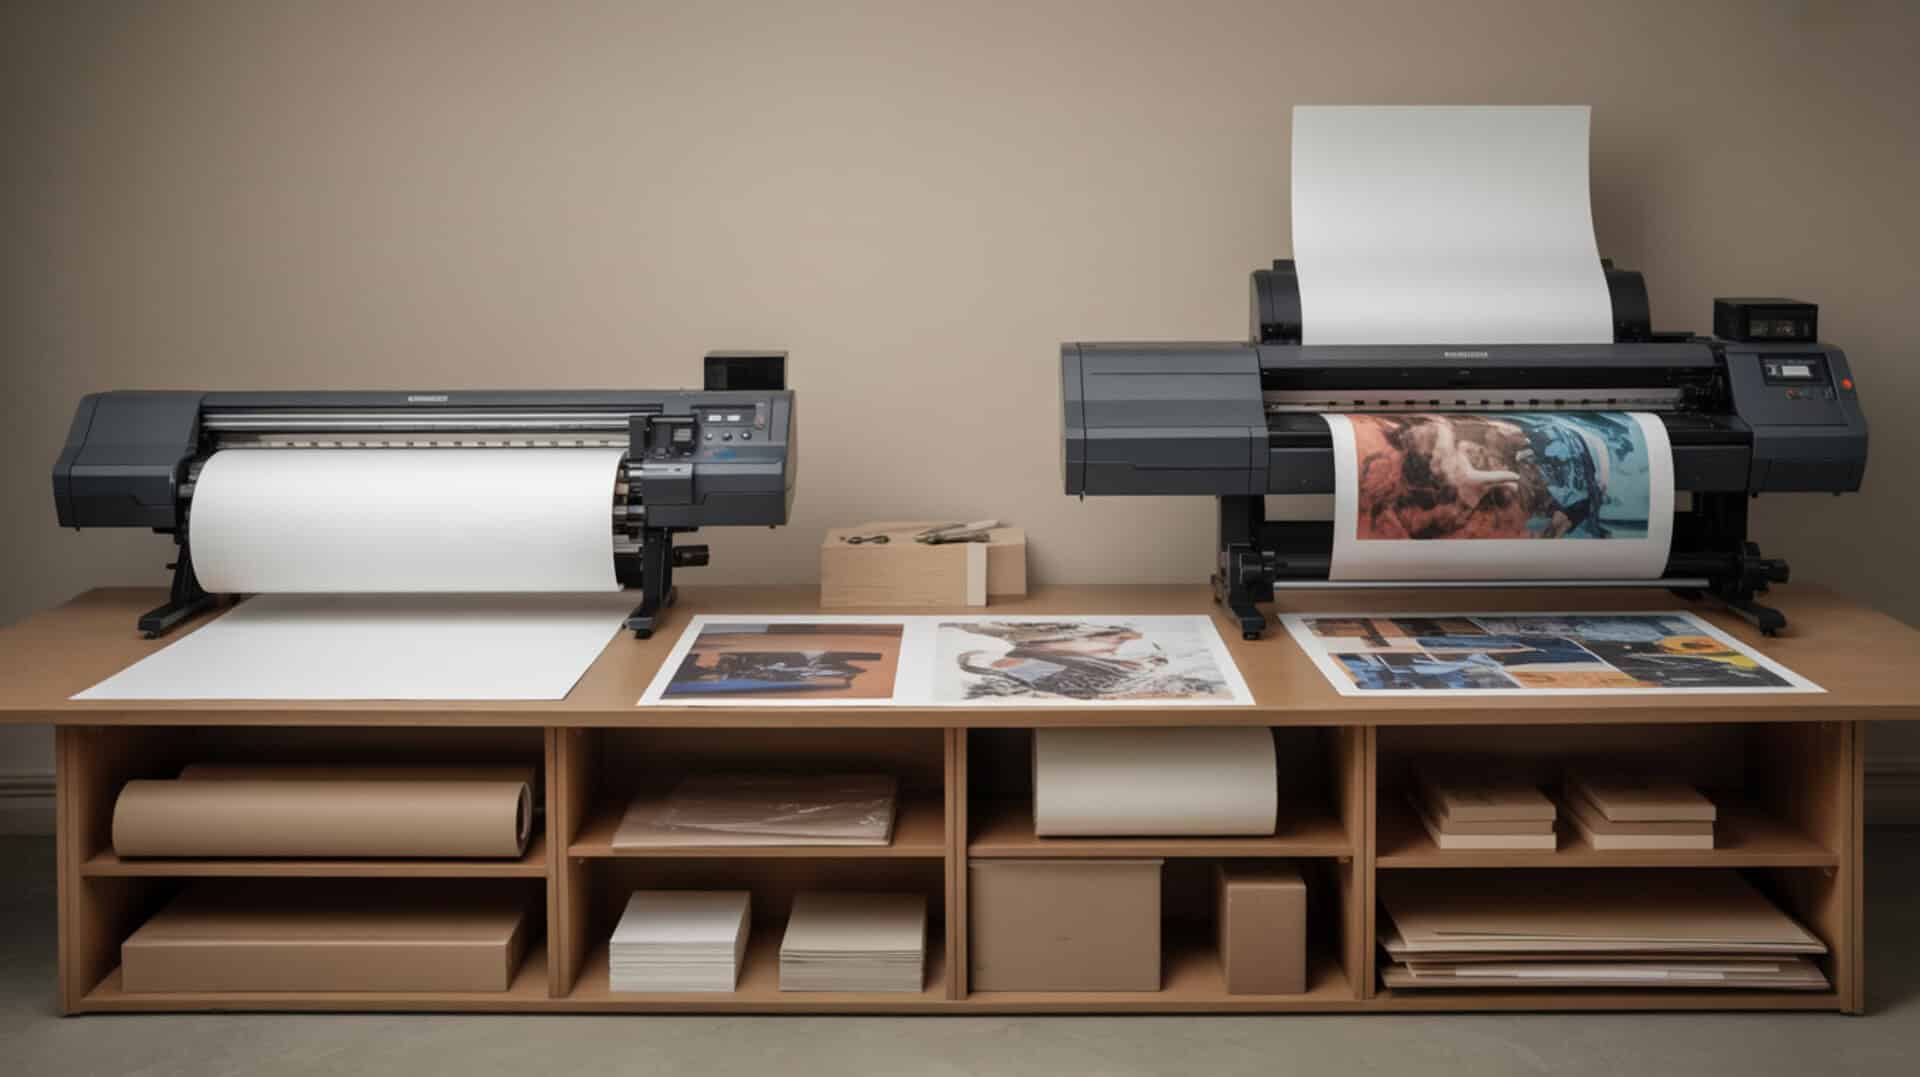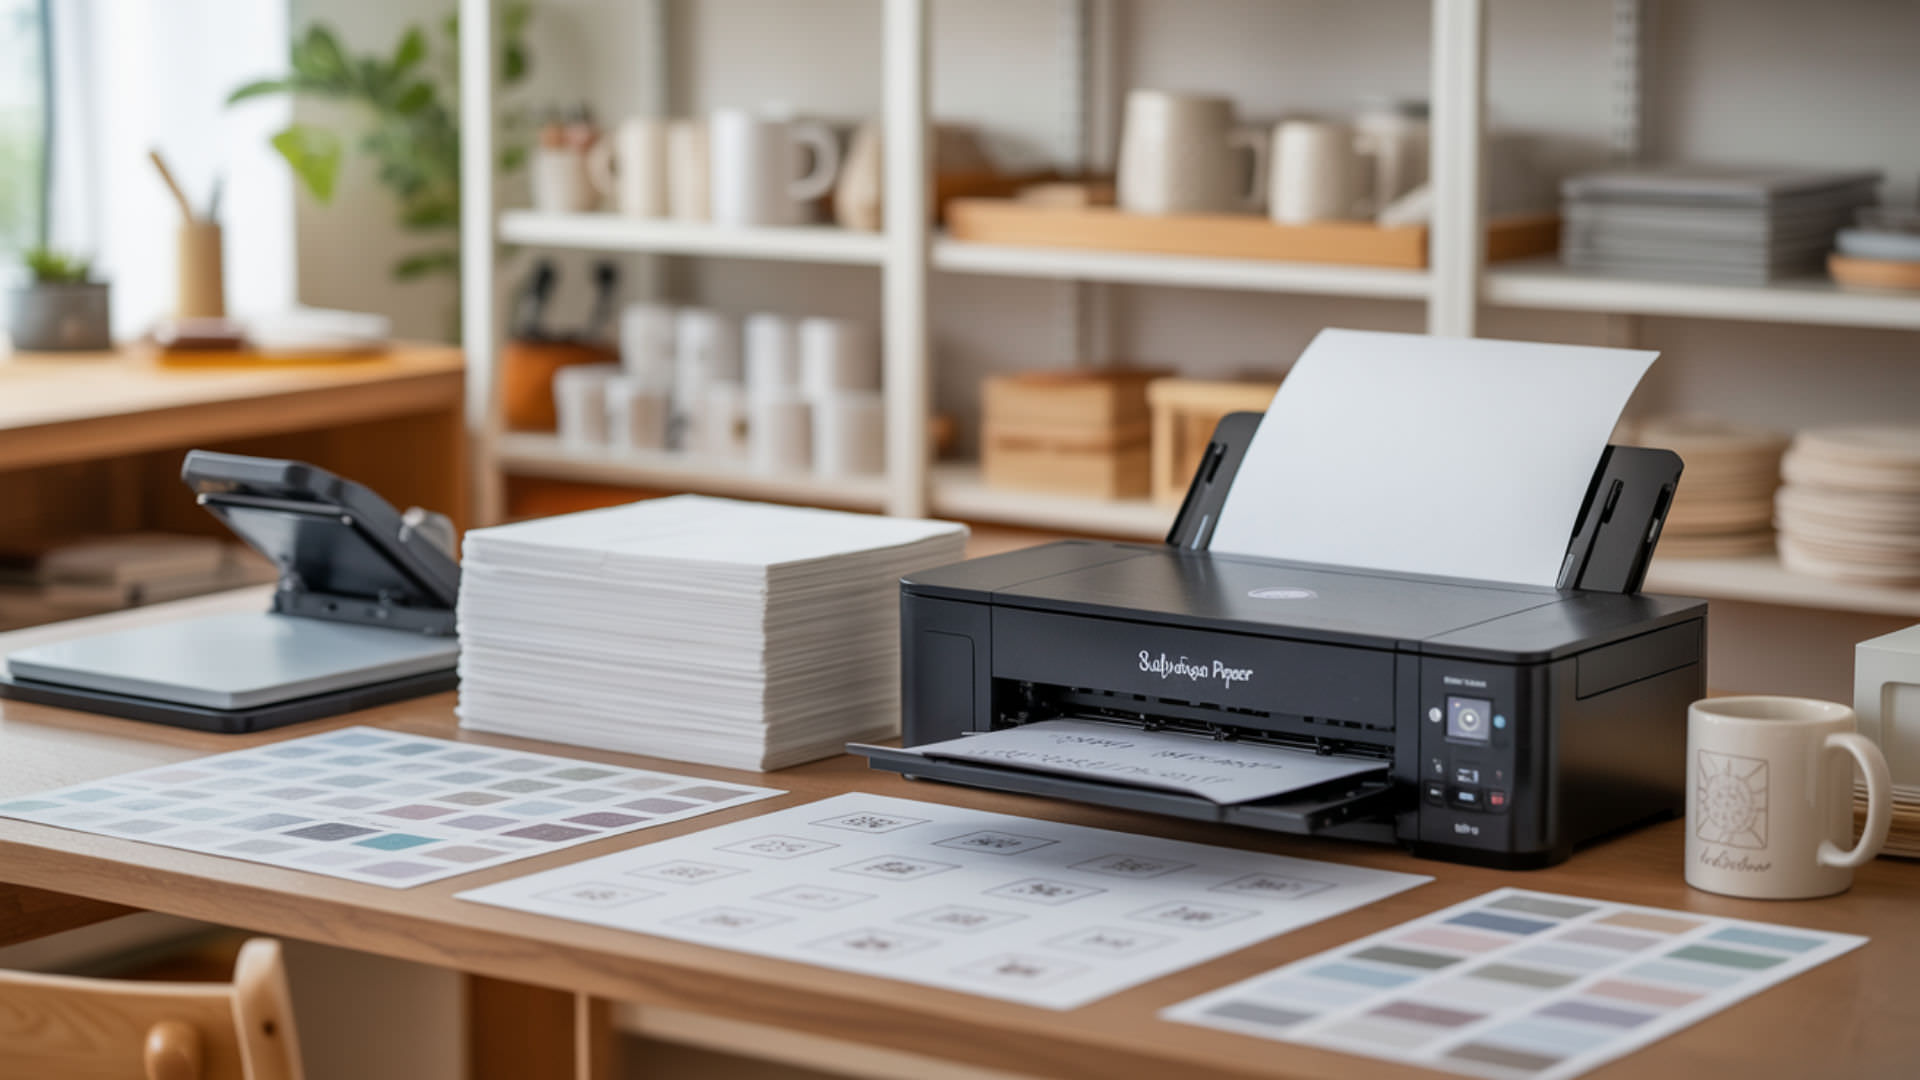
Sublimation paper features a specialized print side with paper coating that holds dye on the surface and controls release during heat pressing. The coated side must face the print head to achieve accurate dye placement and vibrant color transfer. Printing on the wrong side wastes materials and produces failed transfers with dull, unusable results. The science behind paper coating explains porosity levels and why only one side accepts dye properly for sublimation printing.
Key Takeaways
- The print side (coated side) appears brighter white and slightly glossy, while the uncoated side looks off-white, feels rougher, and may contain manufacturer markings.
- The uncoated side absorbs moisture and ink into the paper fibers, ruining color vibrancy and preventing proper dye transfer during heat pressing.
- Use the water droplet test, touch test, or fold test to confirm the correct side before loading paper into your sublimation printer.
Which side is the correct print side on sublimation paper?

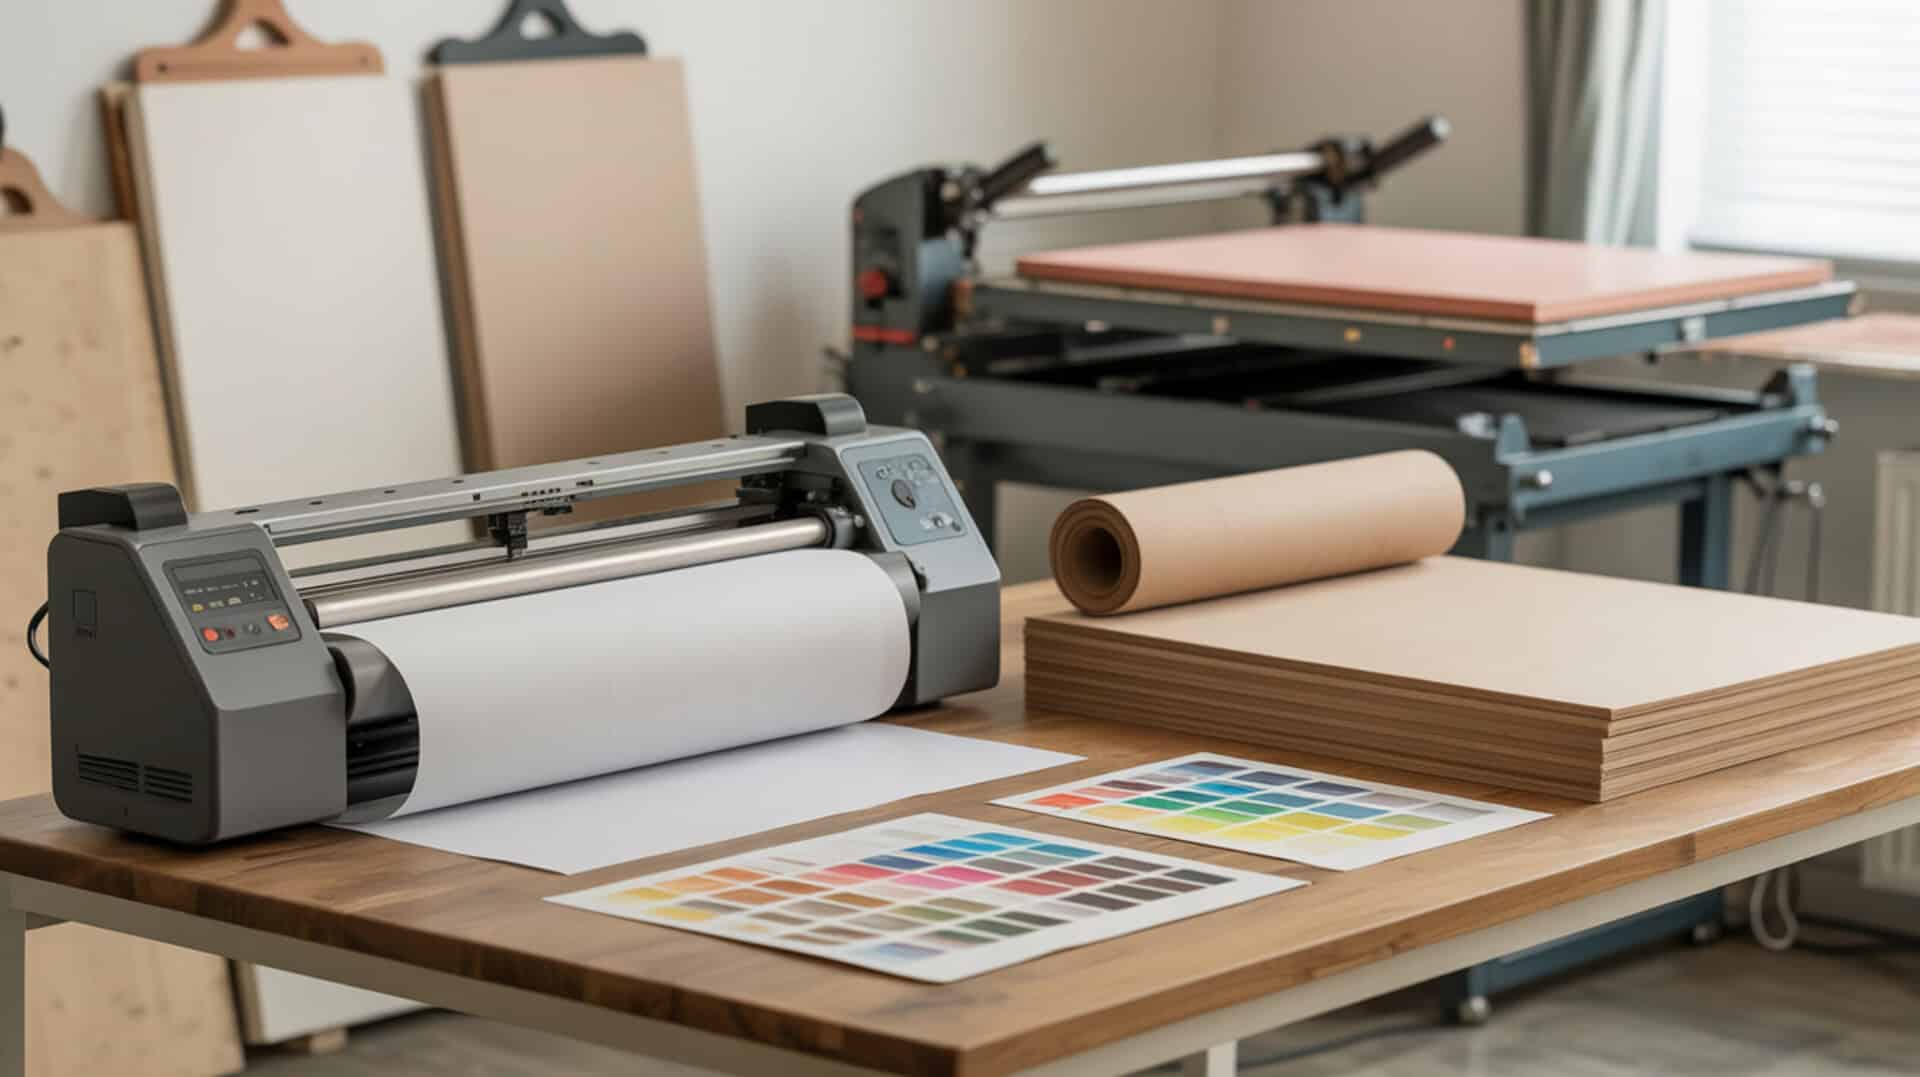
The correct print side is the coated side, which exhibits distinct smoothness and brightness compared to the uncoated back. Lower porosity on the coated surface holds dye on the paper rather than absorbing it into the fibers. Under good lighting, the printable side appears noticeably whiter and may have a subtle sheen. Premium sublimation papers differ by coating brightness and surface treatment, with higher-quality options providing clearer print-side indicators. Material porosity determines whether liquids remain on the surface or penetrate into internal fiber structures.[1]
How do you identify the printable side of sublimation transfer paper?
Multiple methods confirm the printable side reliably. The coating texture test reveals a slightly tacky or sticky feel on the coated surface compared to the smooth uncoated back. The water droplet test shows water beading on the coated side while absorbing quickly into the uncoated side. Brand markings, logos, or watermarks typically appear on the non-printable back, indicating which side faces down in the printer.
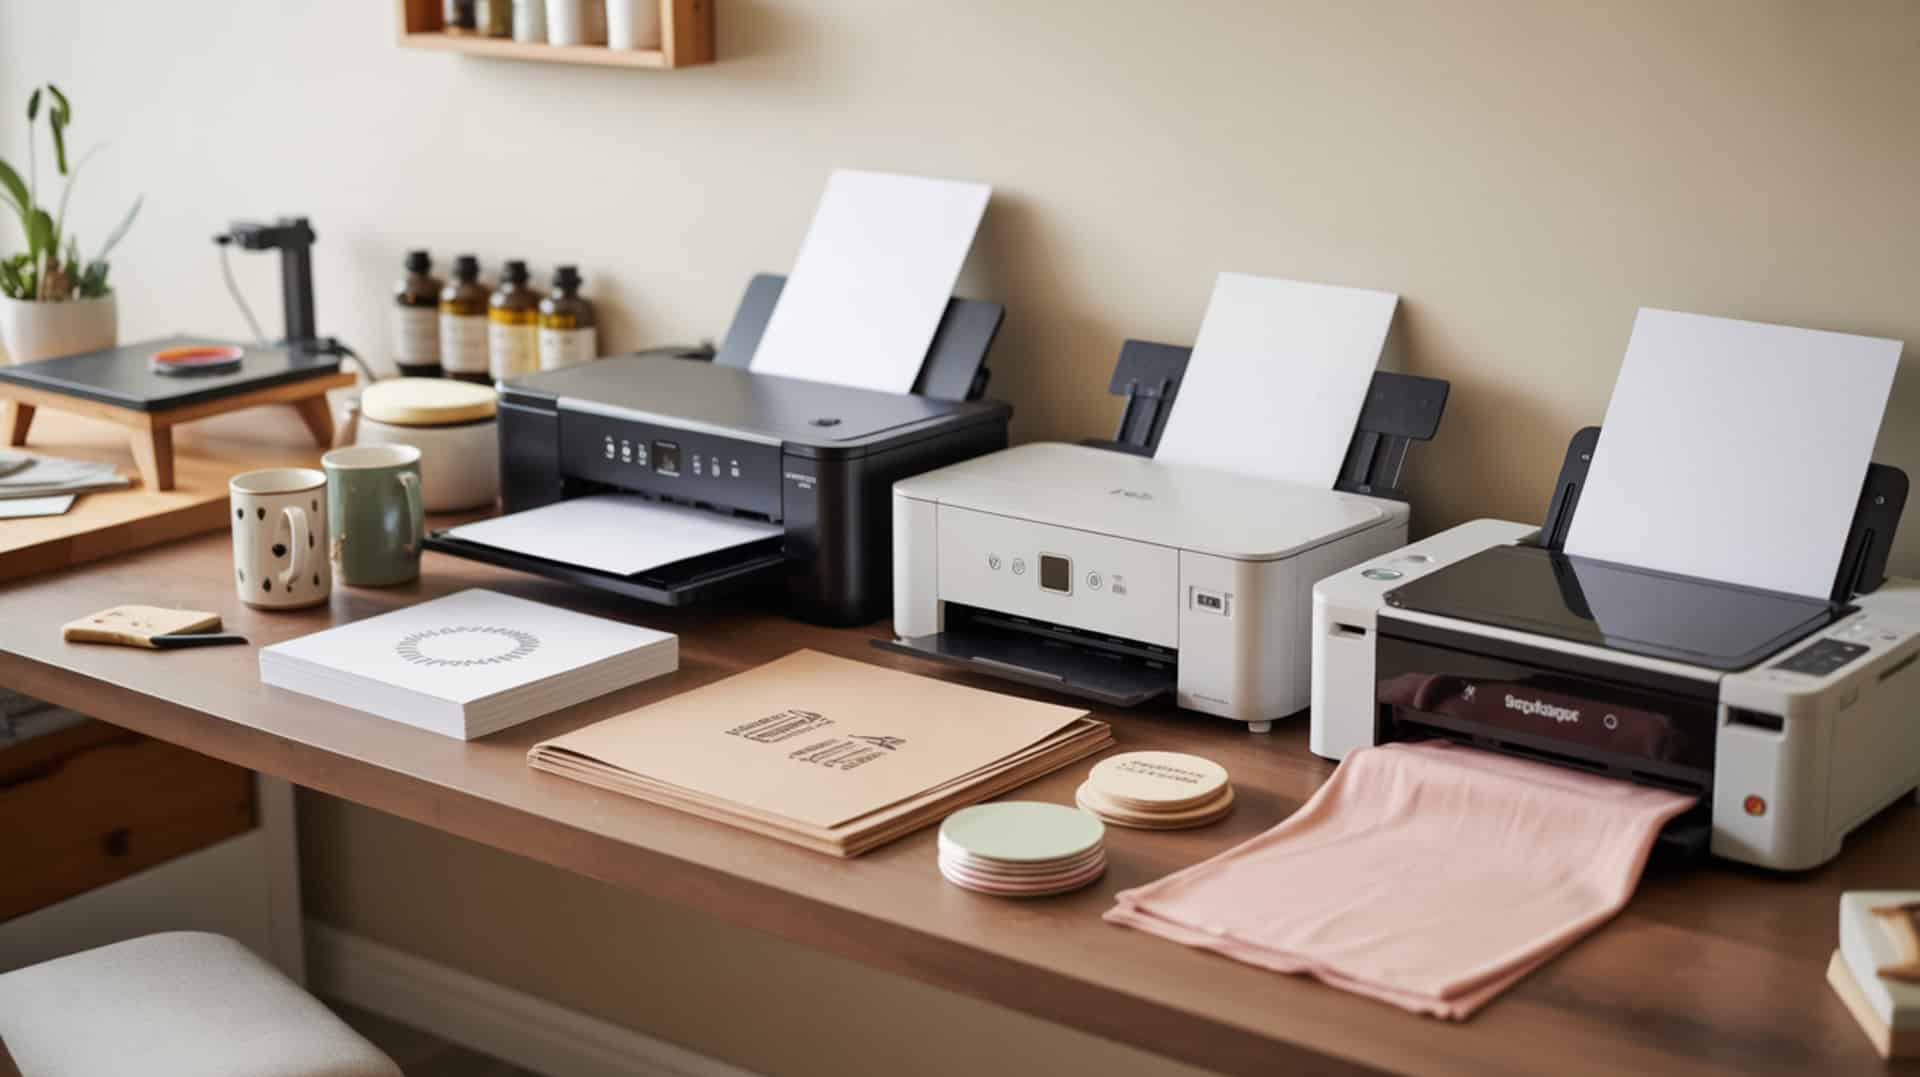
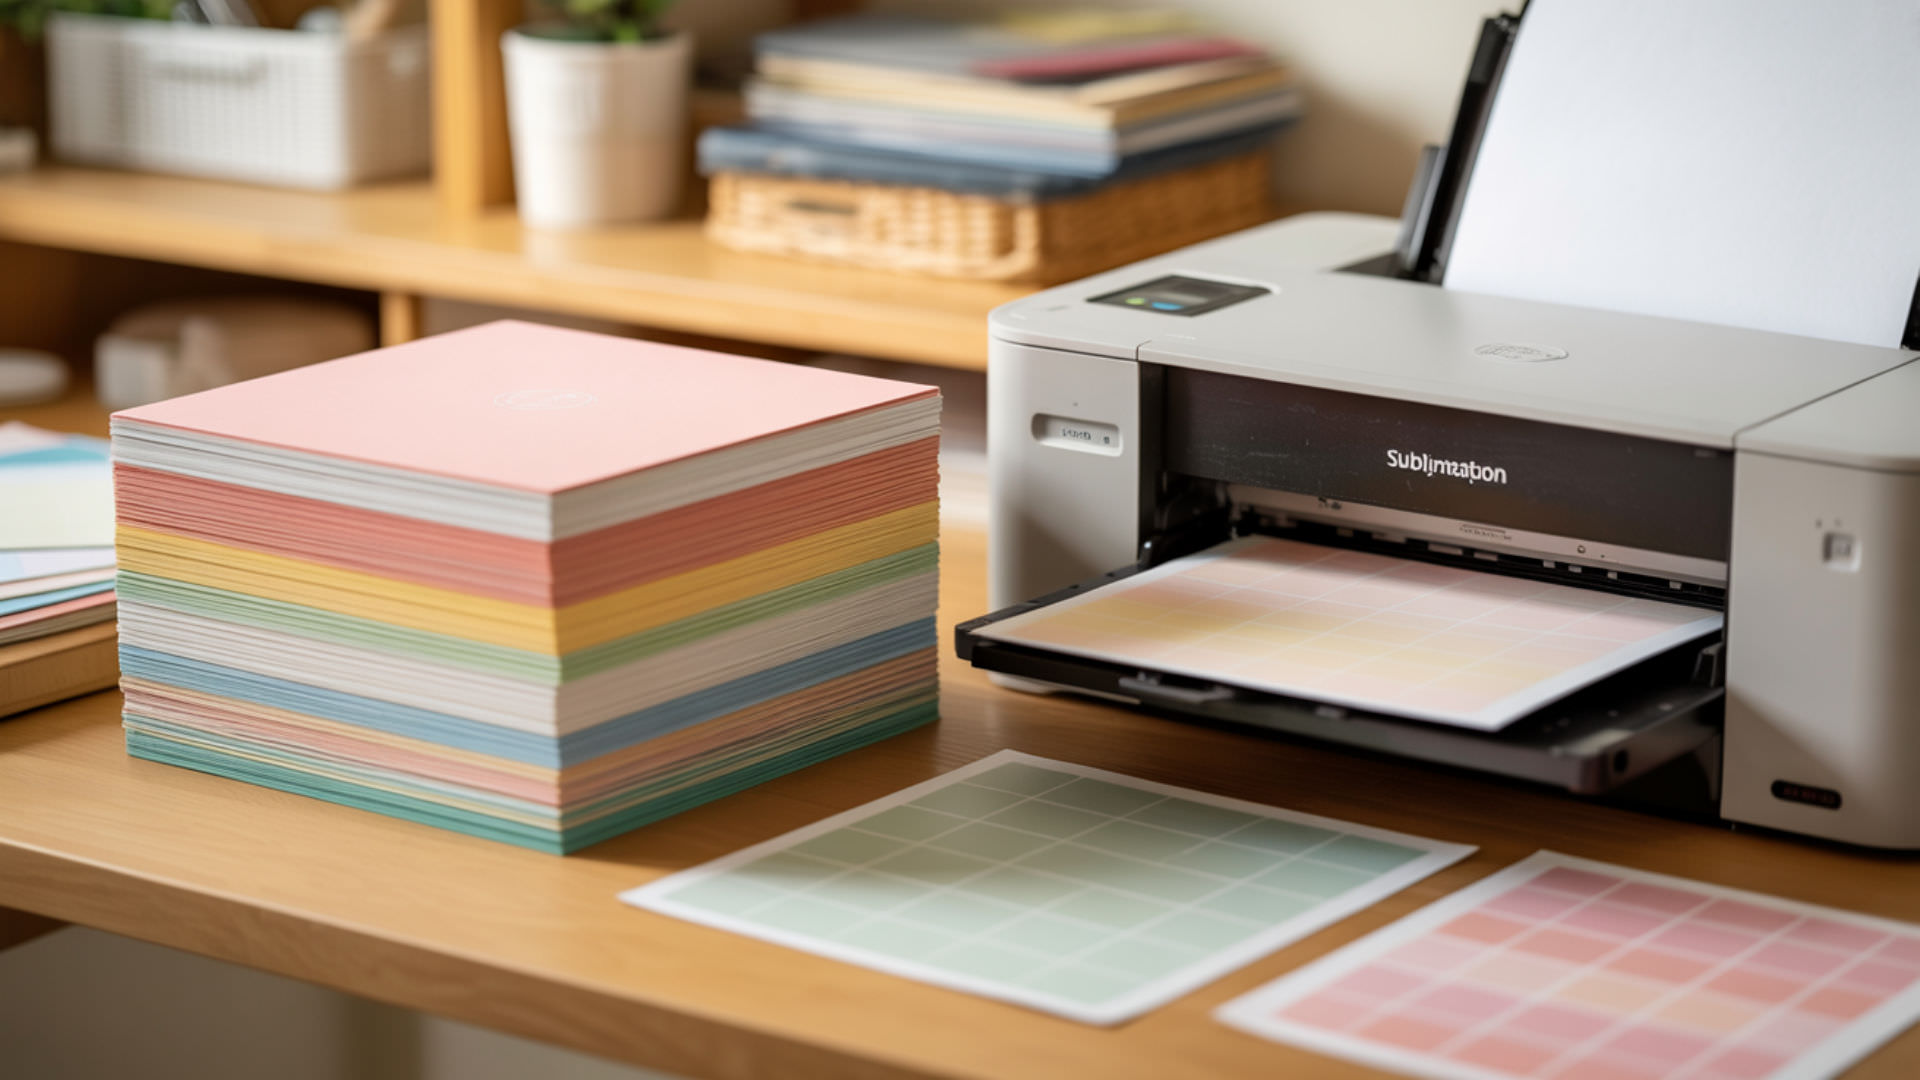
How do you print using sublimation transfer paper?

Load sublimation paper with the coated side facing the print head according to your printer’s paper path configuration. The coated side exhibits hydrophobicity—resisting moisture to ensure crisp prints with sharp line definition. The uncoated cellulose side displays hydrophilicity, absorbing ink into the fibers and causing dull, washed-out colors. Understanding how ink absorption differs between sublimation paper and regular copy paper explains why proper side orientation matters for print clarity. Hydrophilic surfaces absorb moisture readily, while hydrophobic surfaces resist it, which directly affects how liquids interact with coated versus uncoated paper. [2]
How long can sublimation transfer paper be stored before print quality weakens?
Sublimation paper maintains optimal quality for 6–12 months when stored properly in original packaging. Moisture content accumulation causes curling, coating degradation, and dye dulling over time. Store paper at 50–86°F (10–30°C) with 45–55% relative humidity in a cool, dry location away from direct sunlight. Static electricity builds in low-humidity environments, causing feeding issues and potential print defects.
How do you identify the correct print side step-by-step?

- Check for arrow markings or brand logos on the packaging that indicate correct side orientation for your specific paper brand.
- Examine both sides under bright light—the coated print side appears brighter white with subtle glossiness compared to the duller back.
- Perform the coating texture test by gently rubbing fingers across each surface; the coated side feels slightly tacky or sticky.
- Apply the water droplet test on a corner—water beads and sits on the coated side while absorbing into the uncoated back.
- Use the fold test as a final confirmation—bend the paper gently and the side curling inward when exposed to air is the print side.
- Run a small test print on scrap paper first to verify your printer loads the coated side correctly before starting production runs.
Ready to print on the right side every time?
Identifying the correct print side eliminates wasted materials and ensures every transfer achieves maximum color vibrancy. The coated side holds dye on the surface for complete release during pressing, while the uncoated side absorbs ink irreversibly. Establishing a consistent paper-loading routine based on your printer’s configuration prevents accidental wrong-side printing. Quick verification tests take seconds but save hours of troubleshooting failed transfers.
Frequently Asked Questions
Does sublimation transfer paper expire if stored too long?
Sublimation paper has a warranty period of 6–12 months under proper storage conditions. Exposure to humidity, temperature fluctuations, and direct sunlight degrades the coating over time, reducing dye release efficiency during transfer. Paper stored in original sealed packaging at controlled temperature and humidity maintains quality longest. Expired paper produces faded transfers with incomplete dye release.
Can print quality change if the wrong side of transfer paper is used?
Printing on the uncoated side produces severely degraded results with dull colors, poor line sharpness, and incomplete dye release during pressing. The uncoated cellulose absorbs ink into the paper fibers rather than holding it on the surface for transfer. This mistake wastes both paper and ink while producing unusable transfers. Always verify the correct side before loading.
What storage conditions help preserve sublimation transfer quality?
Store sublimation paper at 50–86°F (10–30°C) with 45–55% relative humidity in a cool, dry room away from direct sunlight. Keep paper in original sealed packaging to prevent moisture absorption and dust contamination. Avoid stacking more than 8 layers of cartons to prevent pressure damage. Remove paper from packaging 24 hours before printing to acclimatize to environmental conditions.
Can a printer still support sublimation after ink drying issues?
Printers experiencing ink drying or clogging issues may recover with proper maintenance including head cleaning cycles and nozzle checks. Extended idle periods allow sublimation ink to dry in print heads, causing blockages that affect print quality. Regular printing—even small test patterns—keeps ink flowing and prevents sediment buildup. Severely clogged heads may require professional cleaning or replacement.
What are early warning signs of sublimation print defects?
Early warning signs include banding (horizontal or vertical lines), color inconsistencies, blurry images, and ghosting effects on transferred designs. Faded or washed-out prints often indicate wrong-side printing, expired paper, or insufficient heat press temperature. Streaks suggest print head issues requiring cleaning. Addressing these symptoms early prevents material waste and maintains consistent production quality.
References
- Department of materials science and engineering. (n.d.). MIT Course Catalog. https://catalog.mit.edu/schools/engineering/materials-science-engineering/
- Department of materials science and engineering. (n.d.). MIT Course Catalog. https://catalog.mit.edu/schools/engineering/materials-science-engineering/