Sublimation transforms solid dye into gas using heat energy, allowing pigments to bond permanently with polymer-coated surfaces. When the process fails, the results range from faded prints to ghosted images—but most errors trace back to controllable variables. This guide walks you through the most common problems and how to correct them.
Key Takeaways
- Temperature, pressure, and dwell time must align precisely—deviation in any variable causes fading, ghosting, or blurring.
- Polymer bonding determines color permanence; weak dye diffusion from underheating leads to rapid washout.
- Paper movement during pressing creates ghost images; securing transfers with heat-resistant tape prevents misalignment.
How Can You Prevent Sublimation from Fading Over Time?

Sublimation dye fades when dye diffusion into polymer chains remains incomplete. At 380–400°F, dye molecules convert to gas and penetrate polyester fibers, locking color beneath the surface. Underheating leaves dye sitting on top of the substrate rather than embedded within it, causing rapid washout after a few washes. Because dye diffusion determines how well color embeds into fabric, you may want to read our full guide on keeping sublimation from fading.
Understanding What Causes Fading
Underheating prevents full polymer bonding between dye molecules and substrate fibers, producing dull colors that wash out quickly. Thermal degradation from overheating (above 410°F) breaks down dye molecules entirely, causing yellowing or color loss. Both extremes compromise the chemical bond that makes sublimation permanent. Color permanence in sublimation depends on how dye molecules interact with polymer chains, and the National Institute of Standards and Technology explains that polymers respond to heat by allowing molecular-level diffusion and bonding that directly affects durability. [1]
Protective Measures During Production
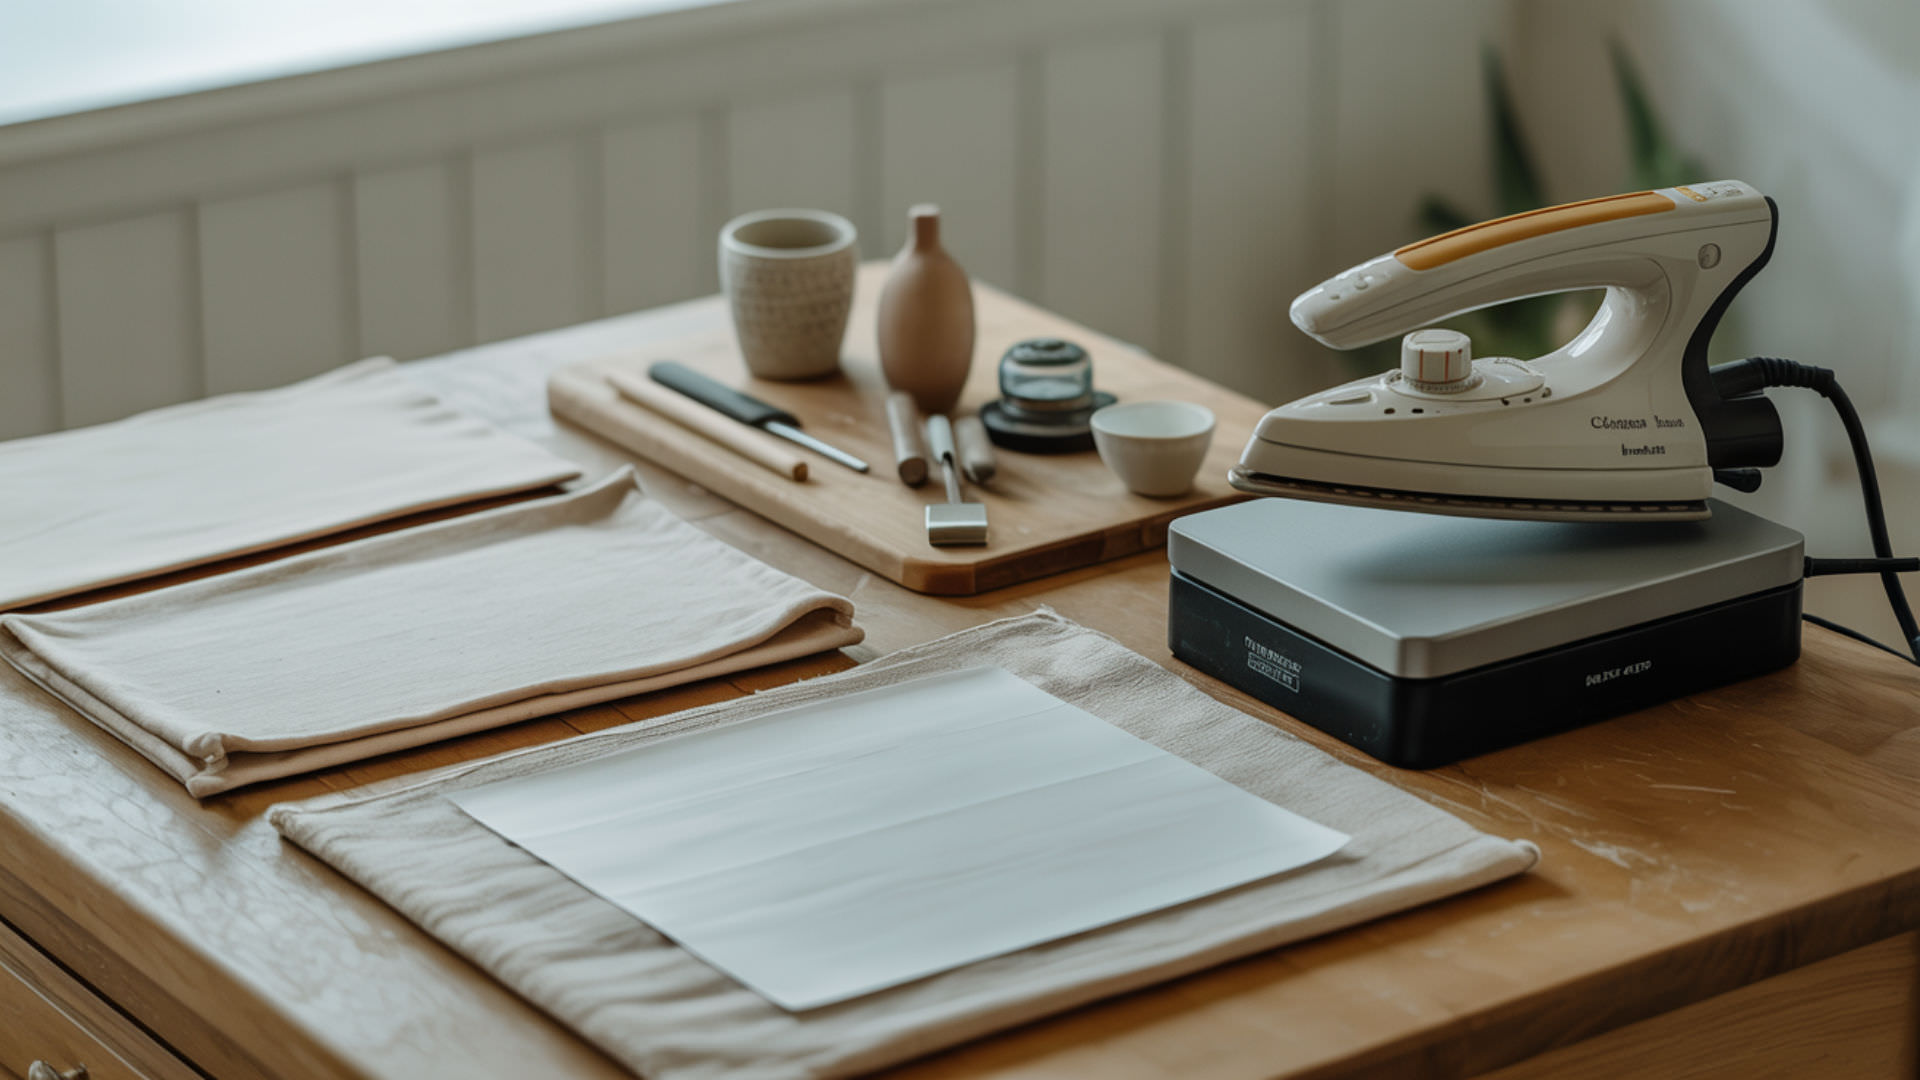
Correct temperature (380–400°F) combined with proper dwell time (35–60 seconds depending on substrate) ensures stable dye penetration. Surface energy of the coating affects how readily dyes interact with polymer layers—pre-pressing for 3–5 seconds removes moisture and improves surface receptivity.
Long-Term Care and Maintenance Tips
Strong polymer bonding resists repeated washing when dye has fully penetrated fiber structure. Excess heat exposure during care—hot dryers, direct sunlight, high-temperature ironing—causes gradual thermal degradation of embedded dye. Washing in cold water and air drying preserves color longevity.
What’s the Best Way to Remove Sublimation Ghosting?
Ghosting occurs when transfer paper shifts during pressing, creating secondary shadow images alongside the intended design. Dimensional stability of the paper and substrate prevents misalignment, while even pressure distribution eliminates movement caused by uneven force. Since paper movement is the primary cause of ghost images, our detailed ghosting removal guide covers identification and correction techniques.
⫸ Click Here For Best Selling Sublimation Printers And Products ⫷Identifying Different Types of Ghost Images
Paper movement during or after pressing produces offset shadows—faint duplicates appearing beside the original design. Dimensional instability in substrates that expand under heat causes misregistration, where edges appear doubled or blurred. Single-sided ghosting indicates directional paper shift; full-image ghosting suggests pressure or heat inconsistency.
Prevention Techniques During Pressing
Consistent pressure distribution across the entire platen prevents paper from lifting when the press opens. Proper temperature (385–400°F for most substrates) reduces excessive substrate expansion that can push paper out of position. Using a swing-away press and lowering the platen straight down minimizes lateral movement.
Fixing Ghosting After It Happens
Controlled reheating with a clean sheet of butcher paper can sometimes reduce light ghost shadows on certain substrates. Strong adhesion between dye and substrate limits correction options—once heat energy has transferred the image twice, removal becomes difficult. Prevention remains more effective than correction.
Why Is Your Printer Showing Green as Blue?
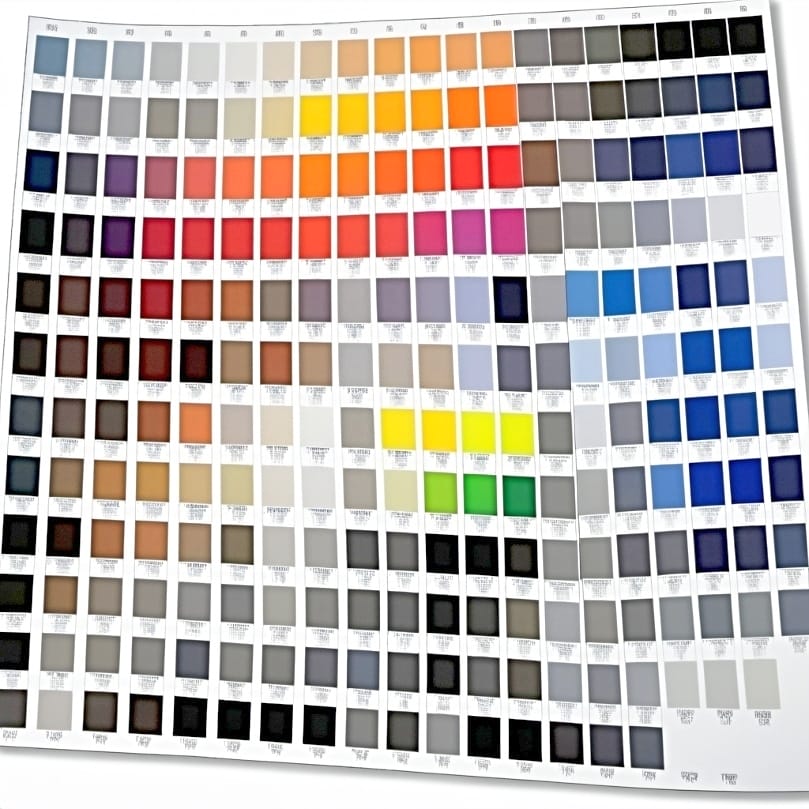
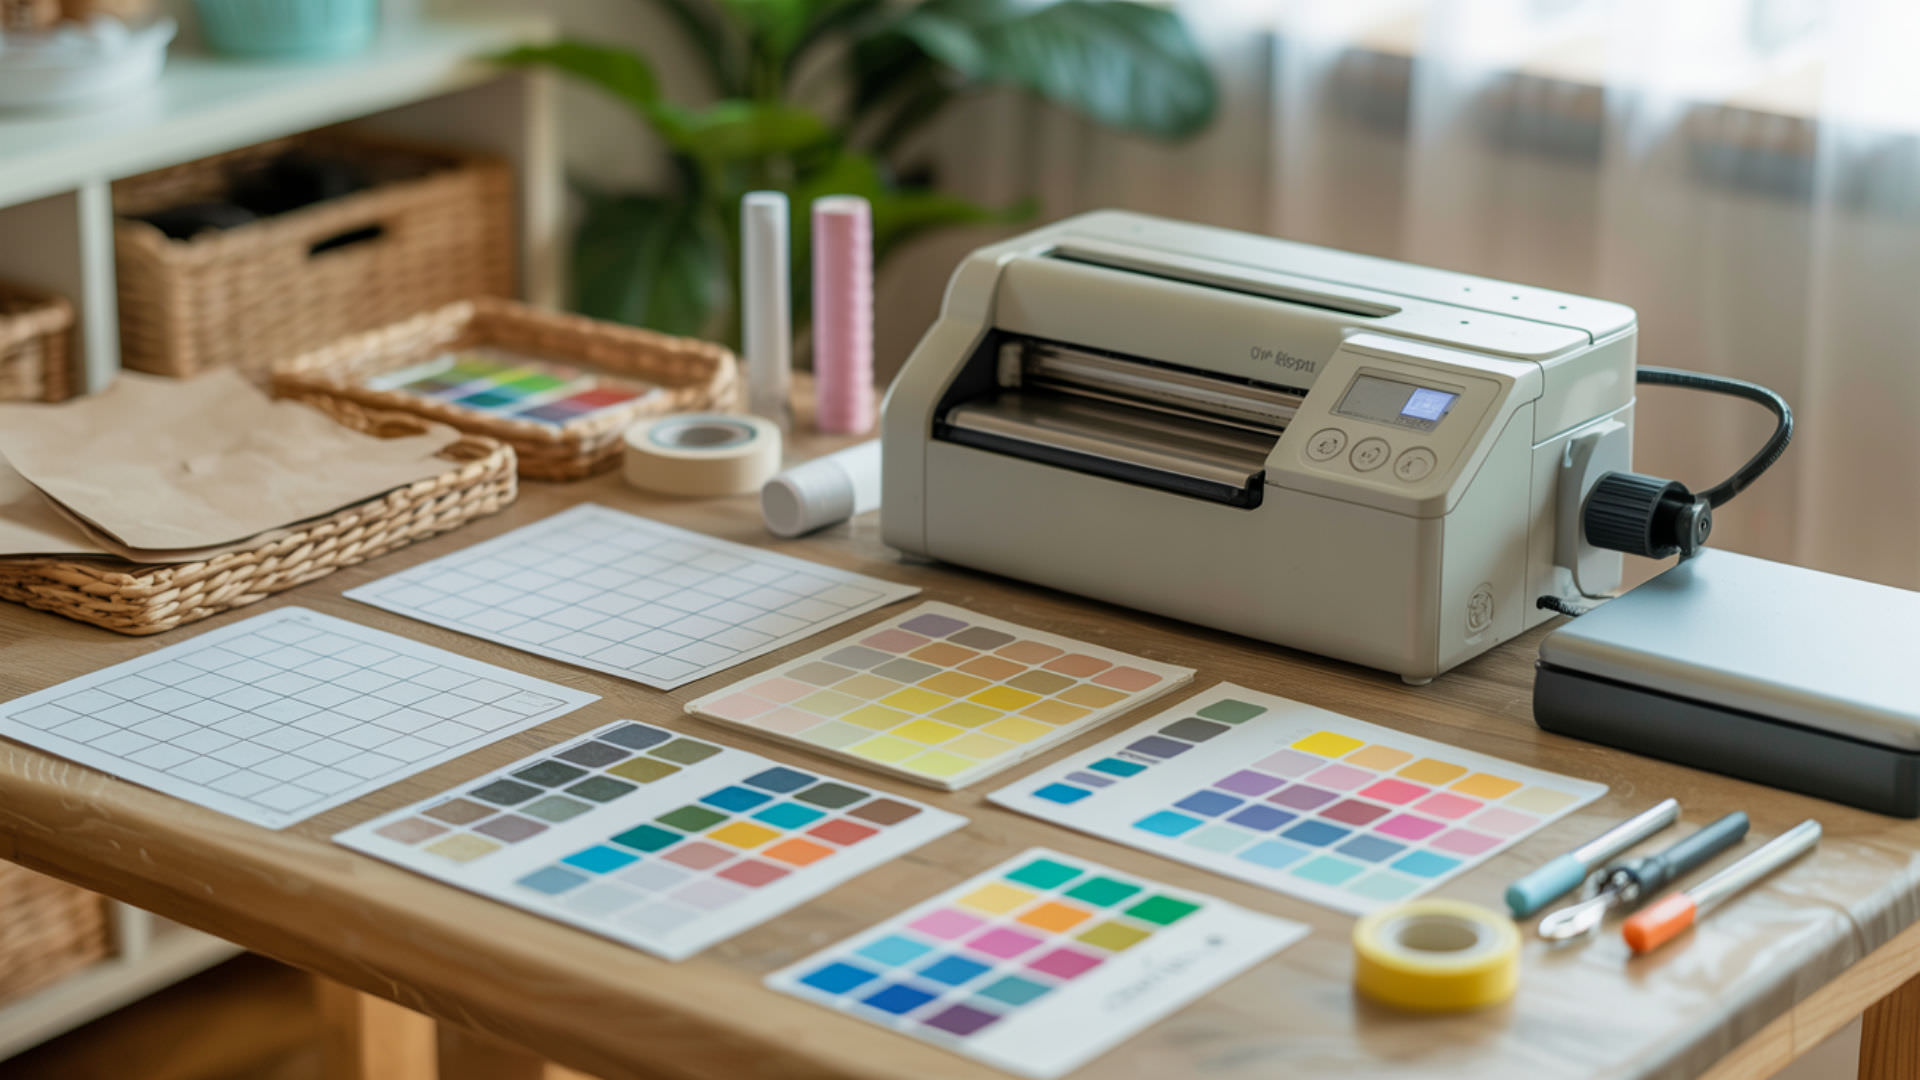
Green-to-blue color shifts occur when sublimation dye lacks proper yellow output, typically from depleted yellow ink, clogged nozzles, or incorrect ICC profiles. Resolution settings (DPI) affect droplet formation, which determines how cyan and yellow mix to produce green. Understanding droplet formation and ink behavior helps diagnose color accuracy issues—our printer color troubleshooting guide expands on these causes.
Color Profile and ICC Setting Issues
Sublimation dye requires specific ICC profiles that translate RGB screen colors to CMYK printer output. Ink viscosity affects how ink flows through nozzles—thicker ink from temperature changes or age alters droplet size and color mixing accuracy. Using the wrong profile or no profile causes predictable color shifts.
Monitor Calibration vs Print Output
Incorrect resolution (DPI) settings create mismatches between screen display and printed output. Monitors display RGB color while printers output CMYK, and without proper calibration, greens on screen become blues on paper. Setting print resolution to 300 DPI and selecting the correct color profile reduces this gap.
Troubleshooting Color Management Problems
Droplet formation inconsistencies from partial nozzle clogs cause missing hues in printed output. Ink starvation—when ink fails to reach the printhead adequately—removes entire color channels from the mix. Running a nozzle check pattern identifies blocked channels; cleaning cycles restore proper ink flow.
How Do You Avoid Tape Marks on Your Projects?
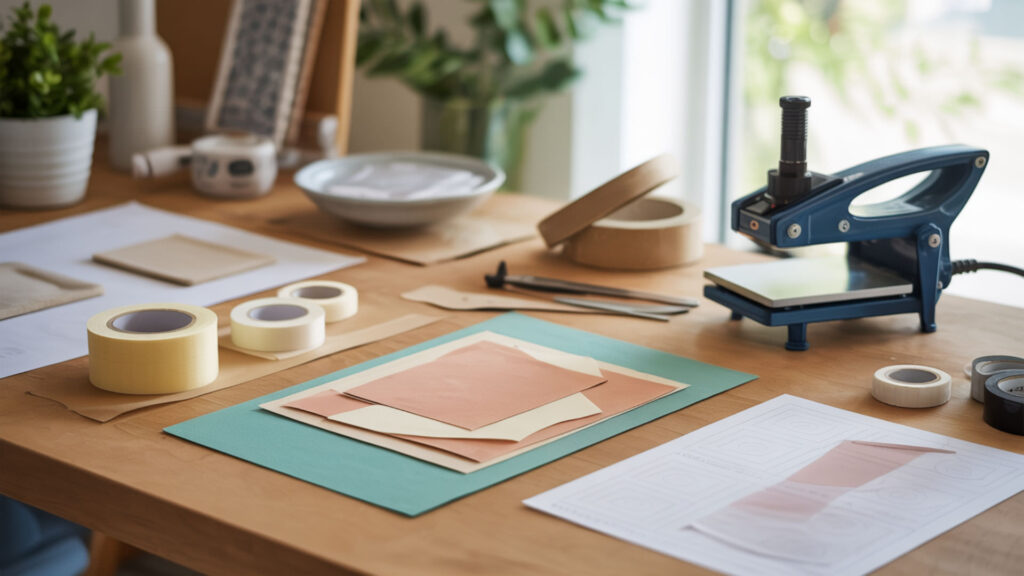
Tape marks form when high adhesion levels press patterns into heat-softened substrates during transfer. Contact angle and surface energy determine how strongly tape bonds to the coating—lower surface energy reduces residue transfer. Since adhesion strength directly causes tape marking, our guide on preventing tape marks covers material selection and placement techniques.
Choosing the Right Heat-Resistant Tape
Lower-adhesion tapes reduce marking risk by bonding firmly enough to prevent movement without pressing into the substrate surface. Silicone-based adhesives release cleanly at sublimation temperatures. Applying tape outside the printed area—on margins or edges only—avoids visible marks entirely.
Alternative Securing Methods
Correct pressure alone can prevent transfer movement without requiring strong tape. Heat-resistant repositionable spray adhesive bonds paper to substrate lightly, holding position during pressing while releasing cleanly afterward. For rigid substrates, weight from Teflon sheets provides sufficient hold.
Removing Tape Residue and Marks
Proper wetting with isopropyl alcohol softens adhesive residue without damaging polymer coatings on substrates. Rubbing too aggressively scratches coated surfaces—gentle circular motions lift residue gradually. For stubborn marks, commercial adhesive removers designed for coated surfaces work without stripping the coating.
Why Does Shrink Wrap Sometimes Melt During Sublimation?
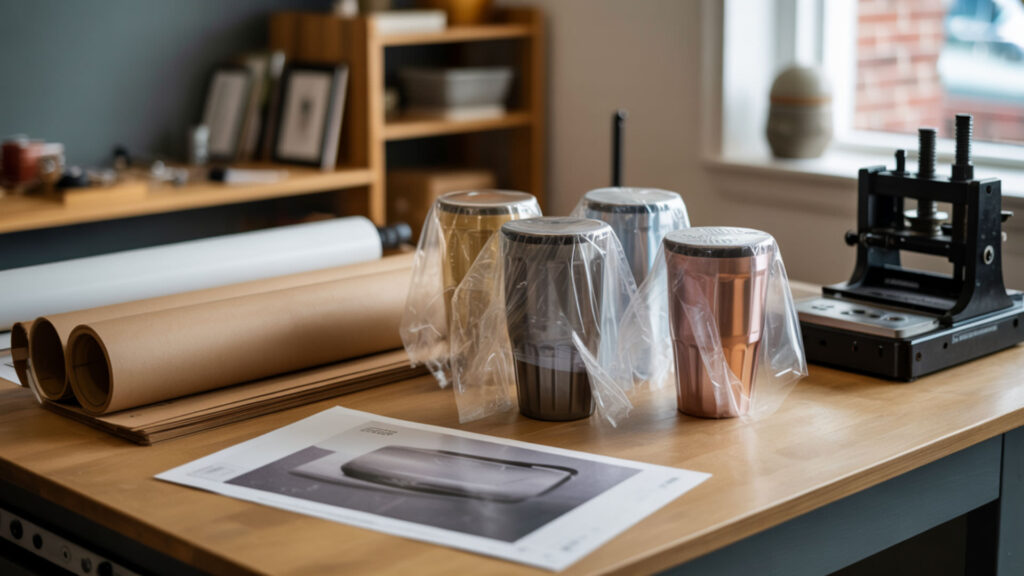
Shrink wrap melts when temperature exceeds the plastic’s softening point, typically above 350°F for standard polyolefin films. Thermal degradation begins at sustained high temperatures, and uneven heat distribution creates hot spots that accelerate melting in localized areas. Because thermal degradation determines wrap survival under heat, our shrink wrap melting guide details temperature thresholds and alternatives.
Temperature Threshold Management
Proper temperature control keeps heat below wrap failure points while remaining sufficient for dye transfer. Standard polyolefin shrink wrap softens around 350°F; sublimation-specific wrap withstands 400°F+. Reducing press temperature by 10–15°F and extending time compensates for heat-sensitive wraps.
Proper Shrink Wrap Application Techniques
Even pressure distribution prevents stressed areas from concentrating heat and overheating prematurely. Wrapping too tightly creates tension points that melt first; slightly looser application distributes thermal load evenly. Overlapping seams should sit away from high-contact areas on the substrate.
When to Use Alternative Wrapping Methods
Lower-heat alternatives like silicone bands or heat-resistant tape eliminate melt risk entirely for problematic substrates. Convection ovens distribute heat more evenly than direct-contact presses, reducing hot spots. For tumblers and curved items, silicone wraps rated to 450°F+ outperform standard shrink film.
What Causes Blurry Sublimation Results?
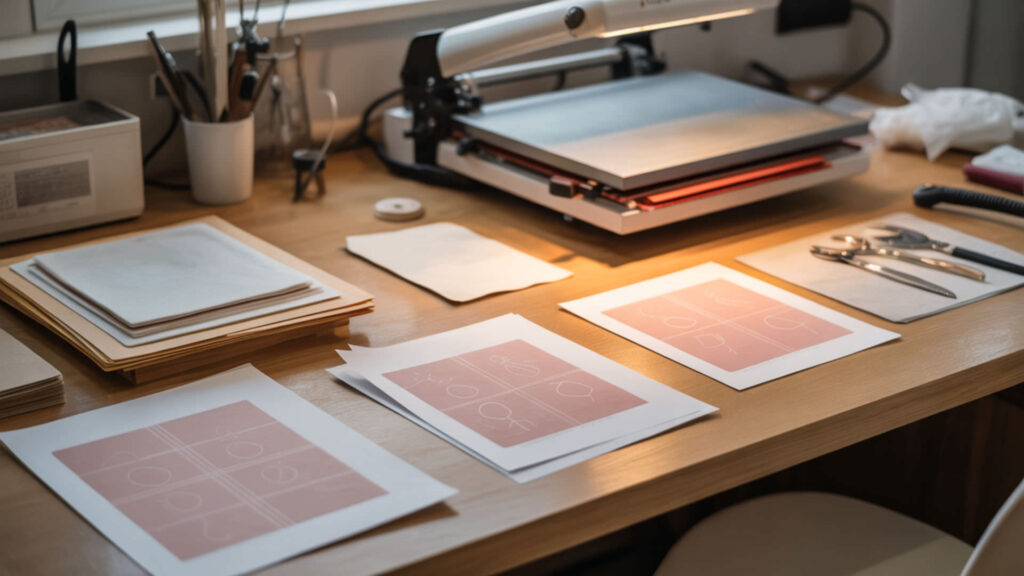
Blurry sublimation occurs when water vapor trapped in paper or substrate explosively releases during heating, displacing ink before it bonds. Poor paper coating causes uneven dye release, creating soft edges and fuzzy details. Since water vapor causes many blur issues, our blurry sublimation guide covers moisture control and print settings in depth.
Paper Movement and Moisture Issues
High humidity causes paper to absorb atmospheric moisture, which converts to steam during pressing. Evaporation happens violently at sublimation temperatures, pushing ink sideways and creating blotches. Pre-pressing substrates for 5–10 seconds drives out moisture before applying the transfer. Humidity directly affects paper behavior because moisture in the air is absorbed by cellulose fibers, and the National Weather Service explains that higher humidity increases moisture content in materials, which helps explain steam release, paper lift, and ink displacement during pressing. [2]
Print Quality and Resolution Problems
Resolution (DPI) below 300 produces visible dots that blur together when sublimated. Droplet formation at lower resolutions creates larger, less precise ink deposits. Printing at 300 DPI minimum with high-quality mode enabled produces sharp, detailed transfers.
Heat Press Pressure Adjustments
Insufficient pressure allows gaps between paper and substrate, letting ink gas diffuse sideways rather than straight down. Correct pressure (medium, approximately 40 PSI) creates full contact across the entire surface. Pressing pillows compensate for uneven substrates, ensuring consistent contact pressure.
How Do You Fix Lines Appearing in Your Prints?
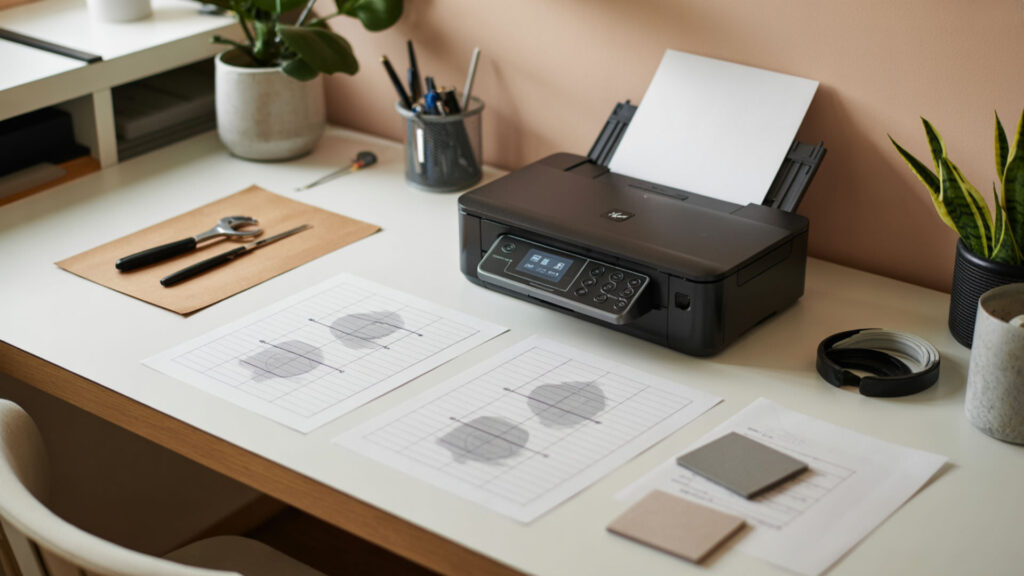
Horizontal or vertical lines in sublimation prints indicate printhead malfunctions, typically from nozzle clogging or ink viscosity problems. Clogged nozzles block specific color channels, creating streaks where ink fails to deposit. Because nozzle blockages cause most line defects, our guide on fixing print lines covers cleaning procedures and maintenance schedules.
Printer Head Alignment Issues
Printhead misalignment creates parallel lines or misregistered color bands where passes don’t overlap correctly. Running the printer’s built-in alignment utility corrects registration. Physical bumps during transport or printhead replacement require realignment before printing.
Banding and Streaking Solutions
Ink starvation from low ink levels or air bubbles in lines produces faint horizontal gaps. Nozzle clogs create hard streaks or complete color loss in bands. Running 2–3 cleaning cycles followed by a nozzle check pattern identifies remaining blockages; repeating until all nozzles fire resolves most issues.
Paper Feed and Quality Factors
Rough paper surfaces cause feed friction that shifts paper microscopically during printing, creating line artifacts. Paper smoothness affects how consistently sheets advance through the printer. Using sublimation-specific paper with consistent coating and thickness eliminates feed-related line defects.
Why Won’t Sublimation Paper Release from Tumblers?

Sublimation paper sticks when excessive adhesion develops between paper coating and tumbler surface during pressing. Low contact angle combined with heat causes coating materials to fuse rather than release cleanly. Since adhesion behavior determines release success, our paper sticking guide covers temperature adjustments and removal techniques.
Temperature and Timing Adjustments
Incorrect temperature or excessive dwell time forces paper coating to fuse with the tumbler’s polymer layer. Standard tumbler settings (385°F for 50–60 seconds) prevent over-bonding. Reducing temperature by 5–10°F often improves release without affecting transfer quality.
Paper Quality and Moisture Content
High humidity causes cellulose fibers in paper to absorb moisture, increasing sticking risk when that moisture converts to steam under pressure. Storing paper in sealed containers with desiccant packets maintains low moisture content. Pre-drying paper in a warm environment before use reduces sticking.
Safe Removal Techniques
Proper wetting with warm water softens stuck paper fibers, allowing gradual removal without scratching the tumbler coating. Soaking for 2–3 minutes loosens stubborn adhesion. Using plastic scrapers rather than metal tools prevents surface damage during removal.
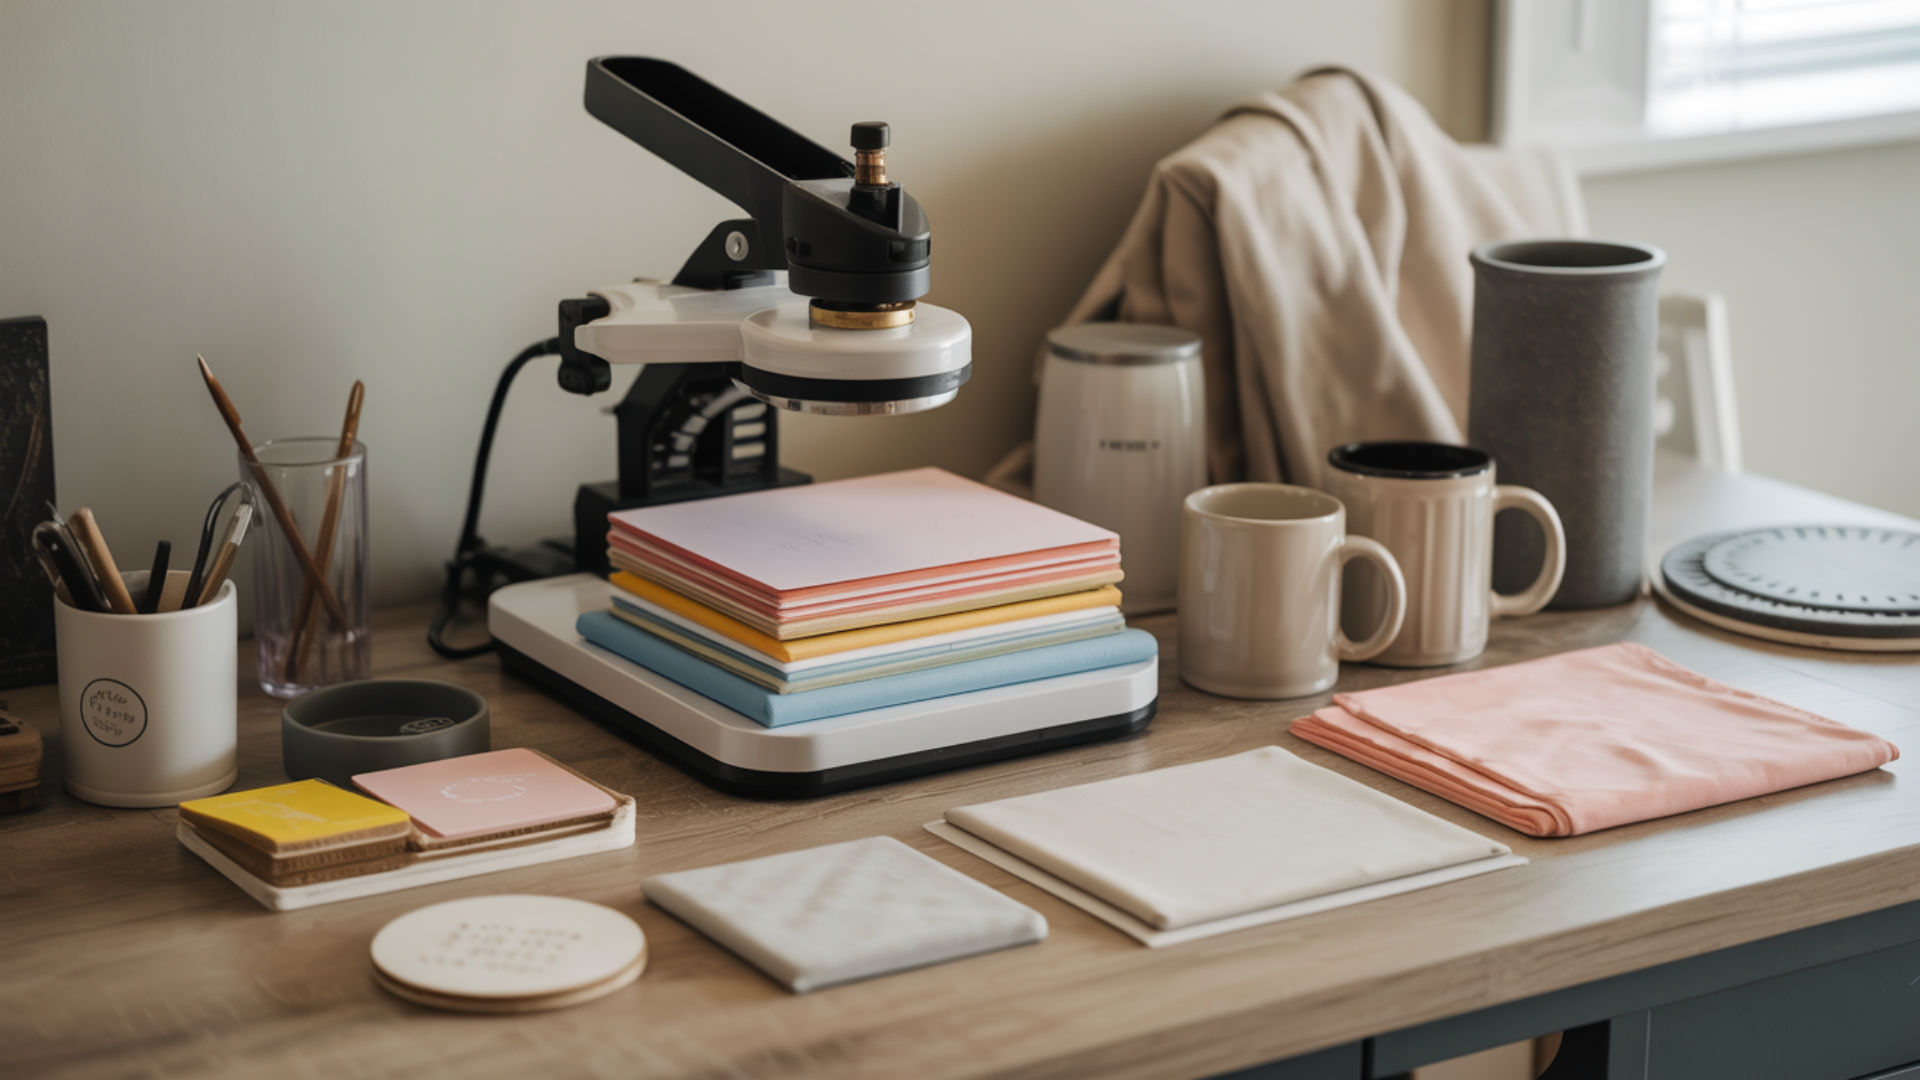
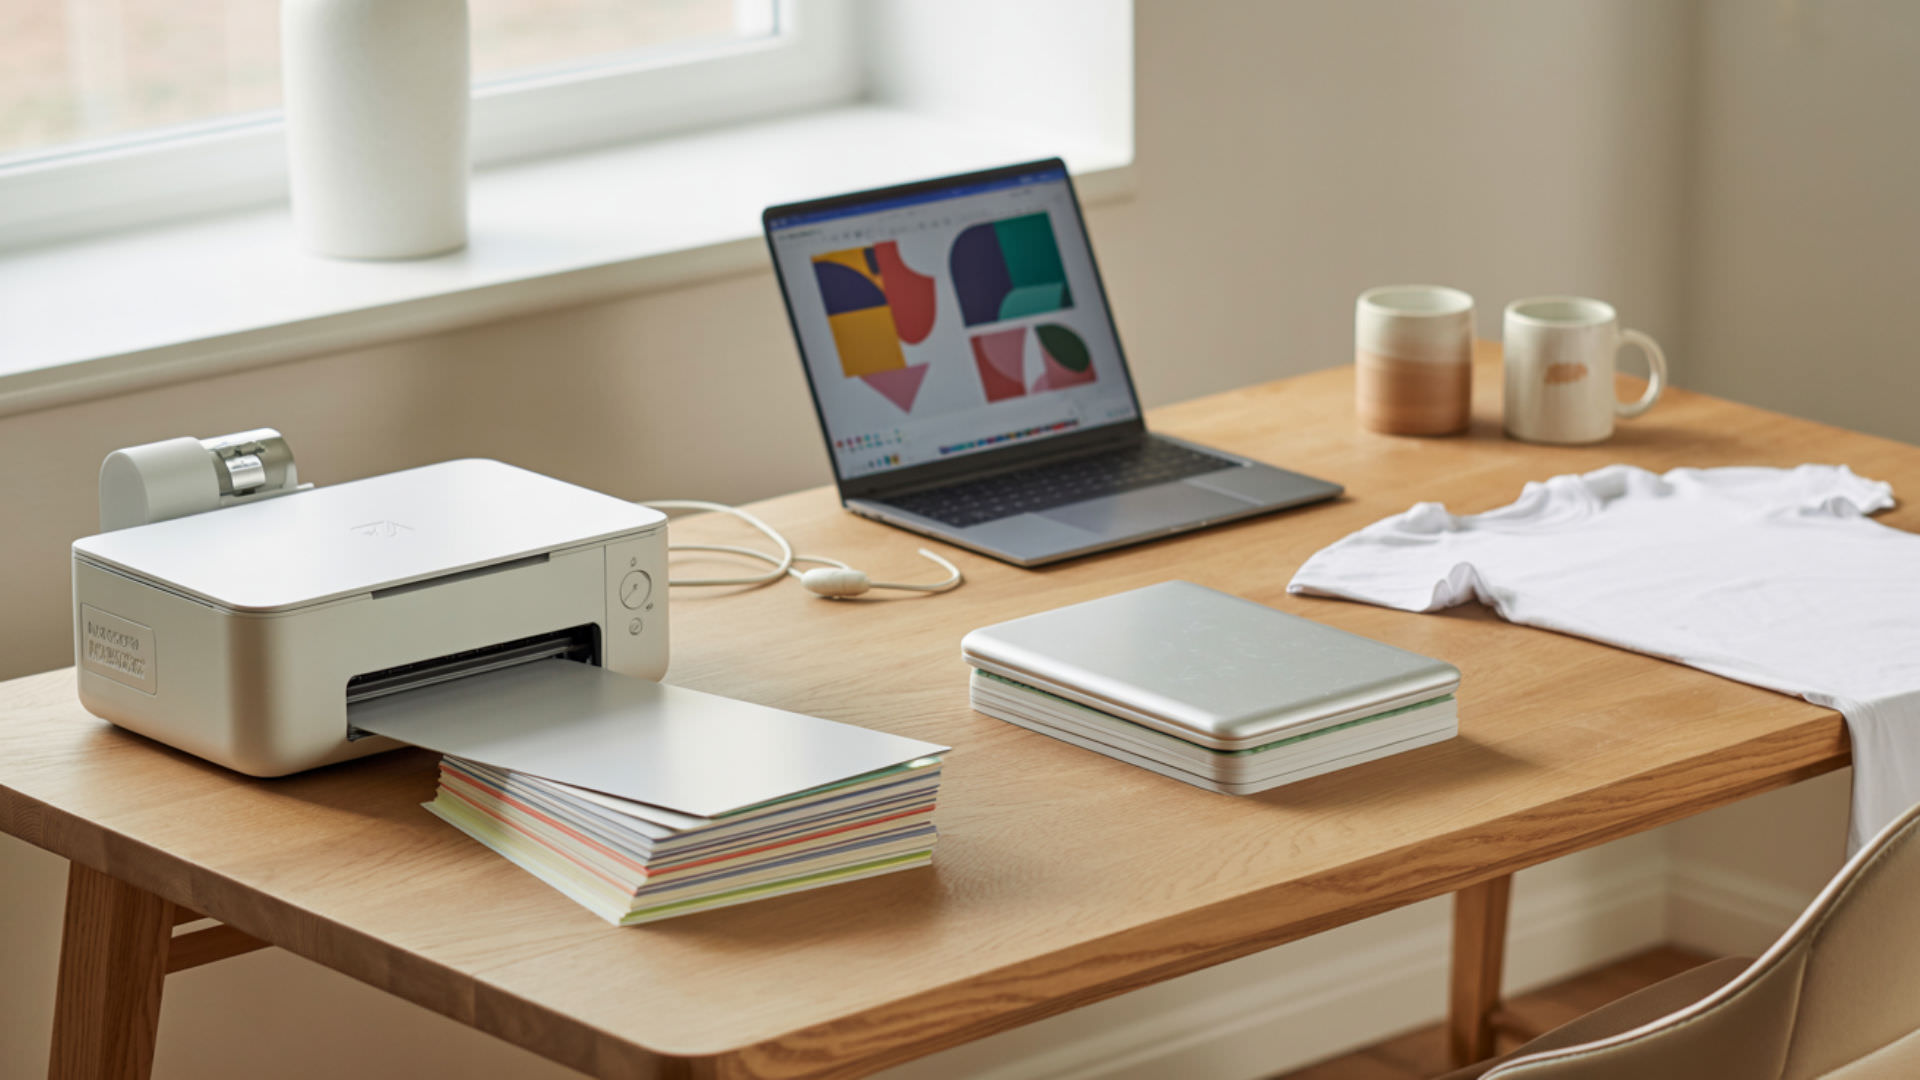
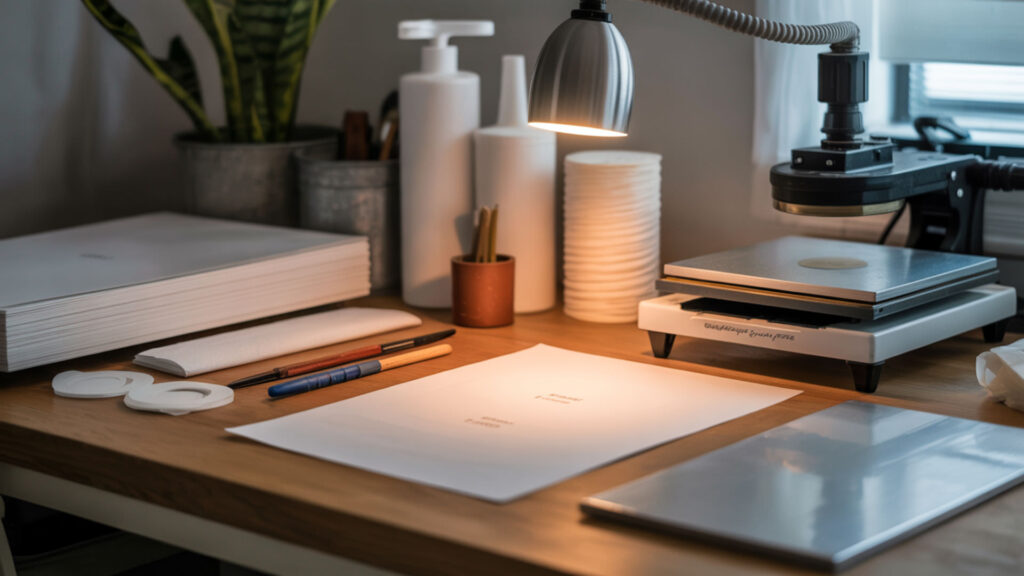
What Tools Help You Avoid Common Sublimation Issues?

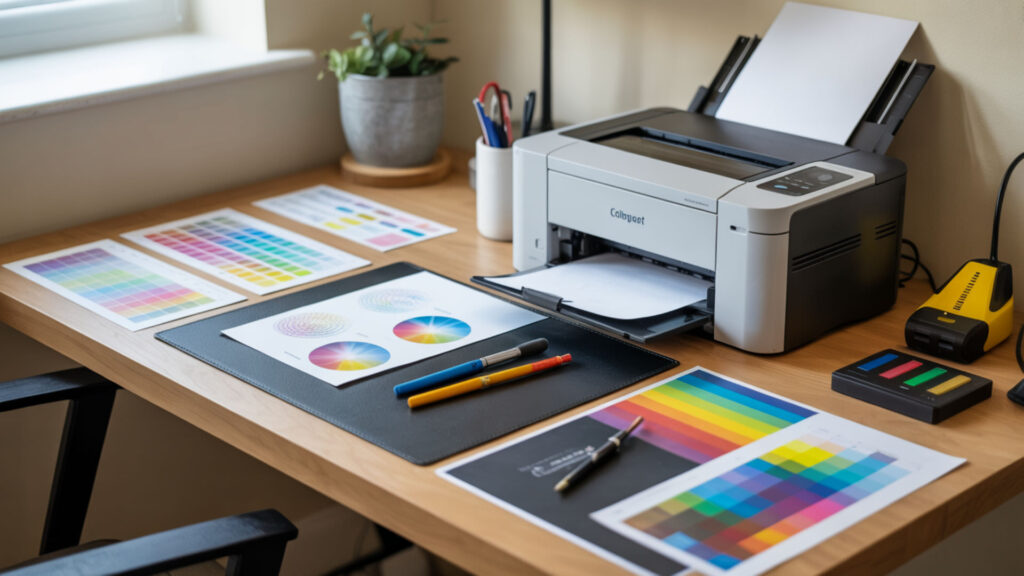
Consistent results require equipment that maintains stable conditions—a quality heat press with accurate temperature control prevents most defects. Resolution (DPI) accuracy in your printer determines detail sharpness, while controlled climate reduces moisture-related failures. A reliable heat press anchors any troubleshooting setup—our sublimation kit guide recommends essential tools for avoiding common issues.
Essential Troubleshooting Equipment
Even heat distribution across the press platen prevents hot spots that cause uneven transfers, localized burning, or premature wrap melting. Infrared thermometers verify actual platen temperature versus displayed readings—many presses read 10–25°F off. Thermal tape, Teflon sheets, and butcher paper protect work and equipment.
Quality Control Tools and Methods
Controlled climate in your workspace (40–60% relative humidity) prevents moisture absorption that causes blotching and sticking. Hygrometers monitor ambient conditions; dehumidifiers correct high-moisture environments. Consistent environmental conditions produce repeatable results across batches.
Building Your Problem-Solving Kit
Preventing contamination requires lint rollers, clean work surfaces, and dedicated pressing areas free from dust and debris. Spots and specks on finished products trace back to particles on substrates, paper, or press surfaces. Keeping supplies sealed and workspaces clean eliminates surface defects before they occur.
Final Thoughts
Sublimation mistakes usually trace back to the same core variables: temperature, pressure, time, and moisture. Understanding how polymer bonding works—how heat drives dye into substrate fibers—helps you diagnose problems faster and prevent them from recurring. With the right settings and consistent technique, most common errors become avoidable.
Frequently Asked Questions
Can I fix a sublimation mistake without starting completely over?
Minor ghosting or light color inconsistencies sometimes improve with careful re-pressing using adjusted temperature settings, though results vary by substrate. Fully transferred errors—wrong colors, major blurring, or heavy ghosting—typically require starting fresh because sublimation dye bonds permanently once heat activates the transfer. Testing corrections on scrap material first prevents wasting additional blanks.
What’s the most common sublimation mistake beginners make?
Incorrect temperature settings cause the majority of beginner failures, producing either faded colors from underheating or yellowed/burned results from overheating. Using 380–400°F for fabrics and 385°F for hard substrates with 40 PSI medium pressure and 35–60 second dwell times prevents most first-timer errors. Always verify press temperature with an infrared thermometer.
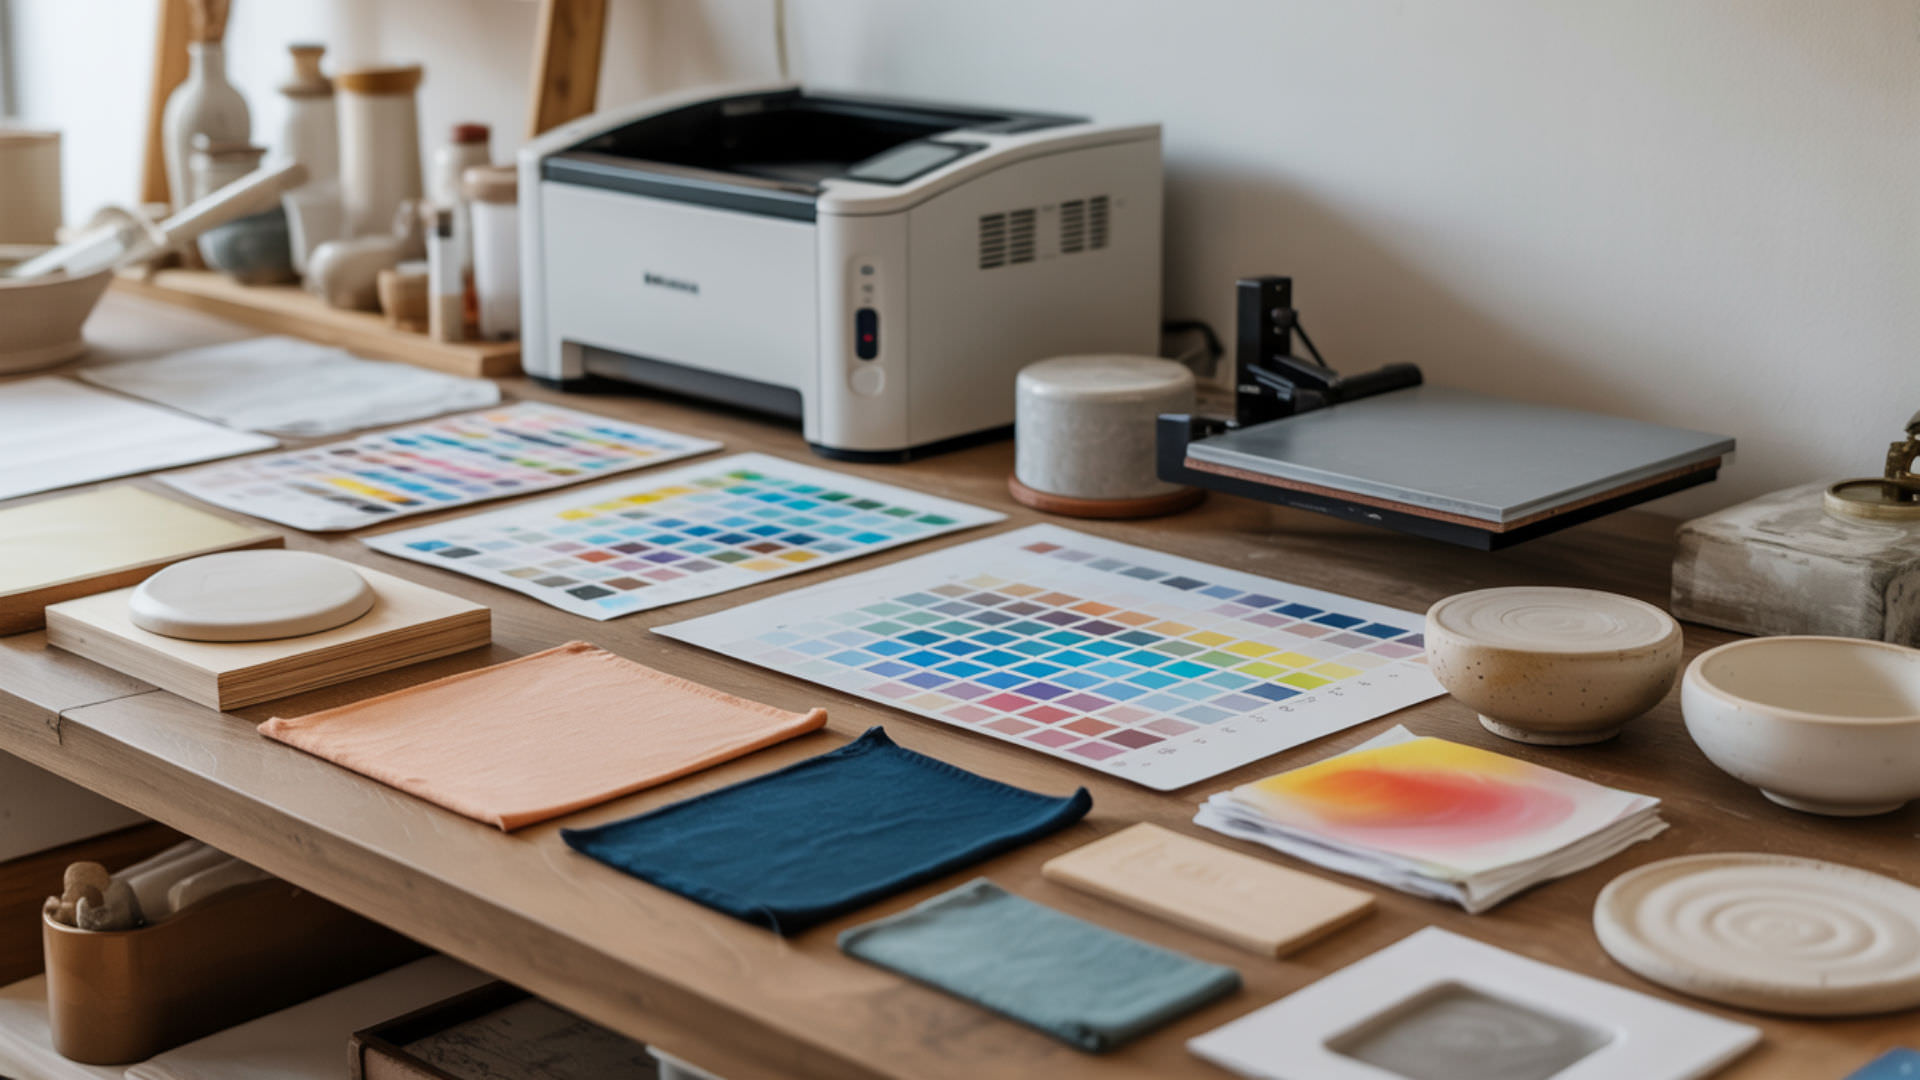
How do I test solutions without wasting expensive blanks?
Use inexpensive polyester fabric scraps or ceramic tile samples from hardware stores to test temperature, time, and pressure combinations before committing to costly blanks. Printing test strips with color gradients reveals ICC profile accuracy. Documenting settings that work for each substrate type builds a reference library for future projects.
Why do the same settings sometimes produce different results?
Ambient humidity affects moisture content in paper and substrates, causing adhesion and transfer variations between sessions. Temperature fluctuations in the workspace change how quickly substrates reach pressing temperature. Batch variations in blanks, paper coating thickness, and ink age also introduce inconsistency even when machine settings remain identical.
Is it normal to have a high failure rate when starting sublimation?
Initial failure rates of 15–25% are common while learning how temperature, pressure, and timing interact across different substrates. Each material combination requires specific settings—what works for mugs fails on fabric. Keeping detailed notes on successful settings, controlling workspace humidity, and using consistent supply brands reduces failure rates to under 5% with experience.
References
- Dye sublimation as a measure of accumulated heat exposure. (n.d.). PubMed.
- Discussion on humidity. (n.d.). National Weather Service. https://www.weather.gov/lmk/humidity