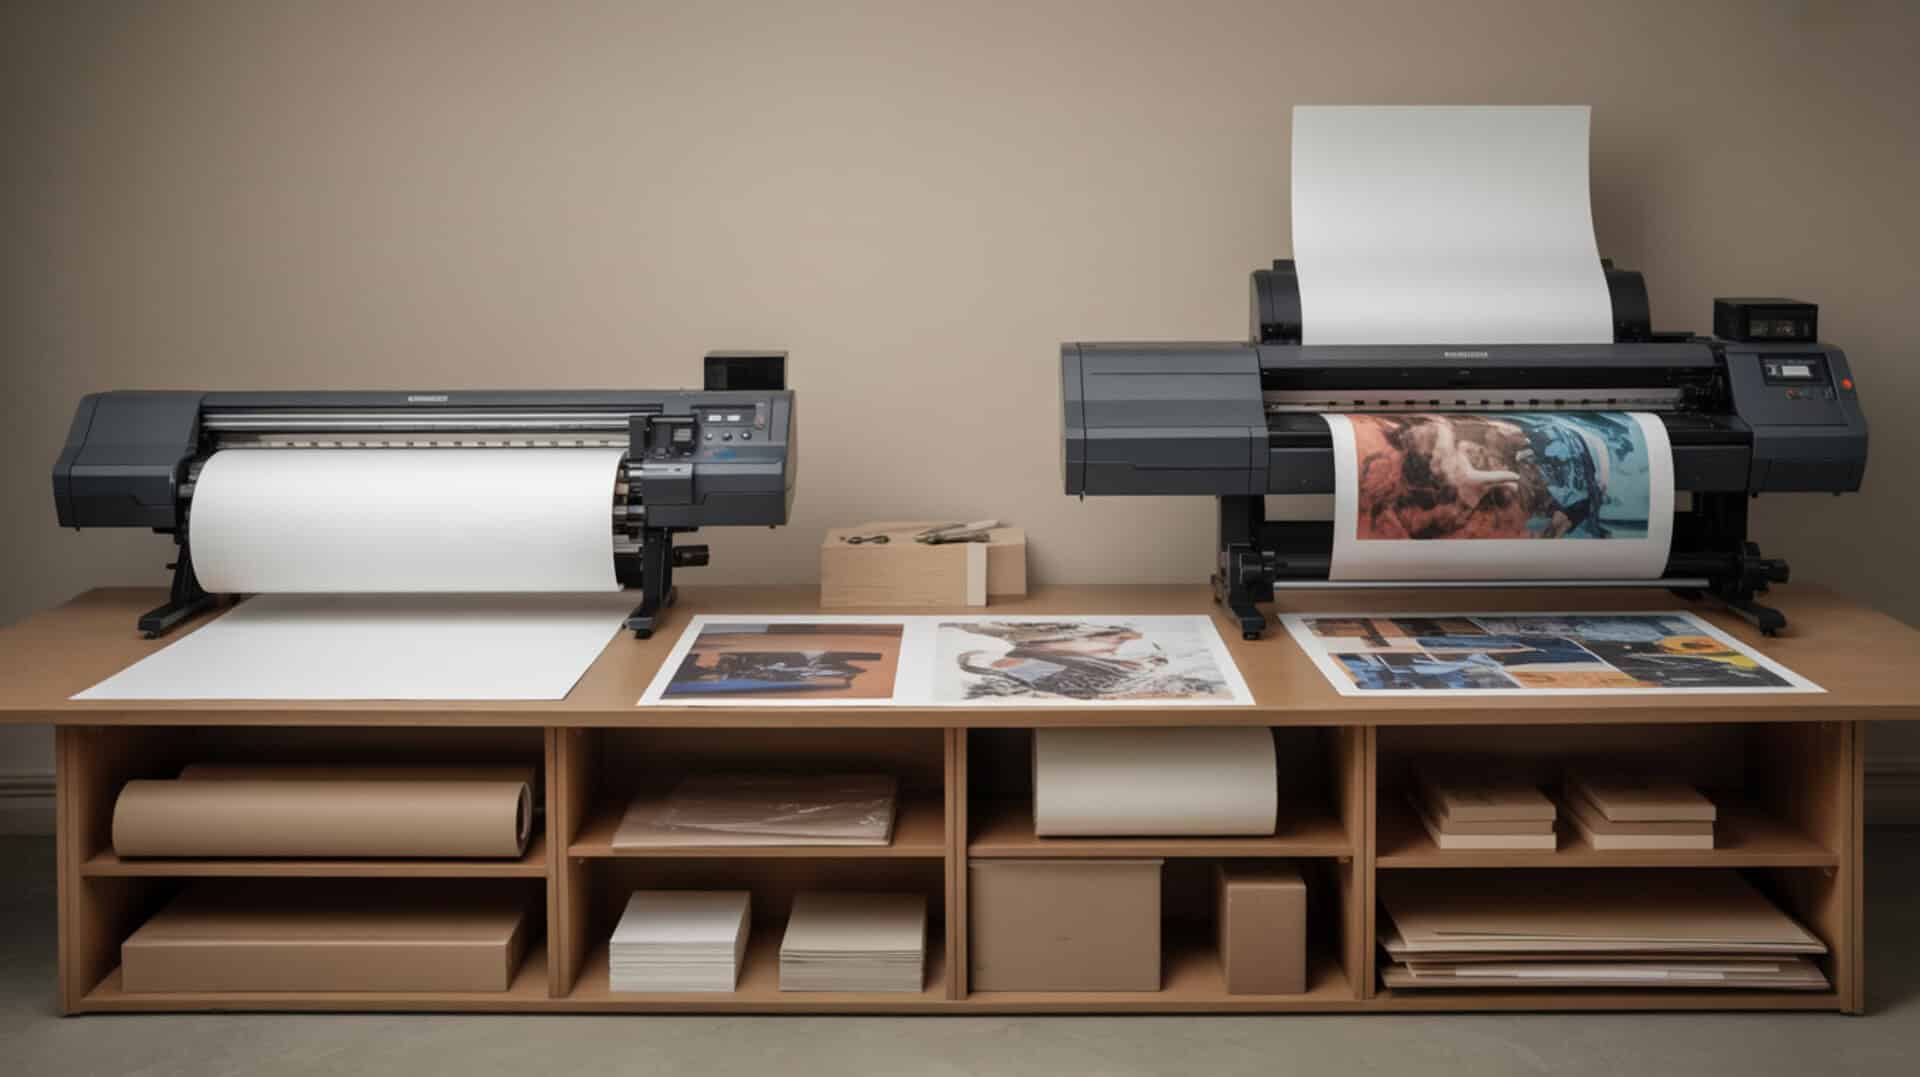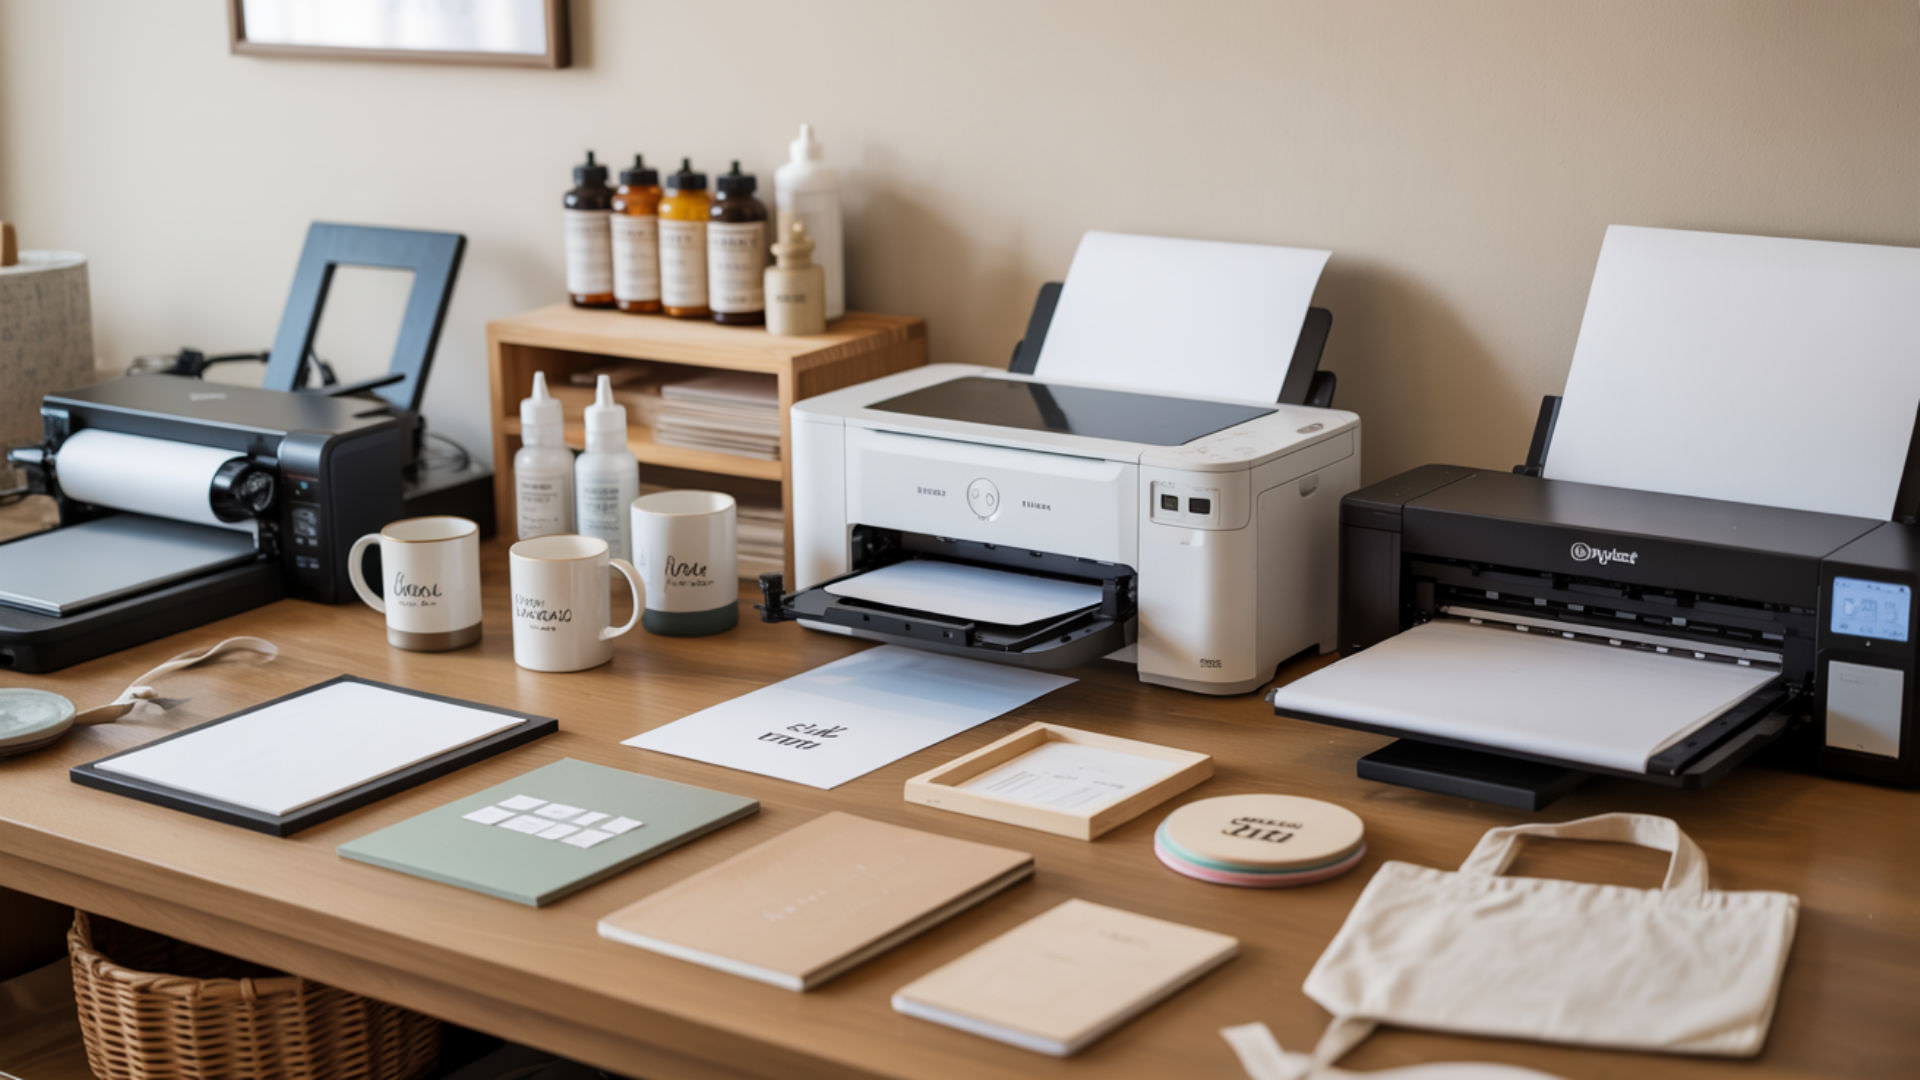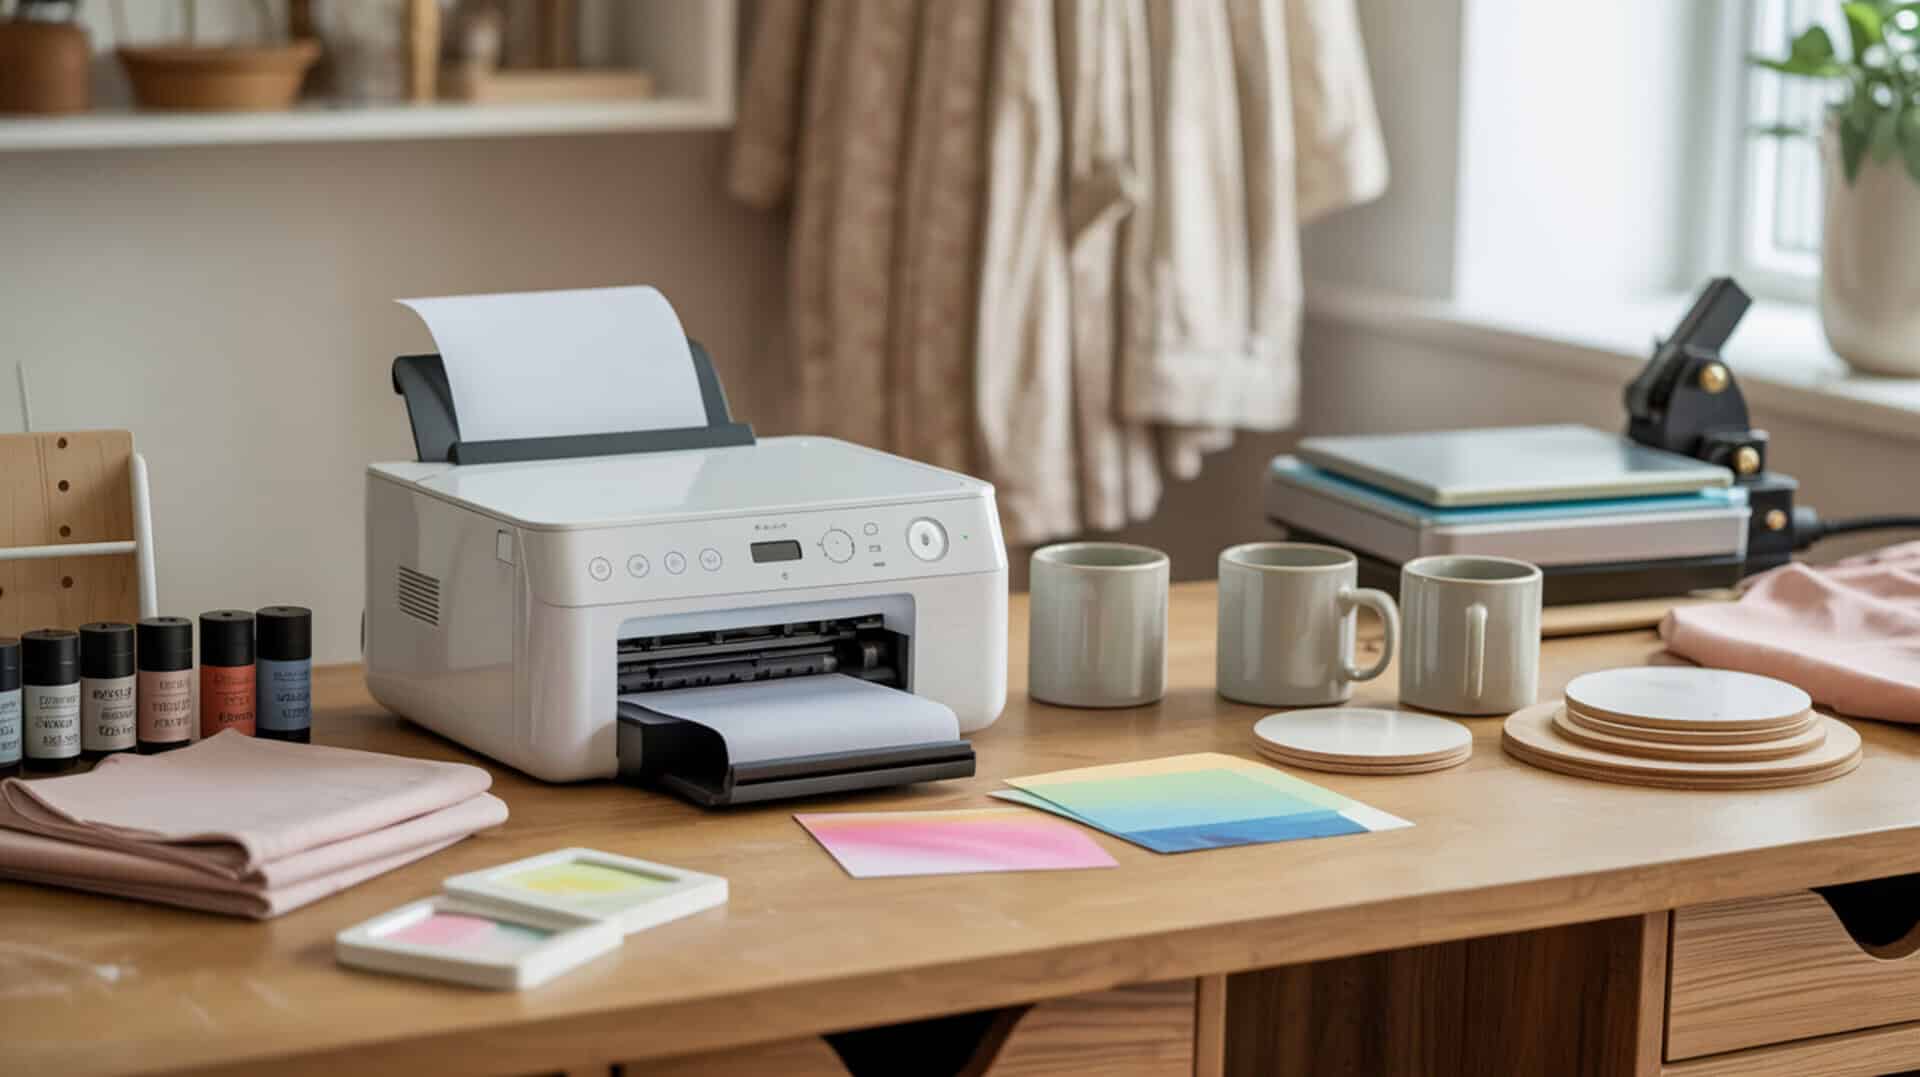
A sublimation printer maintenance kit provides the essential tools needed to preserve print head function and extend the operational life of dye-sublimation printing equipment. Because dye-sublimation printing relies on precise ink delivery through the print head, regular maintenance prevents the dried ink buildup and nozzle blockages that cause blank pages, missing colors, and banding defects. Whether you run an Epson EcoTank converted for sublimation or a dedicated sublimation unit, understanding inkjet printing mechanics helps you select the right maintenance supplies for your workflow. Inkjet printing depends on precise droplet formation and unobstructed nozzles, as dried ink residues disrupt fluid flow and cause missing or distorted output.[1]
Key Takeaways
- Nozzle cleaning with proper cleaning fluid restores consistent ink flow and eliminates print defects like banding and missing colors.
- Regular maintenance cycles prevent dried ink clogs that lead to permanent print head damage and costly repairs.
- A complete maintenance toolkit includes cleaning solution, syringes, precision screwdrivers, and replacement maintenance boxes for EcoTank models.
Is the Epson Printer Maintenance Kit Worth It for Sublimation Users?
The Epson Printer Maintenance Kit is a specialized cleaning solution-based system designed to dissolve dried ink residue and restore print head function in EcoTank sublimation printers. According to test evaluations on an Epson EcoTank 2800, this kit targets blank pages, single-color failures, choppy prints, and visible line defects by flushing cleaning fluid directly through clogged nozzles. The kit includes a 20 ml syringe, cleaning fluid, attachments for various print heads, gloves, and printed instructions. Because cleaning solution dissolves dried ink buildup that causes clogging and color loss, users seeking to perform manual nozzle cleaning should also review our guide on how to clean sublimation printer head for detailed flushing techniques.
What kind of maintenance results can you expect from the Epson Printer Maintenance Kit?
Based on reported test results from an Epson EcoTank 2800, the maintenance kit achieves measurable nozzle recovery and restored ink flow after following the complete cleaning protocol. The evaluation showed that pushing 10-20 ml of cleaning solution through problematic color channels, followed by a 24-48 hour drying period and a Power Cleaning cycle, produced a successful nozzle check report with no breaks in lines and no discoloration. The Power Cleaning process runs approximately 11 minutes and consumes significant ink, but restores print consistency when manual cleaning alone proves insufficient.
What are the pros and cons of using the Epson Printer Maintenance Kit?
The Epson Printer Maintenance Kit delivers effective chemical cleaning that removes dried ink and addresses multiple print defects including blank pages, missing colors, and banding. According to test data, it provides a structured DIY method with included gloves and instructions. However, the process carries component wear risks if overused: opening the printer exposes internal cables to accidental disconnection, the 24-48 hour drying requirement creates significant downtime, and Power Cleaning cycles consume substantial ink while potentially shortening printer lifespan with repeated use.
How does the Epson Printer Maintenance Kit compare to other maintenance solutions?
When comparing maintenance approaches, the Epson Printer Maintenance Kit represents a manual cleaning method that offers deeper intervention than automated cleaning cycles built into printer software. According to PDI data, automated cleaning is safer for beginners since it requires no disassembly, while manual cleaning with this kit carries greater risk of cable disconnection or fluid seepage if paper towels become saturated. The kit becomes necessary when software-based cleaning fails to restore print quality, positioning it as an intermediate solution before professional repair. You can find the Epson Printer Maintenance kit here. [3]
How Useful Is a Syringe Kit for Sublimation Printer Maintenance?
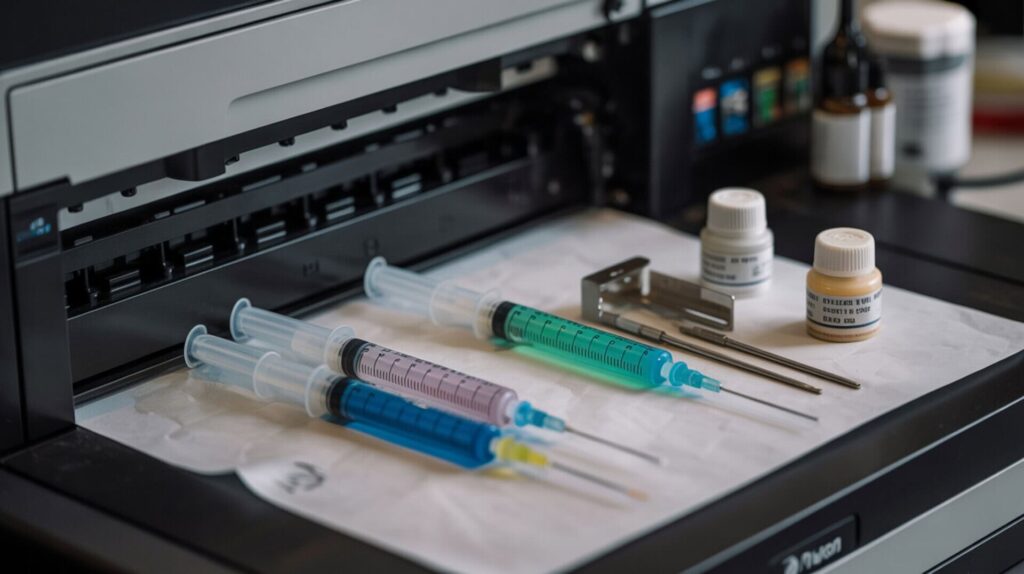
A syringe kit provides precise pressure control for flushing cleaning fluid through clogged ink lines and removing old ink during sublimation ink conversion. According to test data from an Epson EcoTank ET-15000, large 60 ml syringes with specialized tips reduced a complete ink swap procedure to approximately one hour. The green tip creates a tight seal with ink tubing, enabling efficient suction of existing ink and confirmation of line emptiness when air enters the syringe. Because pressure control prevents printhead damage during manual flushing, users performing ink removal should reference our guide on how to unclog a sublimation printer for safe extraction techniques.
What printer maintenance tasks can you perform with a syringe kit?
A syringe kit enables two primary maintenance operations: nozzle cleaning through fluid injection and ink flushing for complete ink removal. Based on reviewed test procedures, the 60 ml syringe connects to ink tubing via the green tip, allowing users to pull existing ink out of lines before refilling with new sublimation ink. The process involves disconnecting color lines from internal cartridges, opening tank caps to allow airflow, and using suction to extract ink until air enters the syringe, confirming the line is empty. Needle tips facilitate precise tank refilling when ink bottles lack compatible dispensers.
What are the pros and cons of using a syringe kit for sublimation printers?
The syringe kit offers significant time savings according to test evaluations, reducing complete ink swap procedures to roughly one hour. The green tip creates a reliable seal with ink tubing, and visual confirmation of air in the syringe indicates successful line clearance. However, manual pressure risks exist: the tight seal requires significant force to pull ink, which can damage the print head if excessive pressure is applied. The risk of air bubbles entering ink lines causes ink starvation and print failures. Test data recommends using trays and paper towels to manage inevitable ink spills during extraction.
How does a syringe kit compare to other ink cleaning methods?
Compared to software-based cleaning cycles, syringe kits offer faster results but higher risk according to PDI analysis. Built-in cleaning cycles are safer but slower, running automatically without user intervention or disassembly. Solvent use with syringes provides faster dried ink removal but increases risk of fluid damage to electrical components if proper drying time is not observed. For complete ink system changes, the syringe method proves more efficient than repeated automatic cleaning cycles, which consume ink without fully clearing old pigments from lines. You can find the Syring Kit here. [4]
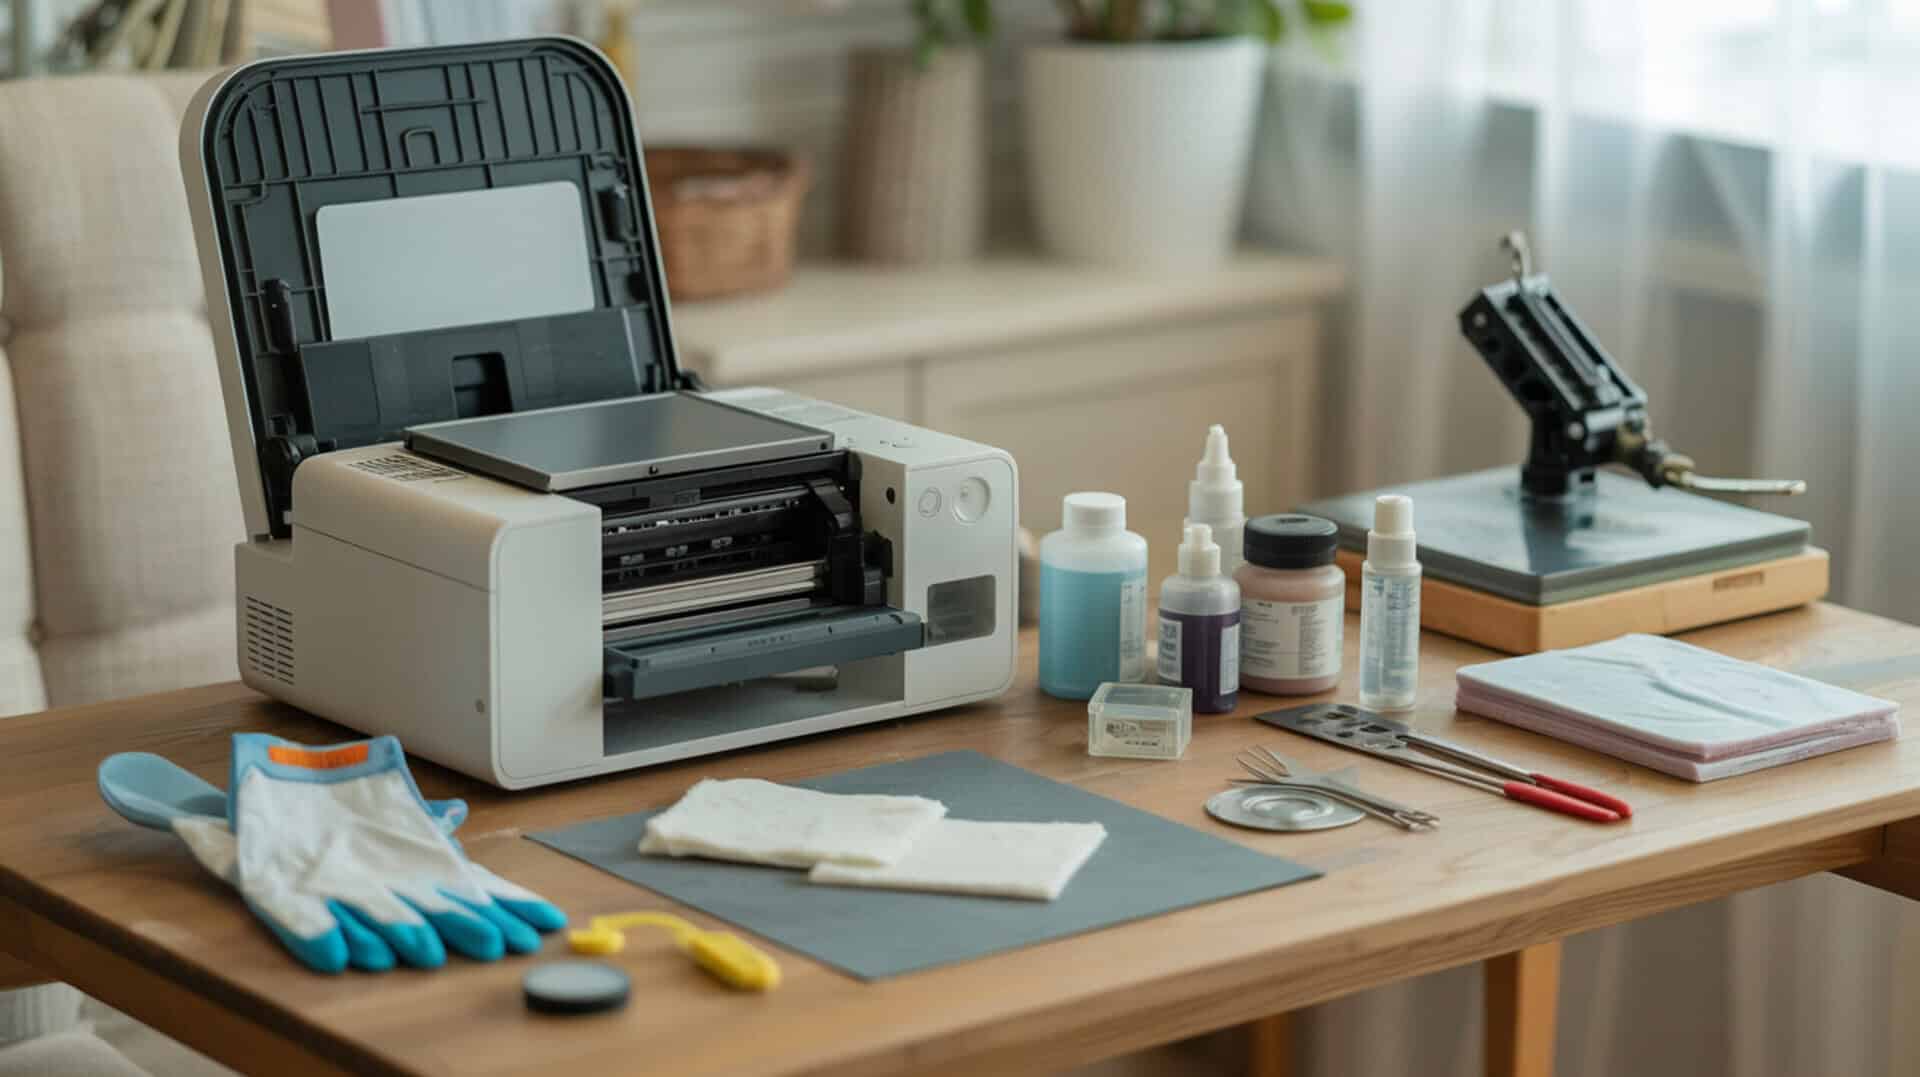
Is a Screwdriver Set Essential for Sublimation Printer Maintenance?

A precision screwdriver set enables access to internal components by removing the printer housing panels that protect sensitive mechanisms during deep cleaning procedures. According to test documentation from an Epson ET-15000 disassembly, the printer required removal of seven Phillips screws of varying sizes, including small precision screws that demand properly fitted drivers. Because printer housing requires disassembly for deep cleaning and internal components are sensitive to improper handling, users performing advanced printer maintenance should review our guide on how to maintain sublimation printers for safe access protocols.
What maintenance tasks can you accomplish with a screwdriver set on your printer?
A screwdriver set provides essential component access for maintenance procedures that software cleaning cannot address. Based on reviewed disassembly data, removing the printer top panel enables cleaning access to print head assemblies, ink delivery systems, and waste ink areas. The test procedure documented seven screws requiring removal, with one hidden screw discovered during disassembly. This access level allows direct application of cleaning solution to print heads, inspection of ink lines for blockages, and removal of dried ink accumulation in areas unreachable through external cleaning ports.
What are the pros and cons of having a screwdriver set for printer repairs?
A precision screwdriver set provides repair flexibility that allows DIY fixes without service center visits. According to test feedback, having multiple size options proves valuable since printers contain both standard and tiny precision screws. However, significant warranty risk exists: opening the printer housing typically voids manufacturer coverage. Test documentation notes that tiny screws can fall into the printer during removal, potentially causing mechanical damage. Reassembly requires careful attention to cable connections, with scanner cables specifically cited as vulnerable to accidental disconnection.
How does a dedicated screwdriver set compare to generic tool kits?
Dedicated precision tools offer superior fastener fit compared to generic multi-tools according to PDI recommendations. Printer screws include very small Phillips heads that generic screwdrivers often strip due to improper sizing. Test documentation specifically recommends sets with multiple size options for craft room use, addressing the range from tiny interior screws to larger housing fasteners. Precision fit reduces the risk of stripping screw heads, which can make reassembly difficult or require replacement hardware. You can find the Screwdriver Set here.[5]
Do You Need a Maintenance Box for Your EcoTank Sublimation Printer?
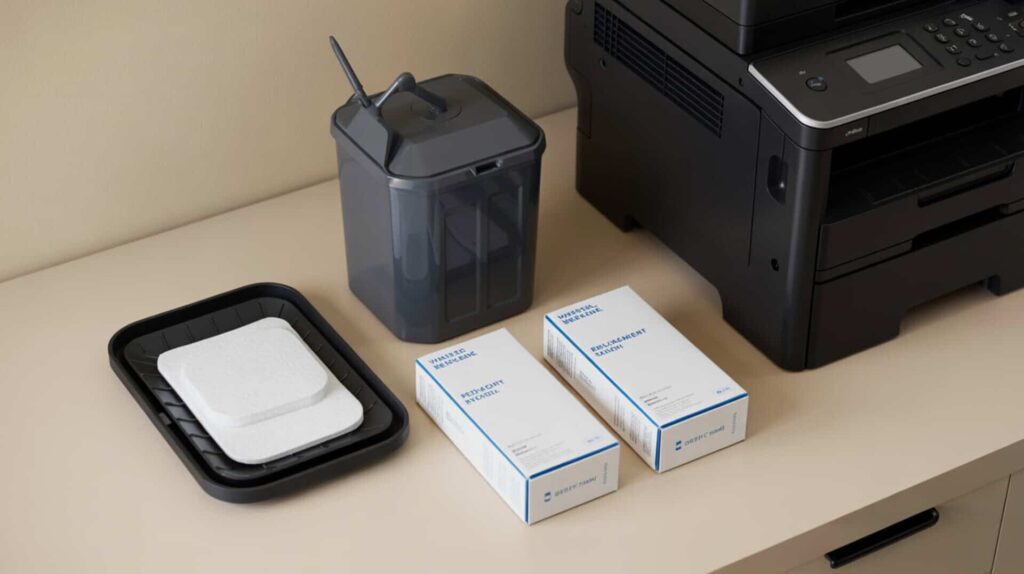
The EcoTank maintenance box functions as a waste ink reservoir that collects purged ink during maintenance cycles, preventing internal leaks and enabling Power Cleaning operations. According to test data from an ET-15000, the maintenance box fills over time with repeated head cleanings and power flush cycles. When full, the printer locks out all printing functions until replacement occurs. Waste-fluid containment systems are designed to collect and isolate excess liquid discharge during equipment cleaning and purge cycles to prevent internal contamination.[2] Because a full waste ink reservoir often causes sudden printing failures, users experiencing unexpected print stoppages should consult our troubleshooting guide on sublimation printer not printing for diagnostic steps.
What does a maintenance box do for your EcoTank sublimation printer?
The maintenance box performs critical ink absorption during cleaning cycles, capturing waste ink that would otherwise leak into the printer chassis. According to test documentation, this component enables error prevention by avoiding printer lockouts that occur when internal ink sensors detect saturation. Power Cleaning cycles, which run approximately 10-11 minutes and force significant ink through the system, deposit waste directly into this box. Without a functional maintenance box, EcoTank printers cannot execute the deep cleaning procedures necessary to restore severely clogged print heads.
What are the pros and cons of using a maintenance box for EcoTank printers?
The maintenance box offers clear functional benefits: it prevents internal ink leaks, enables Power Cleaning execution, and avoids printer lockouts according to PDI data. Replacement is described as straightforward, requiring only cover removal and box swap. The primary downside involves cost accumulation over time. Replacement frequency increases with heavy cleaning activity, and users who run multiple Power Cleaning cycles during ink conversion will fill boxes faster. However, replacement costs remain substantially lower than repair bills from ink damage caused by operating without proper waste collection.
How do third-party maintenance boxes compare to official Epson replacements?
Compatibility determines error-free operation when selecting third-party maintenance boxes according to PDI analysis. Third-party options must match EcoTank model specifications to avoid sensor recognition failures that trigger false full-box errors. Absorption capacity affects service life between replacements, with some aftermarket boxes offering comparable or greater capacity than official Epson units at reduced cost. Test documentation confirms successful use of Amazon-sourced replacement boxes, suggesting reliable third-party options exist for budget-conscious users. You can find the Maintenance Box for EcoTank here.[6]
Which Maintenance Supplies Should You Keep on Hand for Your Sublimation Printer?
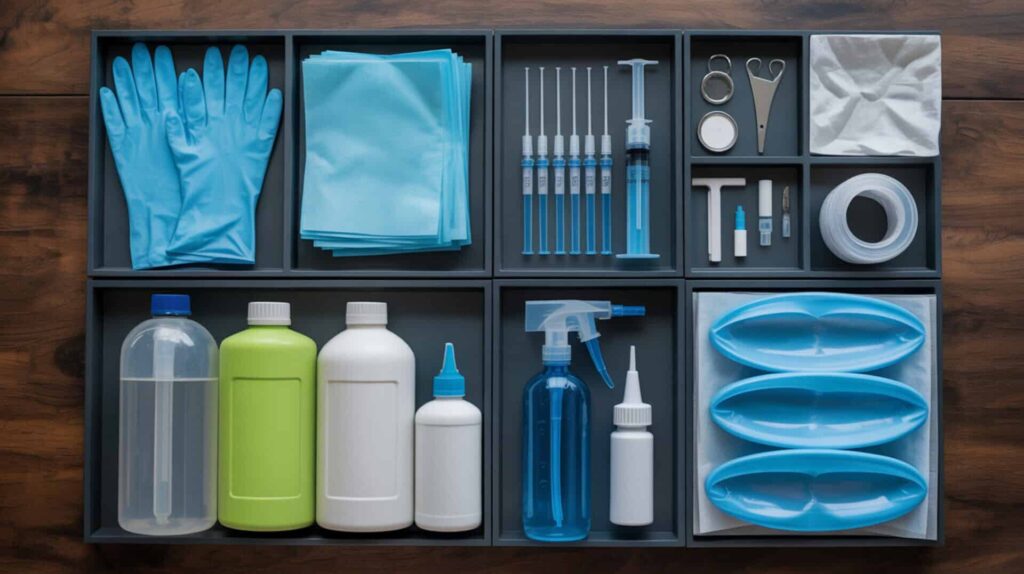
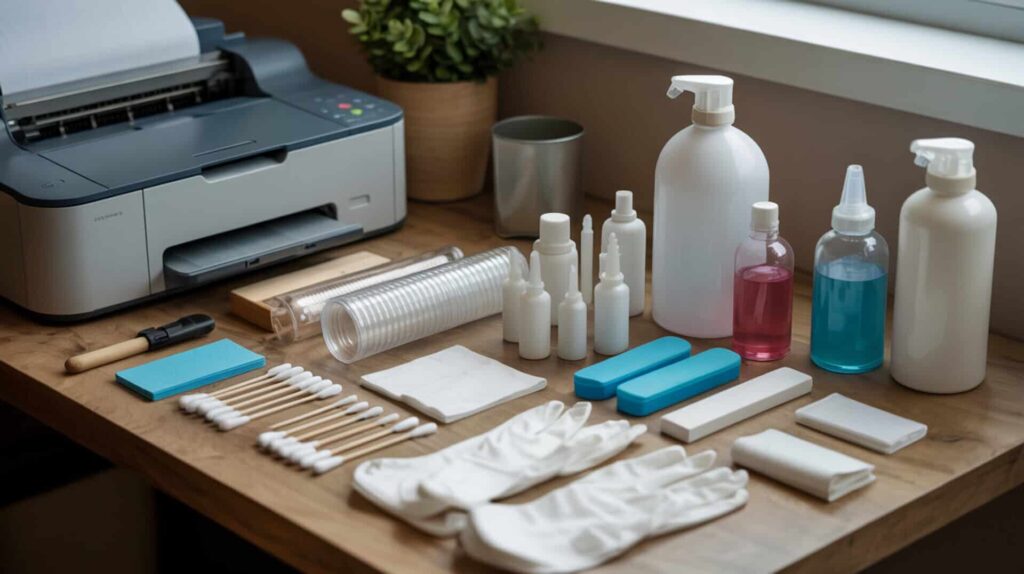
A complete sublimation printer maintenance inventory should include cleaning solution for nozzle flushing, maintenance tools like syringes and precision screwdrivers, and spare parts including replacement maintenance boxes. According to combined PDI data, cleaning solution prevents clogs when used for regular maintenance, while spare parts reduce downtime during unexpected failures. Essential supplies include: cleaning fluid with syringes (10-20 ml capacity minimum), 60 ml syringes with green tips for ink extraction, a Phillips screwdriver set with precision sizes, replacement maintenance boxes for your EcoTank model, gloves, paper towels, and a waste container for removed ink.
Ready to Build Your Sublimation Printer Maintenance Kit?
There is no single best sublimation printer maintenance kit. Instead, effective printer care requires assembling several complementary products: a cleaning solution kit for nozzle recovery, syringe sets for ink extraction and flushing, precision screwdrivers for internal access, and replacement maintenance boxes for EcoTank waste ink management. Each tool addresses specific maintenance scenarios, from routine cleaning to complete ink system changes. I recommend starting with a cleaning kit and syringe set for basic maintenance, then adding precision screwdrivers and spare maintenance boxes as you become comfortable with deeper printer interventions.
Frequently Asked Questions
How do you properly clean the ink in an Epson sublimation printer?
Proper nozzle cleaning in an Epson sublimation printer requires accessing the print head by unplugging during a nozzle check, placing absorbent material beneath the head, and pushing 10-20 ml of cleaning fluid through problematic color channels using a syringe. After cleaning, allow 24-48 hours for complete drying before running a Power Cleaning cycle through the printer menu. The process restores ink flow by dissolving dried residue that causes blank pages and color failures.
What does an ink flush do on an Epson printer and when should you use it?
An ink flush forces cleaning solution or fresh ink through the entire delivery system to clear blockages and dried residue. According to test data, this procedure becomes necessary when standard maintenance cycles fail to restore print quality after 3 or more head cleanings. The flush removes accumulated deposits from ink lines, print head chambers, and nozzle plates. Power Cleaning, the most intensive flush option, runs approximately 10-11 minutes and consumes significant ink volume.
What should you do if the ink dries up in your Epson sublimation printer?
When ink drying causes clogs in your Epson sublimation printer, begin with 2-3 software-based head cleaning cycles, then print a nozzle check pattern. If blockages persist, use a maintenance kit to manually flush 10-20 ml of warmed cleaning solution through affected color channels. For severe drying, the solution may initially resist flow. Allow 24-48 hours for chemicals to dissolve hardened deposits before reassembly and Power Cleaning.
How do you perform a power ink flush on an Epson printer?
To perform a Power Cleaning on an Epson printer, access Maintenance in the printer settings menu, select Power Cleaning, confirm through prompts, then hold the Start button for 5 seconds. The cycle runs approximately 10-11 minutes and uses considerable ink volume. According to test data, ensure your maintenance box has capacity before starting. Run a nozzle cleaning check afterward to verify results. Limit Power Cleaning frequency to prevent premature printer wear.
What is the best solvent for cleaning dried sublimation ink from your printer?
Dedicated print head cleaning fluid is the recommended solvent for dried sublimation ink removal. According to test evaluations, warming the cleaning solution before application improves flow through severely clogged nozzles. The chemical composition dissolves sublimation ink drying deposits without damaging print head components when used properly. Avoid household solvents like rubbing alcohol or acetone, which can damage seals and plastic components within the ink delivery system.
References:
- Inkjet printing quality improvement research progress: A review – PMC. (n.d.). PMC Home. https://pmc.ncbi.nlm.nih.gov/articles/PMC11133501/
- (n.d.). U.S. Environmental Protection Agency | US EPA. https://www.epa.gov/sites/default/files/2016-03/documents/industrial-waste-guide.pdf