Are you wondering about how to sublimate on shoes? In this blog post, we’ll explore the basics of sublimating shoes, from choosing the right materials to executing the process step by step. Sublimating shoes is an exciting way to create unique, personalized footwear that stands out. Whether you’re designing for yourself, for gifts, or even to sell, sublimating shoes allows you to showcase creativity and style in a truly custom manner. This process works best on shoes made from certain materials, such as canvas, and requires careful preparation to achieve vibrant and durable results.
Key Takeaways
- Sublimation on shoes is an innovative way to personalize footwear, allowing vibrant designs to become part of the fabric.
- Canvas shoes are ideal for sublimation, while leather and other materials may not yield the same results.
- Preparation, including cleaning and proper positioning, is essential to avoid errors like ghosting.
- Using heat-resistant tape and applying even heat with the correct settings is crucial for successful results.
- Experimentation with designs and materials can lead to beautiful, unique creations.
Choosing the Right Shoes for Sublimation
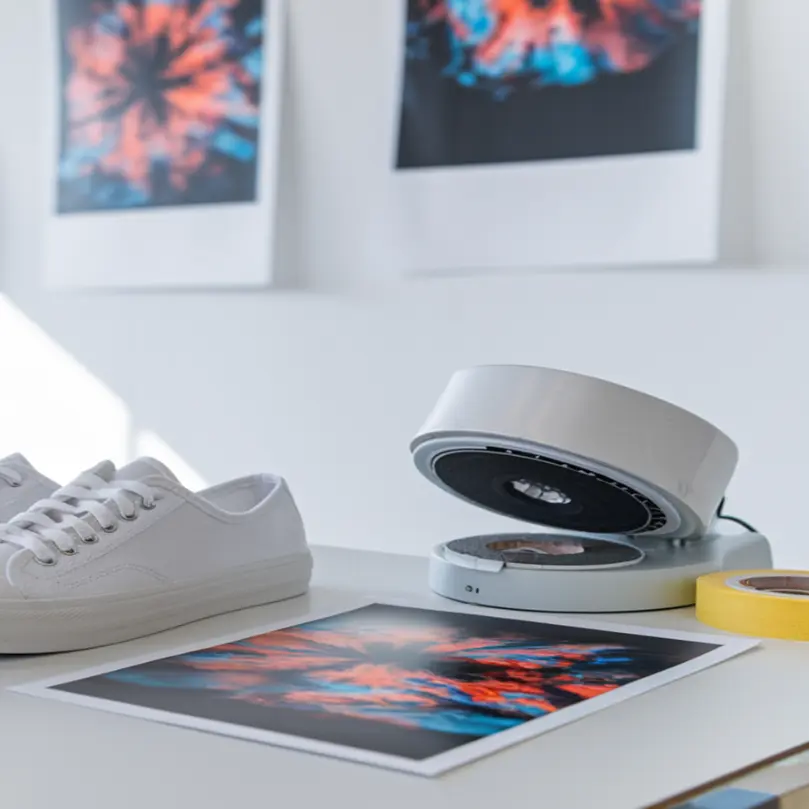
Not all shoes are suitable for sublimation, so the material is a critical consideration. Canvas shoes are the most compatible, as their fabric absorbs sublimation ink effectively, producing vivid designs. On the other hand, leather shoes generally do not work well with sublimation because the ink cannot bind to the surface properly. Additionally, synthetic materials often melt under the required heat, making them unsuitable. When selecting shoes, ensure they are white or light-colored for the best color accuracy and vibrancy in the final design.
Preparing Your Shoes for Sublimation
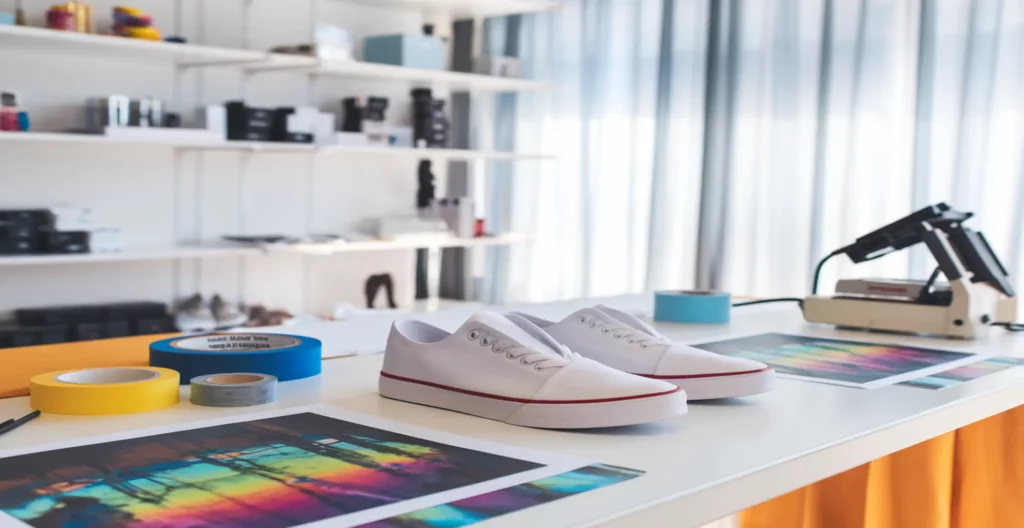
Proper preparation sets the foundation for successful sublimation. Start by cleaning the shoe surface thoroughly using a lint roller or a clean cloth to remove any dust or debris that may interfere with the transfer. If your shoes have seams or irregular surfaces, insert a stuffing material like foam or fabric to create an even surface. This step ensures even pressure during the heat pressing process, minimizing errors. Align your sublimation design carefully on the shoe and secure it with heat-resistant tape to prevent any movement during the transfer.
Designing Sublimation Artwork for Shoes
Creating the perfect design for sublimation shoes starts with choosing the right visuals. Sublimating on the canvas material, in this case canvas shoes, is ideal for customization, allowing for a vibrant display of colors. Use software like Canva, Adobe Photoshop, or Silhouette Studio to bring your vision to life. Start by measuring the area you want to sublimate. For shoes, this is typically the sides or top panels. Ensure the design dimensions match the surface, leaving a slight bleed to prevent white edges.
When choosing a design, think about how the natural curves and seams of the shoe might affect the artwork. Patterns with consistent repetition or small, centered graphics work best. Always mirror the image before printing, as sublimation transfers require this step for proper alignment. Finally, test the print on regular paper before proceeding with sublimation to confirm the design fits as expected.
Sublimation Process for Shoes
The sublimation process for shoes requires careful preparation and precision. Follow these steps to ensure your design transfers beautifully:
⫸ Click Here For Best Selling Sublimation Printers And Products ⫷- Preheat the Heat Press: Set the heat press to 375°F (190°C) and adjust the timer for 60 seconds. Use medium pressure to ensure even heat distribution.
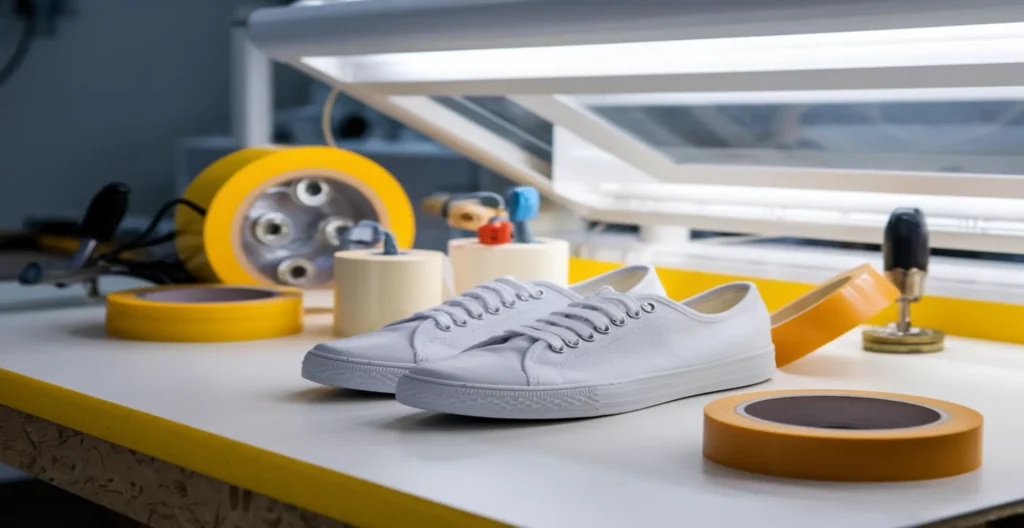
- Prepare the Shoes: Clean the shoe surface using a lint roller or damp cloth to remove dust and debris. Stuff the shoes with tissue paper or foam inserts to create a flat, firm surface for sublimation.
- Position the Design: Place the sublimation print face-down on the shoe, ensuring it is aligned correctly. Use heat-resistant tape to secure the design and prevent movement during pressing.
- Add Protective Layers: Cover the shoe and design with butcher paper to protect the heat press from ink bleed.
- Press the Design: Place the shoe in the heat press and press for 60 seconds at the preset temperature. Maintain even pressure throughout.
- Remove and Inspect: Carefully remove the shoe from the press using heat-resistant gloves. Allow it to cool before inspecting the design. Peel off the sublimation paper to reveal the final print.
Practice patience and precision during this process to avoid ghosting or incomplete transfers. Each shoe may require slight adjustments depending on its material and shape.
Common Issues and Troubleshooting
Sublimating shoes can come with unique challenges, but most problems are manageable with the right approach. One common issue is ghosting, which occurs when the sublimation paper shifts during pressing. Prevent this by securing the design firmly with heat-resistant tape.
Another potential problem is uneven prints, often caused by inadequate pressure or a non-flat surface. To address this, ensure the shoes are stuffed properly, and the press applies consistent pressure. If you notice colors appear dull or faded, it may be due to insufficient heat or time. Adjust the temperature or duration slightly to achieve a more vibrant result.
Material incompatibility is another factor to consider. Canvas shoes are ideal for sublimation, but leather or other coated materials may not produce consistent results. Always check for sublimation compatibility before beginning a project. By addressing these common challenges, you can achieve professional-quality results.
Conclusion
Sublimating shoes is an innovative and exciting way to personalize footwear. Whether you’re adding vibrant designs to canvas shoes or experimenting with leather, understanding the materials and following proper steps can lead to impressive results. From selecting the right blanks to mastering temperature and pressure settings, every detail counts. Sublimation is not just about creating customized shoes; it’s about exploring creativity and discovering new possibilities in the world of fashion.
FAQs
1. Can you sublimate on leather shoes?
Considering sublimating on leather shoes is not recommended because leather does not have the polyester coating needed for sublimation ink to bond. However, alternatives like vinyl or heat-transfer printing might work for leather.
2. What kind of shoes can be sublimated?
Shoes made from materials with a high polyester content, like canvas, are ideal for sublimation. They allow the ink to bond effectively and produce vibrant designs.
3. Do I need special tools to sublimate shoes?
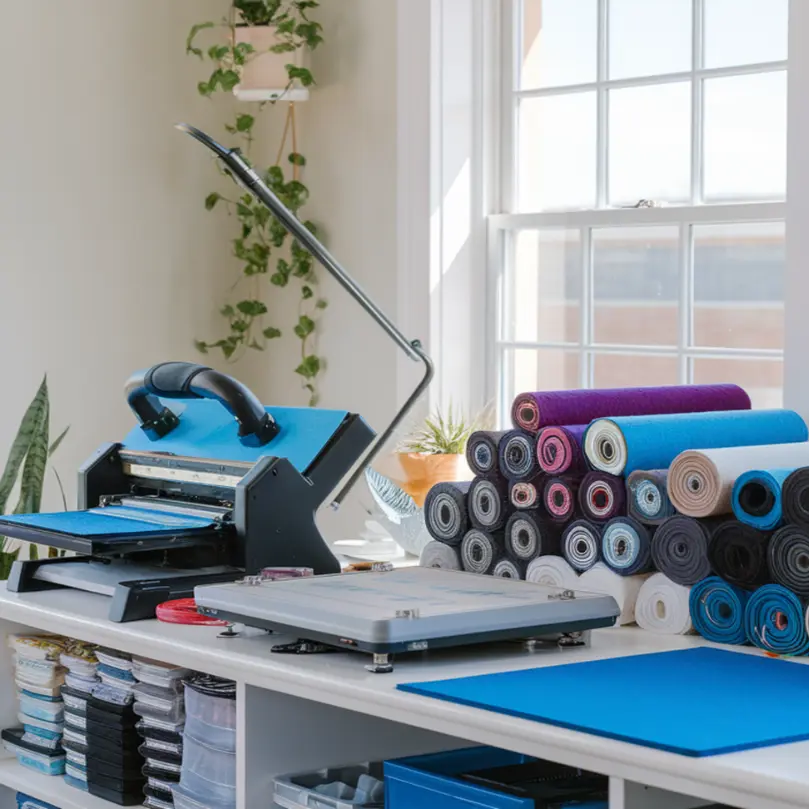
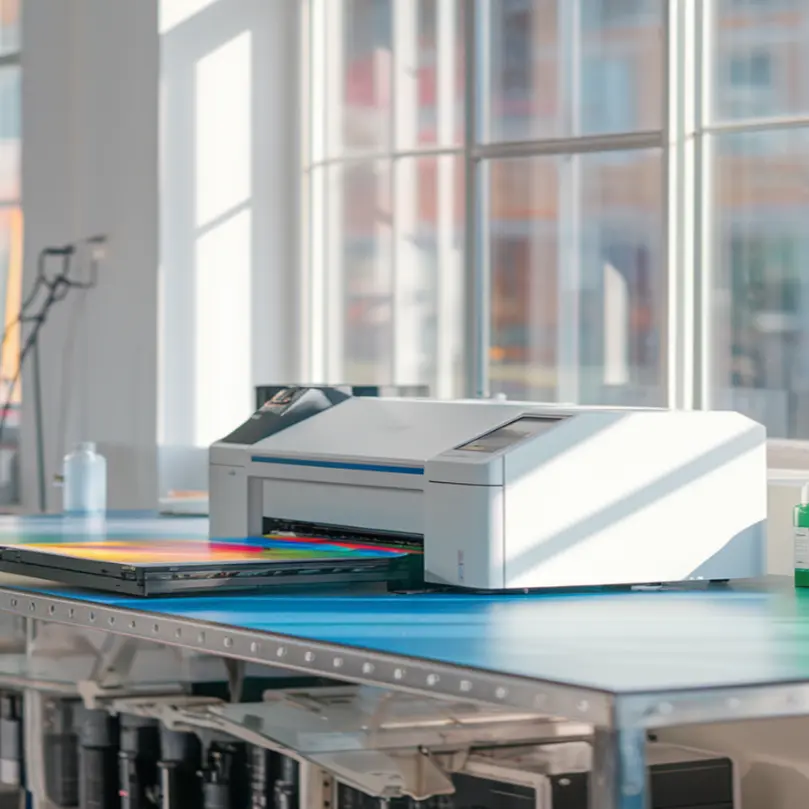
Yes, you’ll need a sublimation printer, heat-resistant tape, butcher paper, and a heat press or mini press for precise application. Foam inserts or stuffing are also helpful for maintaining the shoe’s shape during pressing.
4. Can I sublimate on pre-colored shoes?
Sublimation works best on white or light-colored shoes. Dark or pre-colored shoes may not yield visible or vibrant results because sublimation ink does not have a white base.
5. How durable are sublimated designs on shoes?
Sublimated designs on shoes are generally durable and long-lasting. However, exposure to excessive moisture, rough surfaces, or frequent washing can cause the designs to fade over time. Proper care can extend their lifespan.