A household iron can perform sublimation transfers for small projects, though significant limitations affect results compared to dedicated heat presses. Heat drives the sublimation process by converting dye from solid to gas, while temperature determines whether that conversion happens completely or remains incomplete. Irons struggle to maintain the consistent 385–400°F required for proper dye activation. Understanding why irons lack temperature stability compared to presses helps set realistic expectations—our guide on what is a sublimation heat press explains heat delivery mechanics.
Key Takeaways
- Thermal stability issues cause irons to fluctuate 50°F or more during pressing, reducing color consistency across transfers.
- Uneven pressure from hand application causes soft edges, incomplete transfers, and increased ghosting risk.
- Iron sublimation works best for small test projects, patches, and items smaller than the soleplate surface area.
Can a Regular Household Iron Be Used for Sublimation Printing?

A regular household iron can technically sublimate designs onto polyester, but results vary significantly based on iron type and technique. A dry iron provides more controlled heat than alternatives because it lacks moisture interference during pressing. A steam iron introduces problems—moisture from vents and steam holes disrupts the sublimation transfer by interfering with dye gas formation. Always turn steam completely off and empty water reservoirs before attempting sublimation. Household irons are designed for intermittent heating rather than sustained, fixed temperatures. The U.S. Consumer Product Safety Commission explains that clothes irons cycle heat during operation, which helps explain why irons struggle to maintain stable sublimation temperatures. [1]
Can You Do Sublimation with a Regular Iron?
Sublimation with a regular iron is possible but challenging because irons rarely maintain the required 180–200°C (360–400°F) consistently throughout the pressing cycle. Achieving thermal equilibrium—uniform heat throughout the substrate—proves difficult with small soleplates and open-air heating that loses temperature rapidly. Set irons to the highest setting (cotton/linen) and expect to press for 60 seconds or longer per section.
Can Sublimation Paper and Iron Contact Cause Transfer Issues?
Direct contact between sublimation paper and iron soleplate creates transfer issues through uneven conduction across the design area. Irons provide inconsistent plate contact because soleplates have steam holes, curved edges, and uneven surfaces that create hot and cold zones. Heat transfer suffers because thin iron soleplates lose temperature quickly during pressing, causing patchy color development in areas that cool below activation threshold. Iron soleplates contain steam vents and uneven surfaces that interrupt consistent heat contact. [2]
What Is Sublimation Printing with an Iron?
Sublimation printing with an iron uses the heated soleplate to activate dye conversion on small polyester items, though heat flux—the rate of thermal energy delivery—remains slow and inconsistent compared to dedicated equipment. Thermal resistance from ironing pads, towels, or soft surfaces underneath the substrate further slows heat penetration, affecting color vibrancy. Use a hard, flat surface beneath your project for optimal heat transfer.
Can You Sublimate a Design by Heating It with an Iron?
Heating a design with an iron can produce successful sublimation transfers, but time (dwell time) requirements increase significantly due to weaker heat delivery—expect 60 seconds or longer per section versus 45–60 seconds total with a press. Maintaining consistent pressure by hand proves difficult, increasing blur and ghosting risk as the paper shifts during extended pressing. Secure transfers firmly with heat-resistant tape on all edges before pressing.
⫸ Click Here For Best Selling Sublimation Printers And Products ⫷Can an Iron Replace a Heat Press for Sublimation Transfers?
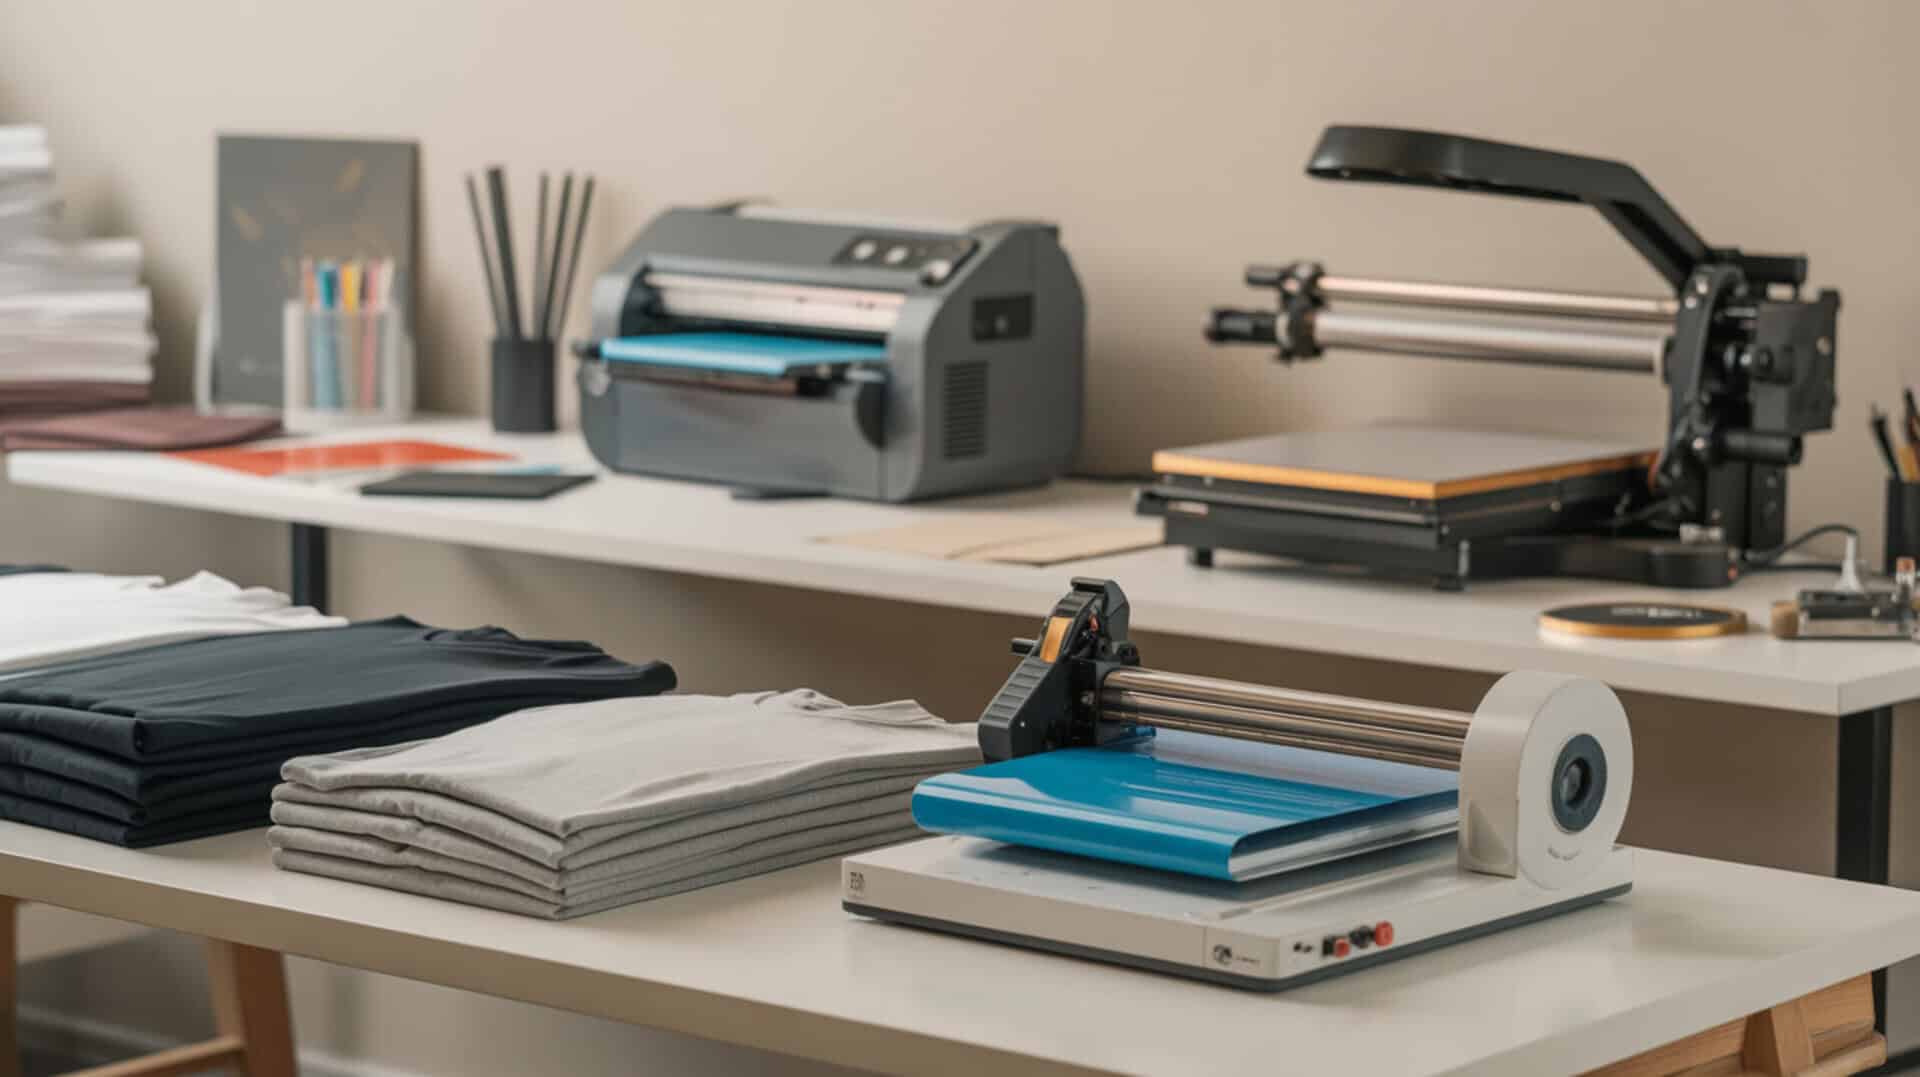
An iron cannot fully replace a heat press because it lacks the consistent pressure and thermal stability that professional equipment provides. Irons cannot apply uniform force across the entire design area, causing edges to transfer incompletely while centers receive adequate pressure. Temperature fluctuates significantly during pressing as the heating element cycles on and off. Comparing irons to presses highlights why pressure accuracy matters—our sublimation heat press settings guide explains optimal pressure ranges for different substrates.
Can You Use an Iron Instead of a Heat Press for Sublimation?
Using an iron instead of a heat press produces acceptable results for small hobby projects but falls short for production work or items intended for sale. A heat press platen provides stable, uniform heat distribution unlike an iron’s small soleplate with its temperature variations. The embedded heating element in quality presses maintains consistent temperature control throughout pressing, while irons cycle on and off to regulate heat.
Is Heat the Main Requirement for Sublimation Transfers?

Heat is the absolute requirement for sublimation—without sufficient thermal energy, dye cannot convert from solid to gas for fiber penetration. The glass transition temperature (Tg) of polyester determines when fibers soften enough to accept dye molecules; below this threshold, colors appear dull and incomplete. Exceeding safe temperature ranges risks melting the polyester entirely. Because both iron and tumbler projects depend on stable heat delivery for proper dye activation, our settings guide covers heat uniformity requirements for curved surfaces.
Is Heat Always Required for Sublimation Printing?
Temperature is always required for dye activation—sublimation cannot occur without heat converting solid ink to gas state. The substrate must reach thermal equilibrium throughout its thickness for colors to fully develop; surface-only heating produces dull, incomplete transfers. This requirement explains why irons struggle: their rapid heat loss prevents substrates from reaching and maintaining activation temperatures long enough for complete dye diffusion.
How Does Pressure Influence Sublimation Transfers with an Iron?
Pressure controls how deeply dye penetrates fibers and how sharply details transfer—insufficient pressure produces faded, soft-edged results while excessive force can distort fabric. The hardness of the surface beneath your project significantly influences pressure distribution; soft ironing boards absorb force while hard surfaces like wooden boards or heat-resistant mats allow full pressure transfer. Press firmly without moving the iron to maintain consistent contact.
How Do You Sublimate with an Iron Step-by-Step?

Iron sublimation requires extended time per section because conduction consistency decreases when moving the iron between areas. Moving disrupts heat buildup and extends total transfer time significantly. Upgrading to a press solves the time and temperature instability inherent in iron-based sublimation—our guide on best heat press machines for sublimation compares entry-level options.
- Set up a hard, flat, heat-resistant surface like a wooden board or countertop with protective covering. Avoid padded ironing boards that absorb pressure and reduce heat transfer efficiency.
- Set your iron to the highest temperature setting (cotton/linen) with steam completely off. Empty the water reservoir to prevent accidental steam release during pressing.
- Pre-press the polyester substrate for 10–15 seconds to remove moisture and wrinkles. Use a lint roller to remove debris that could interfere with the transfer.
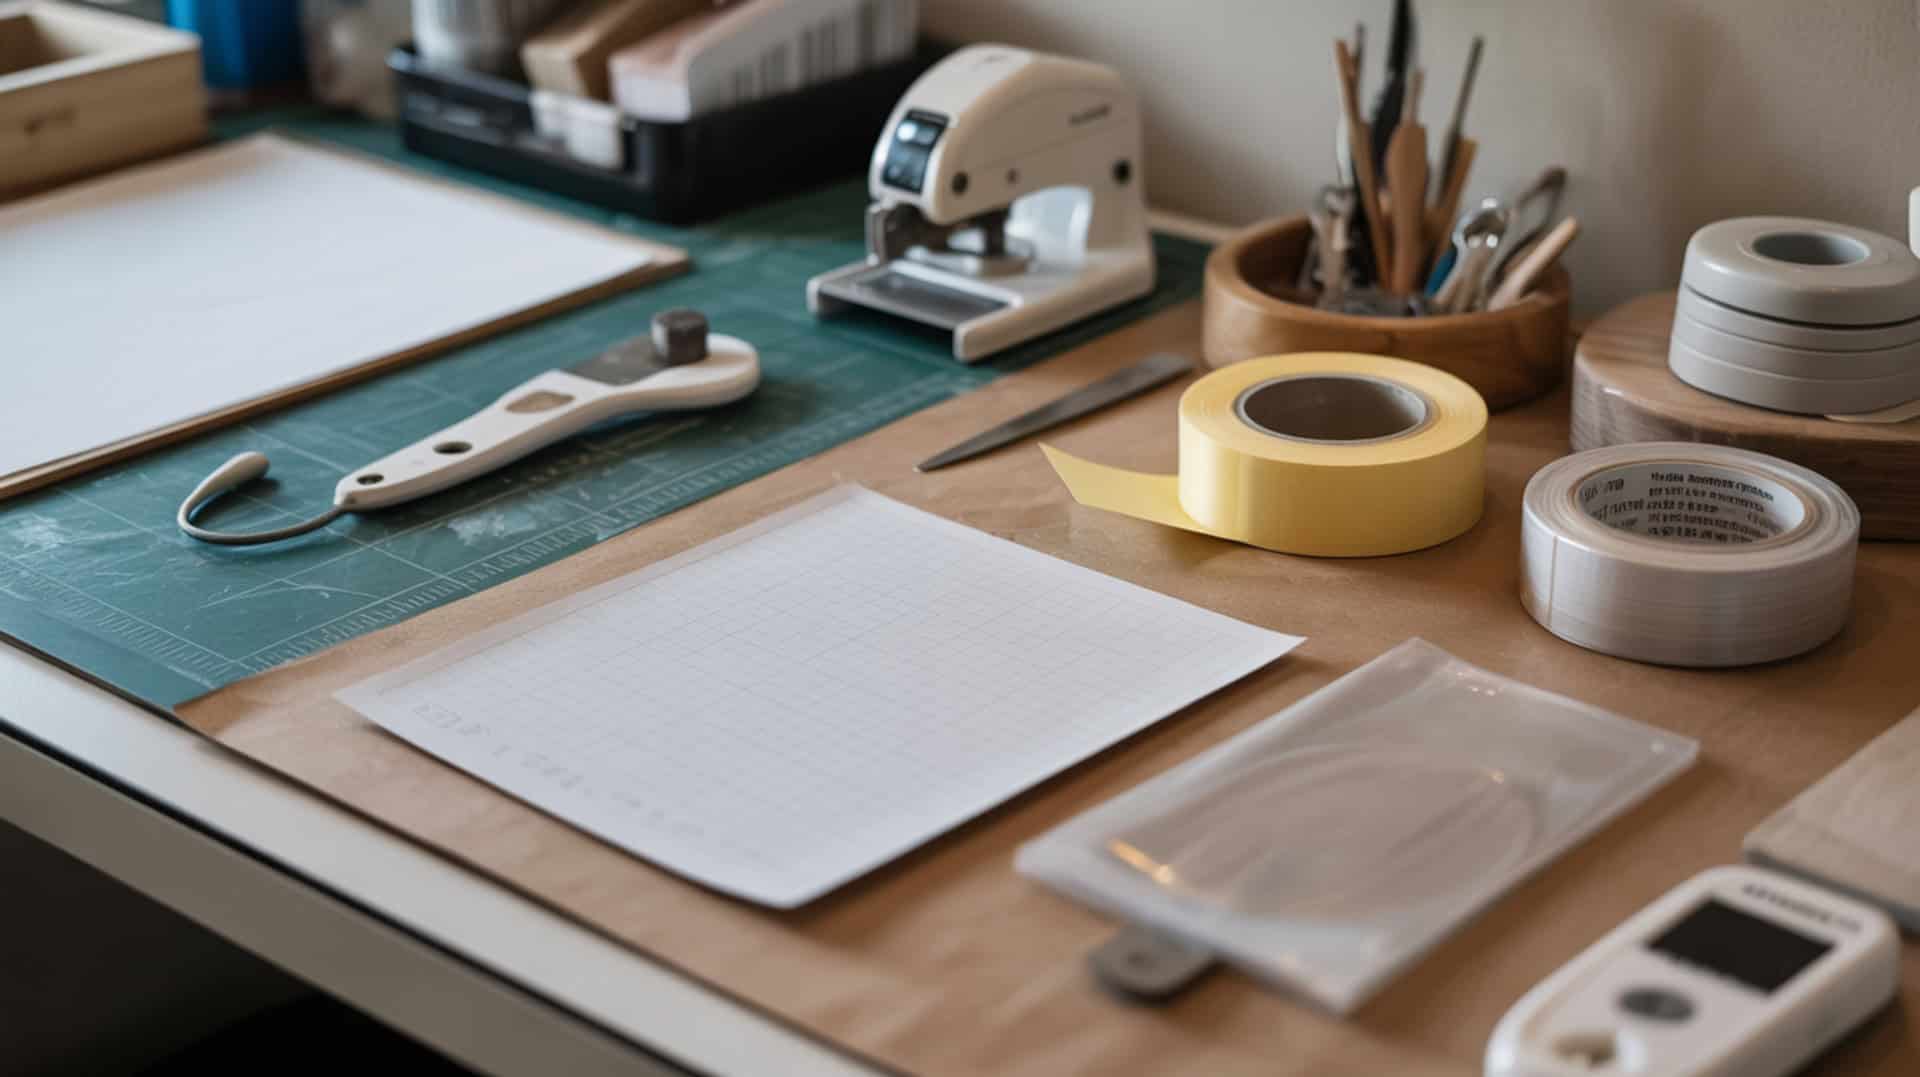
- Position the sublimation print face-down on the substrate and secure all edges with heat-resistant tape. Tape prevents paper movement that causes ghosting during extended pressing time.
- Cover the design with butcher paper or parchment paper to protect the iron from ink transfer. This protective layer also helps distribute heat more evenly across the design.
- Press the iron firmly onto one section for 60 seconds without moving it. Apply steady downward pressure—do not glide the iron as you would when ironing clothes.
- Lift and reposition the iron to the next section, overlapping slightly with the previous area. Repeat 60-second pressing for each section until the entire design is covered.
- Remove the sublimation paper immediately while still hot (hot peel) and allow the substrate to cool. Inspect results and re-press any areas showing incomplete transfer.
Ready to Try Sublimation Using an Iron?
Iron sublimation works for testing designs, creating small samples, and occasional hobby projects where investing in dedicated equipment isn’t justified. Accept that thermal stability limitations cause inconsistent results and pressure variations from hand application create softer edges than press-applied transfers. Start with small designs that fit within the flat portion of your soleplate, avoid areas with steam holes, and build technique before attempting larger projects.
Frequently Asked Questions
Can colors transfer fully if a regular iron applies uneven heat?
Uneven temperature distribution from iron soleplates causes incomplete color development in areas that don’t reach or maintain activation threshold. Hot zones produce vibrant color while cooler areas appear faded or patchy. Working in small sections with extended press times (60+ seconds each) and overlapping coverage helps compensate for temperature inconsistency, though results rarely match press-applied transfers.
Does sublimation with an iron last as long as with controlled press methods?
Iron-applied sublimation can achieve comparable durability when dye fully penetrates the polyester fibers, but inconsistent heat and pressure often leave areas incompletely bonded. These underdeveloped zones fade faster during washing. Proper technique—extended press times, firm pressure, and complete coverage—produces transfers that last as long as press-applied designs on the same substrate.
Can ghosting or blur happen more often when using an iron?
Ghosting and blur occur more frequently with iron sublimation because maintaining consistent pressure by hand proves difficult over extended pressing times. Any paper movement during the 60+ seconds required per section creates double images or blurred edges. Secure transfers with heat-resistant tape on all edges and avoid lifting or repositioning the iron within sections to minimize ghosting risk.
Can cooling speed change sublimation results when using an iron?
Cooling speed affects how dye sets within polyester fibers—rapid cooling can lock in colors before they fully diffuse, while gradual cooling allows continued dye migration. With iron sublimation, remove the paper immediately (hot peel) and allow the substrate to cool naturally. Avoid handling or folding the item until completely cooled to prevent dye from shifting during the final setting phase.
Is fabric texture a factor in perceived sharpness when ironing a transfer?
Fabric texture significantly affects perceived sharpness because thermal conductivity varies with weave density and fiber arrangement. Smooth, tightly-woven polyester produces sharper results than textured or loosely-woven fabrics where dye spreads unevenly between fibers. Thicker fabrics require longer pressing times because heat penetrates more slowly, and pressure variations from iron application become more pronounced on uneven surfaces.
References
- https://www.cpsc.gov/Recalls/2009/clothing-irons-recalled-by-conair-corporation-due-to-fire-hazard
- Ironing. (2025, May 25). Wikipedia, the free encyclopedia. Retrieved January 13, 2026, from https://en.wikipedia.org/wiki/Ironing