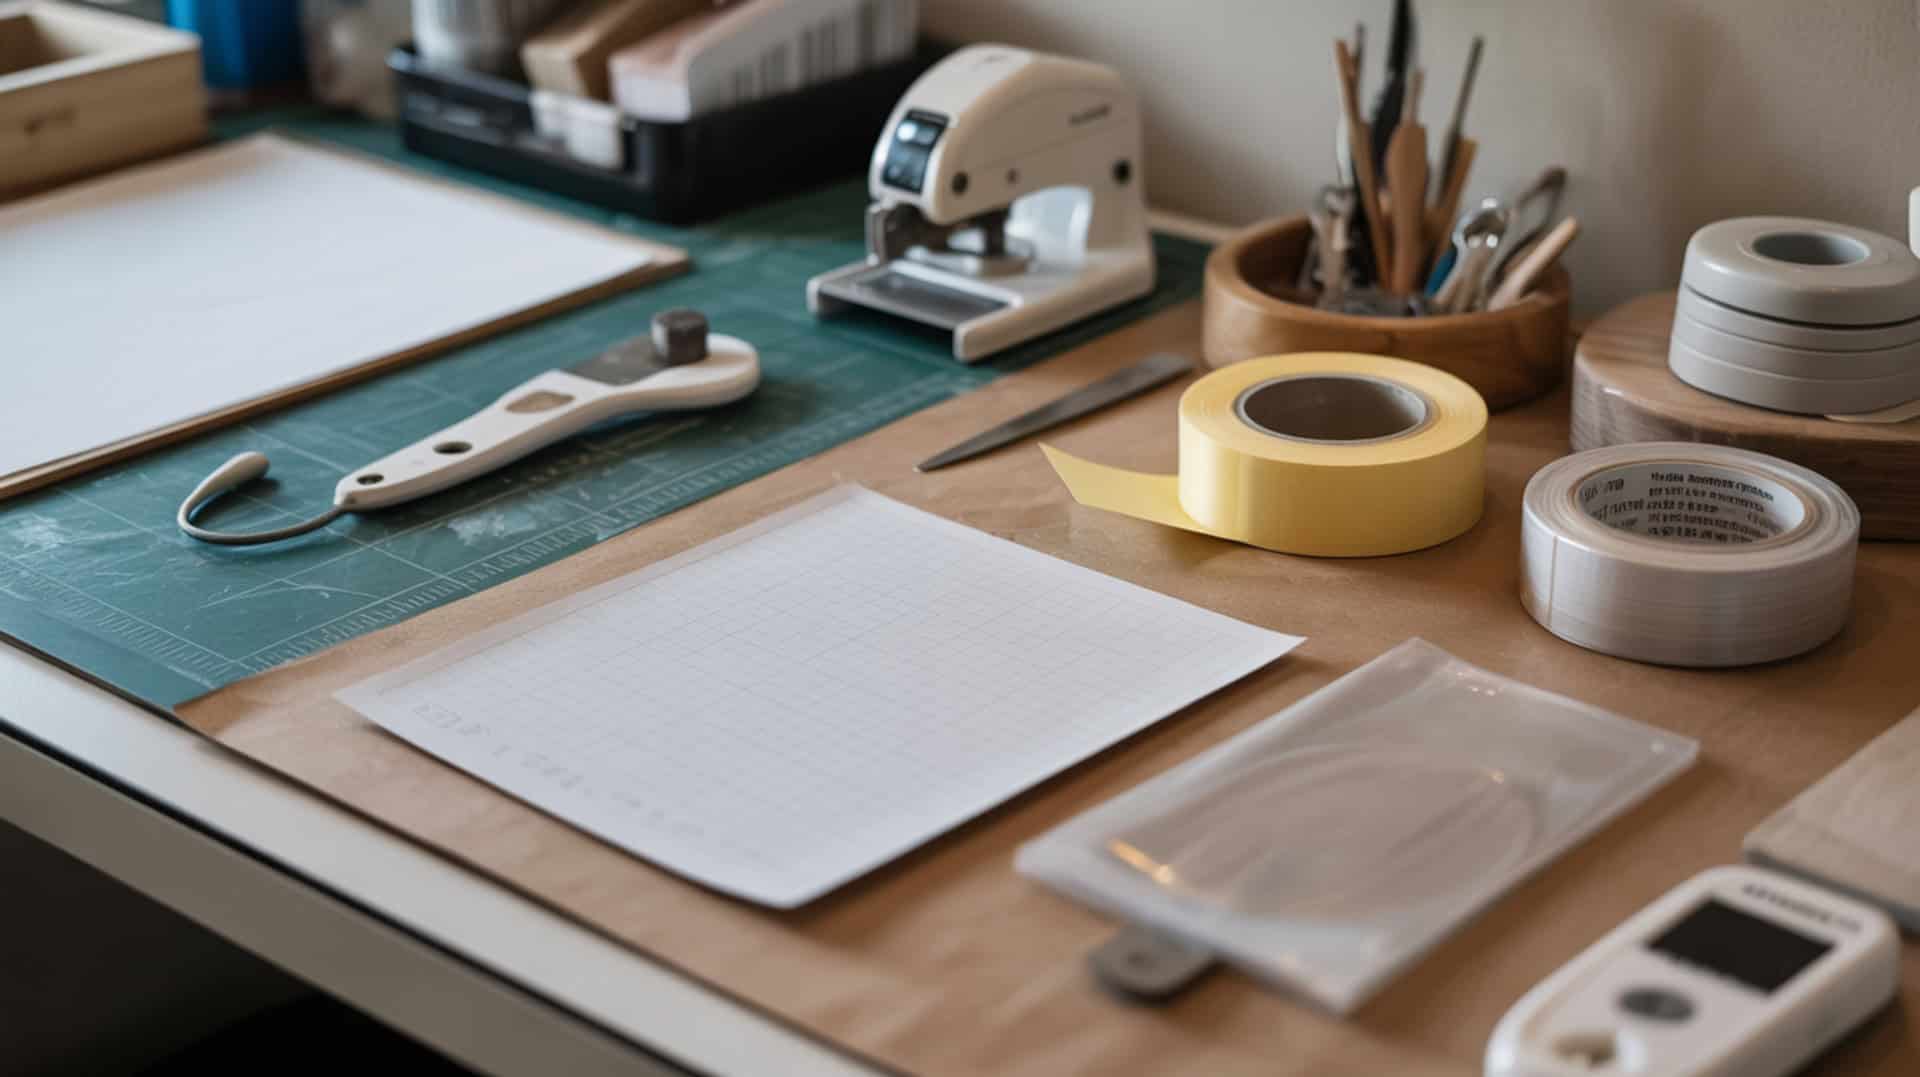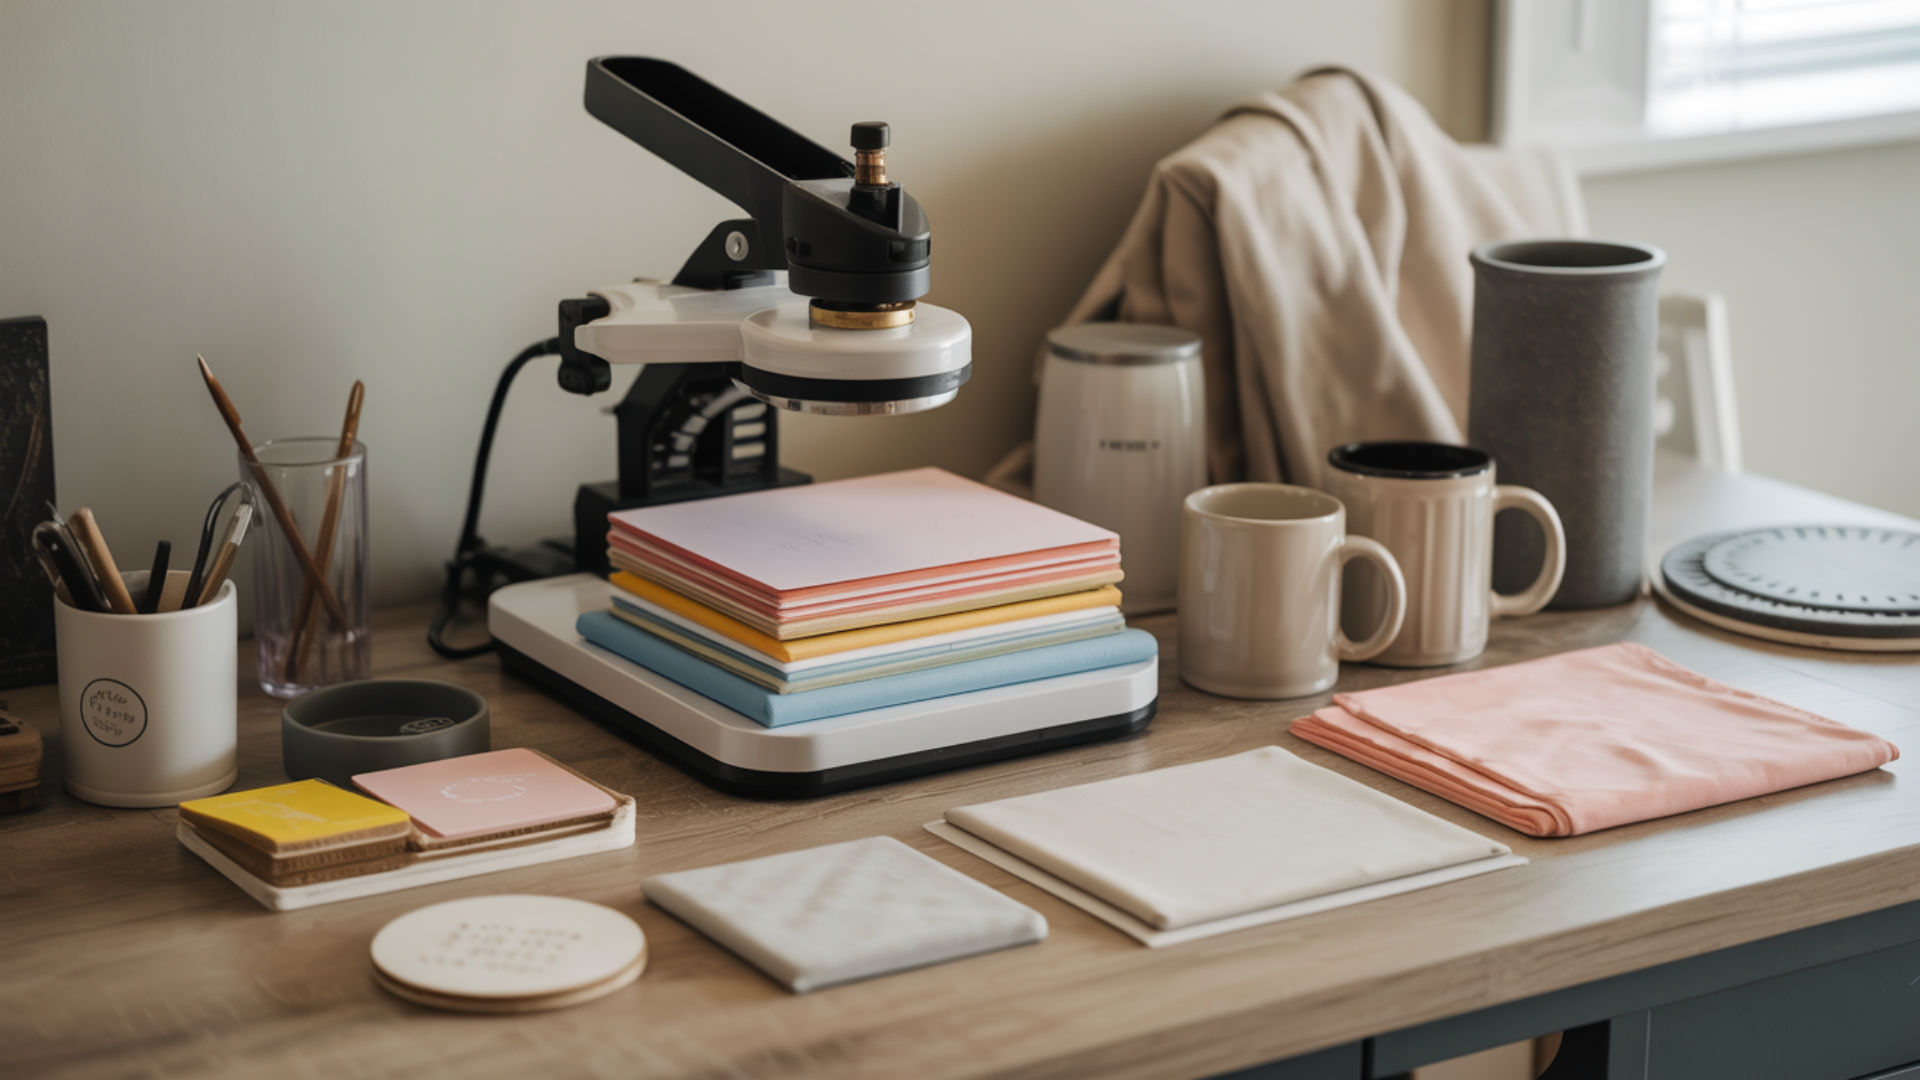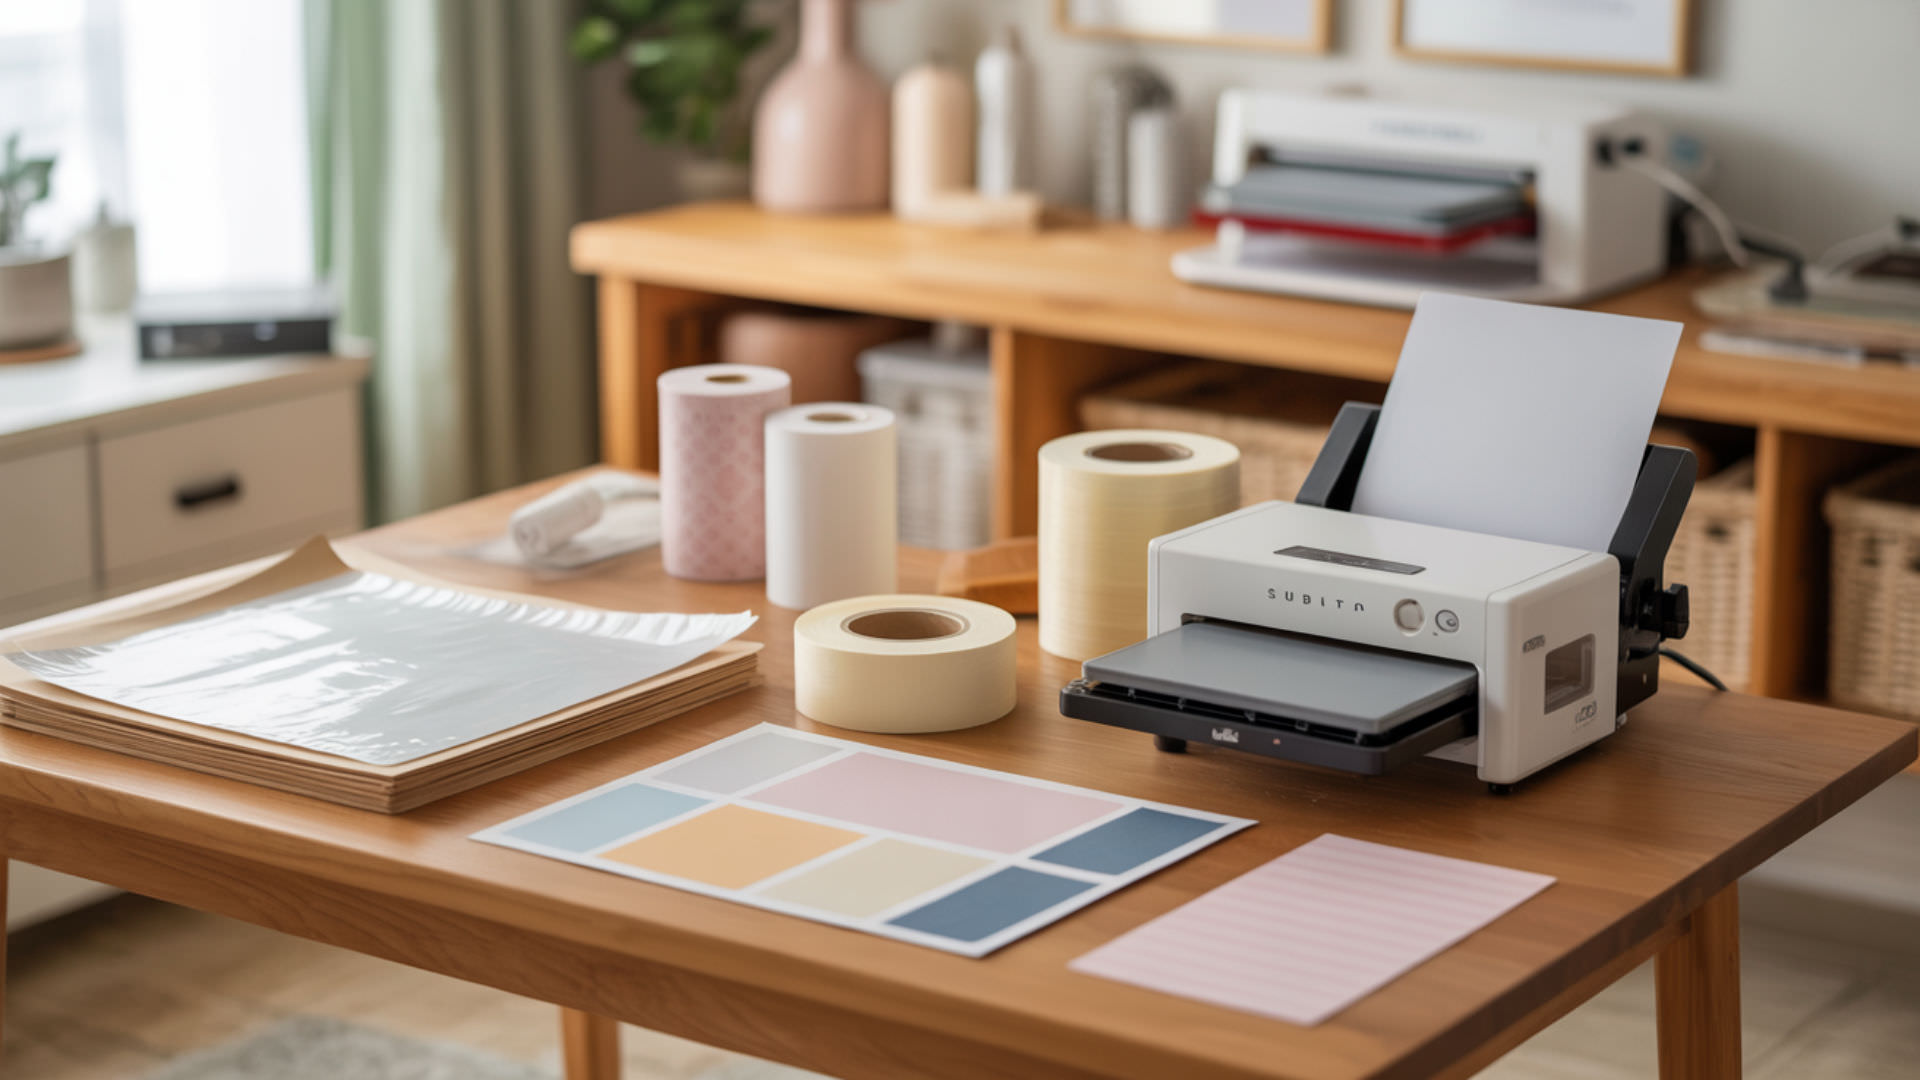
Heat-resistant tape secures transfer paper during sublimation, but tape adhesion increases under heat and can leave visible marks or impressions on finished products. Soft polymer coatings deform under pressure, capturing tape edges as permanent indentations on tumblers, mugs, and other substrates. Because adhesion-related defects include tape marks, sticking, and imprinting, our guide on fixing sublimation mistakes covers the science behind these bonding problems.
Key Takeaways
- Tape adhesion combined with excessive pressure creates visible imprints—use minimal tape and place it outside the print area.
- Marks typically appear above 400°F or with extended press times that exceed substrate recommendations.
- High-quality heat-resistant tape with strong cohesion removes cleanly without leaving residue or edge impressions.
Why Does Sublimation Tape Sometimes Leave Press Marks?
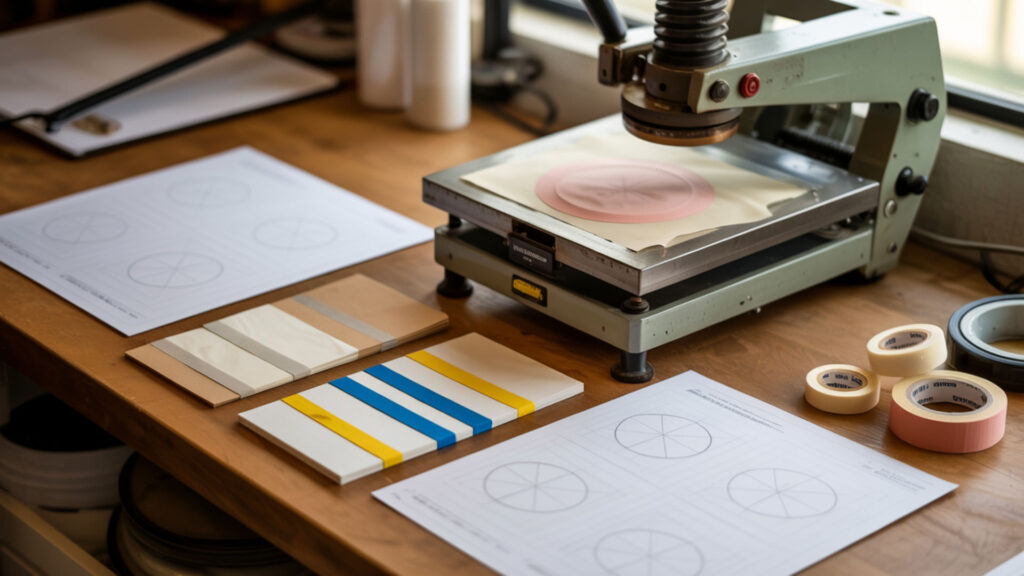
Press marks form when pressure pushes tape edges into the substrate surface, creating visible indentations that remain after cooling. Overheating above 400°F softens polymer coatings on blanks, allowing tape outlines to embed into the surface. These marks become permanent once the coating re-hardens, appearing as shiny lines or depressions around the transfer area. Tape outlines become more visible when pressure concentrates force onto a small edge area, and NOAA explains that pressure is the force exerted over an area, which helps explain why tape edges can press into softened coatings during heat pressing. [1]
Can Tape Quality Impact Sublimation Results?
Tape quality directly affects sublimation results through cohesion strength and surface energy characteristics. Weak cohesion causes adhesive residue to remain behind when tape is removed, leaving sticky spots that attract dust and debris. High surface energy creates stronger tape bonding to the substrate, increasing the risk of deeper marks when pressure is applied during pressing.
Can Too Much Heat or Pressure Make Tape Marks Worse?
Excessive heat causes thermal degradation of tape adhesive, making it stickier and more likely to transfer onto the blank surface. Pressure inconsistencies create uneven indent visibility—areas with higher pressure show deeper marks while lighter zones may escape damage. Maintaining 385–400°F and medium-even pressure across the platen minimizes thermal degradation and pressure-related indentations. Excessive heat worsens tape marks because heat transfer increases material softening under pressure, and the U.S. Department of Energy explains that higher thermal energy changes how materials deform when force is applied during heat-based processes. [2]
How Do You Prevent Tape Press Marks on Sublimation Blanks?
Preventing tape marks requires understanding surface energy and contact angle relationships between tape adhesive and substrate coatings. Low contact angle indicates stronger tape bonding to the surface, increasing imprint risk when pressure is applied. Place tape only outside the visible print area, use the minimum amount needed to secure the transfer, and apply protective paper beneath tape edges on sensitive substrates. Controlled pressure reduces tape edge indentation—our sublimation kit guide includes quality tapes, pressing aids, and pressure guides that prevent marks.
How Can You Stop Tape from Leaving Marks During Sublimation?
Stopping tape marks requires managing adhesion strength and ensuring even wetting across the tape contact area. Uneven wetting creates patchy adhesion where some sections bond tightly while others release easily, producing partial marks and inconsistent impressions. Apply tape smoothly without wrinkles, avoid overstretching, and remove tape while the substrate is still warm to prevent adhesive from setting.
⫸ Click Here For Best Selling Sublimation Printers And Products ⫷Can Residue Remain After Sublimation and Is It Removable?
Residue remains when tape cohesion fails and adhesive separates from the tape backing during removal. Thermal degradation from overheating makes residue stickier and harder to remove because heat-damaged adhesive bonds more aggressively to substrate coatings. Rubbing alcohol dissolves most fresh residue; stubborn deposits may require commercial adhesive removers like Goo Gone followed by soap and water cleaning. Since residue and bonding problems affect multiple sublimation defects, our guide on paper sticking to tumblers addresses shared adhesive-related issues.
How Do You Remove Sublimation Tape Marks Step-by-Step?
Removing tape marks requires addressing both adhesive residue and physical indentations through careful cleaning and controlled reheating. Managing adhesion properly and reducing pressure prevents recurring marks on future projects. Because pressure inconsistencies cause both tape marks and ghosting defects, our ghosting removal guide covers shared pressure-related alignment problems.
- Allow the substrate to cool completely before assessing damage. Polymer coatings remain soft when warm and can be damaged further by premature handling.
- Apply rubbing alcohol to a soft lint-free cloth. Isopropyl alcohol dissolves adhesive residue without damaging most sublimation coatings.
- Gently buff the affected area using circular motions. Avoid aggressive scrubbing that could scratch the polymer coating or spread residue.
- For stubborn residue, apply Goo Gone and let it sit for 3–5 minutes. Follow with soap and water to remove any oily film left by the adhesive remover.
- For physical indentations on hard substrates, reheat gently at 350°F for 15–20 seconds. Heat softens the coating slightly, allowing minor impressions to relax and smooth out.
- Wipe immediately after reheating with a clean microfiber cloth. The softened surface responds to gentle pressure, reducing the visibility of shallow marks.
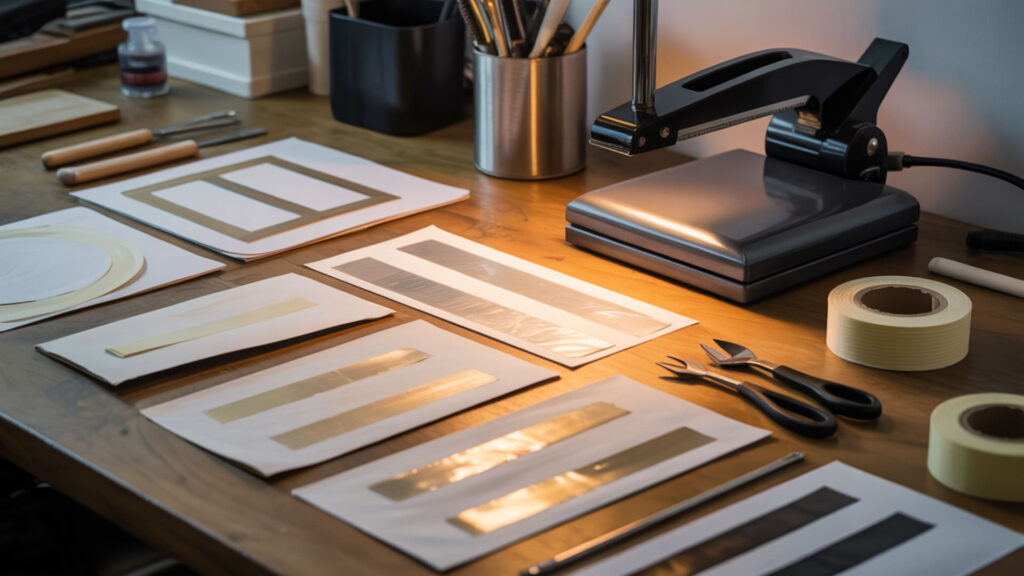
What Tape Is Least Likely to Leave Press Marks or Residue?
High-quality heat-resistant tape rated for temperatures above 400°F minimizes marks on most sublimation substrates. Softer materials like polyester fabrics and microfiber blankets show marks more easily than hard substrates, requiring gentler low-tack tape options. Using tape specifically designed for sublimation—not general-purpose masking tape—prevents adhesive breakdown under heat press conditions.
What Tape Doesn’t Leave Marks?
Tapes with high cohesion strength remove cleanly without leaving residue or visible lines because the adhesive stays bonded to the tape backing rather than transferring to the substrate. 3M No-Residue tapes and sublimation-specific heat tapes maintain cohesion integrity even under prolonged heat exposure. Testing new tape brands on scrap material before production identifies problematic adhesives early.
How Can You Prevent Tape from Leaving Residue?
Preventing residue requires matching tape surface energy to substrate characteristics and respecting contact angle limits. High surface energy substrates with low contact angles bond aggressively to adhesive, increasing residue transfer risk. Apply tape to clean, dry surfaces only, avoid exceeding recommended temperature and time limits, and remove tape promptly after pressing while the substrate is still warm.
Ready to Prevent Sublimation Tape Marks?
Managing adhesion strength and controlling pressure eliminates most tape mark problems before they occur. Use quality heat-resistant tape sparingly, place it outside visible areas, and maintain consistent press temperatures below 400°F. These simple adjustments prevent indentations and residue from ruining otherwise perfect sublimation transfers.
Frequently Asked Questions
Are tape press marks permanent on sublimation blanks?
Deep press marks on hard substrates like ceramic and metal are often permanent because the polymer coating re-hardens with the indentation embedded. Shallow marks on some coatings can be reduced through gentle reheating and buffing, though complete removal is rarely possible. Prevention through proper tape placement and pressure control produces better results than correction attempts.
Does tape residue fade or soften over time?
Tape residue does not fade naturally—it typically attracts dust and debris over time, becoming more visible rather than less. Sticky residue remains tacky indefinitely unless removed with solvents like rubbing alcohol or commercial adhesive removers. Addressing residue immediately after pressing prevents contamination from settling into the adhesive film.
Can tape marks appear even if the tape is removed before pressing?
Tape marks cannot appear if tape is completely removed before pressing, but residue left behind from earlier taping can create visible spots under heat. Any adhesive film on the substrate surface will interact with temperature and pressure, potentially causing discoloration or texture changes. Clean taping areas with rubbing alcohol before pressing to remove invisible residue.
Can humidity influence how tape interacts with sublimation blanks?
Humidity softens polymer coatings on sublimation blanks, increasing tape adhesion strength and the likelihood of marks or residue transfer. Moisture absorbed by substrates makes coatings more pliable under heat, allowing tape edges to embed more deeply. Storing blanks in dry conditions and pre-pressing for 5–10 seconds removes absorbed moisture before taping.
Is a press mark the same as ink ghosting or color bleed?
Press marks differ from ghosting and color bleed—marks are physical indentations or residue from tape, while ghosting creates duplicate shadow images from paper movement and bleed spreads ink beyond design boundaries. However, underheating can cause tape to lift mid-press, creating movement that produces both tape marks and ghosting simultaneously. Proper temperature maintains tape adhesion throughout the press cycle.
References
- What is air pressure? (n.d.). National Data Buoy Center. https://www.ndbc.noaa.gov/education/pressure.shtml?utm_
- Principles of heating and cooling. (n.d.). Energy.gov. https://www.energy.gov/energysaver/principles-heating-and-cooling