Dye-sublimation printing transforms solid sublimation dye into gas under heat, allowing it to bond permanently with polymer-coated surfaces. This heat-driven vaporization process produces vibrant, wash-resistant images that become part of the substrate itself. Mastering the techniques behind temperature control, timing, and material selection determines whether your prints achieve professional-grade results.
Key Takeaways
- Moisture control and even pressure prevent ghosting, blurring, and incomplete transfers.
- Temperature between 380–400°F activates sublimation dye for proper diffusion into polymer substrates.
- Press time of 35–60 seconds determines image density and color saturation on most materials.
What Are the Essential Tips and Tricks for Better Sublimation Results?
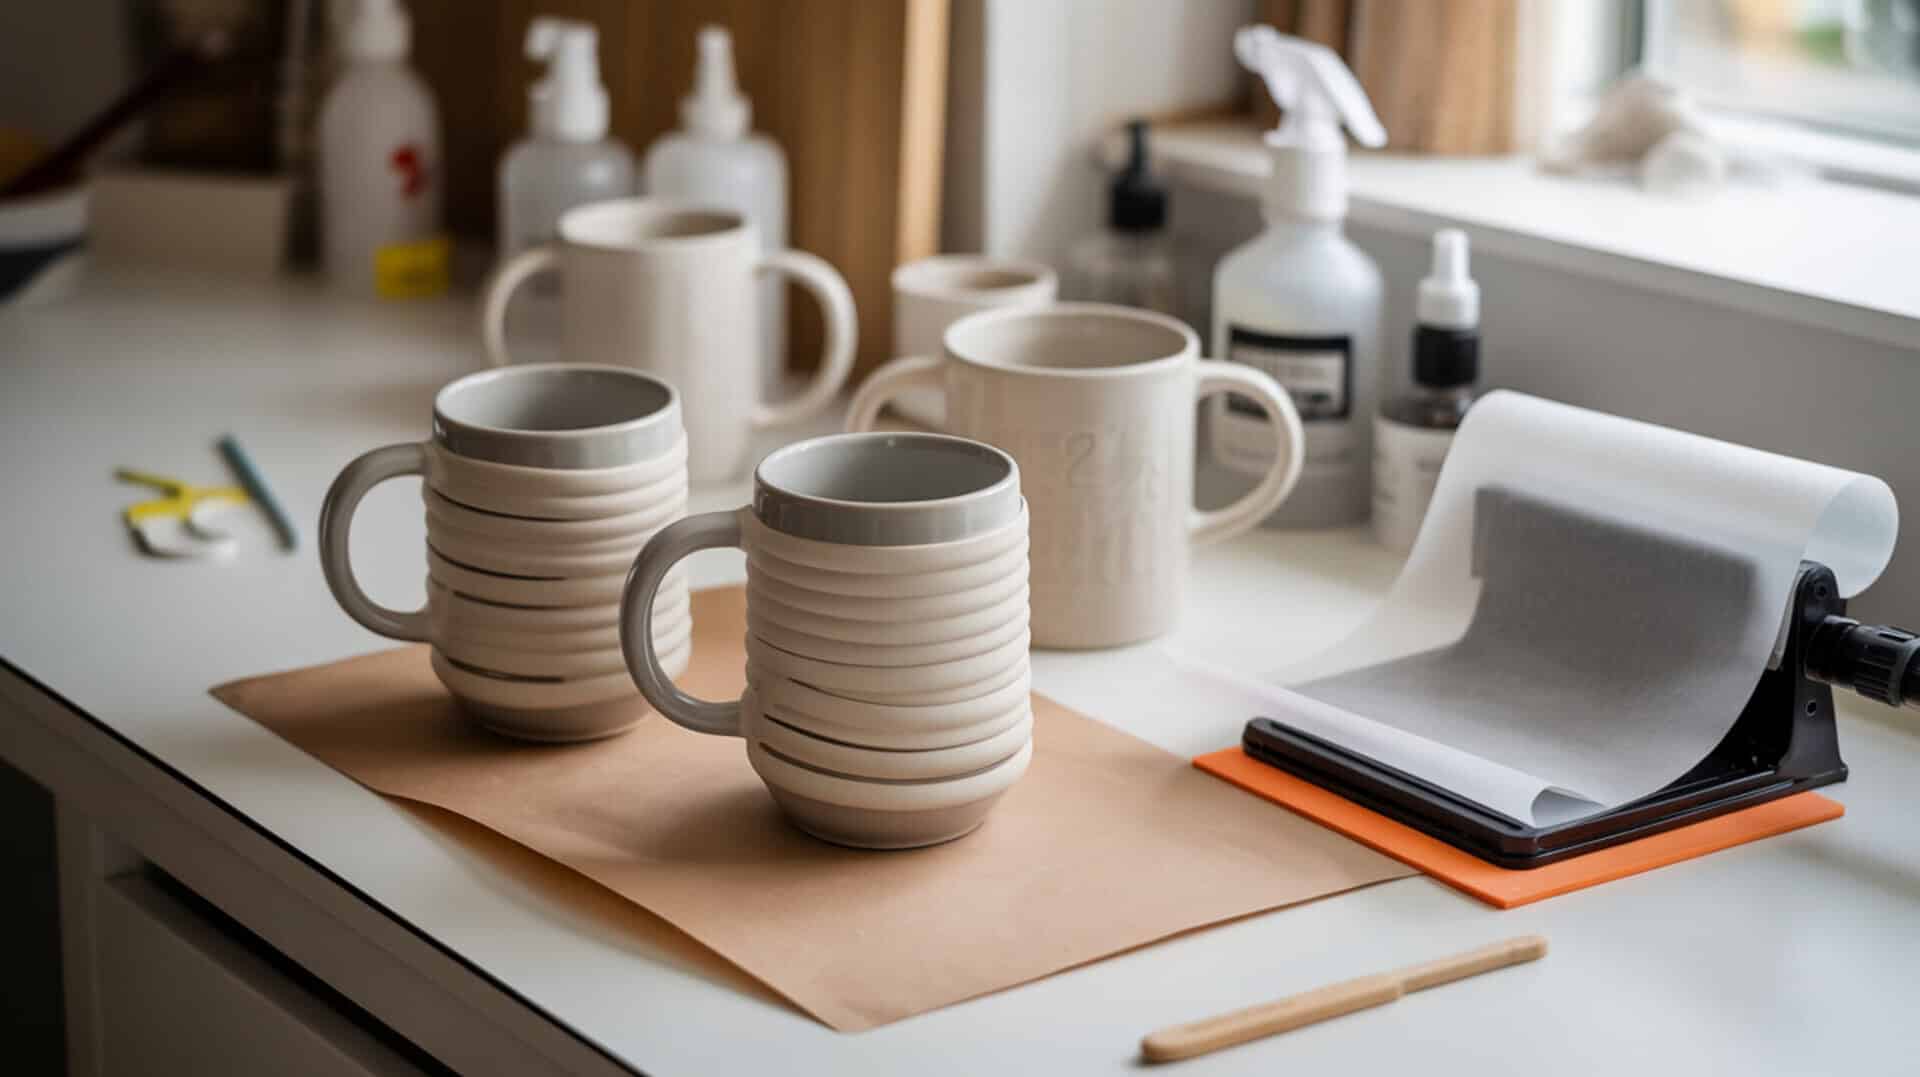
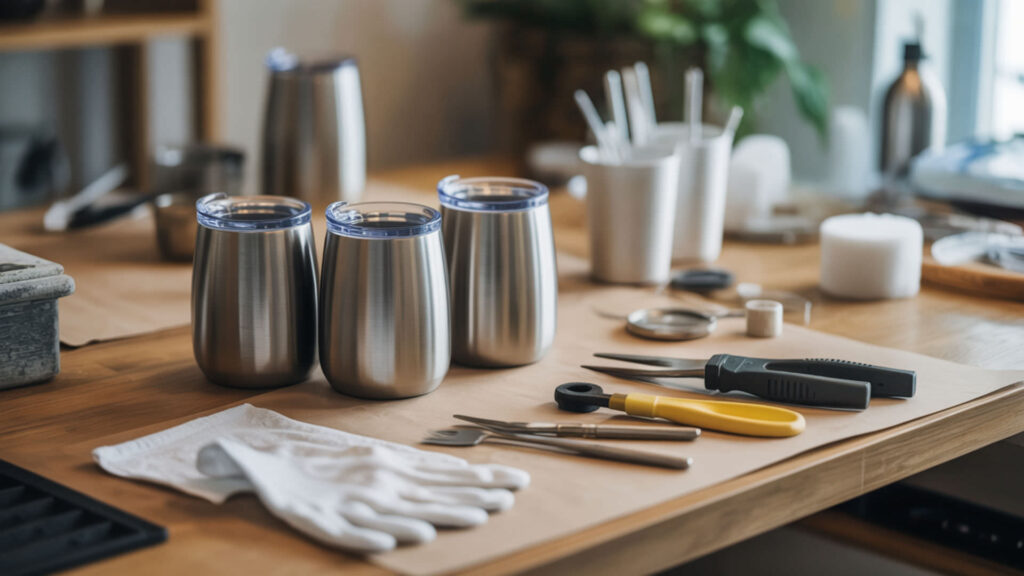
Moisture trapped in substrates or transfer paper causes ghosting—blurry shadows that appear around edges when heat converts water to steam during pressing. Applying consistent pressure across the entire surface ensures full contact between paper and substrate, preventing patchy or incomplete dye transfer. Pre-pressing fabrics for 3–5 seconds removes residual moisture, while medium pressure around 40 psi maintains clarity. Because ghosting ruins otherwise perfect prints, our guide on sublimation tips and tricks covers prevention methods in greater detail.
Temperature and Time Optimization Strategies
Thermal equilibrium across the heat press platen prevents hot spots that cause uneven dye activation. Standard polyester requires 385–400°F for 35–45 seconds, while ceramics need 350–400°F for 180–240 seconds. Temperature fluctuations of 10°F or more create visible color inconsistencies. Always pre-heat the press and verify readings with an infrared thermometer before production runs. Repeated exposure to high temperatures during production makes heat-management practices important for both print consistency and operator safety. [1]
Preventing Common Transfer Issues
Moisture disrupts dye diffusion by creating steam pockets that shift the transfer paper during pressing, resulting in blurring or double images. Incorrect pressure compounds this problem—too light causes faded areas, too heavy forces ink to spread beyond intended boundaries. Pre-press all fabrics, store transfer paper in low-humidity environments, and maintain 40 psi for consistent transfer clarity across projects.
Professional Finishing Techniques
Surface preparation directly affects print adhesion and final image density. Clean substrates with isopropyl alcohol to remove oils, dust, and residues that block dye penetration. Lint-roll fabrics immediately before pressing. For hard substrates, remove protective films and verify the polymer coating is intact. These steps ensure maximum dye absorption and prevent adhesion failures that cause peeling or fading.
Is It Really Possible to Sublimate Without a Traditional Printer?
Pre-printed transfer paper allows sublimation without owning a printer—the sublimation dye is already applied to the sheet and activates under heat. These ready-to-press sheets rely on the same vaporization chemistry as printer-based transfers; heat converts the solid dye to gas, which bonds with the substrate’s polymer surface. Because pre-printed transfer paper eliminates equipment costs, our guide on sublimating without a printer explains sourcing and usage in detail.
⫸ Click Here For Best Selling Sublimation Printers And Products ⫷Alternative Transfer Methods and Workarounds
Heat remains the catalyst for vaporization regardless of the transfer method used. Pre-printed sublimation sheets, heat transfer vinyl with sublimation-compatible surfaces, and third-party printing services all depend on temperatures between 350–400°F to convert solid dye into gas. The heat press performs the same function whether you printed the design yourself or purchased ready-made transfers.
Using Pre-Printed Sublimation Papers
Transfer paper with factory-applied sublimation dye must maintain dye stability during storage until heated. These papers use specialized coatings that hold the dye in solid form at room temperature while allowing complete release at press temperatures. Store sheets flat in sealed packaging away from heat sources and humidity to preserve image quality and prevent premature dye migration.
Limitations and Results to Expect
Image density depends heavily on substrate coating quality and composition. Pre-printed transfers work best on high-polyester fabrics and polymer-coated hard goods. Cotton and uncoated materials yield faded or non-existent results because the dye has no polymer matrix to bond with. Expect slightly lower color vibrancy compared to fresh-printed transfers due to potential dye degradation during storage.
How Can You Combine DTF Transfer Film with Sublimation Printing?
Hybrid printing uses sublimation ink on DTF transfer film coated with thermoplastic polyurethane (TPU) or polyurethane (PU) adhesive powder. The softening point of these materials—typically 160–170°C—determines when the adhesive melts and bonds the printed design to fabric. This technique extends sublimation to cotton and blends that normally reject dye-based transfers. Because polyurethane (PU) adhesive enables transfers on non-polyester fabrics, our DTF transfer film guide covers the complete hybrid workflow.
Understanding Hybrid Printing Techniques
TPU functions as an elastomer, providing stretch and flexibility that allows hybrid transfers to move with fabric rather than cracking. The printed sublimation ink sits within the adhesive layer, which melts onto the garment during heat pressing. This differs from traditional sublimation where dye penetrates the substrate—hybrid prints remain on the surface, creating a slightly textured feel.
When to Use Each Method for Best Results
Standard sublimation works best on polymer-coated substrates and high-polyester fabrics where the dye can bond directly with the material. Hybrid DTF-sublimation suits cotton, dark fabrics, and blends lacking sufficient polymer content. Choose traditional sublimation for durability and soft hand feel; select hybrid methods when substrate compatibility limits direct dye transfer.
Equipment Compatibility and Setup
Heat press temperature gradients cause uneven bonding when platens fail to maintain consistent heat across their surface. DTF-sublimation hybrid transfers require 320–360°F for 10–30 seconds—lower than standard sublimation because the goal is melting the adhesive, not vaporizing dye into a polymer. Verify press calibration with multiple temperature readings across the platen before production.
What’s the Best Way to Remove Sublimation Ink from Tumblers?
Solvent-based removal uses acetone or rubbing alcohol to partially dissolve sublimation dye bonded within the polymer coating. Abrasive methods physically remove the dye-containing coating layer through mechanical action. Both approaches cause some degree of polymer degradation—the coating will never return to factory condition. Complete removal typically requires combining chemical and mechanical techniques. Because solvent selection affects both effectiveness and surface damage, our tumbler ink removal guide details safe procedures.
Chemical Removal Methods and Safety
Acetone dissolves sublimation dye but may damage certain coatings with prolonged exposure. Bleach and other oxidizing agents break down dye molecules through chemical reaction rather than dissolution. Work in ventilated areas, wear nitrile gloves, and test chemicals on inconspicuous areas first. Multiple applications with 91% isopropyl alcohol often produce safer results than aggressive solvents.
Heat-Based Removal Techniques
Reheating sublimated tumblers to 375–400°F in a convection oven causes polymer degradation that releases trapped dye. The ink returns to a gaseous state and escapes the coating, lightening the image over 1–4 hours of exposure. This method damages the coating’s integrity, making it suitable only for re-sublimating with darker designs that cover residual marks.
Salvaging and Repurposing Mistake Projects
Abrasion with fine-grit sandpaper or magic erasers removes dye by stripping the coating layer, increasing surface roughness in the process. This texture change may affect how new sublimation prints appear. For projects with minor flaws, consider vinyl overlays or re-sublimating with darker designs rather than attempting complete removal that compromises the substrate.
How Do You Calculate Pricing for Sublimation Projects?
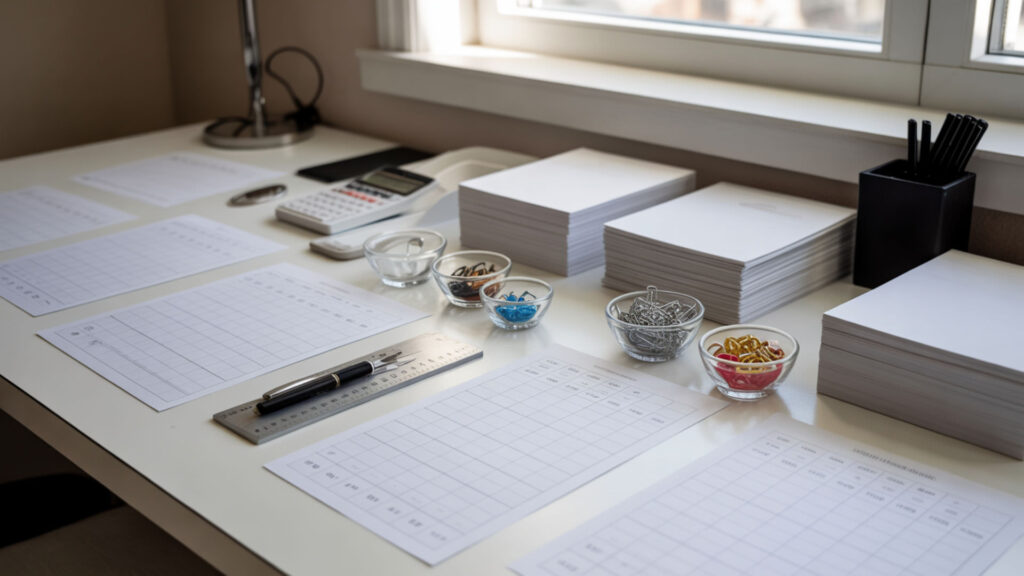
Material cost and press time form the foundation of sublimation pricing. Every additional second of heat press time adds labor cost, while substrate and consumable expenses vary by project type. Profitable pricing accounts for setup time, design work, pressing, quality inspection, and packaging—not just the 45 seconds the item spends under heat. Because time (press time) directly impacts labor expenses, our sublimation pricing calculator helps automate cost calculations.
Material Cost Breakdown and Tracking
Transfer paper costs $0.15–$0.50 per sheet depending on size and quality. Substrate prices range from $2 for basic mugs to $15+ for premium tumblers. Track ink consumption per print—approximately $0.02–$0.10 for standard designs. Cost variability between substrate types requires separate pricing tiers to maintain margins across different product categories.
Time and Labor Considerations
Heat press time varies from 35 seconds for polyester shirts to 4+ minutes for ceramic tiles, directly affecting workflow efficiency and hourly output. Calculate your labor rate and divide by items produced per hour. A 60-second press cycle limits output to roughly 50 items per hour before accounting for loading, unloading, and quality checks.
Market Pricing and Profit Margins
Image density and design complexity influence perceived value—full-wrap tumblers command higher prices than single-sided prints. Research competitor pricing in your market, then position based on quality and turnaround time. Target 50–60% gross margins minimum; anything lower struggles to cover overhead, equipment depreciation, and business expenses beyond direct material and labor costs.
What’s Involved in Making Your Own Sublimation Blanks?
Creating sublimation blanks requires applying a polymer coating that accepts and bonds with sublimation dye. Primer layers improve adhesion between the substrate and coating, while proper curing ensures the polymer fully hardens before pressing. DIY blanks expand your product range but demand precise application techniques to match commercial quality. Because coating application determines print quality, our guide on making sublimation blanks covers formulations and methods.
Coating Application Methods
Polymer coating thickness controls dye diffusion depth and final color vibrancy. Spray application produces even coverage on curved surfaces; brush-on methods suit flat substrates. Polyester-based resin coatings require 2–3 thin layers with drying time between applications. Thicker coatings accept more dye but may crack under heat if not properly cured.
Preparing Different Materials for Sublimation
Surface preparation varies by substrate—wood requires sanding and sealing, metal needs degreasing, ceramics benefit from light abrasion. Strong adhesion between coating and base material prevents peeling, flaking, and delamination during heat pressing or product use. Test adhesion by pressing firmly on cured coating; any lifting indicates preparation or compatibility issues.
Quality Testing Your DIY Blanks
Heat resistance testing confirms coatings withstand 400°F without bubbling, yellowing, or releasing from the substrate. Wear resistance matters for items facing regular handling—rub printed areas with moderate pressure to check for scratching or fading. Document settings that produce acceptable results; slight formula or process changes can significantly affect durability.
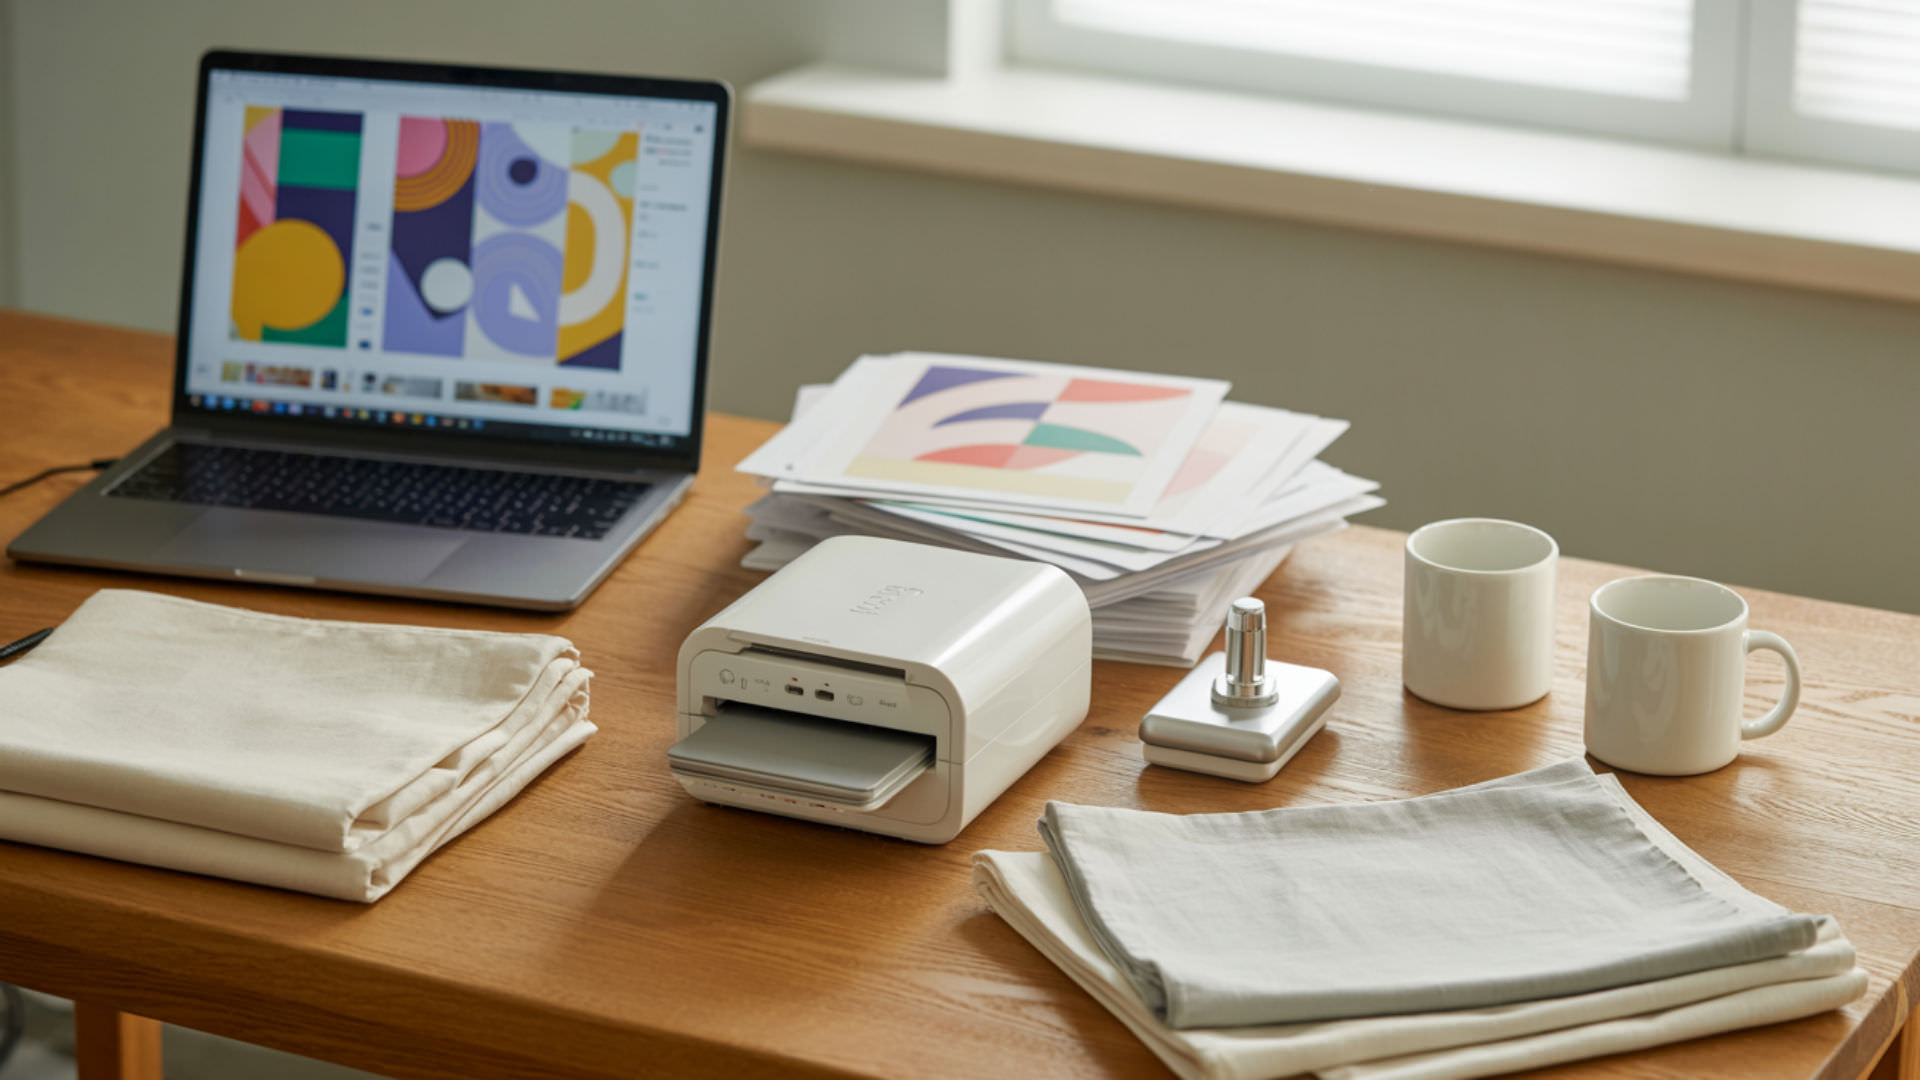
Which Supplies Are Essential for Sublimation Success?

Transfer paper, a reliable heat press, and stabilizers form the core supply list for consistent sublimation results. Paper formulation affects release quality—how completely the dye transfers from sheet to substrate. Cheap papers retain dye, producing faded prints regardless of temperature and time settings. Because transfer paper quality directly impacts every print, our best sublimation supplies guide compares top options.
Must-Have vs Nice-to-Have Equipment
A quality heat press with accurate temperature control and even heat transfer is non-negotiable—clamshell or swing-away designs both work for beginners. Sublimation printer, proper inks, and coated substrates complete the essentials. Nice-to-haves include mug presses, tumbler attachments, and convection ovens that expand capabilities without being strictly necessary for starting.
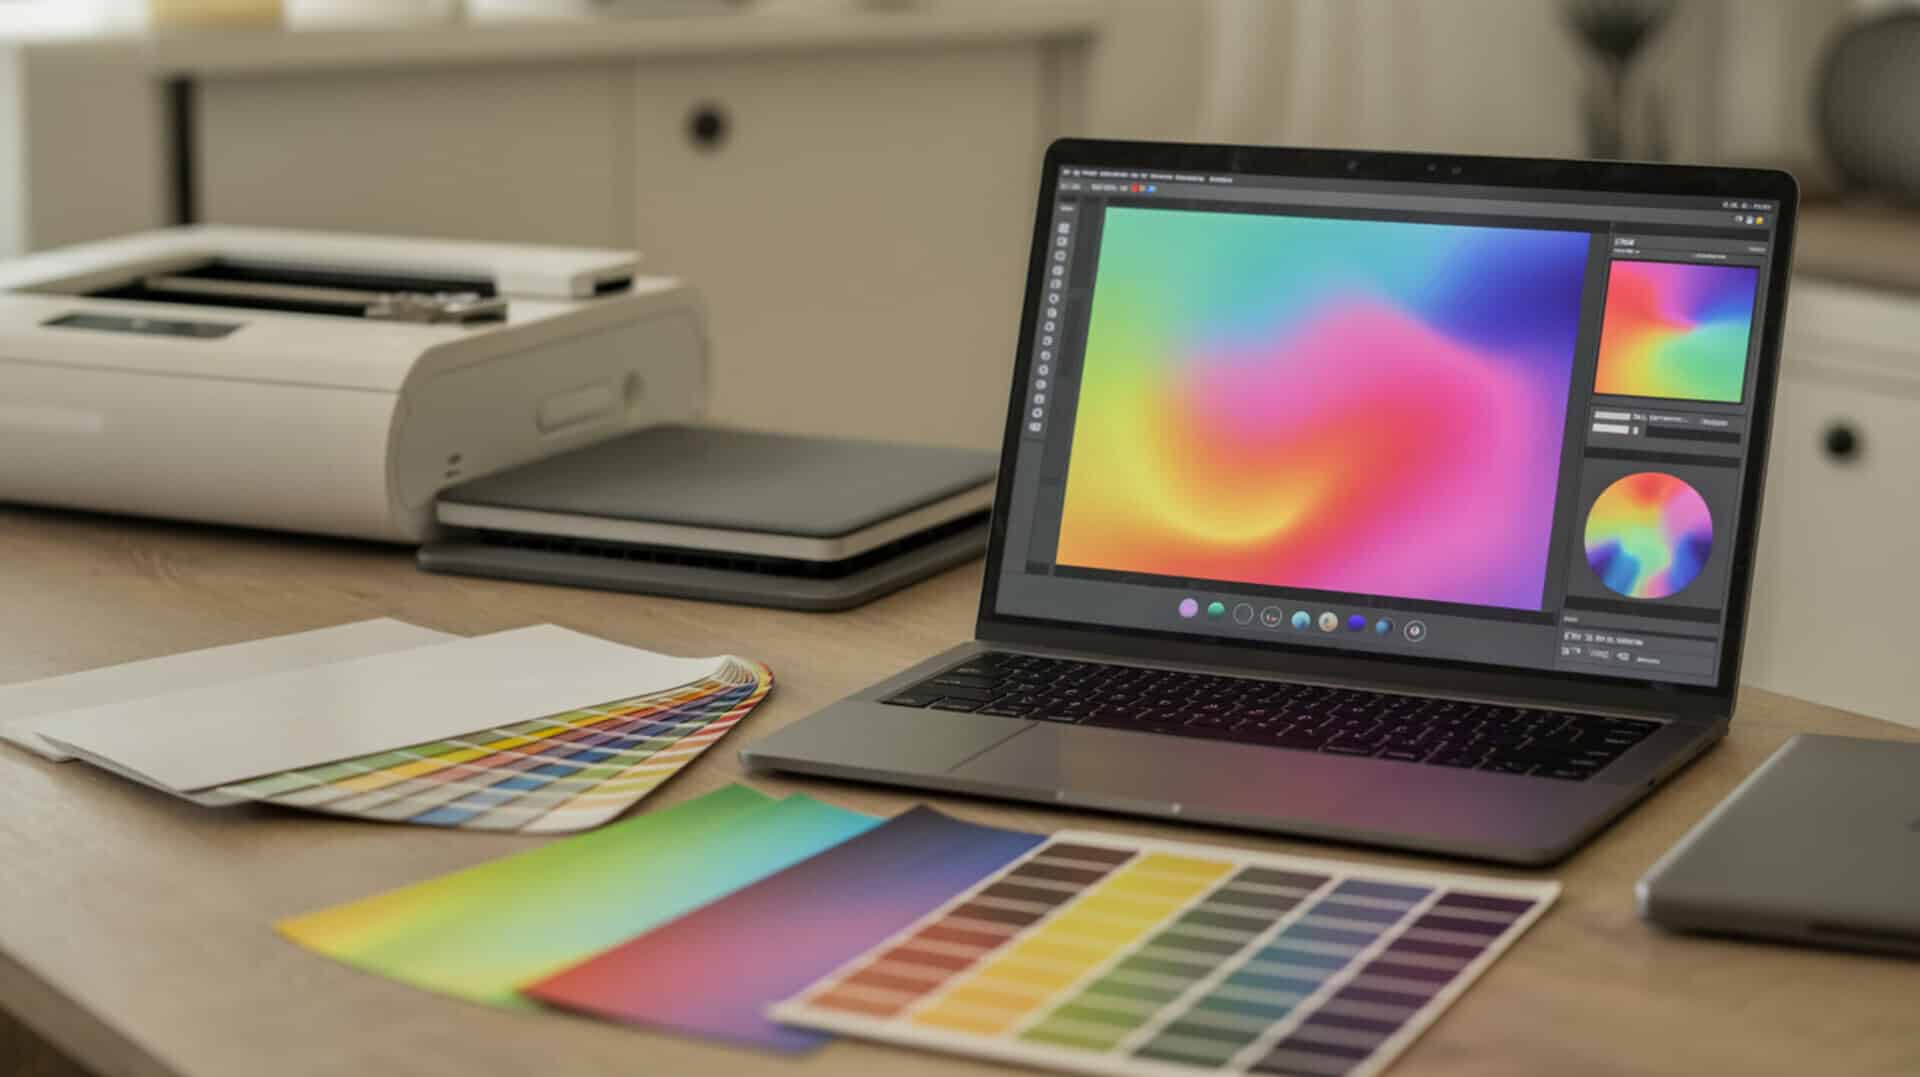
Choosing Quality Papers and Inks
Transfer paper performance depends on coating weight and sublimation dye compatibility—high-release papers transfer 95%+ of ink to substrates. Match ink formulations to your printer manufacturer’s specifications; third-party inks may clog printheads or produce color shifts. Papers with fast dry times reduce smudging during handling and allow quicker production cycles.
Storage and Organization Solutions
Moisture absorption causes paper defects including cockling, ink bleeding, and inconsistent transfers. Store sublimation paper in sealed containers with desiccant packs. VOCs from inks require ventilation; keep ink bottles capped and printers in well-aired spaces. Organize blanks by type and coating batch to track quality variations across suppliers.
What Materials Simply Won’t Work with Sublimation?
Materials lacking polymer content cannot accept sublimation dye—the process requires a polymer matrix for dye molecules to penetrate and bond. Glass transition temperature (Tg) determines when polymers soften enough for dye diffusion; substrates with Tg above press temperatures resist penetration. Materials with low melting points deform or melt before reaching sublimation temperatures. Because polymer composition defines compatibility, our guide on what can’t be sublimated explains material science limitations.
Understanding Material Science and Limitations
Amorphous polymer regions accept dye through diffusion as molecular chains gain mobility above Tg. Crystalline polymer structures resist penetration because their tightly packed, ordered arrangements leave no space for dye molecules. Polyester’s partially amorphous structure makes it ideal; cotton’s cellulose fibers contain no polymer content and cannot bond with sublimation dye under any conditions.
Alternative Decoration Methods for Non-Compatible Items
Polymer coatings create workarounds for otherwise incompatible materials—spray-on sublimation coatings enable transfers onto wood, cotton, and certain metals. Adhesion quality determines durability; improper surface preparation causes coating failure. DTF transfers, heat transfer vinyl, and screen printing offer alternatives when coating proves impractical or cost-prohibitive for specific substrates.
How to Identify Sublimation-Ready Products
Polymer coating quality shows in surface energy—higher surface energy indicates better coating adhesion and dye acceptance. Look for manufacturer labels specifying “sublimation-ready” or “poly-coated” status. White or light-colored coatings produce the brightest results; test unknown blanks with small sample prints before committing to production quantities.
Final Thoughts
Dye-sublimation printing rewards precision—small variations in temperature, time, and material selection produce dramatically different results. Master the fundamentals covered here, test consistently with documented settings, and build on each successful print. The techniques that seem complex today become second nature with practice and attention to the science behind the process.
Frequently Asked Questions
Can I fix a sublimation mistake without starting completely over?
Minor sublimation dye errors can sometimes be corrected by re-pressing with a darker design that covers the flaw. For tumblers, heat-based removal at 375–400°F lightens the original image enough to sublimate over. Complete removal is rarely possible because dye bonds within the polymer coating. Vinyl overlays offer another fix for small imperfections without scrapping the entire project.
How long do sublimation inks and papers last in storage?
Unopened sublimation dye ink bottles typically last 12–24 months; opened bottles should be used within 6 months to prevent settling and clogging. Transfer paper stores well for 1–2 years when kept sealed in low-humidity environments below 75°F. Moisture exposure degrades both materials—store with desiccant packs and avoid temperature fluctuations that cause condensation.
What’s the minimum investment needed to start sublimation printing?
Entry-level sublimation requires $300–$600 for a converted Epson EcoTank printer with sublimation dye ink, plus $200–$400 for a basic heat press. Add $50–$100 for transfer paper, blanks, and supplies. Total startup costs range from $550–$1,100 depending on equipment quality. Used equipment and pre-printed transfer paper can reduce initial investment further for hobbyists.
Why do some colors change dramatically during the sublimation process?
Sublimation dye appears dull on transfer paper but becomes vibrant after heat activation—this shift is normal. Unexpected color changes typically result from moisture interference, incorrect temperature, or substrate coating variations. Moisture causes color shifts by diluting dye concentration during vaporization. Always use ICC color profiles matched to your specific ink, paper, and printer combination.
Is ventilation really necessary for small sublimation projects?
Sublimation dye releases fumes during heat pressing that can irritate respiratory systems with repeated exposure. Small projects produce less vapor, but ventilation remains advisable—open a window, use a fan, or work near an exhaust system. Commercial operations require dedicated ventilation. Sensitive individuals and those with respiratory conditions should always ensure adequate airflow regardless of project size. Proper ventilation is essential during heat-based printing processes because elevated temperatures can release airborne compounds that affect indoor air quality. [2]
References
- Heat – Overview: Working in outdoor and indoor heat environments | Occupational safety and health administration. (n.d.). Occupational Safety and Health Administration. https://www.osha.gov/heat-exposure
- Indoor air quality (IAQ). (2025, August 27). US EPA. https://www.epa.gov/indoor-air-quality-iaq