Sublimation paper sticks to tumblers when overheating softens the polymer coating, creating stronger adhesion between paper fibers and the tumbler surface. This bonding occurs when heat exceeds safe thresholds or press time runs too long, causing the coating to partially fuse with the paper. Because adhesion-related defects include sticking, residue, and over-press bonding, our guide on fixing sublimation mistakes covers the science behind these coating failures.
Key Takeaways
- Overheating above 400°F combined with high surface energy creates strong bonding that causes paper to stick.
- Remove paper immediately after pressing while still warm—cooling with paper attached increases sticking risk.
- Soaking stuck paper in warm water for 10–15 minutes loosens fibers without damaging the tumbler coating.
Why Does Sublimation Paper Stick During Transfers?
Sublimation paper sticks when adhesion increases due to thermal degradation of the tumbler’s polymer coating under excessive heat. The softened coating grabs paper fibers, creating bond zones that resist separation. High pressure compounds the problem by pressing paper deeper into the softened surface, embedding fibers that tear during removal attempts. Sublimation paper sticks when excessive heat softens or degrades the polymer coating on the tumbler surface. [1]
Can Over-Pressing Cause Paper to Stick?
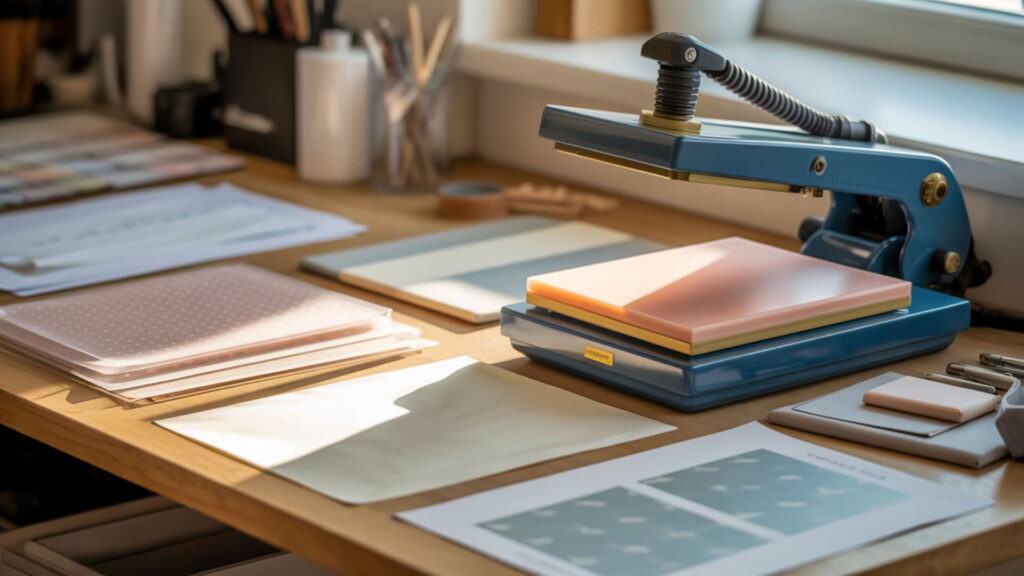
Excess pressure pushes paper fibers deeper into the softened polymer coating, encouraging polymer-to-paper bonding that resists clean separation. Medium pressure (approximately 40 PSI) provides sufficient contact for complete ink transfer without embedding paper into the surface. Curved surfaces like tumblers are particularly vulnerable because shrink wrap or silicone sleeves can apply uneven pressure across the surface. Excess pressure increases contact force between paper and softened coatings, making separation more difficult. NASA explains that pressure rises when force is applied over a small area, which helps explain why heavy pressing embeds paper fibers into heated polymer surfaces. [2]
What Temperature Can Cause Sublimation Paper to Burn or Stick?
Sticking typically occurs above 400°F when overheating exceeds the polymer coating’s thermal threshold, causing it to soften excessively and fuse with paper fibers. Prolonged press times at even moderate temperatures produce similar results as the cumulative heat exposure degrades the coating. Burn marks appear when temperatures exceed 410°F or press times extend significantly beyond recommendations.
How Can You Stop Sublimation Paper from Sticking Before It Happens?
Preventing sticking requires controlling heat distribution to avoid localized hot spots that soften coating unevenly. Paper weight affects contact behavior—heavier papers (70g) maintain better dimensional stability under heat than lightweight options. Low contact angle between paper and coating indicates excess wetting that increases adhesion risk. Even heat distribution prevents localized softening—our sublimation kit guide includes thermal tools that eliminate overheating and sticking issues.
Can Heat Settings Help Prevent Paper Sticking or Scorching?
Correct sublimation temperature and dwell time prevent the polymer softening that causes sticking. Temperatures above 400°F combined with extended press times allow coatings to degrade and grab paper fibers. Staying within 375–395°F for 45–60 seconds on most tumblers provides complete ink transfer without reaching the softening threshold. Since both melting shrink wrap and sticking paper result from overheating and polymer softening, our shrink wrap melting guide addresses shared temperature control problems.
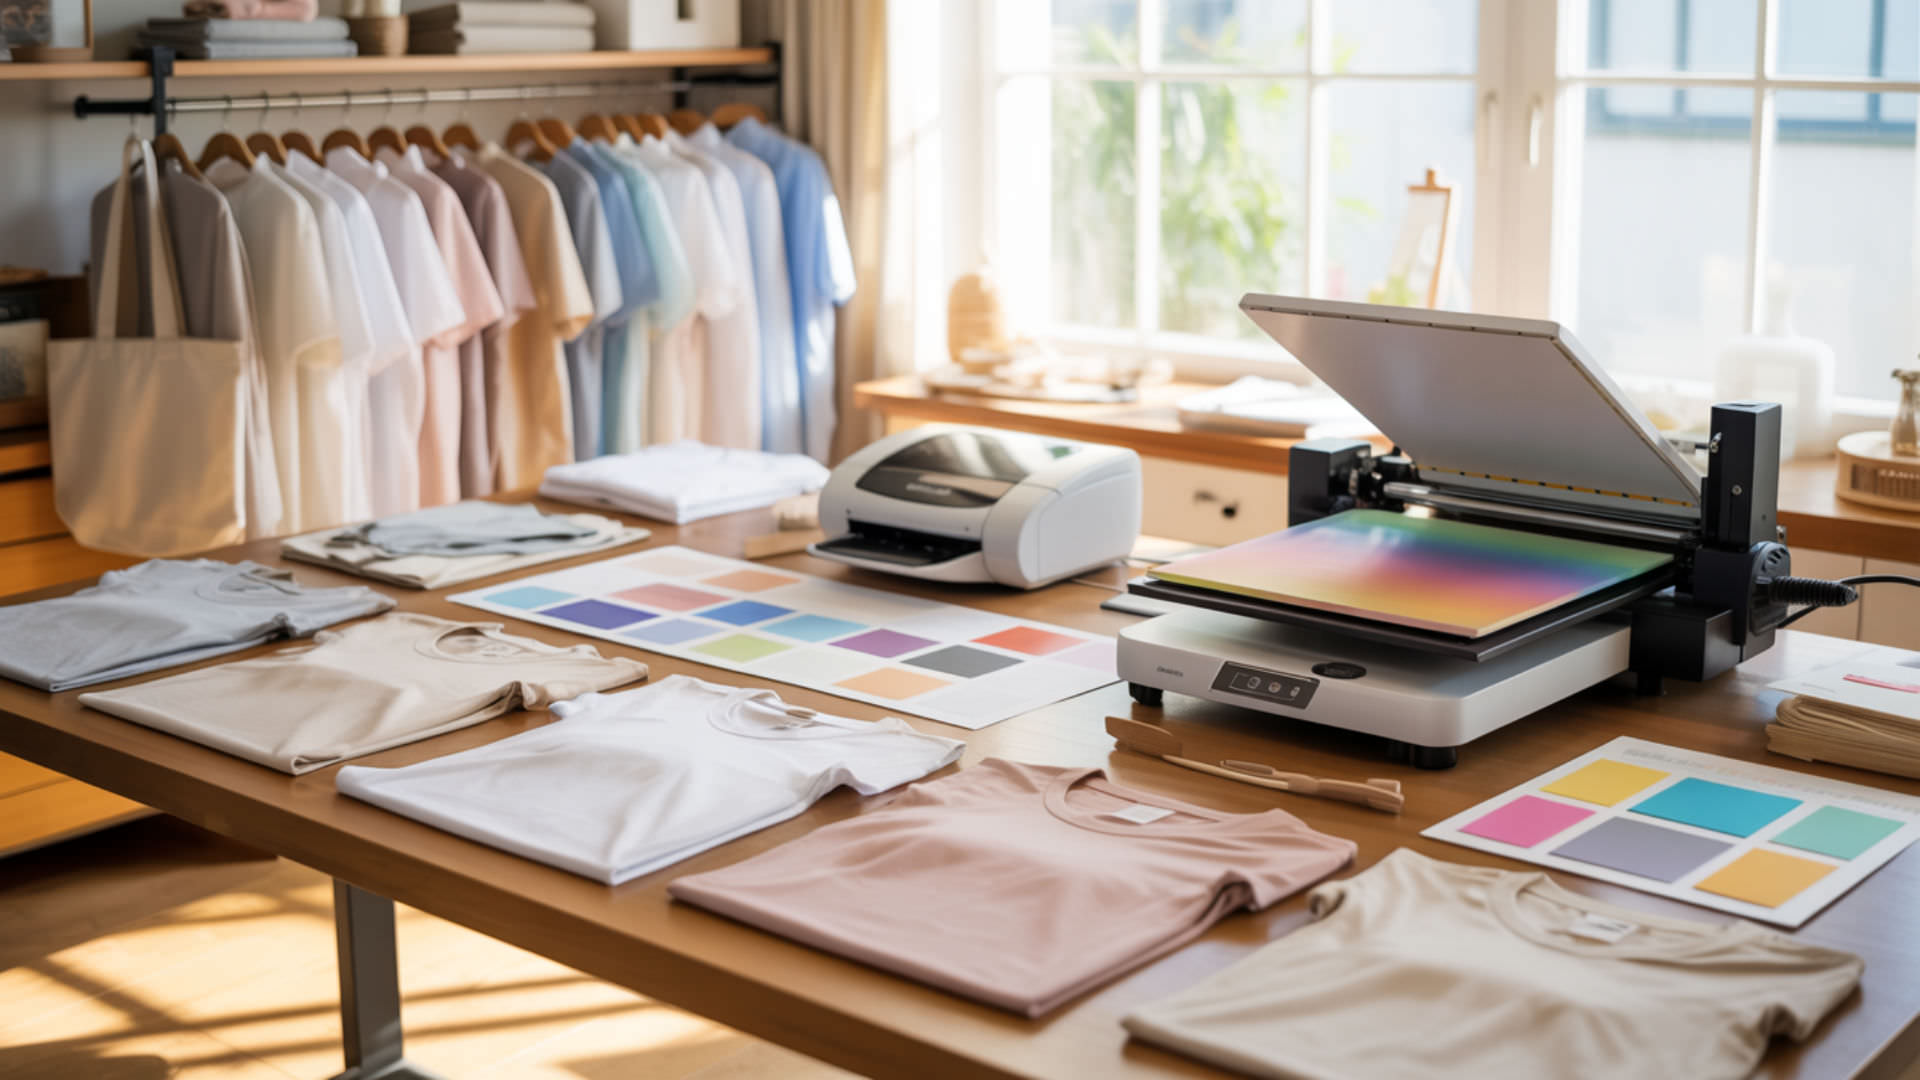
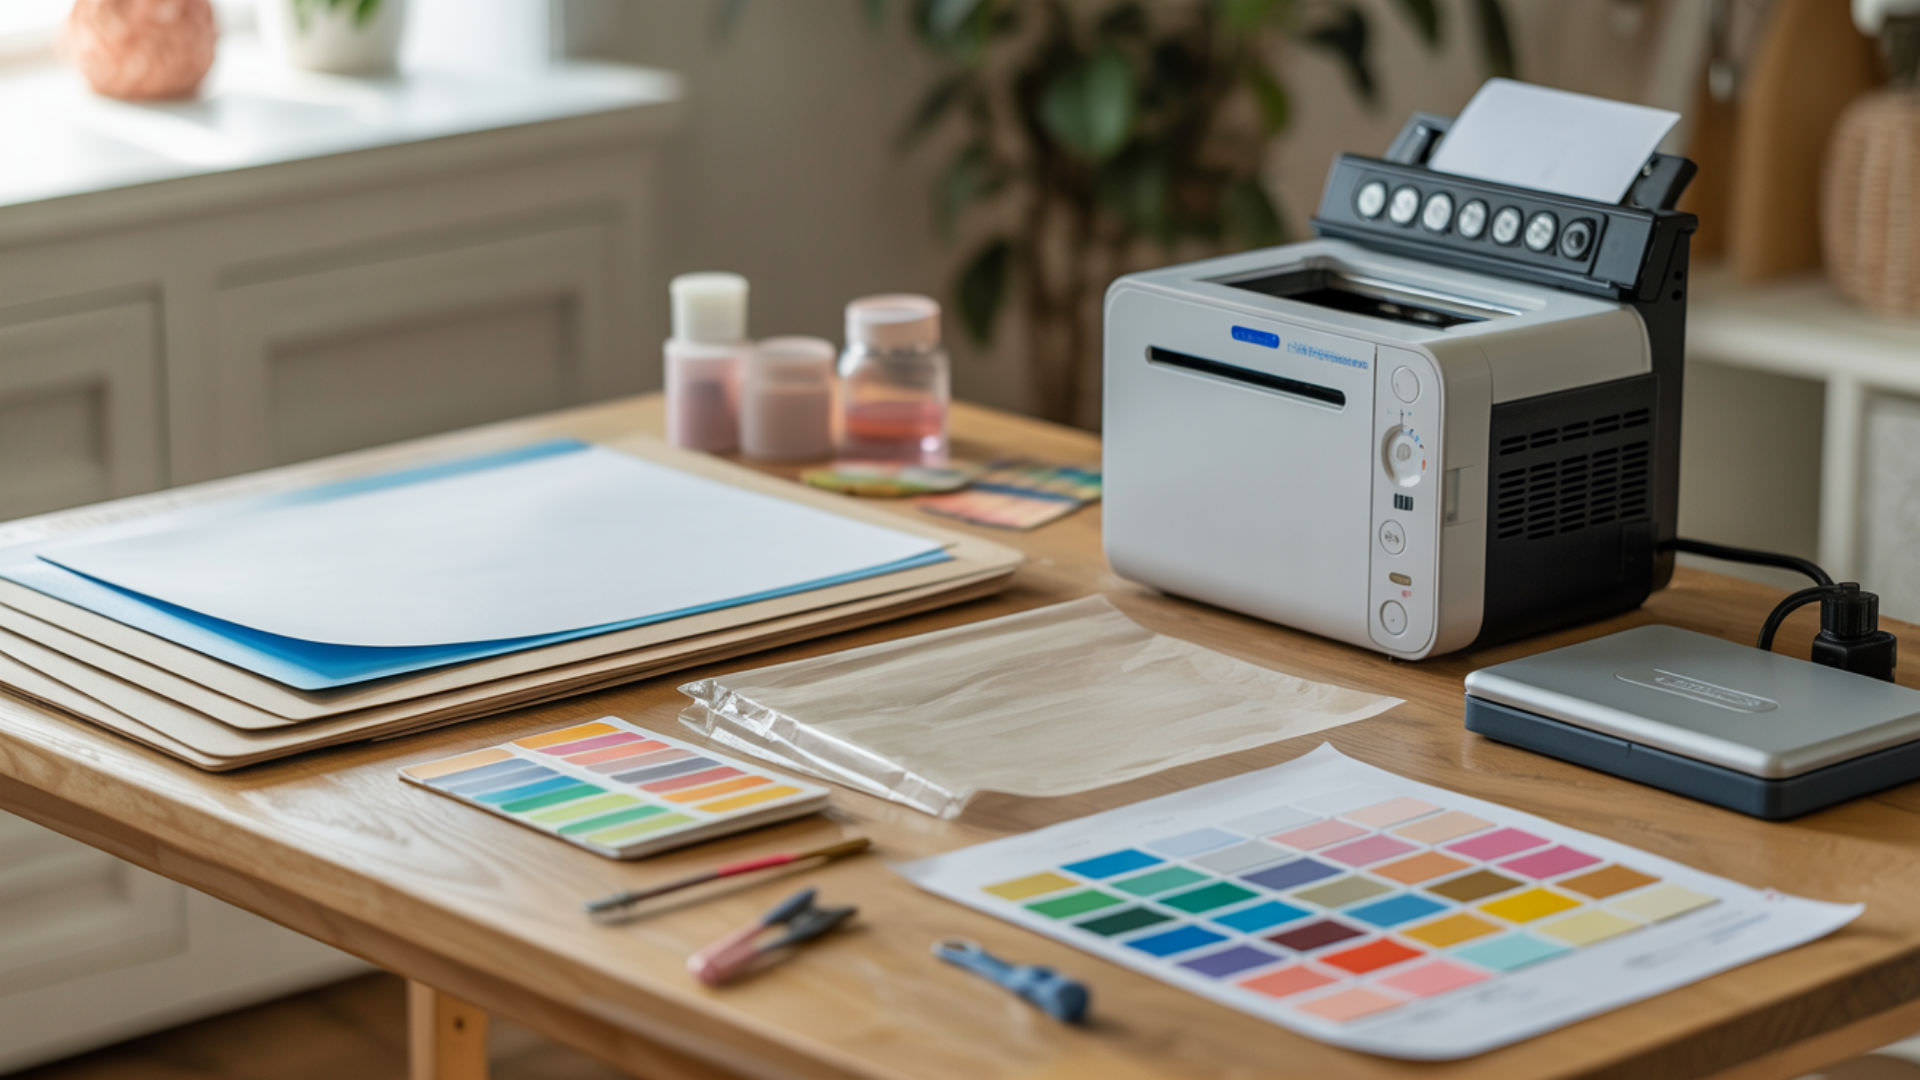
⫸ Click Here For Best Selling Sublimation Printers And Products ⫷What Temperature Is Typically Used When Pressing Sublimation Paper?
Standard sublimation temperature ranges from 350–400°F depending on the substrate type. Tumblers typically require 375–385°F for convection ovens or 385–400°F for tumbler presses. Incorrect temperature causes both incomplete transfers (too low) and sticking or scorching (too high). Verify actual temperature with an infrared thermometer—many presses and ovens display readings 15–25°F off from true temperature.
How Long Should Heat Be Applied for Sublimation Transfers to Avoid Sticking?
Press tumblers for 45–90 seconds depending on your heating method—tumbler presses require shorter times than convection ovens. Excess dwell time causes over-softening of the polymer coating, creating strong adhesion that bonds paper to the surface. If your transfers look complete but paper sticks, reduce time by 10–15 seconds rather than lowering temperature.
Can Paper Be Removed Safely Once It Sticks?
Stuck paper can be removed without damaging most tumbler coatings when approached carefully. Damaged paper cohesion from thermal degradation causes tears during dry removal attempts—the paper separates before releasing from the coating. Moisture helps release paper fibers from degraded coating by softening both the paper and the bond between paper and polymer surface.
How Do You Remove Stuck Sublimation Paper Step-by-Step?
Removing stuck paper requires controlled moisture and gentle heat to loosen adhesion without damaging the sublimated design or tumbler coating. Because both sticking paper and tape marks involve adhesion spikes caused by heat and pressure, our tape marks guide addresses shared bonding problems.
- Allow the tumbler to cool completely before attempting removal. Hot coatings remain soft and tear more easily; cooling re-hardens the surface.
- Soak the tumbler in warm water for 10–15 minutes. Water vapor softens paper fibers and loosens the bond between paper and coating.
- Gently rub the stuck area with a soft sponge or microfiber cloth. Avoid abrasive scrubbing that could scratch the polymer coating or damage the design.
- For stubborn residue, apply rubbing alcohol with a soft cloth. Isopropyl alcohol dissolves adhesive bonds without damaging most sublimation coatings.
- If paper remains, reheat the tumbler briefly at 300–350°F for 15–20 seconds. Gentle reheating softens the bond without re-activating the sublimation ink.
- Peel paper immediately after reheating while still warm. The softened adhesion releases more easily before the coating cools and re-hardens.
Ready to Prevent Sublimation Paper Sticking?
Correct pressure combined with stable polymer coating temperature prevents paper from bonding to tumbler surfaces. Remove paper immediately after pressing—while warm but not hot—to avoid adhesion setting during cooling. These adjustments eliminate sticking problems and ensure clean releases on every tumbler project.
Frequently Asked Questions
Can a design still transfer if the sublimation paper sticks?
Designs typically transfer successfully even when paper sticks—the ink sublimation process completes before adhesion becomes problematic. However, removing stuck paper may damage portions of the design if fibers tear and pull coating material with them. Careful removal using water soaking preserves most designs despite paper sticking.
Does sublimation paper stick more when cooling too slowly?
Slow cooling with paper still attached increases sticking because the polymer coating has more time to bond with paper fibers as it transitions from soft to solid state. Remove paper immediately while the tumbler is still warm—this hot peel approach releases paper before adhesion strengthens. Allowing items to cool completely with paper on creates stronger bonds that resist separation.
Can sticking paper affect color even if the print transfers?
Sticking paper doesn’t typically affect color because ink transfers before the coating degrades enough to cause adhesion. However, removing stuck paper can physically damage the surface, leaving visible marks or texture changes where fibers pulled coating material. Gentle removal techniques preserve both color and surface quality.
Is slight edge sticking different from a burned transfer?
Edge sticking occurs from minor pressure or heat concentration at paper boundaries without significant coating damage. Burned transfers show discoloration, texture changes, and permanent coating degradation that affects the design itself. Slight sticking releases with water soaking; burns are permanent and indicate settings exceeded safe thresholds significantly.
Can paper stick even when pressure looks evenly applied?
Paper can stick despite visually even pressure if humidity causes dimensional changes in the paper that increase contact with the coating. Damp paper softens and conforms more tightly to surfaces, creating stronger adhesion under heat. Pre-pressing tumblers to remove moisture and storing paper in dry conditions prevents humidity-related sticking even with correct pressure settings.
References
- Polymer degradation. (2025, November 26). Wikipedia, the free encyclopedia. Retrieved January 12, 2026, from https://en.wikipedia.org/wiki/Polymer_degradation?utm_
- Pressure and force measurements on models set in hypersonic flows: A review. (2025, July 15). NASA Technical Reports Server (NTRS). https://ntrs.nasa.gov/citations/19940005980