Glass sublimation produces vibrant, permanent prints on cutting boards, photo panels, and drinkware when proper polyester coating and controlled heating techniques are applied. The non-porous glass surface cannot bond sublimation dye without a polymer layer to capture gaseous ink during heat transfer. The polymer-dye bonding principles that explain why glass requires coating are covered in our guide to sublimation on materials.
Key Takeaways
- Glass requires polyester coating for sublimation—without polymer treatment, dye cannot bond permanently to the surface.
- Press temperature of 370–400°F for 90–300 seconds depending on glass thickness and blank type.
- Glass is sensitive to thermal shock—never submerge hot glass in water or expose to rapid temperature changes.
Can sublimation be transferred onto glass safely?
Glass has high surface energy but still requires a polyester coating layer for successful sublimation dye bonding. The smooth, non-porous surface cannot capture gaseous ink without polymer treatment. Pre-coated sublimation glass blanks offer consistent results at 370–400°F, while DIY coating sprays require careful application and curing before pressing.
Do you need a coating for glass sublimation transfers?
Glass contains zero polymer chains and cannot accept sublimation dye without coating—ink sits on the surface and wipes away without treatment. Polyester coating adds the polymer matrix for dye diffusion during heat transfer, creating permanent molecular bonds. Pre-coated blanks provide optimized coating thickness, while DIY coatings require curing at 320°F for 15–20 minutes before sublimation. Most glass is composed primarily of silica, which lacks polymer chains and therefore cannot bond sublimation dyes without a coating layer. [1]
How does untreated glass react to sublimation printing?
Uncoated glass produces weak, uneven color where dye sits on the surface rather than bonding—prints appear patchy and fade with handling. Transparency causes light scatter that creates a washed-out, faded appearance. Refractive index differences between glass and unbound ink create optical distortion that diminishes image clarity on untreated substrates.
Can different glass finishes handle sublimation ink?
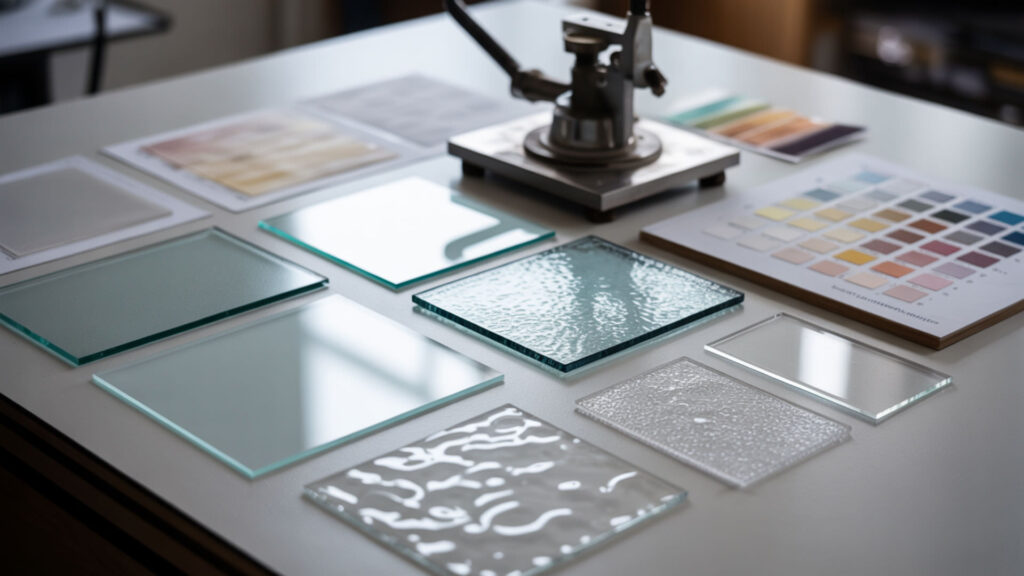
Soda-lime glass is the most common type for sublimation blanks—affordable and available in cutting boards, photo panels, and drinkware. Borosilicate glass offers superior heat stability, reducing thermal shock risk during pressing. Tempered glass requires uniform heating to avoid stress cracking from internal tensions. Similar heat-management challenges and cracking risks affect tempered glass and acrylic substrates, as detailed in our acrylic sublimation guide.
Can frosted glass accept sublimation transfers?
Frosted glass produces softer, diffused colors with a matte appearance when coated for sublimation. Transparency differences scatter light, reducing color vibrancy unless backed with a white base layer. Sublimate on the frosted side of coated blanks at 360–380°F for 90–120 seconds—the textured surface helps grip transfer paper for consistent coverage.
Can tempered glass support sublimation without cracking?
Tempered glass remains brittle despite increased strength—rapid heating or cooling creates temperature differentials causing stress fractures. Thermal expansion occurs unevenly when edges heat faster than centers, generating internal stresses. Preheat tempered blanks gradually and allow slow cooling rate on heat-resistant surfaces to minimize thermal shock risk. Glass is highly sensitive to thermal stress, and rapid temperature changes can create internal strain that leads to cracking or fracture. [2]
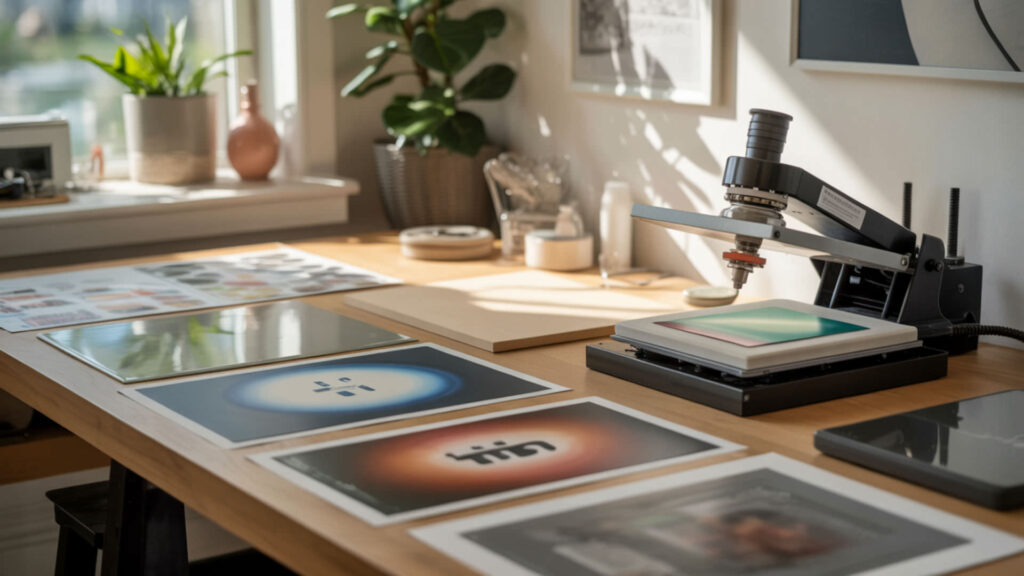
What surfaces like glass cutting boards work for sublimation?
Glass cutting boards are popular sublimation blanks with polyester coating applied to one side for backside printing. Press at 390–400°F for 4–5 minutes with light to medium pressure for complete dye penetration. The image transfers to the coated back and is viewed through the clear glass front for depth and scratch protection. Evaluations of coating durability for glass cutting board blanks are available in our guide to best sublimation blanks for different materials.
What heat and timing affect sublimation results on glass boards?
Heat capacity of thick glass cutting boards requires extended press times of 200–300 seconds at 400°F for complete dye penetration through the coating. Press temperature must activate sublimation dye while avoiding coating degradation—excessive heat damages polymer layers. Use medium pressure with protective butcher paper to ensure even heat distribution.
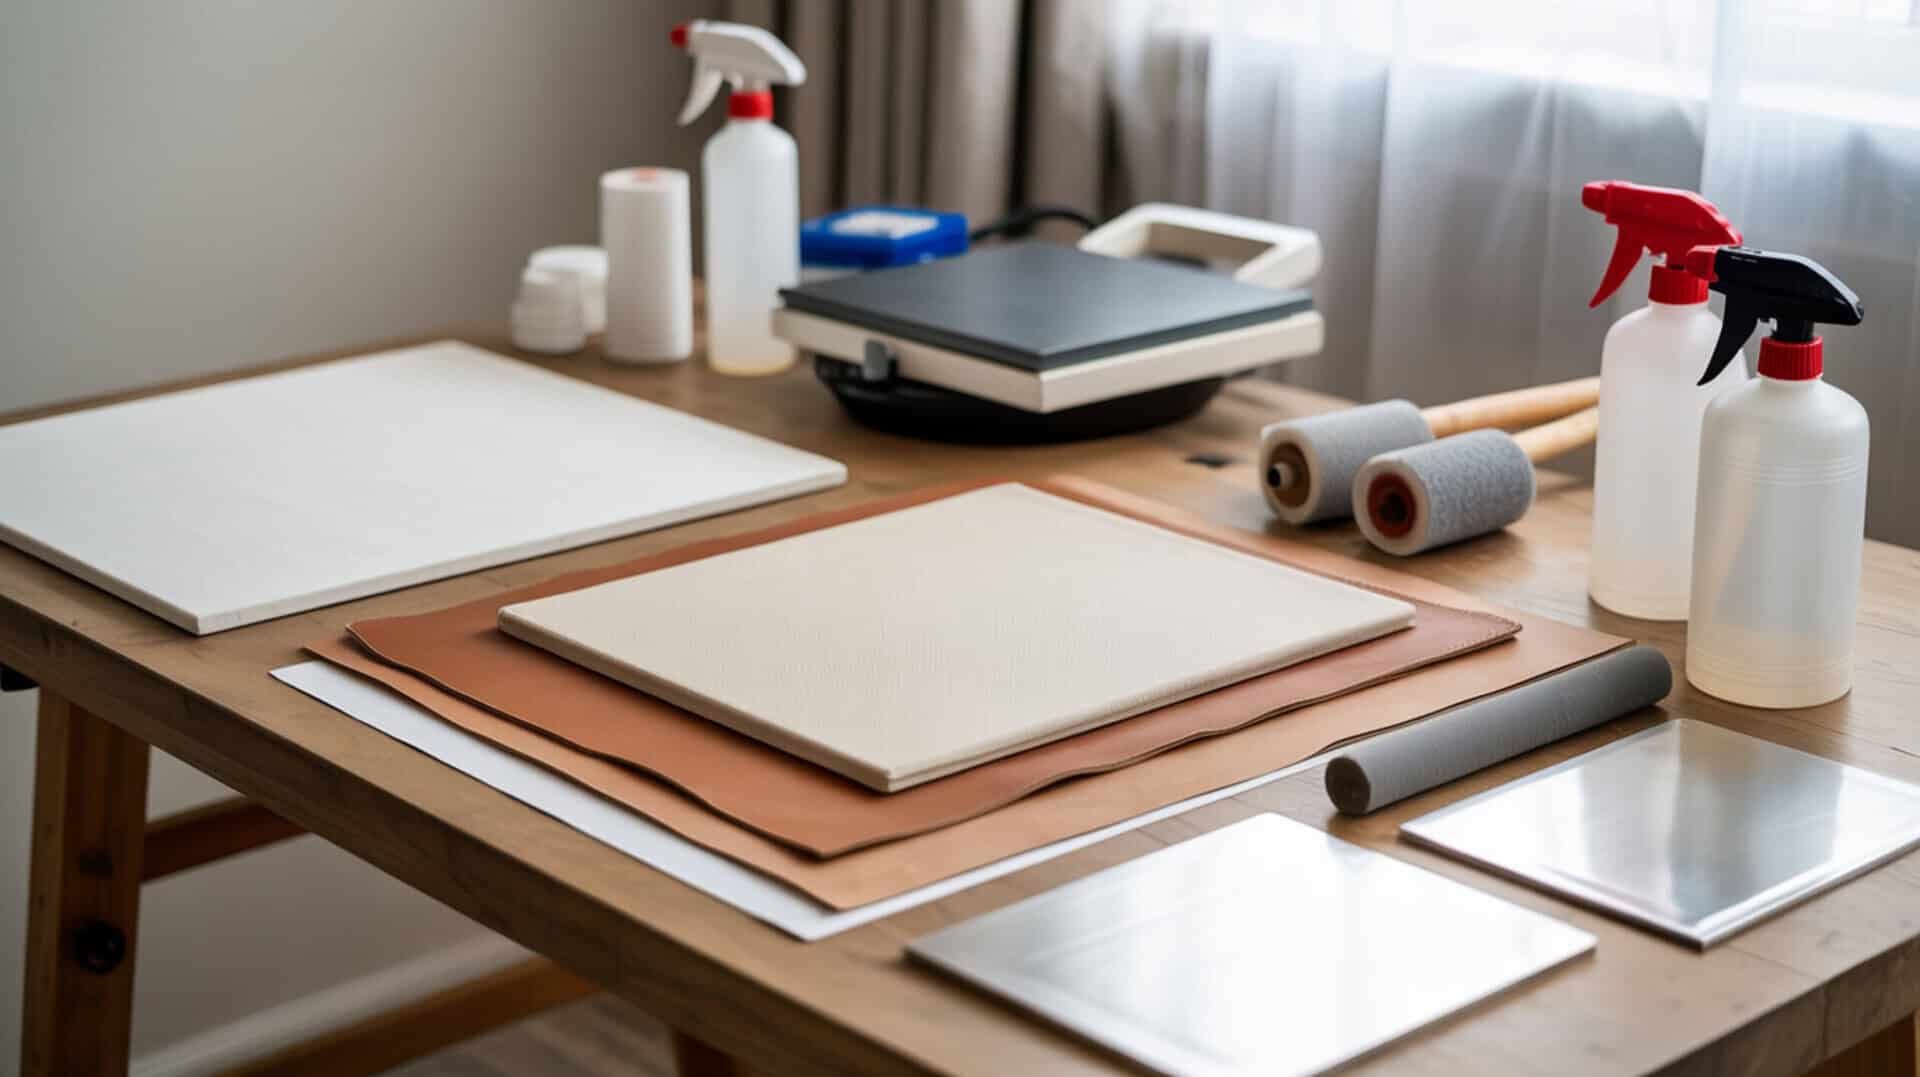
How do you sublimate on glass step-by-step?
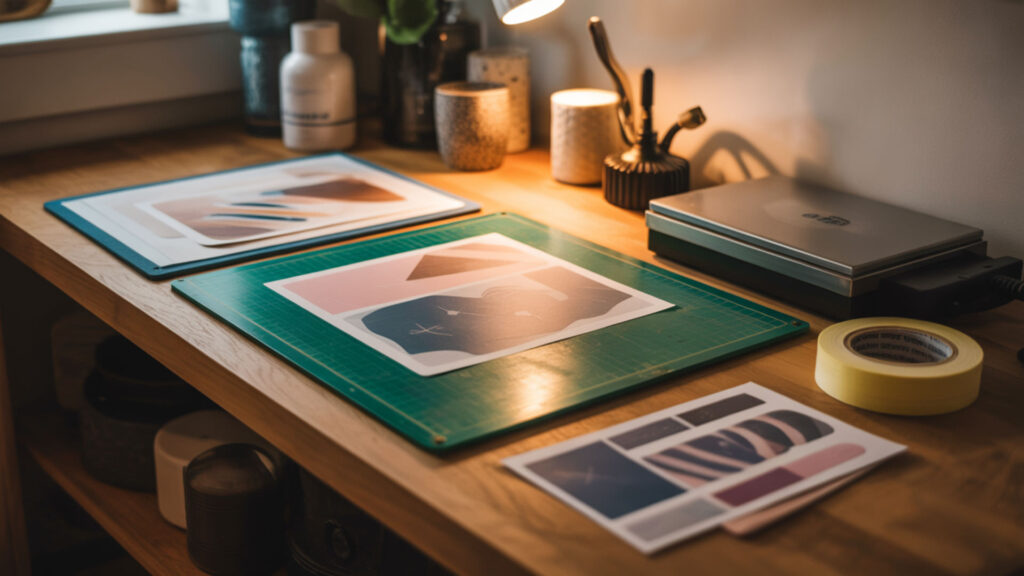
Glass sublimation requires backside printing with heat-resistant tape to prevent ghosting from paper movement during pressing.
- Clean glass surface with isopropyl alcohol and lint-free cloth to remove dust and oils that cause adhesion defects.
- Print design on transfer paper—do not mirror for backside printing since image is viewed through the glass front.
- Position paper face-down on coated surface and secure with heat-resistant tape around all edges to prevent shifting.
- Place protective butcher paper on bottom platen, then position glass assembly with transfer paper facing up.
- Press at 370–400°F for 90–300 seconds depending on thickness—cutting boards need 4–5 minutes, drinkware needs 90–120 seconds.
- Allow gradual cooling on heat-resistant surface—never submerge hot glass in water to prevent thermal shock cracking.
What are safe temperature and timing limits for glass sublimation?
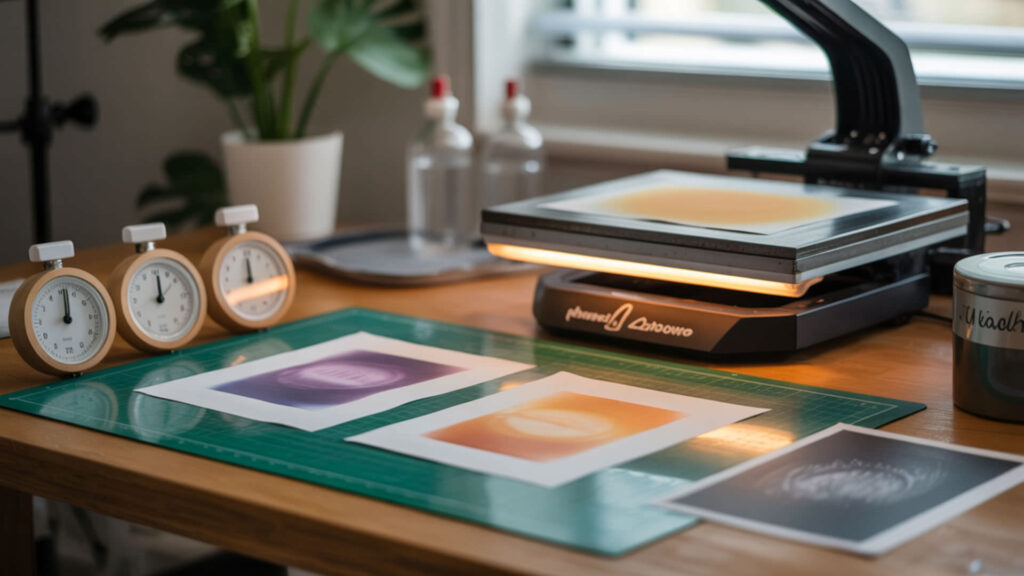
Press temperature between 370–400°F activates sublimation dye while remaining safe for most coated glass blanks. Brittleness creates vulnerability to stress fractures when temperature changes occur rapidly across the surface. Thermal expansion must be accommodated through gradual heating and controlled cooling to prevent cracking from internal stress.
Does sublimation transfer better on the front or back during glass pressing?
Backside printing is standard for coated glass—designs press onto the polymer-coated back and are viewed through the clear front. White base layer beneath designs provides the reflective surface for vibrant colors on transparent glass. Glass and acrylic both use backside printing due to transparency and coating placement, as covered in our acrylic sublimation guide.
What paper positioning helps avoid transfer defects on glass?
Transfer paper secured tightly with heat-resistant tape around all edges prevents shifting that causes ghosting—double images from paper movement. Use sublimation paper designed for hard surfaces to prevent ink bleeding that creates soft edges. Tape the entire seam without overlapping or folding paper edges that can create pressure marks.
Ready to start sublimating on glass?
Polyester coating is the core requirement for glass sublimation—without polymer treatment, dye cannot bond to the non-porous surface. White base layer behind transparent glass provides the reflective background for vibrant colors. Start with pre-coated blanks, follow temperature guidelines carefully, and allow gradual cooling to master this substrate.
Frequently Asked Questions
Can sublimation look cloudy on glass if overheated?
Overheating causes cloudiness when polyester coating degrades from press temperature above 400°F or time exceeding manufacturer recommendations. Moisture trapped in the blank or paper creates steam that produces hazy areas. Preheat blanks briefly to remove moisture and use dry transfer paper stored in low-humidity conditions.
What causes faded sublimation transfers on glass?
Faded transfers result from insufficient temperature below 370°F, inadequate press time, or poor paper contact preventing complete dye activation. Transparent glass without white backing appears faded because colors lack the reflective surface for vibrancy. Add white vinyl or paint behind clear glass designs to enhance color intensity.
Can sublimated glass items be reheated later for color correction?
Re-pressing underpressed glass carries thermal shock risk from repeated heating cycles on already-stressed material. Use identical temperature settings with 30–60 additional seconds and fresh protective paper if attempting correction. Test on scrap pieces first—re-pressing increases cracking risk even when initial press appeared structurally sound.
Does humidity impact glass sublimation transfers?
High humidity causes moisture absorption in sublimation paper that creates steam during pressing, producing cloudy spots and uneven color transfer. Store paper in sealed containers with desiccant and preheat glass blanks for 10–15 seconds to remove surface moisture. Maintain 40–60% relative humidity for consistent results.
What defects appear if glass overheats during sublimation pressing?
Thermal shock cracking occurs when temperature differentials create stress fractures appearing during pressing or cooling. Coating degradation manifests as cloudiness, yellowing, or peeling polymer layers above 400°F. Color shifting toward brown or yellow tones indicates excessive temperature altering dye chemistry during transfer.
References
- Silicon statistics and information. (n.d.). USGS. https://www.usgs.gov/centers/national-minerals-information-center/silicon-statistics-and-information
- (n.d.). Museum Conservation Institute | Museum Conservation Institute. https://mci.si.edu/