Dry erase board sublimation creates custom whiteboards with permanent graphics, logos, calendars, and designs that remain erasable over the printed areas. The key to successful sublimation lies in the melamine surface—a thermosetting polymer that gives dry erase boards their heat-resistant, dye-receptive properties. Our comprehensive guide on which surfaces can you sublimate on explains how melamine and other polymer-dependent surfaces accept sublimation dye. The polymer coating accepts sublimation dye permanently while maintaining the smooth surface needed for marker erasability. Learn more about polymer coating options in our best sublimation coating for different surface types guide.
Key Takeaways
- Melamine-formaldehyde creates a hard, smooth polymer surface ideal for sublimation dye transfer—the thermosetting resin withstands heat pressing at 375–400°F without warping or degrading.
- Low porosity in quality dry erase surfaces improves print sharpness and edge definition but may slightly limit color saturation compared to more porous substrates like fabric.
- Standard whiteboards without sublimation-specific coating will not accept sublimation ink—always use blanks designed for sublimation or verify the surface has a polyester-based polymer layer.
Can You Actually Sublimate on Dry Erase Boards?
Yes, you can sublimate on dry erase boards, but only if the surface has a polyester coating or sublimation-friendly polymer layer. Melamine boards provide a sublimation-compatible thermosetting polymer surface that accepts dye transfer. The laminate layer must be polymer-based to bond sublimation ink permanently. Heat resistance prevents surface warping during pressing—melamine and quality laminates maintain structural integrity at sublimation temperatures while standard PVC-based surfaces may deform or melt. Melamine boards provide a sublimation-compatible thermosetting polymer surface that accepts dye transfer. [1]
What Temperature Do You Sublimate Dry Erase Boards At?
Set your heat press between 375°F and 400°F with medium pressure for dry erase board sublimation. Melamine resin withstands sublimation temperatures better than PVC-based or acrylic surfaces, making it the preferred material for sublimation blanks. Most sublimation boards transfer well within 45–60 seconds depending on thickness and coating quality. Always use protective paper on both sides to prevent ghosting and protect your heat press platens.Melamine is a thermosetting polymer surface that doesn’t re-melt under heat like many thermoplastics, which is why it stays more dimensionally stable during high-temperature pressing.[2]
How Long Do You Press Sublimation on a Dry Erase Board?
Press sublimation designs onto dry erase boards for about 60 seconds at 385°F with medium pressure. The thermosetting polymer remains stable under heat, allowing extended press times that determine dye penetration depth and color vibrancy. Heat pressing duration directly affects final print quality—too short leaves faded colors while excessive time can cause substrate warping. Always use protective paper on both sides to prevent ghosting and warping.
Can You Make Custom Dry Erase Boards with Sublimation?
You can make custom dry erase boards by printing your design on sublimation paper, taping it face-down onto a coated blank, and pressing under heat. The laminate surface provides a smooth polymer layer for crisp, detailed images. Once cooled, the result will be permanent and smudge-proof while maintaining full erasability over the sublimated areas. Both canvas and dry erase boards rely on polymer coating for sublimation compatibility, as detailed in our sublimation on canvas guide.
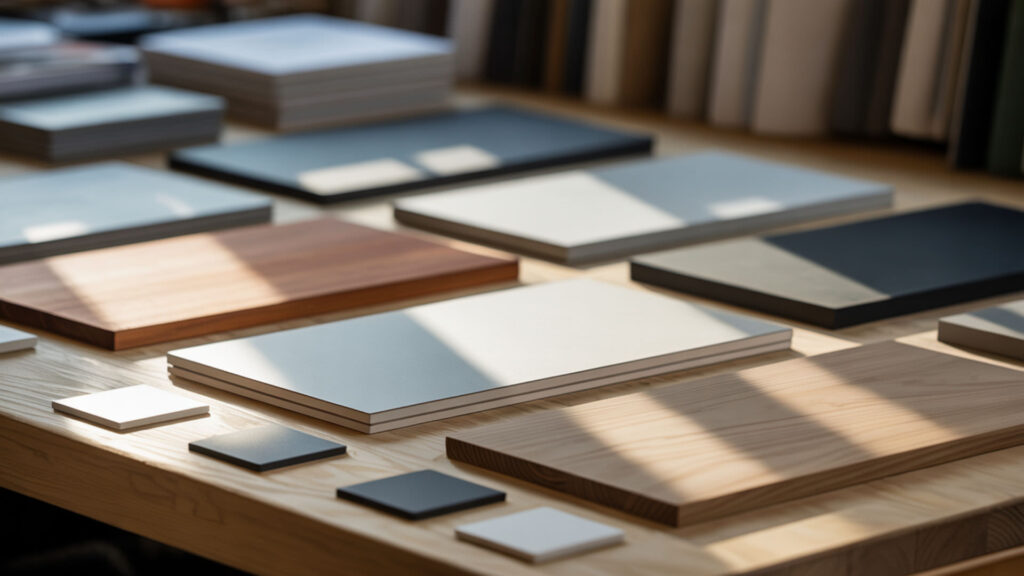
What Are the Best Blanks for Sublimation Dry Erase Boards?
The best blanks are aluminum or MDF dry erase boards with a white polyester coating—these provide bright, durable prints and smooth erasable surfaces. High-pressure laminate (HPL) handles sublimation heat without deforming, making it ideal for commercial production. Acrylic coating serves as an alternate polymer finish on budget boards but may produce slightly less vibrant results. Look for blanks specifically labeled for sublimation to ensure proper polymer content and heat resistance.
Can You Sublimate on Dollar Tree Dry Erase Boards?
Dollar Tree dry erase boards can work for sublimation if they have polymer-based acrylic coating—many crafters report excellent results at this price point. The boards take sublimation ink surprisingly well and produce vibrant colors. However, the MDF substrate board may warp with extended heat or excessive pressure. Test a sample first and use lower temperatures (around 350–375°F) with shorter press times to minimize warping risk on budget boards.
What’s the Difference Between a Whiteboard and a Dry Erase Board for Sublimation?
There is no functional difference between a dry erase board and a whiteboard—the terms are used interchangeably to describe smooth surfaces for dry erase markers. The difference is primarily marketing: ‘whiteboard’ emphasizes color and aesthetic while ‘dry erase board’ highlights erasable functionality. For sublimation, both melamine and acrylic coating surfaces work, but they produce different results due to different polymer chemistries. Surface gloss affects color vibrancy and sharpness—high-gloss finishes produce more vivid prints.
What Is the Best Surface for a Dry Erase Board?
Glass and porcelain whiteboards are known for their resistance to ghosting and staining, making them ideal for heavy use. However, melamine-formaldehyde surfaces offer the best combination of sublimation compatibility and affordability for custom boards. The durable, high-quality polymer surface accepts dye transfer while maintaining smooth erasability. Low porosity improves print sharpness and prevents ink bleeding at design edges.
What Is the Best Material for a Dry Erase Board?
Glass and porcelain whiteboards are highly durable and resistant to ghosting, making them ideal for heavy commercial and educational use. High-pressure laminate (HPL) is the most heat-resistant option for sublimation, preventing deformation during pressing while producing professional-quality results. Melamine whiteboards offer excellent sublimation compatibility at more affordable prices but may require more frequent maintenance. Match material choice to your budget and production volume.
How Do You Prep and Maintain Sublimated Dry Erase Boards?
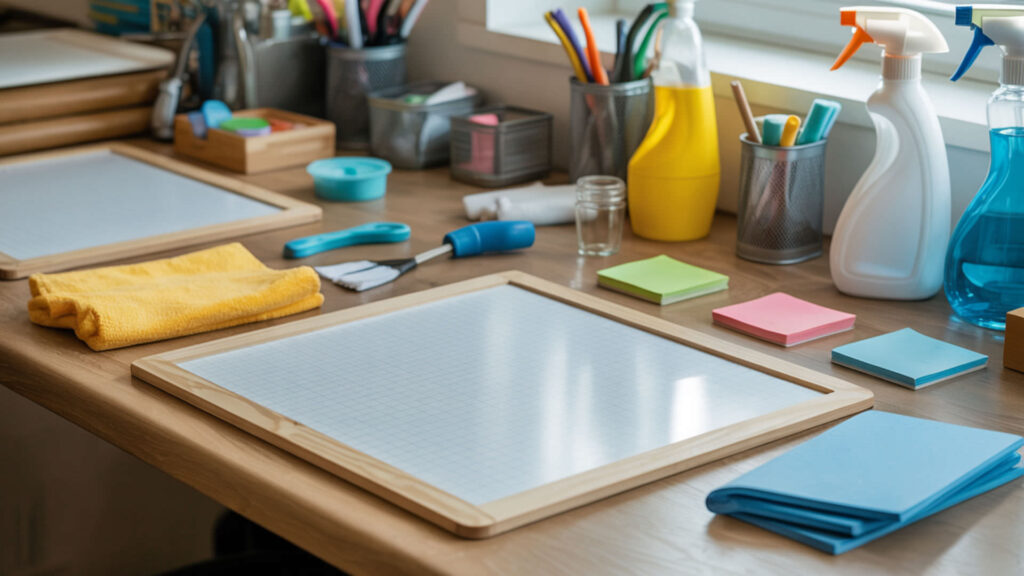
Before first use, wipe down the dry erase surface with a damp towel to remove any dirt or soap residue. Surface gloss requires gentle cleaning to preserve the sublimated dye layer—avoid abrasive cleaners or scrubbing that could damage the print. High abrasion resistance in quality blanks determines long-term durability of both the sublimated design and erasable surface. Prevent ghosting by using designated whiteboard markers and cleaning regularly rather than letting marks sit for extended periods.
How to Make Permanent Lines on Dry Erase Board?
Sublimation is the best method for creating permanent lines on dry erase boards—heat pressing bonds printed gridlines, calendars, or custom designs permanently into the polymer coating. Unlike tape or permanent markers, sublimated lines become part of the surface and cannot be accidentally erased or peeled away. Design your grid or lines in graphics software, print on sublimation paper, and press at standard settings (385°F for 60 seconds) for professional, permanent results.
How to Permanently Mark a Dry Erase Board?
Sublimation permanently marks dry erase boards by bonding dye into the polymer coating layer rather than sitting on the surface like erasable markers. The melamine or polyester coating accepts sublimation dye through heat and pressure, creating permanent graphics that remain erasable in non-printed areas. Alternative methods include using permanent markers or applying clear sealant over dry erase writing, but sublimation produces the most durable, professional results.
Can You Sublimate on Alternative Dry Erase Surfaces?
Alternative dry erase surfaces like acrylic sheets, glass, and specialty laminates can work for sublimation if they have polymer-based coatings. Clear acrylic dry erase boards can be applied to homes, offices, and classrooms effectively. The laminate must be polymer-based to accept sublimation dye—glass and porcelain surfaces require special coatings. Both vinyl and alternative dry erase boards use polymer laminate as the printable surface, as covered in our sublimation on vinyl guide.
Is Sublimation on Wood Food Safe?
If the board will touch food, ensure the polymer coating and sublimation ink used are food-safe rated. While sublimation is popular for personalized cutting boards and serving items, some coatings are not approved for direct food contact. The coating serves as a barrier layer between the sublimation dye and wood substrate like MDF or particleboard. Always verify food-safety certifications before creating items intended for food preparation or serving.
Can You Do Sublimation on Wood?
Yes, you can sublimate on wood, but it’s best on wood with a special sublimation-friendly polymer coating to achieve vibrant, long-lasting results. Direct sublimation on untreated wood is possible but often yields faded or blurry images because raw wood lacks polymer content. The polymer coating provides the only way to allow proper sublimation on wood surfaces—apply heat-resistant polyacrylic or use pre-coated sublimation wood blanks for best results.
How Do You Sublimate on Dry Erase Boards Step-by-Step?
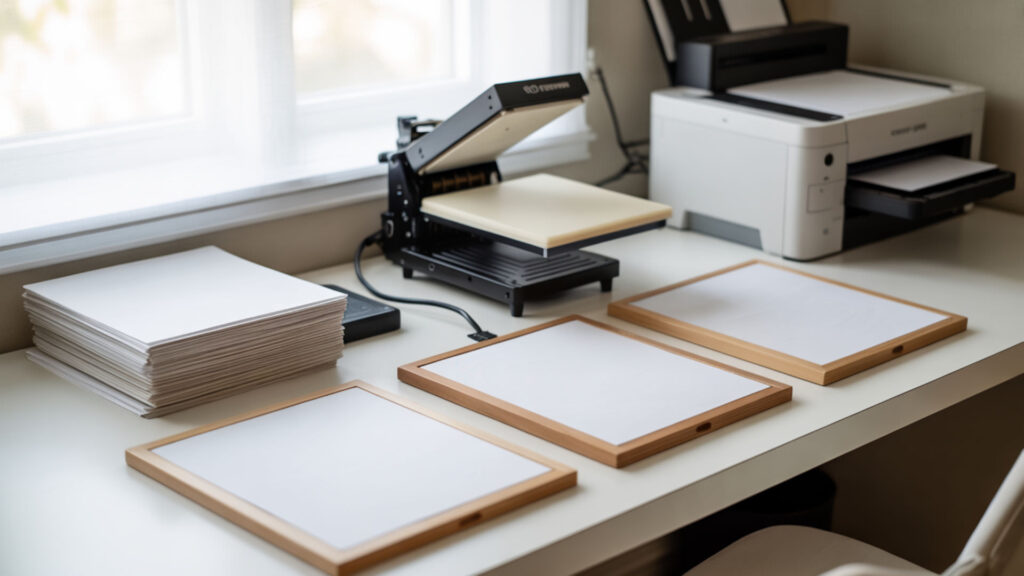
Successful dry erase board sublimation requires proper preparation, precise heat pressing settings, and careful handling. The melamine surface stays stable while dye transfers under heat, producing permanent, professional-quality results. Follow these steps for custom whiteboards, calendars, schedules, and organizational boards.
Clean the dry erase board surface thoroughly with a damp cloth. Remove any dirt, oils, or residue that could interfere with dye transfer. Allow the surface to dry completely before proceeding. Remove any protective film covering the sublimation-ready surface.
Print your design on sublimation paper using a sublimation printer. Mirror the image before printing so text and graphics appear correctly after transfer. Use high-resolution settings (300 DPI or higher) for crisp details on the smooth whiteboard surface.
Position the sublimation paper face-down on the dry erase board. Secure all edges with heat-resistant tape to prevent shifting during pressing, which causes ghosting or blurred images. Ensure complete contact between paper and surface.
Place protective paper on both sides of the assembly. Use butcher paper or parchment paper underneath the board and on top of the sublimation paper. This prevents ink transfer to your heat press platens and protects the board from direct heat contact.
Heat press at 375–400°F for 45–60 seconds with medium pressure. Standard settings are 385°F for 60 seconds for most sublimation dry erase blanks. Apply even pressure across the entire surface—avoid excessive pressure that could warp the substrate.
Remove the board from the heat press and carefully peel away the sublimation paper. Let the dry erase board cool completely on a flat surface before handling. The sublimated design is now permanent, and the surface remains fully erasable over printed areas.
Ready to Create Custom Dry Erase Boards?
Custom sublimated dry erase boards make excellent products for teachers, offices, families, and personalized gifts. Melamine and quality laminate surfaces ensure smooth, consistent sublimation results with professional appearance and long-term durability. Start with pre-made sublimation blanks for the easiest learning curve, then explore alternative surfaces as your technique develops. With proper settings and quality materials, sublimated whiteboards maintain both vivid printed graphics and full erasable functionality for years of use.
Frequently Asked Questions
Does dry ice go through sublimation?
Yes, dry ice undergoes sublimation—the process of a solid changing directly into gas without becoming liquid first. This happens because solid carbon dioxide transforms straight into gas when warmed from its extremely cold temperature of -78.5°C under normal atmospheric pressure. This is different from dye sublimation printing, which uses heat to convert solid ink into gas that bonds with polymer surfaces.
Can I use a sublimation printer for stickers?
Yes, you can make stickers with a sublimation printer by using special sublimation sticker paper and a heat press. Print your mirrored design onto sublimation paper, then heat press it onto sublimation sticker paper at approximately 370°F for 40 seconds. The resulting stickers are often waterproof and durable, making them great for water bottles and other items.
Does Office Depot have a sublimation printer?
Office Depot does not provide professional sublimation printing services, but they sell sublimation equipment for DIY use. They carry specialized printers like the Brother SP1 Sublimation Printer designed for creating custom t-shirts, mugs, and tumblers. You can purchase printers, sublimation ink, and sublimation paper to set up your own sublimation workspace.
Does Dollar Tree have dry erase boards?
Yes, Dollar Tree carries dry erase boards in various sizes including magnetic boards, lined boards, and large planner boards. Find them in the office supply and school supply sections. Many crafters successfully sublimate on Dollar Tree dry erase boards—they take sublimation ink surprisingly well and produce vibrant results at an affordable price point for testing and practice.
Does Hobby Lobby have dry erase boards?
Hobby Lobby carries various whiteboard and dry erase products in their office and organization sections. For sublimation purposes, look for boards with polymer or melamine coatings. Standard craft store dry erase boards may work for sublimation if they have the right coating, but purpose-made sublimation blanks from specialty suppliers generally produce more consistent, vibrant results.
References
- Melamine | Industrial, food & medical applications | Britannica. (2025, December 24). Encyclopedia Britannica. https://www.britannica.com/science/melamine
- https://www.acs.org/education/resources/undergraduate/chemistryincontext/interactives/world-of-polymers-and-plastics/thermoplastics-vs-thermosets.html?utm_