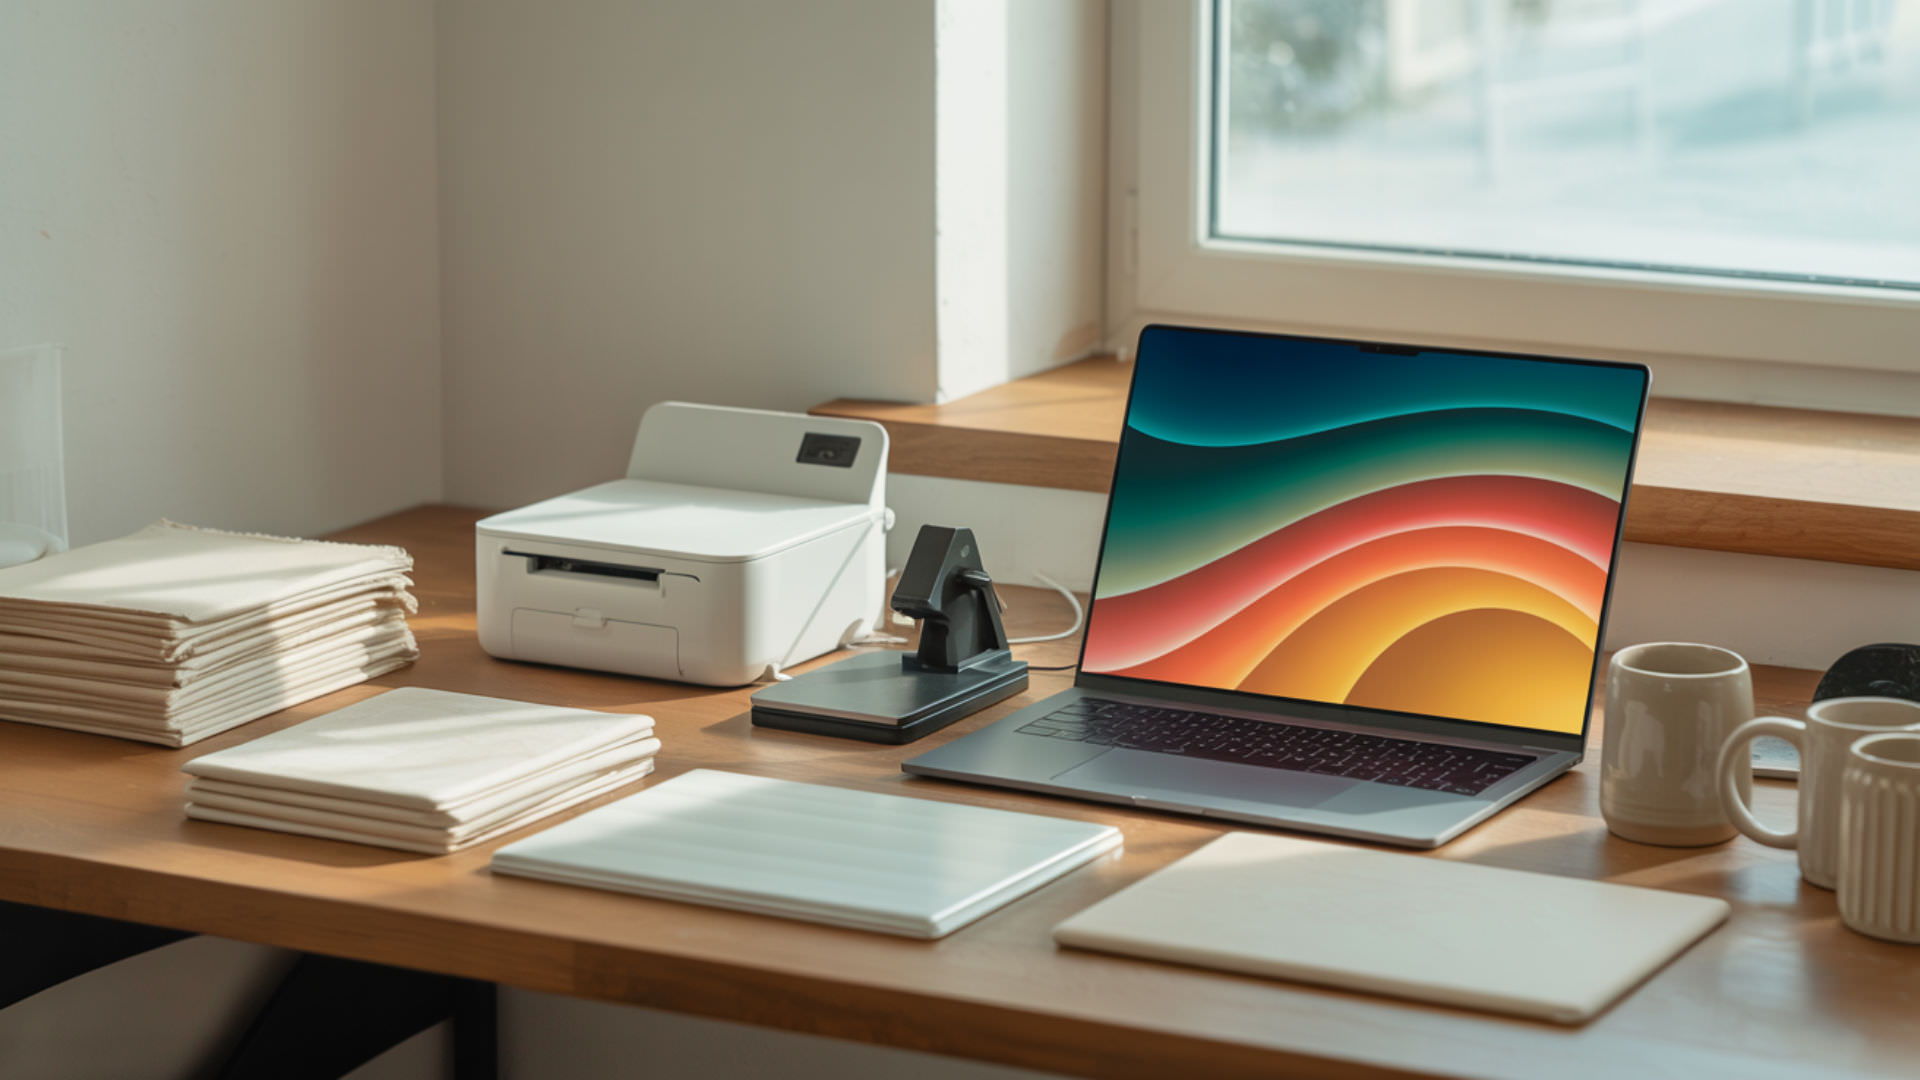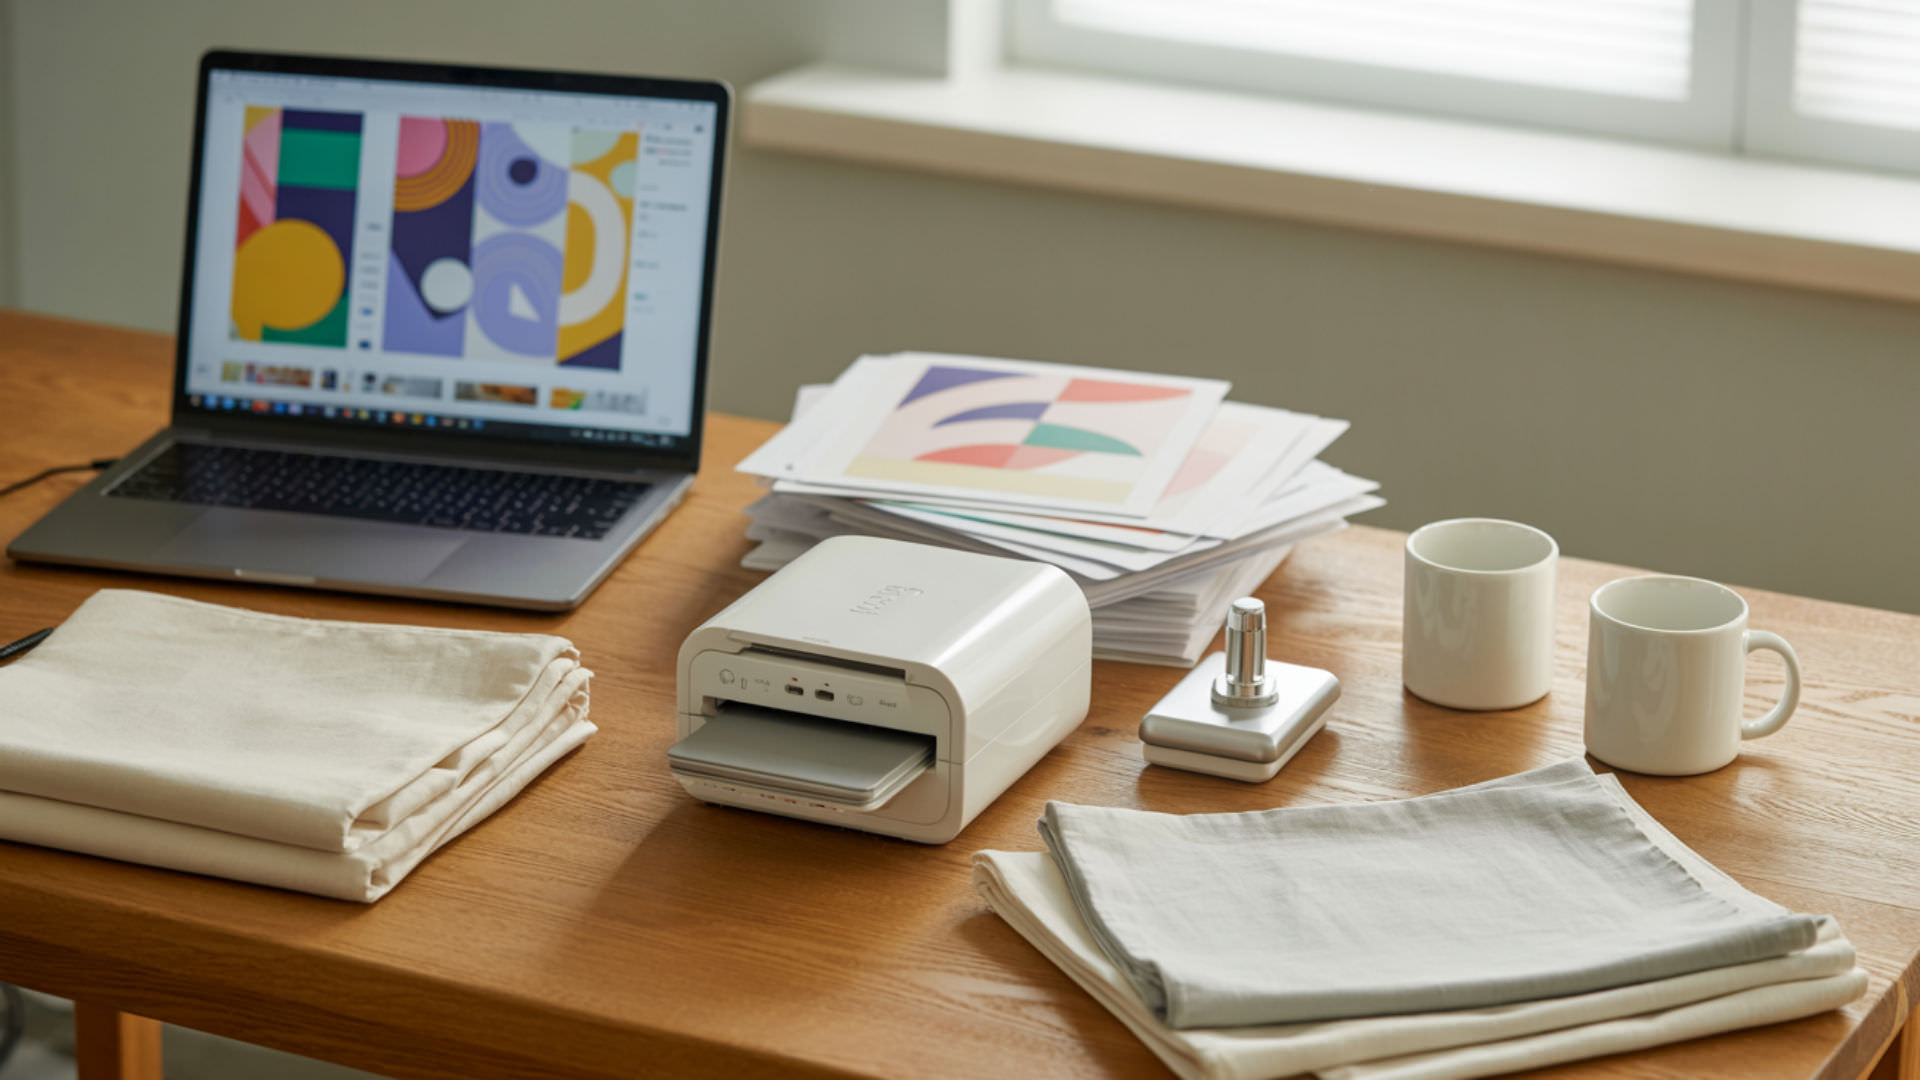
Sublimation does not require a dedicated printer when you use pre-printed transfers, Infusible Ink sheets, or sublimation markers that contain the same heat-activated dye. Heat applied through a press, oven, or iron causes the dye on the transfer paper to vaporize and bond with polymer-coated surfaces. Our guide to dye-sublimation printing techniques covers the full process from design to finished product.
Key Takeaways
- Maintain temperature between 350–400°F to ensure proper dye vaporization whether using an oven, air fryer, or iron.
- Press time varies by substrate: mugs need 12–15 minutes in ovens while tumblers require 5–6 minutes.
- Polymer-coated blanks are essential since untreated materials cannot bond with sublimation dye regardless of equipment.
How can you do sublimation without a printer?
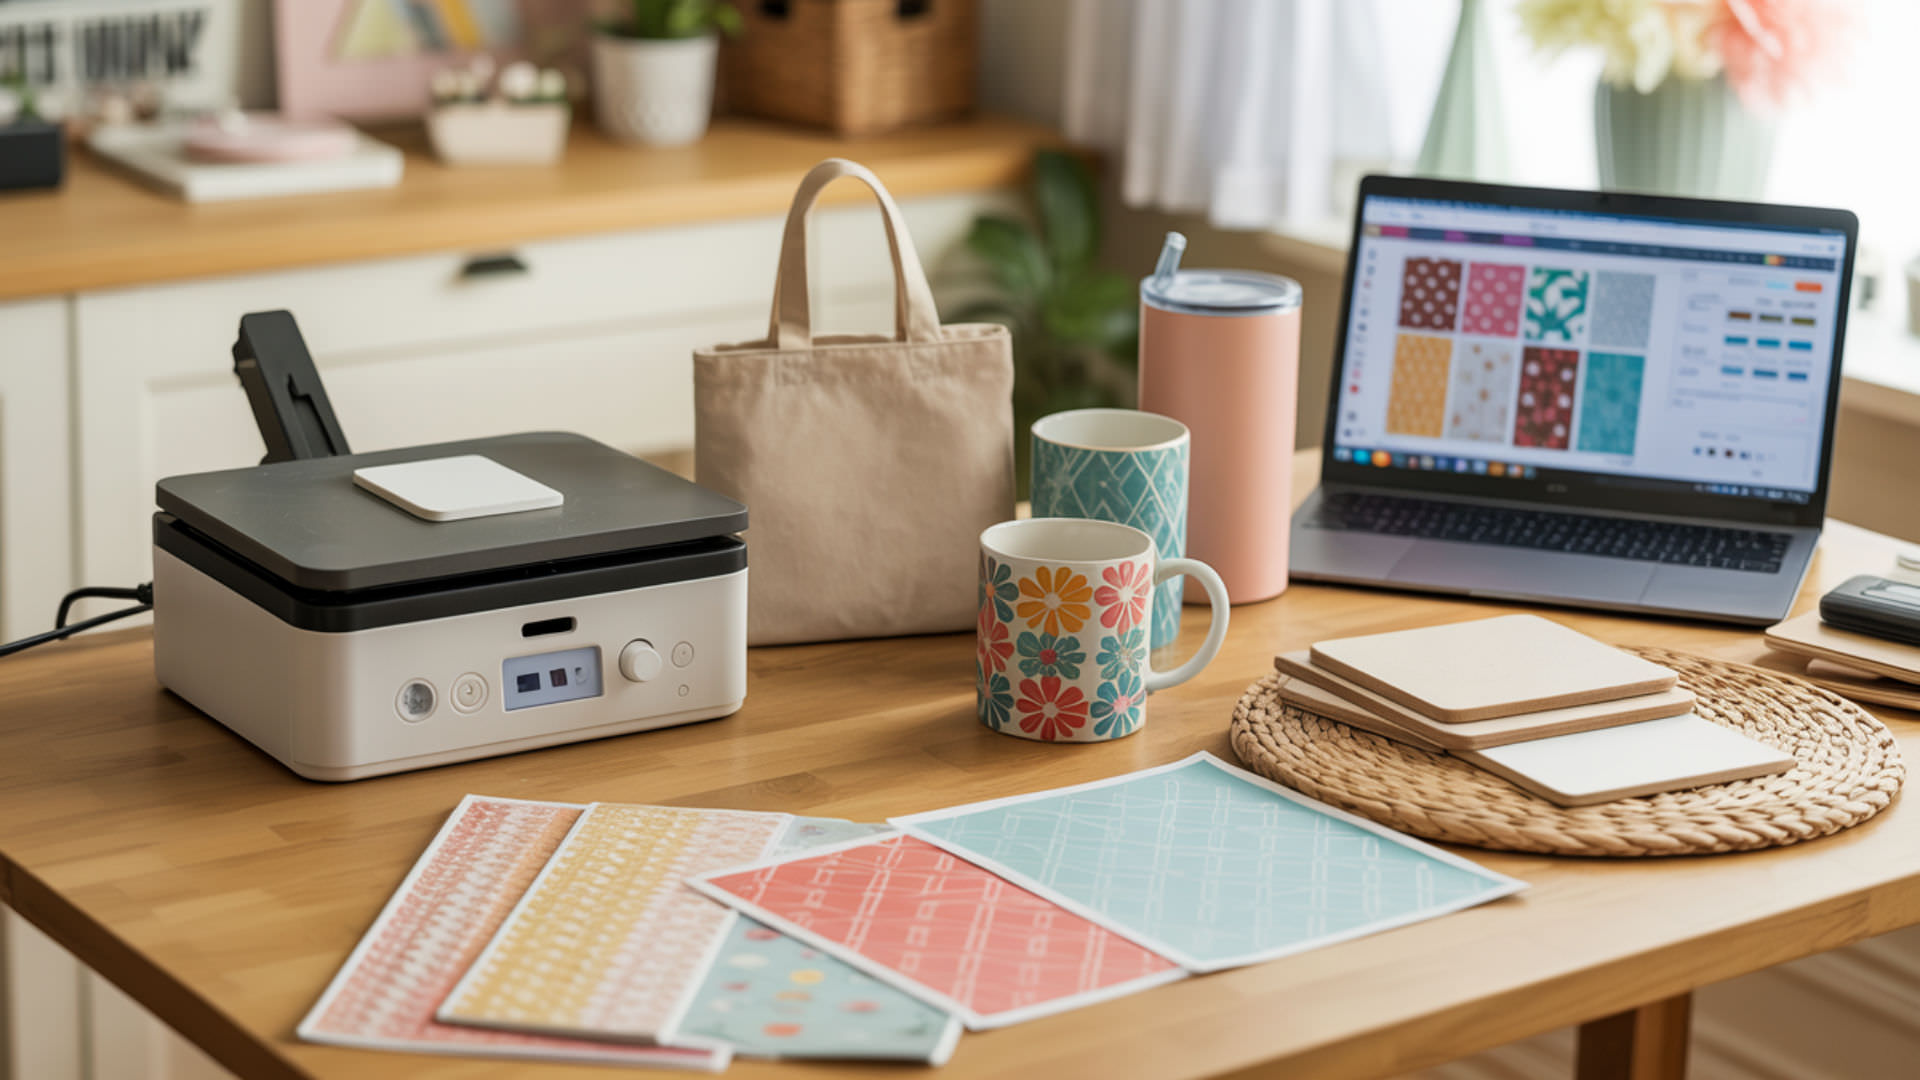
Pre-printed sublimation transfers, Cricut Infusible Ink sheets, sublimation pens, paints, and stamp pads all contain heat-activated dye that bonds with polymer coating when heated. These products eliminate the need for a sublimation printer while still requiring a heat press or alternative heat source to reach the 350–400°F range. Our transfer paper guide explains how to handle these materials for the best results.
Can you sublimate with a household iron?
A household iron can transfer sublimation dye through conduction, but results are often inconsistent because irons cannot maintain uniform pressure across the surface. Temperature fluctuations and uneven weight distribution cause ghosting and incomplete transfers. Investing in a small heat press or Cricut EasyPress provides the controlled pressure and stable temperature needed for professional results.
What items from discount stores can be used for sublimation?
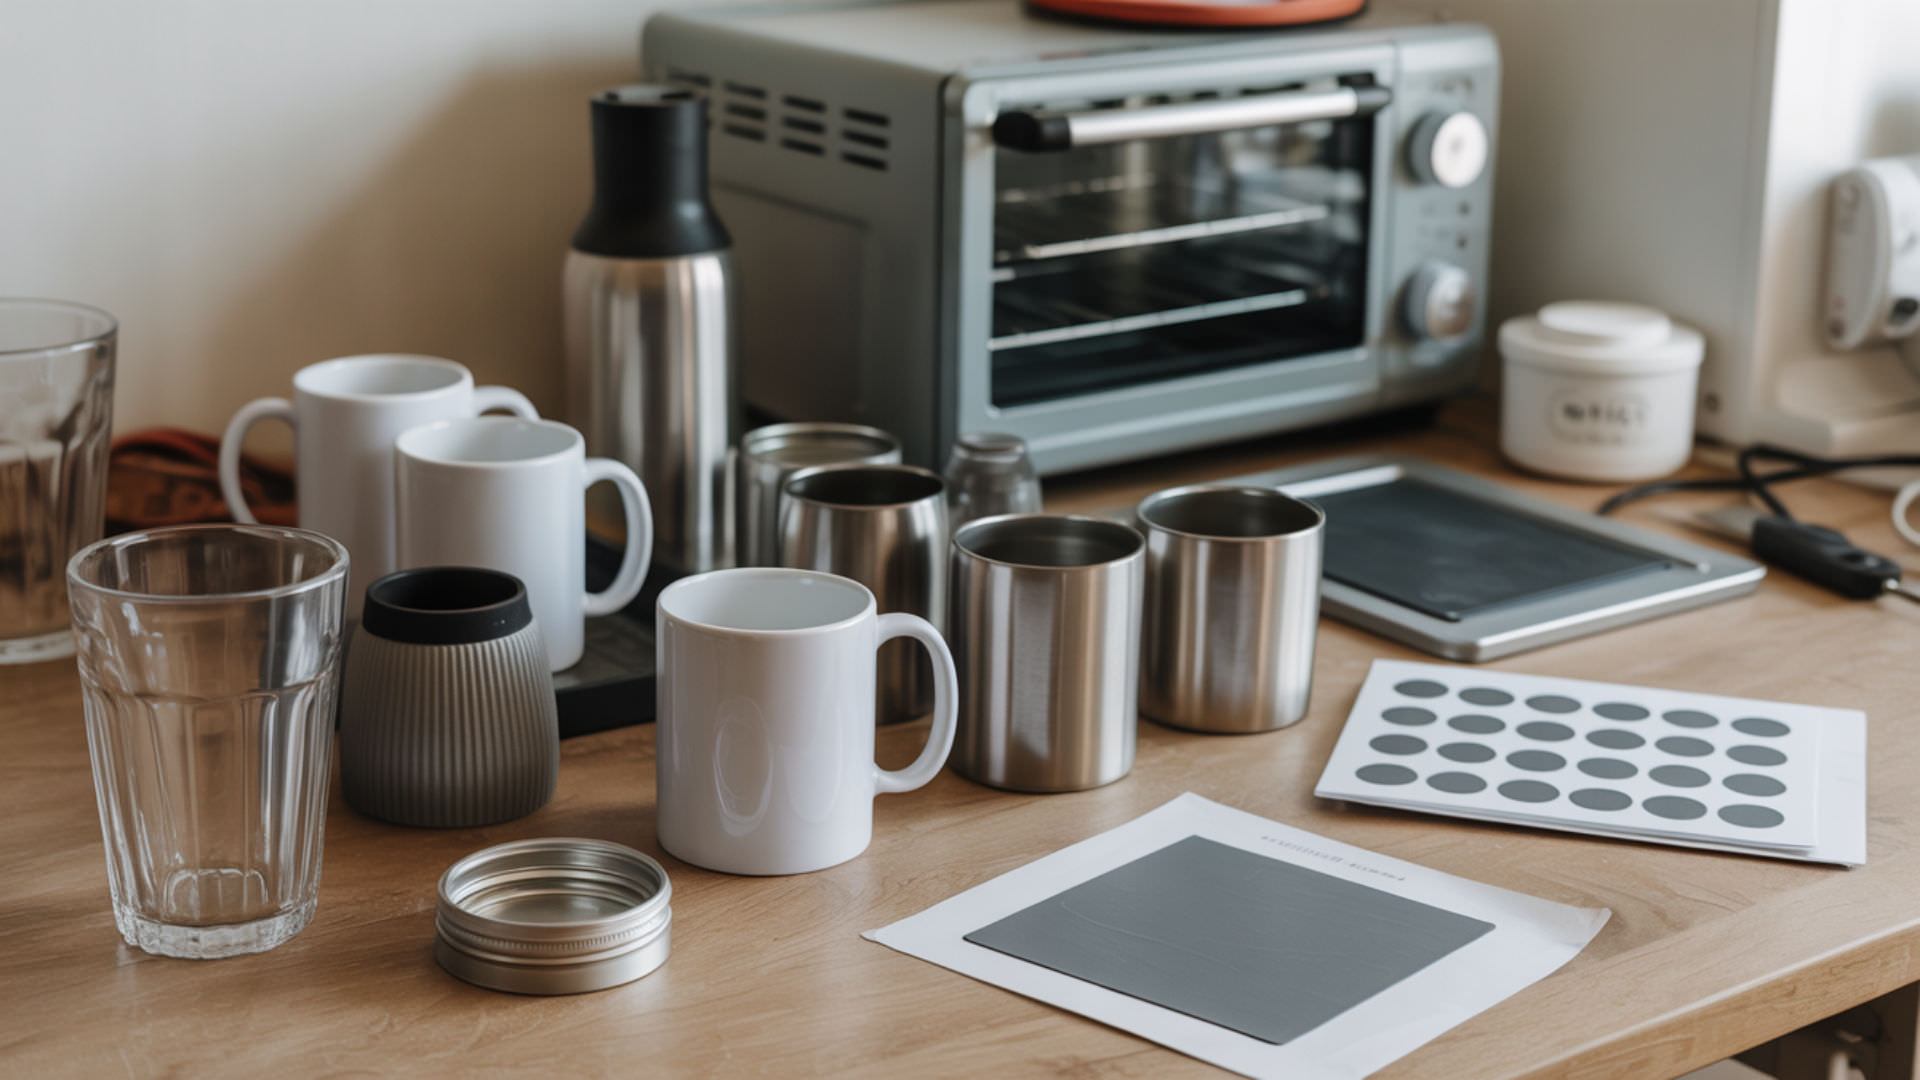
Dollar store items with polymer content or coating accept sublimation dye, including microfiber cloths, fleece blankets, dry erase boards, wooden ornaments, and baby bibs. Adhesion depends on the polyester percentage or presence of a poly-coating layer. Avoid plain ceramic mugs or tiles from discount stores because they lack the polymer coating necessary for dye bonding.
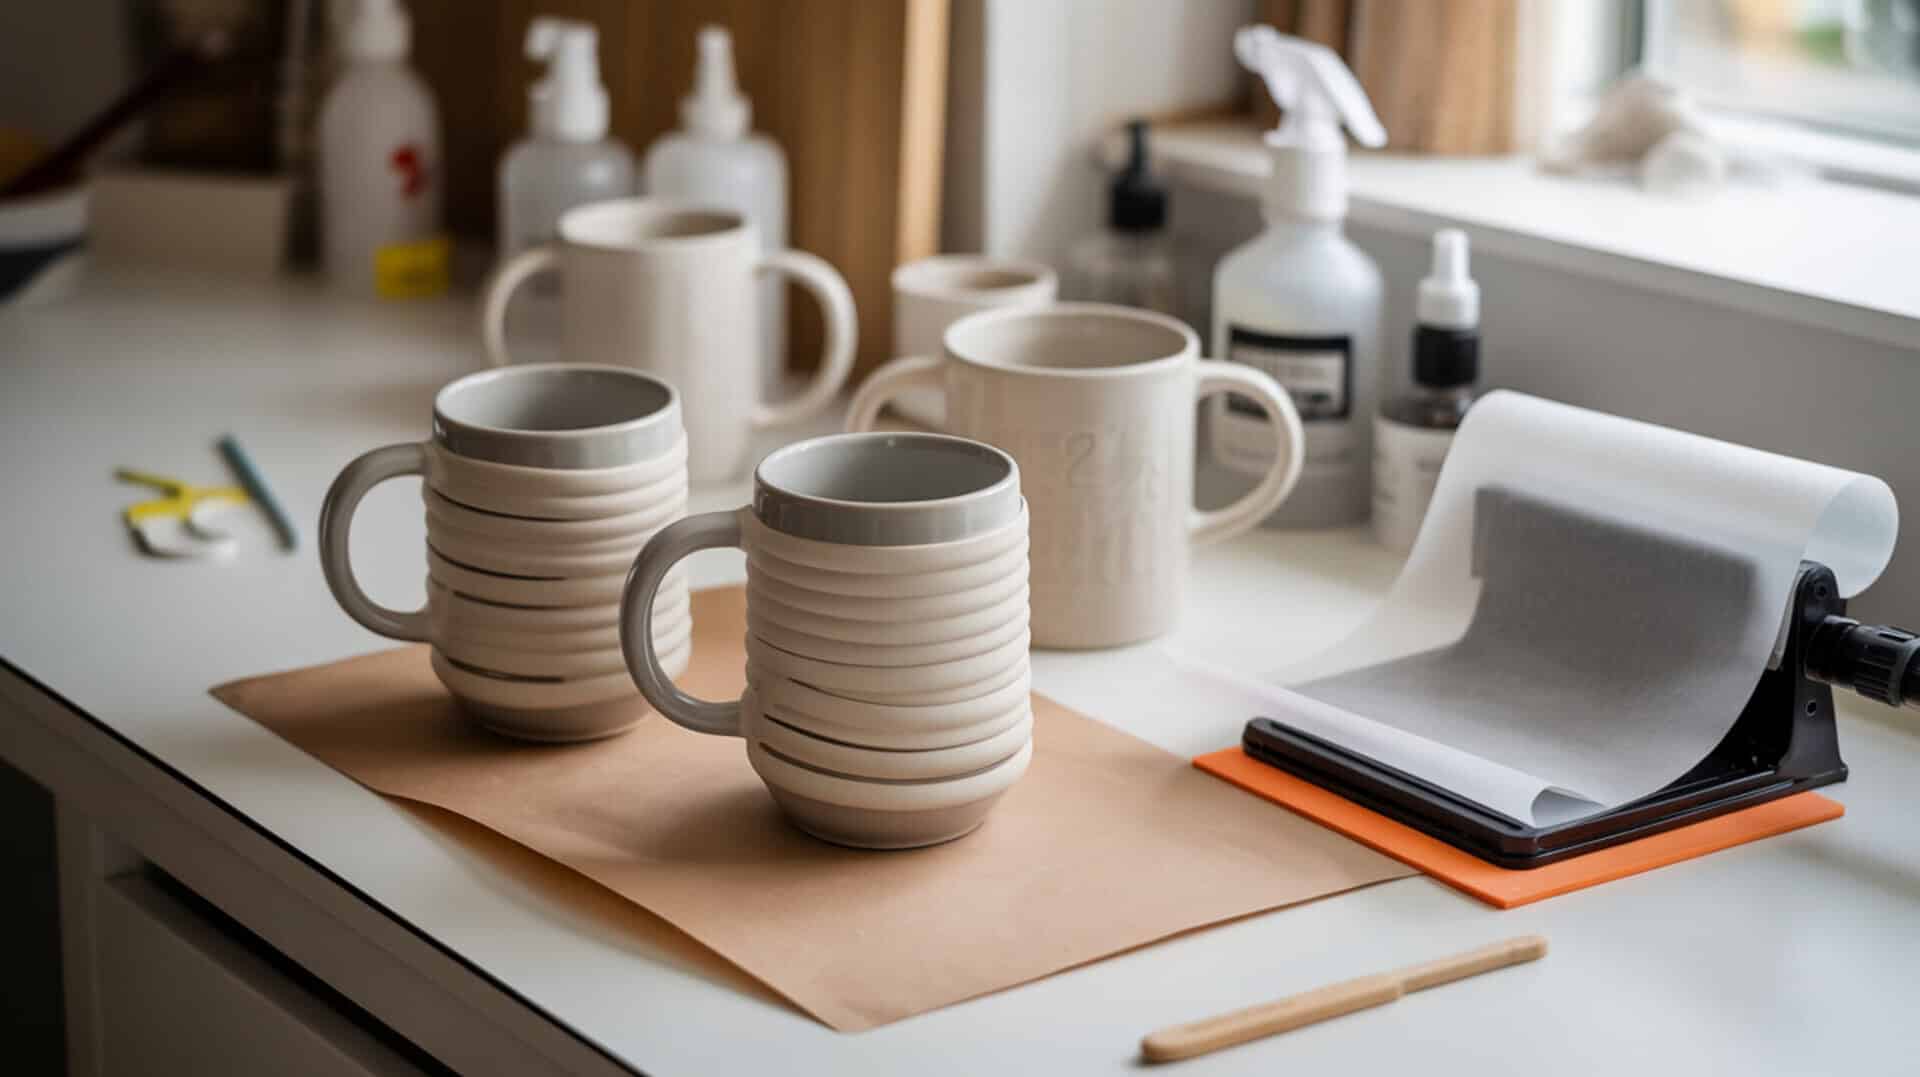
How do you sublimate mugs without a heat press?
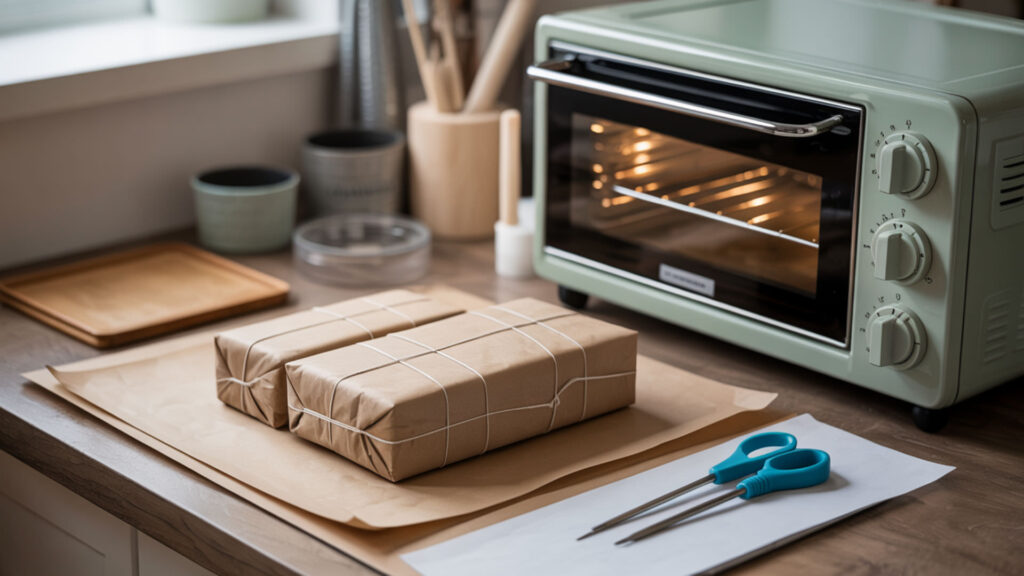
A convection oven or heat gun paired with shrink wrap or silicone wraps provides the heat transfer needed for mug sublimation without a dedicated press. Convection airflow ensures even temperature distribution around the curved surface while the wrap maintains contact pressure. Set the oven to 385–400°F and bake for 12–15 minutes, rotating halfway to achieve uniform dye activation.
Can you sublimate a mug in a regular oven?
A regular convection oven delivers sufficient heat for sublimation, but it must be dedicated solely to crafting because sublimation fumes contaminate surfaces. Residual moisture in kitchen ovens can cause uneven color results. Purchase a standalone toaster or convection oven for crafting and never use it for food preparation again. Heat transfer principles explain why consistent temperature and airflow are essential when sublimating items in ovens or air fryers instead of a traditional heat press. [1]
⫸ Click Here For Best Selling Sublimation Printers And Products ⫷How do you sublimate mugs in the oven?
Secure the mirrored design with heat-resistant tape, wrap the mug in shrink wrap, then shrink it tight with a heat gun. Place the mug upside down in a preheated oven at 385–400°F on parchment paper. Press time of 12–15 minutes allows the transfer paper dye to reach thermal equilibrium and penetrate the polymer layer completely.
Can you sublimate tumblers using a regular household oven?
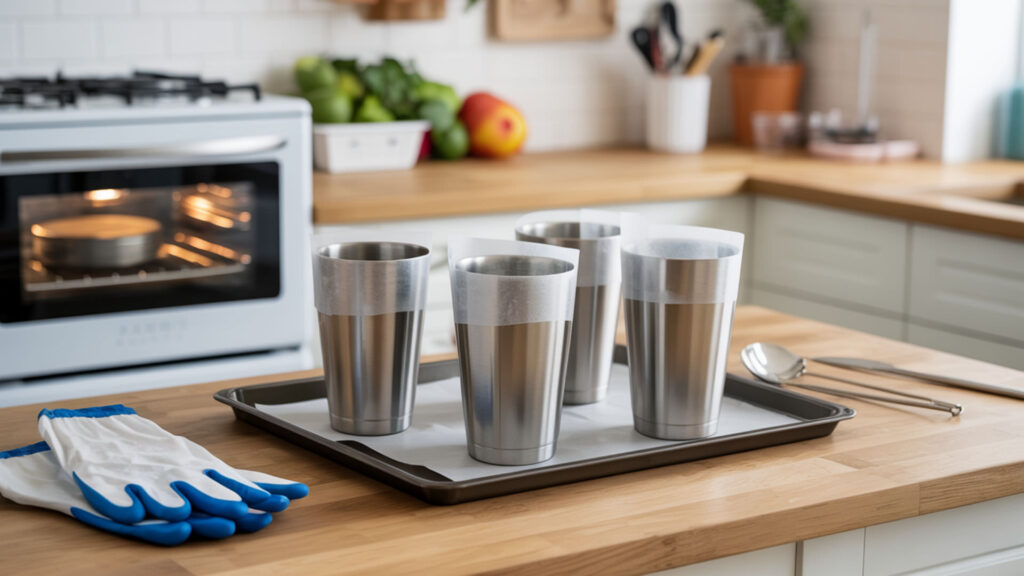
A household convection oven sublimates tumblers effectively when dedicated exclusively to crafting, using heat transfer through convection airflow to surround the cylinder with even temperature. The tumbler blank must have a polymer coating for the dye to bond. Preheat to 375°F, place the wrapped tumbler inside, and bake for 5–6 minutes while rotating halfway through.
How long should you sublimate a tumbler in a toaster oven?
Sublimate a tumbler in a toaster oven at 400°F for approximately 6 minutes after preheating the oven for 15 minutes. Temperature must remain stable for proper dye activation and polymer softening. Time consistency ensures full color saturation around the entire cylinder surface without thermal equilibrium issues.
How long should you sublimate a tumbler in a convection oven?
A convection oven requires 5–6 minutes at 375°F for tumbler sublimation, with better airflow reducing hot and cold spots compared to standard ovens. Heat transfer occurs more uniformly because the fan circulates air around all sides. Time at this setting produces consistent wrap-around color depth on properly prepared blanks.
What materials can you sublimate on without specialized equipment?
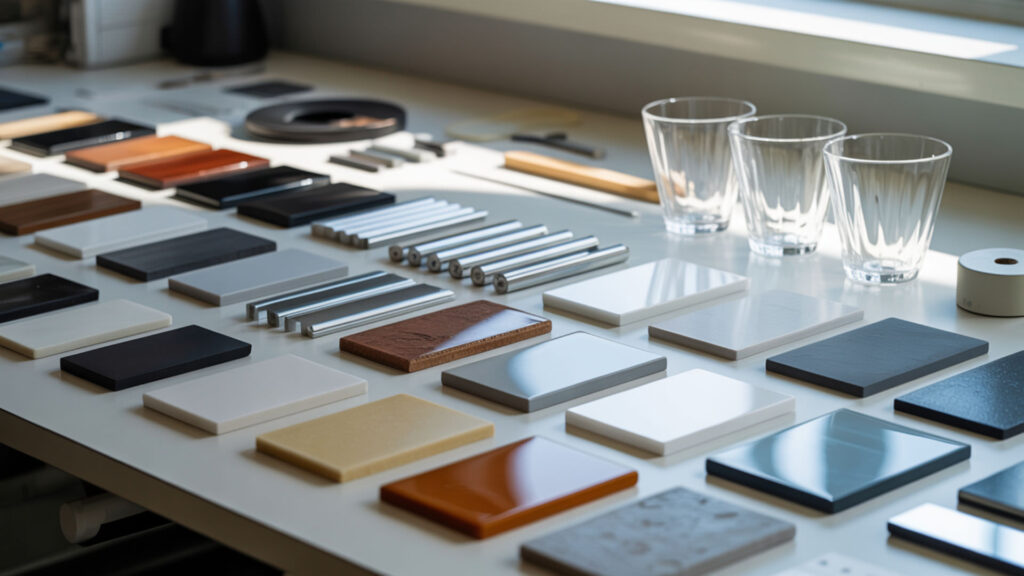
Materials containing polymer or a polymer coating accept sublimation dye regardless of equipment type, including polyester fabrics, coated ceramics, treated metals, and acrylic items. Non-polymer surfaces like untreated cotton, plain glass, and bare metal cannot bond with the dye at any temperature because the gaseous ink has no molecular structure to penetrate. Our explanation of what polymer limitations exist helps identify which substrates work for your projects. Sublimation depends on polymer materials that soften under heat, allowing dye molecules to diffuse and bond permanently at the molecular level. [2]
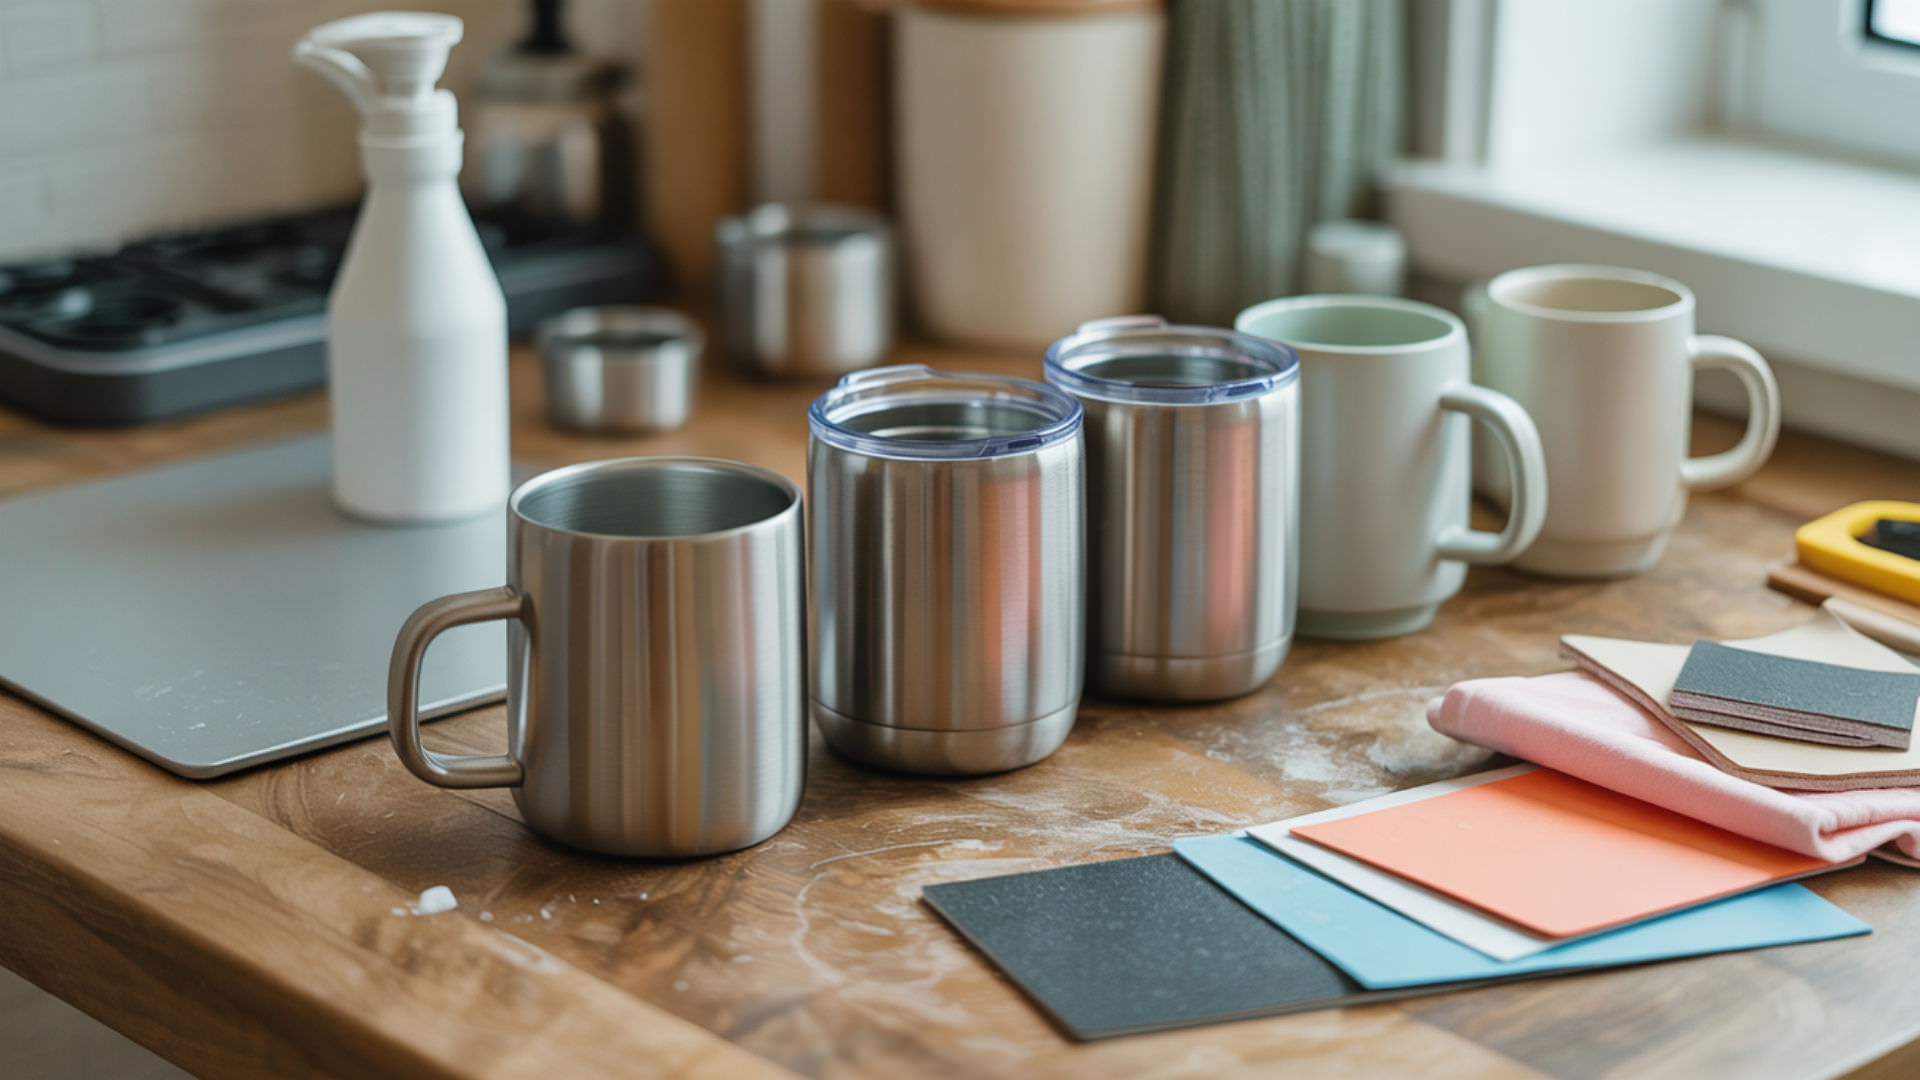
Can you sublimate on regular stainless steel?
Regular stainless steel does not accept sublimation dye because bare metal lacks the polymer coating required for ink adhesion. The surface must be coated with a specialized polymer layer that softens during heating and traps the gaseous dye. Purchase sublimation-ready stainless steel blanks where the coating ensures proper dye bonding and long-term durability.
Can you sublimate on regular glass cups?
Plain glass cups require a polymer coating before sublimation because untreated glass cannot bond with the dye. Sublimation-coated glass cups are manufactured with the necessary layer for adhesion and designed to withstand the temperature increase without thermal shock. Clean the surface thoroughly before pressing to ensure maximum dye adhesion to the coating.
What temperature is needed for sublimation when you aren’t using a heat press?
Sublimation requires 350–400°F regardless of equipment type because dye release and polymer softening occur within this temperature range. Heat transfer methods like ovens and air fryers must reach thermal equilibrium at these settings for complete ink vaporization. Household ovens may fluctuate, so use a separate oven thermometer to verify accuracy before pressing.
Can you sublimate on clear acrylic tumblers?
Clear acrylic tumblers accept sublimation because acrylic is a polymer-based material compatible with the dye. Temperature settings must be lower to prevent softening or warping of the plastic surface during heat application. Some acrylic blanks include a white backing for opaque designs while clear versions work best with graphics that do not rely heavily on white areas.
How do you sublimate on a metal tumbler?
Metal tumblers require a polymer coating layer because conduction heats the metal surface rapidly and unevenly, but sublimation bonding occurs only where the coating exists. Wrap the design tightly with heat-resistant tape, apply shrink wrap, and heat in an oven at 375°F for 5–6 minutes. Temperature control prevents the coating from burning while ensuring full dye transfer.
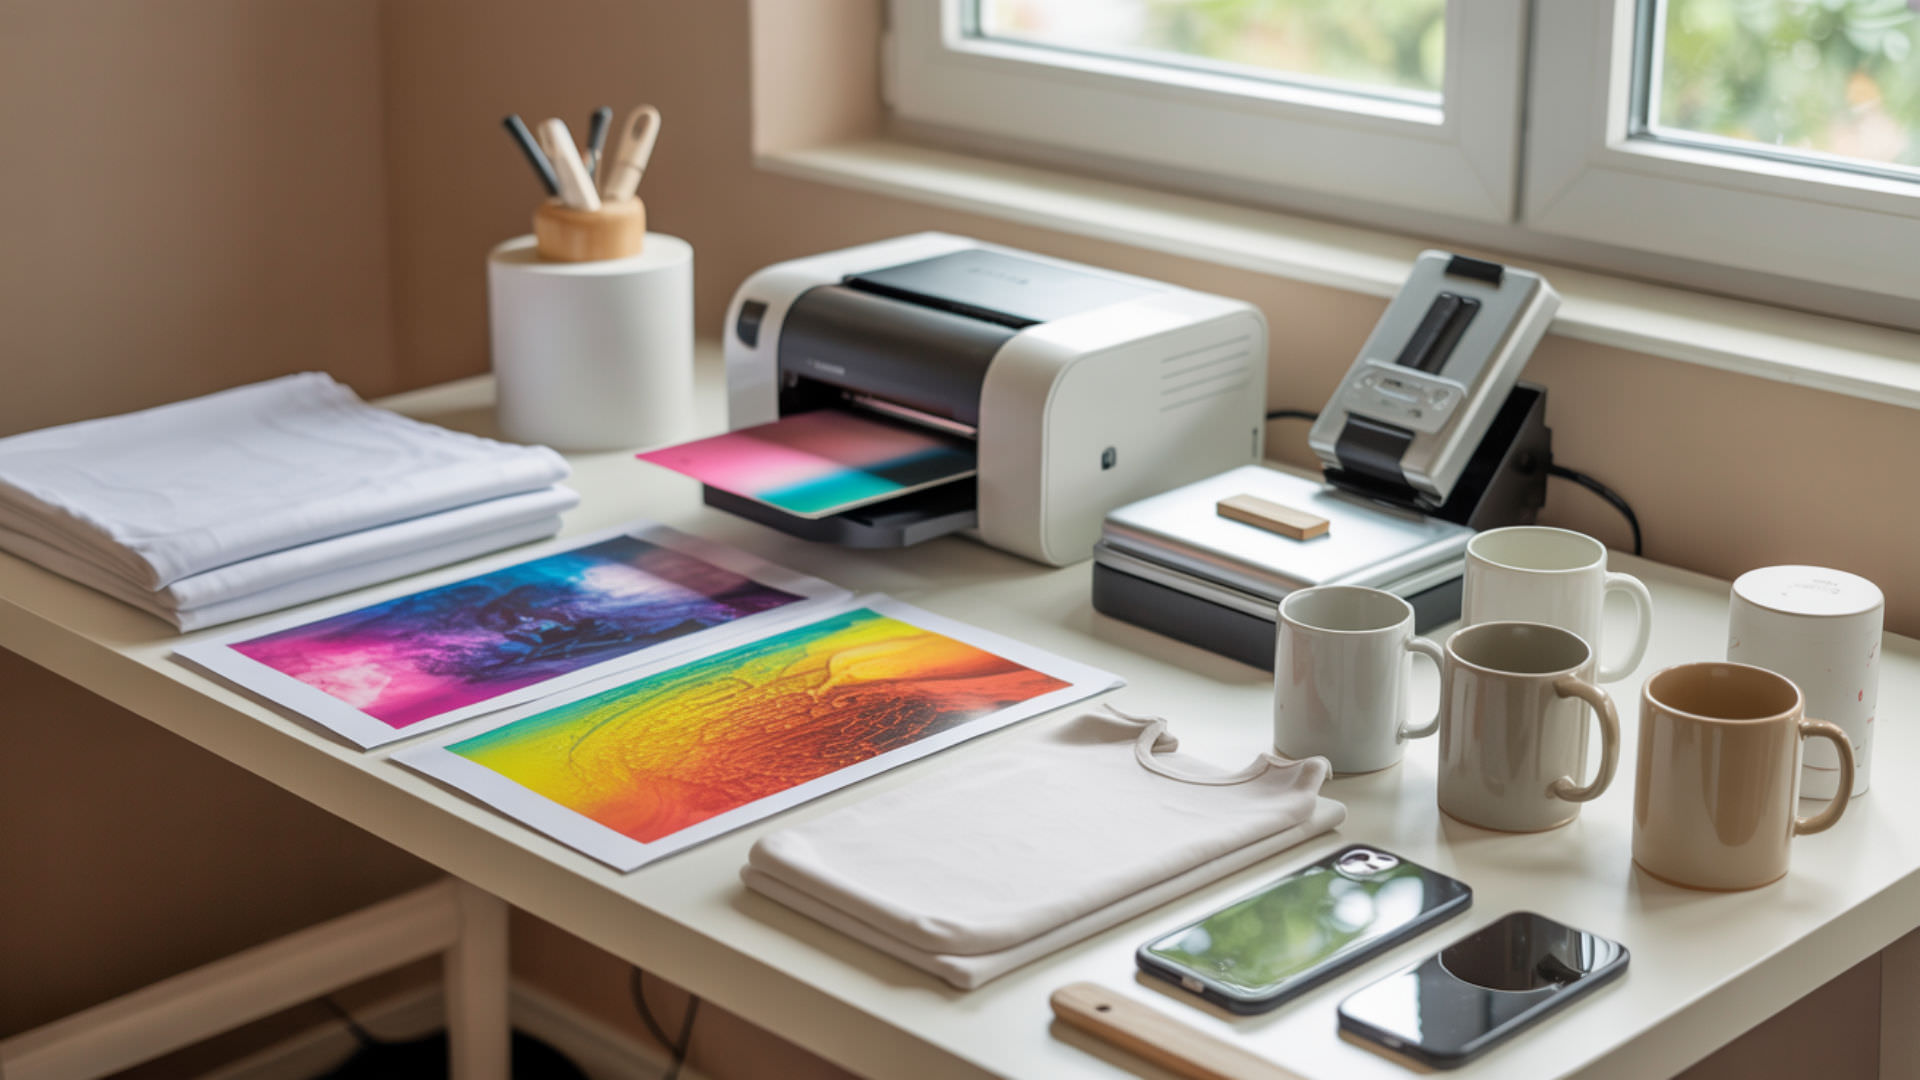
How do you sublimate without a printer step-by-step?
- Prepare your blank. Clean the surface with rubbing alcohol and a lint roller to remove dust, oils, and debris that interfere with dye adhesion.
- Position the transfer. Align the pre-printed transfer paper or Infusible Ink sheet on the blank and secure all edges with heat-resistant tape.
- Apply pressure wrap. For curved items, slide shrink wrap over the blank and use a heat gun to create tight, even contact pressure around the entire surface.
- Heat the substrate. Place the wrapped item in a preheated oven, air fryer, or under a heat press at 350–400°F for the time recommended for your substrate type.
- Remove and cool. Use heat-resistant gloves to remove the item immediately when done, peel the shrink wrap and paper while hot to prevent ghosting.
Can you sublimate mugs in an air fryer?
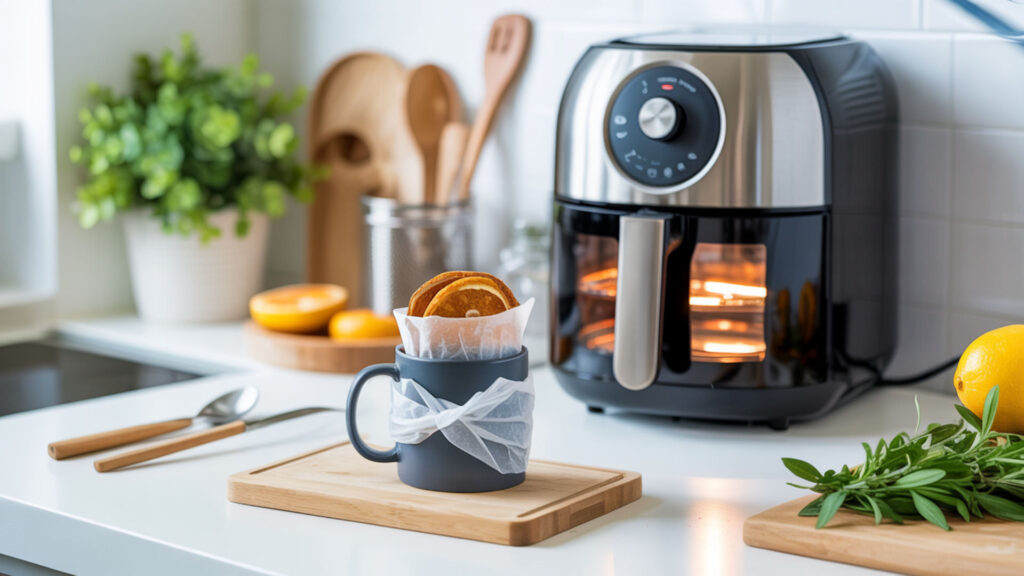
An air fryer uses convection heating in a smaller chamber, which promotes even airflow and consistent temperature around the mug. Set the air fryer to 375–380°F and heat for 6 minutes, rotating the mug at the 3-minute mark for uniform coverage. Time at this setting allows full dye saturation into the polymer layer.
How long should you sublimate a mug in a toaster oven?
Place the prepared mug on parchment paper in a toaster convection oven preheated to 385–400°F and bake for approximately 12–15 minutes. Thermal equilibrium takes longer in smaller ovens, so verify temperature accuracy with a separate thermometer. Time may vary based on mug thickness and the specific wrap method used.
How long should you sublimate a mug in a convection oven?
A convection oven produces reliable mug sublimation at 385–400°F for 12–15 minutes because improved airflow distributes heat transfer more evenly than standard ovens. Place the mug upside down, rotate halfway through the cycle, and remove immediately when time completes. Cool the mug in room-temperature water to stop the sublimation process quickly.
Ready to Sublimate Without Traditional Equipment?
Temperature control, pressure consistency, and polymer coating compatibility determine success with any alternative sublimation method. Quality shrink wraps, heat-resistant tape, and properly coated blanks produce professional results even without a dedicated press. Browse our recommended polymer coating products and supplies to get started with printer-free sublimation.
Frequently Asked Questions
Can you sublimate any tumbler?
Only tumblers manufactured with a sublimation-ready polymer coating accept dye transfer. Standard tumblers from retail stores lack this specialized layer and produce faded, impermanent results. Purchase blanks specifically labeled for sublimation to ensure the polyester or poly-coating content allows proper dye bonding during the heat process.
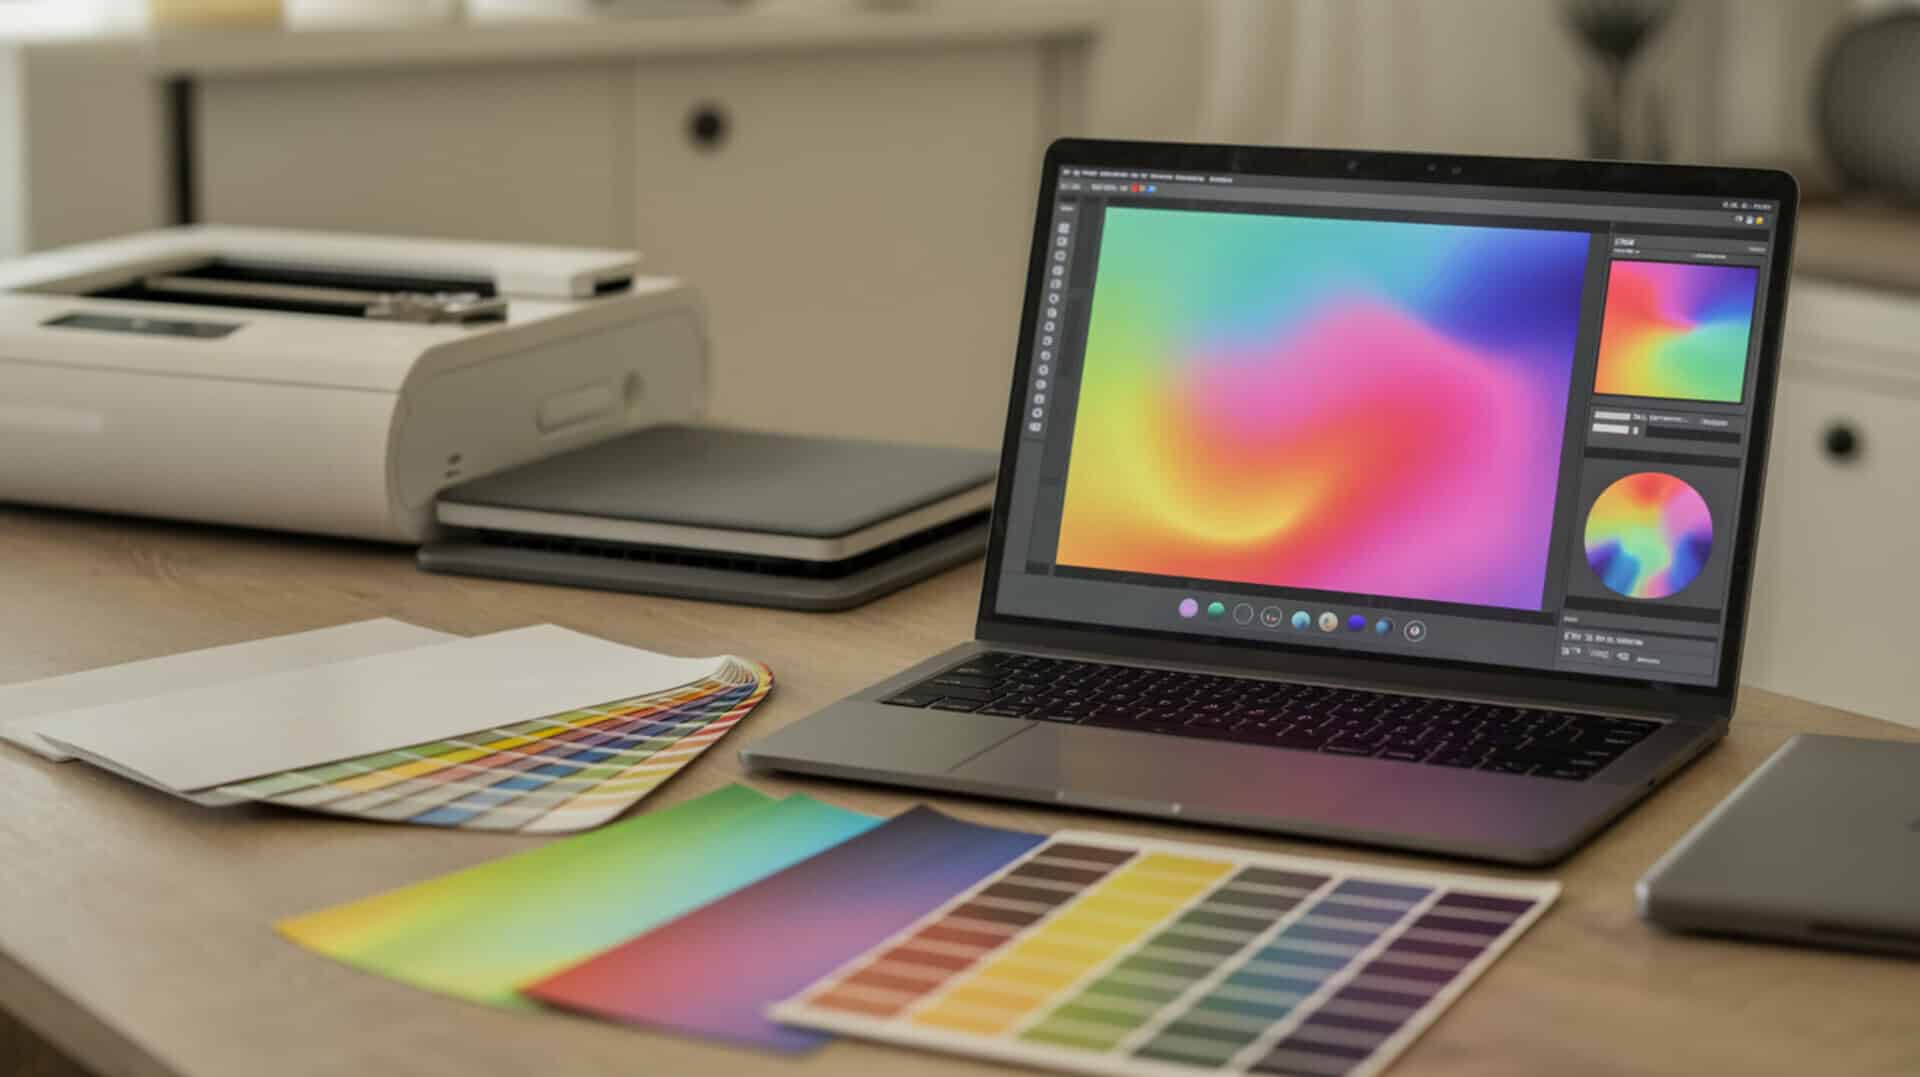
Can you do sublimation with a regular printer?
Regular inkjet printers cannot perform sublimation because standard ink does not vaporize and bond with polymer surfaces. Only printers using Micro Piezo printheads, such as certain Epson models, accept sublimation ink cartridges. Using sublimation ink in incompatible printers causes clogging and permanent damage to the print mechanism.
How do you sublimate a shirt without a sublimation printer?
Infusible Ink transfers paired with a cutting machine like a Cricut allow you to create intricate designs on polyester shirts without a sublimation printer. Cut the design from the Infusible Ink sheet, position it on the garment, and press with a heat source at 385–400°F. The fabric must contain at least 65% polyester for vibrant, permanent results.
What heat level is recommended for sublimating mugs without a press?
Ceramic mugs sublimate best at 385–400°F for 12–15 minutes in a convection oven or air fryer. This temperature range activates the dye and softens the polymer coating for complete ink penetration. Use an independent oven thermometer to verify accuracy since digital displays often show incorrect readings.
Do oven-based sublimation methods affect durability compared to a heat press?
Properly executed oven sublimation produces equal durability to heat press methods because the dye bonds permanently with the polymer coating at the molecular level. Temperature accuracy and consistent pressure from shrink wraps determine final quality. Results match press-sublimated items in colorfastness and wash resistance when technique and timing are correct.
References
- Principles of heating and cooling. (n.d.). Energy.gov. https://www.energy.gov/energysaver/principles-heating-and-cooling
- Grainger Engineering Office of Marketing and Communications. (n.d.). Home. https://matse.illinois.edu/