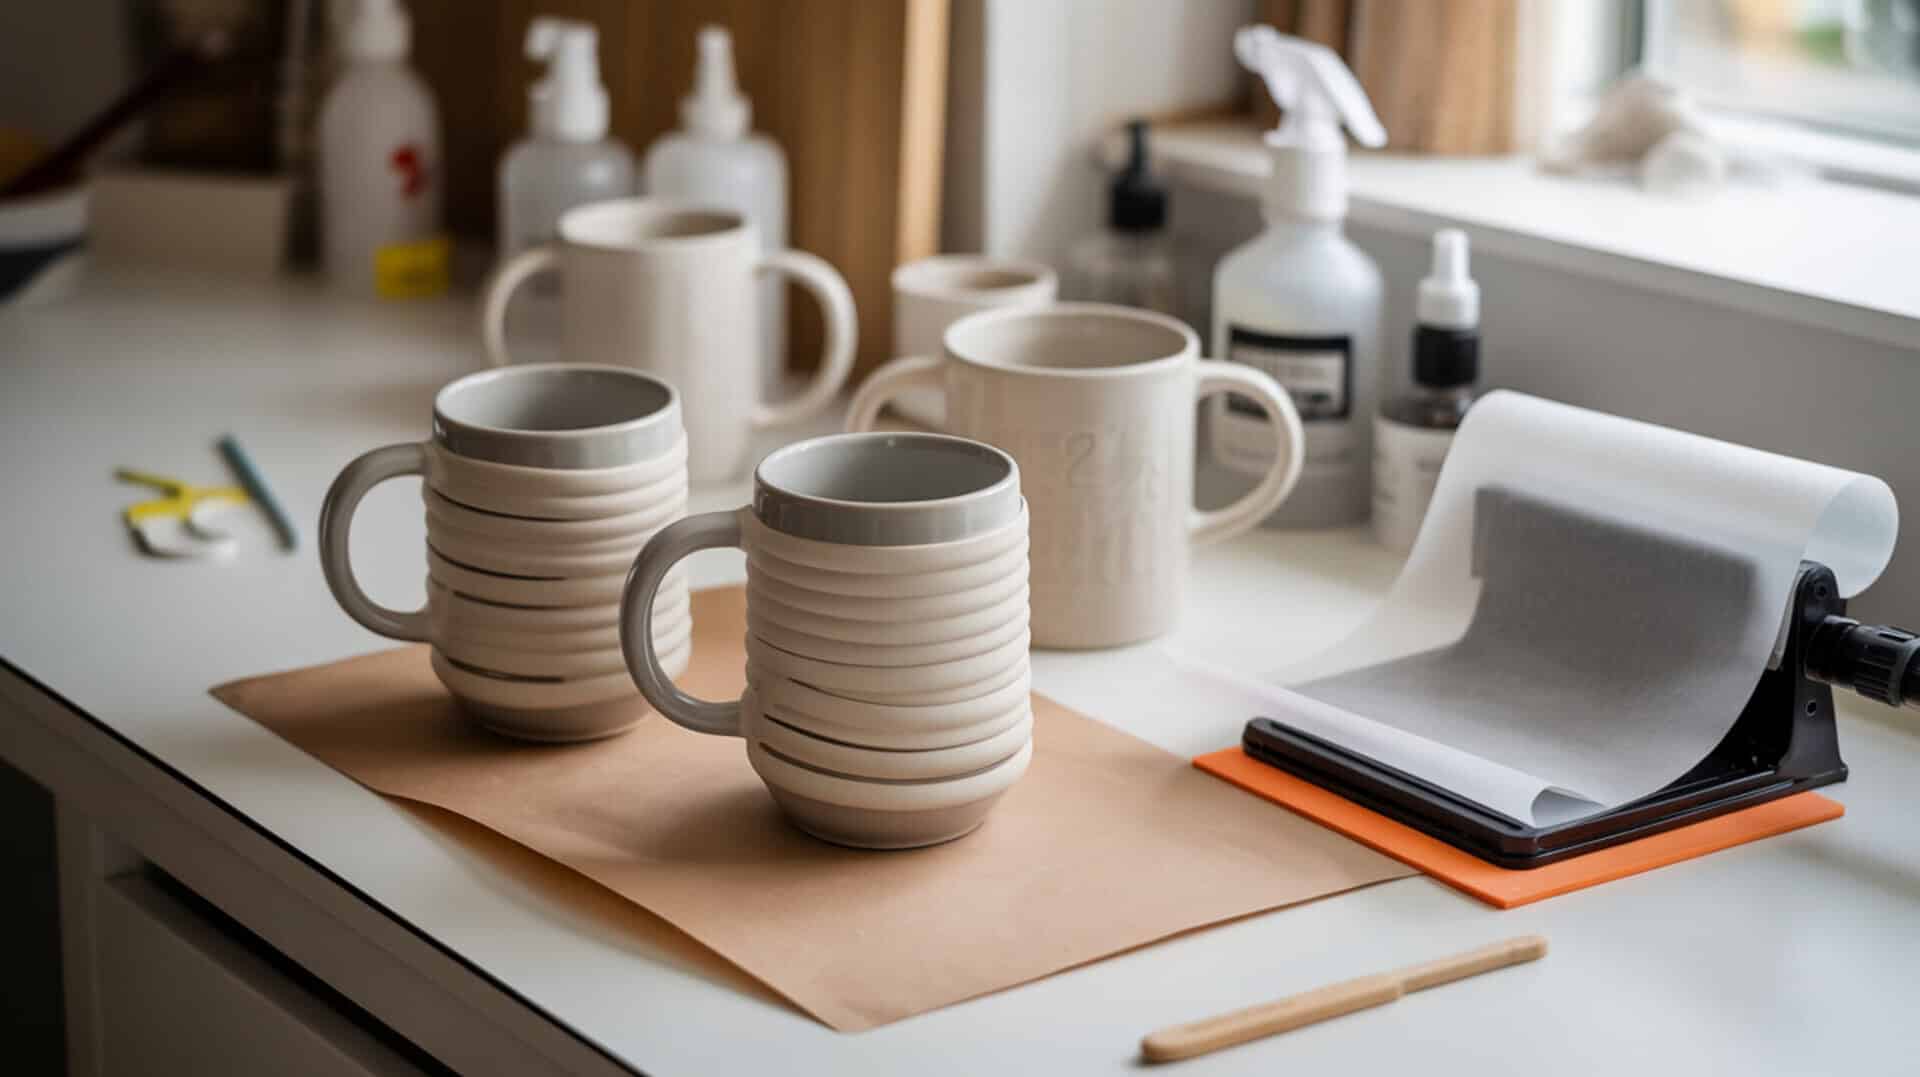
Printing large sublimation designs opens creative possibilities for blankets, all-over shirts, banners, and wall art. Image editing skills determine whether oversized graphics output correctly at full scale without quality loss. Saving designs as PNG files preserves detail that compression destroys during enlargement. Understanding proper file preparation workflows through solid image editing fundamentals sets the foundation for successful large-format sublimation projects.
Key Takeaways
- Wide-format sublimation printers handle media from 24 to 64 inches
- Desktop printers max out around 13×19 inches—larger requires tiling
- Image editing determines tiling accuracy and alignment success
- Color correction maintains consistent tones across oversized print areas
- PNG format preserves quality while JPEG compression creates visible artifacts at large scale
- 300 DPI resolution requires 7200×10800 pixels for 24×36 inch prints
What Printer Do You Need for Large Sublimation Prints?
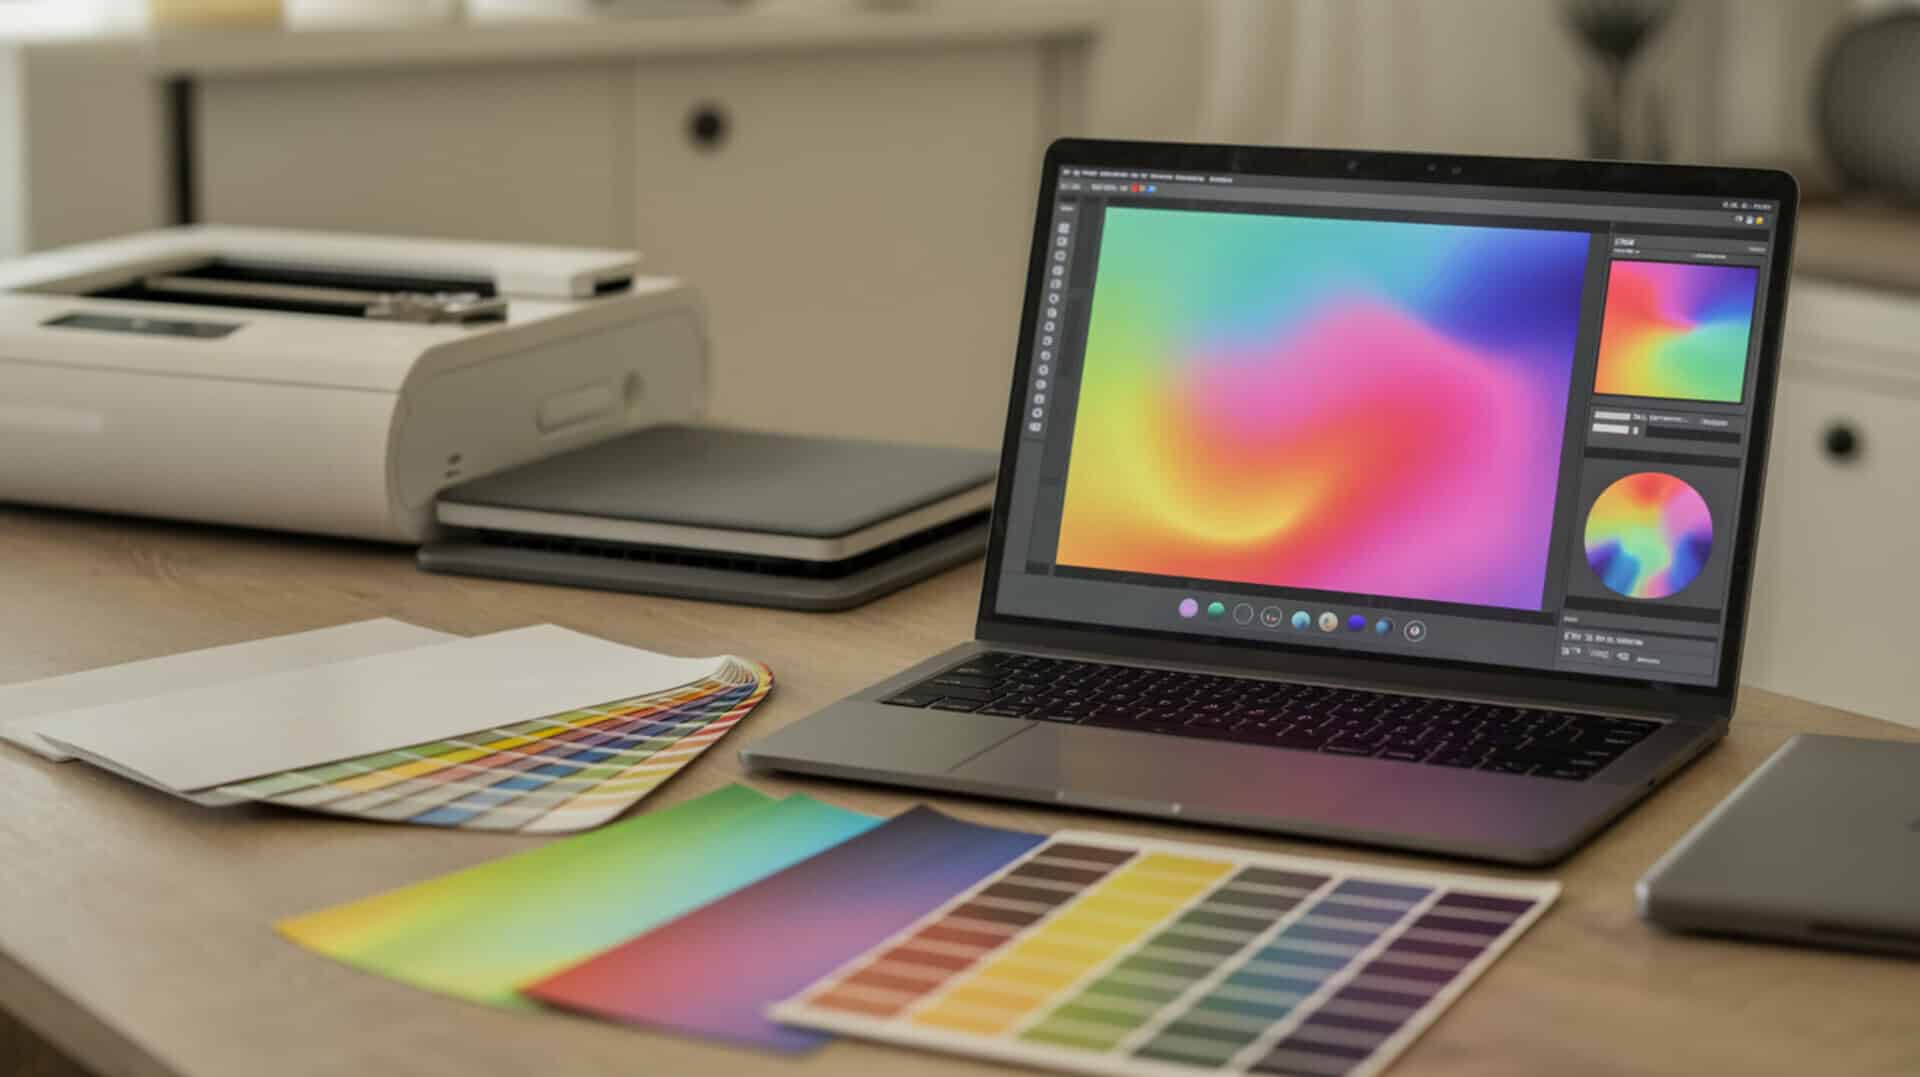
Printer selection depends on your typical project dimensions and production volume. PNG format preserves sharp detail for professional large-format output. JPEG compression creates artifacts that become increasingly visible as prints scale larger. Designers seeking high-quality PNG artwork for oversized projects benefit from understanding which printer specifications match their production needs.
What Qualifies as a “Large Format” Sublimation Printer?
Large format printers typically handle media 18 inches or wider, with professional models reaching 24, 44, or 64 inches. JPEG artifacts that remain invisible on small prints become glaringly obvious at these dimensions. Desktop sublimation printers like the Epson EcoTank series max out around 13×19 inches. True wide-format machines use roll paper and continuous feed systems designed for high-volume commercial production.
How Large Can Typical Wide-Format Printers Print?
Popular wide-format options include the Epson SureColor F570 printing up to 24 inches wide, while the F6370 and Sawgrass VJ 628 handle even larger dimensions. Image editing software must manage files sized appropriately for your printer’s maximum width. The Epson ET-15000 represents a popular converted EcoTank option for crafters needing 13×19 inch capability without full commercial investment.
How Do I Print Large Sublimation Transfers on a Home Sublimation Printer?
Home sublimation printers can produce oversized designs through strategic planning and assembly. PNG exports maintain quality when designs span multiple sheets. Layers in your design file help manage individual panels for organized multi-page printing workflows. Tiling transforms standard desktop printers into tools capable of creating surprisingly large finished products.
How Do You Print a Large Image Across Multiple Pages?
Image editing software controls how cleanly designs split across multiple sheets. Most programs offer poster, tiling, or mural print options that automatically divide artwork with alignment guides. Complex projects requiring precise panel management benefit from understanding layers workflows that organize multi-section designs efficiently. Set your Epson printer to poster mode, select high quality output, and use actual size settings. Add quarter-inch overlap between sections for alignment flexibility during assembly.
What Paper Sizes Work Best for Sublimation Transfers?
Standard sublimation paper comes in 8.5×11 inch letter, 8.5×14 inch legal, 11×17 inch tabloid, and 13×19 inch super B sizes. PNG files adapt easily to various paper dimensions without quality degradation. Choose paper sizes based on your printer’s maximum capability and substrate dimensions. Letter size works for mugs and small items while 13×19 inch sheets reduce tiling needs for larger projects.
How Do You Tile Sublimation Prints for Larger Designs Without Seams?
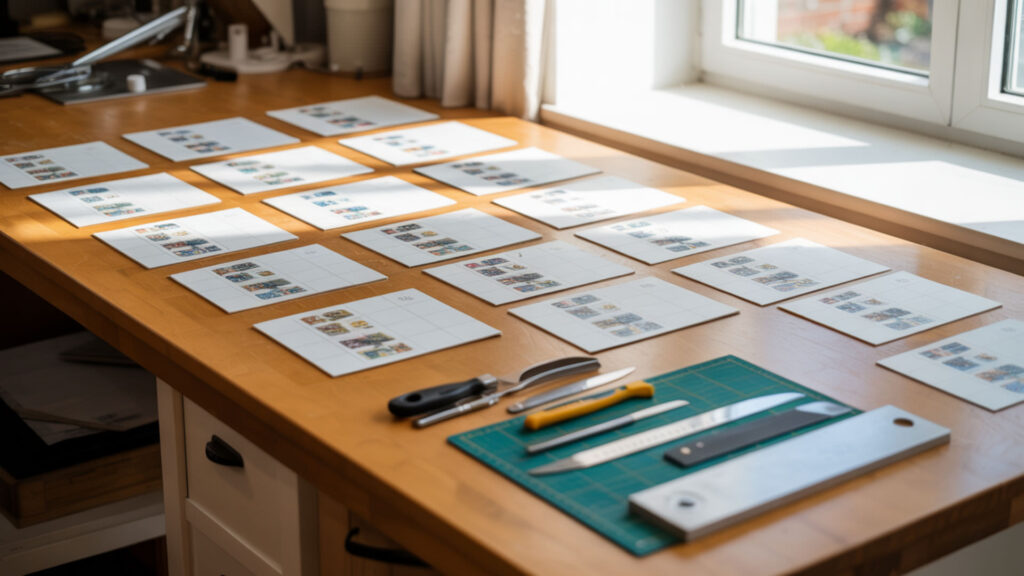
Tiling divides single large images into printable sections that reassemble into seamless finished transfers. Image editing capabilities determine alignment accuracy between panels. Layers help preview overlap positions and visualize seam locations before printing. Proper technique transforms multiple sheets into unified designs indistinguishable from single-sheet output.
How to Align and Trim Tiles to Avoid Seams on Large Sublimation Prints?
Layers provide precision guidance for accurate cutting along designated trim lines. Print overlapping edges—typically half an inch—then align design elements carefully before taping. Use heat-resistant tape to secure seams without covering ink areas. Trim along registration marks using a clear ruler and rotary cutter for straight, accurate edges. Patience during alignment prevents visible seam lines on finished products.
What’s the Realistic Maximum Size You Can Achieve with Tiled Sublimation Prints?
JPEG compression defects multiply across larger tiled assemblies, making format choice critical. Practical tiling limits depend on substrate dimensions, heat press size, and patience for precise assembly. Projects up to 13×19 inches tile easily using two to four sheets. Larger assemblies become increasingly challenging—seam visibility and alignment difficulty grow with panel count.
What Resolution and File Format Do You Need for Large Sublimation Prints?
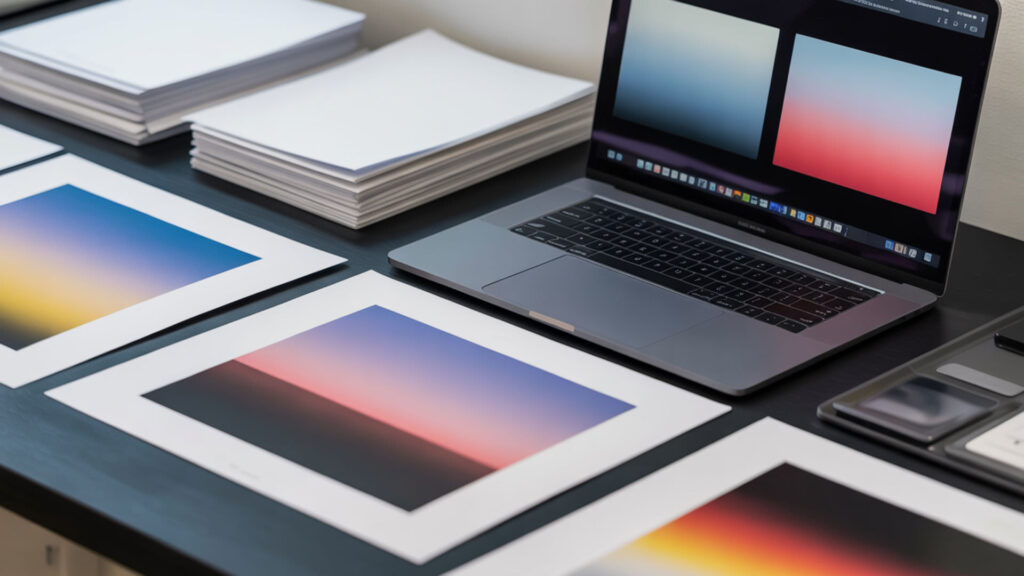
Large format printing demands attention to both resolution specifications and file format selection. PNG preserves detail without compression artifacts visible at enlarged scales. JPEG compression that seems acceptable on small prints becomes problematic when blown up. Color correction maintains consistent tone across expansive print areas. Designers focused on maintaining visual quality across large output areas find valuable techniques in color correction approaches that preserve design accuracy. Lossless file formats like PNG preserve image detail during enlargement, which is critical when printing oversized sublimation designs where compression artifacts become more visible. [1]
How Large Can a 300 DPI Image Be Before Quality Drops?
Calculate maximum print size by dividing pixel dimensions by 300. A 3000×2400 pixel image produces quality output at 10×8 inches. For 24×36 inch prints, you need 7200×10800 pixels at 300 DPI. JPEG compression interacts with DPI when scaling—starting with PNG source files avoids compounding quality issues. Large prints viewed from greater distances tolerate lower resolution—100-150 DPI works acceptably for banners and wall displays.Image resolution determines how large a design can be printed without quality loss, since DPI controls how much detail is preserved when images are scaled for large-format output. [2]
How Should You Prepare Images for Large Format Printing?
PNG format with transparent backgrounds works best for most sublimation applications. Color correction applied before final export prevents tone shifts across large print areas. Design in RGB color mode using sRGB profiles for optimal printer compatibility. Always mirror images before printing—sublimation transfers reverse during heat application. Save files at exactly the dimensions needed for your substrate.
What Software Can Help When Printing Large Sublimation Designs?
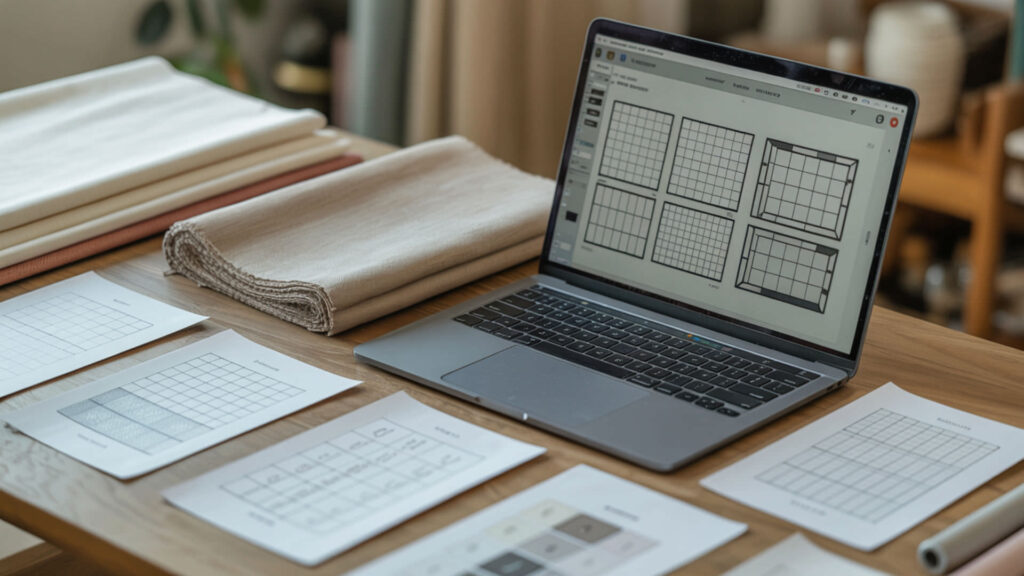
Software selection affects workflow efficiency and output quality for oversized projects. Layers provide organizational clarity essential for managing multi-panel print jobs. Image editing capabilities determine how effectively designs split into printable sections. Professional and free options both handle large-format sublimation requirements effectively.
How to Tile a Large Image Over Multiple Pages Using Layout Software
Image editing controls the splitting workflow that generates your final tile grid. Adobe Photoshop, CorelDRAW, and Silhouette Studio offer built-in tiling functions with overlap settings. Canva’s Image Splitter app divides designs into specified row and column configurations. Adobe Illustrator’s poster print option adds cut marks and overlap guides automatically. Free options like Rasterbator specialize in creating wall-sized poster assemblies from standard images.
How Do You Avoid Quality Loss When Printing Large Sublimation Designs?
Quality preservation requires attention to format selection, resolution management, and color consistency. PNG prevents the degradation JPEG compression introduces at large scales. Color correction applied during the design phase carries through to final output accurately. Starting with appropriately sized source files prevents the pixelation caused by enlarging small images.
What File Format and Color Settings Give the Best Print Quality?
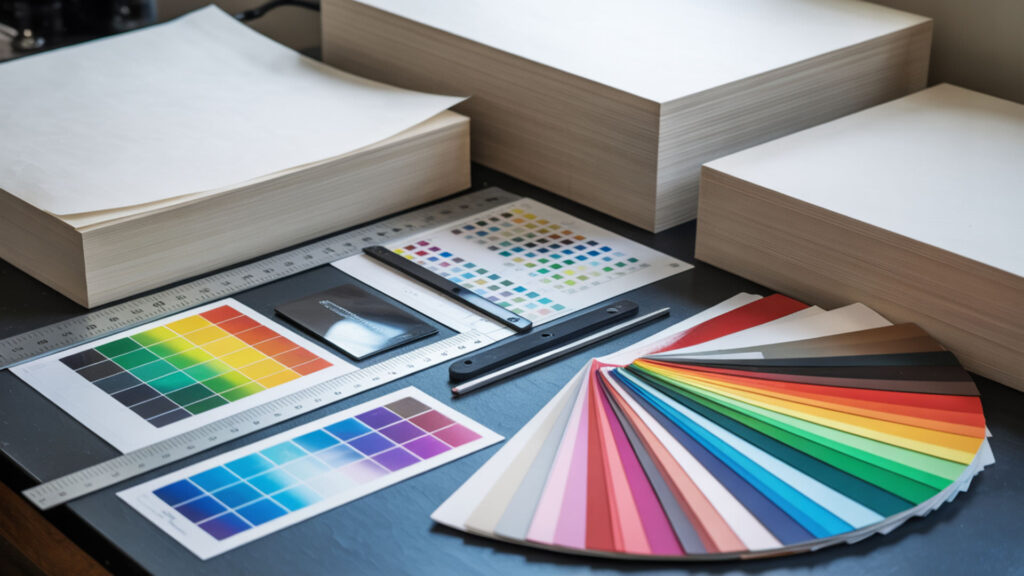
PNG and TIFF deliver best results for large sublimation output—avoid JPEG for oversized projects. Color correction settings determine vibrancy and accuracy across expanded print areas. RGB color mode provides wider gamut than CMYK for vivid sublimation results. ICC profiles calibrate color translation between your specific printer, ink, and paper combination. Export at 300 DPI minimum for crisp output on items viewed closely.
How to Test a Design at Full Size Before Committing to a Large Print?
Layers enable low-cost testing through temporary mockup configurations before final printing. Print black-and-white test pages on standard paper to verify dimensions and alignment. Use tiled test prints to check registration before investing in expensive sublimation paper. Measure assembled test sheets against your actual substrate to confirm coverage. This verification step catches sizing errors before wasting materials.
How Do You Print Large Sublimation Designs Step-by-Step?
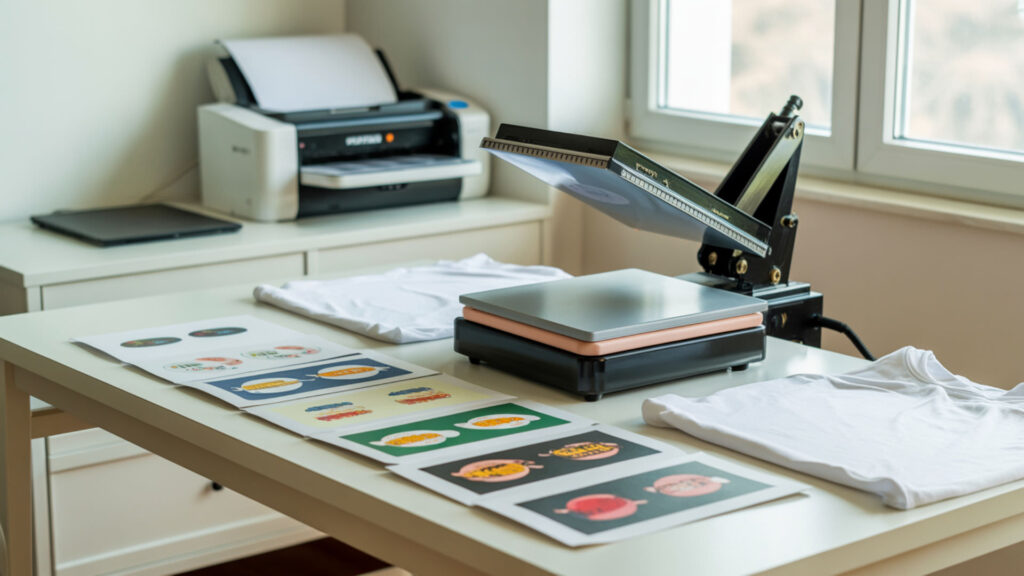
Image editing software prepares your design file at final output dimensions with 300 DPI resolution. Apply color correction, save as PNG, and mirror the image. Configure poster or tiling mode with half-inch overlap. Print sections using layers to track panel sequence. Trim along registration marks, align precisely, and secure with heat-resistant tape. Press tiled assembly onto substrate following standard parameters.
Ready to Start Creating Large Sublimation Designs with Confidence?
Large format sublimation success comes from proper file preparation and methodical execution. PNG format and adequate resolution prevent the quality issues that undermine oversized projects. Image editing skills developed through practice produce increasingly professional results. Every large project builds experience—start with manageable tile counts and progress toward more ambitious assemblies as your technique improves.
Frequently Asked Questions
What paper is needed for sublimation printing?
Sublimation requires specially coated paper designed to release ink during heat transfer. Common types include fast-dry for high-volume jobs, tacky paper for stretchy fabrics, and high-release for vivid colors. PNG files transfer equally well regardless of paper type. Standard weights around 105-120 gsm work for most applications while heavier weights suit rigid substrates.
Is sublimation transfer paper the same as standard printer paper?
Standard printer paper cannot substitute for sublimation paper—the special coating enables ink release during heat pressing. Regular paper absorbs ink permanently rather than transferring it. JPEG or PNG format choices remain important regardless of paper type. Using incorrect paper wastes ink and produces no usable transfer.
Does a larger sublimation print cost more than a standard-size print?
Larger prints consume more ink, paper, and pressing time, increasing per-unit costs. Wide-format printers represent significant equipment investments compared to desktop models. Tiled projects using standard paper sizes reduce equipment costs but increase labor time. Factor material costs, assembly time, and equipment depreciation when pricing oversized sublimation work.
What are the basic steps for printing large sublimation designs at home?
Create or obtain a high-resolution PNG file sized for your project dimensions. Use image editing software to configure tiling with appropriate overlap. Print mirrored sections on sublimation paper using high quality settings. Trim and align panels using registration marks. Tape sections together with heat-resistant tape. Press onto substrate following standard sublimation parameters.
Can large sublimation prints be trimmed or framed after printing?
Sublimation transfers bond permanently with substrates, allowing trimming without affecting design durability. Cut blankets, fabric panels, or rigid substrates to final dimensions after pressing. Framing works well for metal prints and other rigid materials. The dye-based transfer withstands cutting, folding, and finishing processes without cracking or peeling.
References
- Portable network graphics. (2025, July 14). Library of Congress. https://www.loc.gov/preservation/digital/formats/fdd/fdd000153.shtml
- Digital imaging tutorial – Conversion. (n.d.). Moving Theory into Practice: Digital Imaging Tutorial, Cornell University Library. https://preservationtutorial.library.cornell.edu/tutorial/conversion/conversion-04.html