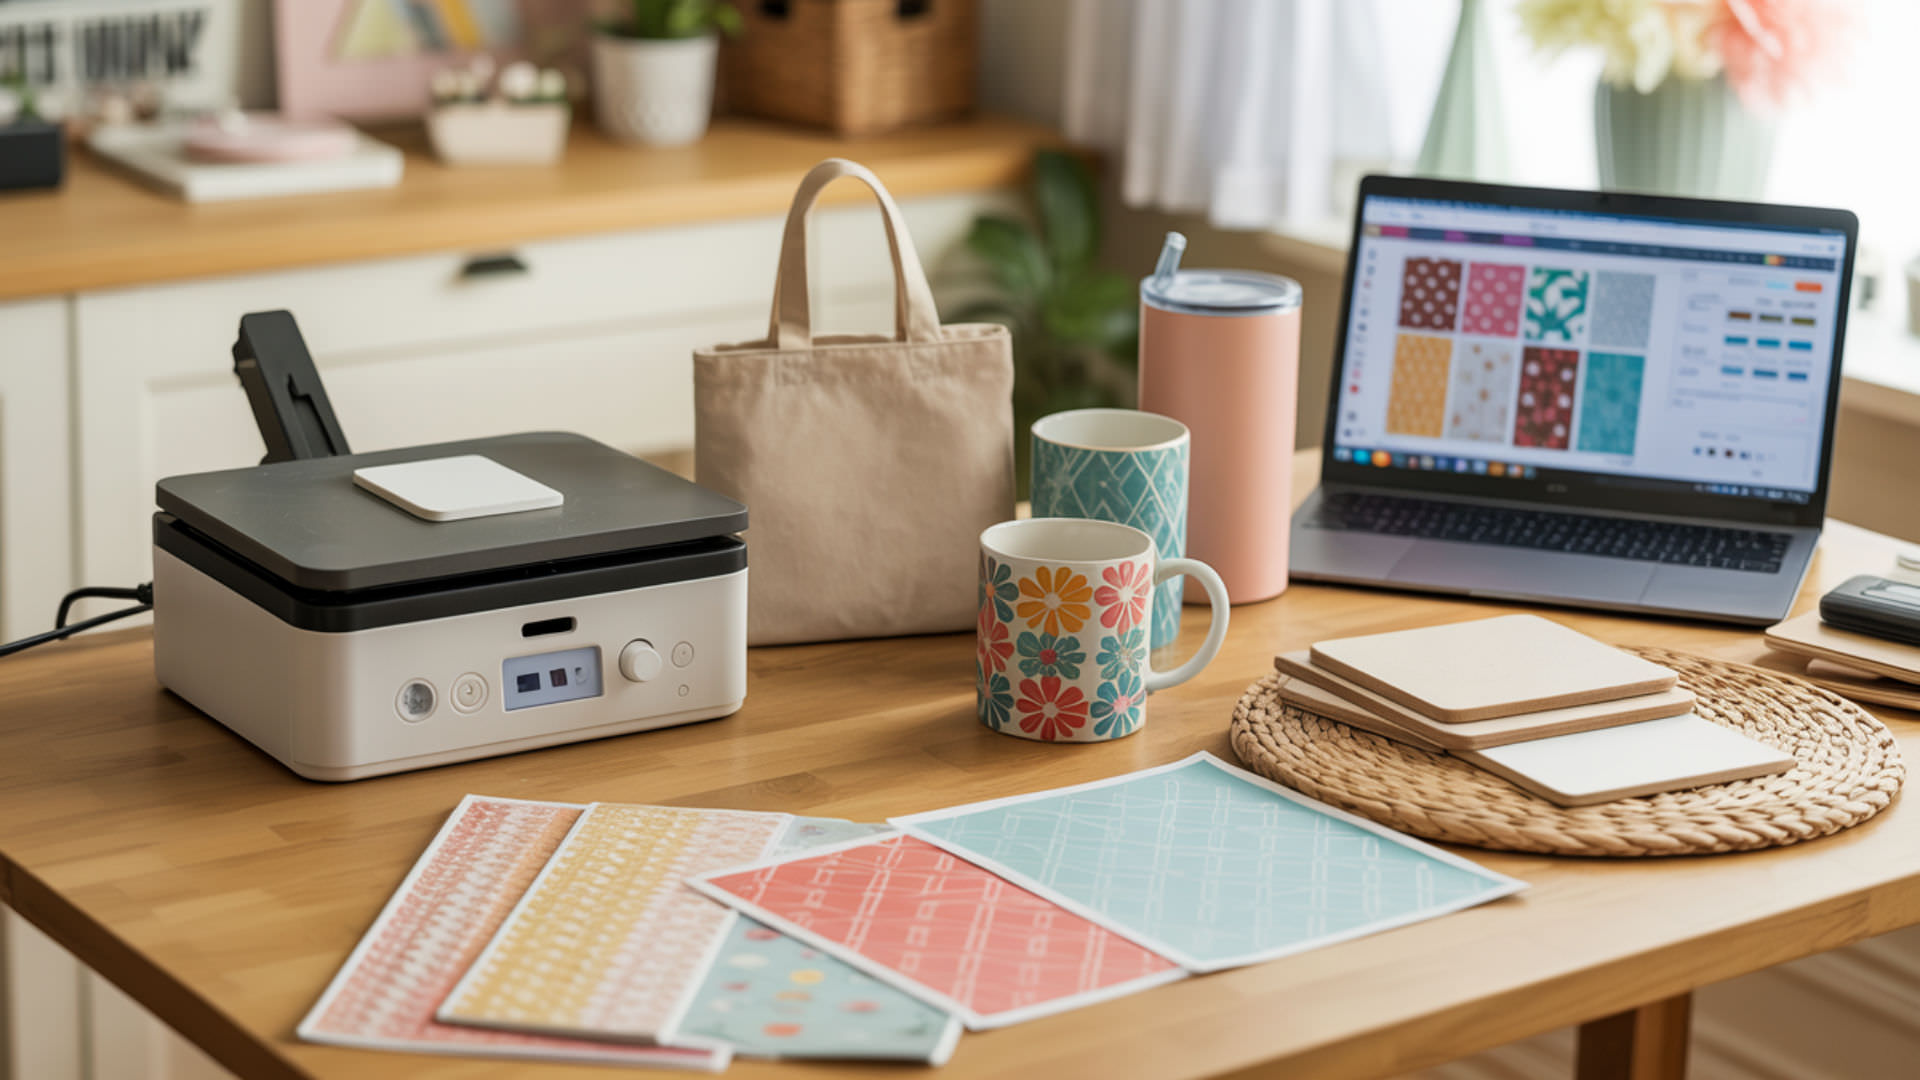
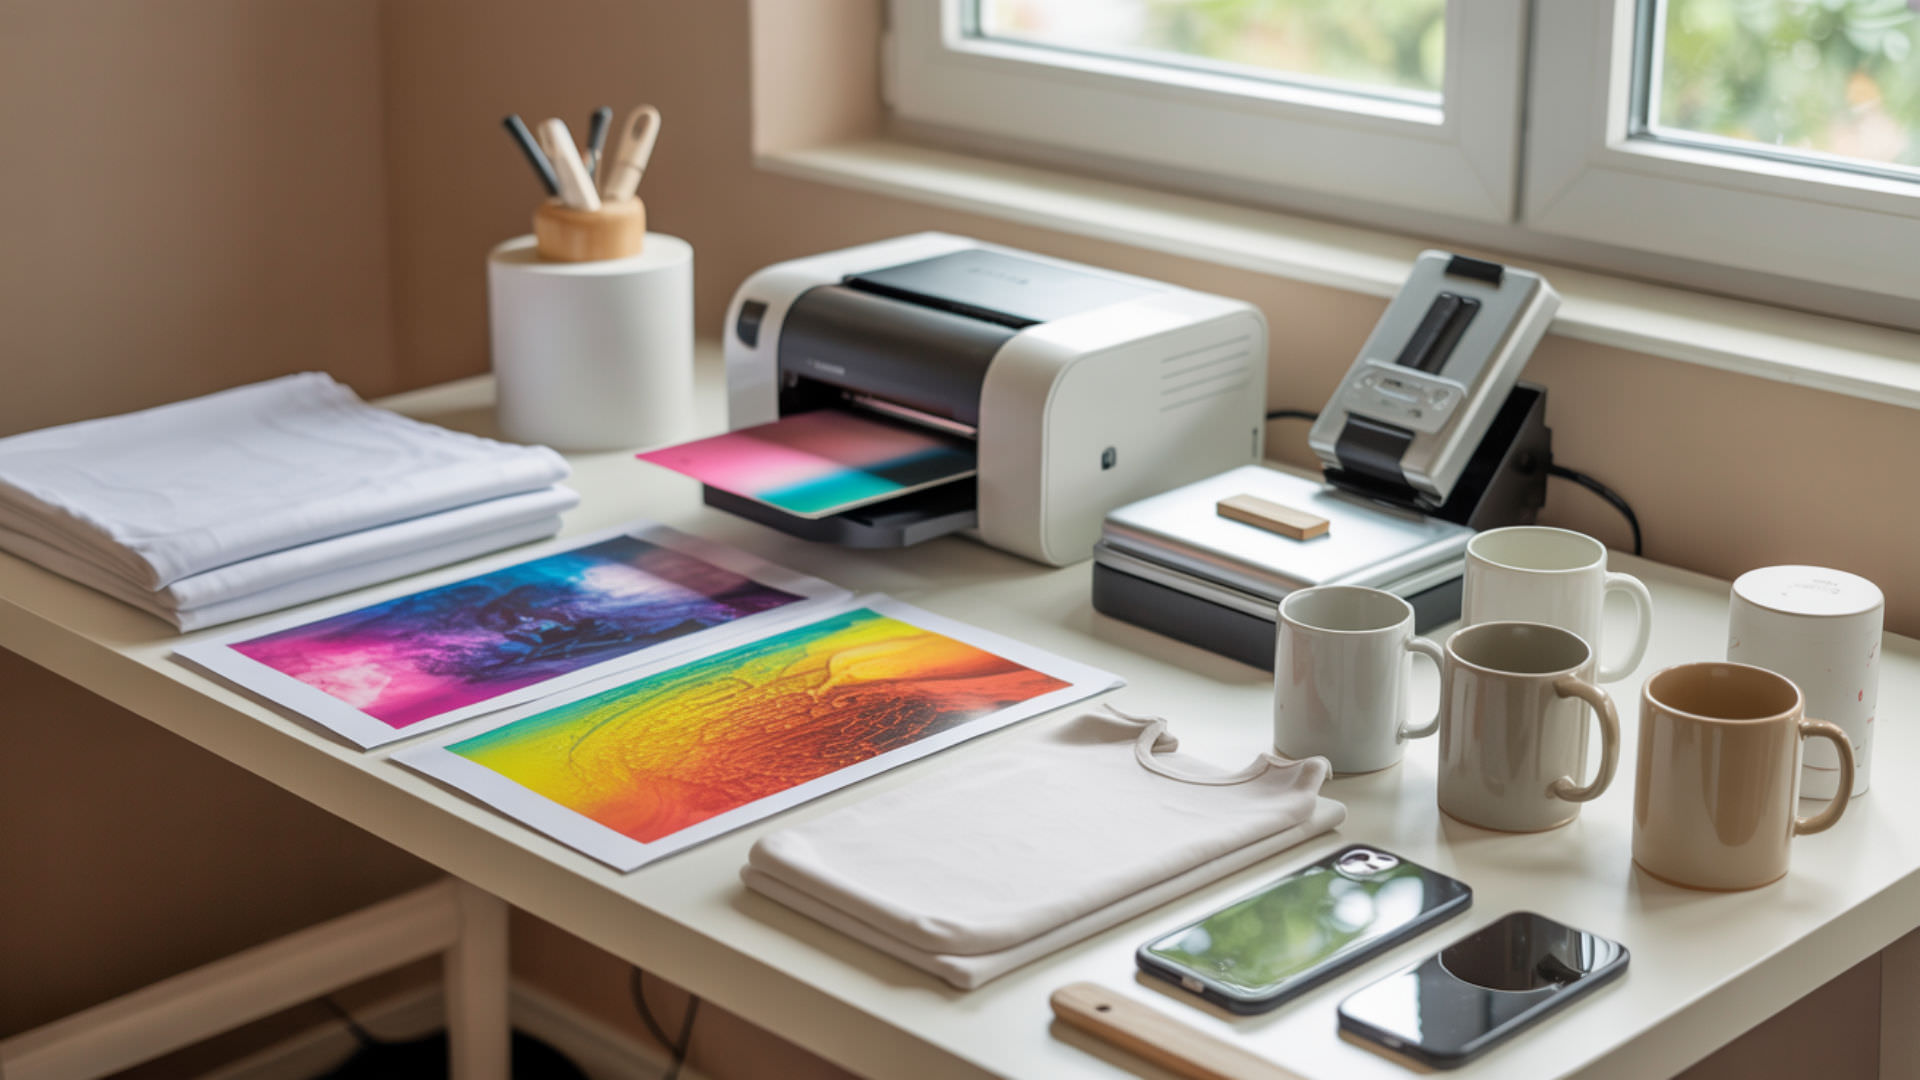
Sublimation blanks require polymer content or a polymer coating to accept dye transfer, but you can create your own blanks from uncoated materials using specialized polyester sprays and resins. The coating provides the molecular structure that allows gaseous dye to penetrate and bond permanently during heat pressing. Our guide to polymer requirements and dye bonding fundamentals explains the chemistry that makes DIY blank creation possible.
Key Takeaways
- Strong coating adhesion determines blank durability, requiring proper surface preparation and multiple thin layers dried between applications.
- Polymer coatings create dye-receptive surfaces on materials like wood, ceramic, metal, and glass that otherwise reject sublimation ink.
- All DIY blanks must withstand temperatures above 400°F without warping, melting, or releasing harmful fumes during pressing.
Can you make your own sublimation blanks?
DIY sublimation blanks become possible when you apply polymer coating to heat-resistant substrates like tile, glass, ceramics, wood, and metals using spray or brush application methods. Surface preparation through cleaning and light sanding improves coating adhesion by creating microscopic texture for the primer and polymer layers to grip. Our guide to surface preparation for coating removal and bonding integrity covers the cleaning and prep methods that ensure coatings adhere properly. Proper surface preparation and coating adhesion are critical when converting raw wood into a sublimation-ready blank, since unfinished wood readily absorbs coatings unevenly. [1]
Can you make your own sublimation coating?
Homemade sublimation coating combines resin with water or solvent carriers to form a sprayable mixture that accepts dye after curing. A simple DIY formula mixes 8 ounces of water with 2 tablespoons of polycrylic protective finish, creating a polymer coating suitable for fabric and some hard surfaces. Professional results require 2-part polyester resin applied through spray equipment, then heat-cured to harden the coating into a dye-ready surface.
What qualifies an item as a sublimation blank?
A sublimation blank must contain polymer chains that accept gaseous dye during heat transfer, either through inherent polyester content or an applied polymer coating. Surface energy affects whether coating spreads evenly or beads up, with properly prepared surfaces allowing smooth coverage. White or light-colored blanks produce the most vibrant results because sublimation dye is transparent and takes on the color of the substrate beneath. Sublimation blanks rely on polymer materials whose molecular structure allows them to soften under heat and permanently absorb dye during transfer. [2]
What materials are sublimation blanks usually made from?
Commercial sublimation blanks rely primarily on polyester for fabric items and polyethylene terephthalate (PET) or polyurethane (PU) coatings for hard surfaces like mugs, tumblers, and metal signs. Polyester fabric offers the highest dye affinity because its molecular structure readily accepts and holds sublimation ink during heat transfer. Specialty blanks use polymer-coated ceramics, aluminum, and wood composites that combine rigid substrates with receptive coating layers.
What t-shirts work best for sublimation?
Shirts with 100% polyester content produce the most vibrant sublimation results, though blends with at least 65% polyester work for less saturated designs. Amorphous polymer regions in the fabric accept dye more readily than crystalline polymer structures, resulting in higher color penetration and vibrancy. White polyester shirts show true colors while light pastels allow the design to take on a tinted appearance from the base fabric.
⫸ Click Here For Best Selling Sublimation Printers And Products ⫷Can you sublimate on a blank canvas?
Canvas requires a polymer coating application before sublimation because natural cotton fibers cannot bond with the dye at the molecular level. Surface roughness from the woven texture affects how evenly the coating spreads and ultimately impacts print quality. Polyester-coated canvas blanks are available commercially, or you can apply 2–3 thin coats of sublimation spray to cotton canvas with full drying between layers.
Can you use acrylic blanks for sublimation?
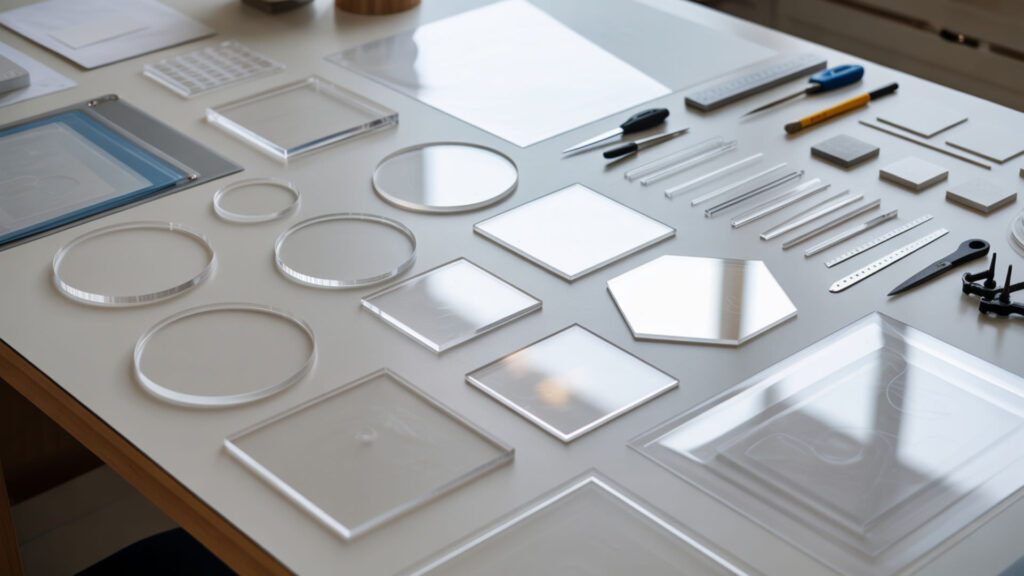
Acrylic accepts sublimation because it is a polymer-based material with inherent dye compatibility, though heat resistance concerns require careful temperature management. Press temperatures above 400°F may cause polymer degradation through warping, bubbling, or discoloration of the acrylic surface. Use settings between 350–385°F for 60 seconds and place weighted objects on the acrylic immediately after pressing to prevent warping as it cools.
Can you paint sublimation blanks with acrylic paint?
Acrylic paint applied to sublimation blanks creates problems because polyester-based coatings may not adhere properly to the painted surface. The surface energy of dried acrylic paint differs from bare substrates, affecting how subsequent coatings level and bond. Painting over a completed sublimation design works better than painting before sublimating, as the adhesion issues only affect the coating-to-paint interface.
How do you sublimate acrylic keychain blanks?
Pre-coated acrylic keychain blanks sublimate at 385–400°F for 60 seconds using medium pressure, with the design placed face-down on the frosted coating side. Heat resistance limitations require removing the keychain immediately and placing weight on it until completely cool to prevent warping. The curing process bonds the dye permanently into the polymer coating layer, creating vibrant designs that show through the clear acrylic front.
How to make sublimation blanks step-by-step?
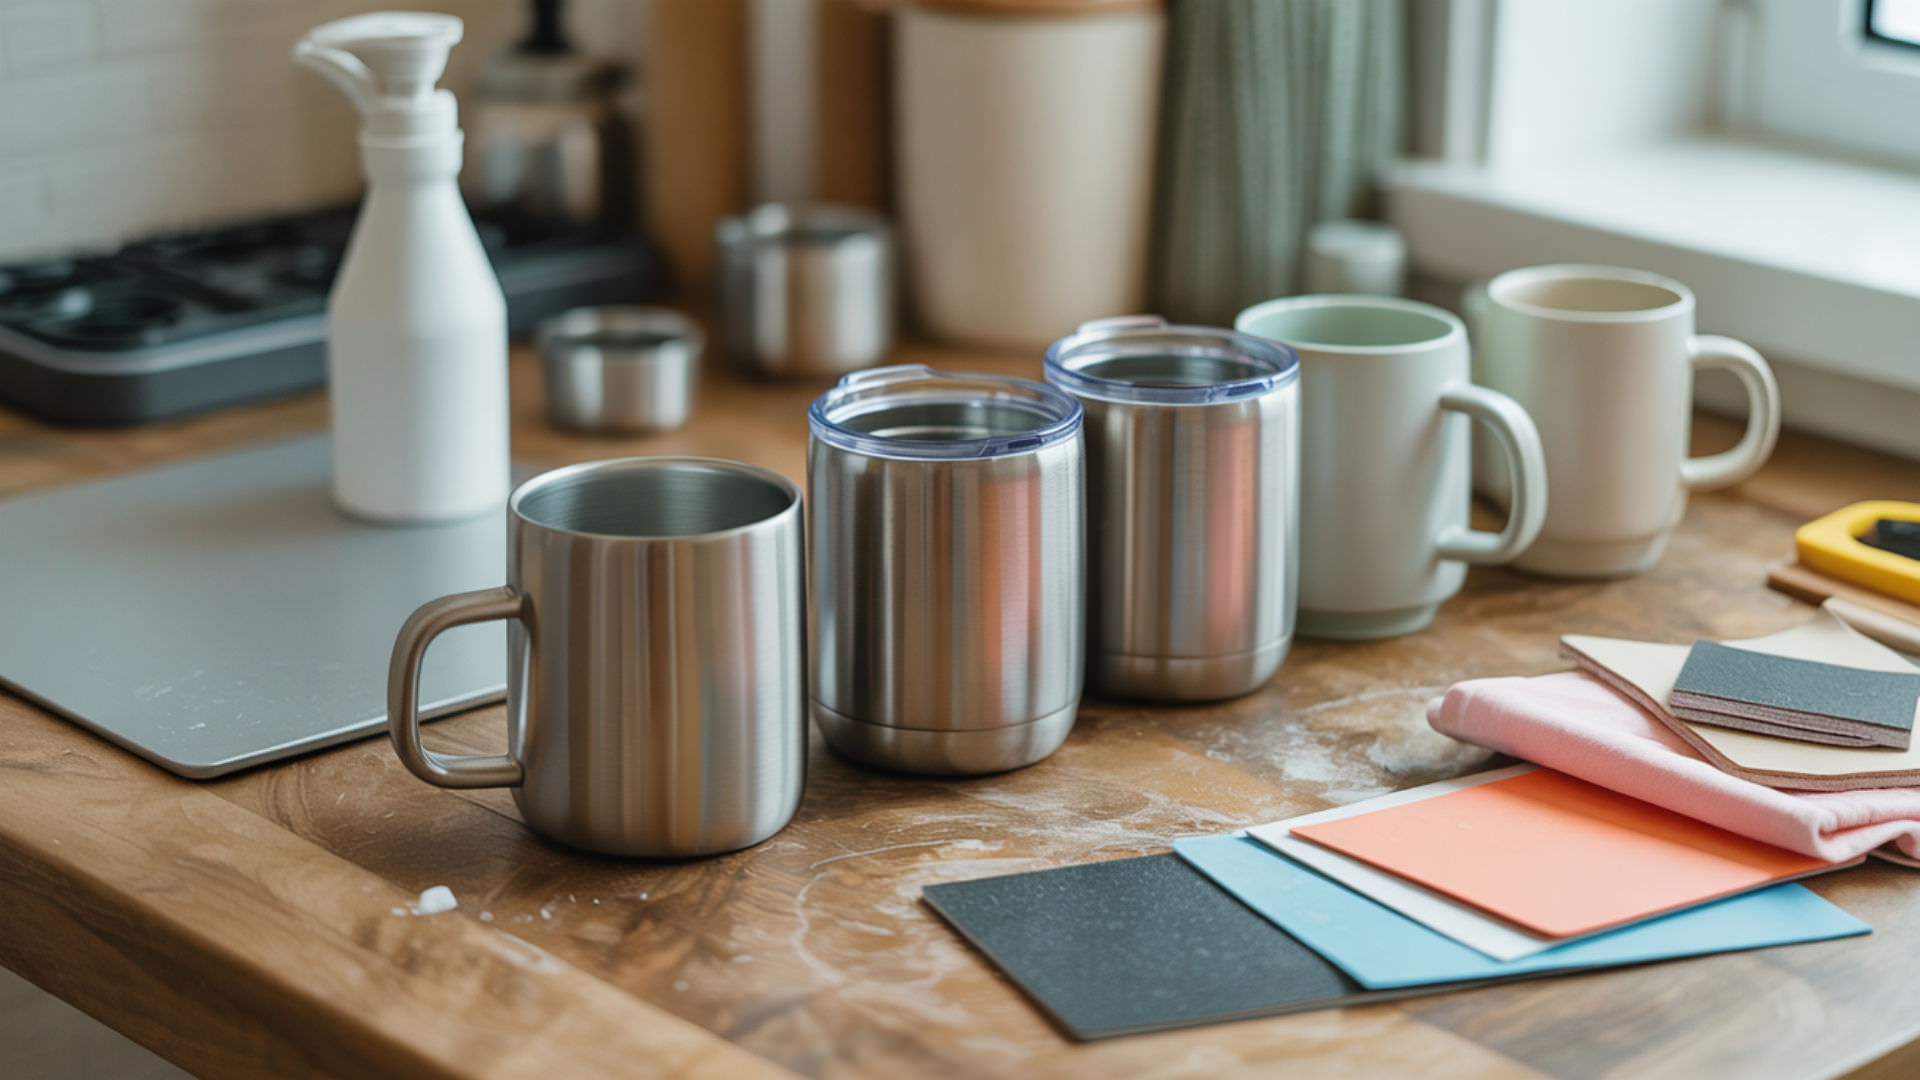
- Clean and prepare the substrate. Wipe surfaces with rubbing alcohol, lightly sand glossy materials with fine-grit sandpaper, and remove all dust and debris that could interfere with coating adhesion.
- Apply primer if needed. Difficult substrates like raw wood require sealing with 2–3 coats of polyurethane before applying polymer coating to create a smooth base layer.
- Spray polymer coating evenly. Apply 2–4 thin, even coats of sublimation coating spray, maintaining consistent distance and motion to avoid drips, pooling, or missed areas.
- Allow full curing time. Dry each coat completely before applying the next, then allow final curing for 24 hours before attempting any sublimation transfer.
- Test before production. Press a small test design at 380–400°F to verify coating acceptance, then adjust time, temperature, or coating thickness based on results.
Can you use vinyl or infusible ink with sublimation blanks?
Sublimation blanks work with both vinyl and infusible ink products because the polymer coating accepts multiple transfer methods that require heat activation. Some vinyl types may cause chemical degradation of the coating under high heat, so use temperatures and press times appropriate for both the vinyl and the blank. Infusible ink requires the same polyester or polymer-coated surfaces as sublimation since both rely on dye infusion into polymer chains.
Does infusible ink work on sublimation blanks?
Infusible ink uses the same disperse dye chemistry as sublimation, requiring polymer-rich surfaces with at least 75% polyester content for optimal adhesion results. The transfer sheets contain pre-printed designs that infuse into the blank during heat pressing at 375–400°F, creating permanent images without cracking or peeling. Any sublimation-compatible blank works with infusible ink since both processes rely on identical dye-to-polymer bonding mechanisms.
Are sublimation sheets the same as infusible ink sheets?
Both products use disperse dyes that bond with polymer coatings, but sublimation paper holds custom-printed designs while infusible ink sheets come pre-printed with patterns or solid colors. The film coating on infusible ink sheets includes a carrier layer that peels away after transfer, unlike sublimation paper which releases dye without leaving residue. Sublimation offers unlimited design flexibility while infusible ink limits you to manufacturer-provided colors and patterns.
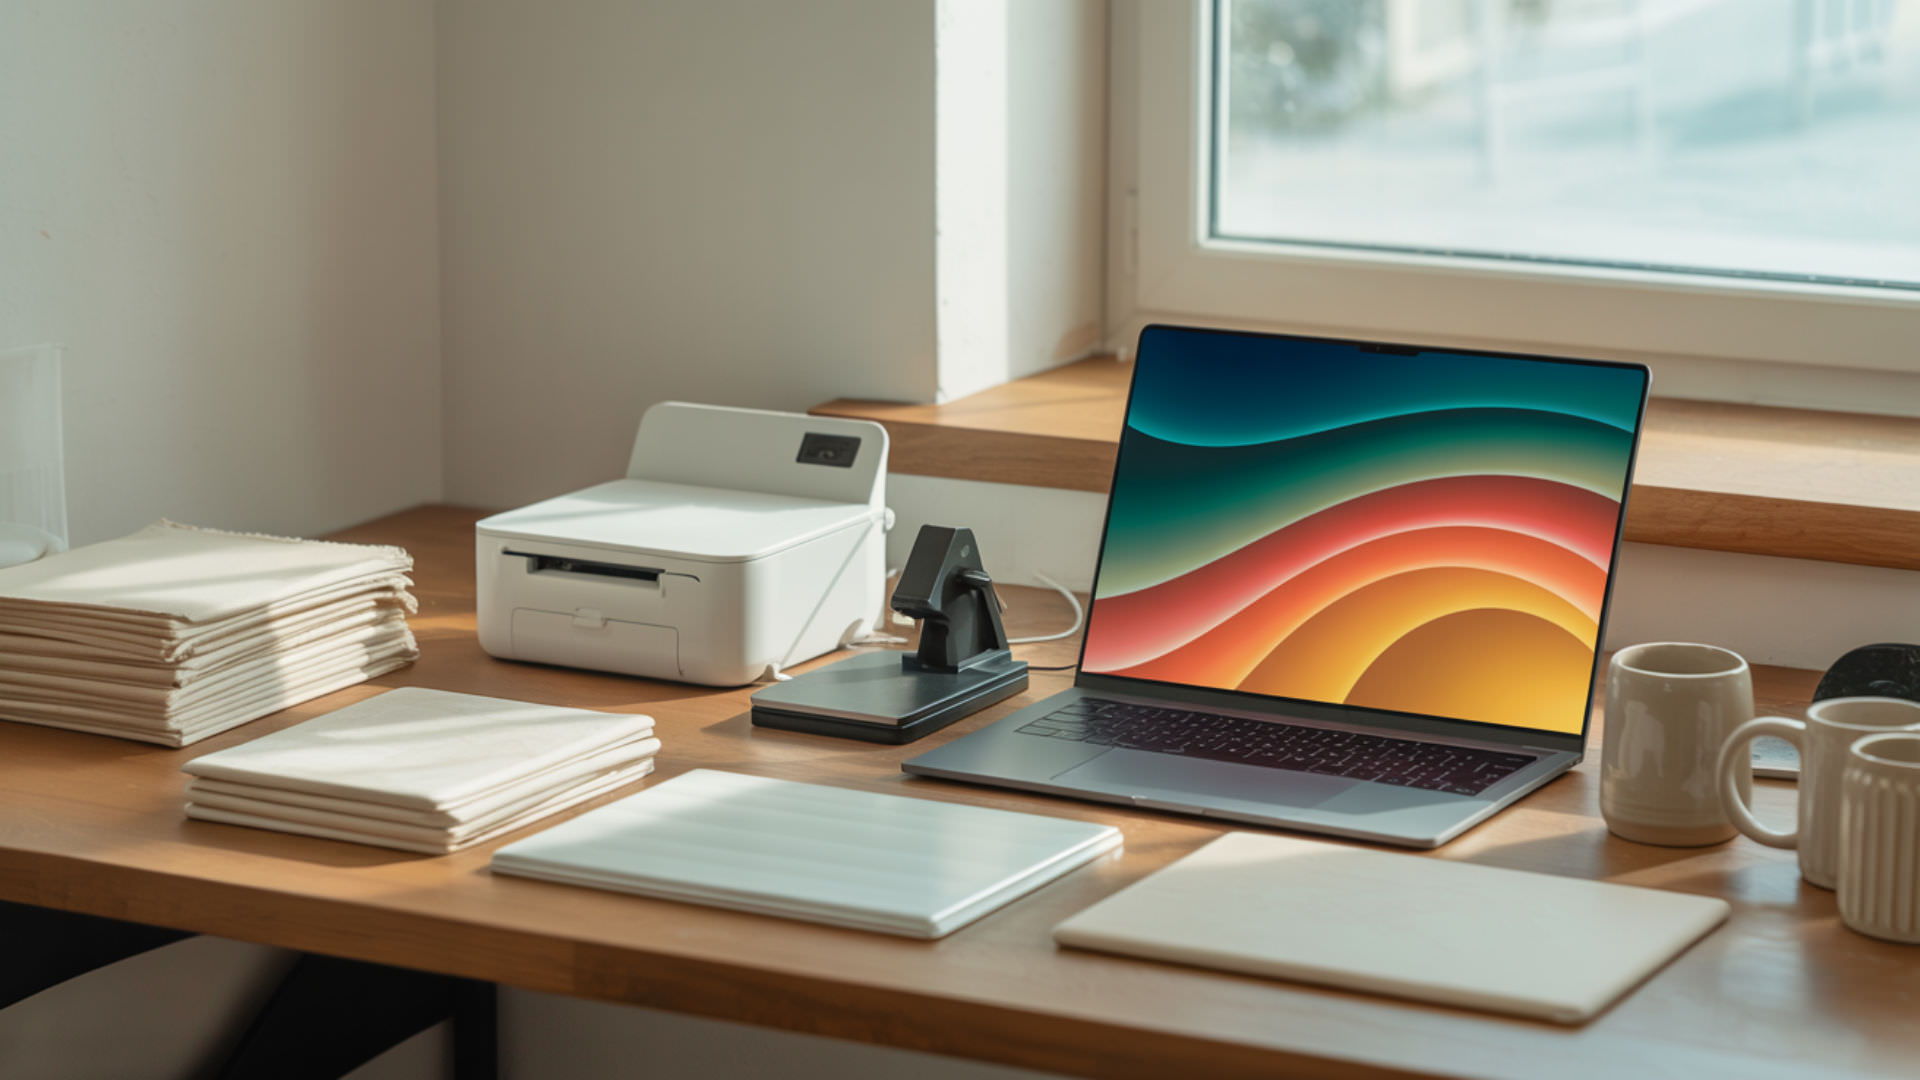
How do you print on sublimation blanks?
Printing on sublimation blanks requires transferring a mirrored design from sublimation paper onto the polymer coating at temperatures between 380–400°F with medium-firm pressure. Film thickness of the coating affects dye penetration depth, with thicker coatings holding more ink for richer color saturation. Our guide to polymer coating and DTF film behavior explains polymer-film interactions, heat tolerance, and dye bonding mechanics during transfer.
Is transfer paper the same as sublimation paper?
Standard heat transfer paper works differently than sublimation paper because it deposits a layer of material onto the substrate rather than infusing dye into polymer coating. Only sublimation paper carries disperse dyes that convert to gas under heat and bond with polyester or polymer-coated surfaces at the molecular level. Using regular transfer paper on sublimation blanks produces inferior results because the coating cannot accept the non-sublimation ink chemistry.
Is parchment paper used during sublimation?
Parchment paper or butcher paper serves as a protective barrier during sublimation, placed above and below the blank to prevent ink blowout from staining the heat press. The heat resistance of parchment paper allows it to withstand sublimation temperatures without burning or transferring any coating to the blank. It does not participate in the transfer process but protects equipment and ensures clean results by catching excess dye vapor.
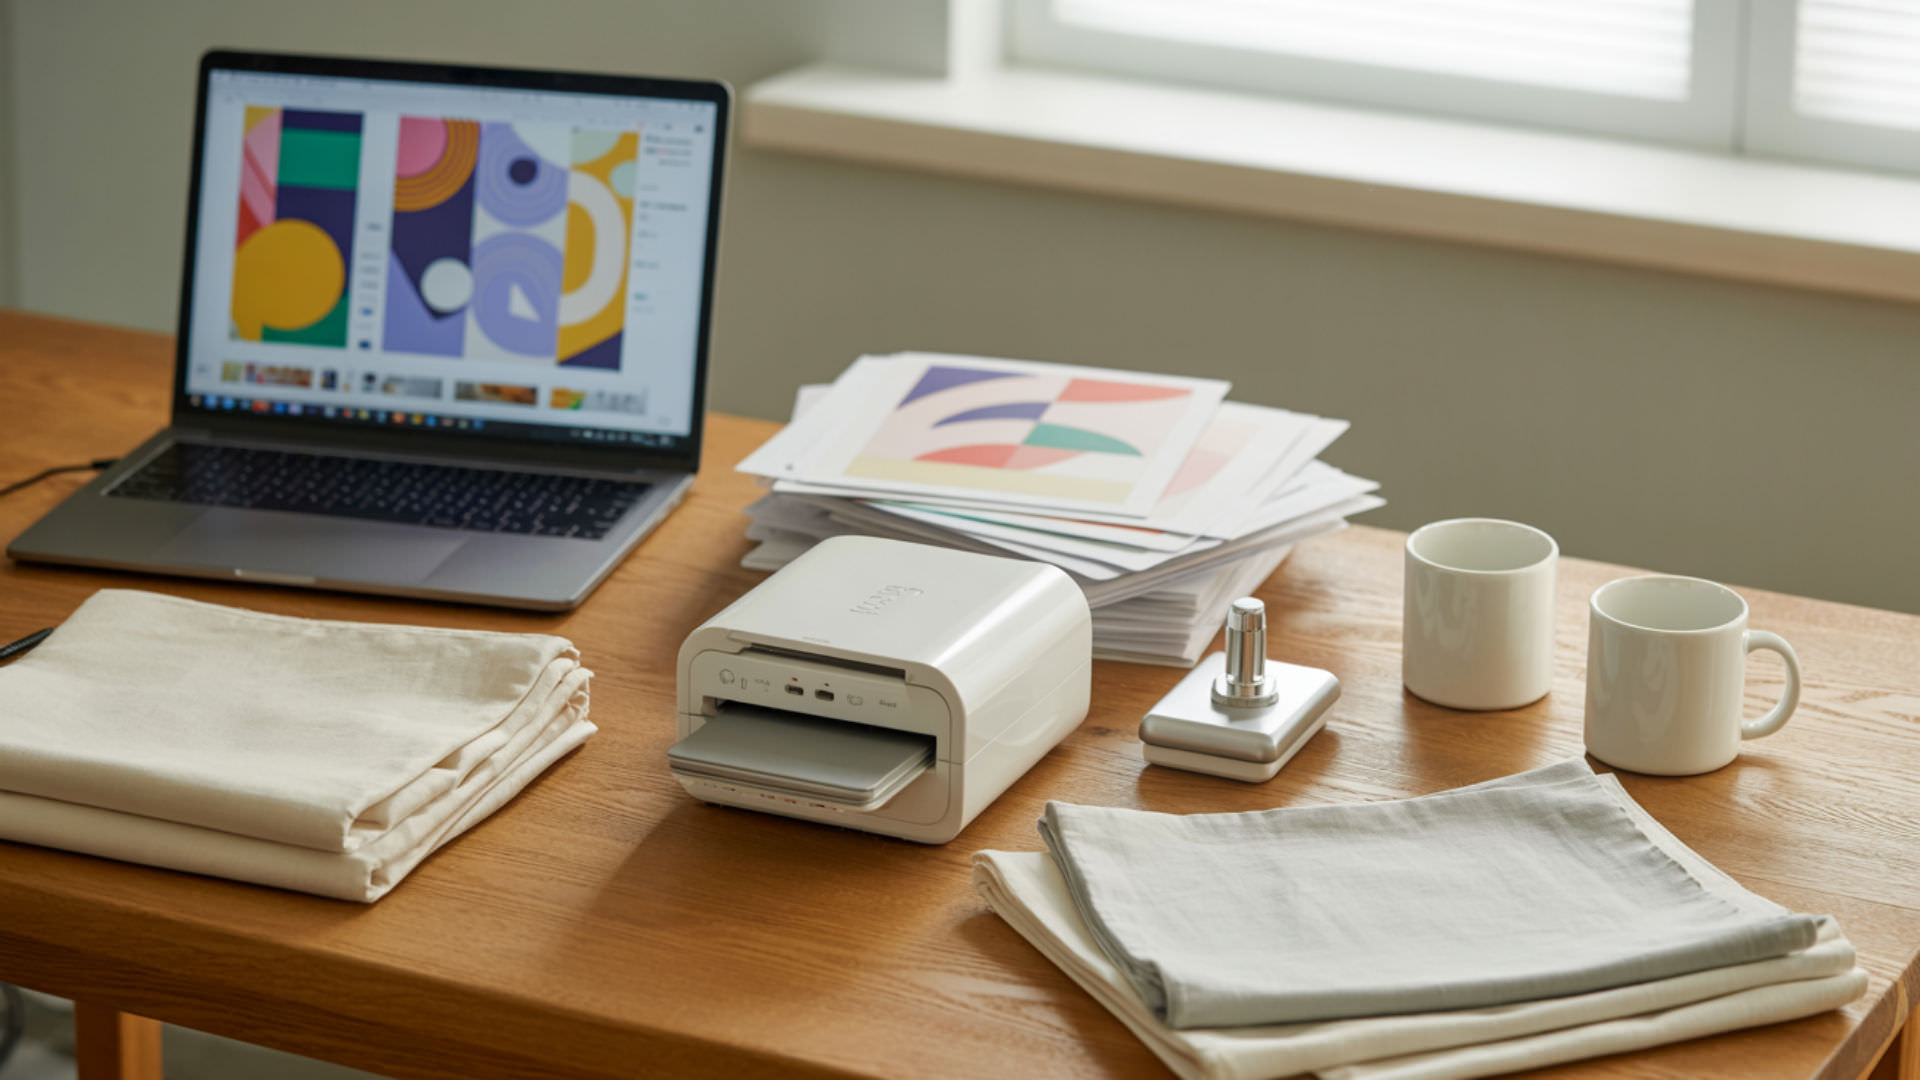
Ready to Create Your Own Sublimation Blanks?
DIY sublimation blanks open creative possibilities beyond commercially available products, allowing you to personalize unique substrates that match your specific project needs. The polymer coating creates the dye-receptive surface while proper adhesion techniques ensure long-lasting, professional-quality results. Browse our recommended polymer coating sprays, resins, primers, and accessories to start making your own custom sublimation blanks.
Frequently Asked Questions
What is thermal dye-sublimation?
Thermal dye-sublimation uses heat to convert solid ink into gas that penetrates polymer materials and bonds permanently without passing through a liquid phase. The process requires temperatures between 350–400°F to activate the dye and soften the polymer coating enough for molecular penetration. Once cooled, the dye becomes part of the substrate structure, creating prints that resist fading, cracking, and peeling through normal use and washing.
Can you make your own sublimation blanks at home?
Home sublimation blank creation is achievable using commercially available polymer coating sprays applied to heat-resistant substrates like ceramic tiles, wood plaques, and metal sheets. Apply 2–4 thin, even coats with full drying between applications, then cure completely before attempting any transfer. Results vary based on coating quality, application technique, and substrate preparation, so test small areas before committing to large projects.
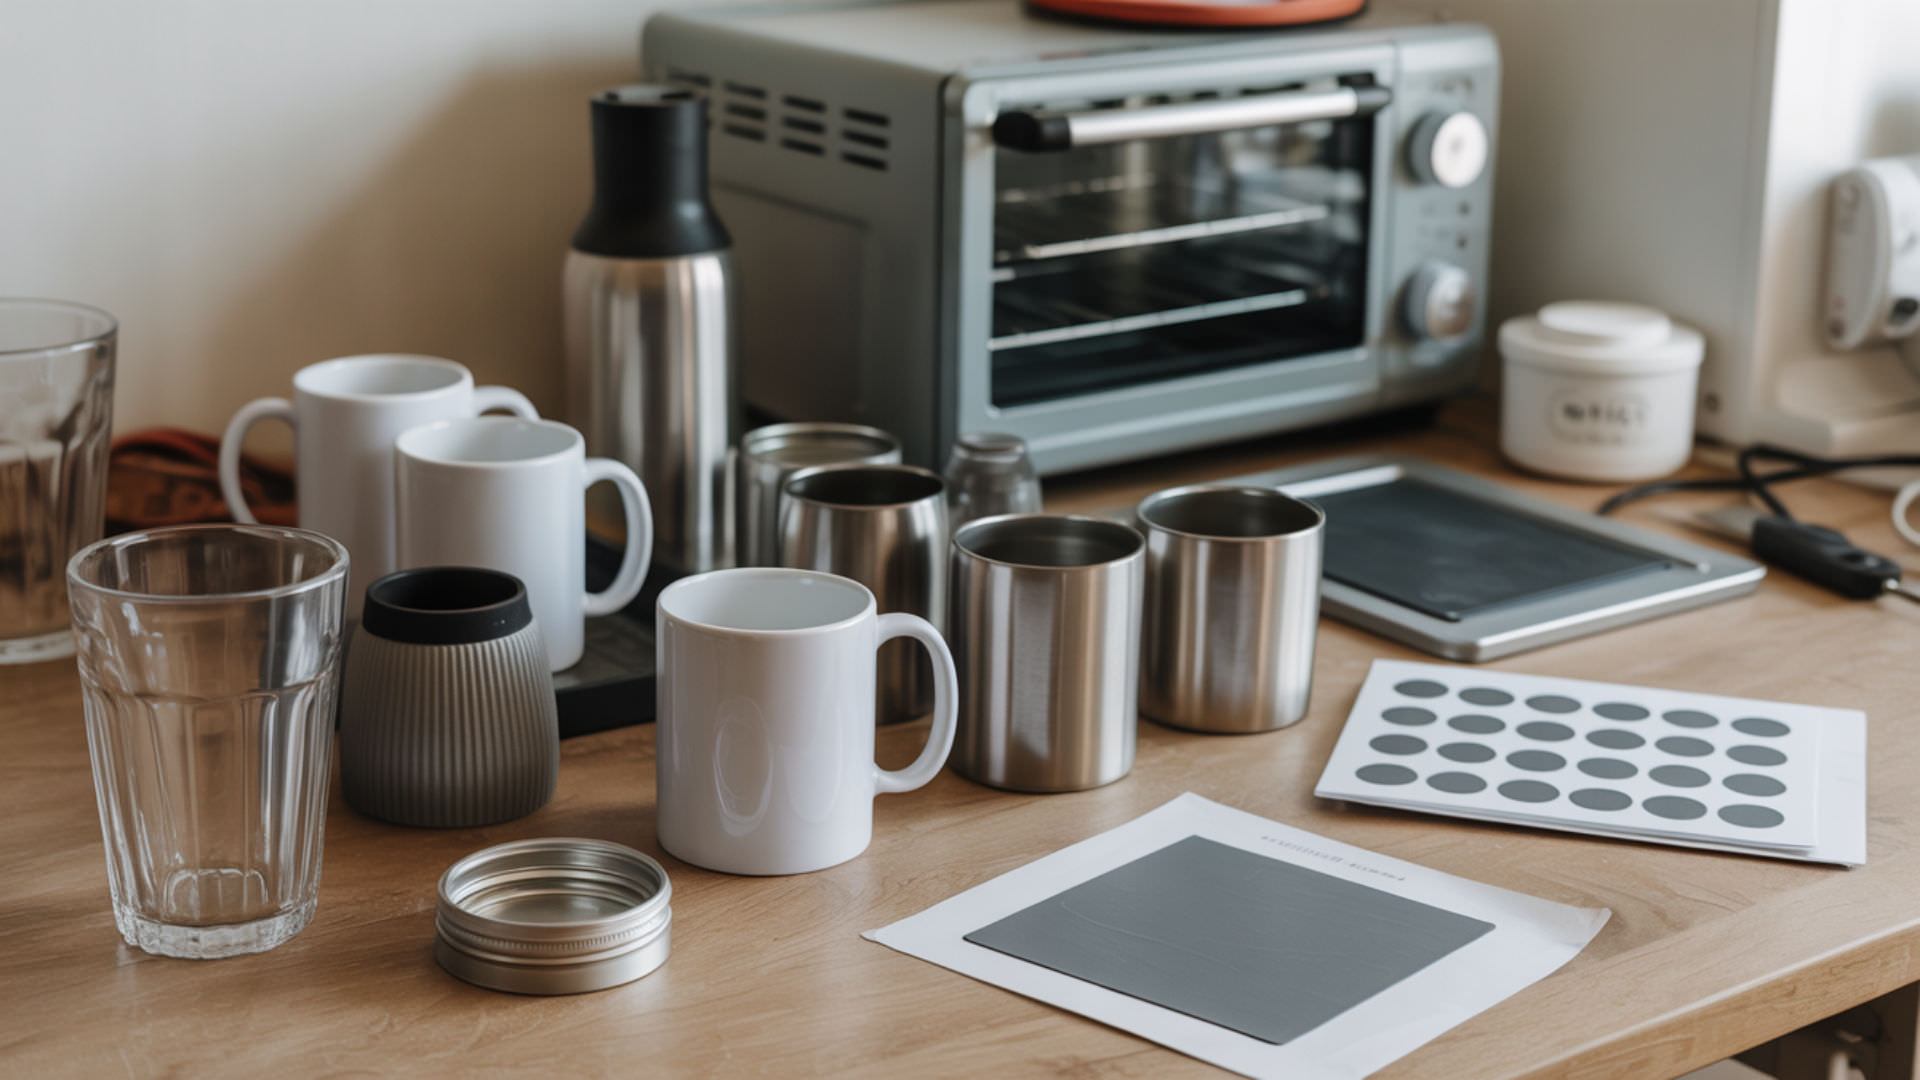
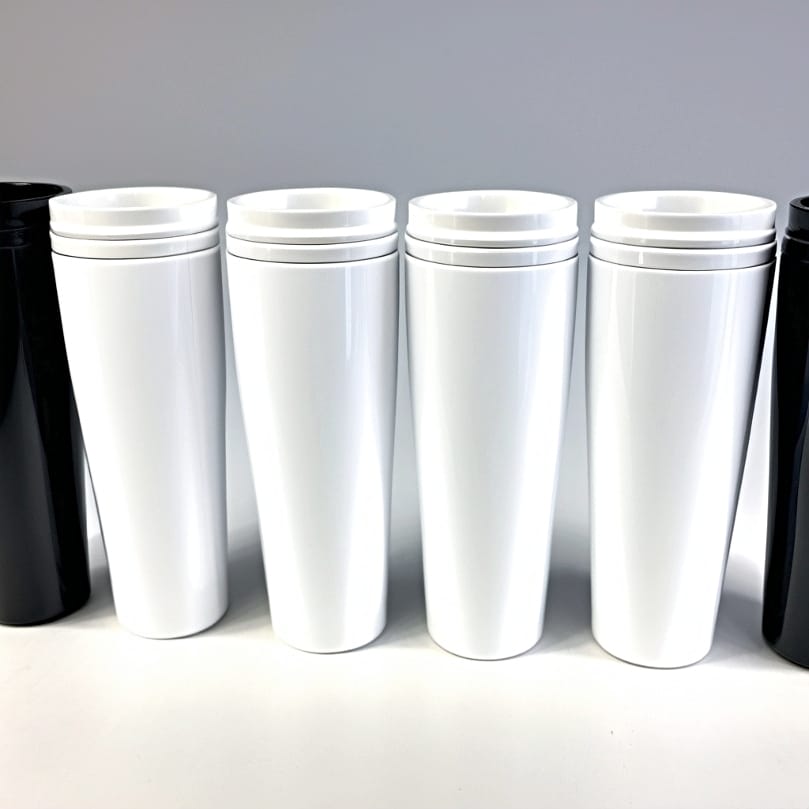
Can sublimation tumblers be pressed in a toaster oven?
Toaster ovens and convection ovens sublimate tumblers effectively when set to 375–400°F for 5–7 minutes with the tumbler wrapped in shrink wrap and rotated halfway through. Dedicate the oven exclusively to crafting because sublimation fumes contaminate surfaces and make the appliance unsafe for food preparation. Place tumblers on parchment paper and use heat-resistant gloves when handling the hot blanks immediately after pressing.
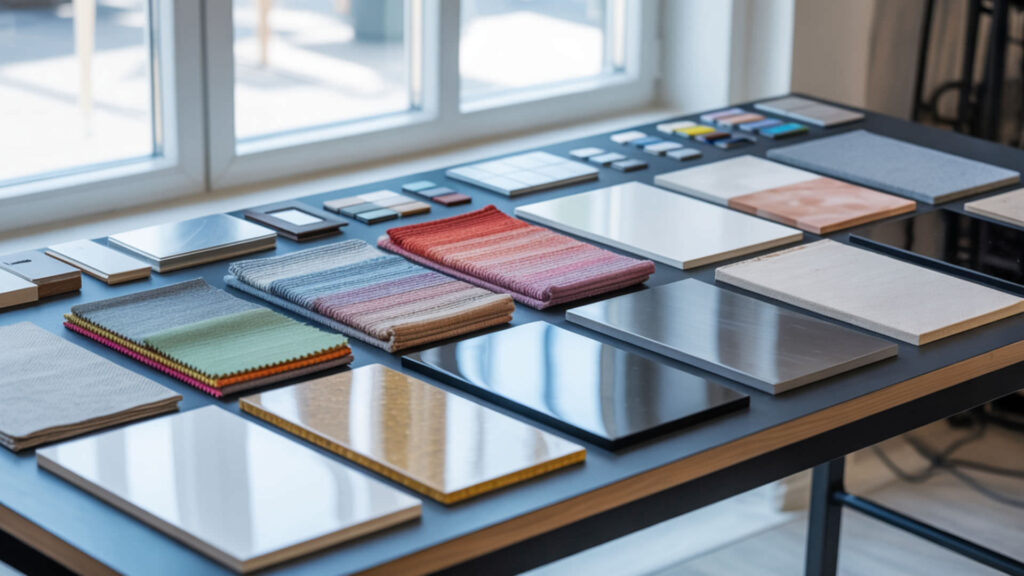
What materials are recommended for DIY sublimation blanks?
Materials that withstand 400°F without warping work best for DIY blanks, including ceramic tiles, tempered glass, aluminum sheets, sealed wood, and certain rigid plastics with high heat tolerance. Avoid soft plastics, foam materials, and anything that releases fumes when heated because thermal degradation compromises both the blank and creates safety hazards. Polyester fabrics with 65% or higher content work for fabric blanks without requiring additional coating.
Do all sublimation blanks need a polyester coating?
Items made entirely from polyester, like 100% polyester shirts, sublimate without additional coating because the fabric itself contains the polymer chains needed for dye bonding. Hard surfaces like ceramics, metals, glass, and wood require polymer coating application because these materials lack inherent dye receptivity. The coating serves as the intermediary layer that accepts sublimation ink and bonds it permanently to the underlying substrate.
References
- Forest products laboratory. (n.d.). US Forest Service Research and Development. https://research.fs.usda.gov/fpl
- Polymer | Description, examples, types, material, uses, & facts | Britannica. (2025, August 2). Encyclopedia Britannica. https://www.britannica.com/science/polymer