Mirroring ensures your design appears the correct way after being pressed onto the blank—without it, text and logos print backward. Image editing is where mirroring is applied before sending the print to your sublimation printer. For the complete software and file-prep workflow including where mirroring fits into the process, see our sublimation software guide.
Key Takeaways
- Mirroring is required whenever the design will be flipped during transfer, such as shirts and mugs.
- Image orientation helps verify the final print will read correctly on the finished product.
- The only exception is transparent substrates where designs are viewed through the material.
Do You Actually Need to Mirror Sublimation Prints?
Mirroring is typically needed for most sublimation transfers onto flat and curved blanks because the printed side presses face-down against the substrate. Both raster graphics (PNG, JPEG) and vector graphics (SVG, AI) can be mirrored, but vectors can be flipped without any quality loss since they use mathematical paths rather than pixels. Our guide on using SVG for sublimation explains how vector graphics handle transformations differently than raster files.
Do I Mirror My Image for Sublimation?
Mirroring is required for most sublimation projects to ensure text and directional elements appear correctly after transfer. Image orientation shows whether your design is currently forward or reversed before printing—check this in your software’s preview function. If you skip mirroring, text reads backward and logos face the wrong direction on the finished product.
Do You Have to Mirror the Image for Sublimation?
Mirroring is needed for text and directional artwork that will be pressed face-down onto the substrate. The sublimation transfer process places the printed paper against the blank, flipping the image during heat application. This double-reversal—mirror before print, flip during press—results in a correctly oriented final design on mugs, shirts, and other products. This is because the sublimation transfer process requires the printed design to be pressed face-down against the substrate, causing the image to reverse during heat application.[1]
When Should You Mirror Versus Not Mirror for Sublimation?
Image orientation determines whether your design needs flipping based on how the final product will be viewed. Transformations are used to flip designs only when necessary—apply horizontal mirroring for face-down transfers like shirts and mugs, but skip it for face-up applications on transparent materials like glass cutting boards where the design shows through from the back.
Do You Mirror Sublimation for Cups?
Mirroring ensures text and images read correctly when wrapped around curved blanks like cups. The printed transfer paper wraps around the mug with the ink side facing inward, pressing against the coating. Verify image orientation before printing—if your design includes text or directional elements, they must be reversed so they appear correct after the heat press transfer.
⫸ Click Here For Best Selling Sublimation Printers And Products ⫷Do You Mirror Sublimation for Tumblers?
Mirroring is required for tumbler sublimation just as with standard mugs—the printed side contacts the tumbler surface face-down. Image scaling must be checked alongside mirroring so the wrap fits the tumbler correctly without gaps or overlap. Measure your tumbler’s circumference and height, then size and mirror your design before printing to ensure proper coverage.
How Do You Mirror an Image Before Printing for Sublimation?
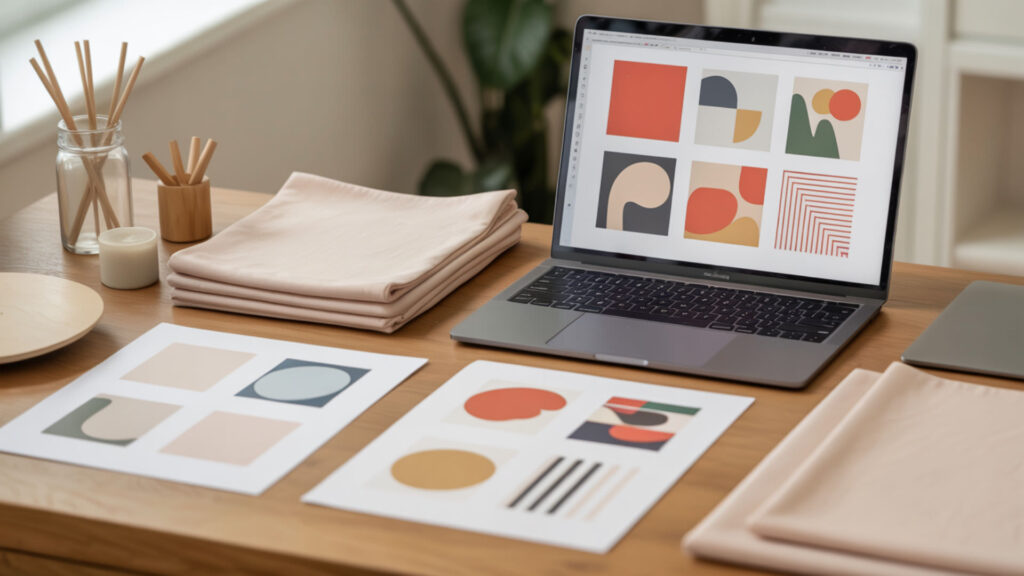
Image editing software provides flip or mirror functions accessible through menus or keyboard shortcuts. Raster image editing describes flipping PNG and JPEG artwork in programs like Photoshop, GIMP, or Canva using the “Flip Horizontal” command. Vector image editing describes flipping text paths and shapes in programs like Illustrator or Inkscape using the “Reflect” or “Transform” tools. Our Canva sublimation guide shows exactly how to apply raster image editing techniques for mirroring within that popular tool.
How to Mirror Print on Epson?
Epson printer drivers provide a Mirror Image option that applies affine transformations to flip your raster graphics automatically during printing. Access this through File > Print > Preferences, then navigate to More Options or Layout tab. Enable “Mirror Image” or “Flip Horizontal” and save as default to avoid manually mirroring each design in your editing software.
Do You Flip an Image for Sublimation?
Flipping horizontally and mirroring refer to the same operation—both reverse your design along the vertical axis. Transformations include several operations like rotation and scaling, but flipping is the one specific transformation used to reverse designs before sublimation printing. Apply this in your design software or printer driver, but never both, to avoid double-flipping back to incorrect orientation. From a technical perspective, mirroring an image before printing is similar to a horizontal reflection, where an image is flipped across a vertical axis so that the left and right sides swap positions.[2]
Which Side of Sublimation Paper Do You Print On?
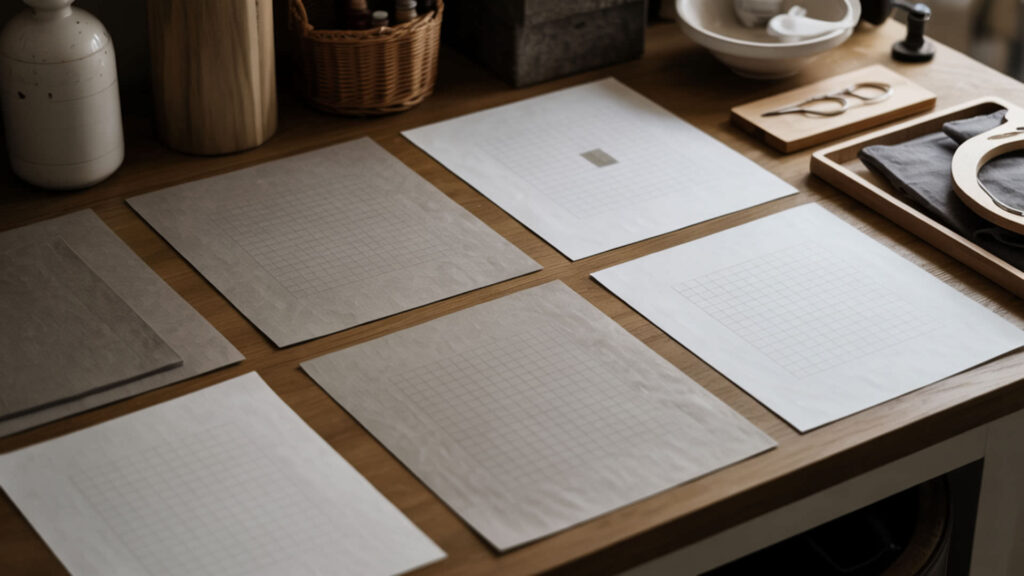
Raster graphics are printed onto the coated side of sublimation paper so the image transfers correctly to your substrate. The coated side appears brighter white, feels smoother, and may reflect light more intensely than the back. Image orientation combined with correct paper loading ensures your mirrored design prints on the proper surface for successful heat transfer.
Do You Print on the Pink Side of Sublimation Paper?
The pink or colored side indicates the back of sublimation paper—print on the white side instead. Image orientation markings like colored backs, logos, or watermarks help users visually identify the correct print side. Cricut sublimation paper uses pink backing specifically to distinguish the non-printable side; always load with the bright white coated surface facing your printer’s print path.
Do You Print on the Rough or Smooth Side of Sublimation Paper?
Print on the smooth, bright white side of sublimation paper—this is the coated surface that holds ink for transfer. Image orientation testing helps check which surface is coated: moisten your fingertip and touch each side; the coated printable side feels slightly sticky or resistant. The rougher, duller side lacks coating and produces faded, poor-quality transfers if printed incorrectly.
Why Is It Important to Know When to Mirror Your Design?
Image orientation errors waste expensive blanks and transfer materials—once pressed, sublimation is permanent and cannot be corrected. Image editing mistakes with mirroring lead to backward text and reversed logos, especially problematic with text-heavy designs or branded products. Different software makes mirroring easier or more error-proof, so choosing the right image editing tool directly affects your mirroring reliability.
What Is the Reverse of Sublimation Called?
In chemistry, the reverse of sublimation is called deposition—when gas converts directly to solid without becoming liquid. However, in crafting contexts, “reverse” typically refers to mirroring, which means flipping the artwork horizontally before printing. This terminology distinction matters: deposition describes a physical process, while mirroring describes the image preparation step before sublimation printing.
What Are the Steps of Sublimation?
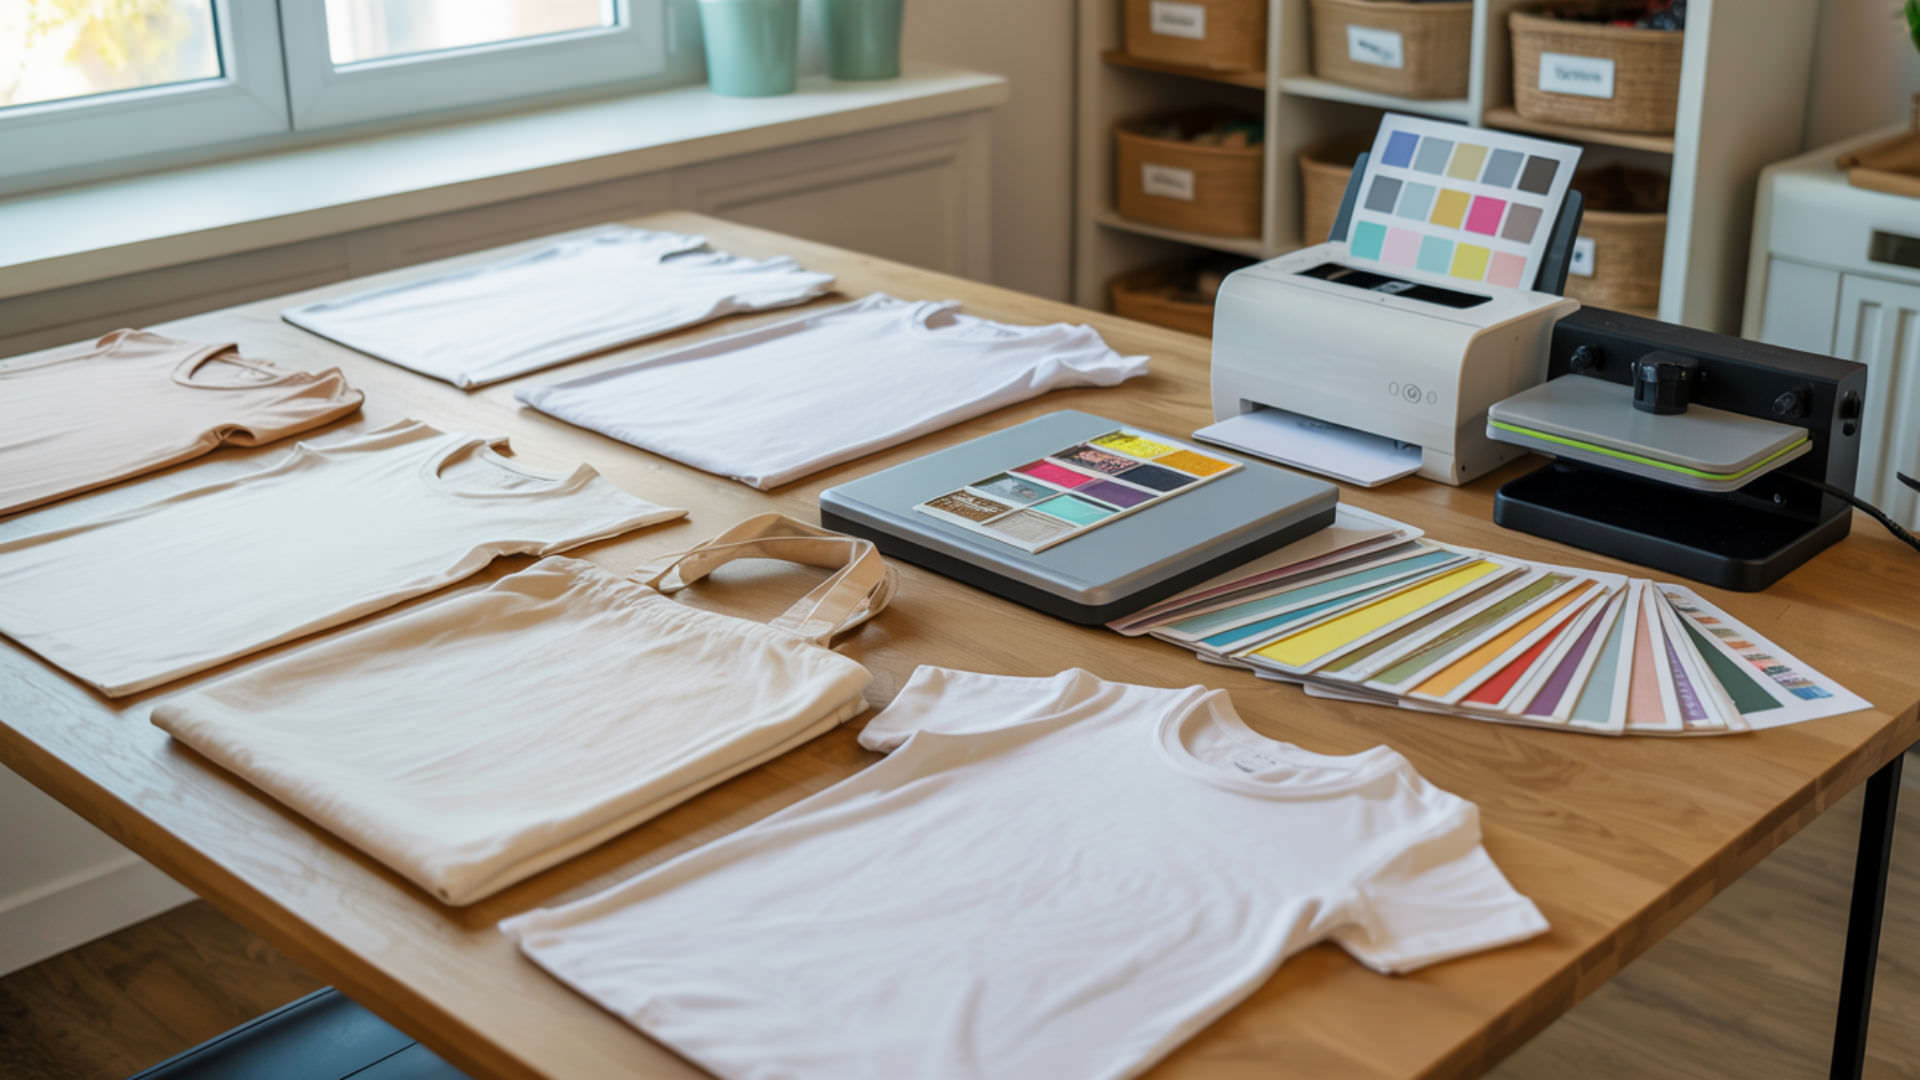
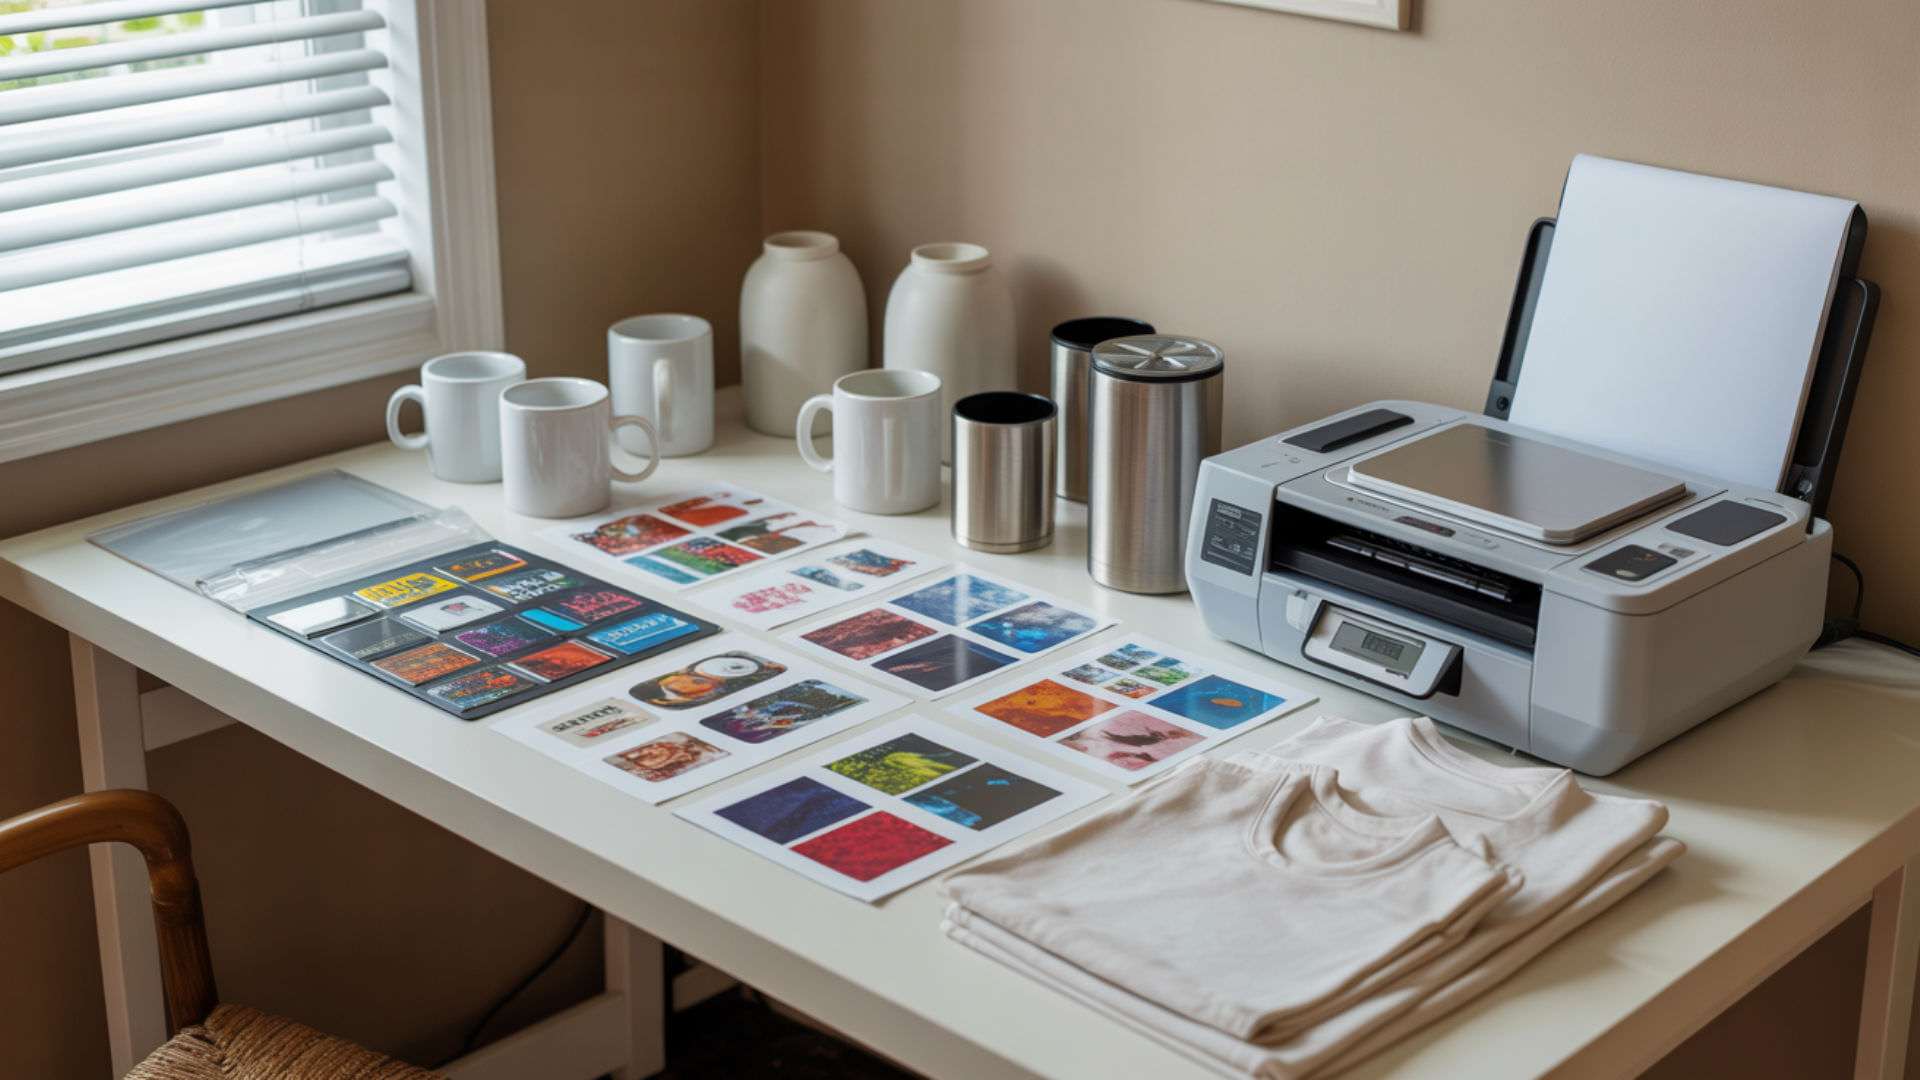
Image editing is where mirroring occurs—one of the early steps before printing the raster graphics onto transfer paper. The complete workflow includes: design creation, mirroring the image, printing onto sublimation paper, pre-pressing the blank to remove moisture, positioning the transfer face-down, heat pressing at 375–400°F for 45–60 seconds, and immediately peeling the paper while hot.
How Do You Sublimate Step-by-Step?
- Create your design in image editing software at 300 DPI. Size the artwork to match your substrate dimensions exactly.
- Apply mirroring by selecting Flip Horizontal in your software or printer settings. Mirroring comes before printing in the full sublimation workflow, ensuring correct final orientation.
- Print onto sublimation paper with the coated side facing the print path. Use high-quality settings and allow ink to dry completely before handling.
- Pre-press your blank for 3–5 seconds to remove moisture and wrinkles. Use a lint roller on fabrics to eliminate debris that causes imperfections.
- Position the printed transfer face-down on the substrate and secure with heat-resistant tape. Alignment matters—the mirrored image will flip to correct orientation during pressing.
- Heat press at 375–400°F for 45–60 seconds with medium pressure, then peel immediately. Hot peeling prevents ghosting; the design is now permanently infused into the substrate.
Ready to Master Mirroring for Sublimation?
Mirroring is a simple step that prevents costly mistakes—always flip horizontally for standard sublimation transfers onto opaque substrates. Image orientation should be verified using your software’s preview function before every print. Remember the one exception: transparent materials viewed through the back do not require mirroring. Master this rule and your sublimation projects will display correctly every time.
Frequently Asked Questions
Do you mirror an image for a mug press?
Mirroring is required for mug press sublimation because the printed transfer wraps around the mug with ink facing inward. Text and logos must be reversed before printing so they appear correctly after the heat transfer process. Check image orientation in your preview before printing—any directional elements will press on backward if not mirrored.
How to tell the right side of sublimation paper?
The printable side of sublimation paper is the bright white, smooth, coated surface that reflects light more intensely. Image orientation aids include colored backs, watermarks, or logos on the non-printable side. Perform a moisture test by touching each side with a damp fingertip—the coated printable side feels slightly sticky or resistant compared to the uncoated back.
Which way do I put sublimation paper in the printer?
Load sublimation paper with the printable coated side facing the direction your printer deposits ink—typically face-up for front-loading trays and face-down for rear-feeding trays. Check image orientation on test prints if uncertain. Always mirror your design before printing regardless of paper loading direction to ensure correct final transfer onto your substrate.
How many times can you use a sublimation sheet?
Sublimation transfer paper is typically single-use because the heat pressing process releases most of the ink into the substrate. Some crafters achieve faint “ghost” prints on secondary items, but color vibrancy decreases dramatically. Raster graphics quality on subsequent presses appears washed out, so plan one transfer per printed sheet for professional-quality results.
Why does my sublimation have lines?
Lines in sublimation prints typically indicate clogged printhead nozzles, low ink levels, or incorrect print quality settings. Raster graphics can also show banding if the source file is low resolution or over-scaled beyond its pixel capacity. Run a head cleaning cycle, verify ink levels, and ensure you are printing at the highest quality setting with at least 300 DPI source files.
References
- Dye sublimation. (n.d.). Maker Commons | presented by Media Commons. https://makercommons.psu.edu/project/dye-sublimation/?utm_
- Wright, R. (n.d.). 1-07 transformations of functions. Andrews University :: A Southwest Michigan Christian University. https://www.andrews.edu/~rwright/Precalculus-RLW/Text/01-07.html?utm