Loading sublimation paper correctly determines whether your prints transfer successfully or waste expensive materials. The print side—the coated layer—must face the print head for proper dye release during printing and subsequent heat pressing. Moisture content affects feeding behavior: papers that have absorbed humidity curl and misfeed, causing head strikes and alignment errors. Coating structure, porosity, and why only the coated side should be printed appear in our complete sublimation paper guide. Paper absorbs and releases moisture when exposed to air, and fluctuations in moisture content can cause dimensional changes that lead to curling and feeding issues. [1]
Key Takeaways
- The print side (coated side) controls dye release during heat pressing; the uncoated side absorbs ink into fibers and ruins transfers.
- Rear-feed printers require print side facing up; front-feed tray printers require print side facing down toward the bottom.
- Paper guides must fit snugly against sheets to ensure straight feeding and proper print head clearance throughout the job.
How do you load sublimation paper into your printer?
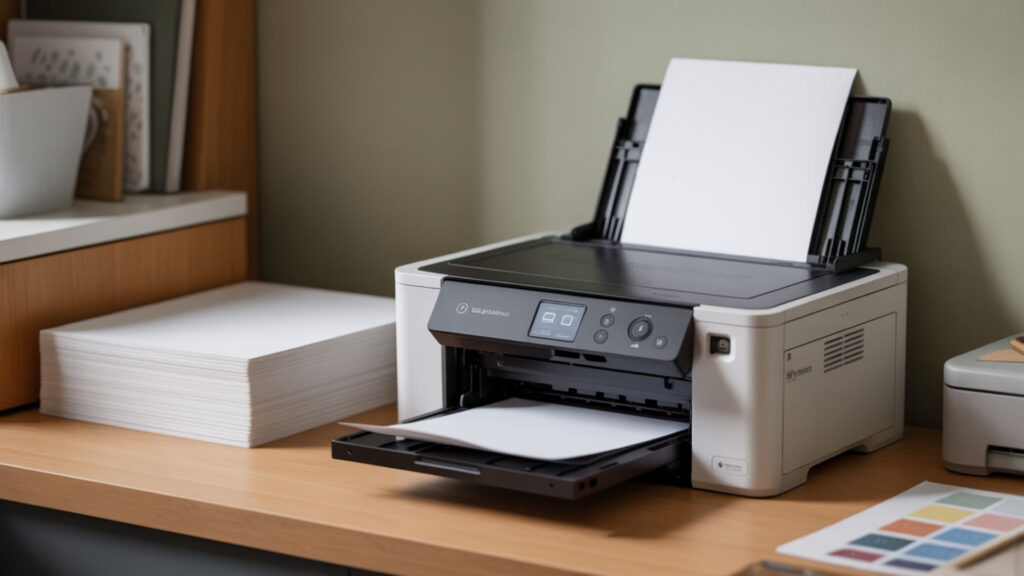
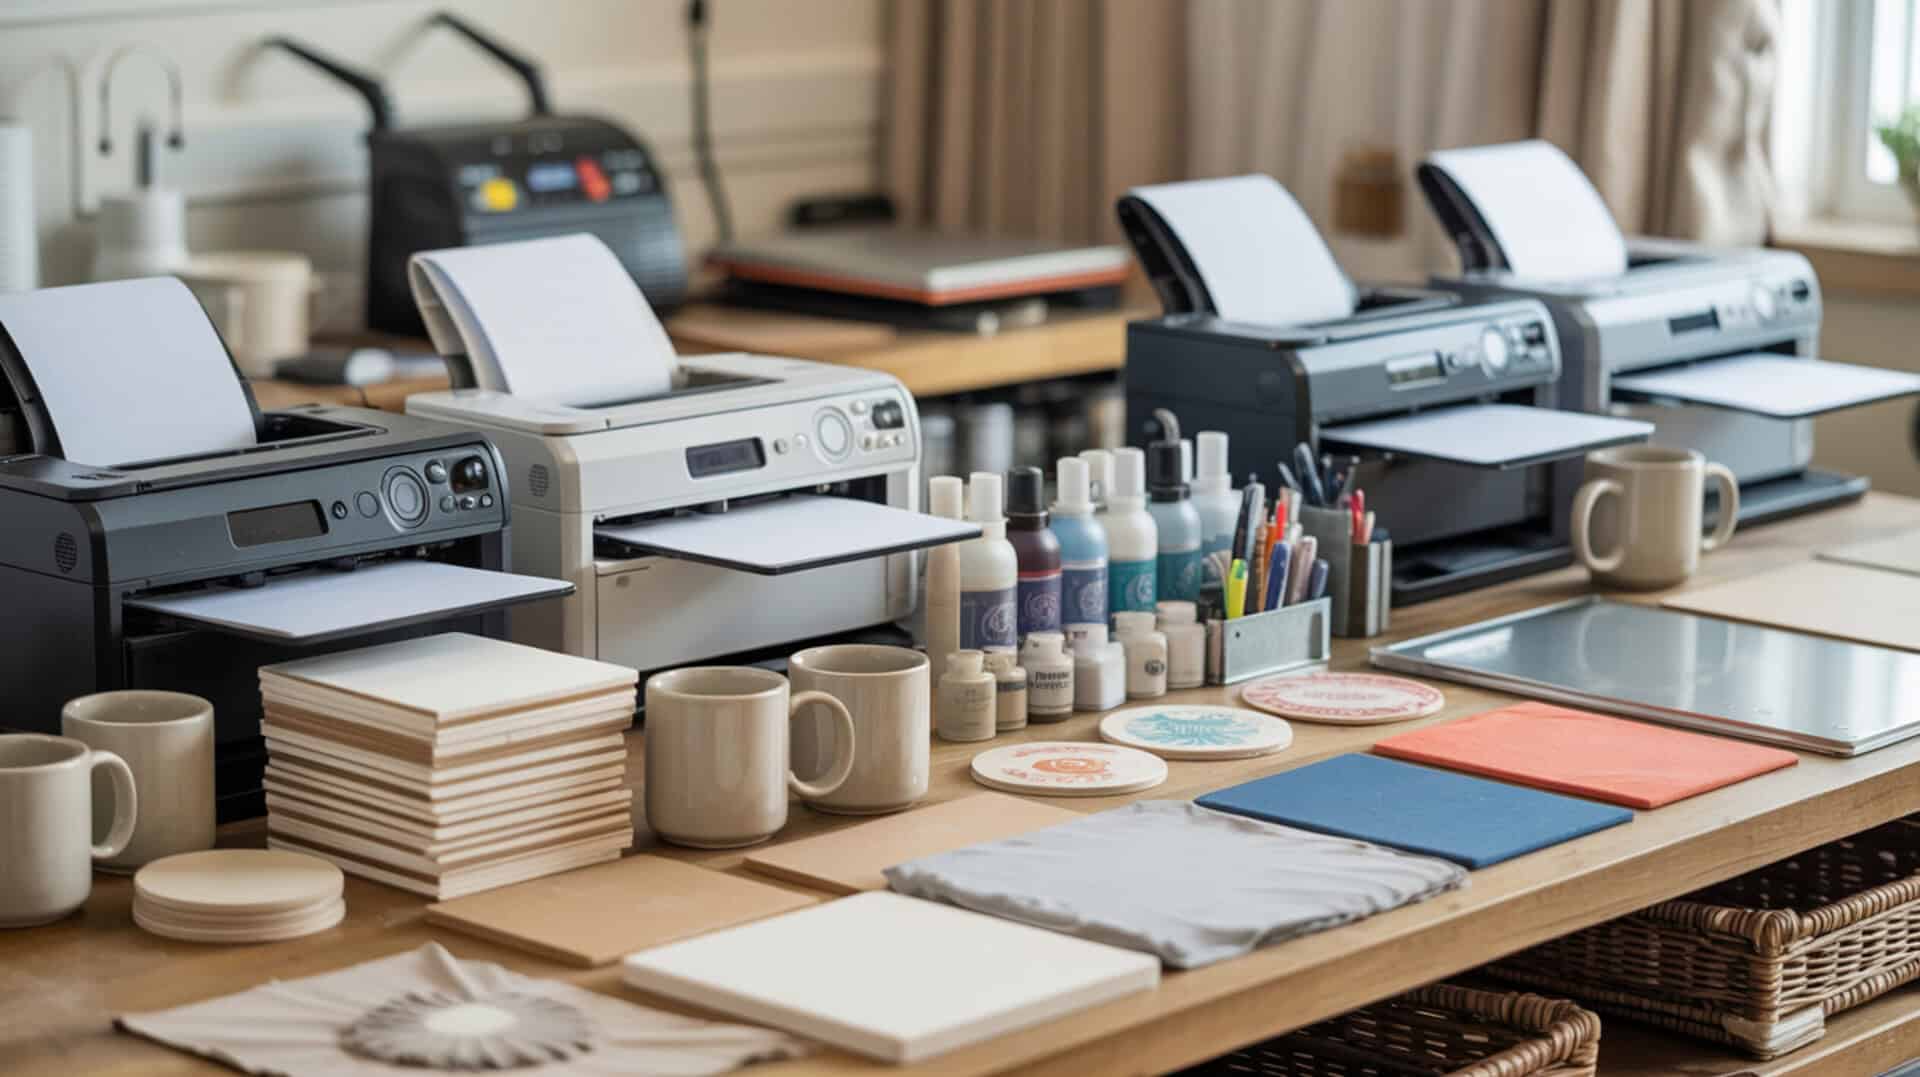
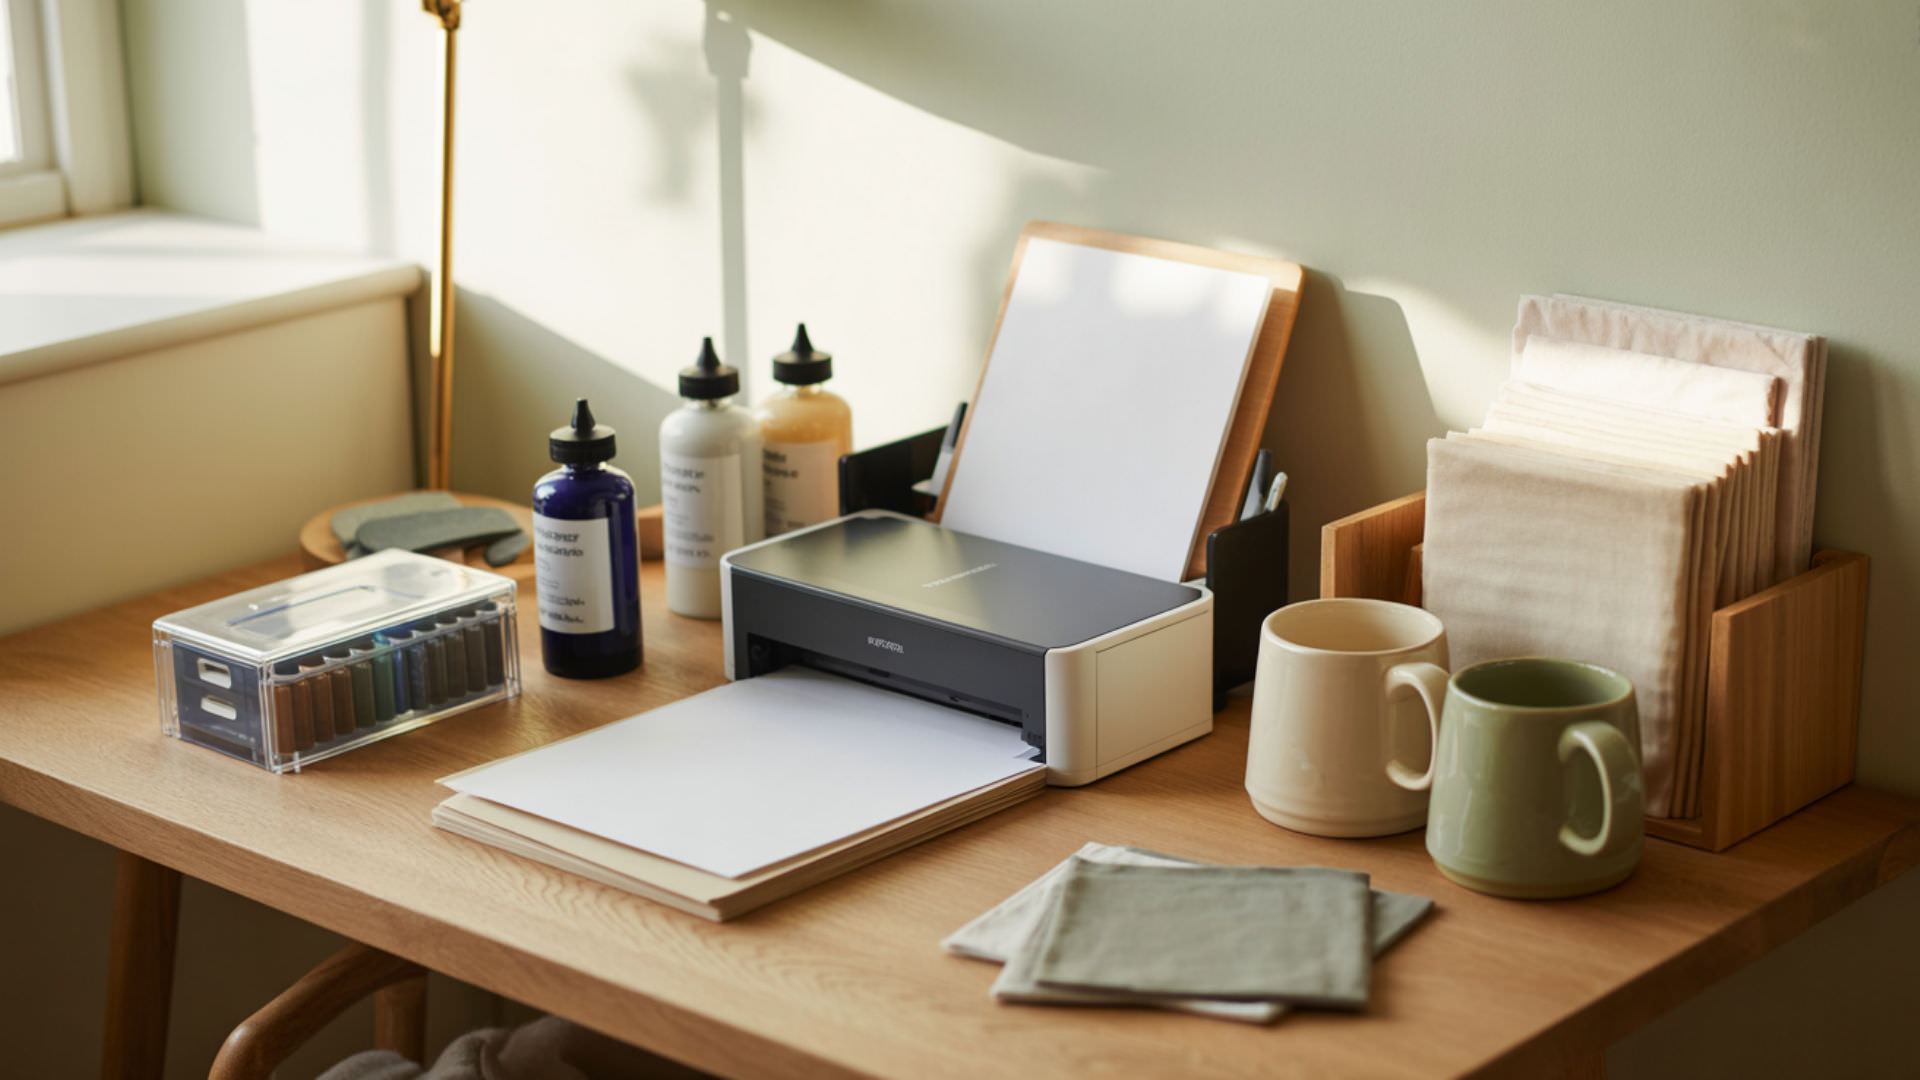
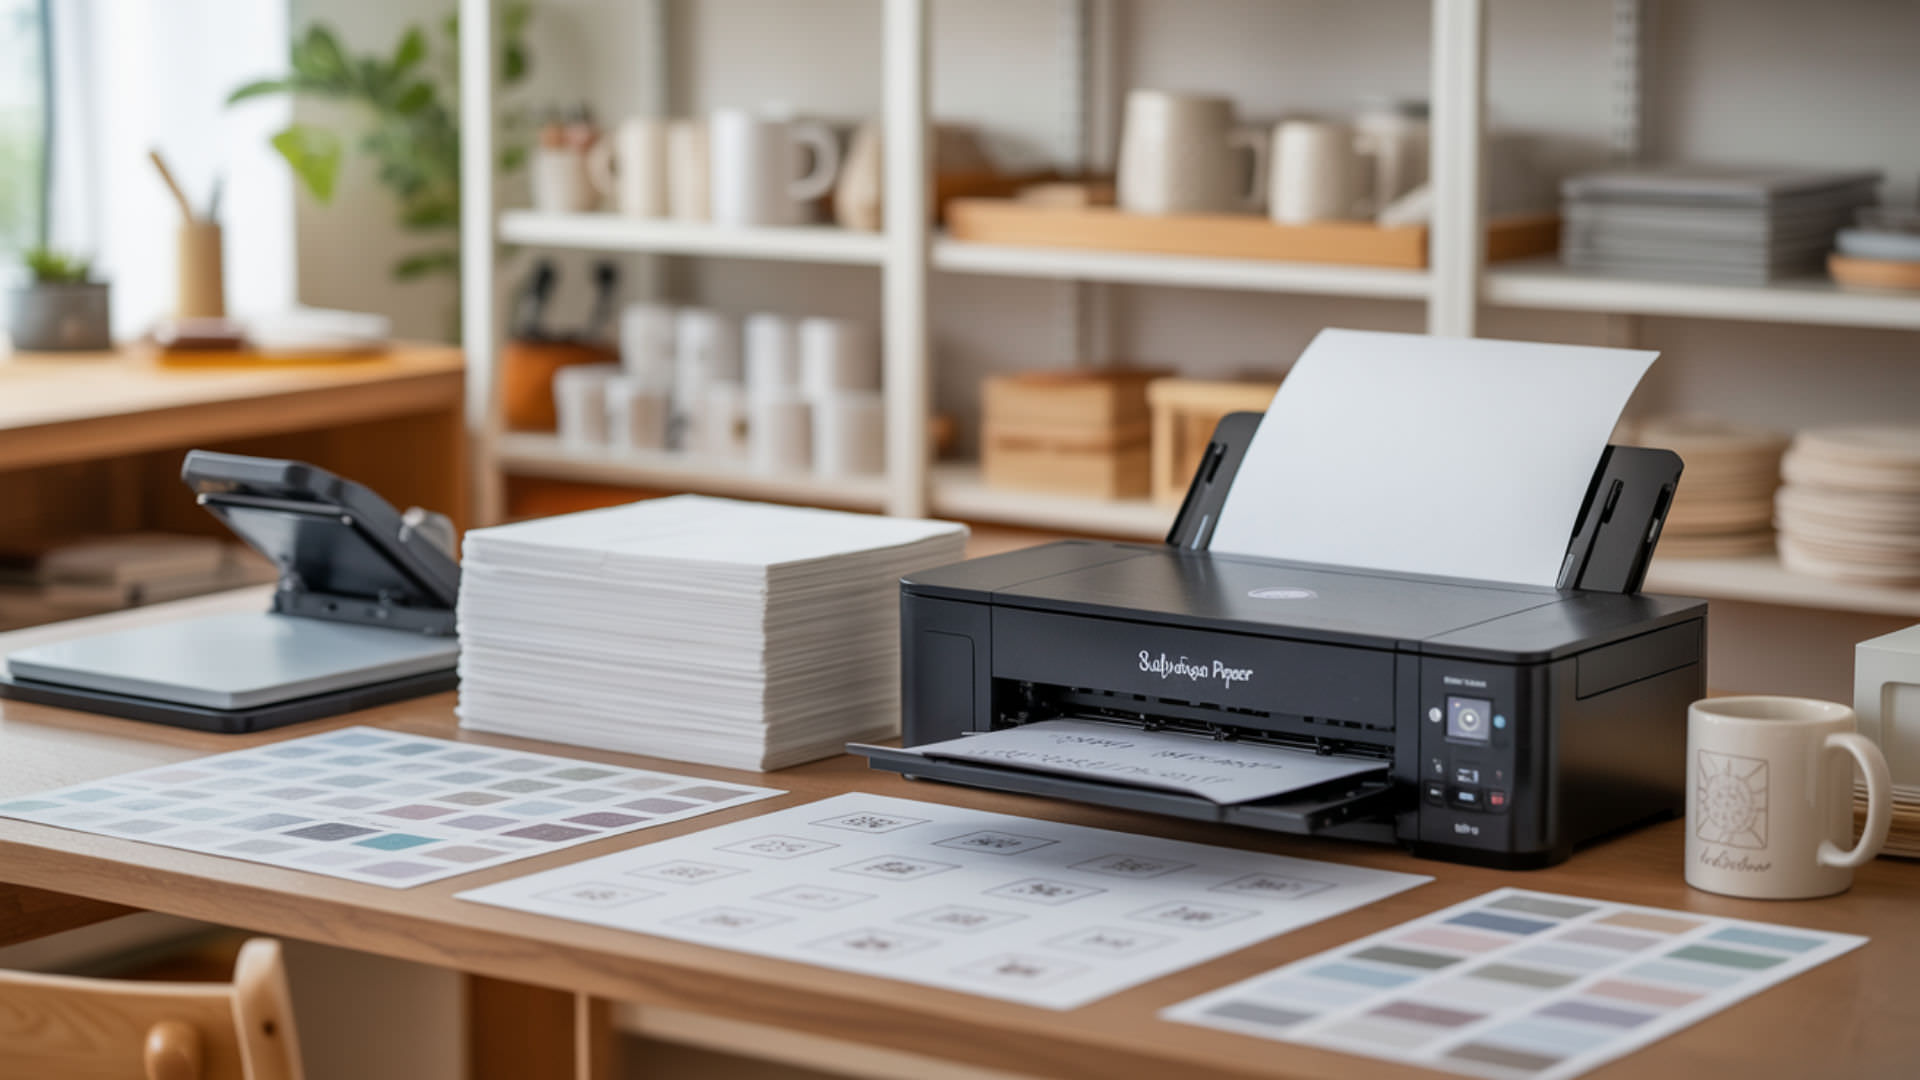
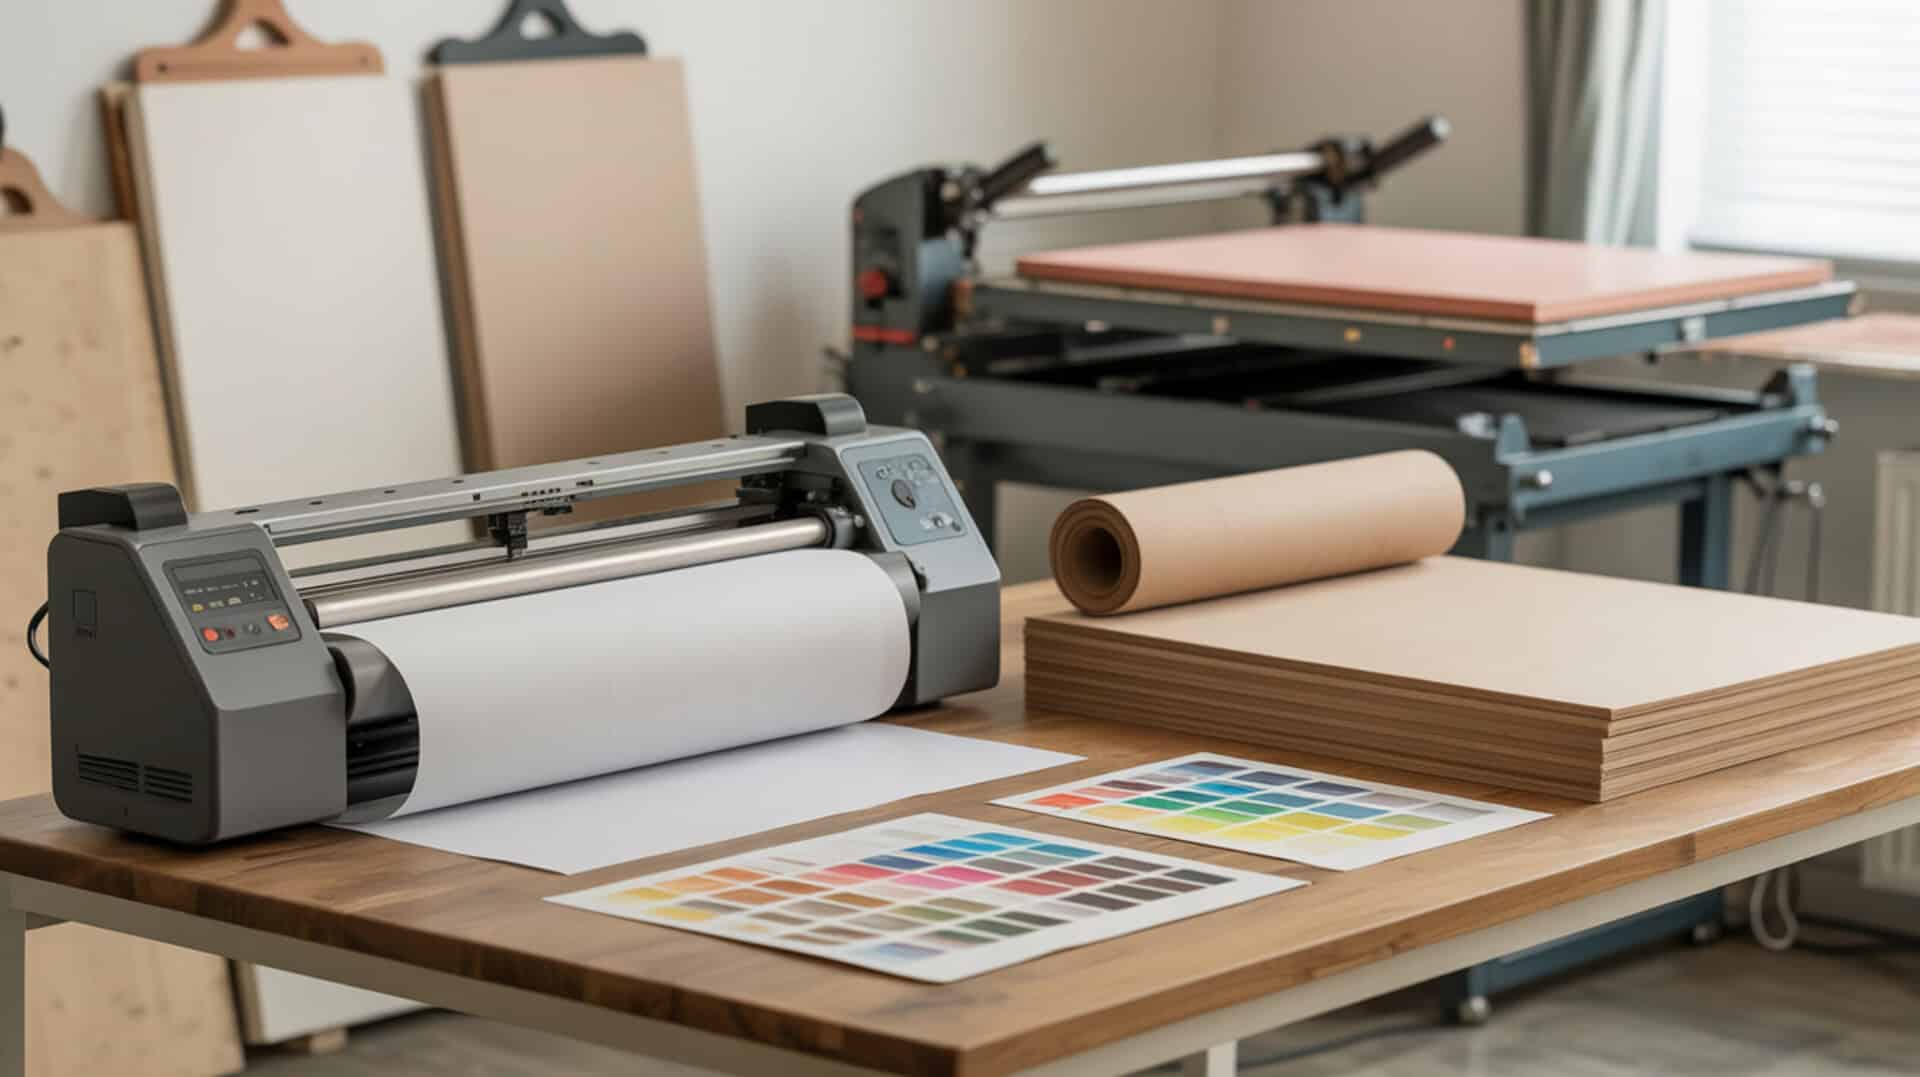
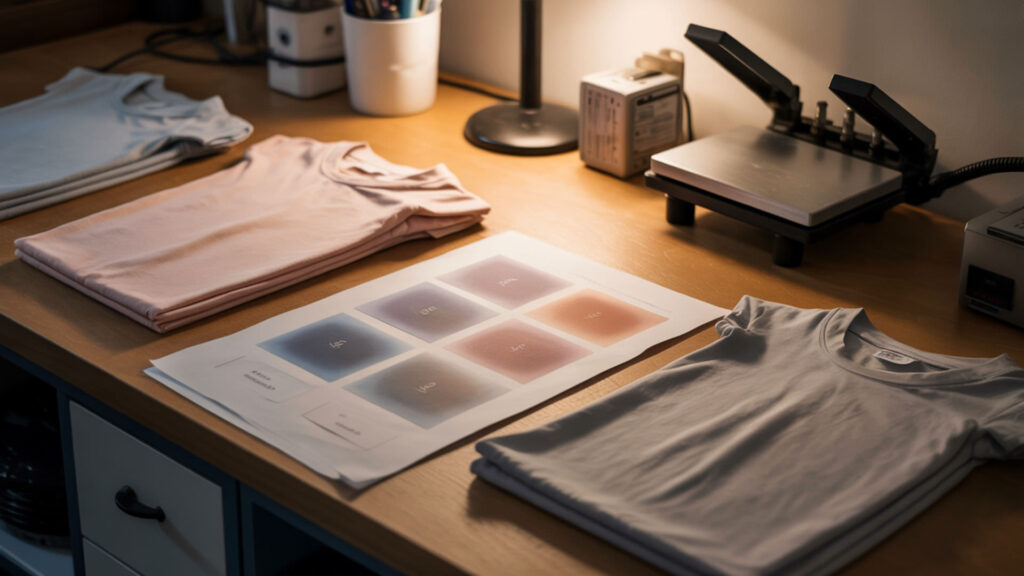
Loading sublimation paper requires identifying the printable side and orienting it correctly for your printer’s paper path. Adjust paper guides in the paper tray to fit snugly against sheet edges, ensuring proper feed alignment that prevents skewing and smearing during printing. Never force sheets past the guides or overfill the tray—both cause misfeeds and potential head strikes. High-quality papers often require specific paper tray selection and alignment covered in our sublimation paper buying guide.
Which way does sublimation paper go in a printer?
Orientation depends on printer design: rear-feed printers require the print side (coated side) facing up toward the ceiling; front-feed tray printers require the print side facing down toward the tray bottom. The smoothness difference between sides helps identification—the coated side feels slicker and often appears brighter white. Many papers include a cut corner positioned at bottom-right in portrait orientation to indicate correct loading direction.
How should sublimation paper be placed in the tray or feed slot?
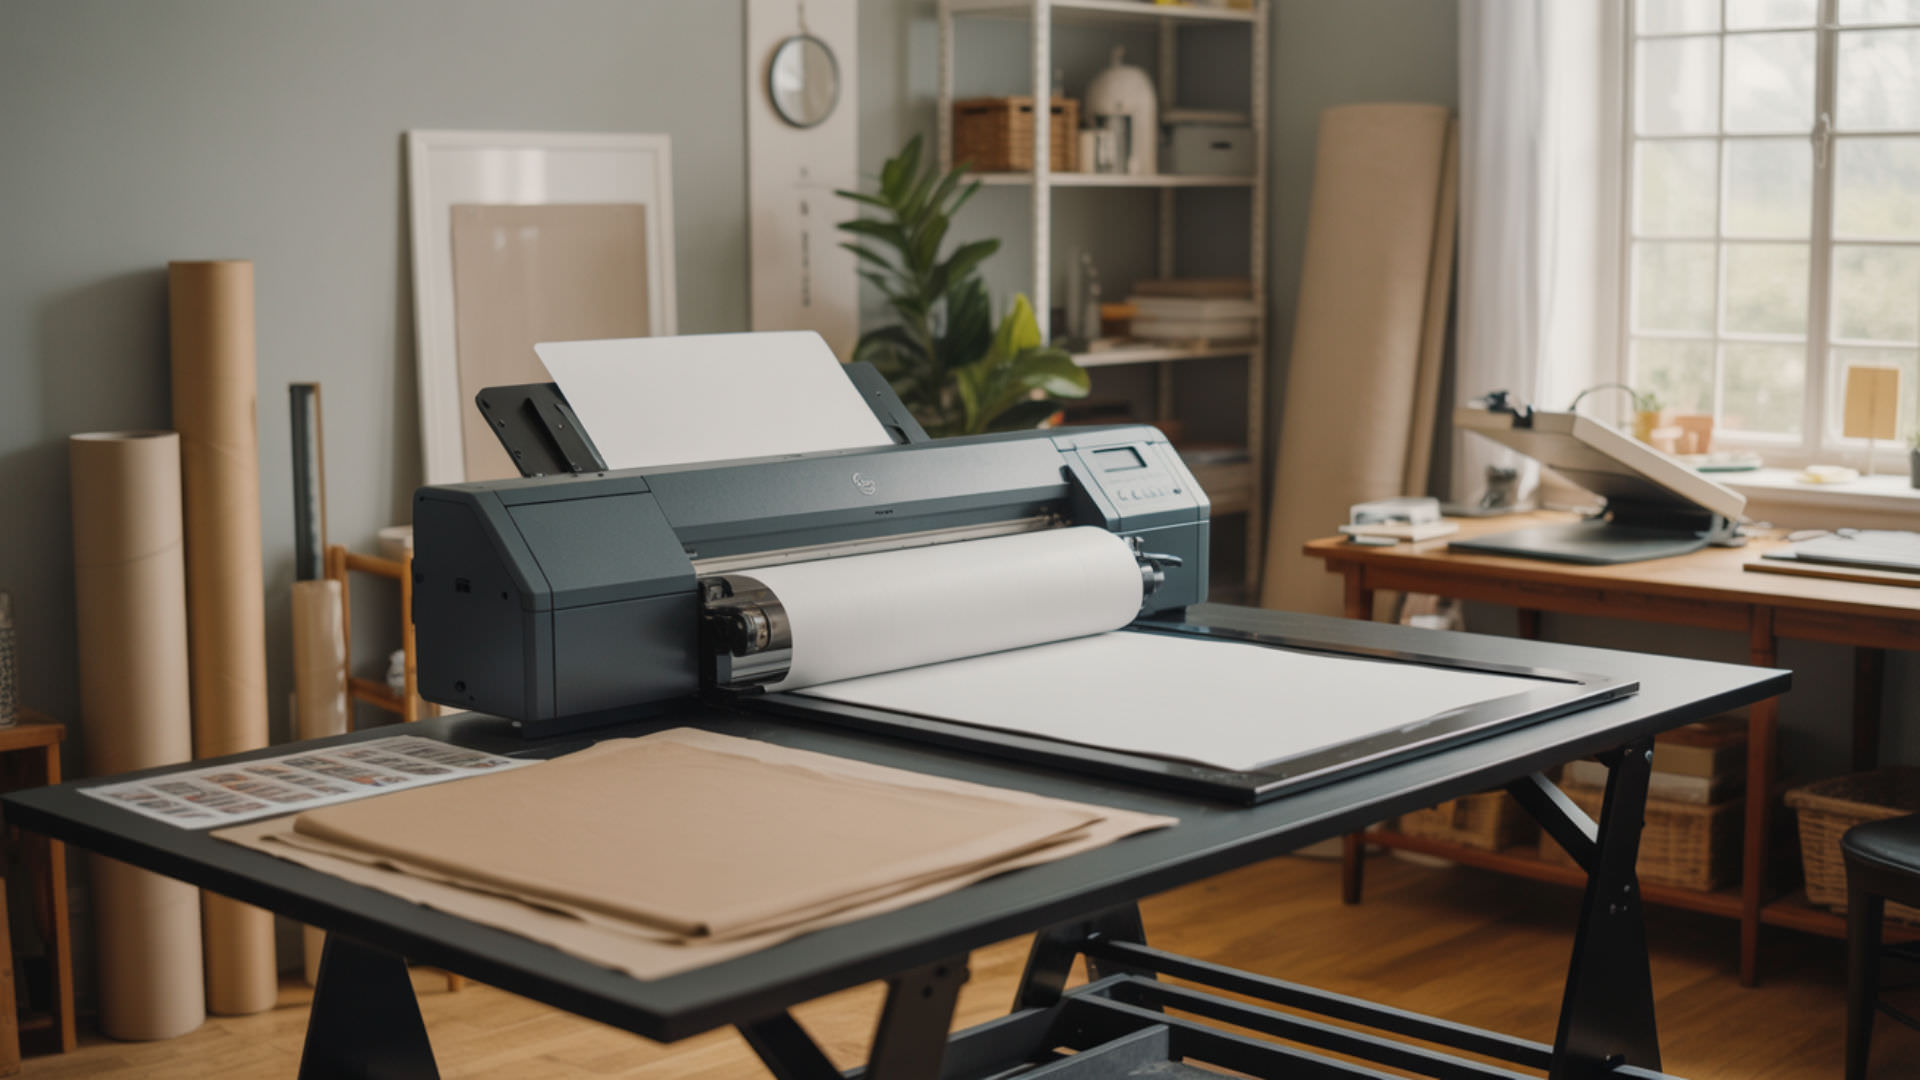
Heavier sublimation papers with greater thickness load more reliably through the rear feed slot because the straight paper path prevents bending that causes curl and jamming. Front-feed trays work better for lighter-weight papers that tolerate the curved path without creasing. Insert sheets with the short edge first, ensuring paper touches the back of the tray without extending beyond. Adjust side guides until they contact paper edges without compressing the stack. Paper fibers align during manufacturing, creating a grain direction that affects stiffness, curl, and how sheets behave during feeding. [2]
Which side of sublimation paper should you print on?
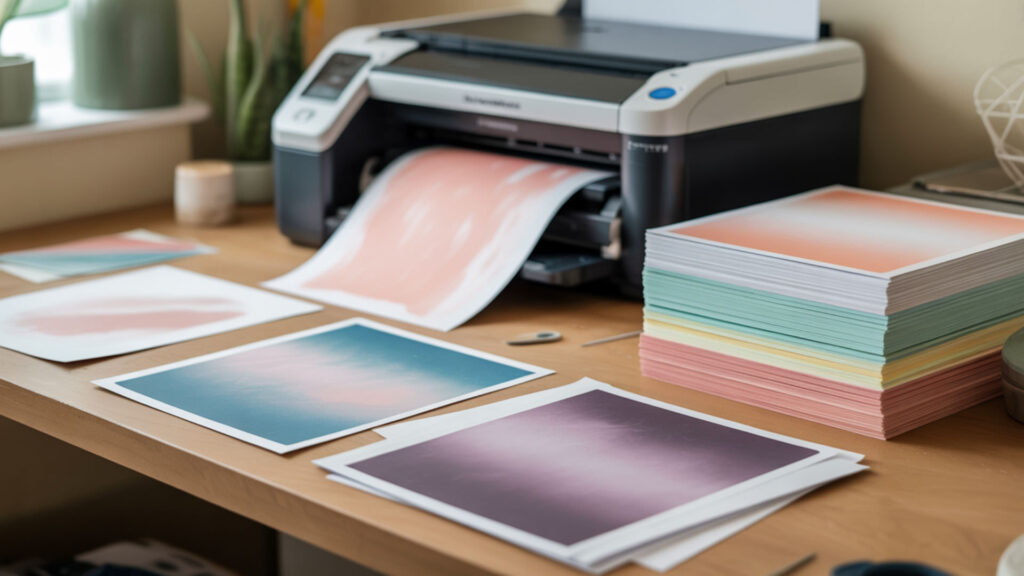
Always print on the coated print side—the brighter, smoother surface designed to hold and release sublimation dye. The uncoated side appears duller, may show slight color variation (cream, blue, or pink tinting), and lacks the coating that enables proper dye transfer. Brightness comparison remains the most reliable visual identification method when other markers are absent. Complete identification methods for print side versus uncoated side appear in our detailed print-side guide.
How can you tell which side of sublimation paper is printable?
The coating texture test provides reliable identification: the print side feels slightly smoother and may exhibit subtle tackiness compared to the rougher, more fibrous uncoated back. Fold a sheet in half—the brighter white side is printable. Under light, the coated side reflects more uniformly while the uncoated side appears more matte. Some brands print logos or instructions on the non-printable back; others include cut corners as orientation guides.
Is there a front and back to sublimation paper?
Sublimation paper has distinct front (print side) and back (uncoated side) surfaces with completely different behaviors. The print side’s coating holds ink at the surface for later heat-activated release; the uncoated side exhibits hydrophilicity that causes ink absorption into cellulose fibers, producing dull, blurry, unusable transfers. Printing on the wrong side wastes both paper and ink since absorbed dye cannot vaporize and transfer during pressing.
How do you load sublimation paper step-by-step?
Fan the paper stack to separate sheets and reduce static buildup. Identify the printable side using brightness, smoothness, or cut-corner indicators. Place sheets in the paper tray with correct orientation for your printer type (print side up for rear-feed, down for front-feed). Adjust paper guides to contact sheet edges firmly without binding. Verify feed alignment by running a test print on inexpensive copy paper first to confirm positioning before committing sublimation sheets.
How do you use sublimation paper for printing correctly?
Run a nozzle check sheet before printing designs to verify all ink channels fire properly—missing nozzles cause banding and color shifts. Create a test print on inexpensive paper to confirm correct side orientation and design positioning before using sublimation sheets. Ensure adequate print head clearance by selecting appropriate paper thickness settings; curled sheets that contact the head cause smearing and potential damage. Allow prints to dry completely before handling.
What paper setting should you use for sublimation paper?
Select “Premium Presentation Paper Matte” or “High Quality Plain Paper” settings for most sublimation papers—these allow sufficient ink laydown for vibrant transfers. Paper weight influences optimal settings: heavier papers (100+ gsm) may require “Thick Paper” or “Cardstock” selections for proper feed pressure. Always enable “Mirror Image” in print settings since designs reverse during face-down pressing. Set quality to “High” or “Best” for maximum DPI and color accuracy.
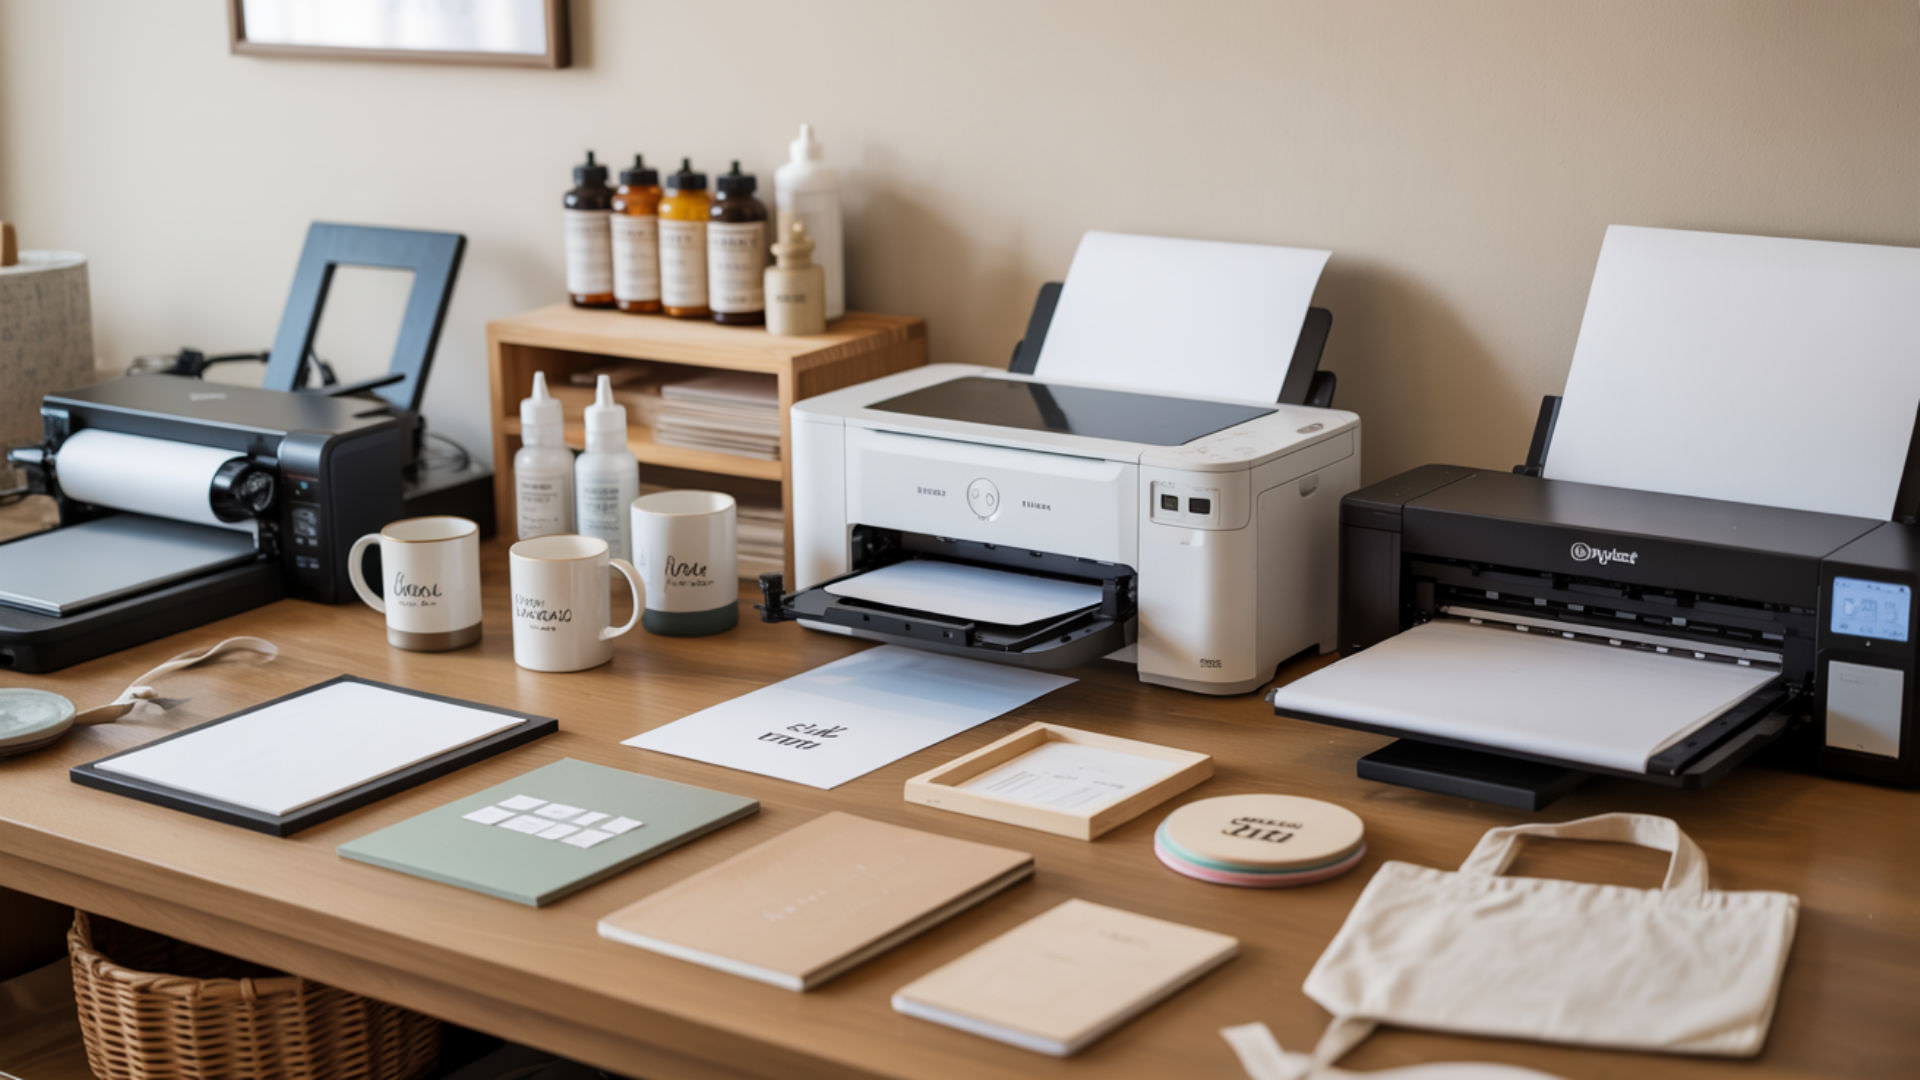
Do you need a specific type of printer for sublimation paper?
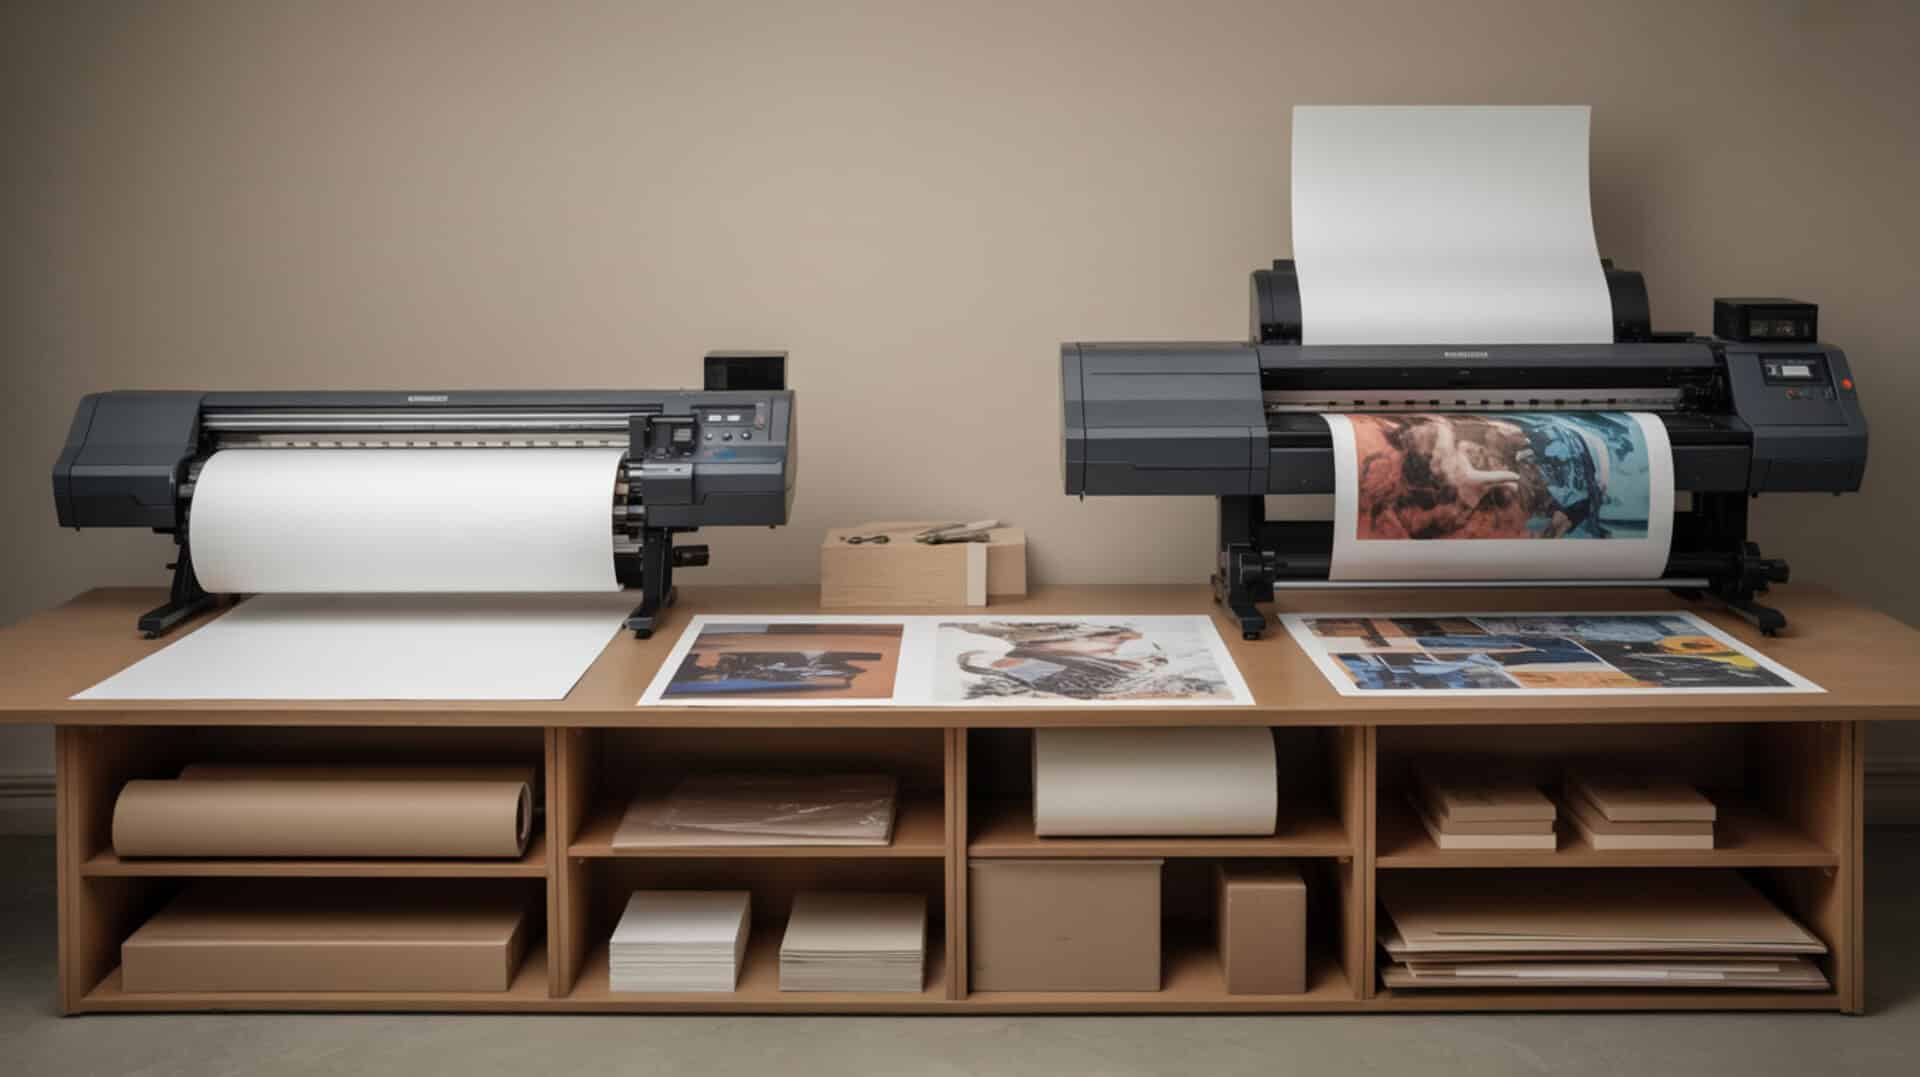
Sublimation paper requires printers loaded with sublimation ink—standard inkjet or laser printers cannot perform sublimation regardless of paper used. Dedicated sublimation printers (Sawgrass SG500/SG1000, Epson SureColor F-170) or converted Epson EcoTank models provide the necessary piezoelectric printing with sublimation-specific ink. Print head clearance becomes critical with sublimation paper because humidity-induced curling can cause head strikes that damage both paper and printer equipment.
How do you apply sublimation paper to shirts?
Position the printed sheet with the print side facing down against the polyester fabric, securing all corners with heat-resistant tape to prevent movement during pressing. Static electricity causes sheets to shift and create ghosting—discharge static by grounding yourself before handling and using anti-static spray if problems persist. Pre-press the shirt for 3-5 seconds to remove moisture before positioning the transfer. How paper stability and static electricity affect shifting and ghosting also appears in our copy paper comparison.
Which side of sublimation paper faces the shirt when pressing?
The printed (coated) side must face directly against the shirt fabric for successful dye release during heat pressing. Heat converts solid dye on the paper surface to gas that penetrates polyester fibers; if the uncoated back faces the substrate, no dye reaches the fabric. The paper-to-fabric contact enables gas-phase transfer—even small gaps reduce vibrancy. Use heat-resistant tape on all edges to maintain complete contact throughout the pressing cycle.
Which side should be visible during pressing?
The uncoated side (blank back) should face upward, visible to you during pressing. This orientation positions the printed, dye-loaded coating directly against the polyester substrate where heat activates gas-phase transfer. Seeing the blank back confirms correct placement; if you see your printed design facing up, the transfer will fail because dye releases into the air rather than into the fabric. Verify orientation before closing the heat press.
What are common sublimation paper problems?
Paper curl from moisture content absorption causes head strikes during printing and alignment errors that ruin designs. Static electricity makes sheets cling together or shift during pressing, creating ghosting and blurred edges. Improper storage in humid environments accelerates both problems. Store paper flat in sealed bags with desiccant packets, away from heat sources and direct sunlight. Fan sheets before loading to separate any stuck pages and discharge static.
Does the printable side vary between different sublimation paper brands?
The printable side location remains consistent (the coated surface), but print side marking methods vary by brand. Some manufacturers pre-mark the uncoated back with logos or colored tinting; others include cut corners as orientation guides; many provide no markings, requiring brightness or texture comparison for identification. Check manufacturer instructions for brand-specific identification methods. When uncertain, run a small test area to confirm correct side before printing full designs.
What happens if you load sublimation paper upside down?
Printing on the uncoated side causes immediate absorption—ink sinks deep into cellulose fibers rather than sitting at the surface. The result: dull, blurry prints with severely muted colors that cannot transfer properly during heat pressing. Absorbed dye stays trapped in paper fibers rather than vaporizing and bonding with polyester. This mistake wastes both paper and ink since neither can be recovered. Always verify orientation before printing.
Ready to Load Your Sublimation Paper Correctly?
Proper loading determines success for every sublimation project—the print side must face the print head during printing and face the substrate during pressing. Master your printer’s specific orientation requirements, store paper properly to prevent moisture absorption and curling, and always verify correct side identification before committing to full prints. Consistent technique eliminates the wasted materials and frustrating troubleshooting that plague careless loading habits.
Frequently Asked Questions
Do you print sublimation designs backwards (mirrored)?
Mirror all sublimation designs before printing because the image reverses when placed face-down on substrates during heat pressing. Enable “Mirror Image” or “Flip Horizontal” in your print driver or design software. Forgetting to mirror results in backward text and reversed images on finished products. The only exception: transparent items viewed from the back (like glass cutting boards) where the design is applied face-up and viewed through the material.
Is sublimation a hot peel or a cold peel process?
Sublimation peel timing depends on substrate type: soft substrates like polyester fabric require hot peel (removing paper immediately while still hot); hard substrates like ceramic mugs require cold peel (allowing complete cooling before removal). Hot peeling fabric prevents ghosting from paper shifting; cold peeling hard goods prevents damage to fragile finishes. Always verify manufacturer recommendations for specific blanks—incorrect peel timing causes color distortion and blurred edges.
Can you reuse sublimation paper after it has been pressed once?
Sublimation paper cannot be reused because heat pressing transfers virtually all dye to the substrate, leaving depleted coating unable to release meaningful color. Attempting second pressings produces extremely faint, incomplete images since minimal residual ink remains. The coating may also degrade from initial heat exposure, further reducing functionality. Treat sublimation paper as single-use transfer media—each printed sheet serves one pressing cycle before becoming waste.
How do sublimation printers work for beginners?
Sublimation printers deposit specialized ink containing disperse dyes onto coated transfer paper. When heat-pressed against polyester substrates at 380–400°F for 45–60 seconds, the ink converts from solid to gas and penetrates polymer fibers. As the substrate cools, dye molecules become permanently trapped within the fiber structure, creating vibrant, wash-resistant prints that won’t crack, peel, or fade. The process requires sublimation ink, proper paper, and polyester-based blanks.
How do you place an image correctly on sublimation paper before printing?
Position your mirrored design within the printable area of your sublimation sheet, accounting for margins and any cut corners that shouldn’t receive ink. Use design software to center or align the image according to your substrate dimensions. Preview before printing to verify positioning and ensure important elements don’t extend beyond paper edges or into corner areas. Proper placement prevents wasted materials and ensures designs land correctly on finished products.
References
- Center for wood anatomy research. (2025, December 4). US Forest Service Research and Development. https://research.fs.usda.gov/fpl/centers/war
- Care, handling and storage of works on paper – Collections care (Preservation, Library of Congress). (n.d.). Library of Congress. https://www.loc.gov/preservation/care/paper.html