Table of Contents
ToggleStruggling with how to change Epson printer settings on Mac for sublimation? Worry not as we have got you covered! This no-nonsense guide explores in-depth the steps you need for accurate color and detail in your sublimated products. Starting from selecting the right paper type, all the way to dialing in advanced color management, we’ll help you optimize your setup for top-notch results. Discover the secrets to flawless sublimation printing with your Epson printer in the following sections. Hope you are excited just like us!
Key Takeaways
- Properly adjusting Epson printer settings on a Mac is essential for optimal sublimation printing results, including modifying print quality, color management, and paper type.
- Compatibility and up-to-date drivers for your Epson printer are crucial on a Mac, and adjusting Mac’s print dialog box allows for customization of settings to achieve high-quality sublimation outputs. You can use your Epson printer for a variety of projects such as sublimation on dry erase board projects.
- Creating and managing presets saves time for future printing projects, while conducting test prints and troubleshooting common issues like mismatched colors and print quality are key to ensuring successful sublimation prints.[1]
Understanding Sublimation Printing with Epson Printers
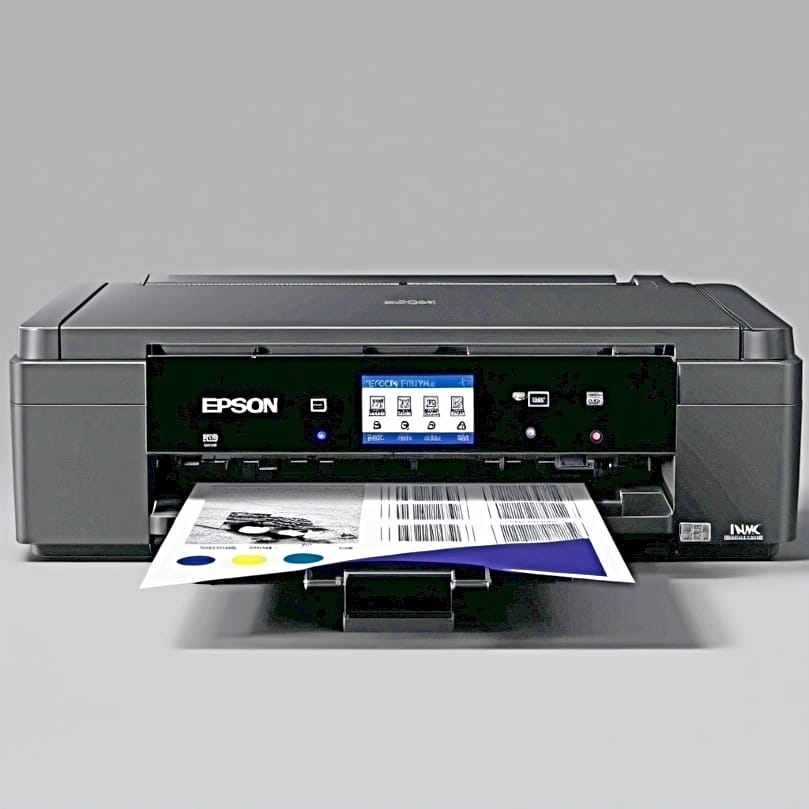
Sublimation printing is a fascinating process where you print on special paper and then transfer the image onto a material using high heat and pressure. Imagine seeing your design come to life on a t-shirt or a coffee mug! Epson EcoTank printers, with their strong print mechanisms, excellent print heads, and advanced ink technologies, are perfect for this kind of printing with their eco tank system.
However, the key element for successful sublimation printing lies within the printer settings. The way you tweak and customize these settings directly affects how good the sublimated image turns out. Here are some factors to consider:
- Deselect high speed
- Check mirror image
- Use custom and advanced settings
- Set the gamma to 2.2
These factors play a crucial role in enhancing the print quality.
The Role of Printer Settings in Sublimation
Consider the printer settings as the unseen orchestrators of the sublimation performance. They control the density of ink usage and the speed of printing, which directly impacts the quality of your sublimation prints. Not just that, the printer settings play a pivotal role in managing how the ink gets laid down on the paper, which in turn, determines the accuracy of the colors in your print.
⫸ Click Here For Best Selling Sublimation Printers And Products ⫷So, setting up your printer correctly is just as important as having a great design for your sublimation project!
Why Custom Settings are Key for Sublimation
Imagine sublimation printing as an art form, with the printer settings being your paintbrush. The custom settings in Epson printers allow you to paint your masterpiece with precision and control. Here are some options you can tweak to improve your sublimation printing process:
- Paper type
- Quality settings
- Color correction
- Printing speed
By adjusting these settings, you can achieve better results in your sublimation printing.
But what happens if the custom settings aren’t quite right? You could end up with blurry and faded images or color distortion, causing your print quality to suffer. So, learning to master the custom settings is crucial for creating high-quality sublimation prints.
Preparing Your Mac for Sublimation Printing
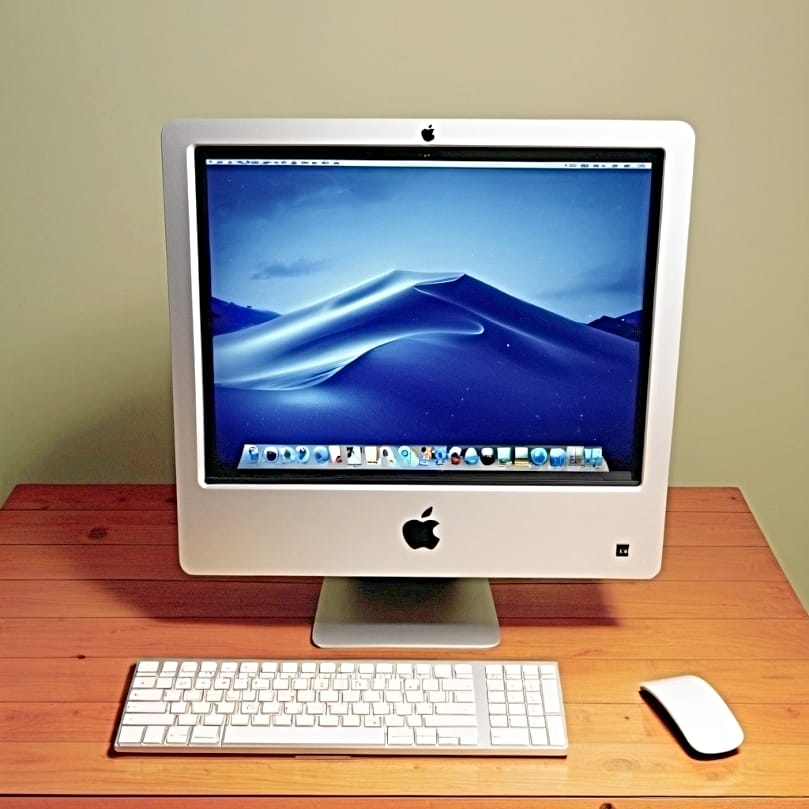
Before immersing ourselves in the world of sublimation printing, it’s vital to confirm that your Mac is equipped for the task. This involves checking that your operating system is compatible and that you have the correct drivers installed. You can check the compatibility by visiting Library > Colorsync > Profiles on your Mac. For drivers, you can visit the Epson macOS 13 (Ventura) Support page on the Epson website.
After ensuring these prerequisites are met, you’re ready to start sublimating and kick-start your sublimation journey!
Ensuring Compatibility
The initial step in your sublimation journey is to establish compatibility between your Mac and Epson printer. Epson printers like the SureColor F170 and SureColor F570 come with software specifically designed for dye-sublimation, with drivers made for both Mac and Windows. But just to be sure, your Mac should have a minimum of 4GB of RAM and a Dual Core CPU. If your Mac runs either Catalina or Big Sur, you’re good to go!
Installing the Right Drivers
Much like a car requiring a driver to function, your printer needs drivers to establish communication with your Mac. You can find the latest Epson printer drivers on the Epson website and install them following some simple steps.
Updating your printer drivers is crucial as it can fix a range of issues and keep your printer compatible with the latest software and system upgrades. So, if you’re experiencing issues like banding, installation failures, or slow printing, updating your drivers could be the solution.
Accessing the Print Dialog on Mac
With your Mac and Epson printer now synced, let’s familiarize ourselves with the print dialog. The print dialog box is your control panel, from where you can access all your printer settings and customize them to your liking. You can access this dialog box either through System Preferences or directly within the application you’re using.
Navigating to System Preferences
Accessing the print dialog box via System Preferences on a Mac is a straightforward process. You just need to have the document open, then go to ‘File’ and choose ‘Print’, or you can simply use the Command + P keyboard shortcut.
It’s akin to unlocking a plethora of more options for customization in your sublimation print!
Opening Print Dialog Through Applications
Suppose you’re already engaged within an application? Well, Mac has you covered there too. Within Mac applications, you can easily open the print dialog by just going to the ‘File’ menu and choosing ‘Print…’, or simply by using the Command + P shortcut. Easy peasy, isn’t it?
Customizing Epson Printer Settings for Sublimation on Mac
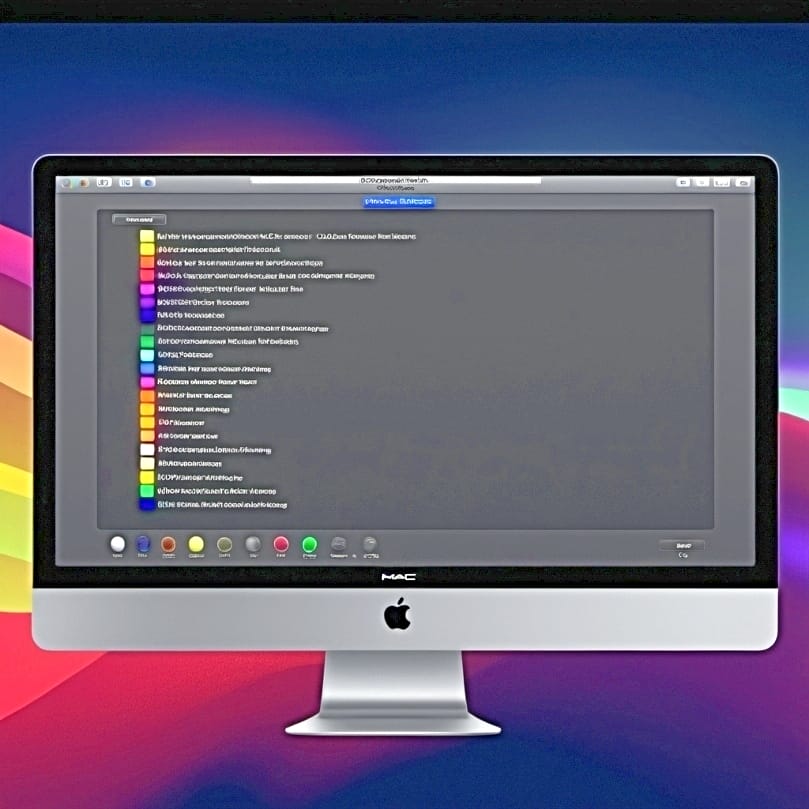
Having learned how to access the print dialog box, let’s delve into the main topic. Customizing your Epson printer settings on your Mac can make a world of difference to your sublimation prints.
This includes adjusting color management options, selecting the correct paper type, and fine-tuning advanced settings to ensure the best details.
Adjusting Color Management Options
Color management is essentially the control room of your sublimation print. It ensures the colors on your screen translate accurately onto your print. By adjusting:
- brightness
- contrast
- saturation
- density
You can ensure your colors pop just the way you want them to.
Remember, ICC profiles are your best friend when it comes to color management, so don’t forget to install a custom ICC profile for your printer.
Selecting Correct Paper Type and Quality
The type of paper you use for your print can be the difference between a masterpiece and a disaster. Selecting the correct paper type for your sublimation print ensures the ink gets absorbed well and your print comes out looking fantastic.
On a Mac, you can easily select the right paper type from the printer settings menu. Remember, high-quality paper equals high-quality prints!
Fine-Tuning Advanced Settings
The advanced settings on your Epson printer are like the cherry on top of your sublimation print. They provide you with extra options and configurations that can really take your prints to the next level. From controlling color management and print quality to selecting the right paper type, these settings allow you to tweak every minute detail of your print.
Saving Preset Sublimation Settings
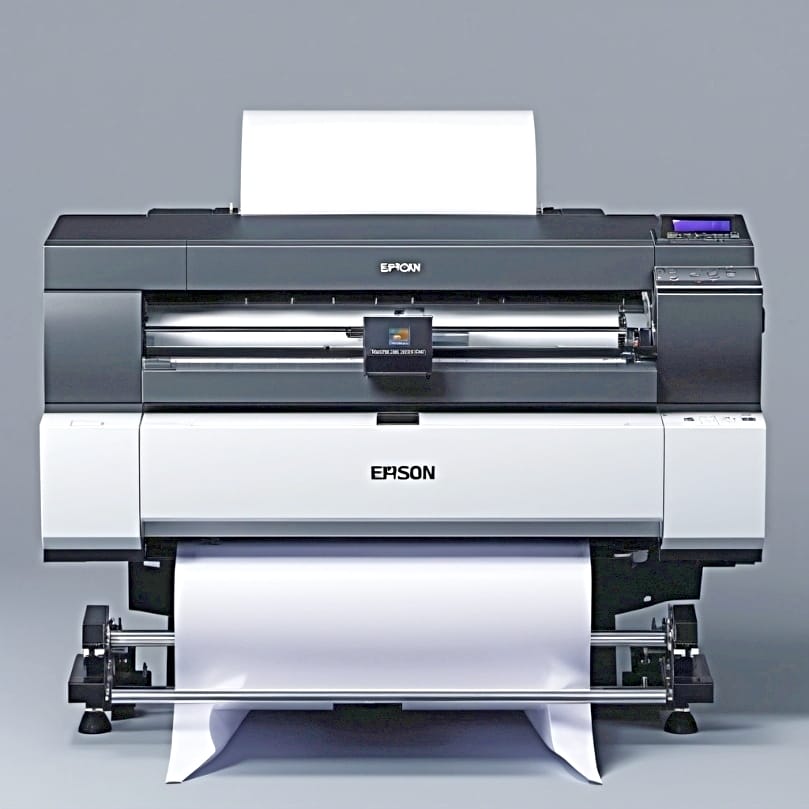
After perfecting your settings, you wouldn’t want to lose them, would you? That’s where saving preset sublimation settings comes into play. You can save your customized settings on your Mac for easy access in future print jobs.
Creating a New Preset
Setting up a new preset for your sublimation printing settings can be compared to bookmarking your favorite page in a novel. You can easily create a new preset by following these steps:
- Load the paper
- Open the file you want to print
- Select Print from the File menu
- Adjust your settings to your liking
- Save them as a new preset
Now, you have a shortcut to your favorite settings!
Managing and Selecting Presets
Think of presets as a personal library housing your preferred settings. You can manage and select presets for different sublimation projects easily. And if you want to delete a preset, you can do that too! Just hit ‘Command P’ to go to the initial print dialog box, and you’ll find the option to delete presets there.
Testing and Adjusting Print Settings
Having customized your settings and stowed your presets, it’s time to test them out. Testing and adjusting print settings is an essential step in achieving the best results in sublimation printing. You can read my article on solutions to sublimation mistakes here.
Conducting Test Prints
Consider conducting test prints as a dress rehearsal preceding the final performance. You can use ICC Profiles to manage colors properly and tweak color correction options to get the results you desire.
Remember, sublimation ink may look lighter and less vibrant on paper before transferring, so it’s important to check the color fastness after transferring.
Analyzing Results and Making Changes
After carrying out your test prints, it’s time for a review of the results. If you’re not happy with the print, don’t worry! You can fine-tune your sublimation print settings using ICC profiles and adjust the color settings to get better quality and more consistent prints.
Troubleshooting Common Sublimation Printing Issues on Mac
Despite meticulous preparation, issues may crop up during the sublimation printing process. We’ll discuss some common problems that you might encounter and provide solutions to troubleshoot them.
Dealing With Mismatched Colors
Mismatched colors can be a common issue in sublimation printing. This might be due to low-quality sublimation ink or paper, incorrect heat press settings, or even using the wrong color mode.
To fix this, you can adjust your printer settings such as brightness, contrast, saturation, and density.
Resolving Print Quality Problems
Print quality problems can be frustrating, but they are usually easy to fix. Issues such as using a lower print quality option or having High-Speed mode turned on can affect your print quality. To resolve these issues, you can fine-tune your printer settings and troubleshoot potential causes.
Maximizing Sublimation Output with Expert Tips

To conclude, let’s glance through some expert tips designed to enhance your sublimation output. This includes leveraging software tools and learning from community resources and videos.
Leveraging Software Tools
Leveraging software tools such as:
- Adobe Photoshop
- Adobe Illustrator
- Canva
- GIMP
- CorelDRAW
can significantly elevate your sublimation printing experience. They offer advanced features and flexibility that can enhance your printing results.
So, don’t be afraid to experiment and explore these data tools in your search!
Learning From Community and Videos
Learning from online communities and instructional videos can be a great way to improve your sublimation printing skills. Online forums, social media groups, and professional networks are a treasure trove of knowledge shared by experienced printers.
Instructional videos provide step-by-step guides and best practices from experts, making learning an enjoyable process.
Summary
Sublimation printing with your Epson printer and Mac system can be a fun and rewarding process. With the right knowledge and tools, you can create beautiful, vivid designs that last. Remember, the key to successful sublimation printing lies in understanding how to customize printer settings, prepare your Mac, manage and select presets, conduct test prints, and troubleshoot any issues. Don’t be afraid to experiment, learn from your mistakes, and continue improving. Happy printing!
Frequently Asked Questions
How do I change printer ink settings on Mac?
To change printer ink settings on your Mac, go to System Preferences, then select Print & Fax, Print & Scan, or Printers & Scanners, choose your printer, and select Driver or Options to adjust the printing preferences. That should help you manage your printer ink effectively.
What settings do I put my Epson printer on for sublimation?
You need to set your Epson printer to the “High Quality” or “Photo” setting for sublimation printing. This will ensure the best result for your sublimation projects.
What is sublimation printing?
Sublimation printing is a process that involves printing on special paper and then transferring the image onto a material using high heat and pressure. It’s a popular method for creating customized items like mugs and shirts.
How do I save preset sublimation settings on my Mac?
To save preset sublimation settings on your Mac, create a new preset and manage and select presets for easy access to your customized settings in future print jobs.
References
- Epson Connect Printer Setup for Mac OS X | Epson US. (n.d.). https://epson.com/support/epson-connect-printer-setup-for-mac-os-x

