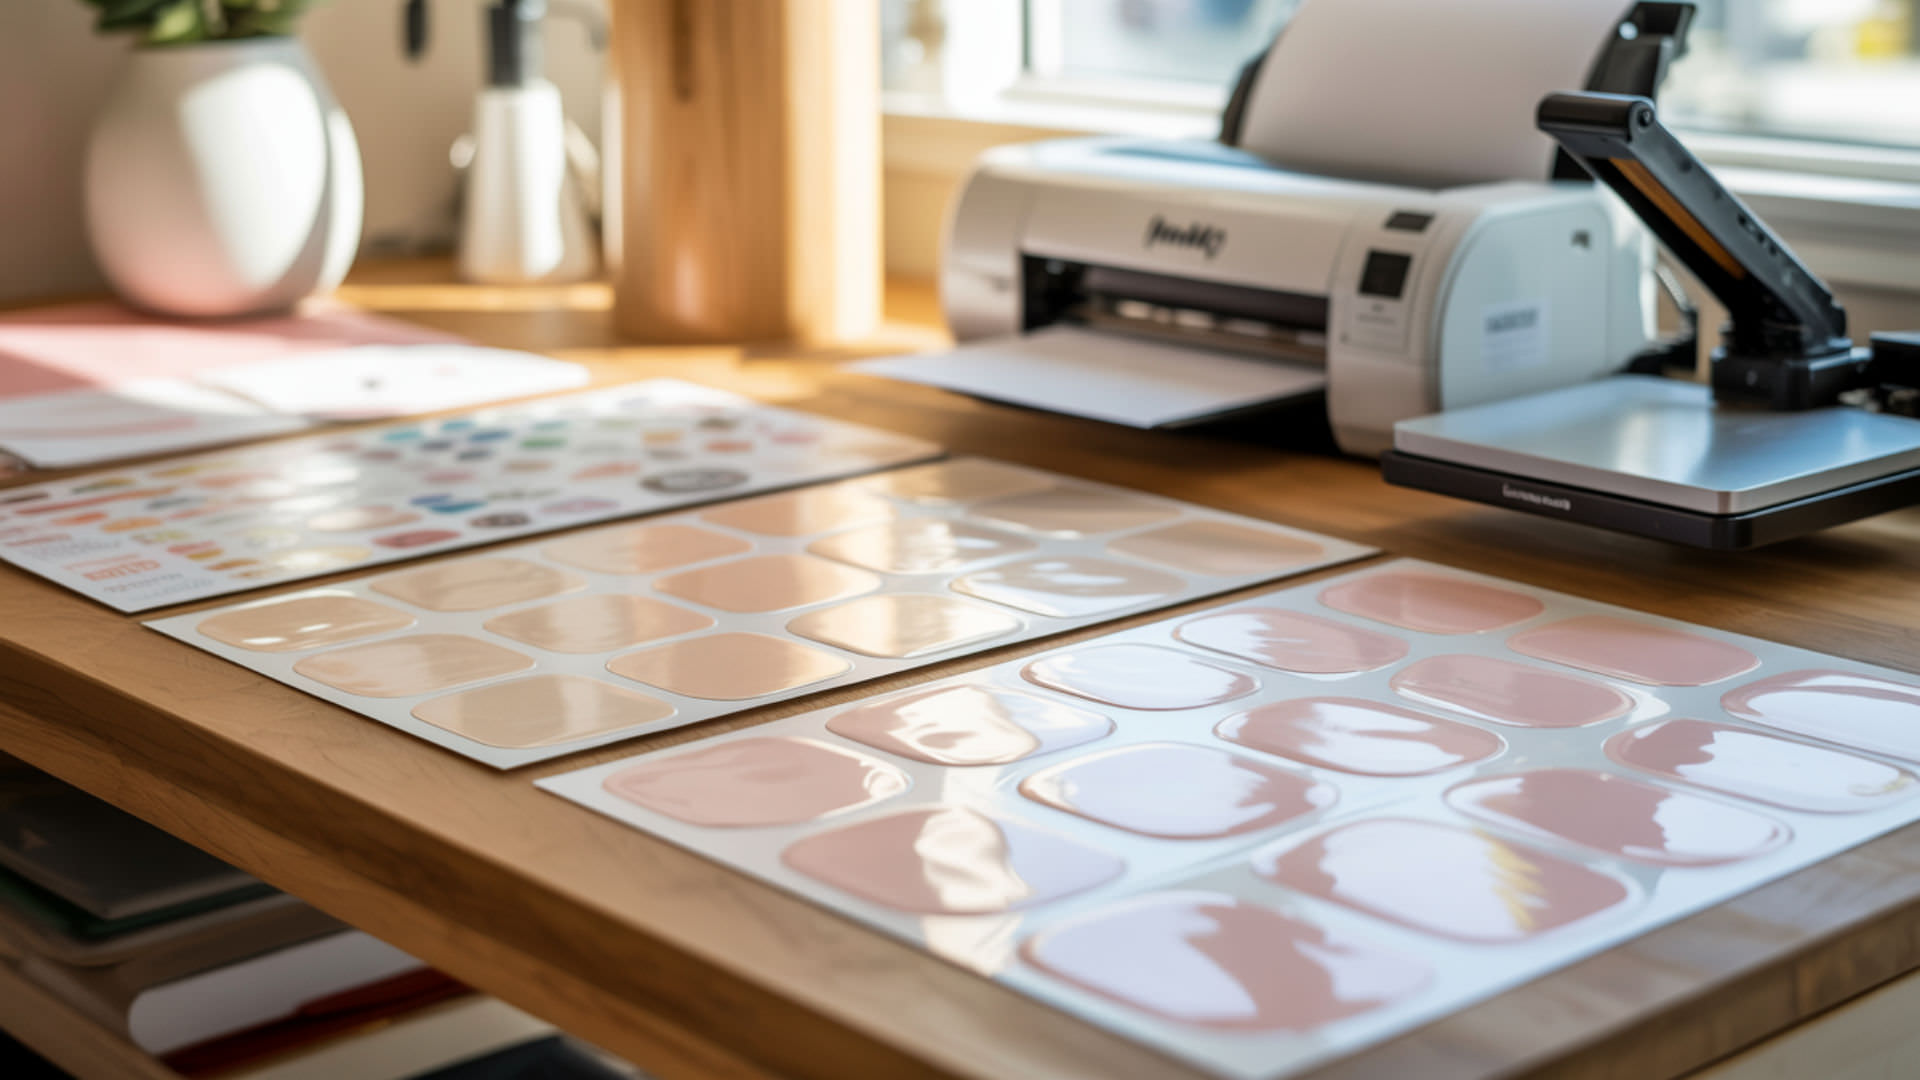
Sublimation printing creates professional clothing tags by embedding dye directly into polyester ribbon or fabric for permanent, wash-resistant branding. The polymer coating on compatible tag materials accepts sublimation ink through heat activation, producing vibrant graphics that won’t crack, peel, or fade through hundreds of wash cycles. Custom tags elevate handmade garments and small-batch clothing lines with professional appearance at home-production costs. Understanding polyester and polymer-based compatibility across all home sublimation products appears in our complete polyester home products guide. Polyester fibers are composed of synthetic polymer chains that allow dyes to diffuse and become permanently embedded during heat-activated processes. [1]
Key Takeaways
- Polyester fiber content determines tag print quality—100% polyester ribbon delivers the strongest color saturation and longest-lasting results through repeated washing.
- Shrinkage during heat pressing must be controlled through proper temperature settings and pre-pressing to avoid tag distortion and sizing inconsistencies.
- Standard sublimation settings of 385°F for 45–60 seconds work for most polyester tag materials with medium pressure application.
How Do You Make Clothing Tags With a Sublimation Printer?
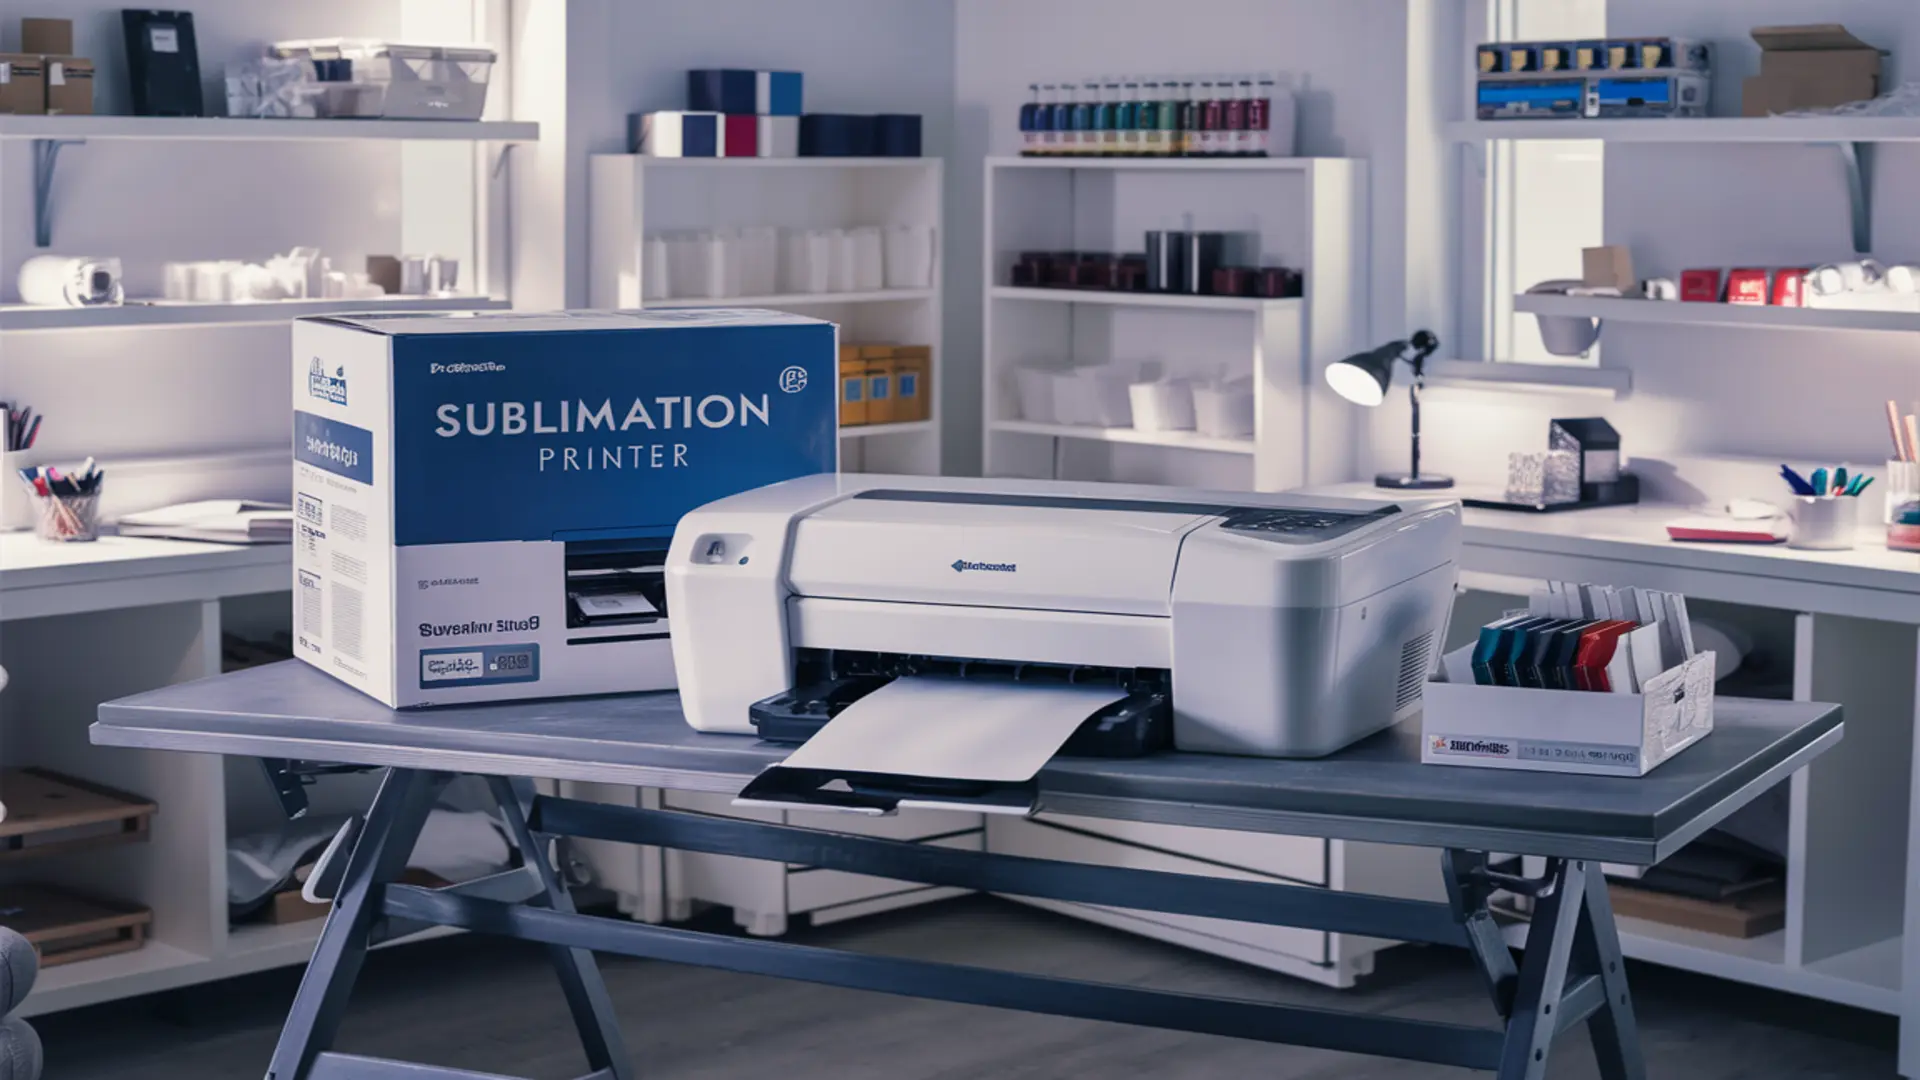
Printing custom clothing tags requires designing artwork, transferring designs to sublimation paper, and using a heat press to permanently bond ink into polyester tag material. The dye diffusion process embeds color molecularly within fiber structure rather than coating surfaces, creating tags that withstand industrial laundering. Design software like Canva or Adobe programs creates print-ready files while sublimation printers output mirrored images onto transfer paper. Heat press activation gasifies sublimation ink, allowing dye diffusion into polymer fibers for permanent bonding.
What’s the Best Material for Clothing Tags?
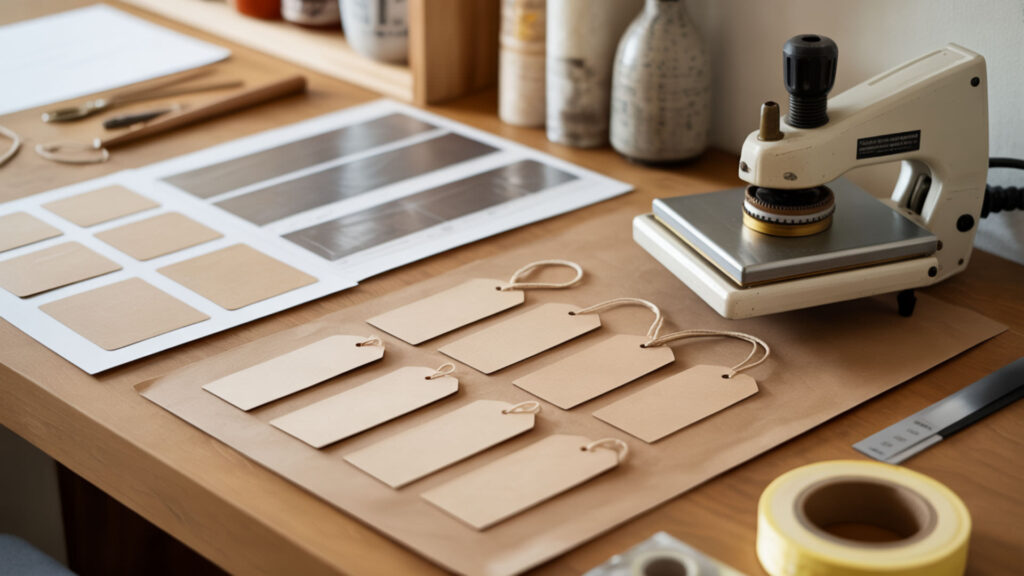
Polyester ribbon and polyester-blend fabrics deliver optimal sublimation results because synthetic fibers accept and retain dye permanently through molecular bonding. Both blankets and clothing tags rely on polyester-dominant textiles and fiber behavior under heat, covered in our complete polyester blankets guide. Nylon offers excellent print quality but requires lower temperatures to prevent warping during pressing. Satin provides soft touch ideal for skin contact but costs more than standard polyester options for high-volume production runs.
What Is the Best Paper for Clothing Tags?
Standard sublimation transfer paper works for clothing tag production, though paper weight affects detail clarity and color transfer intensity. Heavier weight papers (100+ gsm) prevent ink bleed-through during printing and maintain crisp edges during transfer. Cut printed designs slightly larger than final tag dimensions to ensure complete coverage without white edges showing. Quick-release papers peel cleanly after pressing, reducing the risk of ghosting or incomplete transfers on small tag surfaces.
What Materials Are Commonly Used for Clothing Tags and Labels?

Fabric tags span multiple material categories including cotton, nylon, satin, and polyester—each offering different durability, comfort, and cost characteristics. Cotton requires polymer coating for sublimation compatibility since natural fibers cannot bond with sublimation dye without surface treatment. Nylon provides smooth surfaces and fraying resistance but softens at lower temperatures than polyester, requiring careful heat press settings. Satin delivers premium appearance for brand labels while polyester handles industrial stone washing and dry cleaning without degradation. Insights on using polyester fiber for durable printed tags appear in our How To Make Sublimation Stickers guide.
What Is the Best Fabric for Labeling Clothes?
Polyester fiber delivers the best combination of durability, print clarity, and wash resistance for sublimated clothing labels. Synthetic fibers accept sublimation dye completely, producing crisp text and graphics that remain legible through years of laundering. Nylon ranks second for standard textile labels due to printing quality and competitive pricing. Satin serves premium brand positioning where soft touch and silky appearance justify higher material costs for luxury garment applications.
What Is a Cloth Tag Called?
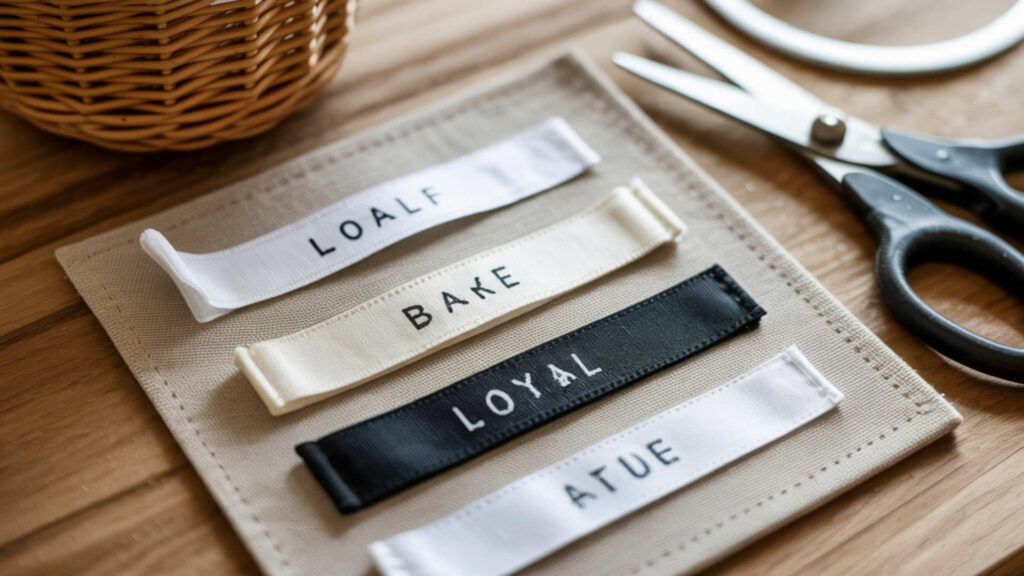
Fabric tags carry different names depending on function—care labels provide washing instructions, brand labels display company identity, and hang tags attach externally with pricing information. Sewn-in tags include woven labels with brand names, printed care labels with washing symbols, and size tags indicating garment dimensions. Synthetic fibers dominate sewn-in label production because they withstand repeated laundering without degrading like paper alternatives. Understanding terminology helps when sourcing blank tag materials from wholesale suppliers.
How Do You Make Your Own Labels for Clothing?
Creating custom labels requires design software, printing equipment, and proper heat press technique to produce professional results at home. Apply firm, even pressure during transfer to ensure complete dye penetration without ghosting from shifting during the pressing cycle. Medium-to-heavy pressure prevents air pockets that cause incomplete transfers on small tag surfaces. Design templates sized for standard tag dimensions (typically 2×3.5 inches) streamline production workflows for batch pressing multiple tags. Maintaining consistent pressure on a heat press during printing ensures even dye transfer and prevents ghosting for high-quality results
What Should a Clothing Tag Have on It?
Professional clothing tags include five core elements: brand identity, care instructions, fiber content, size designation, and country of origin. Fabric finishing affects how printed details appear on tag surfaces—smooth polyester shows crisp text while textured materials may soften fine details. Design layouts must balance required information with readable font sizes on small tag dimensions. Brand positioning through logo placement and color schemes communicates quality perception to customers examining garments.
What Information Should Be on a Clothing Tag?
Federal law requires textile products to display fiber content, country of origin, and manufacturer identity on permanent labels. Polyester tags handle this required information durably because sublimation bonding survives the garment’s entire lifespan without fading. Care instructions using standard symbols communicate washing, drying, and ironing requirements regardless of language barriers. Fabric content percentages help consumers make informed purchasing decisions while meeting regulatory compliance for commercial garment sales.
How Do You Make Clothing Tags With Sublimation Step-by-Step?
Preheat your heat press to 385°F while designing mirrored tag artwork. Print onto sublimation paper, cut with slight bleed margins, and position on polyester ribbon. Secure with heat-resistant tape, press at medium pressure for 45–60 seconds, then peel while hot. For adhesive-backed sheets, the release liner protects sticky surfaces until attachment. Popular pressure-sensitive adhesive supplies for tag production appear in our complete pressure-sensitive adhesive best sellers guide.
How Do You Attach Clothing Labels to Garments Properly?

Attachment methods include sewing for maximum durability, iron-on bonding for no-sew convenience, and pressure-sensitive adhesive for quick application on compatible fabrics. Sewn labels survive industrial laundering indefinitely when stitched along all edges or folded into seams during garment construction. Bonding strength determines whether labels remain attached through repeated washing and wear—properly applied iron-on labels can last years. Position labels in standard locations: center back neck for brand identity, side seams for care information, or hem areas for size tags.
Can You Iron Name Labels Onto Clothing?
Iron-on labels bond through heat-activated adhesive that fuses with fabric fibers during pressing for secure attachment without sewing. Polymer coating on quality iron-on labels creates stronger bonds than uncoated alternatives, surviving more wash cycles before potential lifting. Position labels on flat fabric surfaces, cover with parchment paper or pressing cloth, and apply firm pressure with hot iron for 10–15 seconds. Allow cooling completely before testing adhesion—if edges lift, repeat ironing with additional pressure and time.
How Do You Iron Name Tags on Clothes?
Temperature settings between 300–350°F activate most iron-on adhesives without scorching delicate fabrics underneath label placement areas. Apply firm, consistent pressure in small circular motions for 10–15 seconds, ensuring complete contact across the entire label surface. Cover labels with supplied transfer paper or parchment to protect both iron surfaces and label printing from direct heat damage. Test adhesion after cooling—labels should resist peeling at edges and corners when properly bonded to compatible fabric surfaces.
What Are the Legal Requirements for Labeling Clothes?
Federal regulations require textile products to display fiber content, country of origin, and responsible party identification on permanent labels attached to garments. Polyester sublimation tags meet permanence requirements because dye bonding survives the garment’s entire usable lifespan without degrading or becoming illegible. Care instructions must accurately reflect fabric requirements using standard washing symbols or written directions in English. Compliance protects sellers from FTC enforcement actions while helping consumers properly maintain purchased garments. U.S. textile labeling regulations require garments to display fiber content, country of origin, and manufacturer or seller identification on permanent labels. [2]
Can You Sell Clothing Without a Care Label?
Selling clothing without proper care labels violates FTC regulations for most textile products sold commercially in the United States. Polyester tags provide ideal care label substrates because sublimated text and symbols remain permanently legible through washing. Handmade sellers and small businesses must comply with the same labeling requirements as large manufacturers when selling garments commercially. Exceptions exist for certain product categories, but most wearable textiles require fiber content, origin, and care instruction labeling.
Can You Sell Clothes Without Any Labels?
Removing brand labels for resale remains legal provided sellers don’t misrepresent products or remove required regulatory information from garments. Fabric content and care labels must remain attached or be replaced with accurate information meeting federal requirements for commercial textile sales. Polyester replacement labels with sublimated care information satisfy legal requirements while allowing brand customization for resellers. Deceiving buyers by removing labels to hide product origins or quality indicators violates consumer protection regulations regardless of label material.
What Is the Cheapest Way to Label Clothes Effectively?
Permanent laundry markers offer the lowest-cost labeling solution, writing directly on existing garment tags or fabric surfaces for simple identification needs. Synthetic fiber ribbons with sublimation printing provide professional appearance at moderate cost for small-batch production requiring brand presence. Polyester tag blanks purchased in bulk reduce per-unit costs significantly compared to pre-printed custom labels from commercial suppliers. Sublimation equipment investment pays back quickly when producing labels in-house rather than ordering from external print services.
How Do You Permanently Label Clothes?
Heat press sublimation onto polyester tags creates the most permanent labeling method—dye bonds molecularly within fibers, surviving the garment’s entire lifespan. Alternative permanent methods include iron-on vinyl, fabric stamps with permanent ink, and sewn woven labels that resist removal and washing. Polyester substrate selection determines longevity—100% synthetic content produces labels that outlast the garments they’re attached to. Test all labeling methods through multiple wash cycles before committing to production runs.
What Methods Create Long-Lasting Labels on Clothing?
Sublimation on polyester fiber produces the longest-lasting clothing labels because dye diffusion creates permanent molecular bonds rather than surface coatings that eventually wear away. Woven labels sewn into garment seams rank second for longevity, though production costs exceed sublimation printing significantly. Iron-on and heat transfer methods create durable results but may eventually lift or crack under repeated mechanical stress from washing. Material quality and proper application technique determine longevity regardless of which labeling method you choose.
Ready to Create Custom Clothing Tags With Sublimation?
Sublimation clothing tags deliver professional branding at home-production costs—polyester ribbon blanks cost pennies each while finished tags add significant perceived value to handmade garments. Fabric selection determines both print quality and durability, with 100% polyester delivering optimal results through industrial laundering conditions. Start with small test batches to dial in temperature, timing, and pressure settings for your specific tag materials and heat press equipment. Quality sublimated tags transform hobbyist projects into professional-looking products ready for retail sale.
Frequently Asked Questions
What are the rules for clothes tag placement?
Brand labels typically attach at center back neck inside collars or on upper back areas where customers naturally look for sizing and brand information. Care labels often position along side seams either inside or outside garments depending on brand preference and garment construction. Temperature during pressing affects placement options—some delicate areas cannot withstand heat press contact required for sublimation application. Standard placement improves customer experience by putting expected information in consistent, accessible locations.
Should clothing tags be on the left or the right side?
Left-side placement remains the industry standard for brand logos and labels due to accessibility, visibility, and cultural alignment across most markets. Right-side positioning works but may feel unfamiliar to customers accustomed to conventional left-side label placement on commercial garments. Polyester sublimation tags attach equally well on either side—placement becomes a branding decision rather than a technical limitation. Consistency across your product line matters more than absolute positioning for building brand recognition.
Can I put my own label on wholesale clothing?
Adding custom labels to wholesale clothing remains legal provided you obtain manufacturer consent and maintain required regulatory labeling for fiber content and care instructions. Polyester sublimation tags can replace or supplement existing manufacturer labels when properly authorized through wholesale agreements. Never remove required regulatory information when relabeling—only brand identity labels can be swapped without compliance concerns. Document supplier permissions and maintain accurate care labeling to avoid potential disputes or regulatory issues.
How can you label clothes without using traditional tags?
Alternative labeling methods include direct-to-garment printing, heat transfer vinyl, fabric stamps with permanent ink, and tagless printing directly onto garment interiors. Dye diffusion through sublimation can print directly onto polyester garment surfaces, eliminating separate tags entirely for ultimate comfort. Temperature requirements for direct printing vary by technique—sublimation needs 350–400°F while some transfers work at lower settings. Tagless labeling improves wearer comfort while maintaining required information through printed rather than sewn applications.
Can sublimation be used for both brand and care labels on clothing?
Sublimation produces excellent results for both brand identity labels and regulatory care labels on polyester substrates. Design layouts can combine logo graphics, size information, fiber content, care symbols, and origin text on single multi-purpose tags. Polyester ribbon wide enough for required information (typically 1–2 inches) accommodates all necessary content with readable font sizes. Dye diffusion ensures both decorative branding and functional care instructions remain permanently legible through the garment’s entire usable lifespan.
References
- Fluorescently labeled cellulose nanofibers for environmental health and safety studies. (n.d.). PMC Home. https://pmc.ncbi.nlm.nih.gov/articles/PMC8071547/
- Threading your way through the labeling requirements under the textile and wool acts. (2025, July 22). Federal Trade Commission. https://www.ftc.gov/business-guidance/resources/threading-your-way-through-labeling-requirements-under-textile-wool-acts