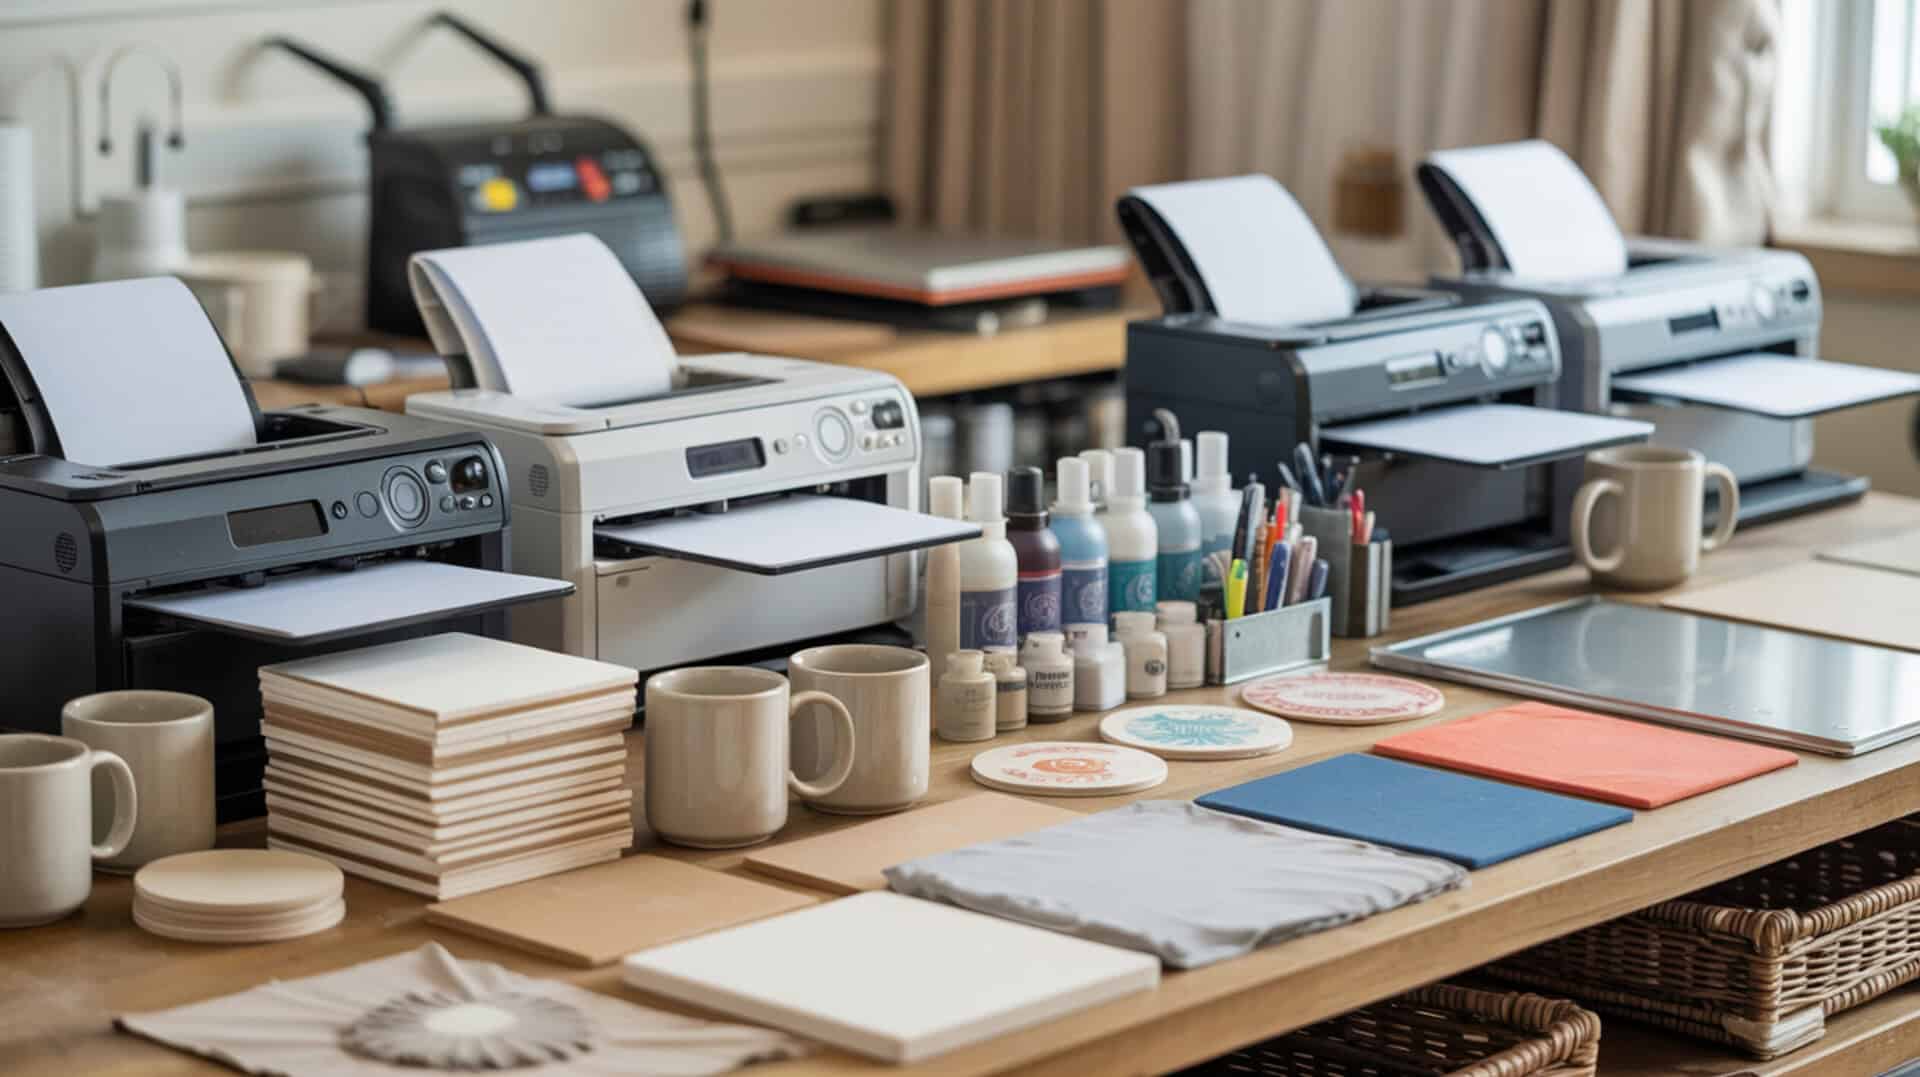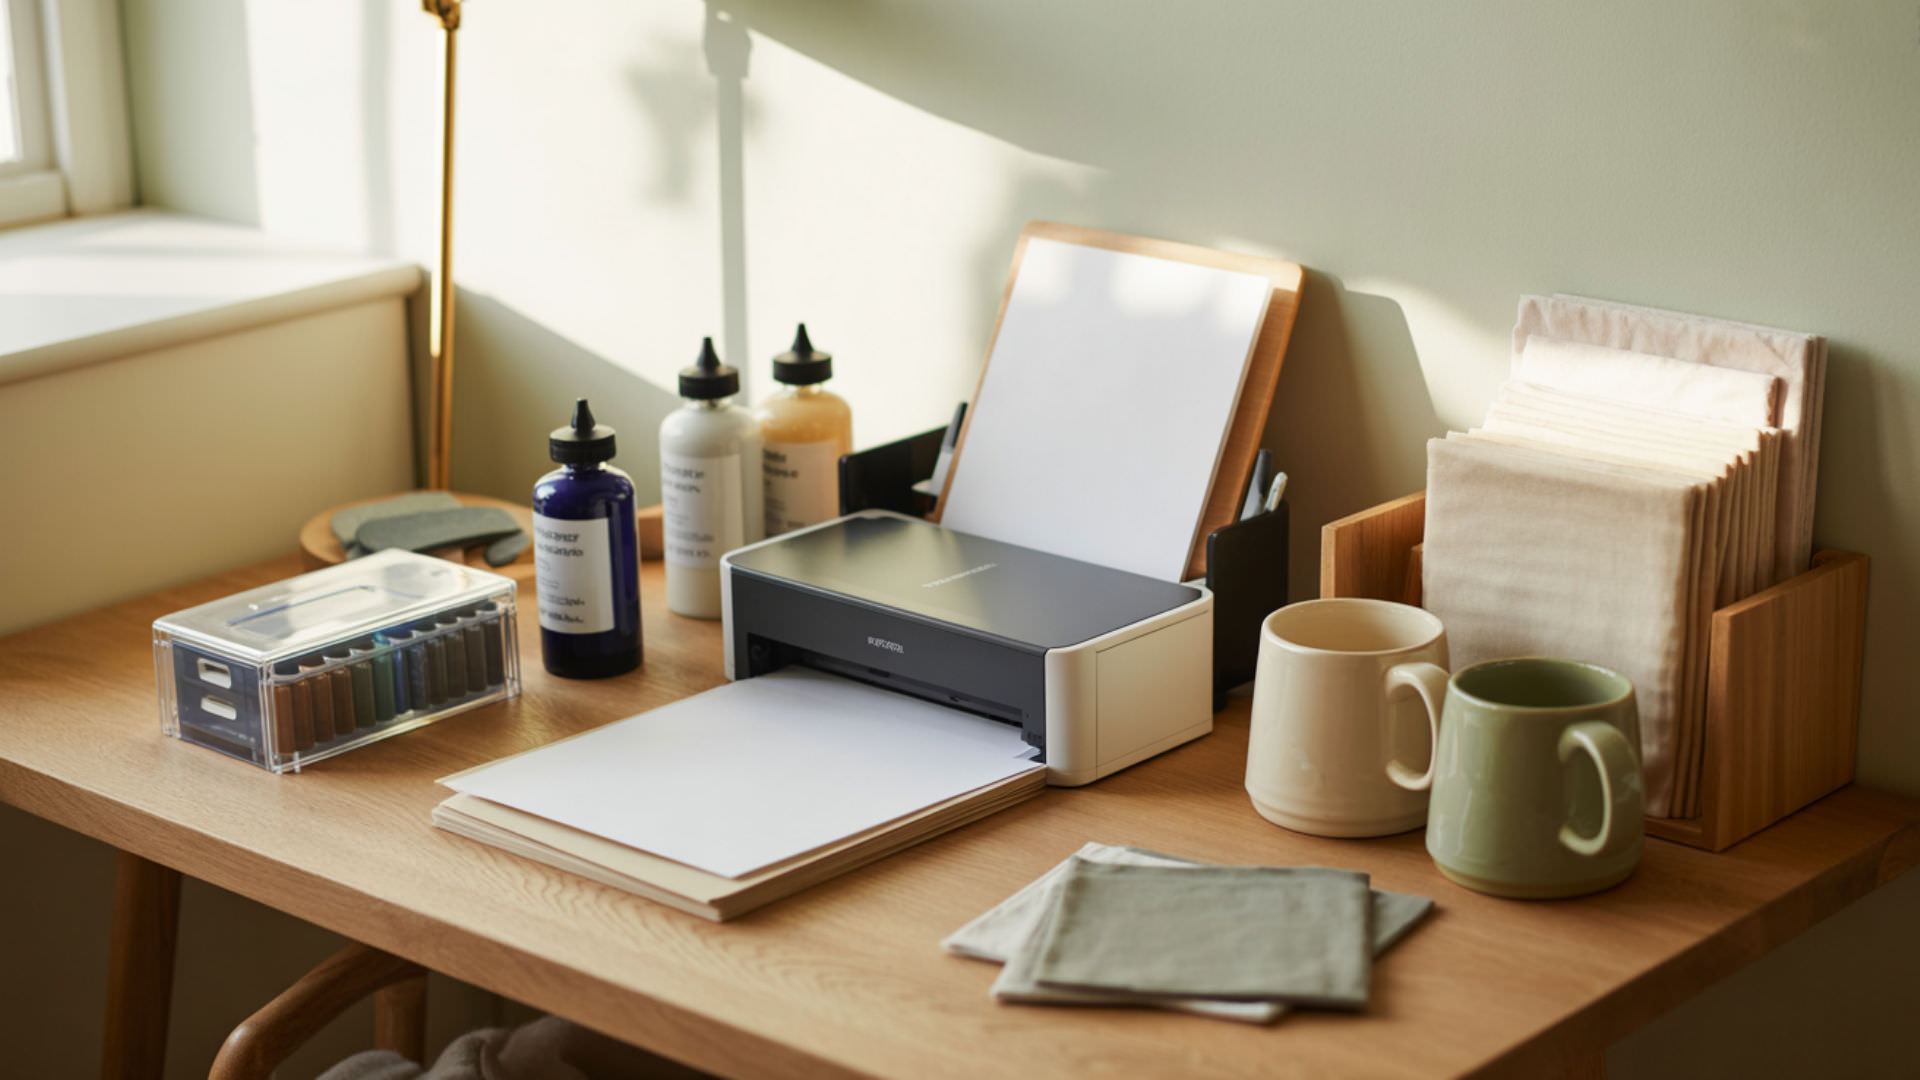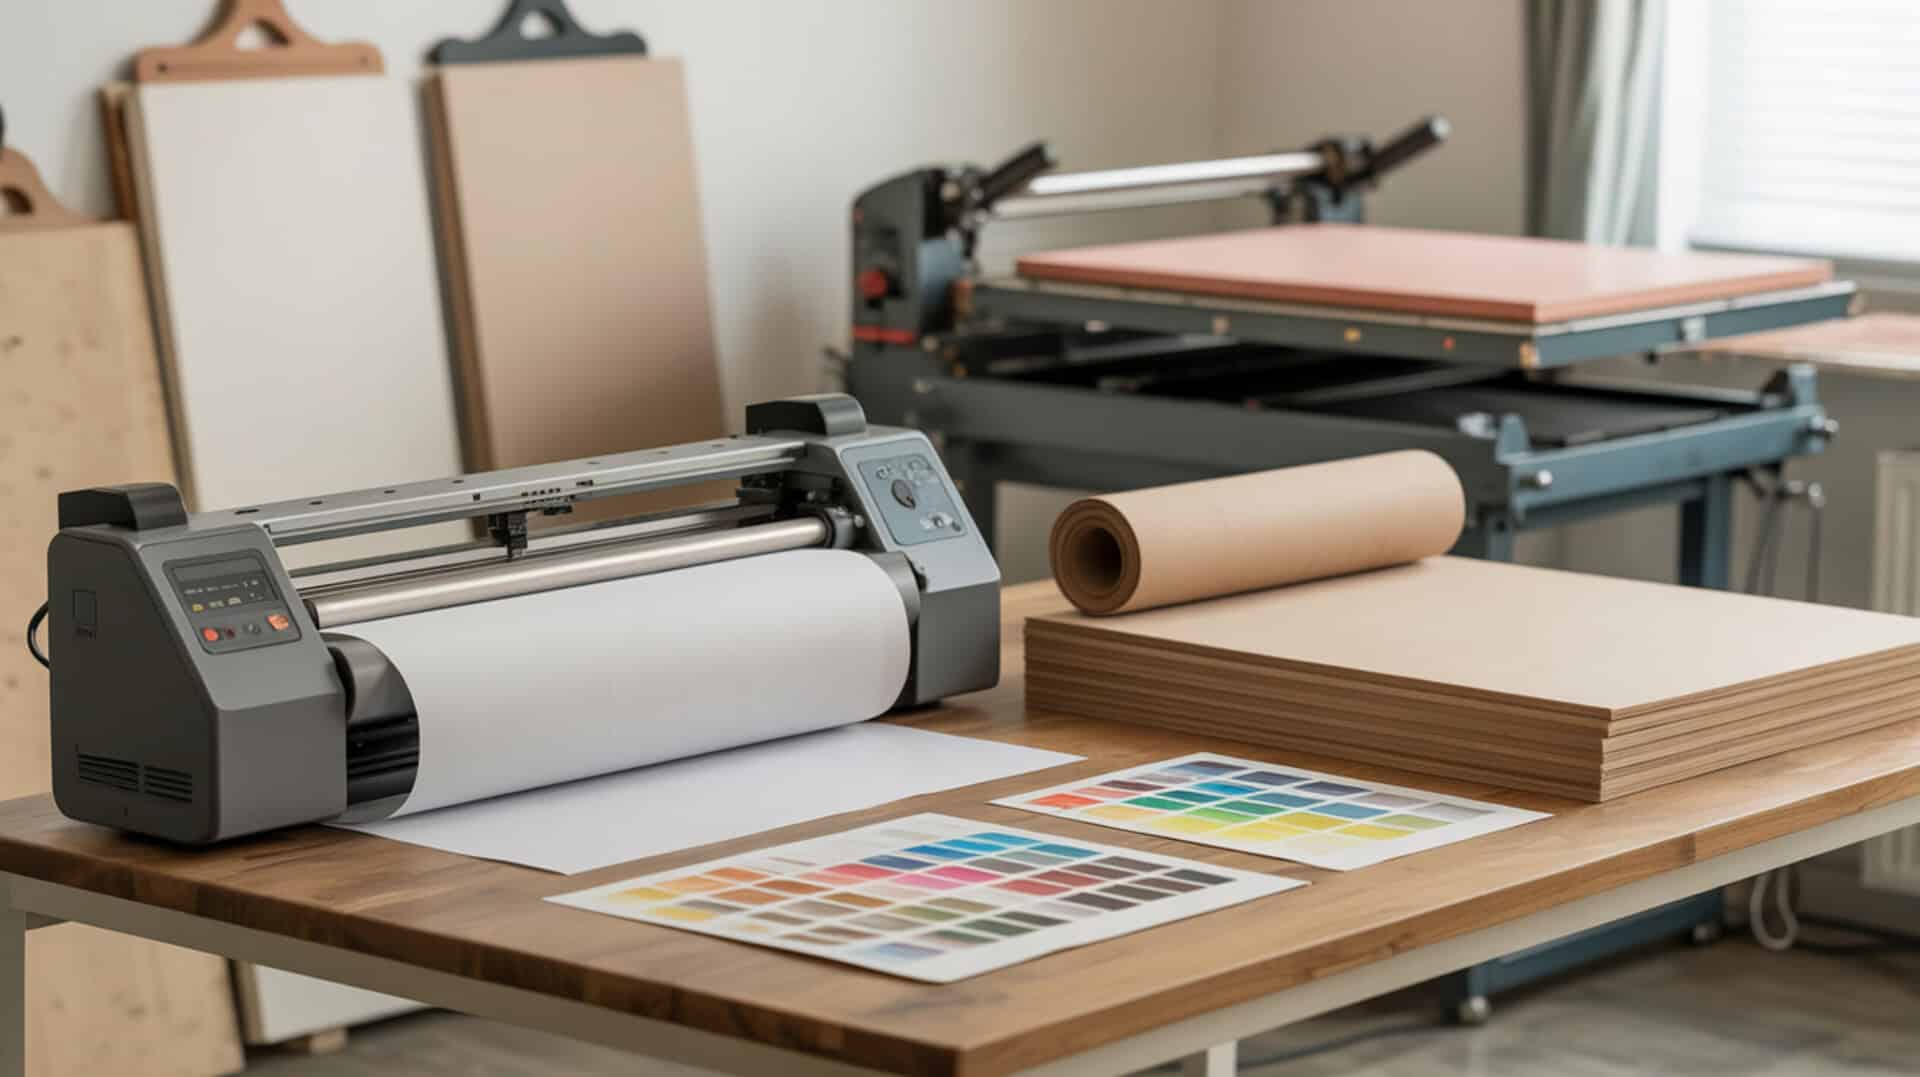
Cleaning a sublimation printer head removes dried dye-sublimation ink from nozzles, restoring consistent ink flow and print clarity. The print head is the core component responsible for ejecting microscopic ink droplets onto transfer paper, and its nozzles block easily when ink dries after exposure to air. Because regular print head maintenance prevents permanent clogs and costly repairs, you may want to explore our complete guide on how to use a sublimation printer for foundational care practices.
Key Takeaways
- Nozzle cleaning dissolves dried disperse dye and restores blocked color channels within 1–4 cleaning cycles.
- Running maintenance cycles every 1–2 weeks prevents ink from solidifying inside the print head nozzles.
- A nozzle check pattern identifies missing CMYK channels before attempting any head cleaning procedure.
How do you clean a sublimation printer head?
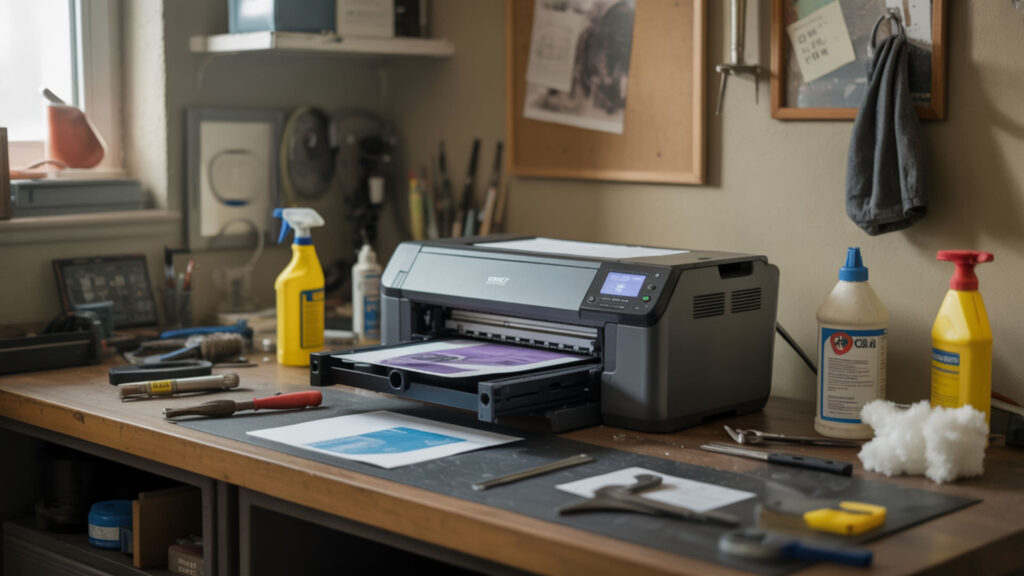
Nozzle cleaning flushes dried ink from blocked nozzles using the printer’s built-in maintenance cycle or manual application of cleaning agent. The cleaning agent dissolves hardened dye residue that accumulates when sublimation ink contacts air. Nozzles must remain unobstructed to deliver consistent droplet size and color density. For severe blockages that resist standard cycles, nozzle cleaning techniques overlap with advanced unclogging methods covered in our guide on how to unclog a sublimation printer.
What causes sublimation printer heads to clog?
Disperse dye solidifies when the printer sits idle or nozzles are exposed to air for extended periods, typically forming blockages within 1–2 weeks of inactivity. Low humidity below 35% accelerates ink drying by increasing evaporation rates at the nozzle surface. Dust particles contaminate exposed nozzles and create physical obstructions that compound dye buildup, leading to partial or complete channel failure. Lower humidity levels accelerate evaporation at exposed nozzle surfaces and can increase ink drying between firings, which contributes to clogged printheads. [1]
How often should you clean your sublimation printer head?
Maintenance cycles should run every 1–2 weeks for active printers and weekly for printers in low-humidity environments below 40%. Nozzles require periodic cleaning because sublimation ink begins drying at the nozzle plate within days of inactivity. Running a brief nozzle check before each print session identifies developing clogs early, reducing the need for aggressive deep cleaning that consumes excess ink.
What cleaning solutions work for sublimation printers?
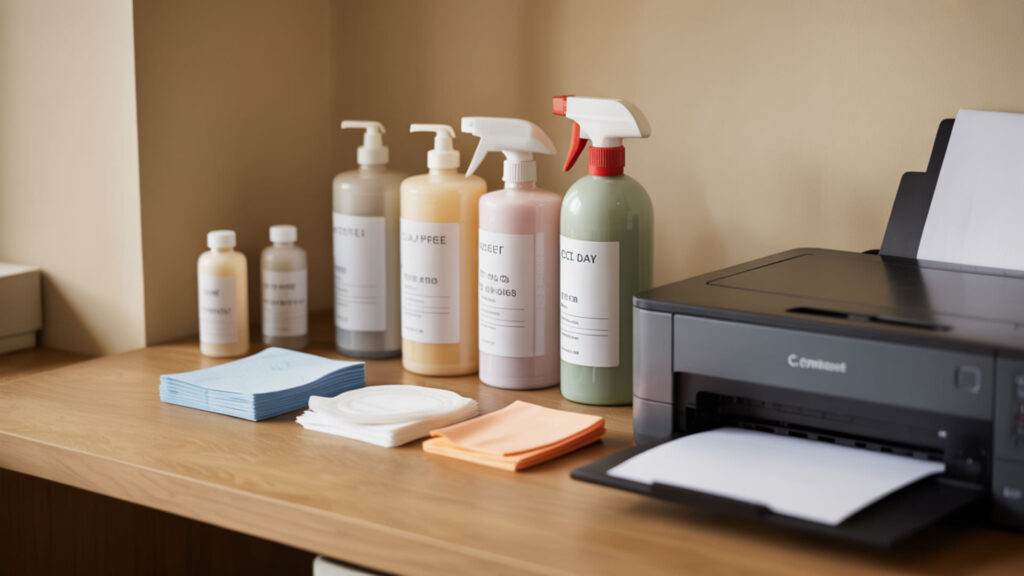
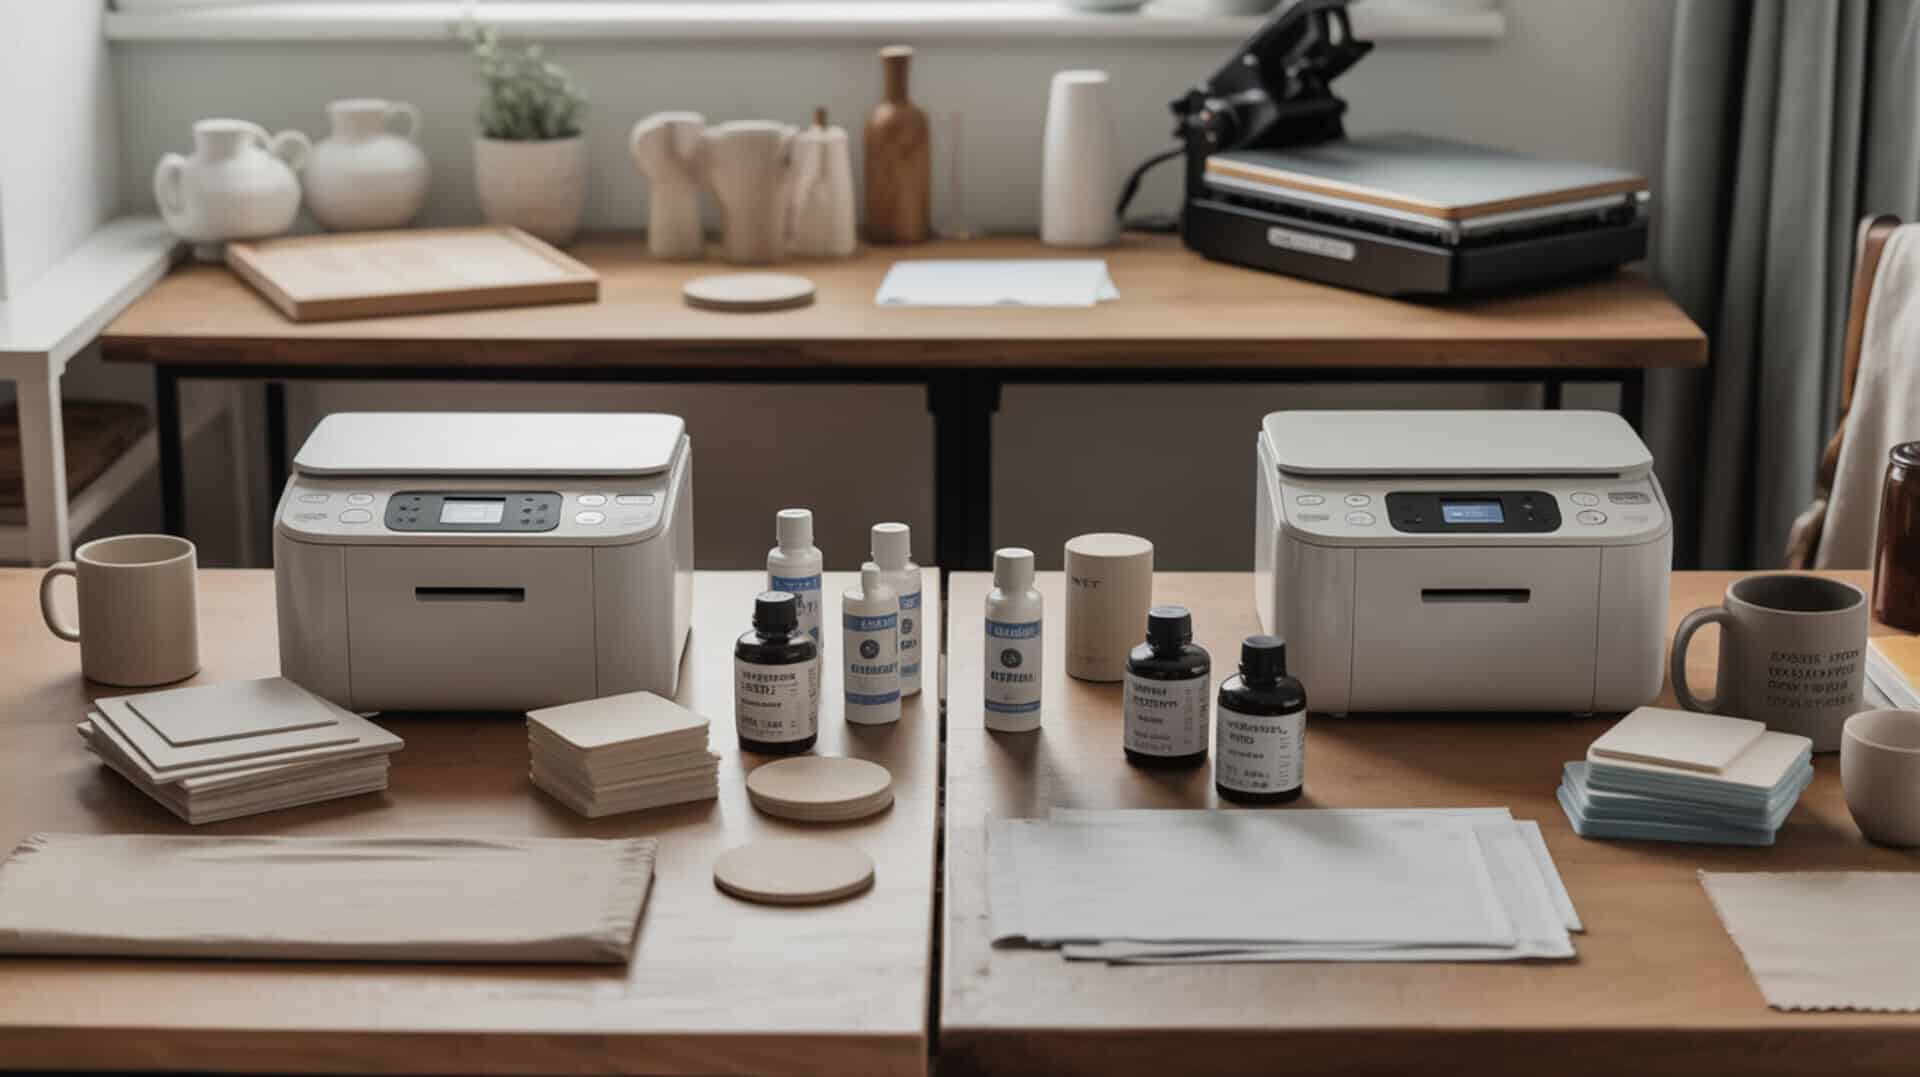
Cleaning solvents break down hardened dye residue using a formulation of purified water, isopropyl alcohol, and surfactants. Purified water or distilled water avoids mineral scaling that tap water deposits inside delicate print head channels. Isopropyl alcohol at 70–99% concentration assists external cleaning but requires careful dilution—typically 50/50 with distilled water—for internal contact. Because proper solvent (cleaning) selection extends print head life significantly, our guide on how to maintain sublimation printers covers long-term cleaning product strategies.
Can you make your own print head cleaning solution?
Homemade cleaning agent solutions combine deionized water with small amounts of ammonia-free window cleaner or isopropyl alcohol. Deionized water prevents mineral deposits that clog microscopic nozzle openings over time. A common DIY formula uses 8 parts distilled water to 2 parts isopropyl alcohol (70–99%), though commercial piezo-head cleaners offer more consistent results for severe blockages.
Can rubbing alcohol be used safely on some print heads?
Isopropyl alcohol must be diluted to 50% concentration or less before contacting internal print head components because full-strength alcohol can degrade rubber seals and gaskets. Temperature dependence influences solvent performance—warm solutions between 20–25°C dissolve dried ink faster than cold applications. Higher alcohol concentrations (90–99%) work for external surface cleaning but require longer drying times before reassembly. Isopropyl alcohol must be used carefully because higher concentrations increase solvent strength and evaporation rate, which can degrade rubber seals and sensitive components. [2]
How do you unclog dried sublimation ink?

Dye aggregation creates hardened deposits that block nozzle openings when sublimation ink dries completely inside the print head. An ink purge cycle pushes fresh ink through the nozzles under pressure, clearing soft clogs that developed within the past few days. Solvent soaking is required for severe dried ink deposits older than 1–2 weeks, where aggressive dye crystallization resists standard purge pressure.
Can sublimation printers use cleaning cartridges?
Cleaning cartridges contain specialized cleaning agent fluid that replaces ink during the purge cycle, delivering solvent directly through clogged channels. The purge function forces cleaning solution through nozzles more aggressively than standard maintenance cycles. These cartridges work best for moderate clogs and transitioning between ink types, though heavily dried blockages may still require manual intervention.
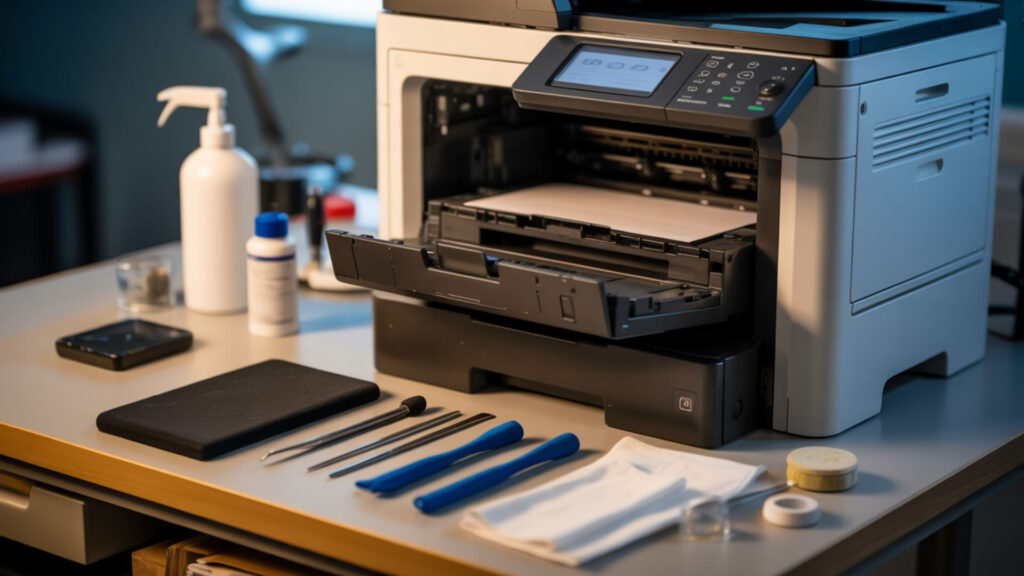
How do you manually unclog a print head?
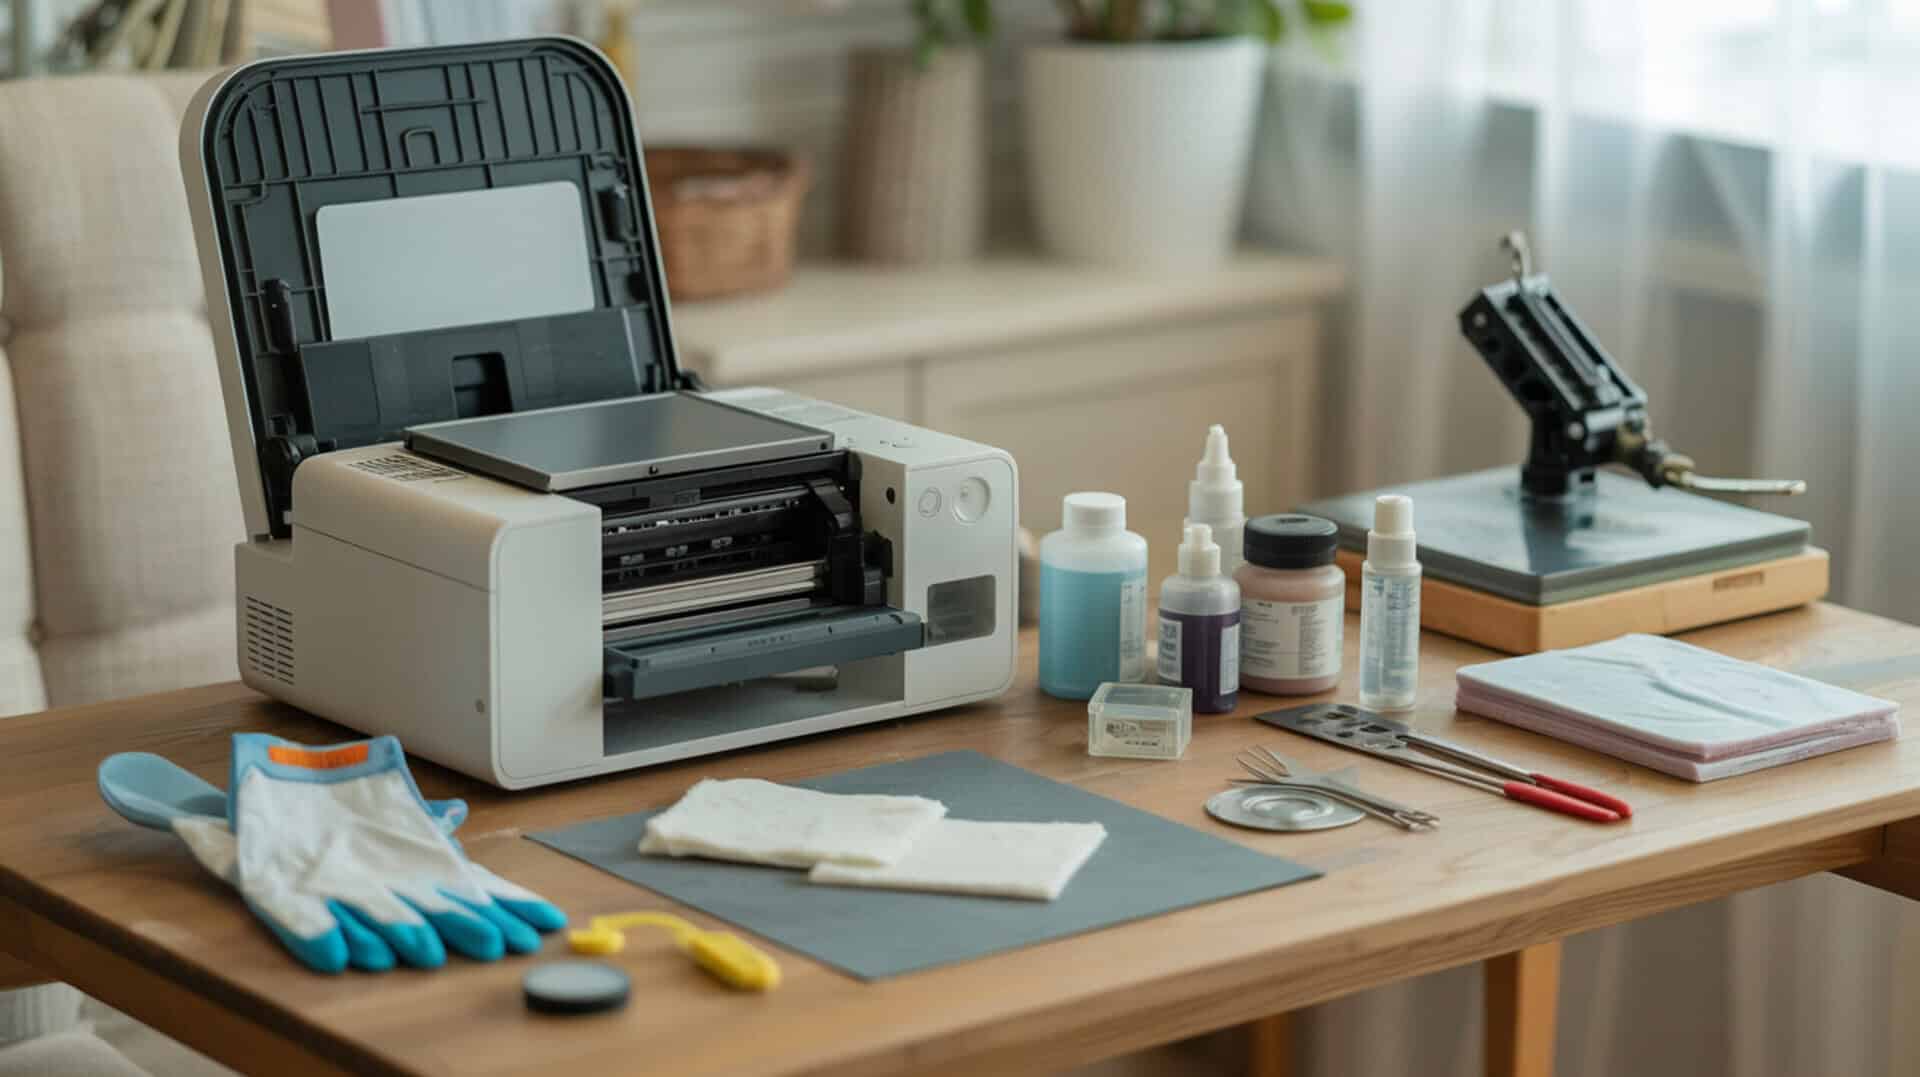
Syringe flushing provides directed pressure to dissolve and remove stubborn blockages that automated cycles cannot clear. Attach a blunt syringe to the ink intake port and gently push purified water or cleaning solution through the nozzles until liquid flows freely. Let the print head soak in 3–5mm of cleaning solution for 10–15 minutes for dried clogs, then dry thoroughly for 1–2 hours before reinstalling.
How do you clean an inkjet-based sublimation printer step-by-step?
Run a nozzle check first to identify which CMYK color channels display gaps or missing segments in the test pattern. Clean the wiper blade with a lint-free cloth dampened with distilled water to prevent dried ink transfer back onto the print head. Inspect the capping station seal for debris or dried ink buildup that prevents proper head sealing during rest periods. Execute 2–3 cleaning cycles through the printer software, waiting 5–10 minutes between cycles to allow ink flow stabilization.
Can incorrect cleaning damage a sublimation printer?
Pump mechanism failure occurs when excessive cleaning cycles overwork the suction system that draws waste ink from the print head. The waste ink reservoir fills rapidly with repeated deep cleans—each power cleaning cycle deposits 2–5ml of ink into the waste pad. Aggressive manual cleaning with incompatible solvents or excessive pressure can scratch the print head nozzle plate surface, causing permanent droplet misfiring.
How many times can you run a head clean safely?
Limit maintenance cycles to 2–4 consecutive cleaning attempts before pausing for 6–12 hours to prevent waste ink reservoir overflow. Repeated cycles fill the waste ink pad faster—printers typically allow 3,000–10,000 cleaning cycles before the pad reaches saturation. Excessive cycling also increases pump strain, potentially shortening the maintenance system’s operational lifespan by months or years.
What are the signs of a failing or damaged print head?
Missing CMYK color model channels that persist after multiple cleaning cycles indicate failing nozzles that no longer fire correctly. Reduced gamut—where colors appear muted or certain hues cannot be reproduced—suggests severe internal damage affecting dye delivery consistency. Persistent banding, color shifting, or complete channel dropout despite fresh ink and clean maintenance components typically signals irreversible print head degradation.
What alternative cleaning methods work for sublimation printers?

Isopropyl alcohol at 70–90% concentration cleans external print head surfaces and encoder strips when applied sparingly with lint-free swabs. Specialized solvents formulated for piezo print heads clear stubborn internal ink buildup more effectively than DIY solutions. Deionized water remains the safest fluid for diluted cleaning mixtures and extended soaking procedures. Professional maintenance kits containing solvent (cleaning) supplies, syringes, and swabs provide everything needed for alternative cleaning methods—see our best sublimation printer maintenance kit guide for recommendations.
Can 70% isopropyl alcohol be used to clean printer heads?
Isopropyl alcohol at 70% concentration works for external cleaning but contains 30% water that extends drying time significantly. Higher concentrations of 90–99% evaporate faster and leave less residue on sensitive components. Temperature affects evaporation rate—warmer ambient conditions around 20–25°C allow 70% alcohol to dry within 10–15 minutes versus 30+ minutes in cooler environments.
How do you flush a print head using a syringe?
Syringe pressure forces cleaning solution through nozzles to dislodge dried ink that automated cycles cannot reach. Fill a blunt-tip syringe with purified water or dedicated cleaning fluid and attach it securely to the ink inlet port. Apply gentle, steady pressure—never force aggressively—until liquid exits the nozzle plate cleanly without visible ink particles or discoloration.
Ready to Keep Your Sublimation Printer Running Perfectly?
Regular print head cleaning and nozzle cleaning maintenance prevents the dried ink buildup that causes costly repairs and inconsistent output quality. Establish a weekly routine of nozzle checks and cleaning cycles to catch developing clogs before they require aggressive intervention. Your sublimation prints will maintain vibrant colors and sharp detail when the print head receives consistent preventive care.
Frequently Asked Questions
Can you clean sublimation ink out of a printer?
Sublimation ink can be cleaned from nozzles using dedicated solvent cleaners or a distilled water and isopropyl alcohol mixture. Dye-sublimation ink behaves differently than pigment inks when drying—it forms crystalline deposits rather than flexible films. Complete removal from severely clogged heads may require 24–48 hour soaking in cleaning solution followed by syringe flushing.
Can printer heads be cleaned safely using only water?
Distilled or deionized water works for light cleaning and rinsing but lacks the solvent strength to dissolve hardened dye deposits effectively. Tap water should never contact print head nozzles because mineral content creates scale buildup inside microscopic channels. For stubborn clogs, water must be combined with approved cleaning agents or isopropyl alcohol at 10–50% concentration.
What solvents are commonly used to clean inkjet-based print heads?
Commercial print head cleaners typically contain distilled water (85–95%), isopropyl alcohol (1–10%), and surfactant detergents (0.1–1%) that lower surface tension for better penetration. Ammonia-based window cleaners work in diluted form but risk seal degradation with repeated use. Piezo-specific solvents from ink manufacturers provide the safest formulation matched to sublimation ink chemistry.
How can you tell if sublimation colors are fading due to clogs?
Print a nozzle check pattern to identify which color channels display gaps, missing segments, or weak output intensity. Faded colors with visible banding typically indicate partial nozzle blockages reducing ink flow to specific CMYK channels. If certain hues appear consistently muted while others print vibrantly, the affected color’s nozzles likely contain dried ink restricting droplet volume.
Does deep cleaning shorten the life of a printer head?
Excessive deep cleaning cycles accelerate waste ink pad saturation and increase mechanical wear on the pump system. Each power cleaning deposits 2–5ml of ink into the waste reservoir, with most printers limiting total waste capacity to 20–30ml. Running deep cleans only when standard cycles fail—and limiting sessions to 2–4 attempts with 6–12 hour rest periods—minimizes unnecessary component stress.
References
- Humidity: Understanding its role in air quality. (n.d.). Sans. https://www.livesans.com/blogs/education/humidity-role-air-quality?nbt=nb%3Aadwords%3Ax%3A23010061136%3A%3A&nb_adtype=&nb_kwd=&nb_ti=&nb_mi=&nb_pc=&nb_pi=&nb_ppi=&nb_placement=&nb_li_ms=2840&nb_lp_ms=2840&nb_fii=&nb_ap=&nb_mt=&campaignid=23010061136&adgroupid=&adid=&gad_source=1&gad_campaignid=23003919060&gbraid=0AAAAAByuwwqPNb60yk2Q8d7fPBjSWgd8X&gclid=Cj0KCQiAgP_JBhD-ARIsANpEMxyojuYNV41QD16urtsRdhOK6FT9PYLNg-BBmDt5pzcsh1BYUhvAGvEaAuh8EALw_wcB
- Isopropyl alcohol. (n.d.). Centers for Disease Control and Prevention | CDC. https://www.cdc.gov/niosh/npg/npgd0359.html