Sublimation tools that support color calibration and workflow efficiency help reduce unexpected hue and saturation shifts while improving production speed and consistency. ICC profiles align monitor, printer, and substrate color behavior to ensure device consistency across your dye-sublimation printer workflow, while physical tools like tape dispensers, paper cutters, and infrared thermometers address the mechanical aspects of transfer preparation and heat press verification. Because ICC profile management determines end-to-end color accuracy, you may want to read our hub guide on Sublimation Color Management to understand the complete color-management system these tools support. This roundup covers three quality-of-experience tools—tape dispensers for faster setup, paper cutters for cleaner trimming, and infrared thermometers for heat press troubleshooting.Accurate color calibration and temperature verification depend on standardized measurement science, which is why organizations like the National Institute of Standards and Technology play a foundational role in ensuring consistency across technical workflows.[1]
Key Takeaways
- Lower Delta E values indicate higher print accuracy within acceptable color tolerance—proper tools help maintain consistency by reducing variables like transfer shifting, uneven cuts, and temperature inconsistencies.
- The tape dispenser is described as “one of the biggest time savers” in a sublimation workshop, with the enhanced pre-cutting version making “life a whole heck of a lot simpler.”
- Paper cutters are “one of the tools most commonly used” and “100% worth picking up” for sublimation work, while infrared thermometers serve as “necessary troubleshooting tools” for diagnosing heat press issues.
Is a Tape Dispenser Essential for Your Sublimation Workflow?
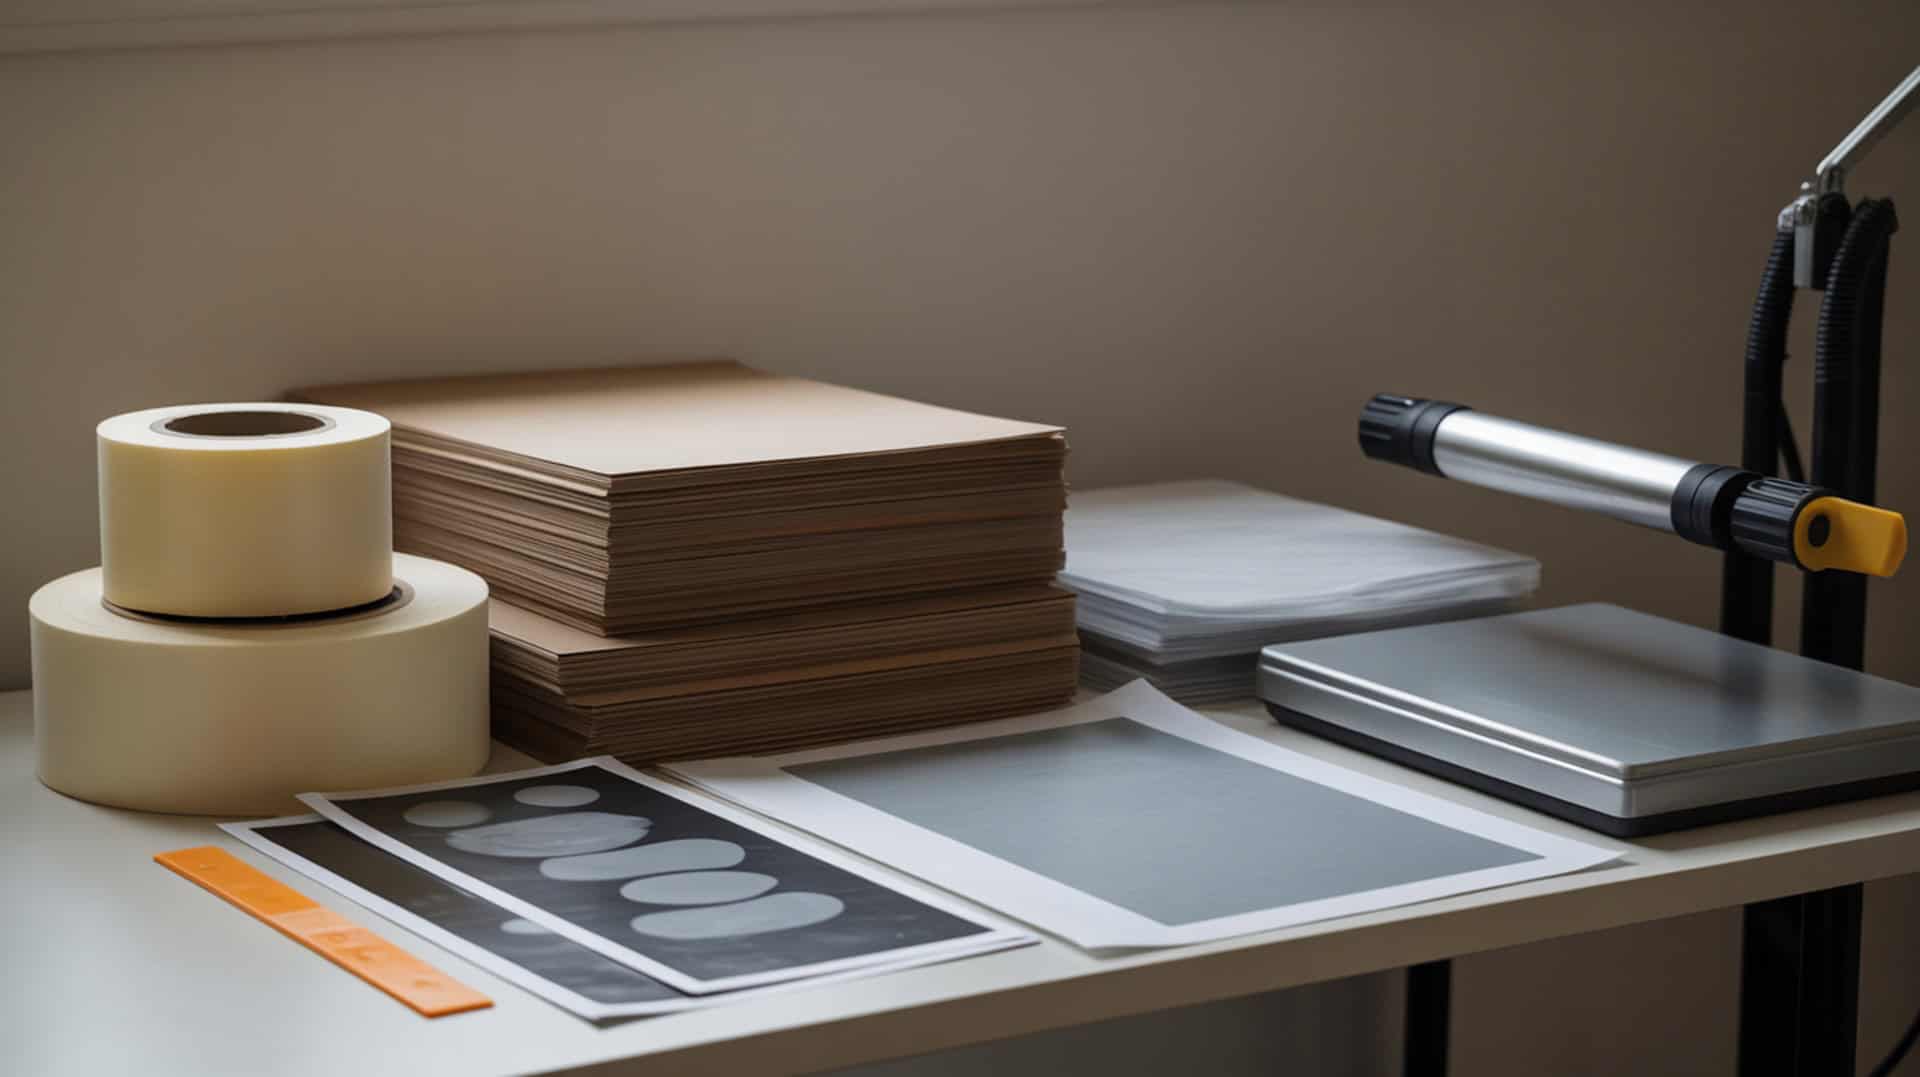
A tape dispenser provides stable adhesion that reduces transfer shifting during heat pressing by allowing controlled, repeatable tape application without the inconsistency of manual cutting with scissors. According to the creator’s workshop experience, tape dispensers are “one of the biggest time savers” in a sublimation workshop, with the enhanced style that pre-cuts tape described as “the better value” that “makes life a whole heck of a lot simpler.” The basic dispenser “does a really good job” even though it’s “nothing special.” I recommend the pre-cutting version for crafters who tape transfers frequently and want maximum workflow efficiency.
What kind of efficiency improvements can you expect from using a tape dispenser?
A tape dispenser delivers controlled tape application for faster, more repeatable setup compared to cutting strips with scissors, which the creator describes as “just is not the way.” According to workshop experience, the dispenser improves workflow efficiency by eliminating the need to find scissors, measure tape lengths, and make clean cuts manually. The enhanced model that pre-cuts tape provides even greater time savings since you simply pull and the tape is ready to apply. The creator purchased their basic dispenser in 2020 and would have bought the pre-cutting version if they had known it existed at the time.
What are the pros and cons of using a tape dispenser for sublimation projects?
Tape dispensers reduce tack-related issues by providing consistent tape lengths, though excessive tack from any heat-resistant tape can still create residue risk on transfers if not used properly. Based on reported workshop experience, pros include being “one of the biggest time savers” in the workshop, faster than cutting tape with table scissors, and the basic model “does a really good job.” The enhanced pre-cutting version is described as “the better value” that “makes life a whole heck of a lot simpler.” Cons include the basic dispenser lacking extra functionality like pre-cutting, and the creator noting they would have bought the pre-cutting version instead had they known it existed.
How does a dedicated tape dispenser compare to dispensing tape manually?
A dedicated tape dispenser provides consistent shear resistance that lowers ghosting risk compared to manual tearing, which can create uneven edges and inconsistent tape lengths that affect transfer stability. The creator’s comparison focuses on two dispenser types: basic dispensers that are functional and “do a really good job,” and enhanced dispensers that pre-cut tape automatically. The recommendation is to choose the pre-cutting version over the basic one because it simplifies workflow further. No brand-to-brand competitor comparison was provided beyond this type comparison. You can find tape dispenser here. [3]
How Useful Are Paper Cutters for Sublimation Printing Projects?
Paper cutters improve paper smoothness through clean cuts that provide better paper alignment and platen contact during heat pressing, especially important for tumbler wraps where straight edges help with wrapping. According to the creator’s workshop experience, paper cutters are “one of the tools that’s most commonly used” and are “100% worth picking up” for sublimation work. The tool makes cutting “much easier and cleaner than scissors” and is especially useful for tumbler wraps, small projects, and repetitive cuts. Most cutters offer approximately 12-inch capacity, described as a “fairly universal and sufficient standard.” I recommend paper cutters for crafters doing tumbler work or any projects requiring clean, consistent edges.
⫸ Click Here For Best Selling Sublimation Printers And Products ⫷What cutting precision can you achieve with a paper cutter for sublimation?
Paper cutters deliver dimensional stability through precise trimming that reduces paper shift during pressing, with straight clean edges that improve transfer alignment and visual quality on finished products. According to workshop use, cutters are designed to provide “straight, clean cuts” for sublimation prints and are better suited than scissors for repetitive cutting, templates, and small precise projects. The creator uses their cutter frequently to trim sublimation prints cleanly, especially for tumblers where a straight clean edge helps with wrapping. Physical design elements on some models include guide rods and desktop-style trimmer formats for added precision.
What are the pros and cons of using paper cutters for sublimation work?
Paper cutters handle typical sublimation paper weight effectively, though heavy paper stacks can reduce cutting accuracy when attempting to cut too many sheets at once. Based on reported workshop experience, pros include being “one of the tools most commonly used” in the workshop, making cutting “much easier and cleaner than scissors,” being especially useful for tumbler wraps and repetitive cuts, and being “100% worth picking up” for sublimation work. The 12-inch capacity is described as a fairly universal and sufficient standard. Cons include the creator expressing uncertainty about whether 15-inch cutters offer meaningful benefits over 12-inch models, and limited firsthand experience with some specific alternative models.
How do paper cutters compare to scissors for trimming sublimation transfers?
Paper cutters provide higher edge accuracy than scissors, resulting in better transfer alignment and visual quality on finished sublimation products like tumblers and apparel. The creator mentions several models: Westcott (personally used, older model), Amazon Basics (described as very similar with good reviews but not personally tested), and Swingline (similar design with guide rod, assumed decent but not tested). Capacity comparison shows 12-inch cutters as the standard, with 15-inch versions available but the creator doubting whether they add much value over 12 inches. No head-to-head performance testing or ranking was provided. You can find paper cutters here. [4]
Is an Infrared Thermometer Worth It for Sublimation Heat Pressing?
An infrared thermometer verifies accurate surface temperature for more consistent dye activation, helping identify heat distribution issues like cold spots that cause uneven transfers. According to the creator, infrared thermometers are a “necessary troubleshooting tool” that helps “get to the bottom of” problems with heat presses and heated equipment, though they note “a lot of people aren’t going to agree” that this tool is necessary. I recommend infrared thermometers for crafters experiencing inconsistent results who need to diagnose heat press performance issues. Infrared thermometers rely on established thermometry principles to measure surface temperature, which is why they are effective for identifying uneven heat and cold spots on press platens.[2]
What temperature accuracy can you expect from an infrared thermometer?
Infrared thermometers provide temperature readings that help verify thermal equilibrium, though measuring before your heat press reaches stable temperature can produce misleading readings that don’t reflect actual pressing conditions. According to described use cases, the tool uses laser-based reading for non-contact surface temperature checks, helping troubleshoot heat press issues when results don’t match expected temperatures. The creator recommends models with at least approximately 500°F capability for sublimation troubleshooting, noting that many models measure up to approximately 1,000°F. The tool is intended primarily as a diagnostic and troubleshooting tool rather than a production tool.
What are the pros and cons of using an infrared thermometer for sublimation?
Infrared thermometers require correct emissivity settings for the surface being measured—incorrect emissivity leads to inaccurate temperature readings that can misdiagnose heat press issues. Based on reported experience, pros include being a “necessary troubleshooting tool” for heat-related issues, helping “get to the bottom of” problems with heat presses, being useful for identifying uneven heat or cold spots, simple laser-based operation, and versatility beyond sublimation (works on ovens and other heat sources). Cons include the creator acknowledging “a lot of people aren’t going to agree” that this tool is necessary. No drawbacks related to accuracy, durability, or workflow speed were discussed.
How does an infrared thermometer compare to built-in heat press displays?
Infrared thermometers measure actual surface temperature rather than controller temperature, explaining temperature difference issues where displays show one reading while the platen surface runs hotter or cooler with cold spots. The creator notes there are multiple options available, briefly mentioning Etekcity as a “good-looking” option. Most models go up to approximately 1,000°F while the creator recommends at least approximately 500°F capability for sublimation troubleshooting. No side-by-side testing or ranking between different brands was provided. The tool helps diagnose other heat-related equipment like ovens used for tumbler work. You can find this product here. [5]
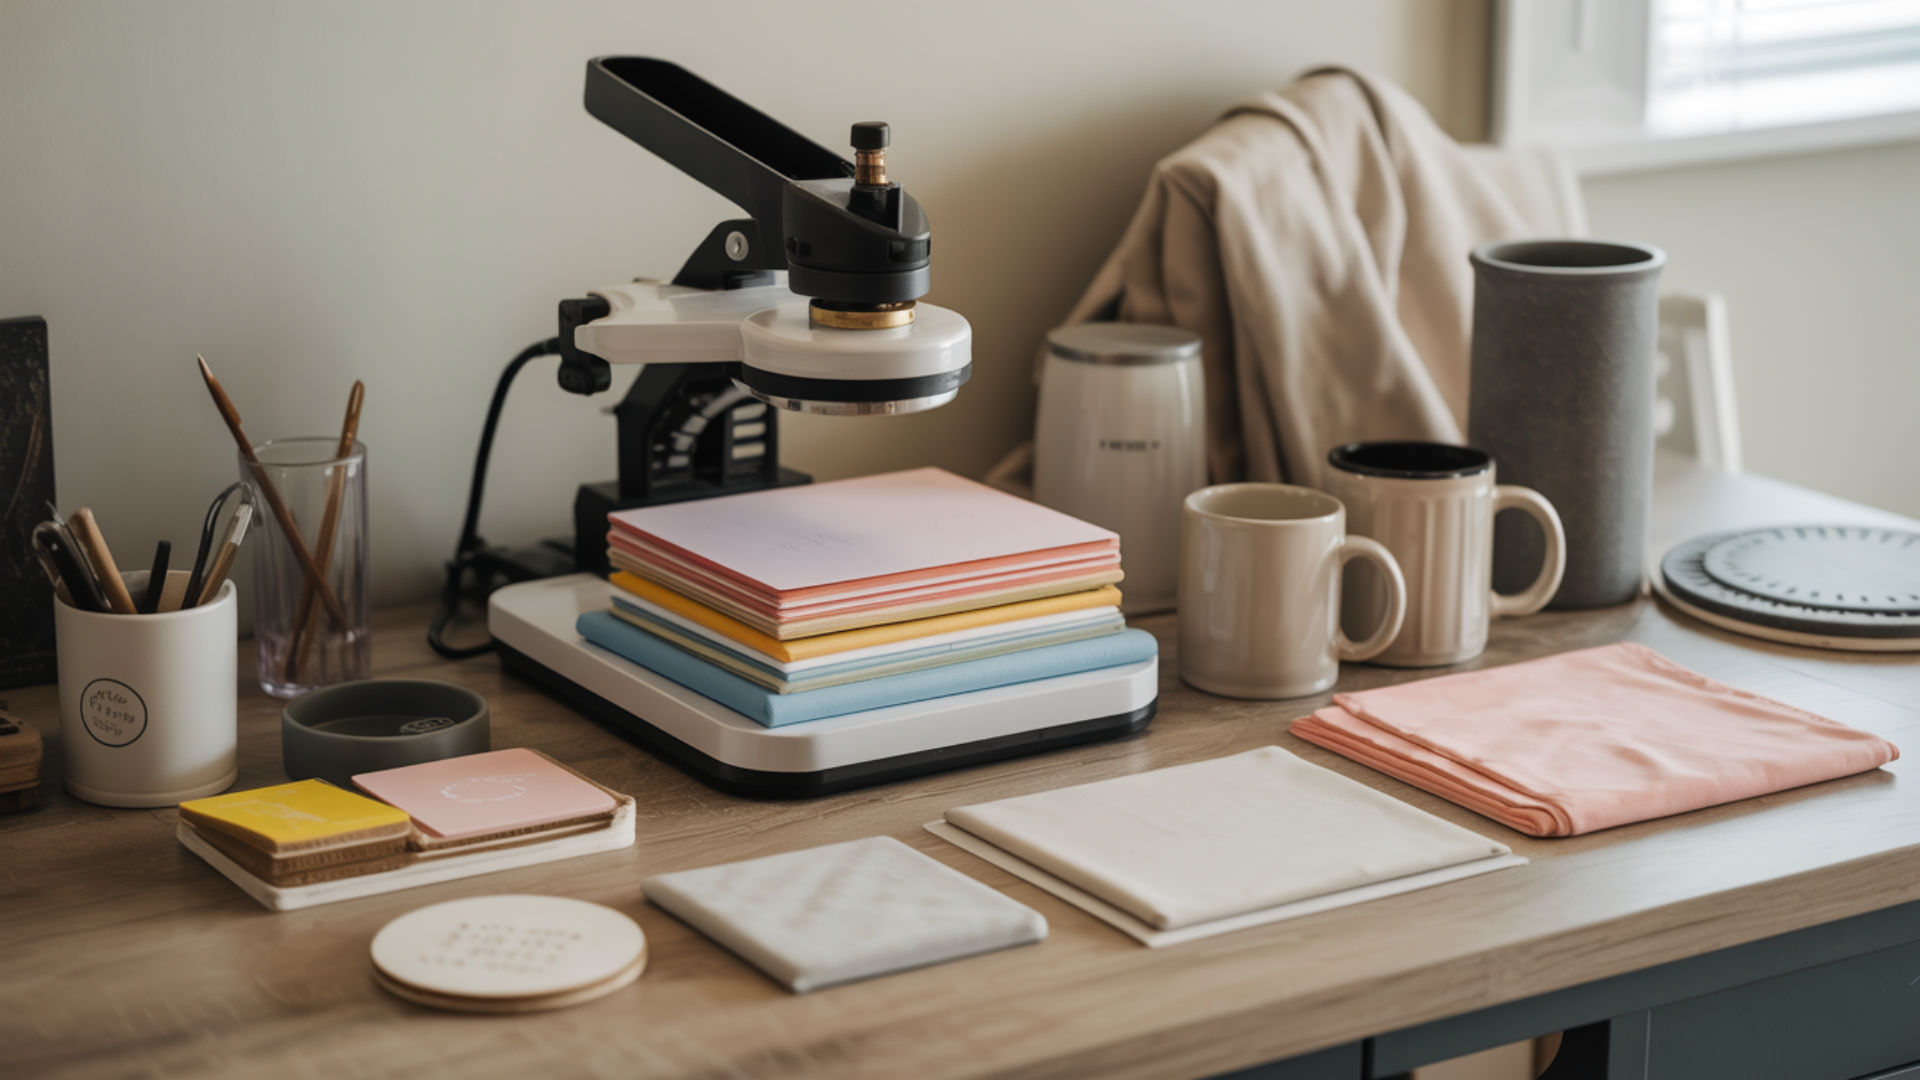
Which Sublimation Tools Will Improve Your Quality of Experience the Most?
Choosing the right sublimation tools depends on controlled viewing conditions for reliable color evaluation and identifying which workflow bottlenecks affect your specific production process. For crafters taping transfers frequently, the tape dispenser (especially the pre-cutting version) delivers “one of the biggest time savers” by eliminating scissors and providing consistent tape lengths. For those doing tumbler work or projects requiring clean edges, paper cutters are “one of the tools most commonly used” and “100% worth picking up.” For troubleshooting inconsistent heat press results, infrared thermometers are “necessary troubleshooting tools” that identify cold spots and verify actual surface temperatures. Because color matching requires predictable, high-quality visual output, you may want to read our guide on Best Picture Quality for Sublimation for additional optimization tips.
Frequently Asked Questions
How do you get high quality sublimation prints every time?
High quality sublimation prints require correct ICC profile settings for balanced print density and vibrancy, combined with proper workflow tools that reduce variables like transfer shifting, uneven cuts, and temperature inconsistencies. Use a tape dispenser (preferably pre-cutting style) for consistent transfer adhesion, paper cutters for clean edges that improve platen contact, and verify heat press performance with an infrared thermometer if results seem inconsistent. Because print density validation requires testing before production runs, you may want to read our guide on Sublimation Test Print for color accuracy verification procedures. Pre-press substrates to remove moisture, use protective paper, and follow recommended time/temperature settings for your specific blanks.
Why are my sublimation prints not vibrant and how can I fix it?
Sublimation prints lacking vibrancy typically result from incorrect ICC profile settings causing unbalanced print density, insufficient temperature or time during pressing, or moisture trapped in substrates dulling color transfer. Verify your heat press is reaching actual target temperature using an infrared thermometer—the creator describes these as “necessary troubleshooting tools” for identifying cold spots and temperature inconsistencies between display readings and surface temps. Pre-press substrates to remove moisture before applying transfers. Check that your printer settings use the correct ICC profile for your specific ink and paper combination. Ensure adequate dwell time for complete dye sublimation into the substrate.
Why are my sublimation prints coming out blurry?
Blurry sublimation prints typically result from transfer movement during pressing (ghosting), moisture escaping during the press cycle, or inadequate tape securing the transfer to the substrate. Using a tape dispenser provides consistent shear resistance that lowers ghosting risk compared to manual tape tearing with uneven edges. The creator notes tape dispensers are “one of the biggest time savers” partly because consistent tape application helps prevent shifting. Pre-press substrates to remove moisture before applying transfers. Open the press carefully and remove paper slowly to prevent shifting. Ensure adequate pressure for full contact between transfer and substrate.
Do you let sublimation cool before peeling the transfer paper?
Sublimation peel timing depends on substrate type—hard substrates like mugs and tiles typically require hot peel (removing paper immediately), while fabrics often allow either hot or warm peel depending on manufacturer recommendations for your specific transfer paper. Using paper cutters to create clean, straight edges makes peeling easier by providing consistent paper boundaries without ragged edges that can catch or tear. The creator describes paper cutters as “100% worth picking up” partly because clean edges improve the entire transfer process including removal. Always follow specific instructions for your paper and substrate combination.
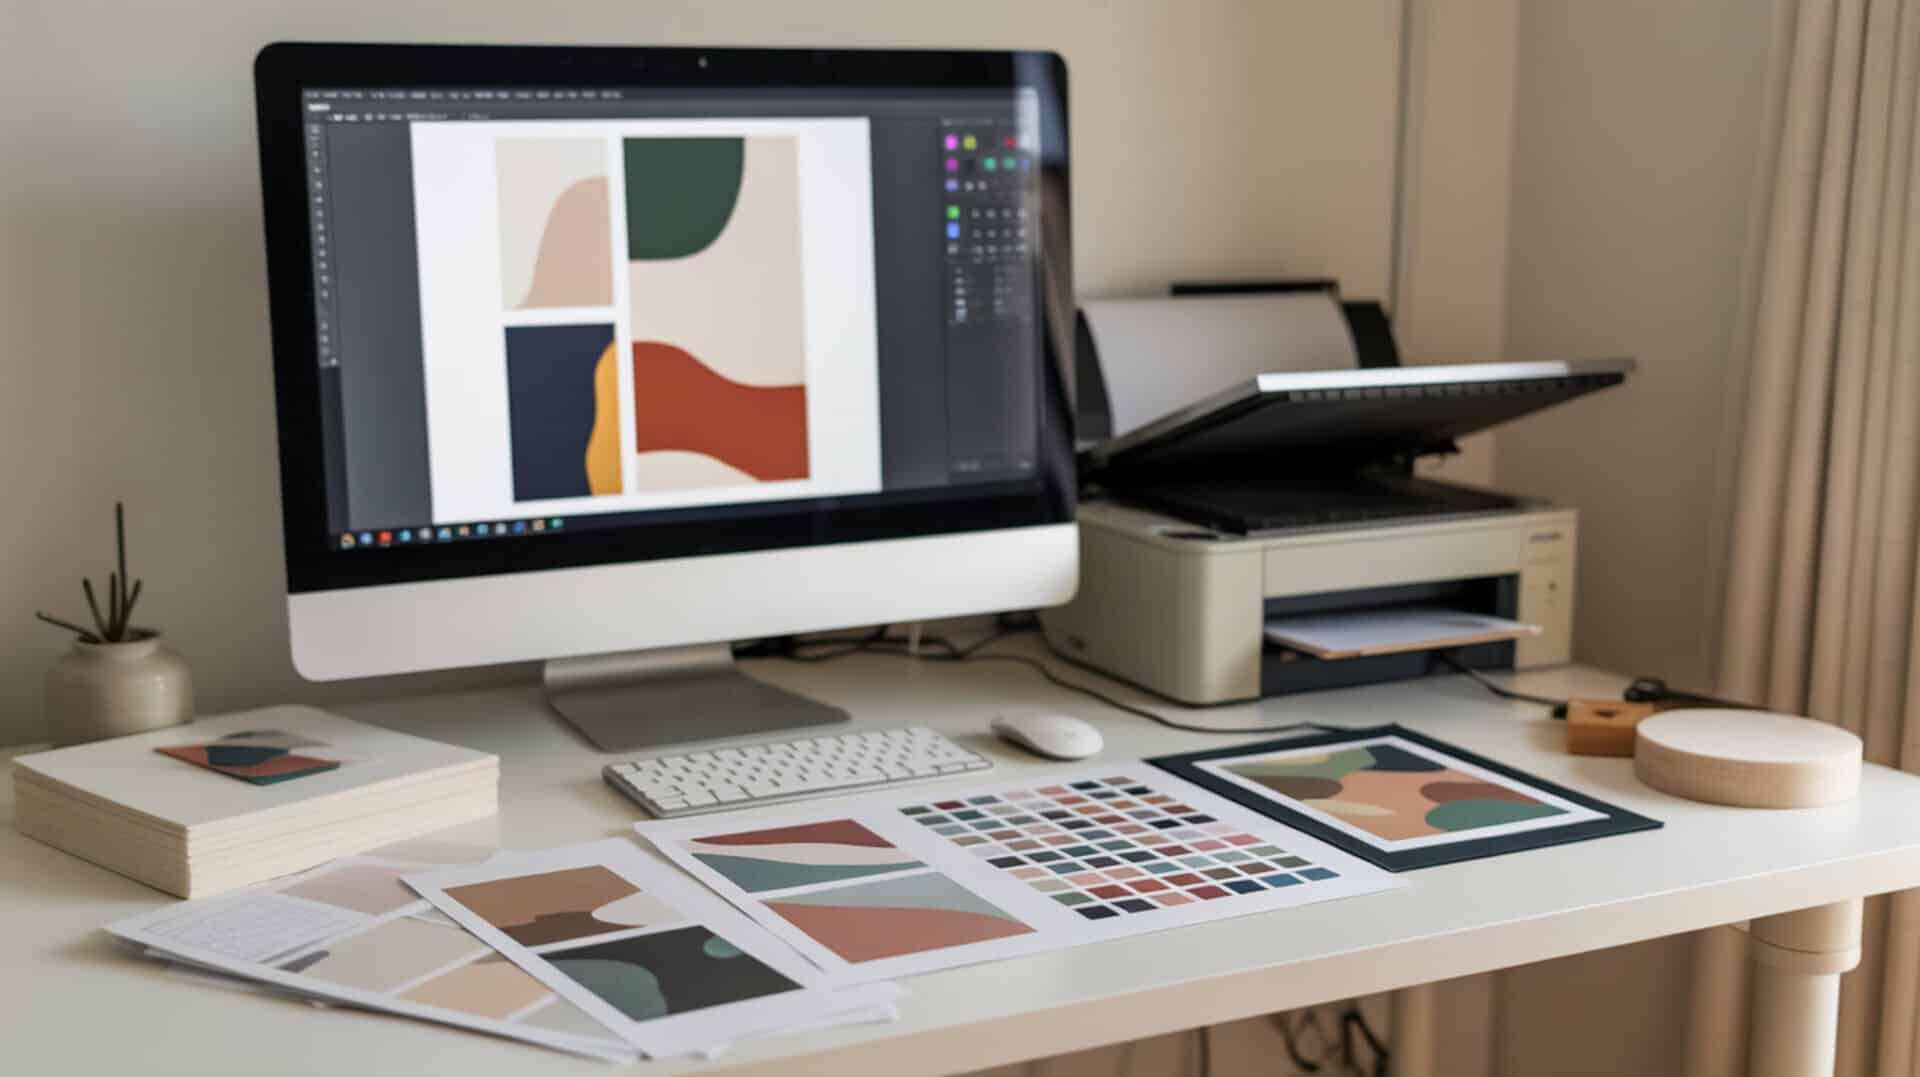
What is the best software for sublimation printing and design?
The best software for sublimation printing depends on your design needs and color management requirements—popular options include Adobe Photoshop and Illustrator for professional work, CorelDRAW for versatile design capabilities, and Canva for simpler projects. Software that supports ICC profile integration enables proper color calibration for device consistency across your dye-sublimation printer workflow. Regardless of software choice, use the physical tools discussed—tape dispensers, paper cutters, and infrared thermometers—to ensure proper transfer preparation and heat press verification complement your digital workflow. Test prints validate that software settings produce expected colors before production runs.
References
- Measurements and standards. (2025, April 17). NIST. https://www.nist.gov/standards-measurements
- Thermometry. (2025, September 3). NIST. https://www.nist.gov/programs-projects/thermometry