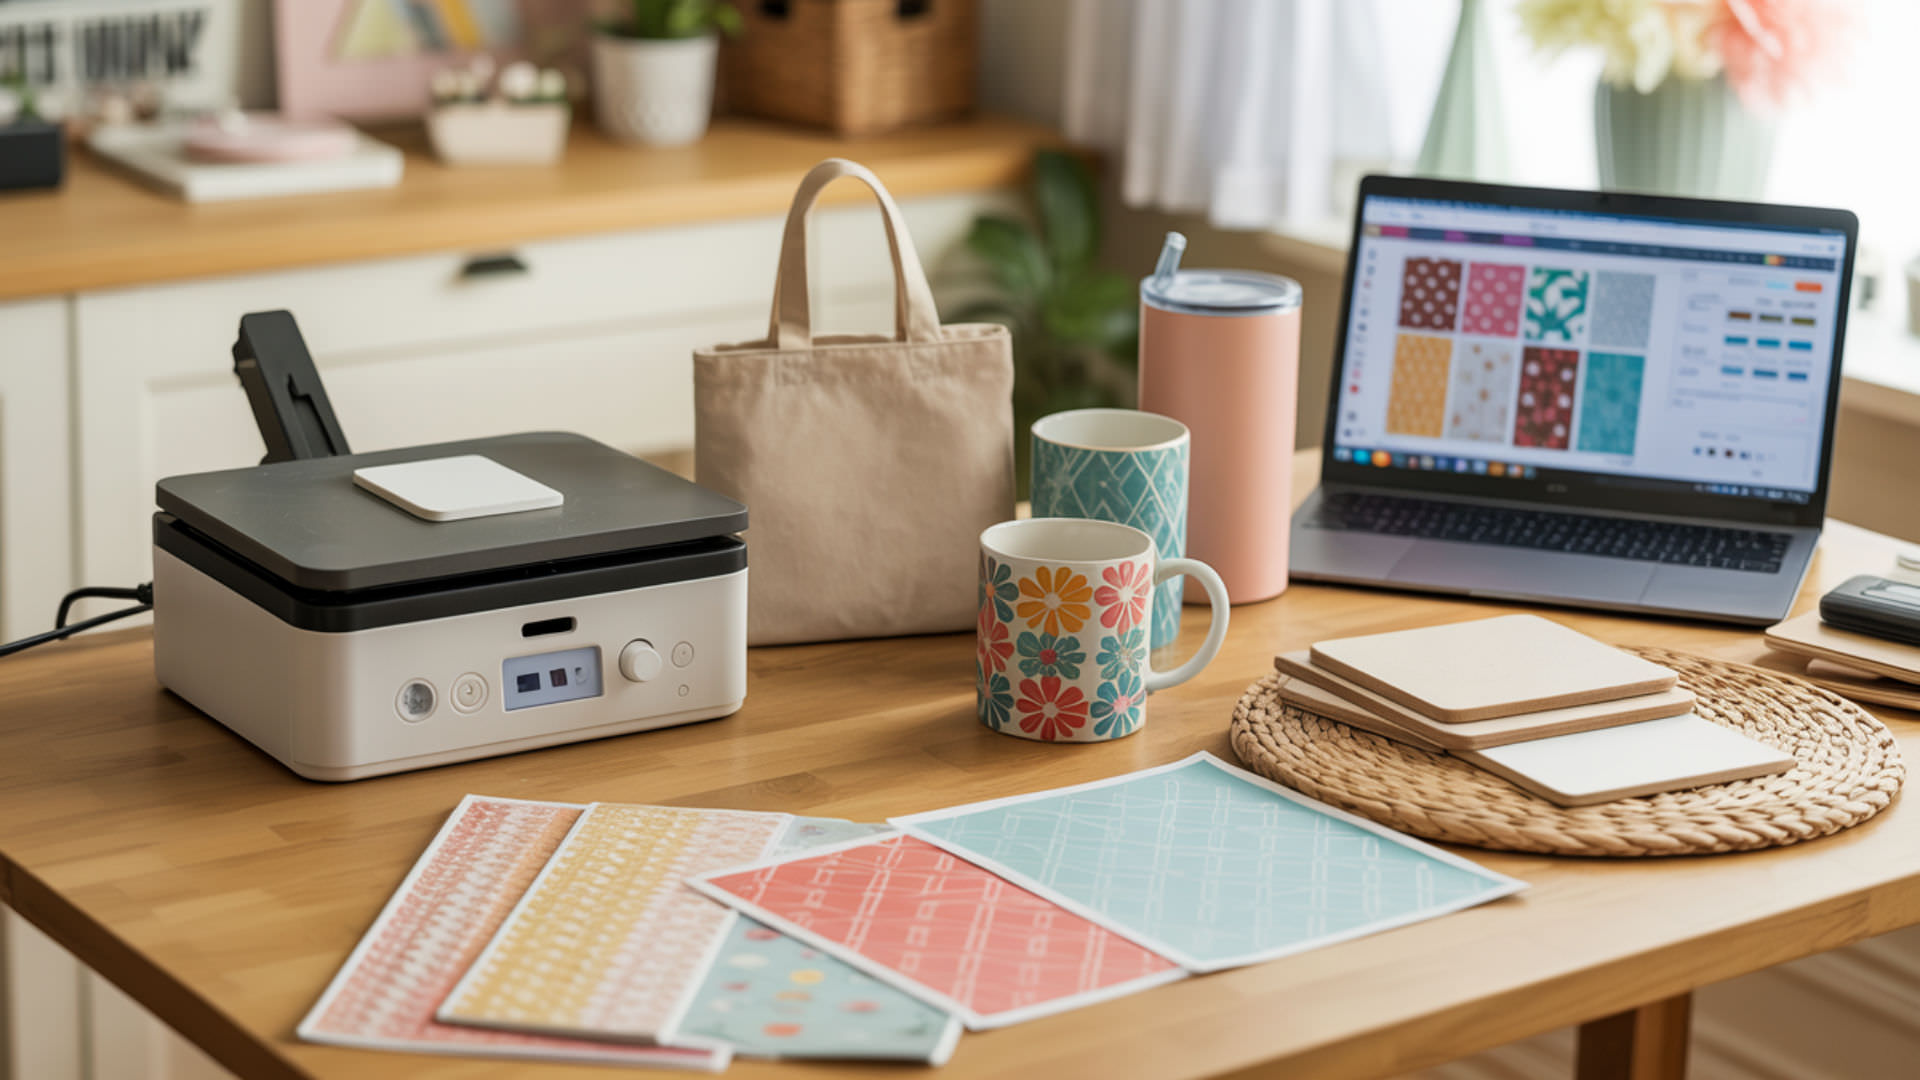
Choosing the best sublimation supplies depends on your production workflow and the substrates you plan to decorate. Because dye-sublimation printing requires heat to activate dye diffusion into polymer-coated surfaces, accessories like silicone mug wraps and adhesive sprays directly affect transfer quality and consistency. A heat press or oven provides the thermal energy, while polymer coating on blanks enables permanent dye bonding. Since dye-sublimation printing relies on heat-based transfer principles, you may also want to read our hub article on sublimation printing techniques for a complete breakdown of the foundational process.
Key Takeaways
- Heat and pressure activate dye gas transfer from sublimation paper into polymer-coated substrates—consistent temperature and firm contact produce even color saturation.
- Time controls color depth and risk of ghosting—too short produces faded colors, while too long can cause blacks to turn brown or transfers to shift.
- Proper supplies (silicone wraps, adhesive spray, heat-resistant tape) prevent common defects like paper shifting, uneven pressure, and tape marks on sensitive surfaces.
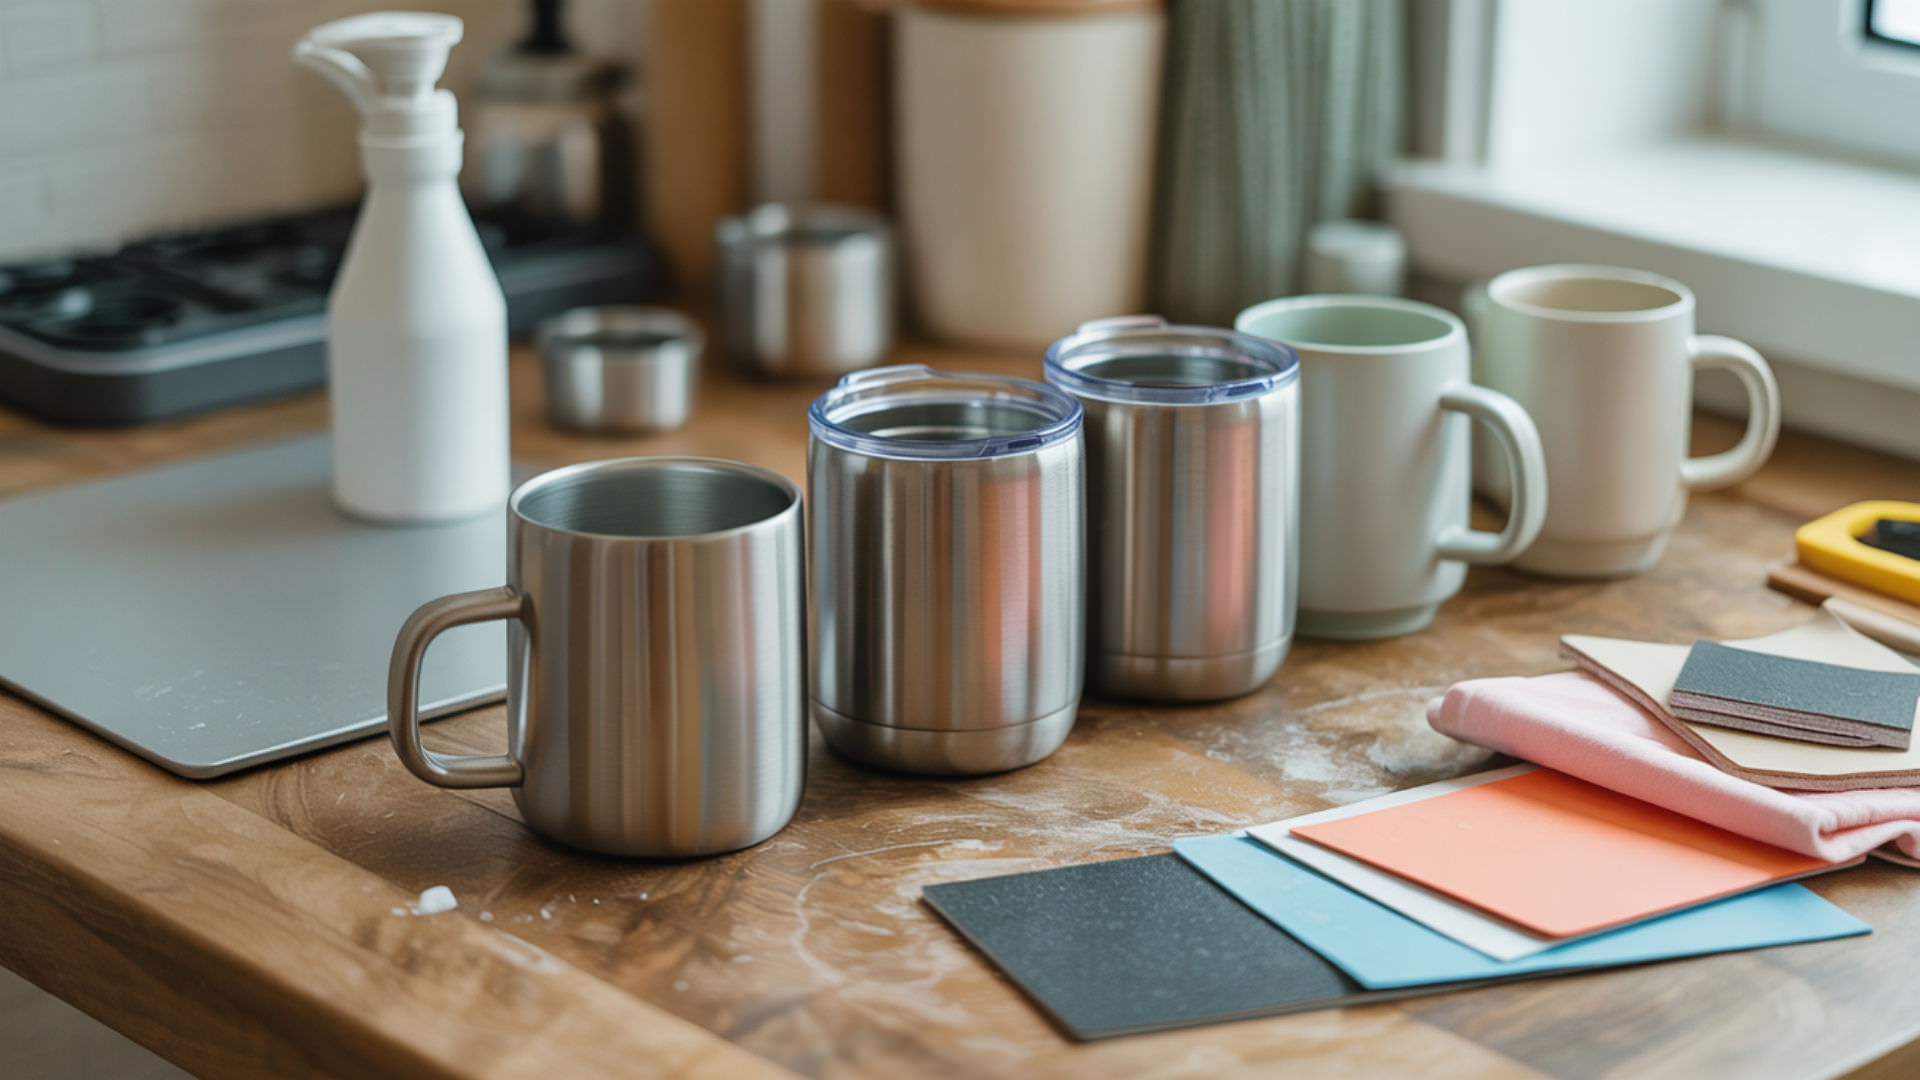
Is a Sublimation Silicone Mug Wrap Worth It for Your Mug Projects?
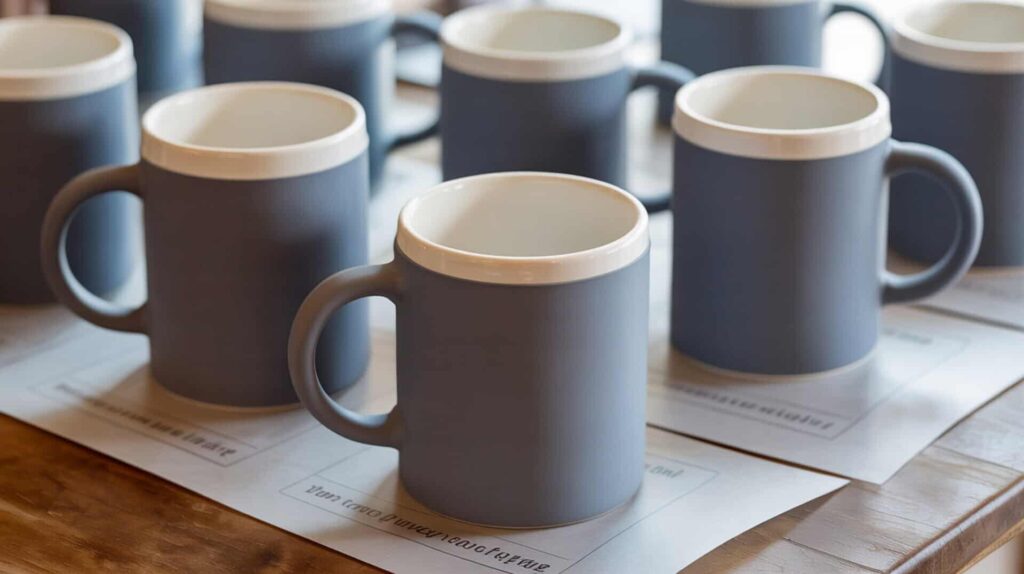
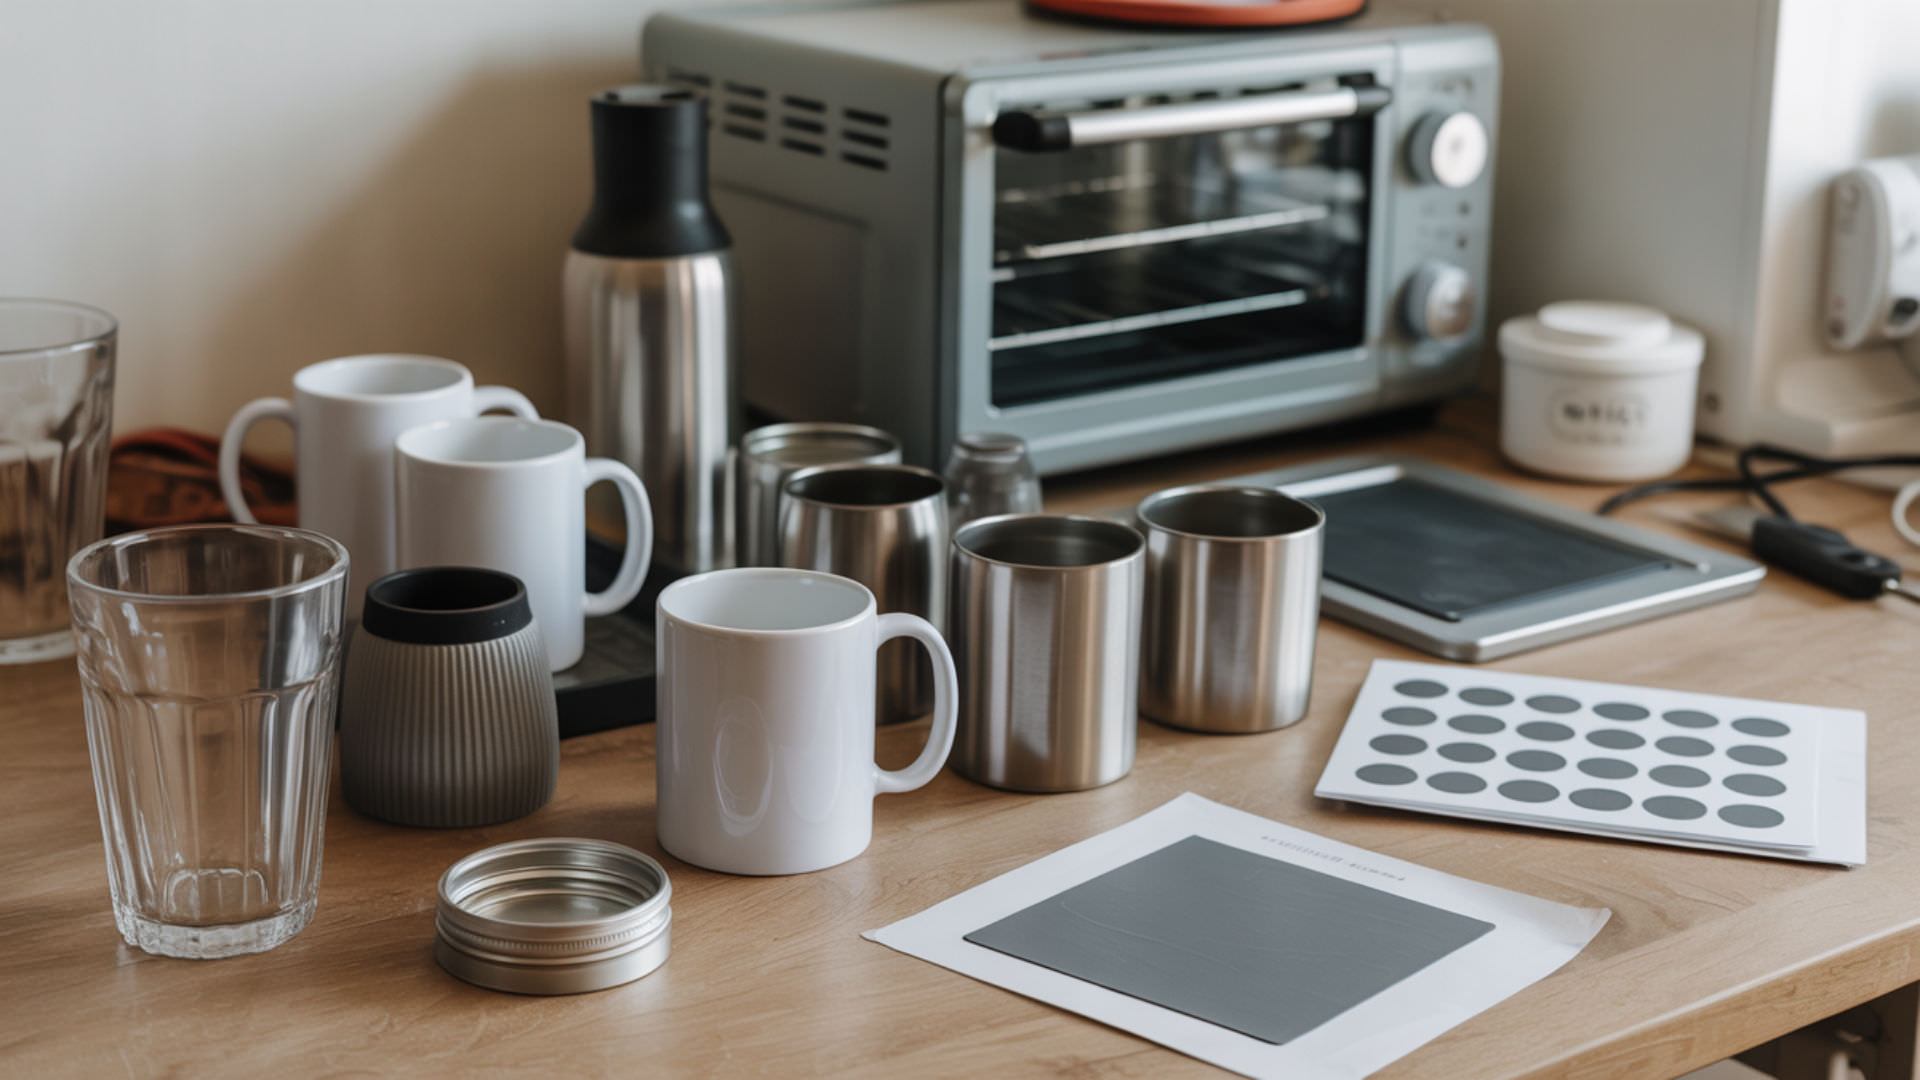
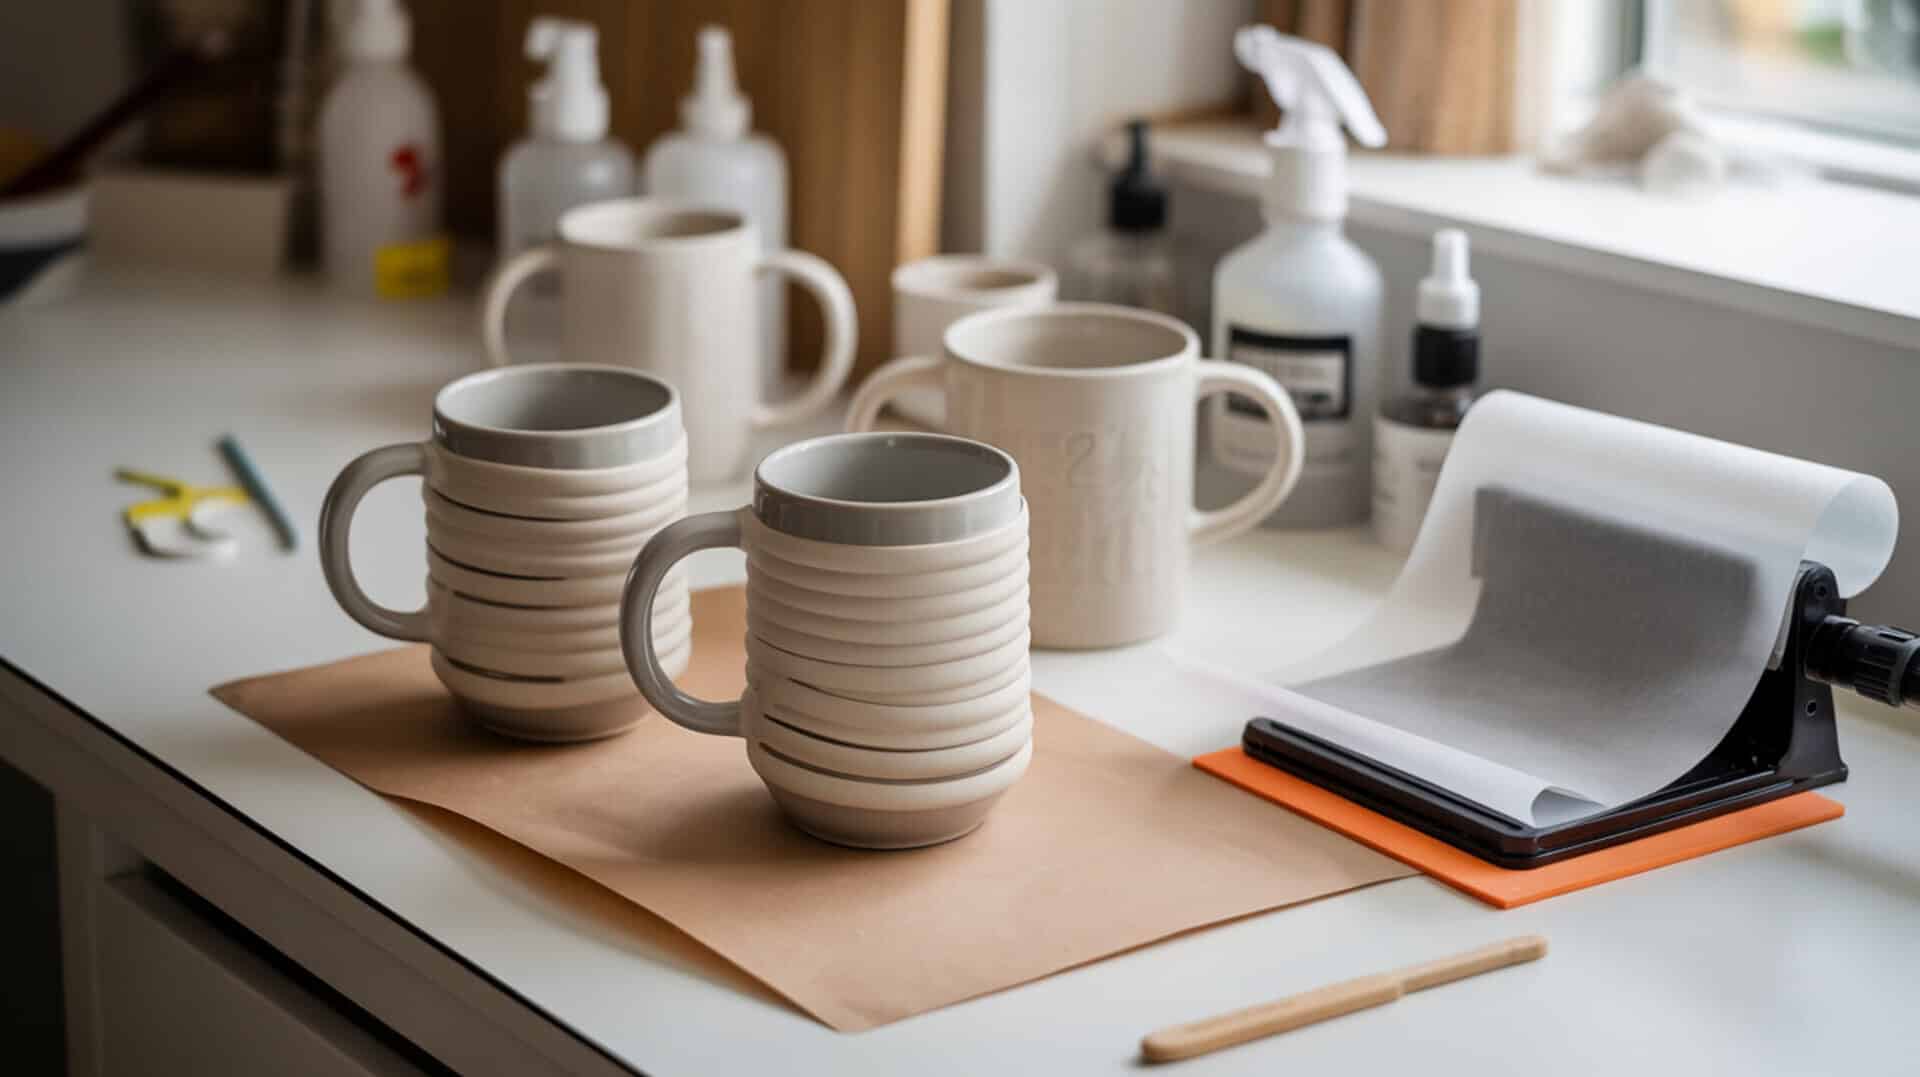
A sublimation silicone mug wrap is a reusable accessory that applies consistent pressure around ceramic mugs during oven-based sublimation, replacing the need for a dedicated mug press. According to demonstrated testing on 11-oz ceramic mugs, the wrap holds transfers airtight using an adjustable pin-based tension system, producing clean, even sublimation at 400°F for 19–21 minutes in a commercial convection oven. Pressure ensures even contact on curved mug surfaces, and thermal conductivity affects heat distribution and color consistency across the transfer area. Thermal conductivity determines how evenly heat flows through a material, directly affecting temperature uniformity across curved ceramic surfaces.[1] Since proper pressure application is a core factor in avoiding ghosting and uneven transfers, you may also want to read our guide on sublimation tips and tricks.
What kind of results can you expect when using a sublimation silicone mug wrap?
Based on demonstrated hands-on workflow tests, the silicone mug wrap produced a clean, fully sublimated mug with no transfer defects when timing and tension were correct. Heat transfer determines dye penetration quality—the wrap’s airtight seal ensures consistent thermal contact around the entire mug circumference. Temperature stability prevents fading and patchy prints by maintaining even heat throughout the 19–21 minute oven cycle. Result evaluation cues include faded colors (indicating insufficient heating time) and blacks turning brown (indicating overheating). Using blowout paper between the transfer and wrap prevents ink from contaminating the silicone, extending wrap lifespan.
What are the pros and cons of using silicone mug wraps for sublimation?
Silicone mug wraps offer reusable, adjustable construction that accommodates 11-oz mugs through larger cylindrical items like cookie jars and dog bowls. Flexibility improves fit on curved surfaces—the wrap conforms to mug contours without gaps that cause uneven transfers. Heat resistance prevents material degradation through repeated 400°F heating cycles, and wraps can be re-tightened after 5–6 uses as silicone stretches over time. The main drawbacks involve manual adjustment: initial sizing requires trial and error (approximately 9.5–9.75 inches between pins for 11-oz mugs), and oven processing takes 19–30 minutes depending on equipment power. I recommend silicone wraps for users without mug presses who want oven-based sublimation with adjustable, reusable tooling.
How do silicone mug wraps compare to other mug sublimation accessories?
No direct competitor comparisons to other mug wraps, mug presses, or shrink wrap sleeves were provided in the reviewed source material. Convection heat in ovens is less consistent than direct pressing with dedicated mug presses, which apply heat from all sides simultaneously. Contact pressure is more uniform with silicone wraps than loose taping methods because the adjustable tension system maintains airtight contact throughout the heating cycle. The wrap’s pin-based design allows permanent trimming for dedicated mug-size use or full-length retention for larger cylindrical items. Compatibility includes commercial convection ovens and countertop ovens (with extended time up to 30 minutes). You can find the Sublimation Silicone Mug Wrap here.[3]
How Well Does Sublimation Adhesive Spray Work for Keeping Transfers in Place?
Sublimation adhesive spray is a repositionable tack adhesive that holds transfer paper in place during heat pressing without the tape marks that heat-resistant tape can leave on sensitive surfaces. According to testing that evaluated six different repositionable spray adhesives, the top performers (Pixie Spray and Sprayway Mist Spray Adhesive No. 82) sprayed evenly, left no residue, and did not affect sublimation color. Adhesion prevents paper shifting during pressing, while excessive moisture can cause ghosting if the spray is not allowed to dry before application. Pressure-sensitive adhesives rely on surface contact and cohesive strength to hold materials in place without chemical bonding.[2] Since both sublimation spray and alternative methods address stabilization techniques, you may also want to read our guide on how to sublimate without a printer for additional adhesion approaches.
⫸ Click Here For Best Selling Sublimation Printers And Products ⫷What kind of transfer results can you achieve with sublimation adhesive spray?
Based on comparative testing across six repositionable spray adhesives, the top-performing products (Pixie Spray and Sprayway No. 82) delivered clean transfers with no color alteration and no residue after pressing. Dye diffusion determines color saturation, and the recommended sprays did not interfere with ink vaporization or polymer bonding. Image density can be affected by spray thickness—applying too much adhesive is a common mistake that creates barriers between paper and substrate. Proper application involves shaking well, spraying lightly from 12–18 inches away, and allowing the adhesive to dry for a few seconds before positioning the blank.
What are the pros and cons of using sublimation adhesive spray?
Sublimation adhesive spray prevents tape marks on sensitive surfaces like acrylic, neoprene, and curved substrates where tape edges would show. Residue may affect coating integrity with poorly formulated sprays—testing confirmed that many repositionable adhesives on the market are unsuitable for sublimation under heat. Evaporation rate influences moisture-related defects, so allowing spray to dry before pressing is critical. The spray does not change press time or temperature and requires very little product per application, making small bottles last through many projects. The main drawback involves product selection: not all spray adhesives work for sublimation, and some alter adhesive behavior or spray poorly. I recommend adhesive spray for acrylic, neoprene, and hard-to-tape substrates where tape marks would be visible.
How does sublimation adhesive spray compare to other transfer positioning methods?
In testing described in reviewed source material, six repositionable spray adhesives were compared, with Pixie Spray (iCraft) ranking first and Sprayway Mist Spray Adhesive No. 82 ranking second. Heat-resistant tape provides mechanical stability and remains the primary positioning method for most sublimation projects—spray is used when tape would leave visible marks or on surfaces that tape does not adhere to well. Static adhesion is less reliable under heat than either spray or tape methods. Surface compatibility for the recommended sprays includes fabric, mouse pads, acrylic, ceramic, metal, wood, glass, sublimation leather, and coasters. You can find Sublimation Adhesive Spray here.[4]
Which Sublimation Supplies Should You Add to Your Toolkit?
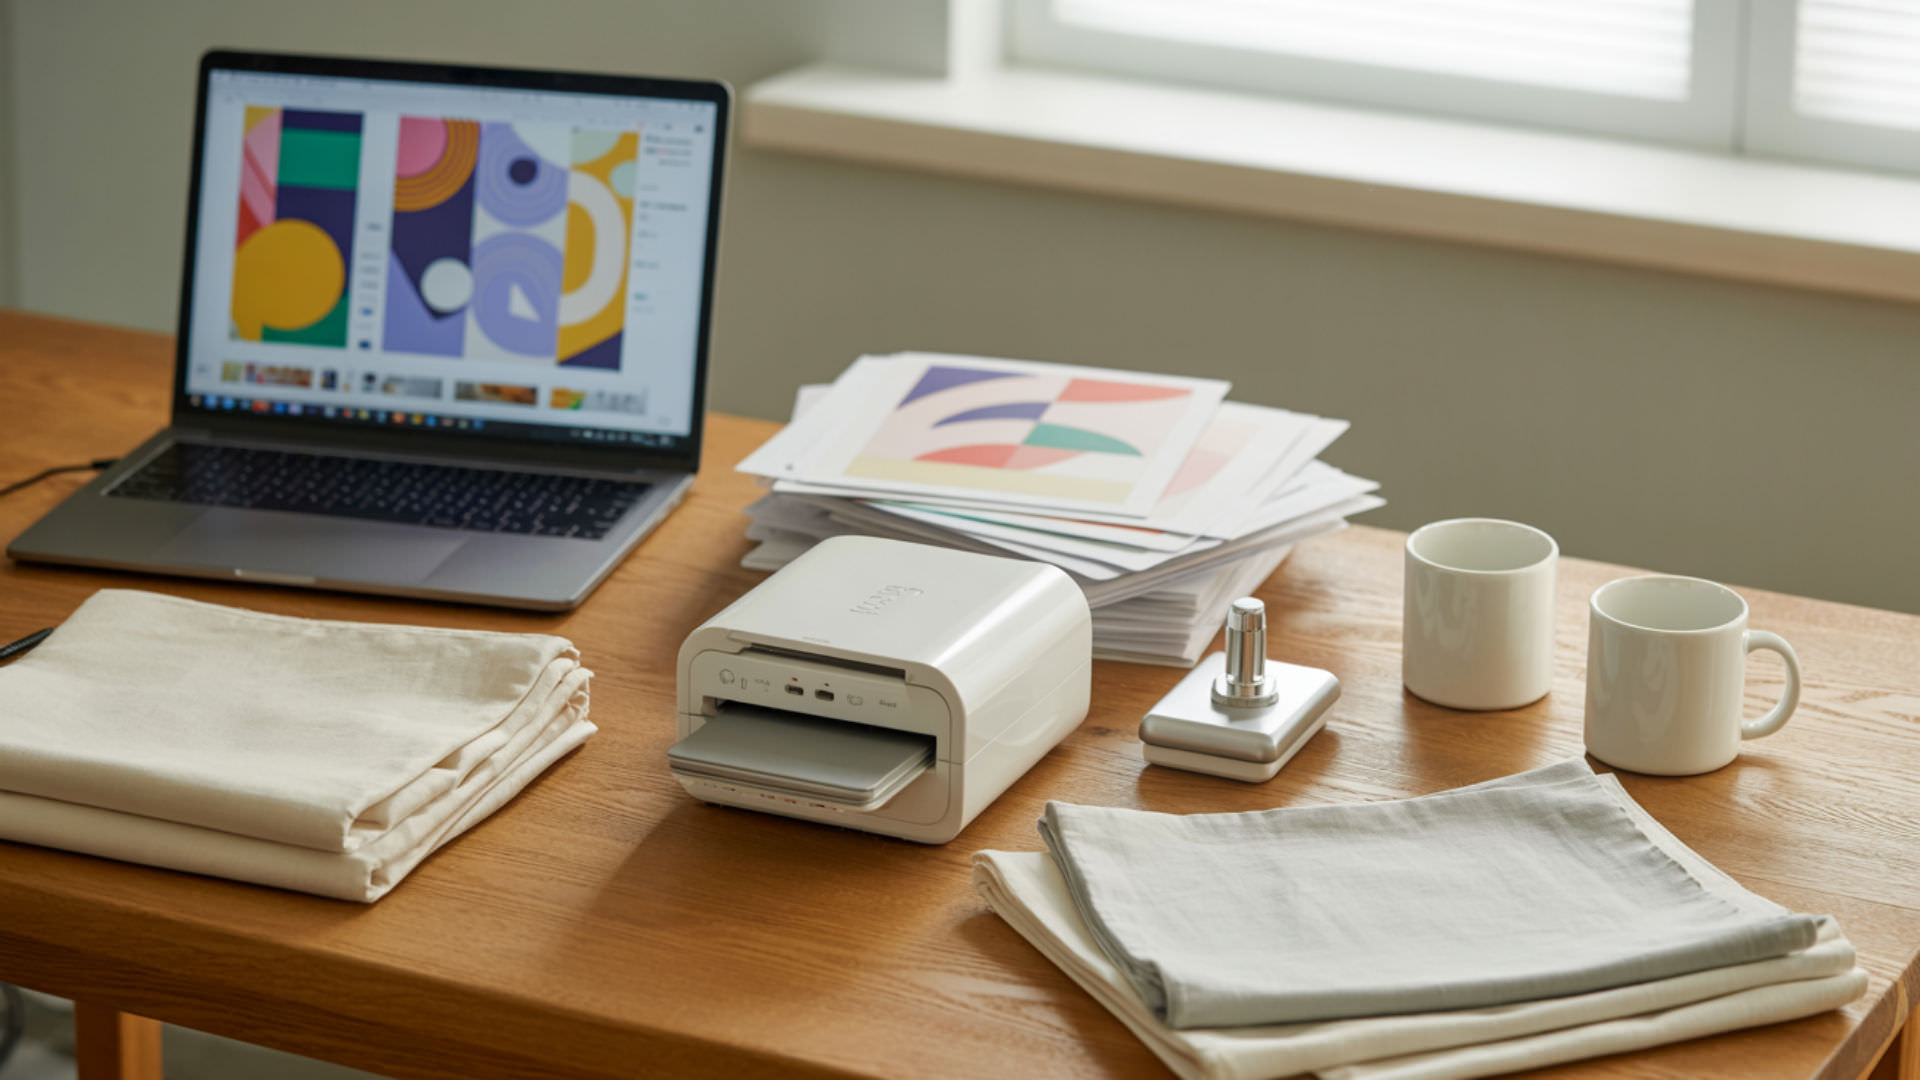
There is no single “best” sublimation supply—rather, different accessories serve different production needs. A heat press or oven provides the thermal energy required for dye vaporization, while transfer paper holds sublimation ink before it converts to gas under heat. Polymer-coated blanks are required for dye bonding since sublimation ink only adheres permanently to polyester or polymer surfaces. Silicone mug wraps suit users who prefer oven-based mug sublimation without investing in dedicated mug presses. Adhesive spray suits users working with acrylic, neoprene, or other surfaces where tape marks would show. Both products tested successfully in their intended applications and represent valuable additions to a sublimation toolkit. Since supplies determine coating quality and sublimation success, you may also want to read our guide on how to remove sublimation ink from tumbler for additional information.
Frequently Asked Questions
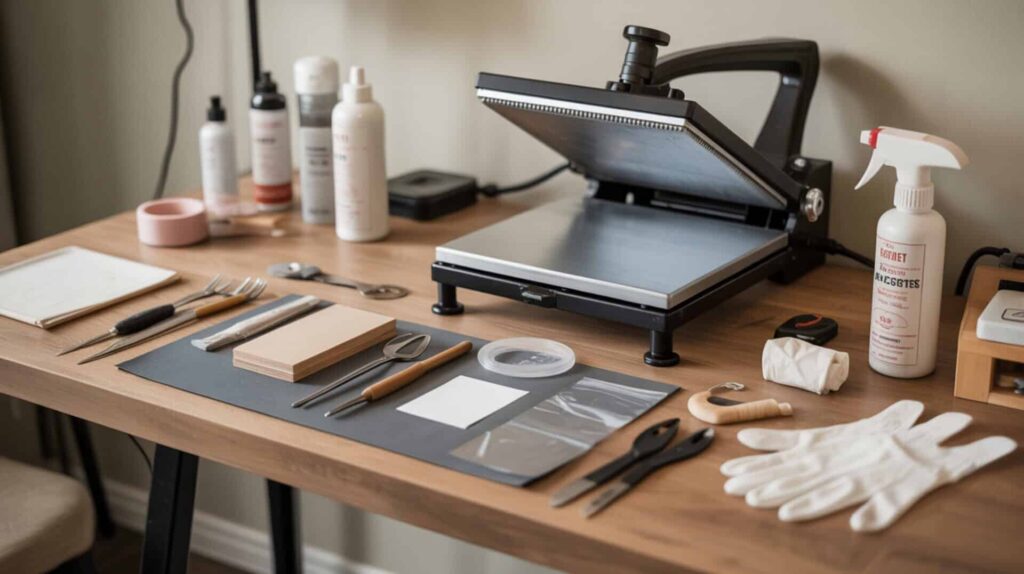
What supplies do you need to get started with sublimation printing?
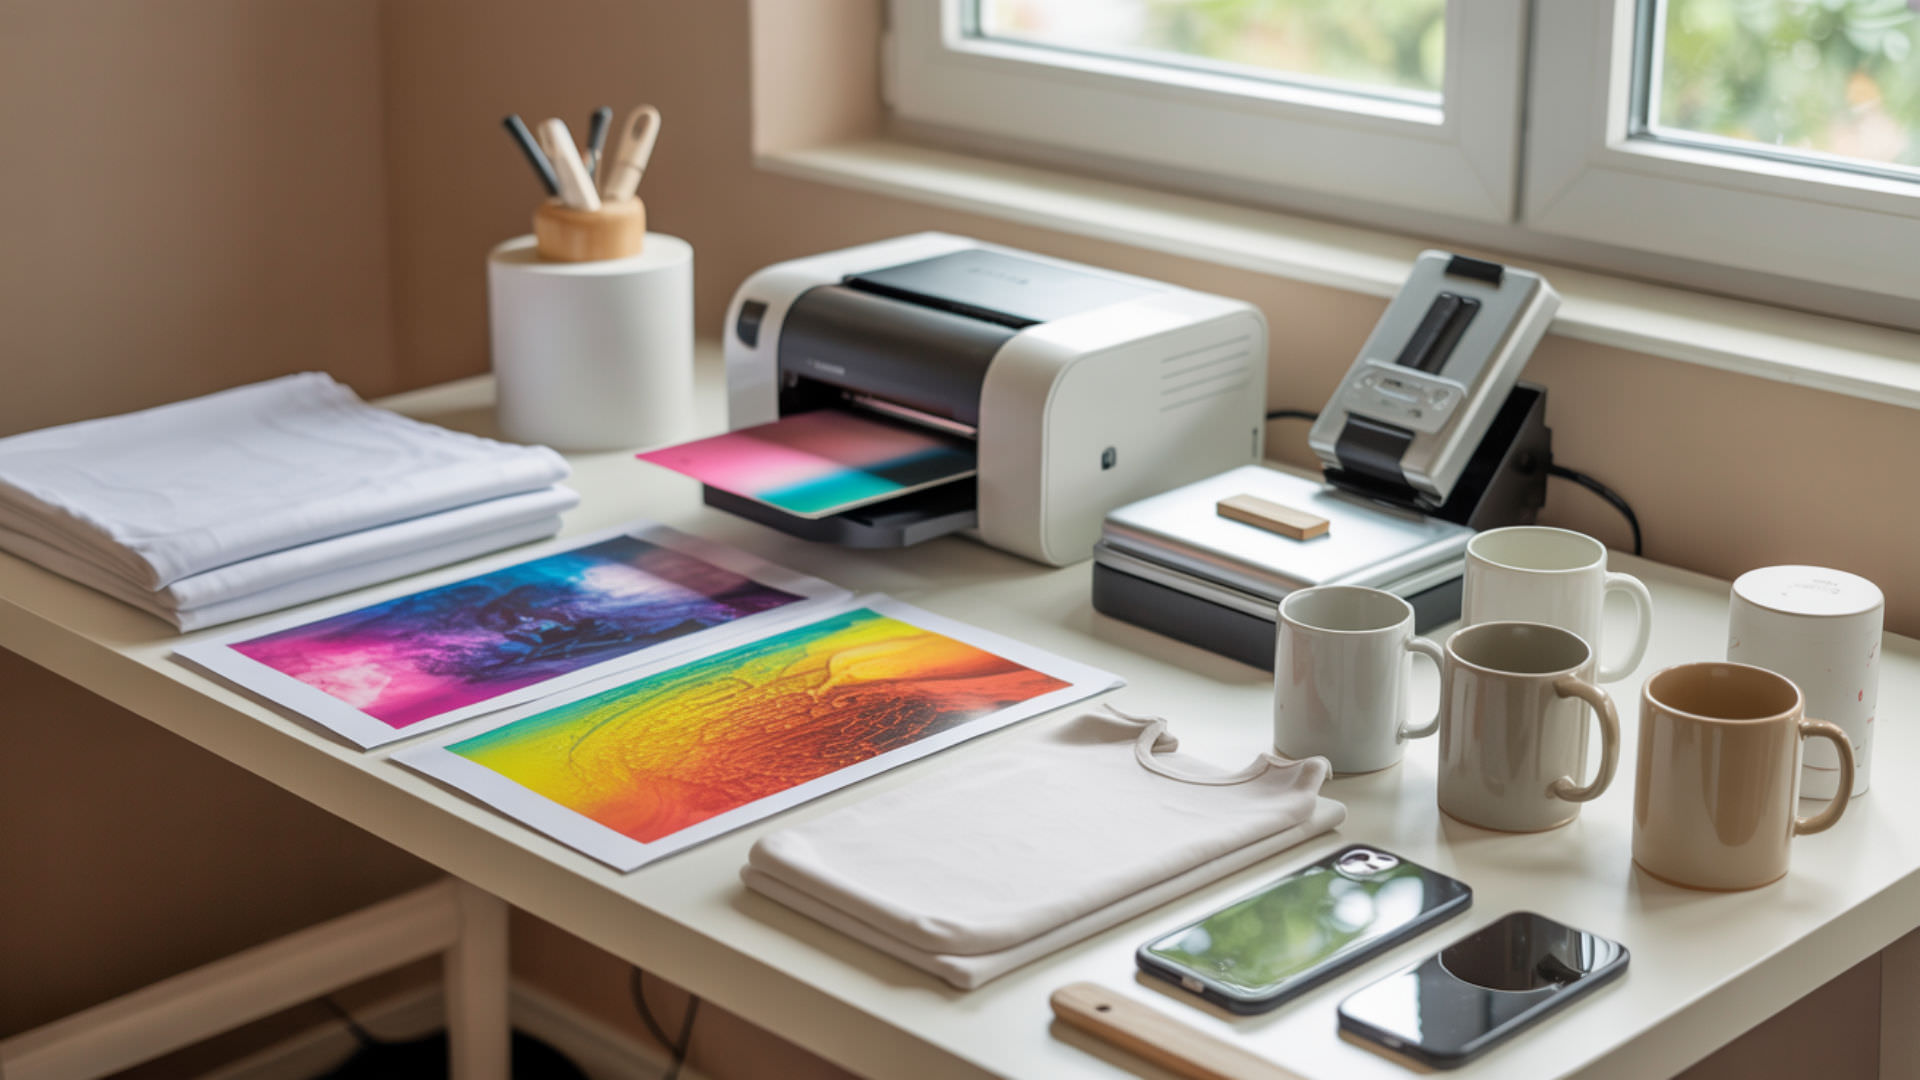
Starting sublimation printing requires a sublimation printer with sublimation ink (not regular inkjet ink), sublimation transfer paper, a computer with design software, a heat press, and polymer-coated sublimation blanks. Miscellaneous supplies include heat-resistant tape, butcher paper or blowout paper, heat-resistant gloves, and optionally silicone wraps or adhesive spray for specific substrate types. The heat press activates the sublimation process by converting solid dye to gas that penetrates polymer coatings on blanks.
What is the best material to use for sublimation projects?
The best material for sublimation is 100% polyester because sublimation dye chemically bonds with synthetic polymer fibers, producing vibrant, permanent, wash-resistant prints. High-polyester blends (80–95% polyester) also work well, though lower polyester content produces more muted, vintage-look results. Natural fibers like cotton do not bond with sublimation dye unless treated with polymer coating sprays. Light-colored or white substrates produce the most vibrant results since sublimation ink is transparent and the substrate color shows through.
What is a sublimation starter kit and what does it include?
A sublimation starter kit bundles essential supplies for completing sublimation projects without purchasing items separately. Typical kits include sublimation markers or a small printer, transfer paper, and ready-to-use blanks like mugs, coasters, or keychains. Some kits include a heat source (like a mini press) while others require you to supply your own heat press or oven. Starter kits suit beginners testing sublimation before investing in full production equipment and help avoid compatibility issues between mismatched components.
What sublimation items sell best for small business owners?
Best-selling sublimation products include apparel (t-shirts, hoodies), drinkware (tumblers, ceramic mugs), and home goods (throw pillows, coasters, kitchen towels). Other popular items include photo slates, garden flags, tote bags, phone cases, mouse pads, ornaments, and keychains. These products sell well because they are highly customizable for personal gifts, promotional use, and seasonal demand. Tumblers and mugs remain consistent performers due to their practicality and gift appeal.
How much does it cost to start a sublimation printing business?
A sublimation printing business can start for as little as $200–400 with an entry-level sublimation printer, or around $1,500 for a premium Sawgrass system with bundled supplies. Add approximately $200–500 for a heat press capable of handling your intended products. Ongoing costs include sublimation ink, transfer paper, and polymer-coated blanks. Total startup investment typically ranges from $500 for basic hobbyist setups to $2,000+ for production-ready equipment capable of handling diverse product types.
References
- NIST chemistry WebBook. (n.d.). Welcome to the NIST WebBook. https://webbook.nist.gov/chemistry/?utm_
- Pressure-sensitive adhesive. (2025, October 3). Wikipedia, the free encyclopedia. Retrieved January 30, 2026, from https://en.wikipedia.org/wiki/Pressure-sensitive_adhesive?utm_