Achieving optimal picture quality in sublimation depends on resolution settings and color calibration throughout your workflow. Resolution determines visible detail in final prints—insufficient pixels produce soft, blurry results. Color calibration ensures photo colors on screen match sublimated output accurately. Understanding how resolution affects output connects to broader color management principles covered in our sublimation color management guide.
Key Takeaways
- ICC profiles control RGB to printer color conversion, ensuring photographic images reproduce with accurate colors on substrates.
- CIELAB color space provides device-independent measurement, enabling objective quality evaluation across different output devices.
- 300 DPI represents industry standard for high-quality prints; 150 DPI minimum for acceptable results on most substrates.
What DPI or Resolution Is Typically Used for Sharp Sublimation Prints?
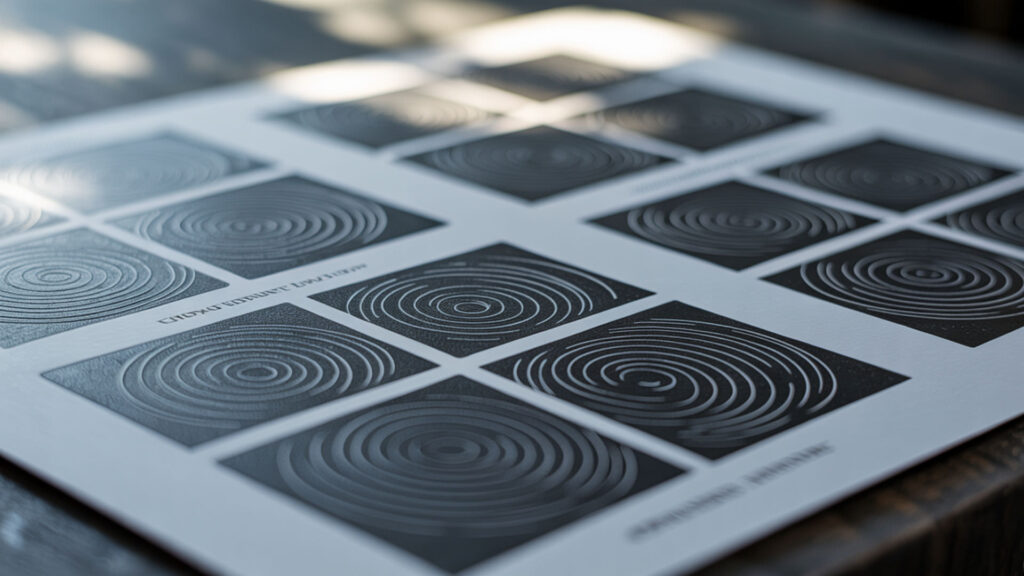
Standard sublimation printing requires a minimum 150 DPI for acceptable quality, with 300 DPI considered the benchmark for sharp, professional results. Higher resolution improves photographic detail by packing more image information into each printed inch. Dithering algorithms help preserve detail when resolution must be reduced, simulating missing tones through strategic dot placement across color transitions. Raster images are composed of pixels, and the amount of detail that can be reproduced in print depends directly on image resolution and pixel density. [1]
Does Higher DPI Mean Better Print Quality in Sublimation?
Higher DPI generally produces sharper prints with more precise color transitions, but returns diminish beyond certain thresholds. Your printer’s gamut influences precision of subtle color detail within achievable range. Adjusting print density affects how dark areas render in high-resolution files, which our guide on making sublimation darker explains thoroughly.
What File Types Actually Work for Sublimation Printing?

PNG and TIFF formats work best for sublimation because they preserve full color data without compression artifacts. Design files should use the RGB color model as input—your printer translates RGB values into CMYK output combinations through ICC profiles. JPEG files work but lose quality with each save due to lossy compression. Different digital image file formats preserve color and detail differently, with lossless formats maintaining full image data while others sacrifice quality through compression. [2]
Can SVG Files Be Used for Sublimation Printing at All?
SVG files require rasterization before sublimation printing, converting vector paths into pixel data at specified resolution. Export at 300 DPI minimum for sharp results. Gamut mapping during rasterization converts vector colors into printable ranges. SVGs excel for logos and text; convert to high-resolution PNG before printing.
Are 300 DPI and 600 DPI Noticeably Different in Sublimation Results?
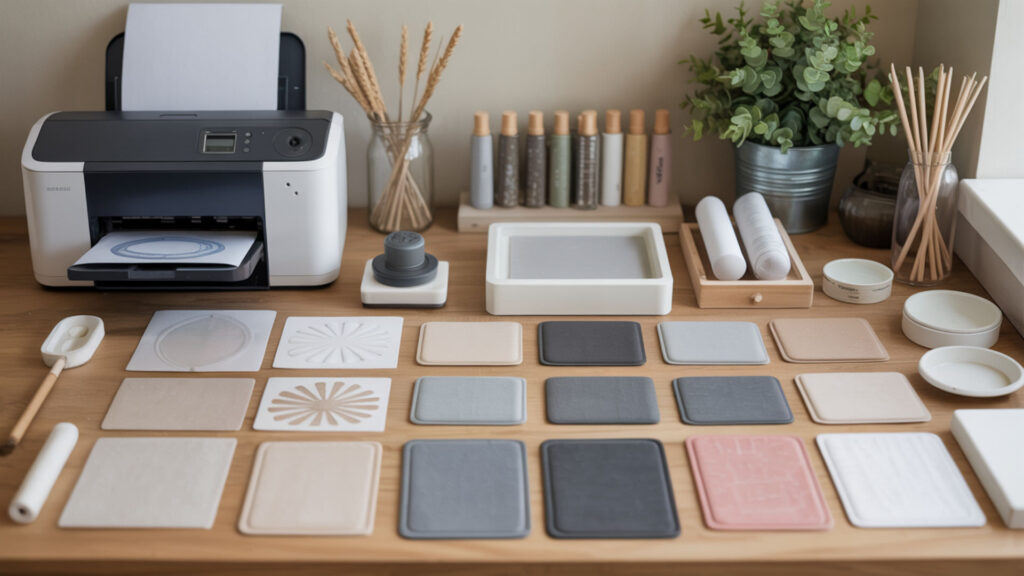
Visible differences between 300 DPI and 600 DPI depend on substrate size and viewing distance. Resolution differences diminish on small substrates where compressed viewing prevents seeing fine detail. Viewing conditions affect perceived sharpness independently of actual resolution. Printing test samples at different resolution settings confirms visible differences for specific substrates, which our test print guide covers.
⫸ Click Here For Best Selling Sublimation Printers And Products ⫷How Do You Keep Sublimation Prints Sharp and Detailed Step-by-Step?
- Start with high-resolution source images at minimum 300 DPI at final print size. Source quality determines maximum achievable output; you cannot add detail that doesn’t exist.
- Design in RGB color space using sRGB profile for workflow consistency. Sublimation systems expect RGB input; incorrect color space causes unpredictable results.
- Apply soft proofing to preview output before committing ink and materials. Soft proofing prevents unexpected color shifts that reduce perceived sharpness.
- Install correct ICC profile matching your printer, ink, and paper combination. ICC profiles ensure high-detail areas reproduce accurately without banding.
- Select the highest quality print mode in driver settings. Quality modes deposit more ink dots per inch for sharper detail reproduction.
- Mirror image before printing and let transfer paper dry completely. Wet ink smears during handling, degrading fine detail before transfer.
- Press at the correct temperature (180–205°C) for your specific substrate. Optimal settings ensure complete dye transfer without edge softening.
- Verify results using calibration tools to measure accuracy objectively. Professional workflows use a spectrophotometer to confirm quality, which our sublimation tools guide reviews.
Is PNG the Most Reliable Format for High-Quality Sublimation Printing?
PNG is considered the industry standard for sublimation because it preserves detail through lossless compression while supporting transparent backgrounds. The RGB color model data remains intact regardless of editing cycles. Resolution stays constant without degradation—a 300 DPI PNG maintains quality through multiple editing sessions and handles gradients better than compressed alternatives.
Does DPI Directly Influence Visible Sharpness When Transferred?
DPI affects sharpness but doesn’t guarantee it—other factors influence final appearance equally. Print density determines ink deposit in micro-detail areas. Heat press settings also impact sharpness: incorrect temperature causes hue shifts and edge softening as dyes over-migrate. Balance resolution with proper transfer technique for optimal results.
What Does “High-Quality Print” Really Mean in Sublimation Transfers?
High-quality sublimation prints demonstrate measurable color accuracy, sharp detail reproduction, and consistent results. Delta E values quantify photo accuracy numerically—prints with Delta E below 2.0 show imperceptible color difference. CIEDE2000 provides the most precise metric for evaluating picture-quality prints in professional production environments. Practical ways to evaluate Delta E and CIEDE2000 during real testing appear in our Sublimation Test Print guide.
Ready to Improve Your Sublimation Print Quality?
Improving sublimation print quality requires attention to technical settings and workflow consistency. Larger gamut coverage increases vibrancy for photographic images. Color calibration provides the foundation for professional-level picture quality. Start with high-resolution source files, use correct profiles, and verify output with test prints.
Frequently Asked Questions
Can designs look blurry even if the file itself was high resolution?
High-resolution files can produce blurry results when other workflow elements fail. Incorrect printer settings, wrong paper type, or insufficient ink density cause soft output despite adequate source resolution. White point differences between monitor and substrate affect perceived clarity through chromatic adaptation, making properly transferred images appear less sharp than expected on screen.
Is apparent blur sometimes caused by transfer absorption, not DPI?
Substrate absorption characteristics affect apparent sharpness independently of source resolution. Porous fabrics absorb dye more diffusely than smooth coated surfaces, softening edge definition. Polyester weave texture can mask fine detail visible on ceramic substrates. Test your specific substrate to understand absorption behavior before assuming resolution improvements increase sharpness.
Can printer output DPI differ from transfer result sharpness?
Printer DPI capability and final transfer sharpness don’t correlate directly because sublimation involves heat-driven dye migration that softens microscopic detail. A 1440 DPI print won’t transfer at 1440 DPI sharpness—dyes spread during vaporization. Practical limits depend more on substrate characteristics than maximum printer resolution. Optimize for 300–600 DPI output.
Does pressing too hot or too long soften fine sublimation details?
Excessive heat or extended dwell time causes dye over-migration that softens fine details and blurs color boundaries. Dyes continue spreading beyond optimal penetration, creating halo effects around sharp edges. Temperature too high also causes substrate degradation. Follow manufacturer recommendations precisely—more heat doesn’t improve quality and often degrades detail.
Are slight pixel edges more visible on text than solid graphics?
Text and fine line work reveal pixel edges more obviously than solid graphics or photographs. Human vision detects irregularities in geometric shapes readily. Dithering algorithms help smooth transitions but cannot eliminate aliasing in low-resolution files. Use vector-based text converted at 600 DPI to minimize visible stair-stepping.
References
- PDF/A-1b, PDF for long-term preservation, use of PDF 1.4, level B conformance. (2019, January 5). Library of Congress. https://www.loc.gov/preservation/digital/formats/fdd/fdd000252.shtml
- Usnationalarchives/digital-preservation: NARA digital preservation file format risk analysis and preservation plans. (n.d.). GitHub. https://github.com/usnationalarchives/digital-preservation