Looking for your next sublimation adventure? Seeking the optimal beer can glass sublimation time and temp? Let’s explore the precise time and temperature settings essential for crisp and long-lasting prints on your sublimation beer can glasses. We zero in on the specifics for both clear and frosted glasses, preparing you to achieve impeccable results with every press. Read on as we provide practical tips for your sublimation queries!
Key Takeaways
- To get started with beer can glass sublimation, you’ll need specific supplies like a sublimation printer, ink, sublimation paper, heat-resistant tape, and a convection oven or mug press.
- Prep work is crucial – clean your beer can glass with isopropyl alcohol, apply the sublimation transfer accurately, and use shrink wrap for even heat distribution during the process. Learn more about why shrink wrap causes melting in sublimation and preventative factors.
- Mastering time and temperature is key – for clear glasses, use a mug press at 360°F in sections, while frosted glasses require 400°F for 8 minutes in a convection oven or mug press, with rotation.
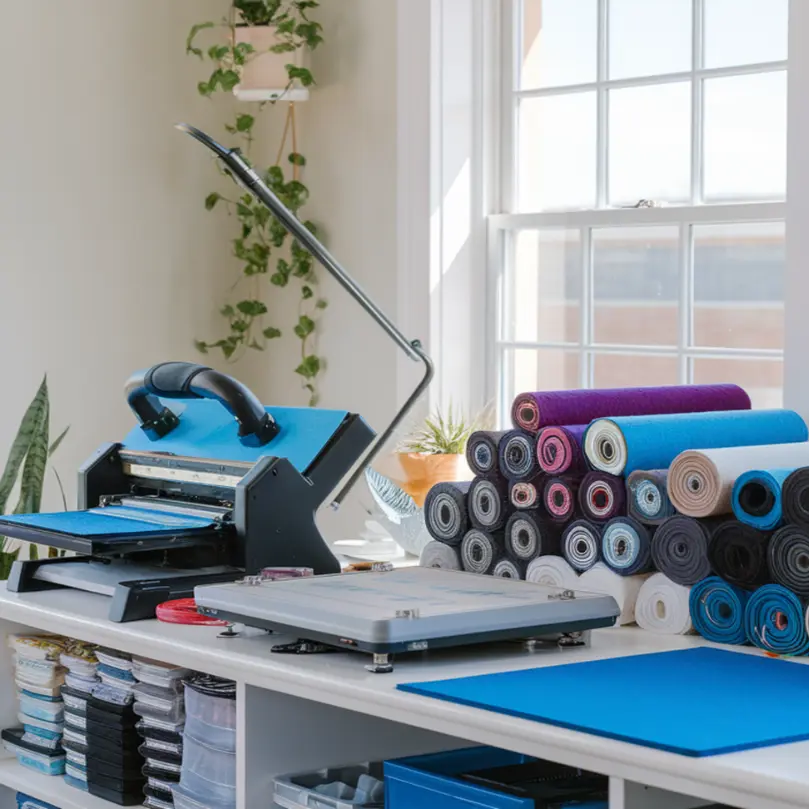
Essential Supplies for Beer Can Glass Sublimation
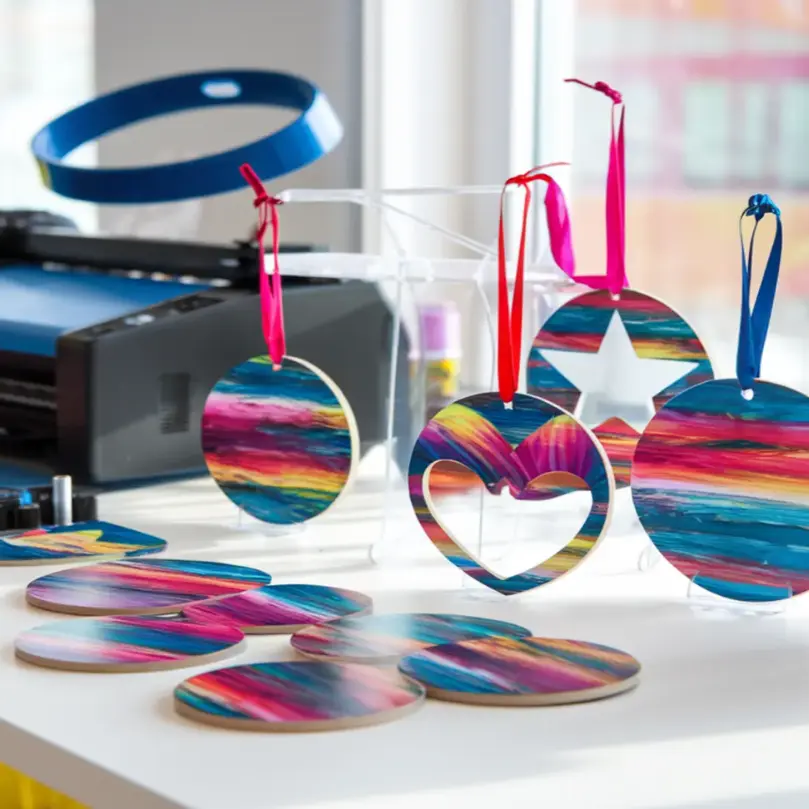
Sublimation beer can glass creation is a captivating art, but it’s not just about creativity. Achieving vivid, lasting designs hinges on having the right supplies. For starters, you’ll need:
- A sublimation printer
- Sublimation paper
- Heat tape
- Shrink wrap or sleeves
- A convection oven or mug press
But why these specific items?
Well, remember, we’re working with special beer can glasses that are made for the sublimation process. They have a poly coating that reacts to heat and absorbs the sublimation ink. Choosing the right tools helps to ensure the transfer of vibrant colors onto these glass beer mugs. So, let’s delve into these essential supplies!
- Sublimation printer
- Sublimation ink
- Heat press machine
- Heat-resistant tape
- Sublimation paper
- Protective gloves
- Heat-resistant pad or silicone mat
With these supplies, you’ll be well-equipped to create beautiful and personalized beer can glasses using the sublimation process.
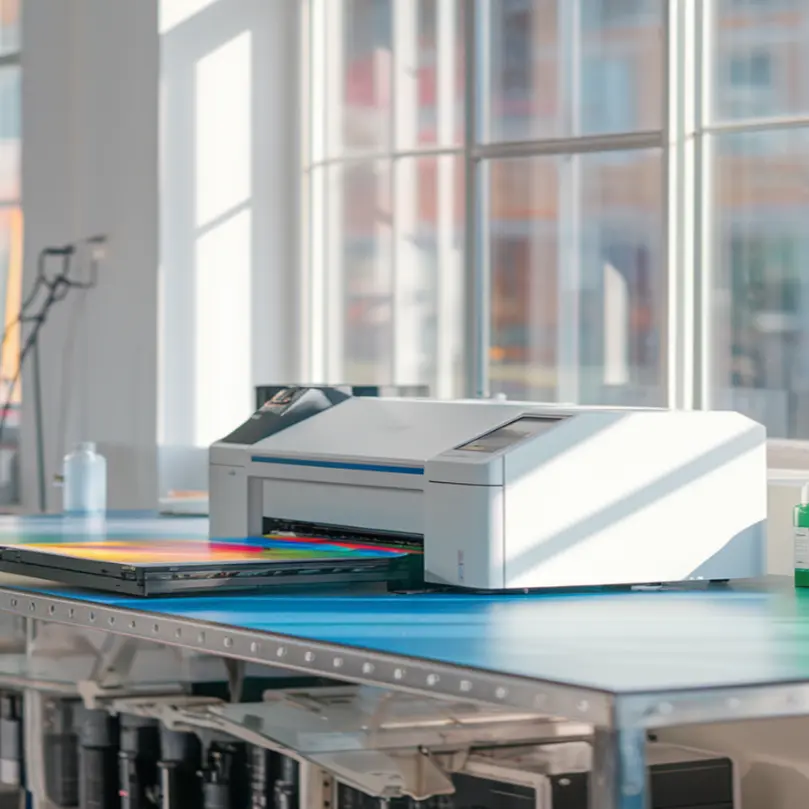
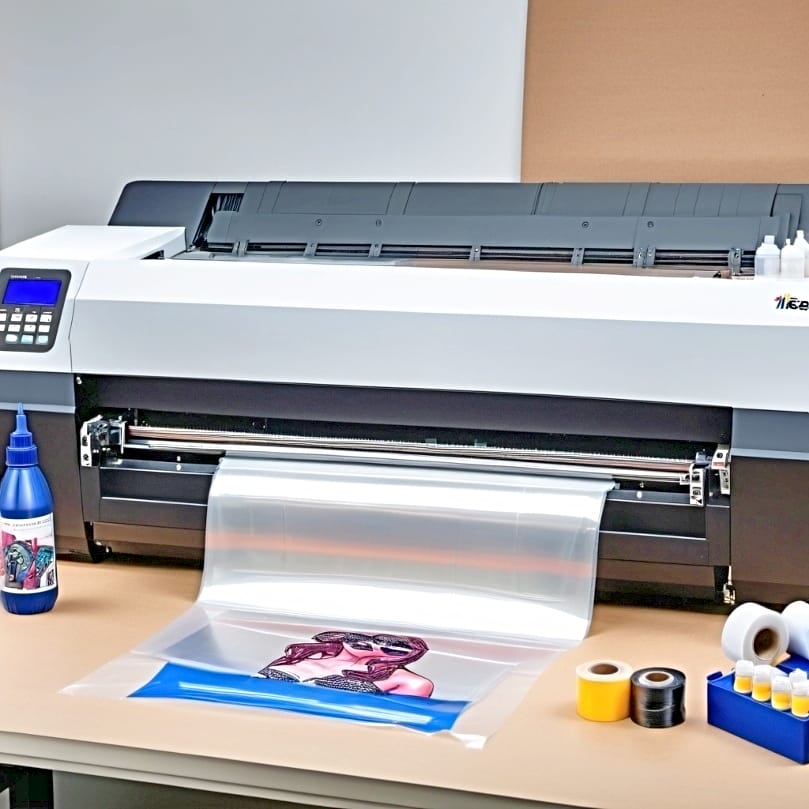
Choosing the Right Sublimation Printer and Paper
In this endeavor, your sublimation printer is an indispensable ally. A wide format sublimation printer like the Epson SureColor F570 can enhance productivity by allowing the printing of multiple glass can transfers simultaneously. This printer even comes equipped with an automatic reverse printing feature, a handy tool for sublimation printing on glass. Read our guide if you are in the search for a sublimation printer with large format capabilities.
Now, onto the sublimation paper. A-SUB sublimation paper is our top recommend. It ensures the best transfer of vibrant colors onto beer can glasses. With the right printer and paper, you’re well on your way to create stunning sublimation beer can glasses!
Using Heat Tape and Shrink Wrap/Sleeves
Once your design is printed, the next step is to transfer it to the glass beer mug. This is where heat tape and shrink wrap come in. You’ll wrap the sublimation transfer around the glass and secure it tightly with high-temperature tape at the seam. A dispenser with heat-resistant tape can help achieve a tight wrap on the glass surface, reducing the risk of the design shifting during heat application. To ensure a successful transfer, use a heat gun to evenly apply heat to the shrink wrap.
But we’re not done wrapping just yet! Shrink wrap sleeves are used after taping to provide even distribution of heat around the glass during sublimation in a convection oven. With your design securely wrapped and taped, your beer can glass is well on its way to becoming a masterpiece.
Preparing Your Beer Can Glass for Sublimation
Before we tackle the nitty-gritty of heating, let’s focus on the essential preparation work. Your beer can glass needs to be squeaky clean before we start – we mean free from oils, dust, or fingerprints that could interfere with the transfer. Cleaning isn’t just about aesthetics; it’s about ensuring the glass is ready to receive our carefully printed design.
So, what steps do we need to take to prepare the glass? After cleaning, it’s time to align the sublimation transfer carefully to the beer can glass and secure it in position prior to the heat pressing process. But let’s not get ahead of ourselves. Let’s break it down step by step.
Cleaning the Glass Surface
To get our beer can glass ready for sublimation, we need to ensure it’s free of dust or oils. A good wipe down with 91% isopropyl alcohol using a lint-free cloth should do the trick. This will eliminate contaminants including fingerprints and dust before sublimation.[2]
If you’re working with frosted glass tumblers, go the extra mile by using a lint roller in addition to the alcohol wipe. This ensures complete removal of dust and debris for a flawless sublimation result. A clean surface is the first step towards a vibrant, long-lasting design.
Applying the Sublimation Transfer
With our beer can glass now squeaky clean, it’s time to apply the sublimation transfer. Here’s how:
- Start by trimming the print to fit the glass size more precisely. This can prevent ghosting.
- Then, place the design printed on sublimation paper face up.
- Position the beer can glass face down onto the paper.
Next, secure the transfer paper firmly in place on the glass using heat-resistant tape. This reduces the chances of any shifting that could result in image distortion. Finally, encase the beer can glass and transfer with a shrink wrap sleeve. This applies uniform heat and pressure, crucial for achieving a flawless sublimation result.
Mastering Time and Temperature for Beer Can Glass Sublimation
Our beer can glass is now prepped and ready. Now, we’ll focus on the core of sublimation: perfecting time and temperature control. These two factors play a crucial role in the success of your sublimation project, and they can vary based on whether you’re working with clear or frosted beer can glasses.
But don’t worry, we’ve got you covered. Whether it’s clear or frosted, we’ve got the optimal time and temperature settings for you. So, let’s tune in to the thermometer and the timer, and get that perfect sublimation!
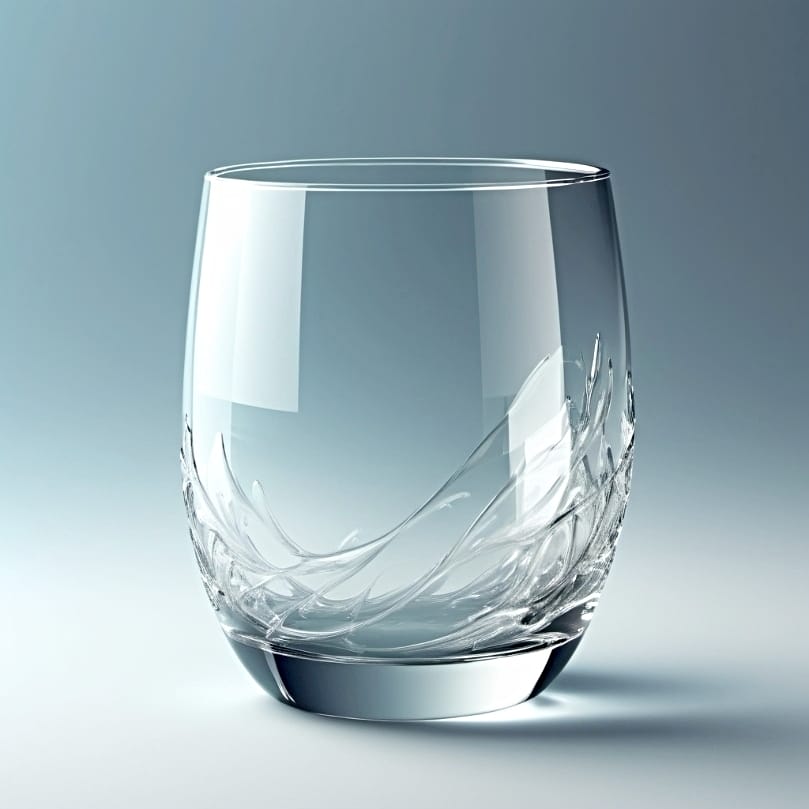
Clear Beer Can Glass Sublimation Settings
Working with clear beer can glasses? We recommend using a mug press at 360°F. Here’s how to press the glass:
- Divide the glass into 4 sections, pressing each for 60 seconds.
- Start with the seam of the sublimation wrap facing upward.
- Rotate the glass 180 degrees after the initial press so the seam side is down and press for another 60 seconds.
- Proceed to press the remaining two sections for optimal coverage.
And if your designs occupy only the center of the glass, assess the need to flip the glass based on the coverage of the design. It may not be necessary for narrow designs. With these settings, your clear glass cans will soon be boasting beautiful, vibrant designs!
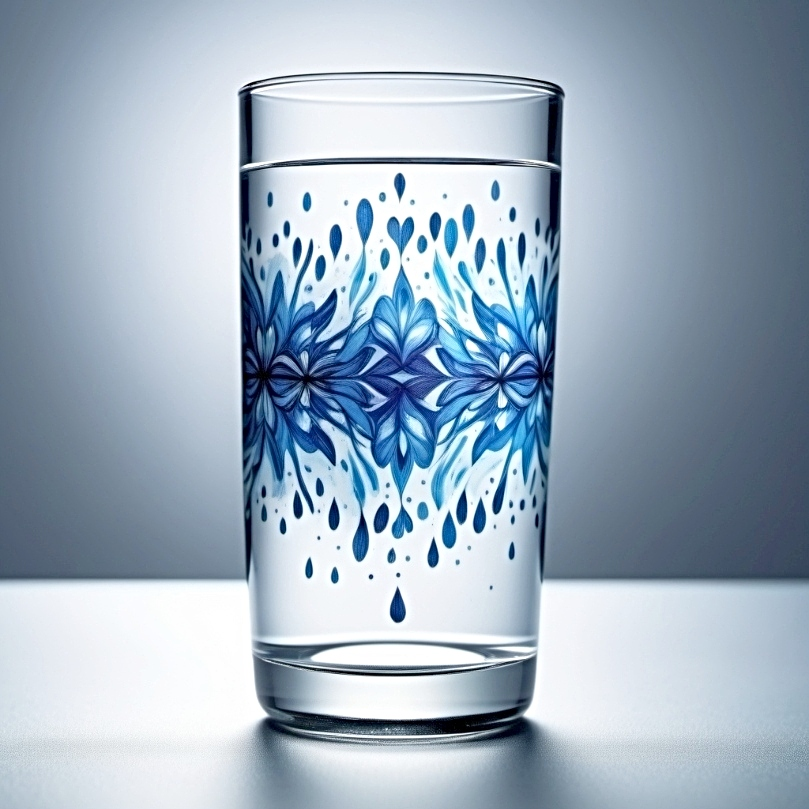
Frosted Beer Can Glass Sublimation Settings
For those of you working with frosted beer can glasses, we recommend a slightly different approach. Set your mug heat press settings to 400°F and sublimate for 8 minutes, rotating halfway through. The Cricut Mug Press is perfect for this process; begin with approximately 4 minutes of sublimation, rotate the tumbler 180 degrees, and continue sublimation for another 4 minutes.
After sublimation, let the frosted beer can glass cool on a heat mat before removing the sublimation paper to reveal the design. Now, you can sit back and admire your frosted masterpiece!
Sublimation Techniques: Convection Oven vs. Mug Press
Having discussed time and temperature, let’s shift our attention to the two primary techniques for beer can glass sublimation: the convection oven and the mug press. Both methods have their strengths, and your choice ultimately depends on your specific needs and preferences.[2]
A convection oven provides even heating, which is essential for quality image transfer on beer can glass sublimation. On the other hand, while a mug press is tailored for individual pieces, it typically handles only one item at a time. Let’s dive deeper into each method.
Using a Convection Oven for Beer Can Glass Sublimation
A convection oven is a versatile tool for sublimation. It offers precise temperature control with a digital reading, and using additional thermometers can ensure correct temperature maintenance. Preheating the oven to the recommended temperature of 400°F (204°C) is crucial for successful sublimation.
However, achieving consistent results with a convection oven can be a little more challenging compared to dedicated equipment like mug presses. To minimize potential scorching from the heat plate, protect the bottom of the glass with butcher paper during the sublimation process. With these tips, your convection oven will become your best friend in sublimation!
Using a Mug Press for Beer Can Glass Sublimation
If you prefer a more straightforward approach, a mug press might be your tool of choice. Sublimation designs with bold, dark, and vibrant colors show up the best on a glass mug, like beer can glasses, when using a mug press. Adjust the pressure to be light, ensuring light pressure to prevent the glass from moving but not too tight, risking breakage.
After completing the sublimation process, follow these steps:
- Use heat-resistant gloves to remove the beer can glass.
- Place the glass onto a heat-safe surface to cool for a few minutes before handling further.
- With a mug press, sublimation becomes a breeze!
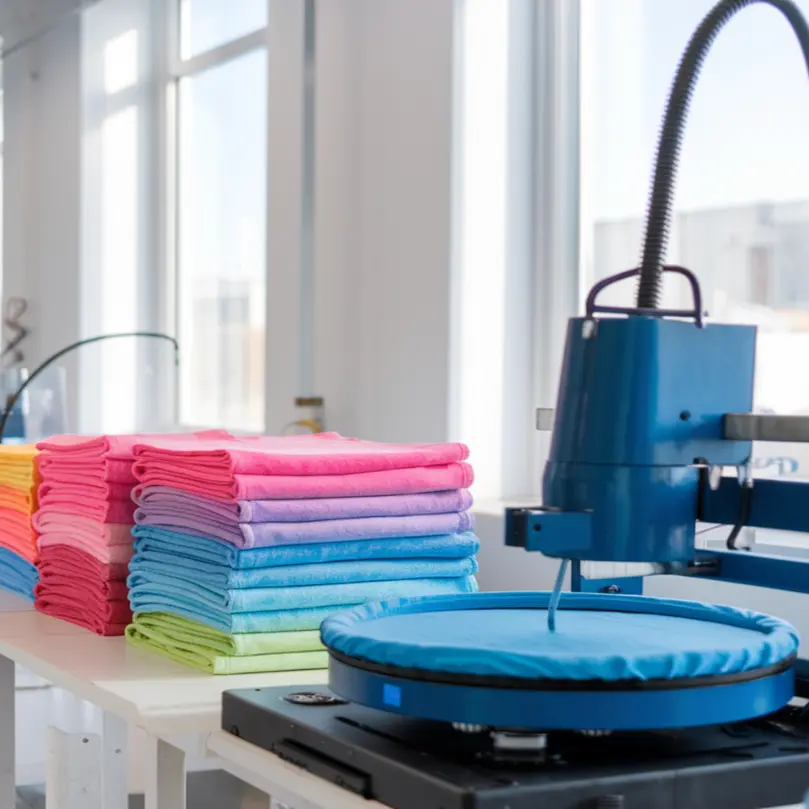
Creative Ideas for Beer Can Glass Sublimation Designs
Now that we’ve mastered the technicalities, let’s kindle the fire of creativity! Beer can glass sublimation gives you the freedom to create a wide range of designs, from special interests like sports team logos or cosmic space themes, to personalized elements like individual names or special dates. The possibilities are endless!
Want to capture a nostalgic or aesthetically pleasing vibe? Vintage or retro designs, detailed floral patterns, iconic pop culture elements, scenic cityscapes, or charming animal motifs are all great choices. Or, if you prefer a contemporary approach, geometric patterns, abstract art, and designs that mimic the look of stained glass can provide a modern and upscale look. With Silhouette Studio, you can explore these design options and more.
But why stop there? Here are some ideas to take your beer can glass designs to the next level:
- Create collectible series with unique numbers for special events
- Design a set of glasses each showcasing a cocktail recipe with an illustration
- Add an element of exclusivity and fun to the collection
So, let your imagination run wild and create beer can glass designs that truly stand out in the perfect place glass, while considering the environmental impact of using a plastic straw!
Caring for Your Sublimated Beer Can Glass
Given the hard work and creativity invested in beer can glass sublimation, it’s imperative to care for these unique creations correctly. To clean your sublimated beer can glass, wait until the glass has cooled and then gently rub off any paper remnants under water, avoiding soaking the glassware as this may damage the design.
Always hand wash the sublimated glassware using a soft sponge and dish soap, being careful not to scrub the outer wall which could damage the printed image. Sublimated glassware can be placed in the dishwasher, though fading over time is normal. I have a separate discussion on the safety of sublimated items in the dishwasher.
And rest assured, microwaving sublimated beer can glass is safe and does not harm the imprinted image. Proper care ensures your beautiful sublimated beer can glasses last longer and keep their vibrant colors!
Summary
We’ve journeyed through the ins and outs of beer can glass sublimation, from understanding the essential tools and preparation steps to mastering time, temperature, and techniques. We’ve explored creative design ideas and learned how to take care of our sublimated beer can glasses. Now, it’s time to put this knowledge into action. It’s time to create colorful, personalized beer can glasses that are not just drinkware, but works of art. So, what are you waiting for? Let the magic of sublimation bring your creativity to life!
Frequently Asked Questions
How long do you heat press sublimation on glass?
You should heat press sublimation on glass for 45 to 60 seconds. This ensures a proper transfer of the design onto the glass.
What temperature and time for sublimation beer mugs?
To sublimate beer mugs, set the temperature to 360F (180C) and the time to 240 seconds, then peel immediately after sublimation. This will ensure a successful transfer of the design onto the mug.
What are the essential supplies for beer can glass sublimation?
To get started with beer can glass sublimation, you’ll need a sublimation printer, sublimation paper, heat tape, shrink wrap or sleeves, and a convection oven or mug press. Happy crafting!
How should I clean the beer can glass before sublimation?
To clean the beer can glass before sublimation, wipe the glass surface with 91% isopropyl alcohol using a lint-free cloth. This will help eliminate contaminants and ensure a clean surface for sublimation.
What’s the difference between using a convection oven and a mug press?
The main difference is that a convection oven can handle multiple items at once thanks to its even heating, whereas a mug press is designed for single pieces. So, if you need to do a bunch of mugs, go with the convection oven!
References
- PubChem. (n.d.-a). Isopropyl alcohol. PubChem. https://pubchem.ncbi.nlm.nih.gov/compound/Isopropyl-Alcohol
- Cricut Mug Press | Cricut.com. (n.d.). https://cricut.com/en-us/cricut-mug-press