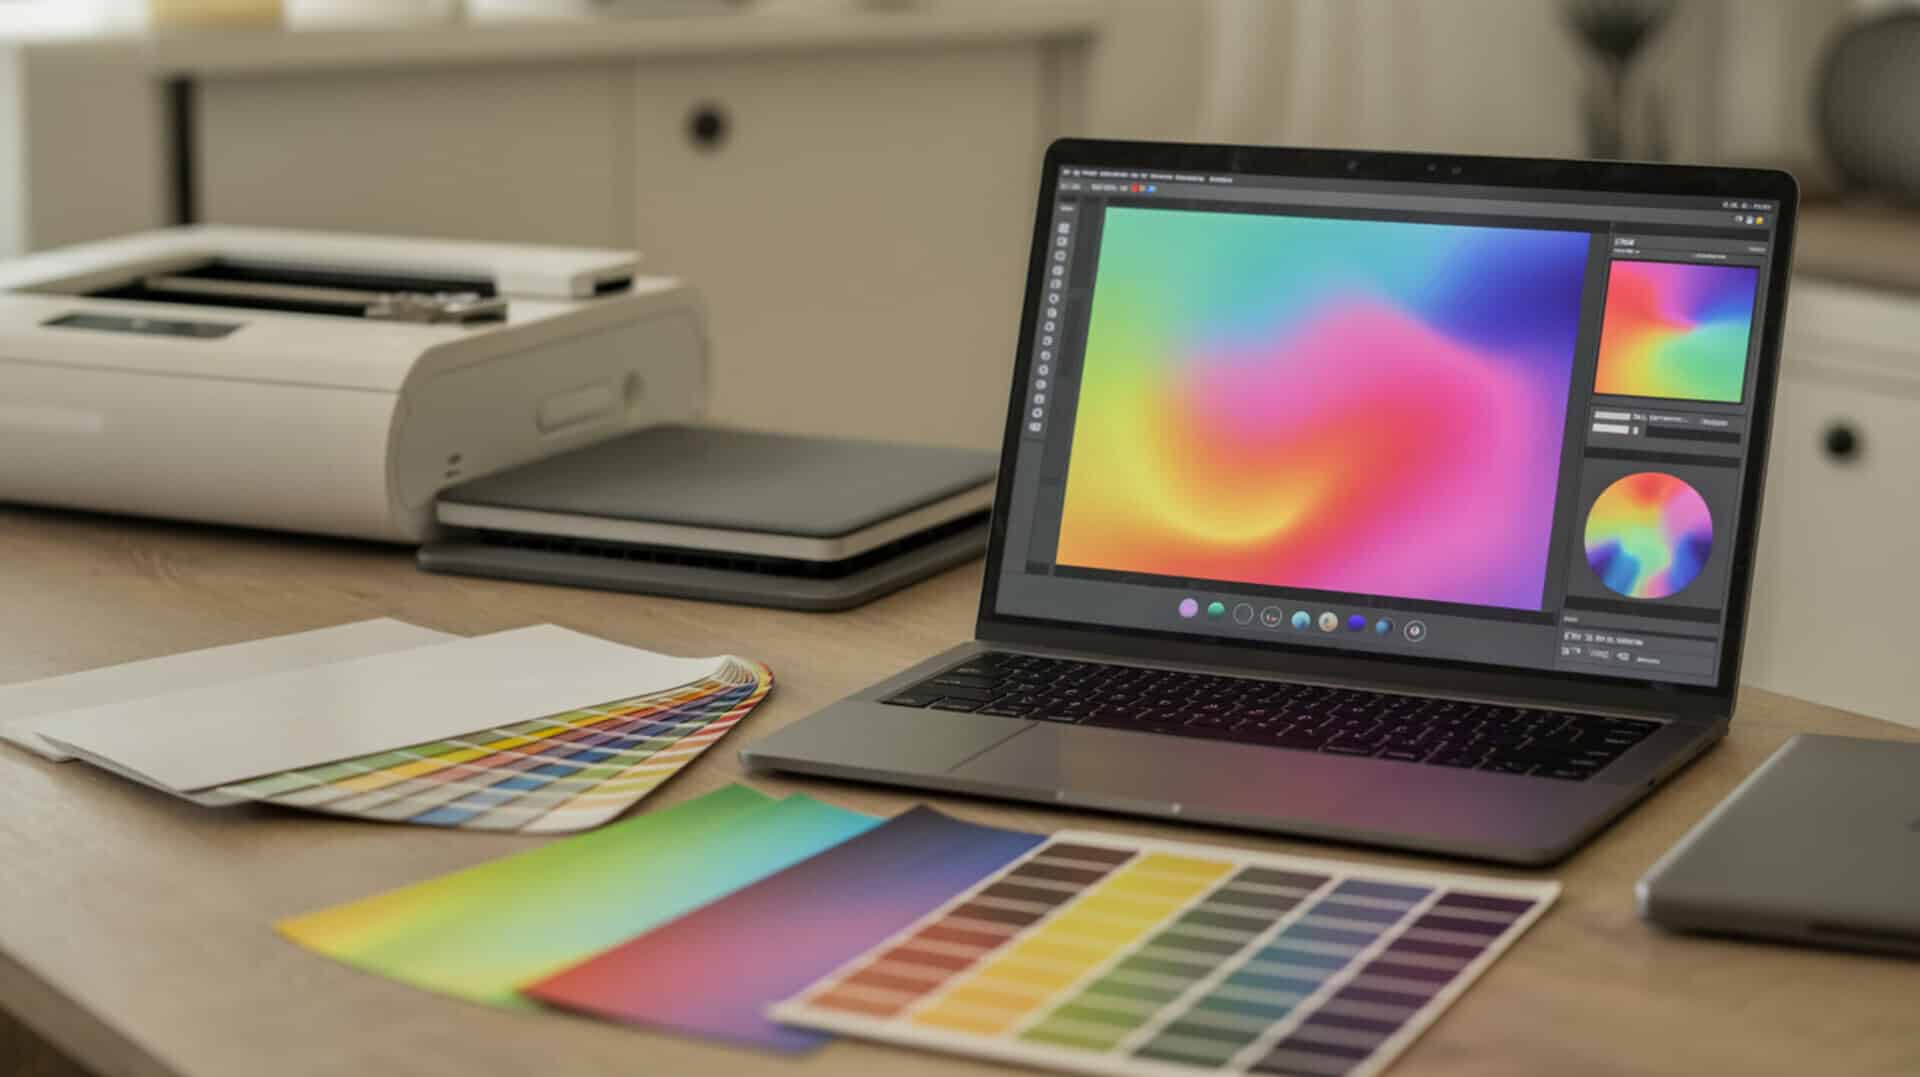
Creating sublimation designs requires understanding both traditional graphic techniques and modern digital workflows. 3D computer graphics help explain contemporary sublimation design techniques where mockups and previews simulate how artwork will appear on curved products like mugs and tumblers. Texturing serves as the core method for applying artwork onto both 2D flat substrates and 3D sublimation templates, ensuring designs wrap correctly around complex surfaces before printing.
Key Takeaways
- Design at 300 DPI minimum in RGB color mode for vibrant, print-ready sublimation transfers.
- Rendering produces the final 2D image used in sublimation printing from your design software.
- Rasterization converts 3D design elements into print-ready PNG files that sublimation printers can process.
How Can You Create Eye-Catching 3D Sublimation Designs?
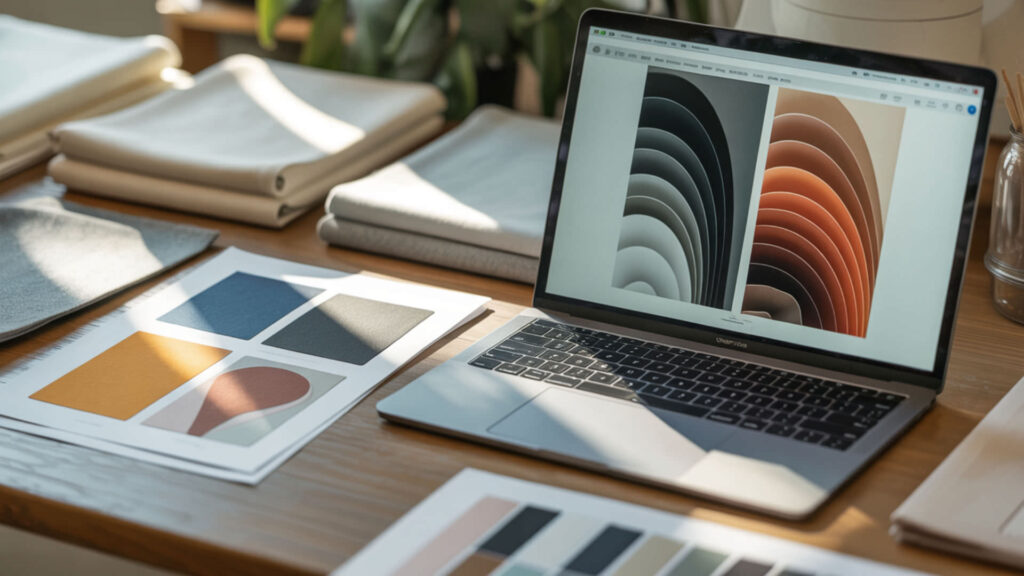
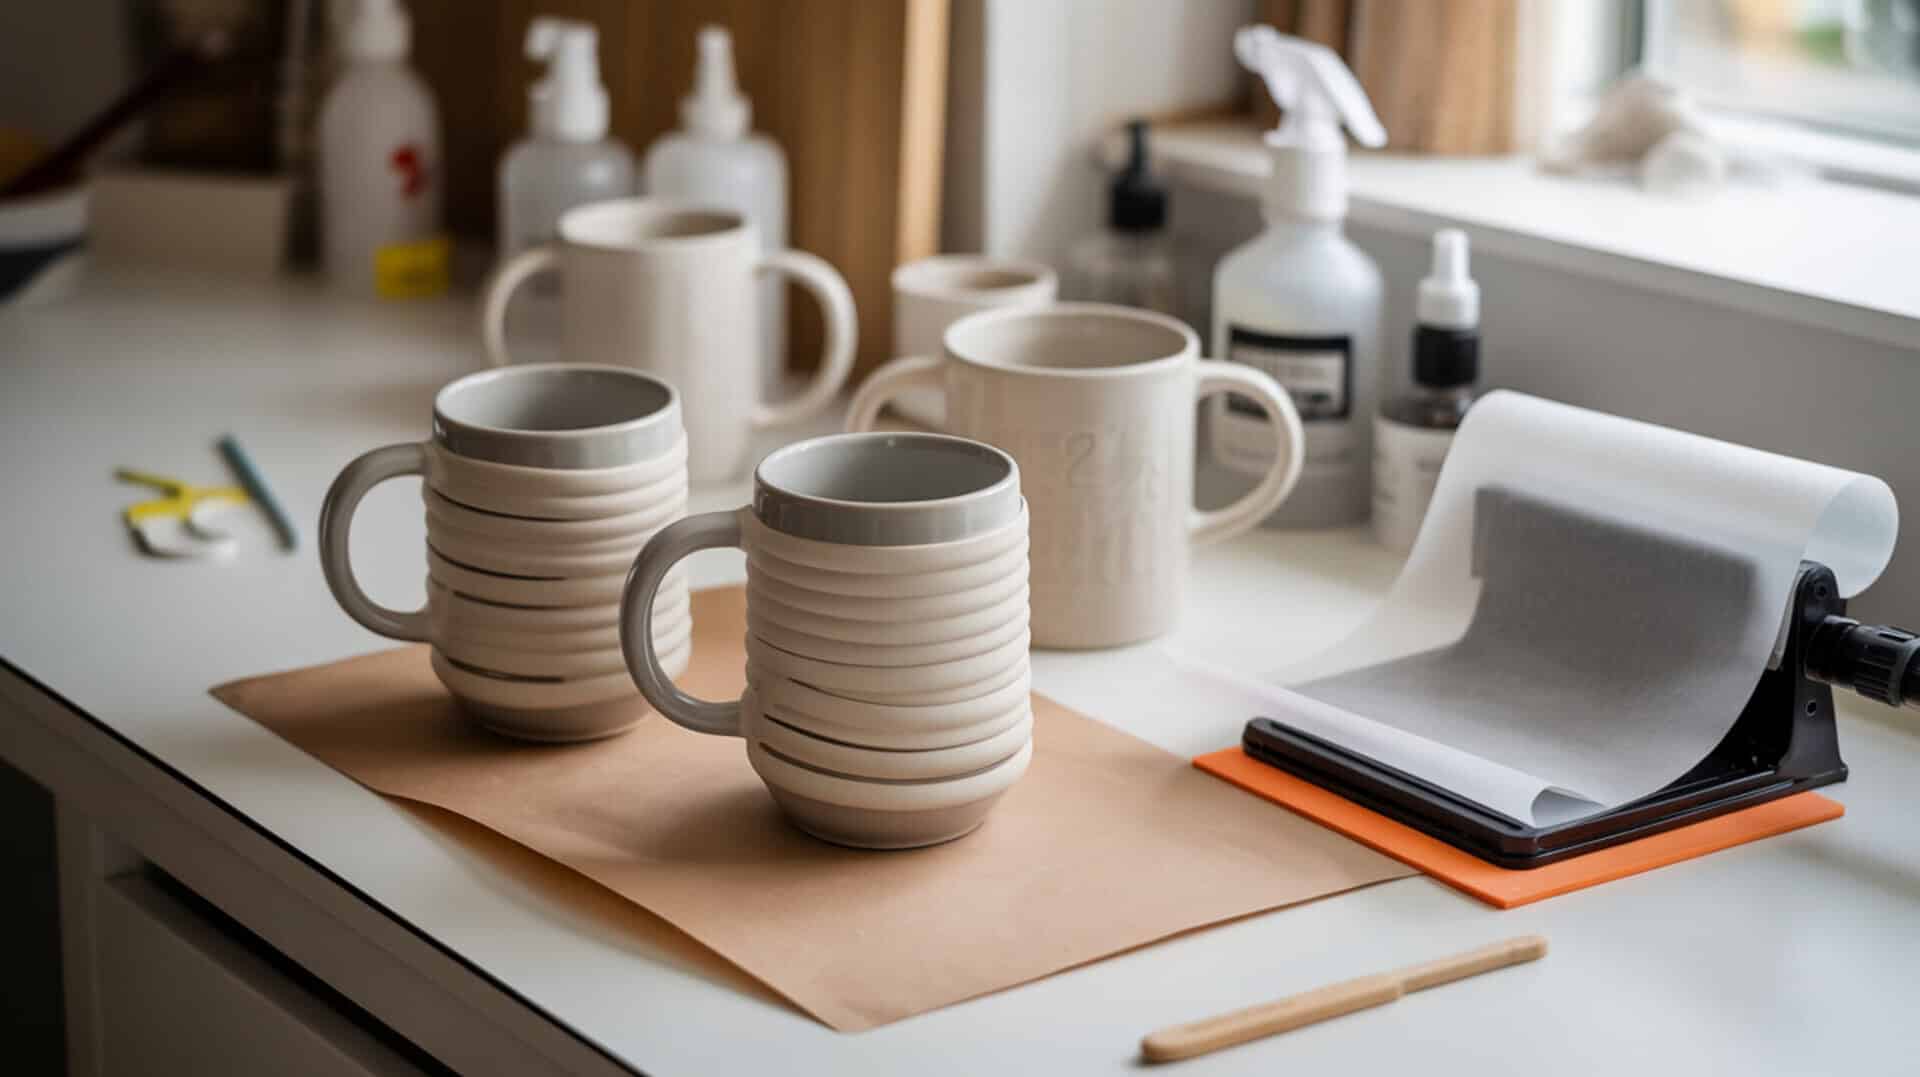
Creating dimensional sublimation designs involves understanding how flat artwork translates onto curved products. UV mapping determines how artwork wraps around curved sublimation objects like mugs, tumblers, and ornaments by flattening the 3D surface into a 2D template. Texturing applies your design patterns onto 3D surfaces before rendering, allowing you to preview exactly how colors and graphics will appear after heat pressing. Our guide on 3D sublimation designs explores how to build and texture a 3D model for accurate product visualization. UV mapping is a process that maps a two-dimensional image to the surface of a three-dimensional object using UV coordinates.[1]
Understanding Dimensional Design Techniques
Dimensional design techniques transform flat artwork into curved-surface-ready files by accounting for stretching and distortion. The mesh forms the underlying wireframe structure of your 3D product template, defining the shape that your design will wrap around. Subdivision surface algorithms smooth the mesh for more realistic sublimation previews, eliminating the jagged polygon edges that would otherwise make mockups appear artificial and unrealistic.
Software Tools for 3D Effect Creation
Software like Blender, Adobe Dimension, and specialized mockup generators provide tools for creating 3D sublimation previews. The rendering engine within these programs calculates lighting, shadows, and material properties to produce photorealistic product images. Real-time rendering proves useful for adjusting 3D designs efficiently, letting you rotate products, change lighting angles, and modify textures without waiting for full render cycles between each change.
Applying 3D Designs to Curved Surfaces
Curved substrates like mugs and tumblers require careful template preparation to prevent artwork distortion after heat pressing. UV mapping ensures artwork aligns properly during wrap-around sublimation by creating a flat template that accounts for the cylinder’s circumference. Perspective projection affects how mockups display your wrapped design, simulating the viewing angle that customers will see when examining the final product from different positions.
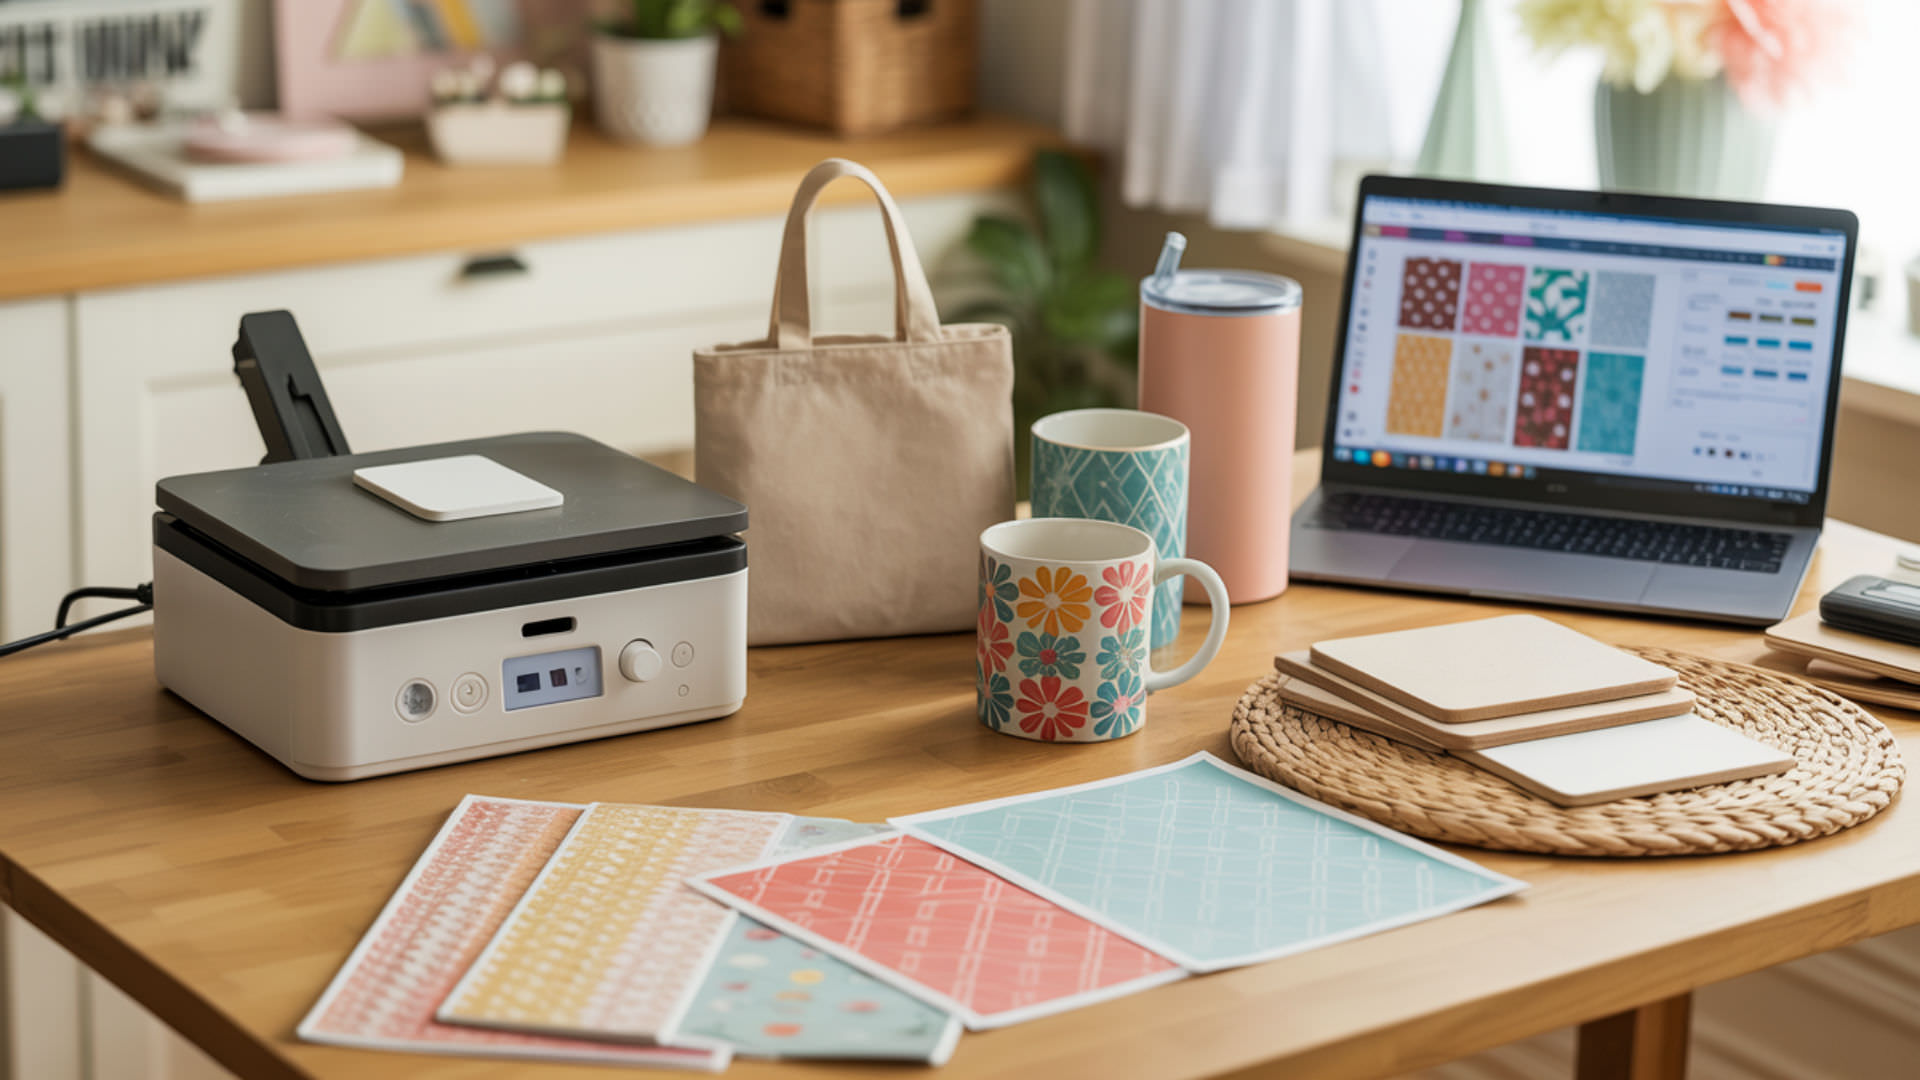
Where Do You Find Inspiration for Sublimation Design Ideas?
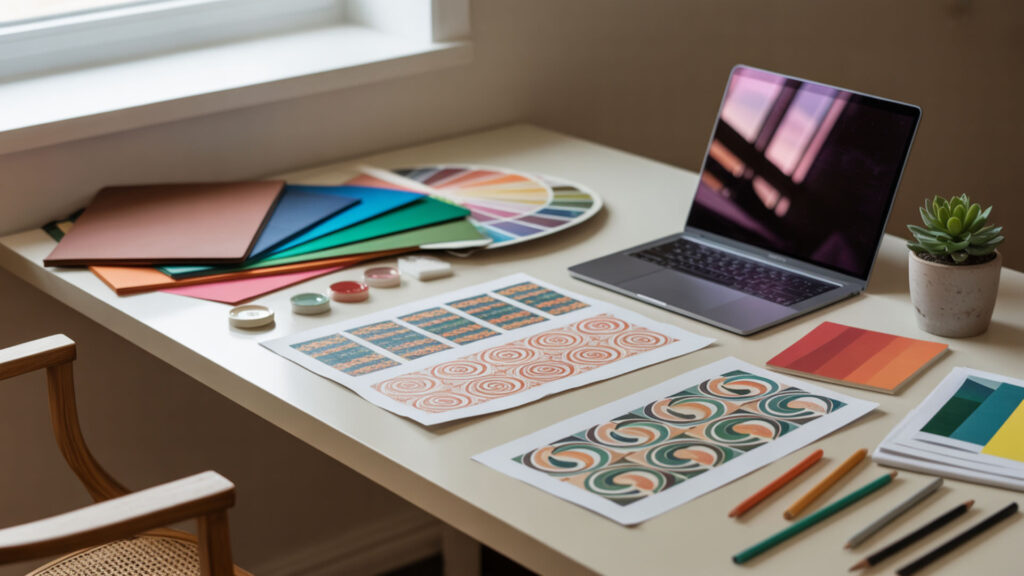
Design inspiration comes from market research, trending aesthetics, and understanding your target customer base. Lighting in 3D mockups helps visualize mood and style during idea exploration, showing how different color schemes appear under various conditions. Our sublimation printing design ideas guide expands on texturing techniques and creative variations for different product types.
Trending Themes and Seasonal Designs
Seasonal themes drive significant sublimation sales around holidays, graduations, and special occasions. The material properties in your 3D mockups change the visual feel and theme of rendered artwork—glossy materials suggest premium products while matte finishes convey a more subtle aesthetic. Monitor platforms like Pinterest, Etsy, and social media to identify emerging patterns, color palettes, and design styles that resonate with current consumer preferences.
Customization Ideas for Different Markets
Different customer segments require distinct design approaches—sports fans want team colors, pet owners seek personalized portraits, and professionals need corporate branding. Texture maps allow design variations tailored to specific niches by swapping patterns, colors, and graphics while maintaining the same underlying structure. Create template systems where base designs can be quickly customized with names, dates, or images to serve personalization markets efficiently.
Building a Design Portfolio That Sells
A compelling portfolio showcases your designs on realistic product mockups rather than flat graphics alone. The virtual camera in 3D software helps frame final previews for listing and portfolio images, controlling angle, zoom, and composition to highlight your artwork’s best features. Include multiple views—front, back, detail shots—and show designs on various product types to demonstrate versatility and help customers visualize the final pressed result.
What’s the Process for Printing Large-Scale Sublimation Designs?
Large-format sublimation projects require special preparation to maintain quality across oversized substrates. Image resolution is essential for maintaining clarity when printing oversized designs—300 DPI remains the standard, meaning a 24×36 inch print requires a 7200×10800 pixel source file. Rendering produces the final export file, and the process may take significantly longer for large-format artwork. Our guide on printing large sublimation designs covers rasterization workflows for oversized projects.
Splitting and Tiling Oversized Designs
When designs exceed your printer’s maximum width, splitting into tiles allows printing in sections that are later assembled. Orthographic projection ensures tiling accuracy without perspective distortion by rendering each section at identical scale and angle. Include overlap margins of 0.25-0.5 inches between tiles so sections can be precisely aligned during heat pressing without visible seams or gaps in the final transferred image.
Registration Marks and Alignment Techniques
Registration marks guide precise alignment when assembling tiled prints or positioning transfers on large substrates. The virtual camera controls perspective when creating alignment reference marks, ensuring marks appear at consistent positions across all tile sections. Place crosshair marks at corners and midpoints outside the trim area, then use heat-resistant tape to align tiles on the substrate before pressing each section sequentially.
Equipment Considerations for Large Format Projects
Large-format sublimation requires wide-format printers like the Epson SureColor F570 (24-inch) or larger industrial units for production-scale work. The rendering engine determines how quickly large, detailed sublimation exports can be generated—complex designs with multiple layers and effects demand powerful hardware to avoid excessive render times. Heat presses must accommodate oversized substrates, with swing-away or draw-style presses offering easier access for positioning large transfers.
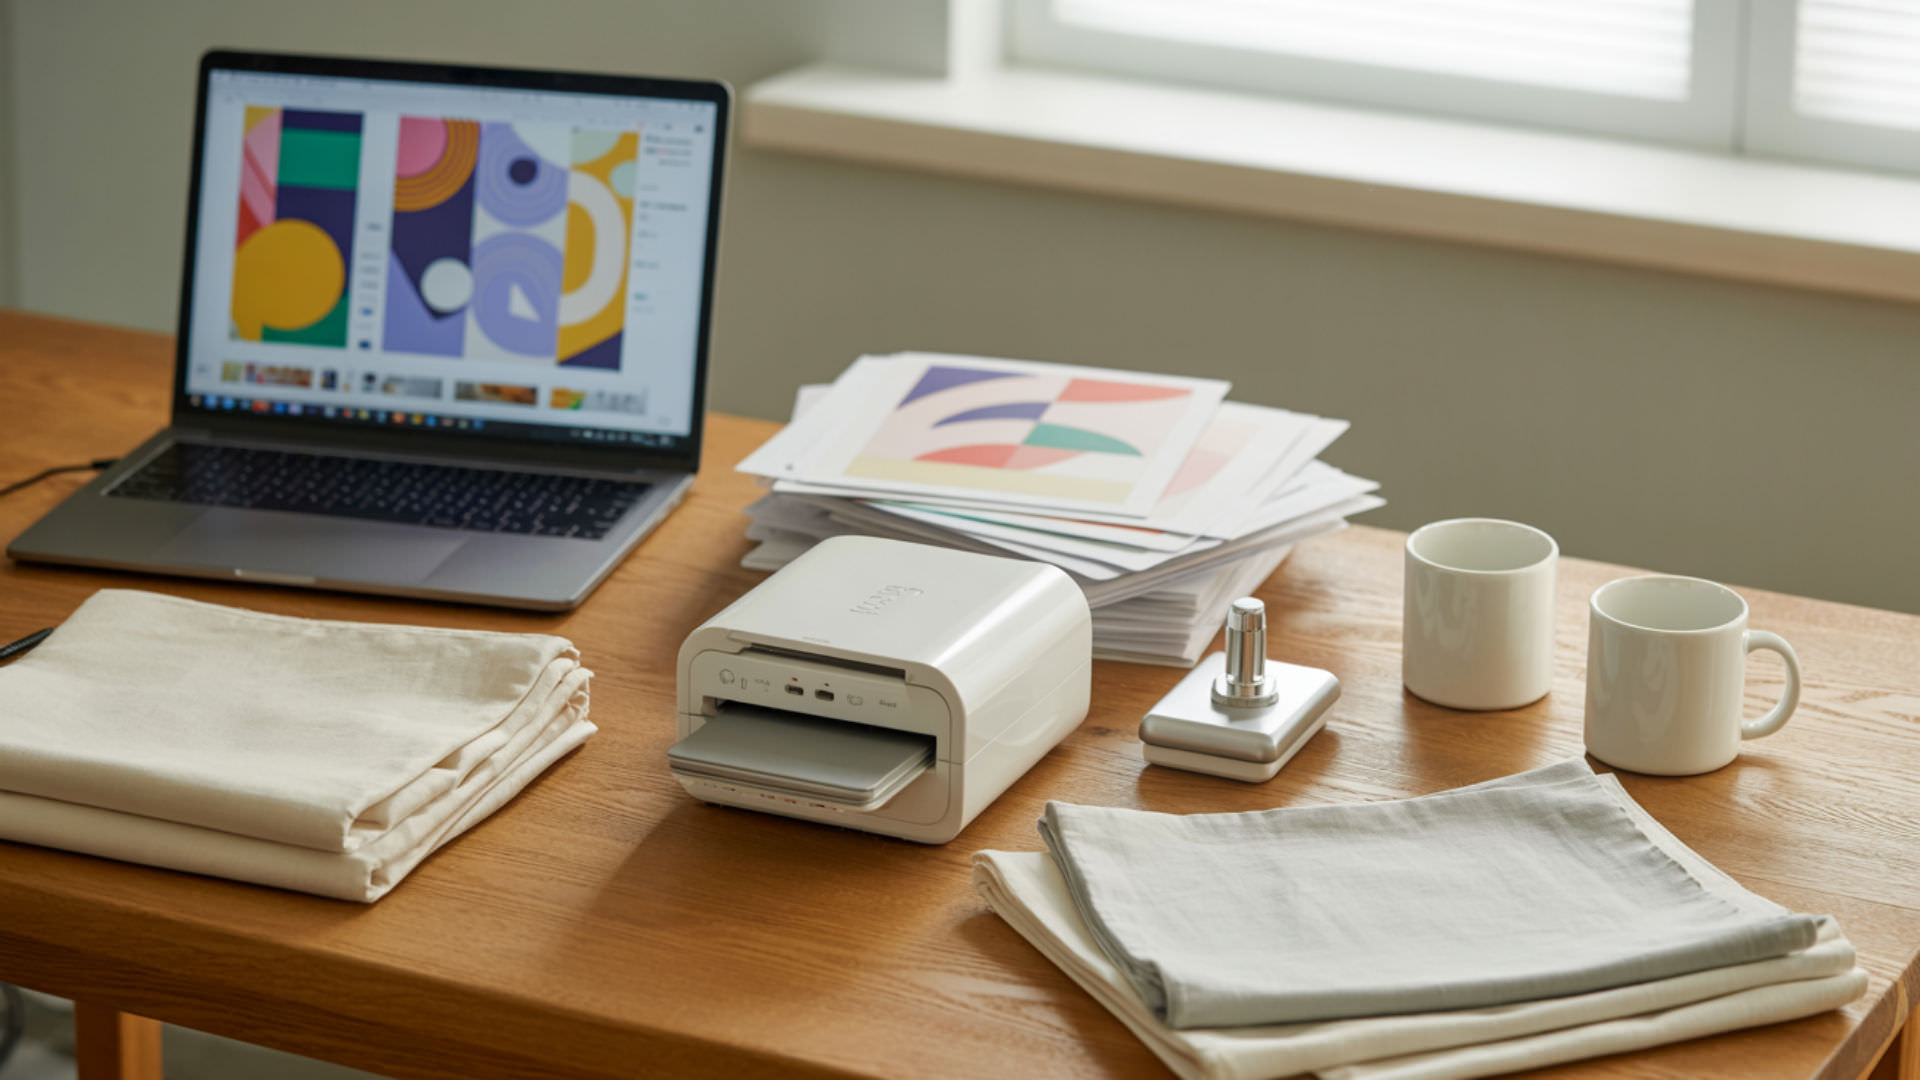
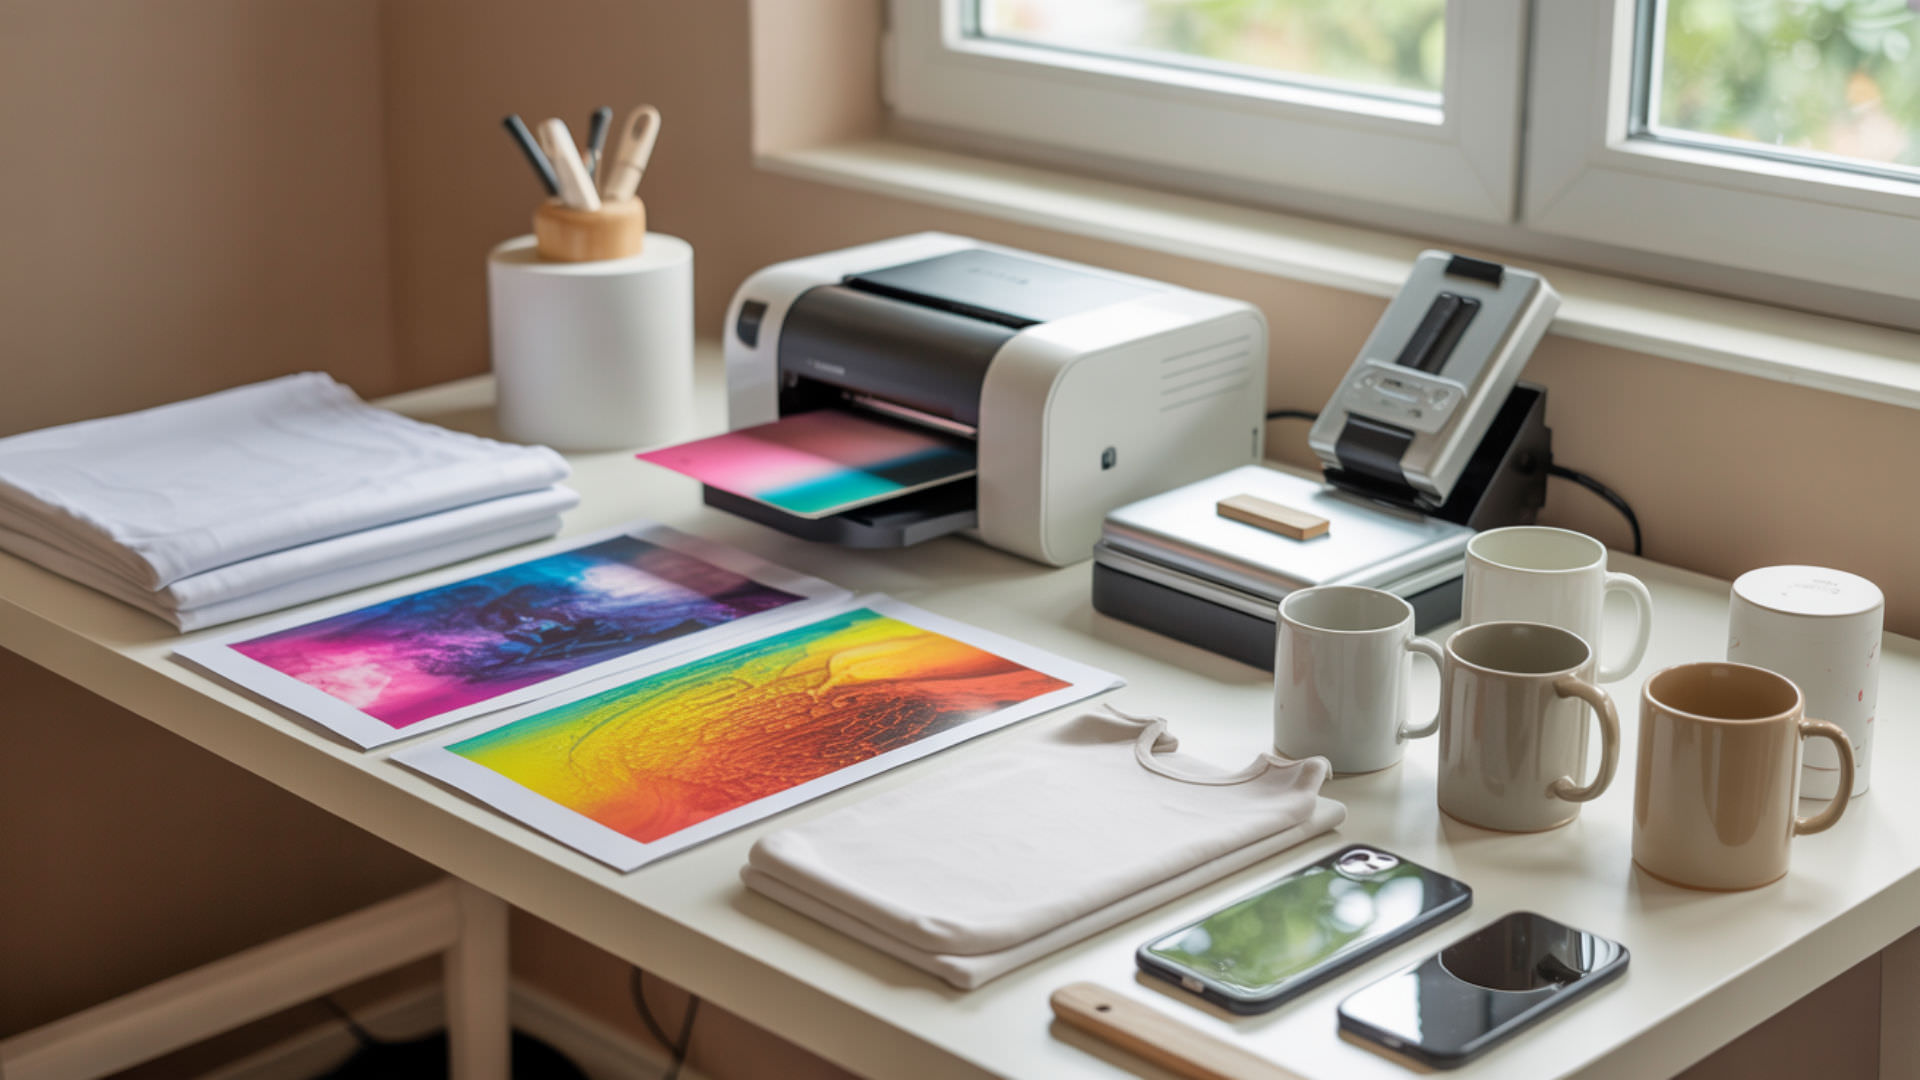
How Do You Actually Print Your Sublimation Designs?
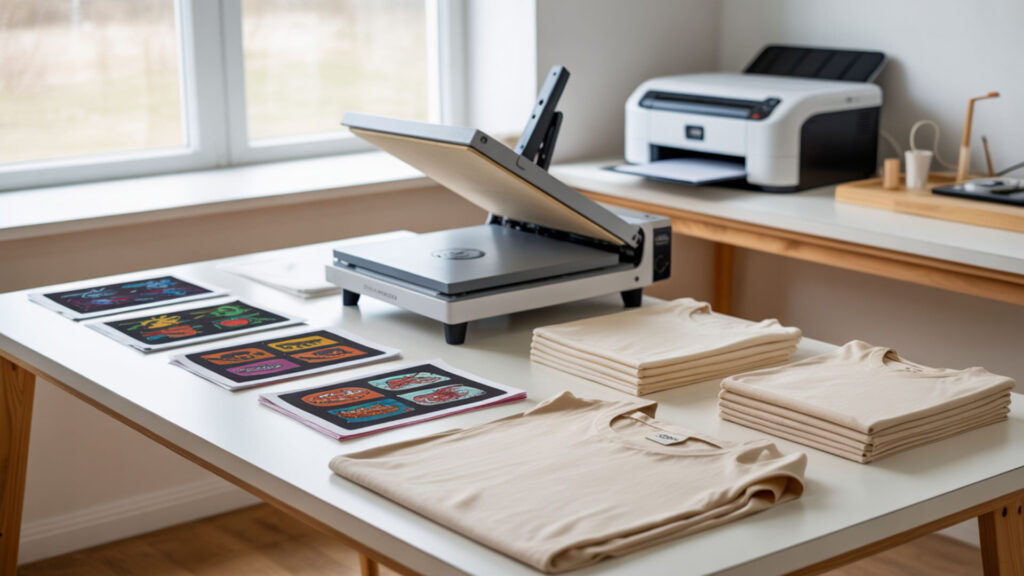
The printing process transforms your digital designs into physical transfers ready for heat pressing. Rendering produces the final 2D image used in sublimation printing by flattening all layers, effects, and adjustments into a single output file. Texture maps embedded in your design export as part of the rasterized output, preserving all pattern details in the print-ready file. Our guide on printing sublimation designs provides the complete rendering and output workflow. PNG is a raster image file format that stores image data as pixels and uses lossless compression.[2]
File Preparation and Color Adjustments
Proper file preparation ensures your printed transfer matches the design you created on screen. Lighting in your design software influences perceived colors before final rendering—preview under neutral lighting conditions to avoid unexpected shifts. Material properties affect how colors appear on different substrates, so adjust saturation and brightness based on whether you are pressing onto white polyester, ceramic, or metal surfaces.
Step-by-Step Printing Workflow
Export your design as a high-resolution PNG at 300 DPI in RGB color mode, mirroring the image horizontally before sending it to the printer. Rendering flattens your design into the final output, and rasterization converts the render into a pixel-based print-ready format that sublimation printers can process. Select Premium Presentation Paper Matte in printer settings, enable high-quality mode, and print onto sublimation paper with the coated side facing the print path.
Quality Control Before Heat Pressing
Inspect printed transfers before pressing to catch issues that would waste blanks and materials. Depth of field effects in design previews can hide edge details, so verify sharpness across the entire composition before final output. Ambient occlusion enhances subtle shadows that help identify rendering flaws before printing—check that shadow gradients appear smooth without banding or visible stepping artifacts that would transfer to the final product.
What Makes Certain Sublimation Designs Stand Out?

Standout sublimation designs combine strong visual elements with technical excellence in color and composition. Shading creates perceived depth that improves the visual quality of final designs, making flat graphics appear dimensional and engaging. Material choices in your mockups should match the actual substrate—glossy ceramic renders differently than matte fabric. Our collection of best sublimation designs showcases how lighting and strong visual elements create market-ready products.
Color Theory and Vibrancy Tips
Sublimation excels at reproducing vibrant, saturated colors that other printing methods cannot achieve. Lighting influences saturation and vibrancy in rendered design previews—bright, direct lighting reveals how colors will pop on white substrates. Design in RGB color mode for the widest gamut, use sRGB or Adobe RGB color profiles, and remember that sublimation transfers appear slightly more saturated after pressing than they appear on the printed transfer paper.
Design Elements That Transfer Well
Certain design elements translate exceptionally well to sublimated products while others lose impact during transfer. Bump maps add texture detail that transfers nicely into final sublimation prints by creating the illusion of surface variation through shading. High-contrast edges, smooth gradients, and photographic images all sublimate beautifully, while very thin lines, small text, and subtle color differences may lose definition during the heat transfer process.
Avoiding Common Design Pitfalls
Common mistakes include low resolution source files, incorrect color modes, and forgetting to mirror designs before printing. The virtual camera angle can distort or crop final compositions if set incorrectly—always verify that mockup previews accurately represent how artwork will wrap around the actual substrate. Avoid placing critical elements near edges where heat press alignment variations could cut off important details, and never use copyrighted images without proper licensing.
Which Laptop Specifications Do You Need for Design Creation?

Sublimation design work demands capable hardware to handle high-resolution files and design software efficiently. Offline rendering requires higher processing power for large sublimation exports, especially when working with complex 3D mockups or batch-processing multiple designs. Real-time rendering in design software benefits from dedicated graphics cards that accelerate viewport performance. Our guide to the best laptops for sublimation printing recommends systems with powerful rendering engine capabilities for professional workflows.
Processing Power and RAM Requirements
Design software like Photoshop, Illustrator, and Canva performs best with modern multi-core processors and ample memory. Rendering workloads cause CPU and GPU load to increase with mesh complexity when creating 3D mockups or processing large files. Minimum specifications include 8GB RAM and a quad-core processor, though 16GB RAM and an Intel i7 or AMD Ryzen 7 provide smoother performance when handling multiple large sublimation design files simultaneously.
Display Quality and Color Accuracy
Color-accurate displays ensure what you design matches what you print, preventing frustrating mismatches between screen and substrate. Display brightness and color gamut directly impact how lighting and shading appear during design creation—a dim, narrow-gamut screen hides color nuances you will see on the final product. Look for displays covering 100% sRGB or Adobe RGB with brightness above 300 nits, and consider calibrating your monitor with a colorimeter for professional accuracy.
Storage Solutions for Design Libraries
Sublimation designers accumulate large libraries of source files, templates, and finished designs that require substantial storage. Texture maps and high-resolution design files consume significant disk space, making adequate storage capacity essential for maintaining organized asset libraries. Use a 512GB SSD minimum for your working drive, with external storage or cloud backup for archiving completed projects and protecting your design investments.
Final Thoughts
Creating professional sublimation designs combines artistic vision with technical precision in file preparation and output settings. Master rendering workflows to produce consistent, high-quality exports that translate beautifully from screen to substrate. UV mapping ultimately determines the final fit and alignment on sublimation blanks—invest time in understanding templates and wrap calculations to ensure your designs transfer exactly as intended onto mugs, tumblers, shirts, and other products.
Frequently Asked Questions
What resolution should I use when creating sublimation designs from scratch?
Create designs at 300 DPI (dots per inch) for the sharpest print quality on most sublimation products. Image resolution at 300 DPI prevents pixelation when designs are scaled for printing, though 150 DPI may suffice for larger items like blankets where viewing distance is greater. For hard substrates like mugs and ceramic tiles, maintain 300 DPI to preserve fine details that customers examine at close range.
Can I use designs from the internet for my sublimation business?
Only use designs you have created, purchased with commercial licenses, or obtained explicit permission to use commercially. Images found through web searches are typically copyrighted, and using them without authorization exposes your business to legal liability. Purchase designs from legitimate marketplaces, commission original artwork, or create your own graphics to ensure proper licensing for commercial sublimation products.
How do I ensure my designs won’t pixelate when printed?
Start with high-resolution source files and avoid scaling raster images beyond 100% of their original size. Rasterization converts vector elements to pixels, so maintain 300 PPI at final print dimensions before exporting. Check your design at 100% zoom in your editing software—if pixels are visible on screen, they will appear even more pronounced in the printed transfer and final pressed product.
What’s the difference between RGB and CMYK for sublimation designs?
RGB (Red, Green, Blue) is the recommended color mode for sublimation because it offers a larger color gamut and matches how your monitor displays colors. Although sublimation printers use CMYK inks, designing in RGB produces more vibrant results because the wider gamut gives you more color options, and the ICC profile handles conversion accurately. Lighting conditions under which you view your design affect perceived colors, so preview under neutral white light.
Do I need expensive design software to create professional sublimation prints?
Professional results are achievable with free tools like Canva, GIMP, and Inkscape, though paid software like Adobe Photoshop and Illustrator offer more advanced features. Free options handle basic sublimation design tasks well, including creating 300 DPI files, working in RGB mode, and exporting PNG formats. Invest in paid software when your workflow demands advanced layer management, precise color control, or integration with professional mockup systems.
References
- UVs – Blender 5.0 manual. (n.d.). Blender Documentation – blender.org. https://docs.blender.org/manual/en/latest/modeling/meshes/uv/index.html
- Portable network graphics (PNG) specification (Third edition). (n.d.). W3C. https://www.w3.org/TR/png/