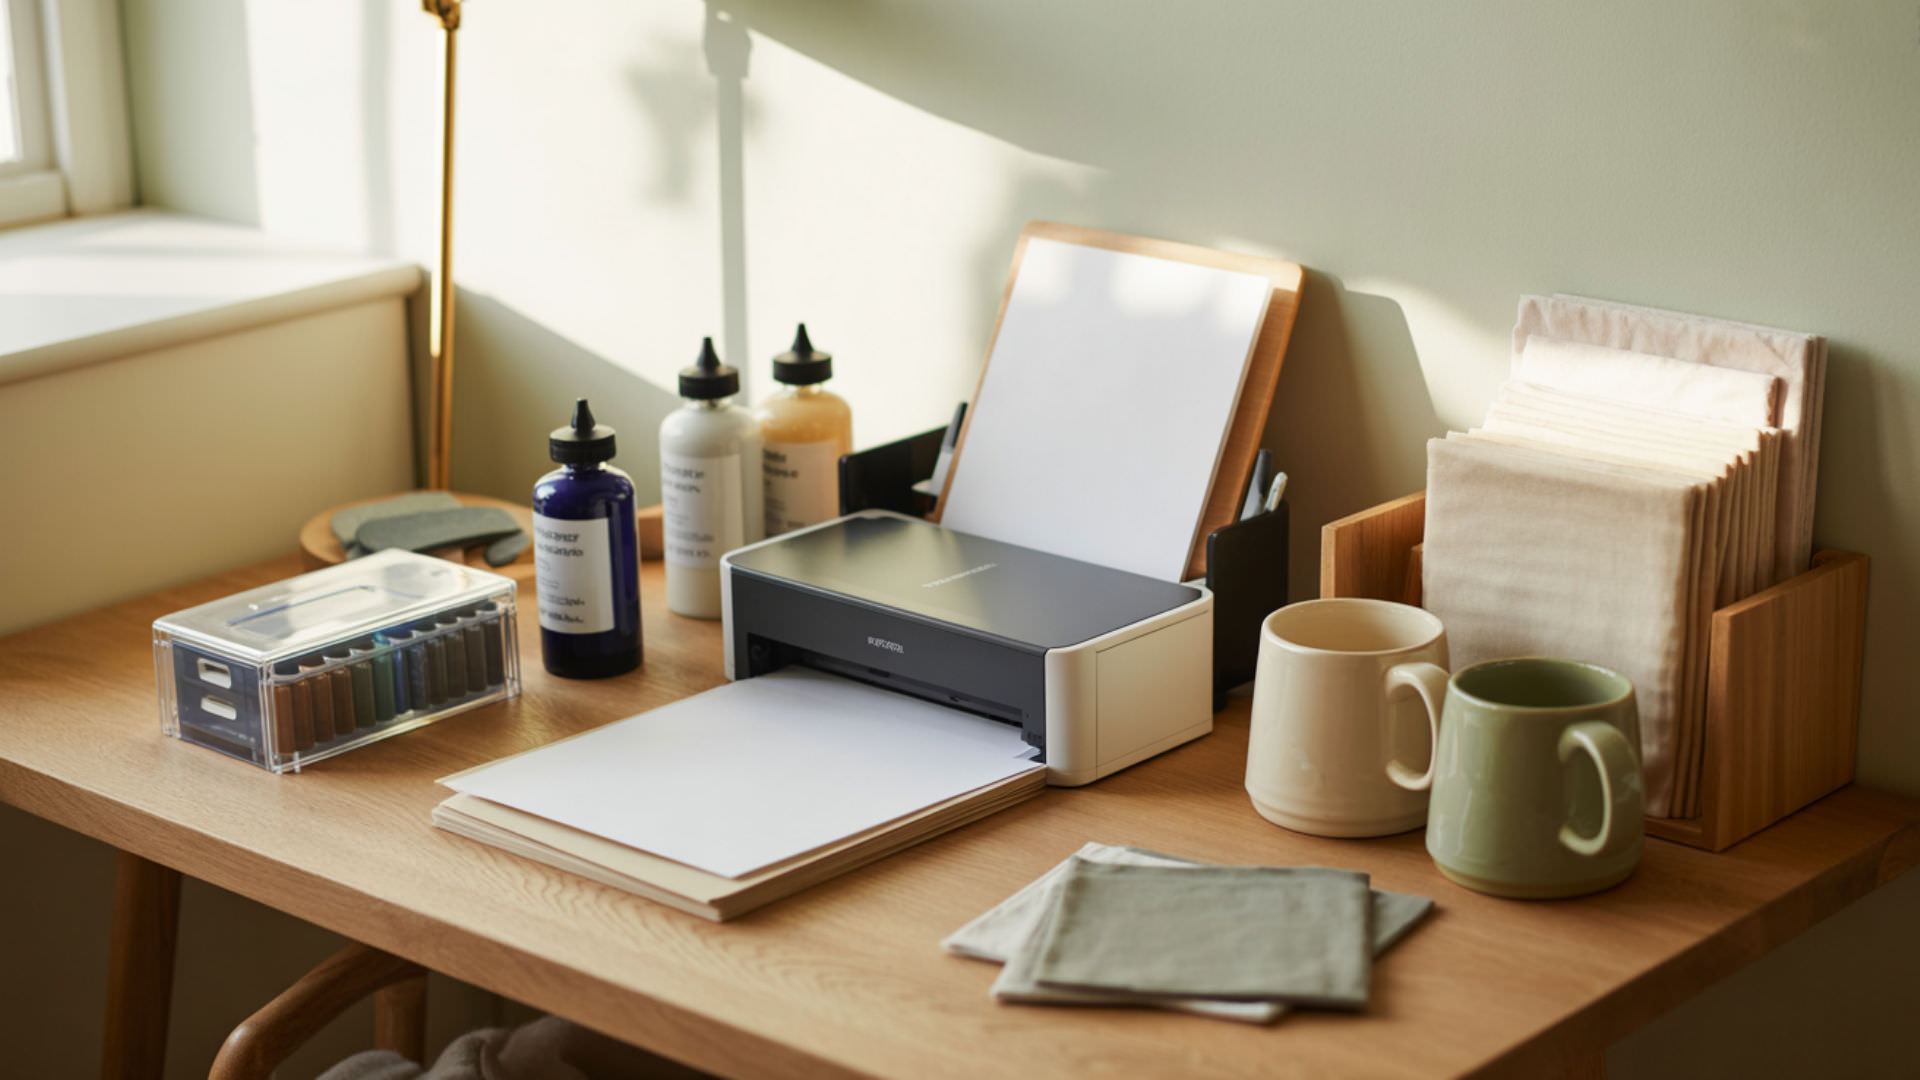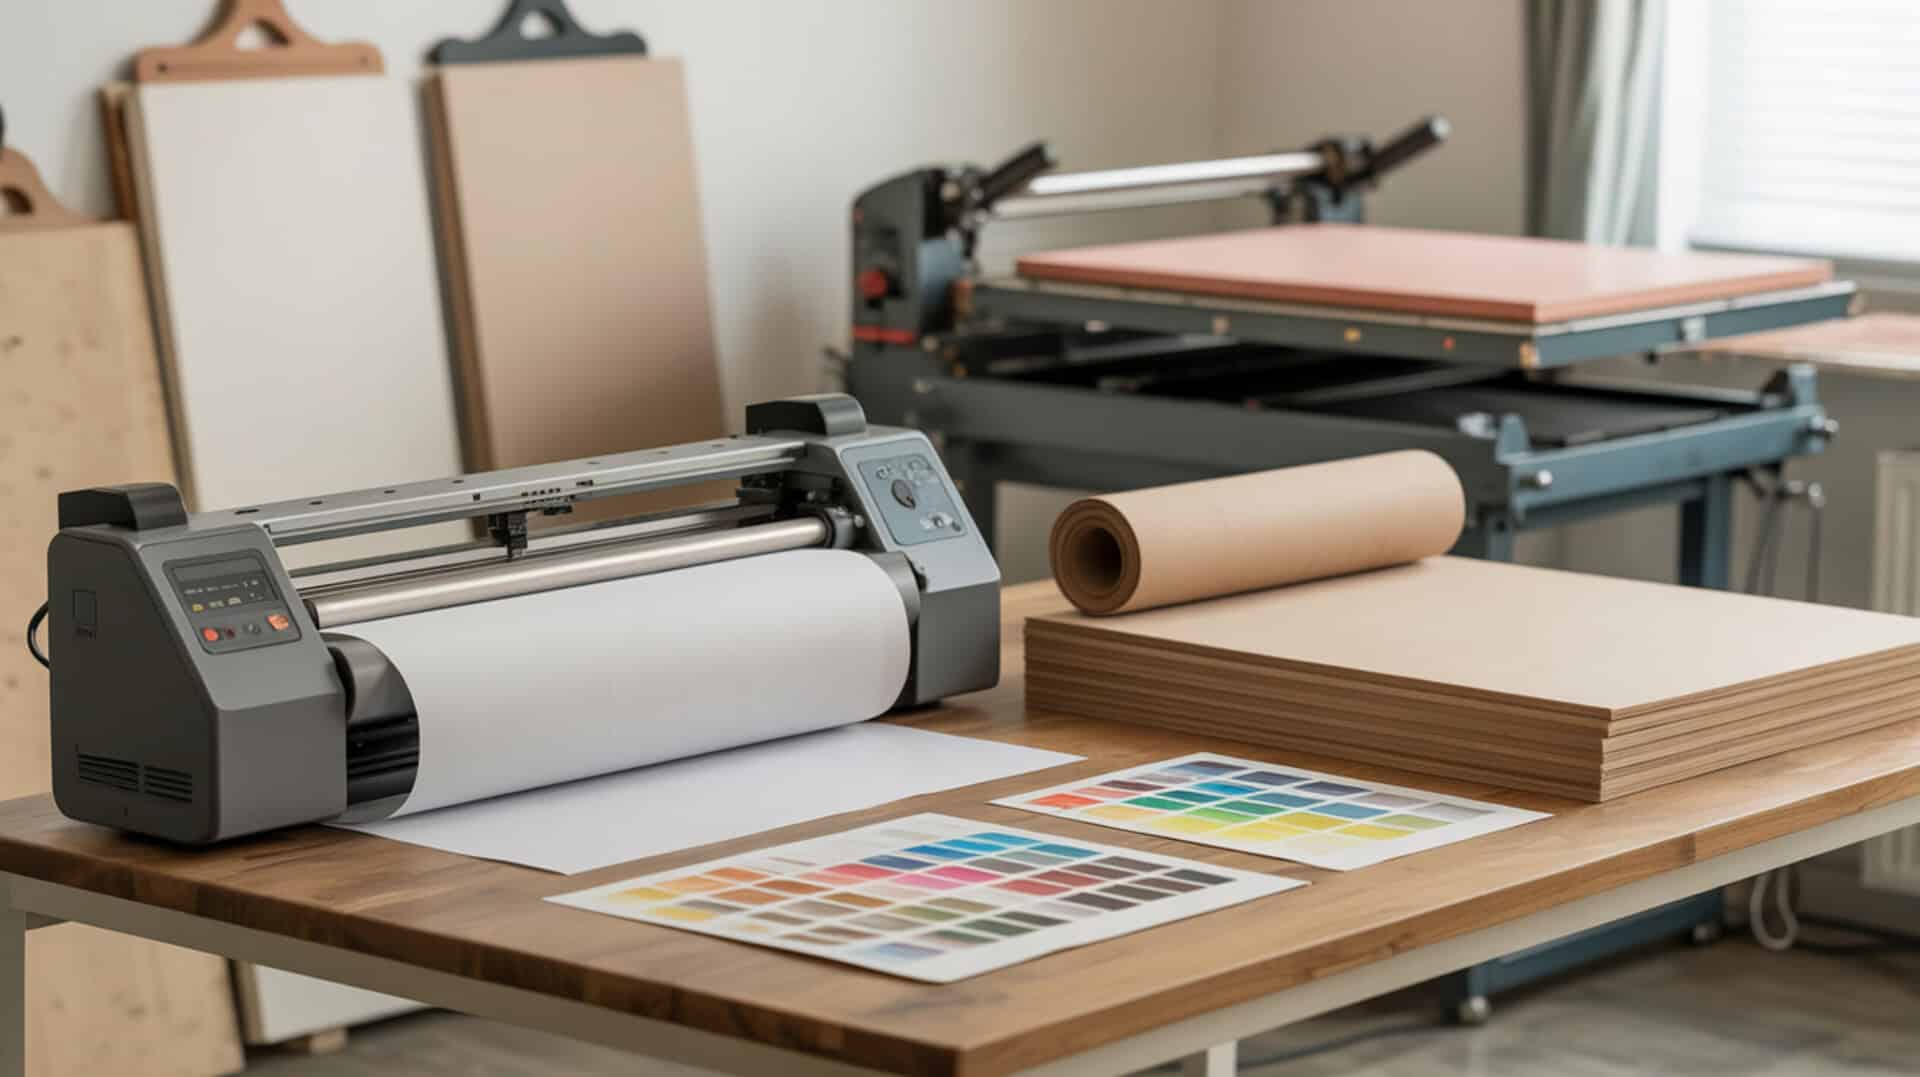
Sublimation paper is a specially coated transfer medium that enables disperse dyes to convert from solid to gas under heat, bonding permanently with polyester fibers and polymer-coated surfaces. Unlike standard paper, its paper coating contains approximately 35% silica and 5% binder—creating a microporous layer that holds ink until heat triggers the gas-phase transfer. Understanding this cellulose-based substrate unlocks consistent, vibrant results in dye sublimation printing.
Key Takeaways
- Paper coating containing silica and binder holds disperse dyes until heat activates gas-phase transfer at 380–400°F.
- Sublimation works only on polyester or polymer-coated substrates because dye molecules bond at the molecular level.
- Proper storage, correct print side identification, and matching paper weight to project type prevent common transfer failures.
How Does Sublimation Paper Differ from Heat Transfer Paper?
Sublimation paper uses a specialized paper coating engineered for dye adsorption and gas-phase release, while heat transfer paper relies on adhesive film layers that sit atop fabric. The sublimation coating promotes hydrophobicity, preventing premature absorption into cellulose fibers and enabling clean dye vapor migration. Heat transfer methods deposit ink on fabric surfaces; sublimation embeds dye within polymer structures. Because paper coating chemistry determines transfer behavior, understanding these differences helps you select the right medium for each project.
Chemical Coating and Transfer Mechanisms
Sublimation paper coatings enable adsorption of disperse dyes onto the surface layer, where they remain stable until heat triggers diffusion into a gaseous state. At 380–400°F, dye molecules transition directly from solid to vapor without liquefying, then penetrate polyester fibers through molecular diffusion. This adsorption-to-gas release cycle distinguishes sublimation from adhesive-based transfers, producing prints embedded within the substrate rather than layered on top.
Durability and Feel of Final Products
Sublimation transfers bond chemically with polyester and polymer fibres at the molecular level, producing prints with no tactile layer—fabric feels identical before and after printing. Heat transfer methods deposit film layers that may crack, peel, or stiffen over time. Because disperse dyes become part of the fiber structure, sublimated items withstand repeated washing without degradation while maintaining soft hand feel and color vibrancy.
When to Choose Each Paper Type
Select coated paper designed for sublimation when printing on white or light polyester fabrics and polymer-coated hard goods requiring wash-resistant, embedded color. Choose heat transfer paper with barrier coating for cotton, dark fabrics, or materials lacking polymer receptivity. Sublimation excels for all-over prints and photographic detail; heat transfer suits single-color graphics on natural fibers where dye bonding cannot occur.
What Makes Sublimation Paper Different from Regular Copy Paper?

Regular copy paper is uncoated paper with high porosity, causing disperse dyes to absorb into cellulose fibers rather than releasing during heat pressing. This absorption produces dull, incomplete transfers because ink becomes trapped within the paper structure. Sublimation paper’s specialized coating creates a barrier that holds dye at the surface, enabling full vapor release and vibrant substrate penetration. For a detailed comparison of transfer outcomes, explore our guide on uncoated paper limitations in sublimation printing.
Special Coatings and Their Purpose
Sublimation paper coating creates a hydrophobicity barrier that repels moisture and prevents dye from sinking into underlying cellulose layers. This coating typically contains 35–45% silica particles forming microporous cavities that capture ink through capillary action, plus 20–35% polymer binders like polyvinyl alcohol that stabilize dye until heat application. The hydrophobic surface ensures ink remains accessible for complete gas-phase transfer rather than becoming fiber-locked. Silica particles are commonly used in coated materials because their porous structure helps control liquid absorption and retention at the surface.[1]
Why Copy Paper Won’t Work for Sublimation
Standard copy paper contains hydrophilic fiber structures that absorb liquid immediately upon contact. When sublimation ink hits uncoated paper, cellulose fibers draw dye deep into the sheet through capillary wicking, trapping pigment within the paper matrix. During heat pressing, absorbed dye cannot escape as vapor because fiber bonds prevent gas-phase release—resulting in faded prints with 30–50% color loss and blurred detail. Paper made from cellulose fibers is naturally porous, which allows liquids to wick into the sheet rather than remain on the surface. [2]
Cost Differences and Value Considerations
Quality coated paper costs $0.15–0.40 per sheet compared to $0.01–0.03 for copy paper, but failed transfers waste expensive sublimation ink ($50–150 per set) and blank substrates. Papers using recycled fiber often exhibit higher porosity and inconsistent coating thickness, producing unpredictable transfer rates. Investing in purpose-made sublimation paper prevents material waste while delivering 95–98% ink transfer efficiency that budget alternatives cannot match.
Can You Write on Sublimation Paper with Infusible Ink Pens?
Infusible ink pens contain disperse dyes formulated to sublimate when heat-pressed, making them compatible with sublimation paper’s coated surface. The paper coating’s surface tension controls how pen ink spreads and adheres, enabling hand-drawn designs alongside printed elements. Both pen and printer inks undergo identical gas-phase conversion during pressing, bonding permanently with polyester substrates. Learn specific techniques for combining pen artwork with printed transfers in our disperse dyes compatibility guide.
Understanding Infusible Ink Technology
Infusible ink pens deliver disperse dye compounds in a controlled-release medium that becomes gas when heated to 380–400°F. Unlike permanent markers that deposit pigment on surfaces, these pens contain sublimation-compatible formulas that penetrate polyester fibers during heat pressing. The gas-phase transition occurs identically whether ink originates from pen application or inkjet printing, producing equally permanent molecular bonds within polymer substrates.
Creative Applications and Techniques
Sublimation paper’s gloss and smoothness characteristics affect how infusible ink pens glide across the coated surface and deposit dye. Smoother papers allow finer line work and controlled ink flow, while textured surfaces create intentional variation. The coating’s surface properties enable techniques like blending, layering, and gradient effects that transfer with the same vibrancy as machine-printed designs when proper heat and pressure are applied.
Combining Hand-Drawn and Printed Designs
Print your base design first, then add hand-drawn elements with infusible ink pens—the coating supports both application methods equally. During heat pressing, diffusion mechanics operate identically for printed and pen-applied dyes, ensuring consistent color saturation across mixed-media artwork. Allow pen ink to dry 2–3 minutes before pressing to prevent smearing, and maintain standard temperature settings since both ink types share sublimation characteristics.
What Qualities Make Sublimation Paper the Best for Your Projects?

Superior sublimation paper balances thickness, density, and moisture content to deliver consistent ink release and dimensional stability during heat pressing. Heavier papers (120–125 gsm) absorb more ink for saturated designs but require longer drying; lighter weights (80–105 gsm) dry faster and conform better to curved surfaces. Moisture content directly affects curling and color accuracy—papers stored improperly absorb humidity that causes uneven transfers. Our comprehensive buying guide explores how thickness specifications match different project requirements.
Weight, Thickness, and Transfer Rates
Paper thickness influences feed reliability through printers and heat-press performance during transfer. Lighter papers (80–100 gsm) suit high-speed production and curved substrates like mugs; heavier weights (120–125 gsm) handle high-saturation designs without bleed-through. Porosity varies with thickness—thinner papers release ink faster but hold less total volume. Match paper weight to ink coverage: 105 gsm for standard apparel, 125 gsm for photographic prints requiring maximum color density.
Quick-Dry vs Standard Dry Papers
Quick-dry sublimation papers feature enhanced surface tension properties that stabilize ink within seconds of printing, preventing smearing during handling. Standard papers require 60–120 seconds drying time before safe handling or stacking. Fast-dry formulations use modified microporous coatings that accelerate capillary absorption while maintaining high transfer rates. For production environments, quick-dry paper reduces workflow delays; hobbyists can use standard paper with appropriate patience between printing and pressing.
Matching Paper Quality to Project Types
Higher opacity and brightness improve pre-transfer image clarity, helping you verify design accuracy before committing to heat pressing. Glossy-coated papers suit photographic reproductions requiring fine detail and smooth gradients; matte finishes work well for graphic designs with solid color blocks. Select paper grade based on substrate value—premium paper for expensive blanks, economy grades for practice runs. Quality differences become most apparent on light-colored polyester where subtle color variations show clearly.
How Do You Work with Sublimation Paper for Dark Fabrics?
Standard sublimation cannot produce visible results on dark fabrics because disperse dyes are transparent—they require white polyester substrates to reflect color. Opacity limitations mean dark fabric absorbs rather than displays transferred dye; even heavy ink applications disappear against dark backgrounds. White or light-colored substrates provide the reflective base necessary for vibrant color reproduction through the diffusion bonding process. Explore specialized solutions for dark garment decoration in our opacity and substrate selection guide.
Understanding the White Substrate Requirement
Diffusion of disperse dyes into polyester produces transparent color that relies entirely on substrate brightness for visibility. White polyester reflects light through the dye layer, creating perceived color; dark fibers absorb this light, rendering transfers invisible regardless of ink quantity. This physics limitation affects all true sublimation—dyes embedded within fiber structures cannot overcome substrate darkness. Minimum 65% polyester content in white or pastel shades delivers optimal color reproduction.
Alternative Solutions for Dark Materials
Specialized barrier coating products create white polyester-like surfaces on dark substrates, enabling sublimation transfers with modified techniques. These coatings apply a polymer film that receives dye while covering dark fabric beneath. Results differ from standard sublimation—coatings add thickness and may affect hand feel. White polyester patches, printable heat transfer vinyl, and sublimation-ready appliqués offer alternative approaches for adding vibrant designs to dark garments.
Special Papers and Workaround Methods
Some manufacturers produce specialty transfer papers with built-in white layers or coating technology that creates opaque designs for dark substrates. Cast coating creates highly smooth surfaces optimized for these specialty transfers. However, results differ fundamentally from true sublimation—designs sit atop rather than within fabric. For authentic sublimation results on dark items, consider reverse-approach techniques using white polyester panels or pockets that receive standard sublimation transfers.
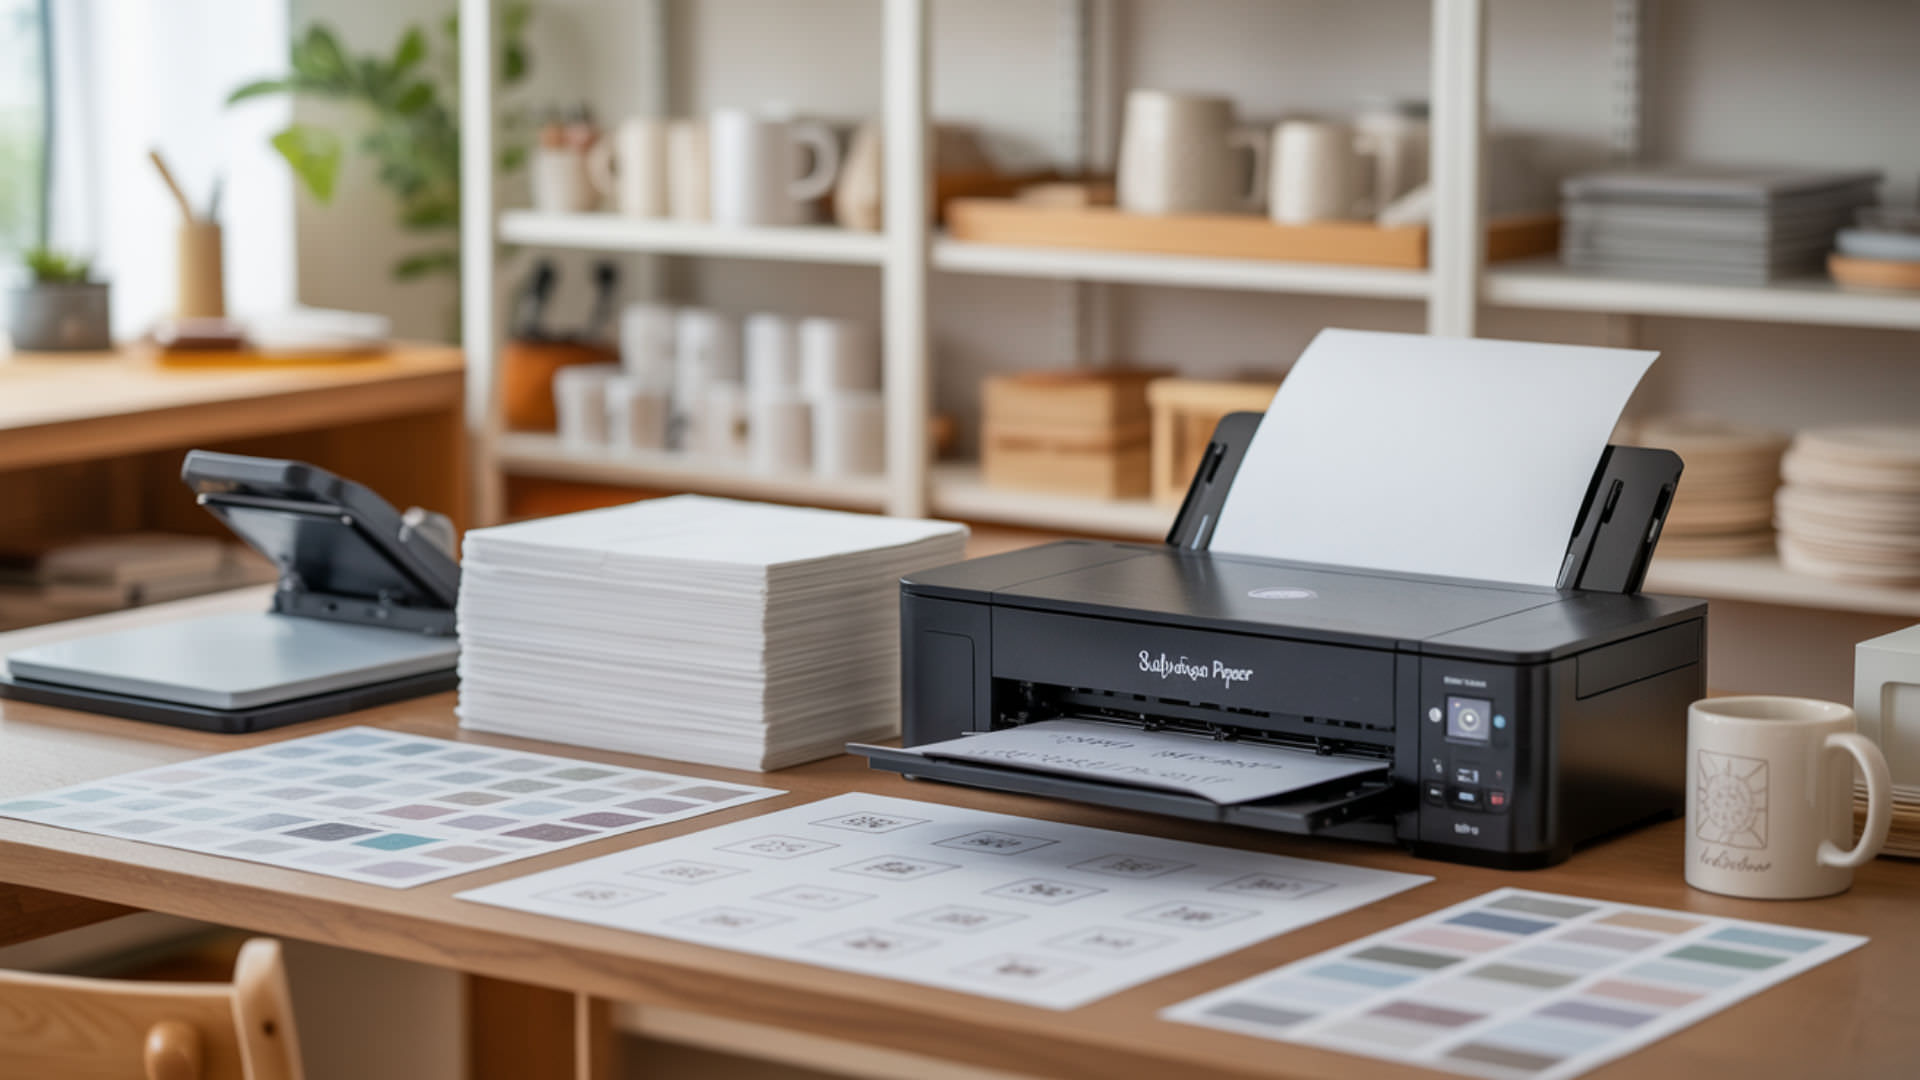
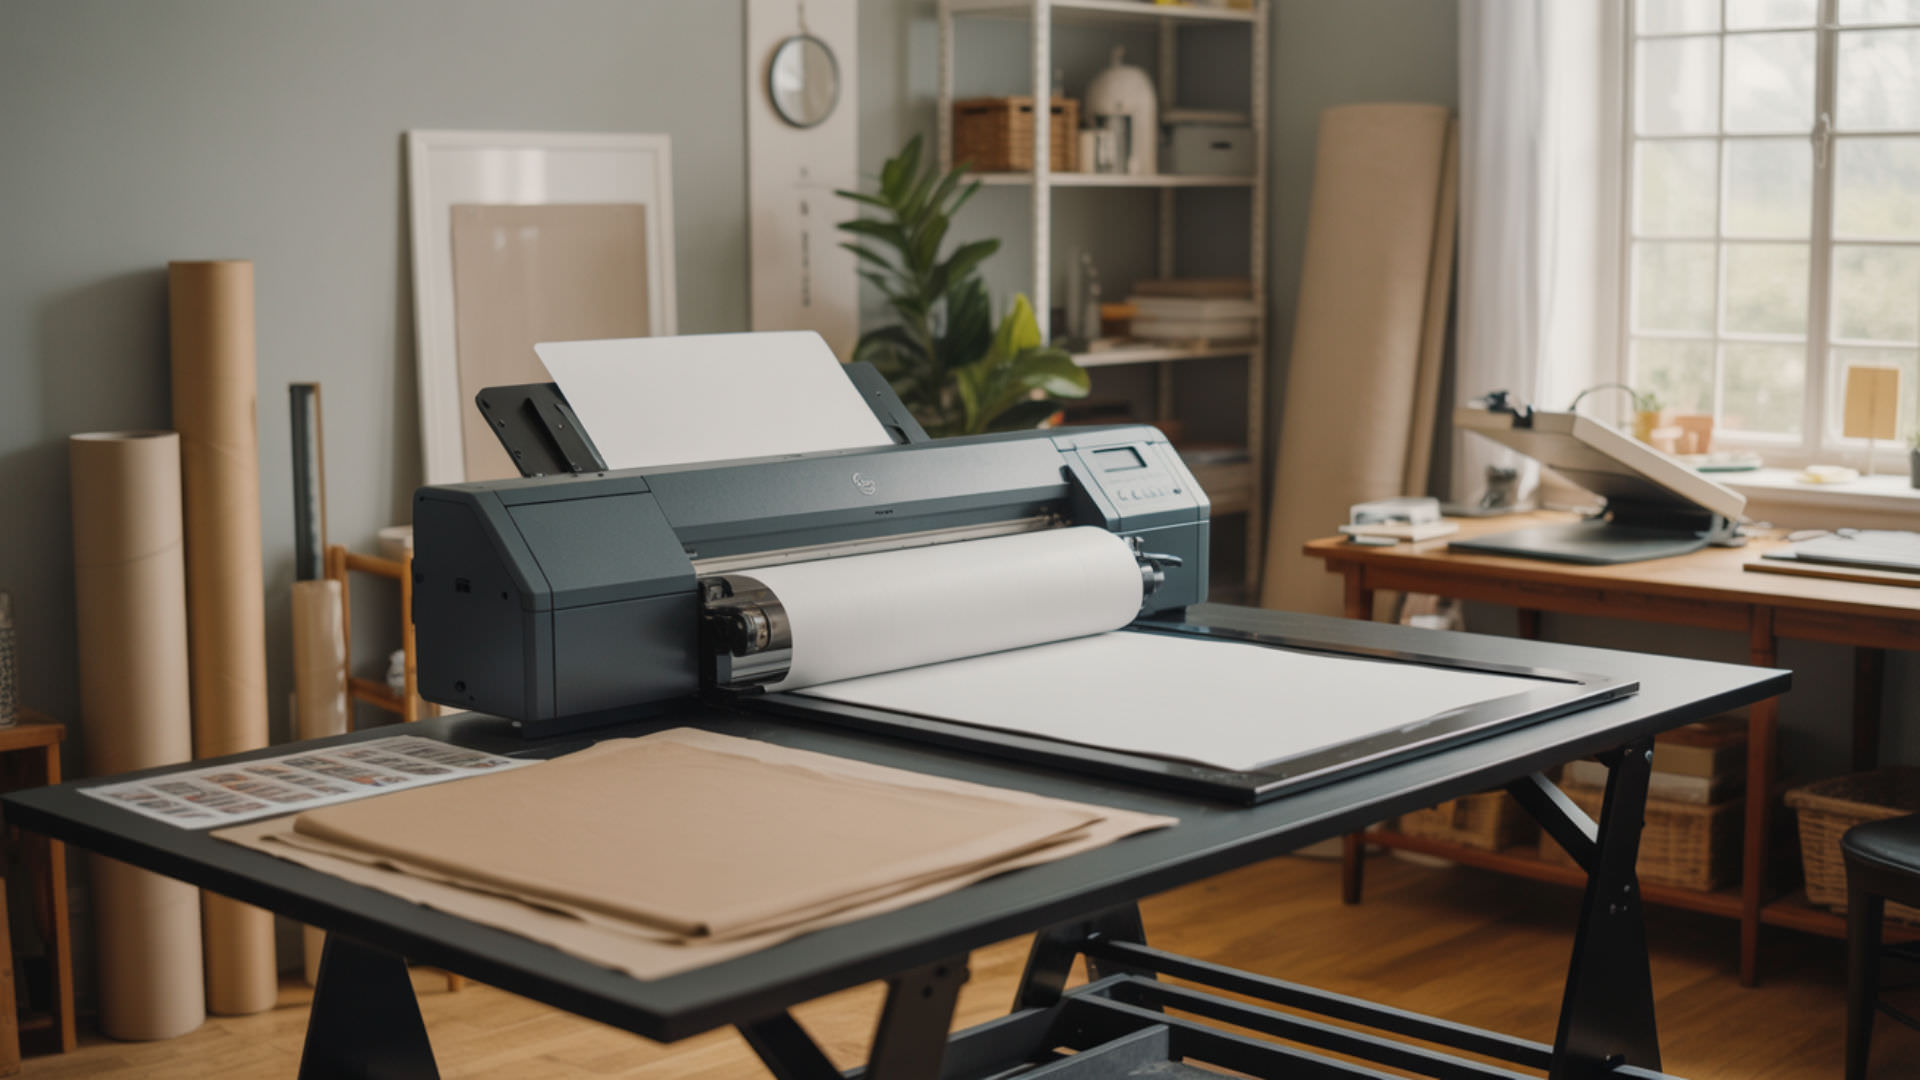
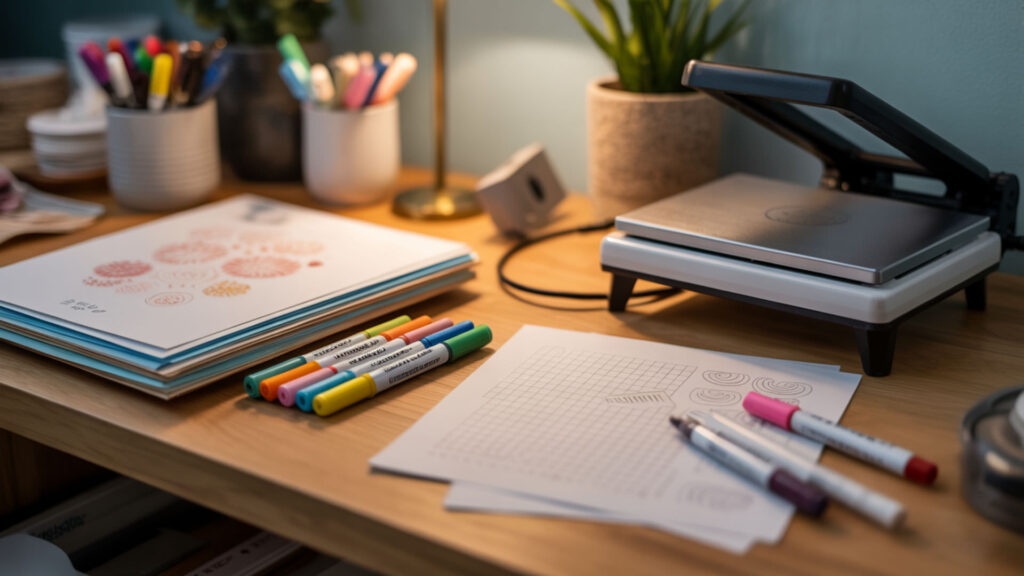
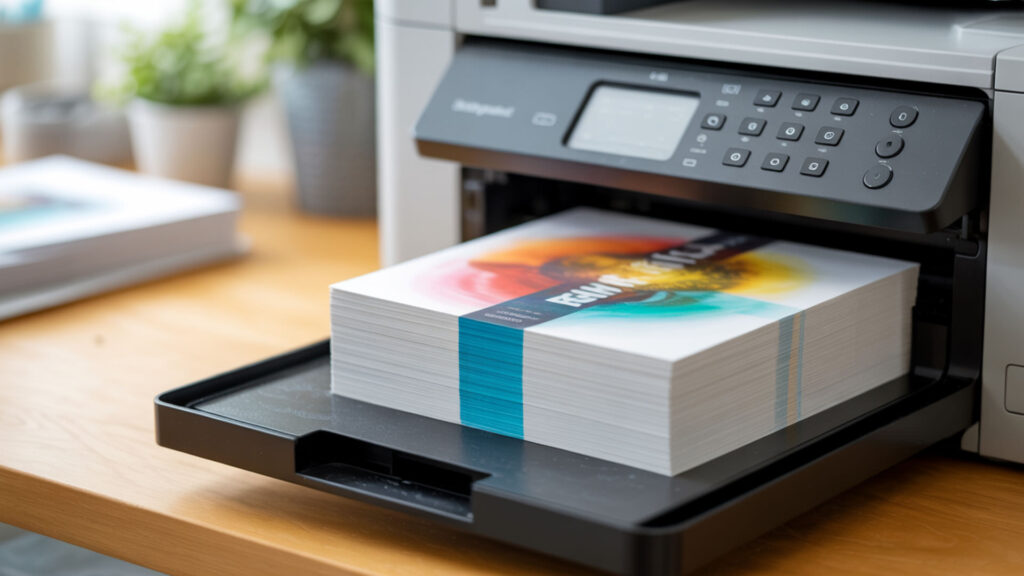
What’s the Proper Way to Load Sublimation Paper?
Correct loading requires identifying grain direction, coating side, and thickness settings to prevent jams, misprints, and wasted materials. Grain direction affects how paper curls during heating and feeds through printer mechanisms—loading against grain increases jam risk. Most printers feed paper from the bottom or rear tray with the print side facing down or up depending on feed path design. Proper loading technique relates directly to grain direction and stiffness—details covered in our dedicated loading tutorial.
Identifying the Correct Print Side
The coated side of sublimation paper feels smoothness distinct from the uncoated back—run your finger across both surfaces to detect the slicker coating. Most papers feature brighter white coloring on the print side versus slightly yellow or gray backing. Some manufacturers add subtle grid lines, logo watermarks, or color indicators on the non-print side. When uncertain, print a small test image; coating-side printing produces vibrant color while wrong-side printing yields faded, absorbed results.
Printer Tray Settings and Adjustments
Adjust printer settings to match sublimation paper thickness and tensile strength—standard paper settings may cause feed failures with heavier stocks. Select “thick paper,” “cardstock,” or custom media settings that slow feed speed and widen roller pressure for 105–125 gsm sheets. Rear-feed trays provide straighter paper paths that reduce jamming with stiffer papers. Ensure tray guides contact paper edges without excessive pressure that causes skewing during feed cycles.
Avoiding Common Loading Mistakes
Humidity exposure causes moisture content fluctuations that produce curl—wavy paper jams printers and creates uneven contact during pressing. Store opened paper in sealed bags with desiccant packets, loading only sheets needed for immediate use. Fan paper stacks before loading to separate sheets and release static. Never force wrinkled or curled sheets through printers; flattening damaged paper under weight overnight often restores usability for non-critical projects.
How Should You Store Your Sublimation Prints?
Printed sublimation transfers require protection from humidity, temperature fluctuations, and physical contact until heat pressing. Environmental humidity causes moisture absorption that leads to color bleeding during transfer; temperature swings accelerate paper degradation. Proper storage maintains the moisture content balance necessary for clean, sharp transfers with accurate color reproduction. Storage conditions directly impact moisture content stability—our dedicated guide provides environment specifications for short and long-term holding.
Environmental Factors That Affect Paper
Temperature and humidity create the primary storage challenges for sublimation paper and printed transfers. Ideal conditions maintain 40–60% relative humidity at 65–75°F—deviations cause paper fibers to absorb or release moisture unevenly. High humidity above 70% softens paper and causes ink migration before pressing; low humidity below 35% creates static and brittleness. Climate-controlled spaces prevent the dimensional changes that ruin transfer accuracy.
Short-Term vs Long-Term Storage Solutions
For short-term storage (days to weeks), keep printed transfers in sealed plastic sleeves away from direct light and heat sources. Long-term storage requires airtight containers with moisture content control—silica gel packets maintain stable humidity within sealed bins. Fiber in unprotected paper absorbs atmospheric moisture continuously; sealed storage prevents the gradual degradation that produces ghosting and color shifts in aged transfers.
Protecting Printed Designs Before Transfer
Handle printed sublimation paper by edges only—fingerprints deposit oils that interfere with ink transfer. The smoothness of quality coating resists scratching, but stacking printed sheets face-to-face risks ink offset between pages. Interleave prints with clean copy paper or store individually in plastic sleeves. Transport transfers flat rather than rolled; creases create permanent lines in final products that no amount of pressing pressure eliminates.
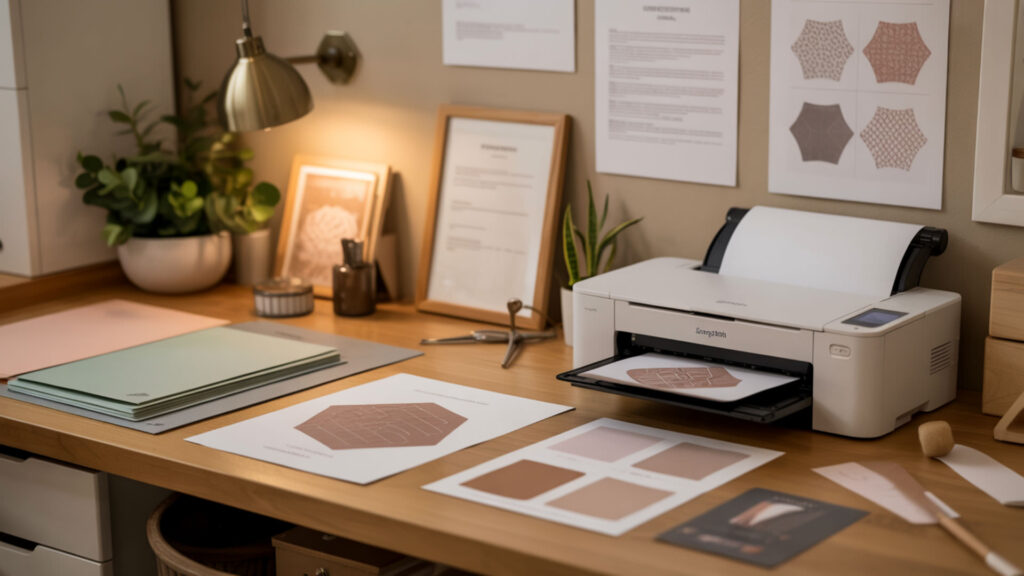
What Do Sawgrass Paper Instructions Tell You?
Sawgrass-branded sublimation papers feature proprietary coating formulations optimized for Sawgrass printer systems and ink chemistries. Brand-specific instructions address the temperature, time, and pressure variables calibrated to their paper’s surface tension and dye-release characteristics. Following manufacturer guidelines ensures coating and ink work together as engineered, preventing compatibility issues that produce suboptimal transfers. Brand-specific coating behavior varies significantly—our Sawgrass instructions guide details optimal settings.
Brand-Specific Features and Benefits
Sawgrass papers incorporate coating minerals including kaolin and calcium carbonate that enhance brightness, improve smoothness, and optimize ink holdout for their proprietary ink formulations. These mineral additions create specific surface characteristics tuned to Sawgrass ink viscosity and dye concentration. The engineered paper-ink relationship delivers consistent color matching to screen previews when using Sawgrass’s integrated print management software with appropriate profiles.
Optimal Settings for Sawgrass Papers
Sawgrass recommends specific temperature and time combinations based on their paper’s moisture content response and coating release properties. Standard settings start at 385°F for 45–60 seconds on polyester fabrics, with adjustments for substrate thickness and atmospheric conditions. Moisture content in paper affects how quickly coating releases dye—humid environments may require extended press times or pre-pressing to drive off absorbed water before transfer begins.
Troubleshooting Sawgrass Paper Issues
Common problems stem from porosity variations between paper batches or environmental absorption affecting drying behavior. Faded prints suggest insufficient temperature or time; ghosting indicates paper movement during pressing. Inconsistent color often traces to humidity affecting coating performance—store Sawgrass papers sealed until use and allow cold-stored sheets to reach room temperature before printing. Contact manufacturer support when following all guidelines still produces unsatisfactory results.
Which Side of Sublimation Paper Should You Print On?
Print exclusively on the coated side—identified by its smoothness, gloss, and brighter white appearance compared to the uncoated backing. The paper coating contains the microporous structure necessary for holding ink at the surface and releasing it during heat application. Printing on wrong sides wastes ink and paper as dye absorbs irretrievably into uncoated fibers. Visual and tactile identification methods for paper coating sides appear in our detailed printing orientation guide.
Visual and Touch Tests for Side Identification
Smoothness provides the most reliable coating indicator—coated surfaces feel slicker under fingernail scratch tests. Gloss differences become visible when viewing paper at shallow angles under direct light; coated sides show subtle sheen versus matte backing. Color comparison reveals brighter, purer white on coated surfaces. Some papers curl toward the coated side when exposed to humidity, providing another identification method. Test unfamiliar papers by printing small samples on both sides to confirm which produces vibrant output.
What Happens If You Print on the Wrong Side
Printing on uncoated backing causes immediate absorption into paper fibers due to high porosity—ink soaks through rather than sitting at surface level. During heat pressing, absorbed dye cannot vaporize effectively; fiber-locked ink transfers incompletely, producing 40–60% color loss with fuzzy edges. The absorbed ink also prevents clean paper removal, potentially causing backing fibers to stick to substrates. Wrong-side printing wastes both expensive ink and transfer paper beyond recovery.
Paper Brand Variations and Markings
Manufacturers use different coating and finishing approaches that create distinct visual and tactile characteristics. Some brands print logos or lines on non-coated sides; others include colored backing or packaging indicators. Premium papers often feature more pronounced coating differences that make identification obvious; economy brands may require careful inspection. When switching brands, always verify print side before loading full sheets—assumptions based on previous products cause expensive mistakes.
Can Regular Printer Paper Ever Work for Sublimation?
Standard uncoated paper fails fundamentally for sublimation because its high porosity causes complete absorption of dye into cellulose fibers rather than surface retention for transfer. Without specialized coating, ink becomes locked within paper structure and cannot vaporize effectively during heat pressing. The result: extremely faded images with 60–80% color loss and no practical utility. Our comprehensive analysis of uncoated paper failures explains why proper sublimation paper remains essential.
Why Standard Paper Fails in Sublimation
Hydrophilic fiber structures in regular paper actively draw liquid into the sheet through capillary action. Sublimation ink immediately wicks deep into cellulose layers upon contact, spreading laterally and vertically within the paper matrix. During heat pressing, fiber-absorbed dye experiences restricted molecular movement—surrounding cellulose prevents the gas-phase expansion necessary for substrate transfer. Absorption depth and fiber bonding create permanent ink imprisonment.
Emergency Alternatives and Their Limitations
In absolute emergencies, parchment paper or certain glossy photo papers may produce extremely limited results—expect 20–40% transfer efficiency with significant color shift and detail loss. High porosity and moisture content instability cause unpredictable curling and uneven contact. These alternatives waste expensive sublimation ink while producing unmarketable results. No emergency substitute approaches the 95%+ transfer rates of proper sublimation paper; treating alternatives as viable options courts disappointment.
False Economy of Using Wrong Papers
Low brightness and opacity in standard papers produce muddy pre-transfer previews that mask problems until final pressing reveals failures. Each failed transfer wastes $1–5 in sublimation ink plus blank substrate costs—quickly exceeding sublimation paper savings. Professional sublimation paper costs $0.15–0.40 per sheet and delivers predictable, vibrant results. False economy calculations ignore cumulative waste from substandard materials; proper paper pays for itself within the first dozen successful transfers.
Final Thoughts
Sublimation paper transforms digital designs into permanent, embedded artwork through the elegant chemistry of paper coating, disperse dyes, and gas-phase transfer. Every successful print depends on understanding how coating composition, proper handling, and substrate compatibility work together. Master these fundamentals, and your sublimation projects will consistently deliver the vibrant, wash-resistant results that make this printing method so rewarding.
Frequently Asked Questions
How long can I store sublimation paper before it goes bad?
Unopened sublimation paper maintains quality for 1–2 years when stored in climate-controlled conditions at 40–60% relative humidity and 65–75°F. Once opened, moisture content begins fluctuating with environmental exposure, reducing optimal performance to 6–12 months. Sealed storage with desiccant packets extends opened-package viability. Watch for yellowing, excessive curl, or porosity changes indicating degradation—test older stock before committing to important projects.
Why does my sublimation paper curl, and how do I prevent it?
Curling results from uneven moisture content across paper thickness—one side absorbs or releases humidity faster than the other, creating differential expansion. Store paper in sealed packaging with silica gel packets to maintain consistent moisture levels. Allow refrigerated or cold-stored paper to reach room temperature before opening to prevent condensation absorption. Severely curled sheets may flatten under weighted boards overnight, though coating damage sometimes persists.
Is more expensive sublimation paper always better quality?
Price correlates with coating consistency, brightness, and transfer rates, but diminishing returns appear above mid-tier options. Premium papers ($0.30–0.40/sheet) offer 96–98% transfer efficiency versus 92–95% for quality budget options ($0.15–0.20/sheet). For practice, prototyping, or less critical projects, mid-range paper performs adequately. Reserve premium thickness and coating grades for high-value substrates where transfer perfection justifies increased material investment.
Can I reuse sublimation paper if the transfer didn’t work perfectly?
Sublimation paper cannot be reused because the coating releases its dye-holding capacity during heat pressing—one-time gas-phase transfer exhausts the microporous structure’s functionality. Even incomplete transfers deplete coating effectiveness; second pressings produce negligible additional color with potential ghosting artifacts. Analyze failed transfers to identify cause (temperature, time, pressure, substrate), then apply corrections to fresh paper rather than attempting reuse.
What’s the difference between sublimation paper for hard surfaces versus fabric?
Papers optimized for fabric transfers typically feature lighter weights (80–105 gsm) with faster ink release for flat pressing applications. Hard-surface papers often use heavier stocks (120–125 gsm) with enhanced moisture resistance for longer press times required by ceramics and metals. Coating porosity may differ—fabric papers prioritize flexibility while hard-surface formulations emphasize durability during extended heat exposure. Many quality papers perform acceptably across both applications.
References
- What a solar Superstorm could mean for the US. (2025, December 10). USGS. https://www.usgs.gov/news/featured-story/what-a-solar-superstorm-could-mean-us
- What a solar Superstorm could mean for the US. (2025, December 10). USGS. https://www.usgs.gov/news/featured-story/what-a-solar-superstorm-could-mean-us